
We offer a wide range of gifts that you can design and personalise with your favourite photos. But not just that, we also have plenty of creative ideas to help you personalise your gifts in a unique way.
From step-by-step instructions for DIY photo projects to ideas for the perfect table decoration and tips on taking photos, we’re here to help you make the most of your gifts and photo products.
Drop in regularly for fresh inspiration and let your creativity flow!
Filter products
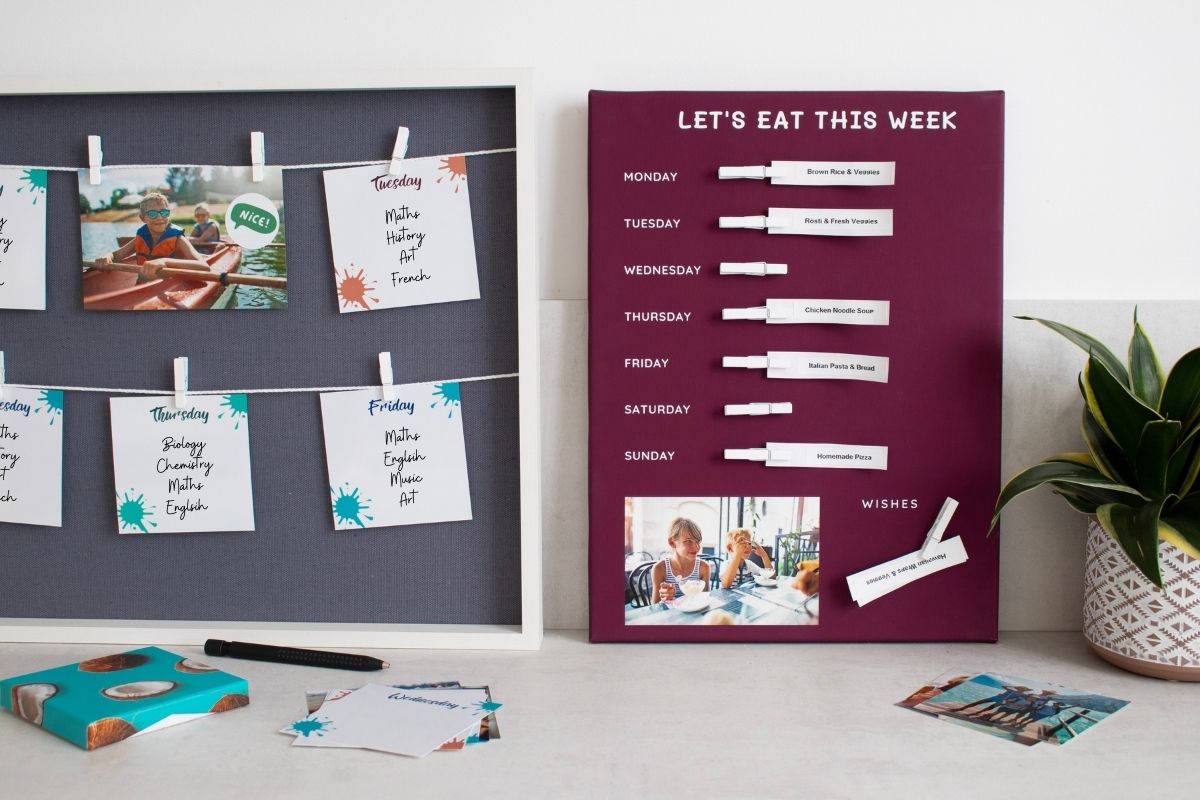
Creative ideas for organising your family
Use these creative organisational ideas to keep on top of things: Create a beautiful organisation chart for the whole family!
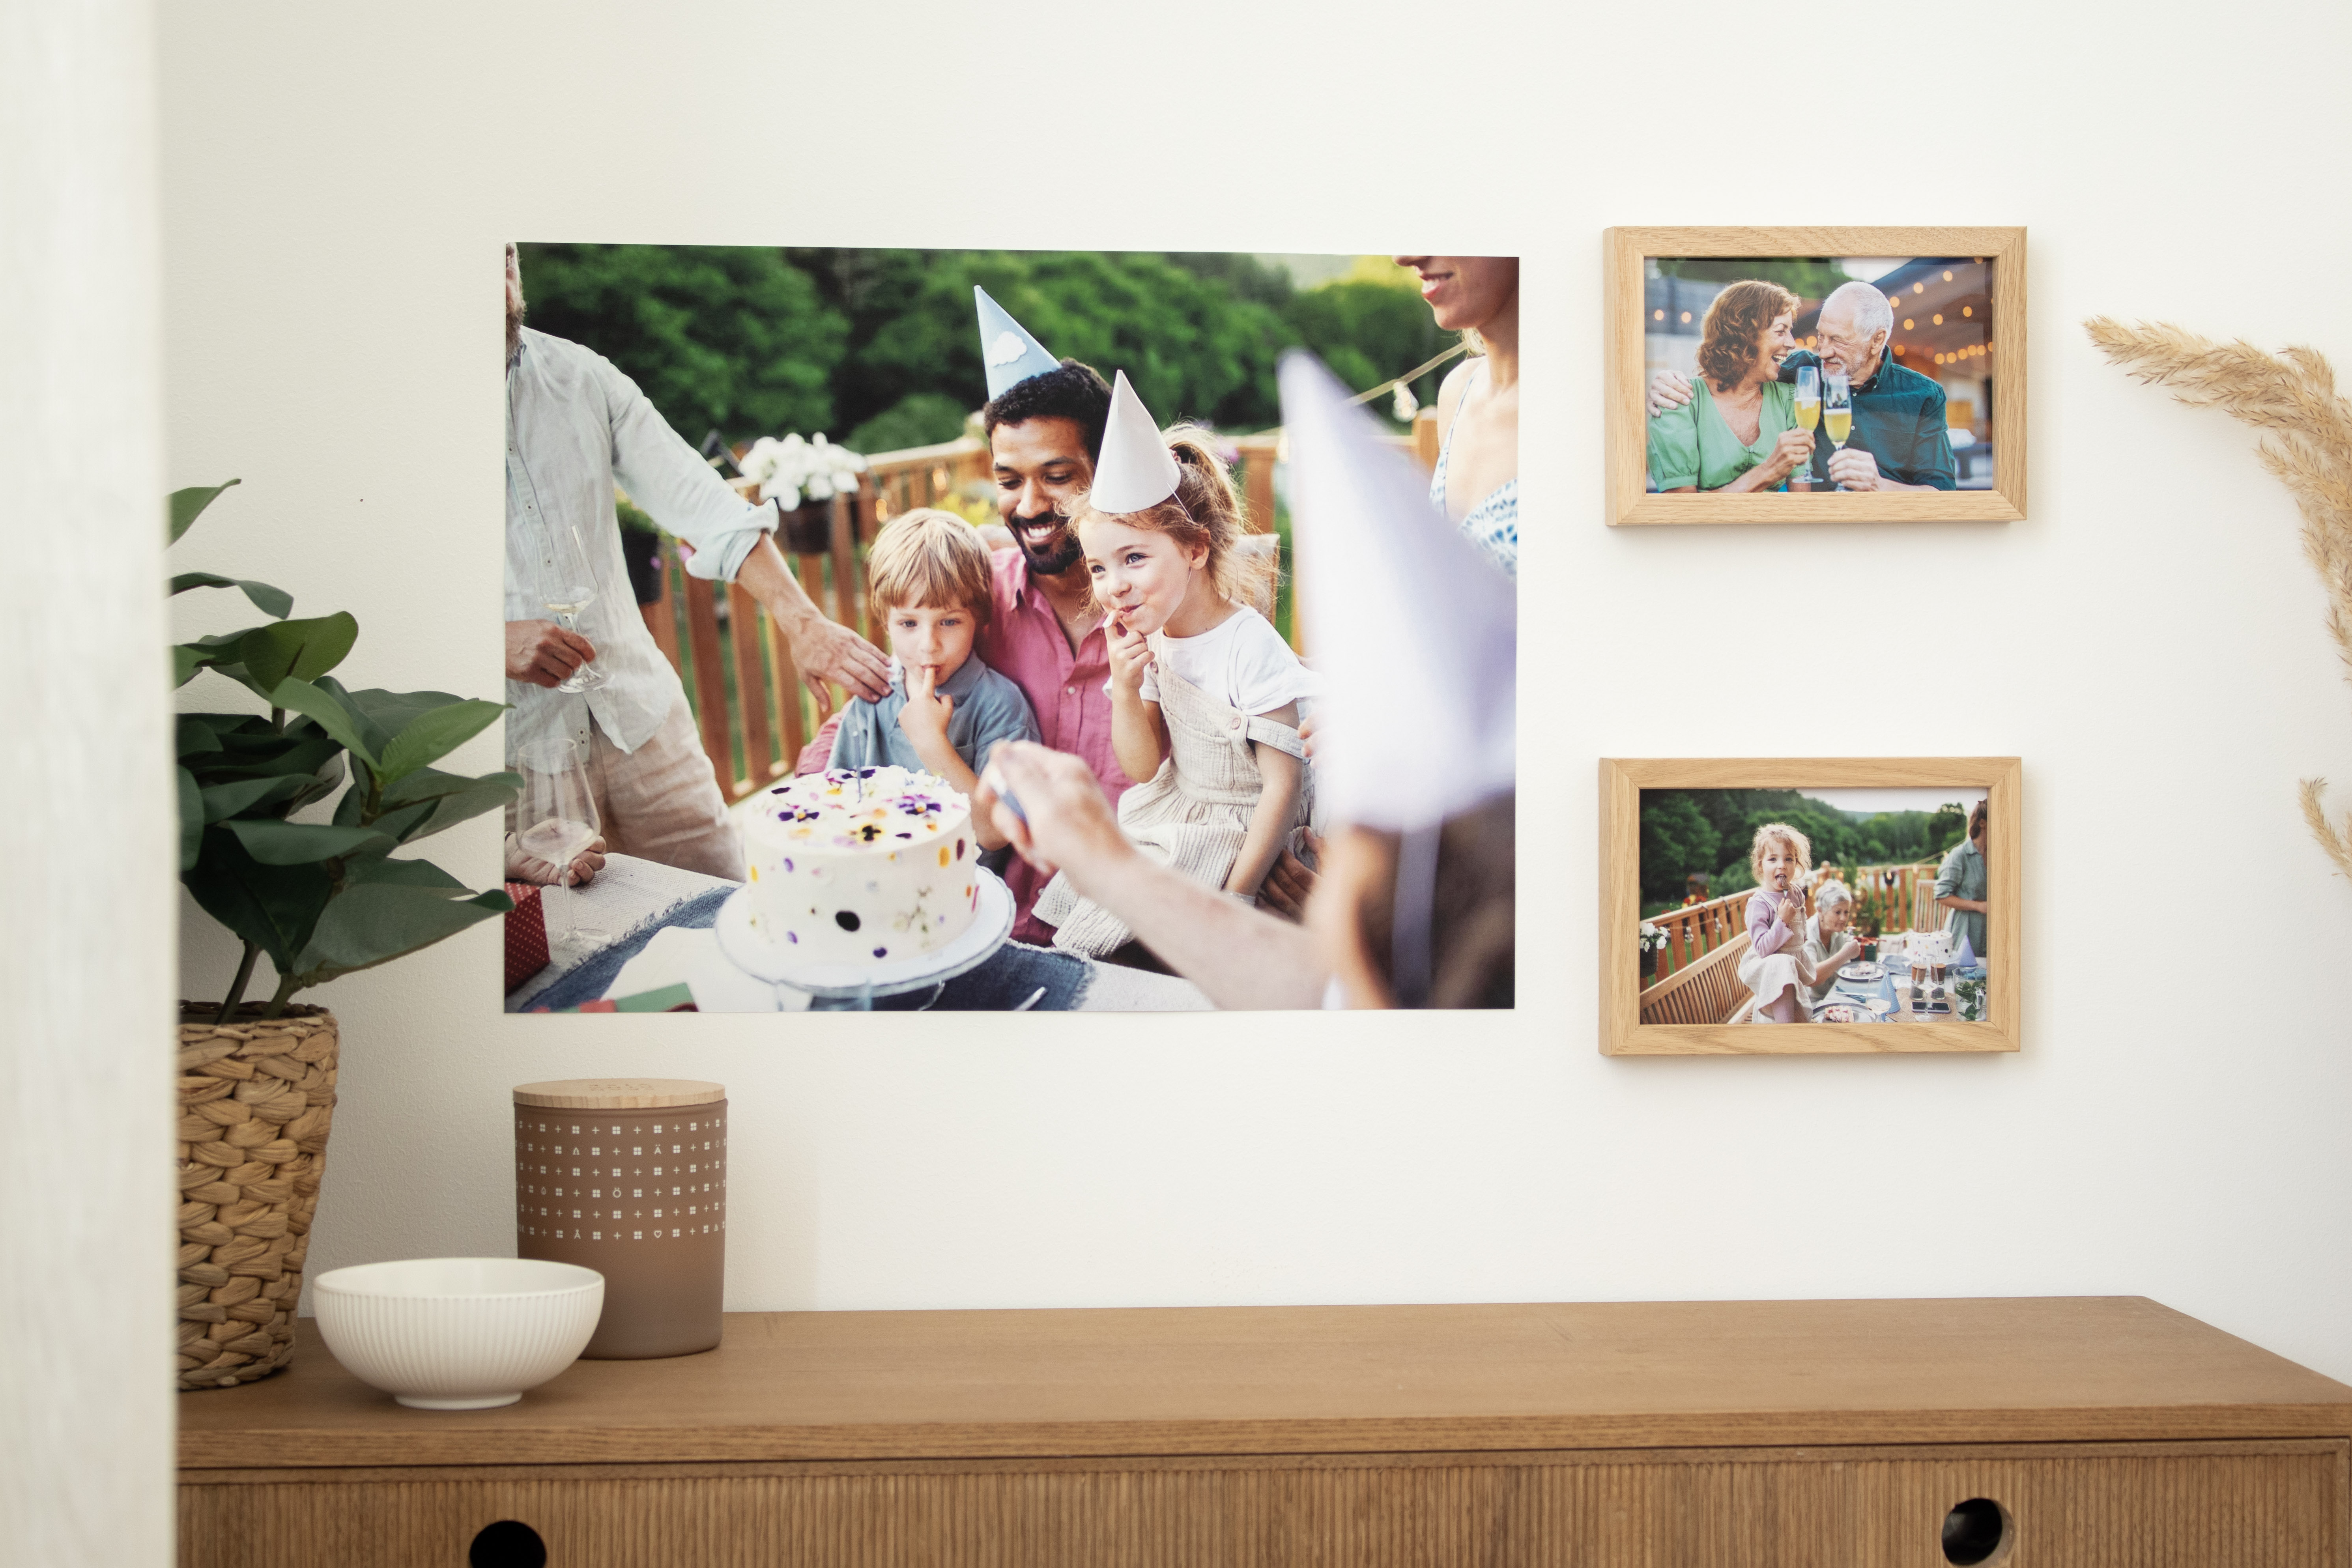
4 Creative Photo Poster Ideas
Decorate your home with Photo Posters from ifolor and choose a matching frame and passe-partout. In this article you will find 4 creative ideas.
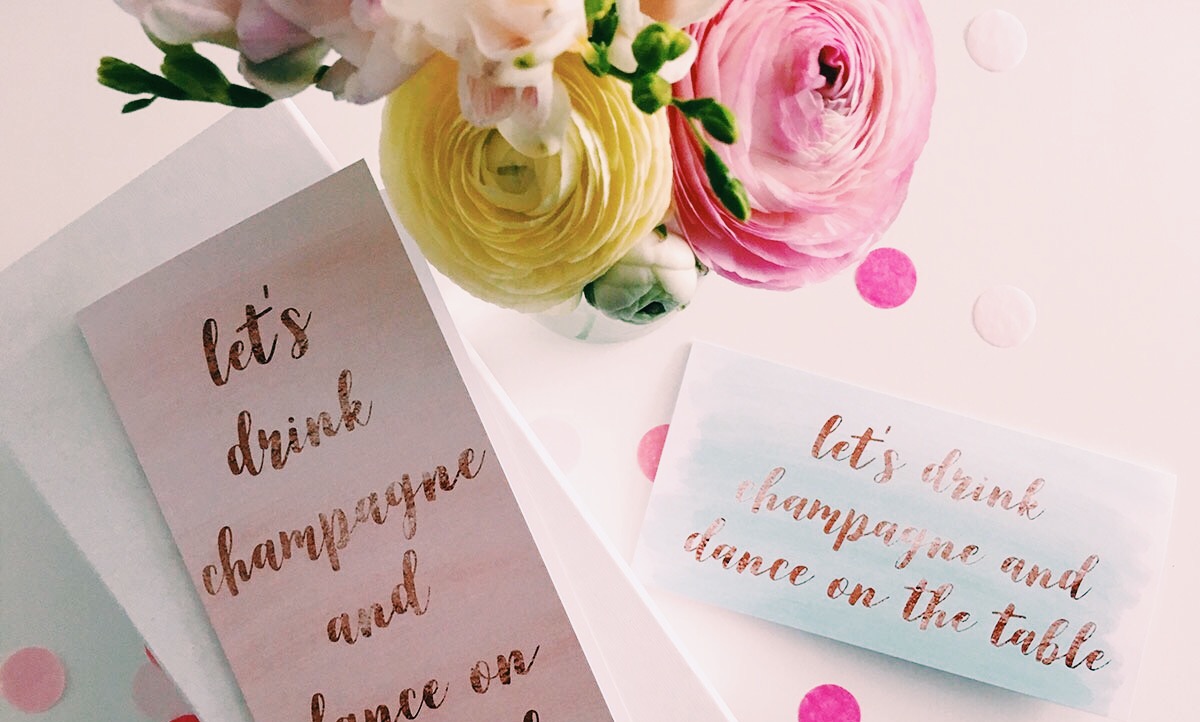
8 tips and ideas for the perfect hen party
Would you like to organise an unforgettable hen night and need ideas? These tips will help you host the perfect hen party for your best friend or sister. For a hen night that the bride will fondly remember.
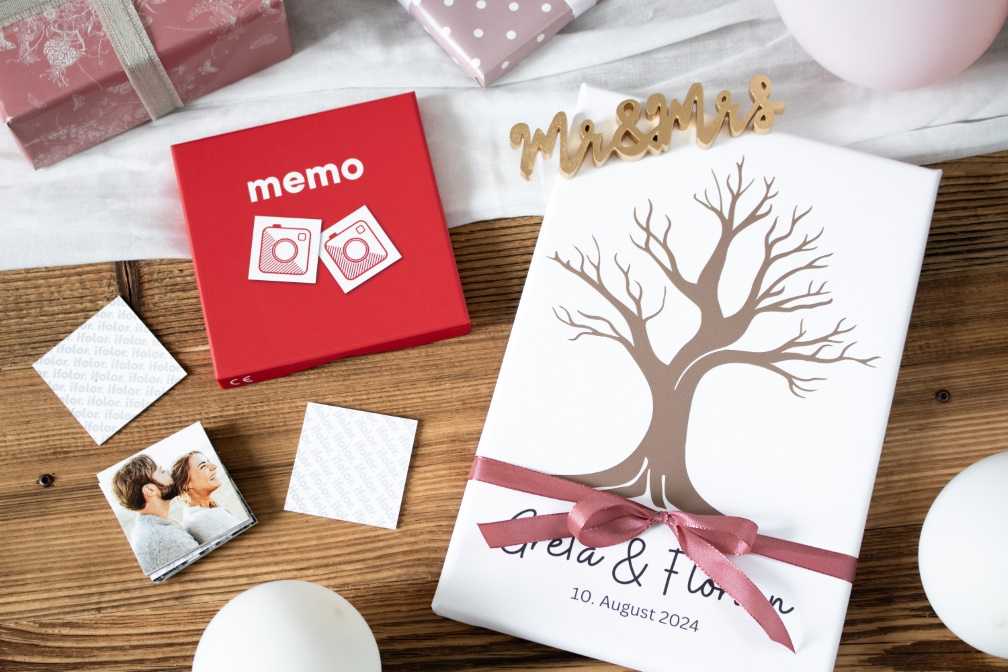
Wedding Games and Activities: Creative Ideas for an Unforgettable Celebration
Wedding games: We’ll show you 8 fun and ice-breaking games for beautiful memories and humorous photos.
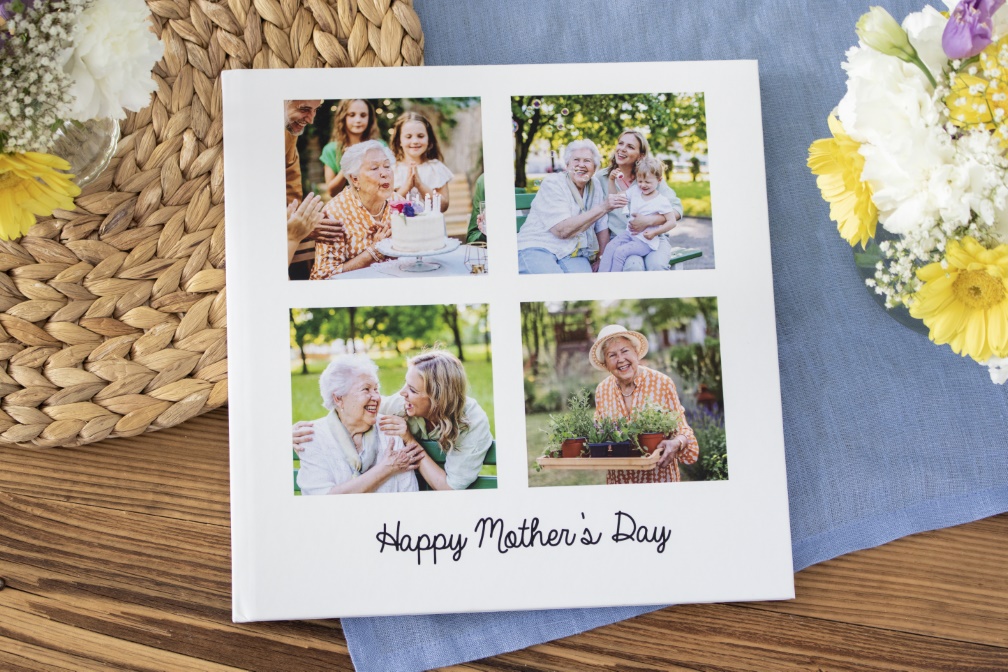
An Individually Designed Photo Book for Mother’s Day
An individually designed photo book is a great gift for Mother's Day. You can add your favourite photos and memories. We will give you 6 helpful design tips.
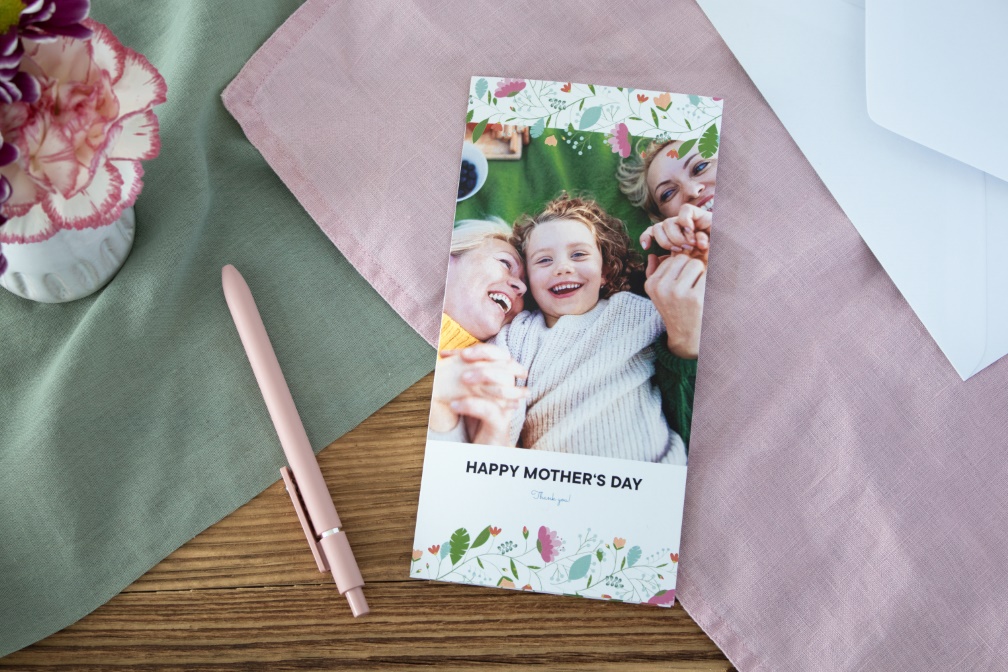
Sending a Personalised Mother’s Day Message
Individually design a greetings card for your mum this Mother's Day and add a personal message to show your appreciation for everything she has done.
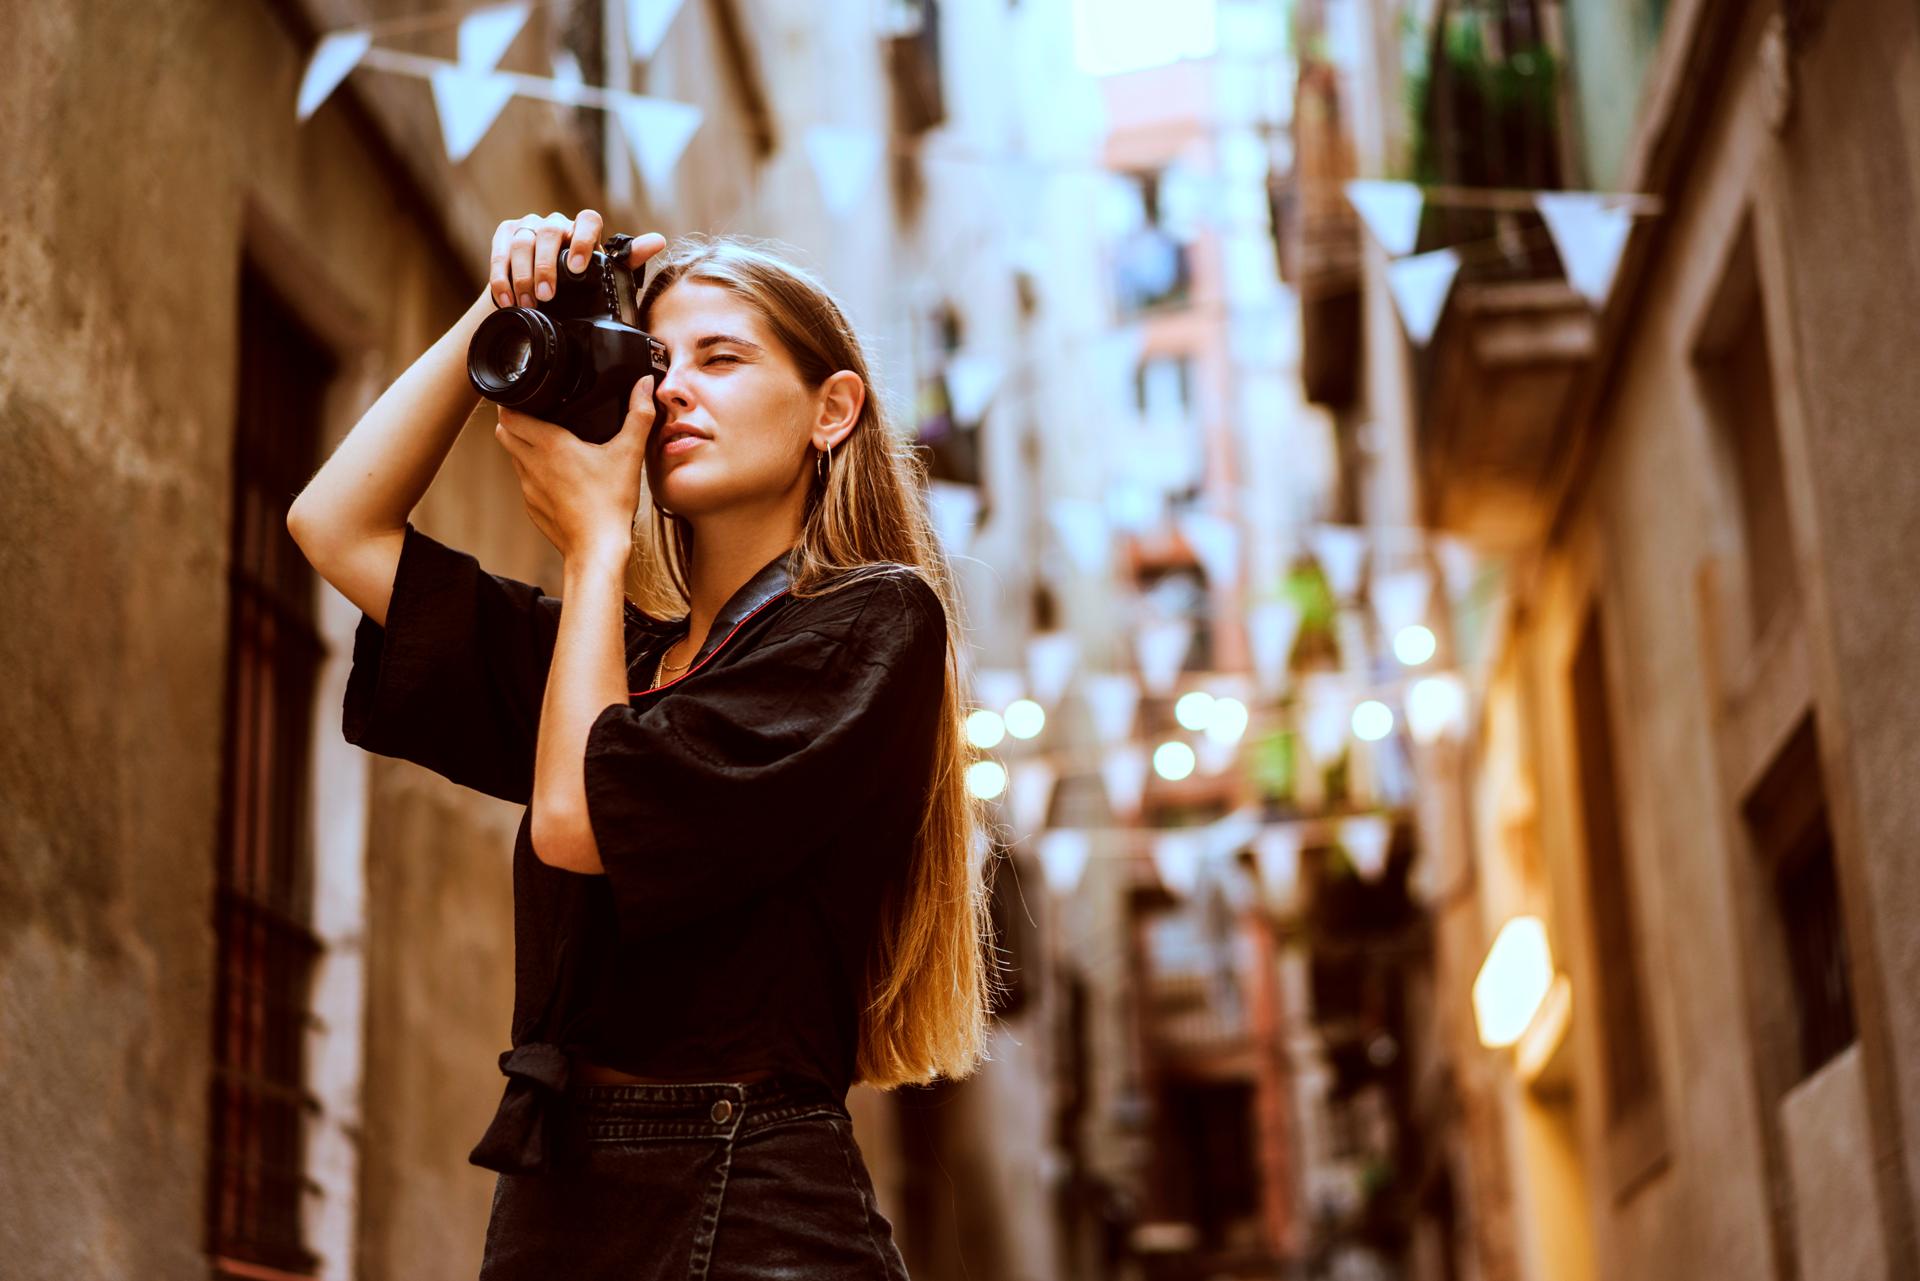
Leica Look Made Easy: How to Achieve the Iconic Style with Your Own Camera
Discover the Secrets of the Leica Look ✓ Tips on Equipment, Camera Settings & Post-Processing ✓ Including Checklist Download
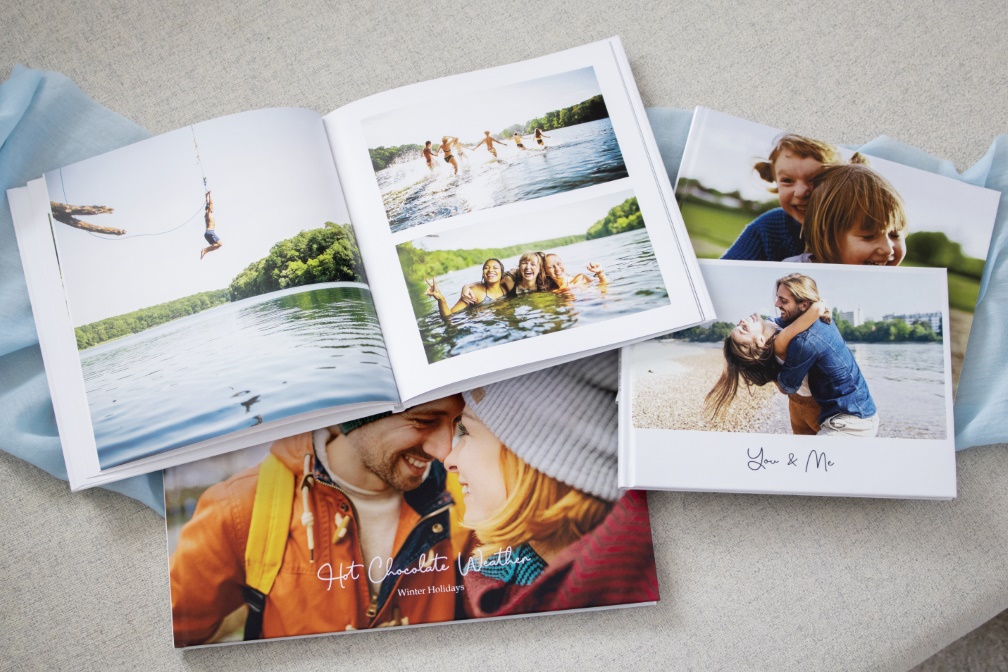
Design a Photo Yearbook with ifolor and Eternalise Your Memories
Let yourself be inspired by our tips and design ideas and gather together all of your most wonderful moments in a photo yearbook from ifolor.
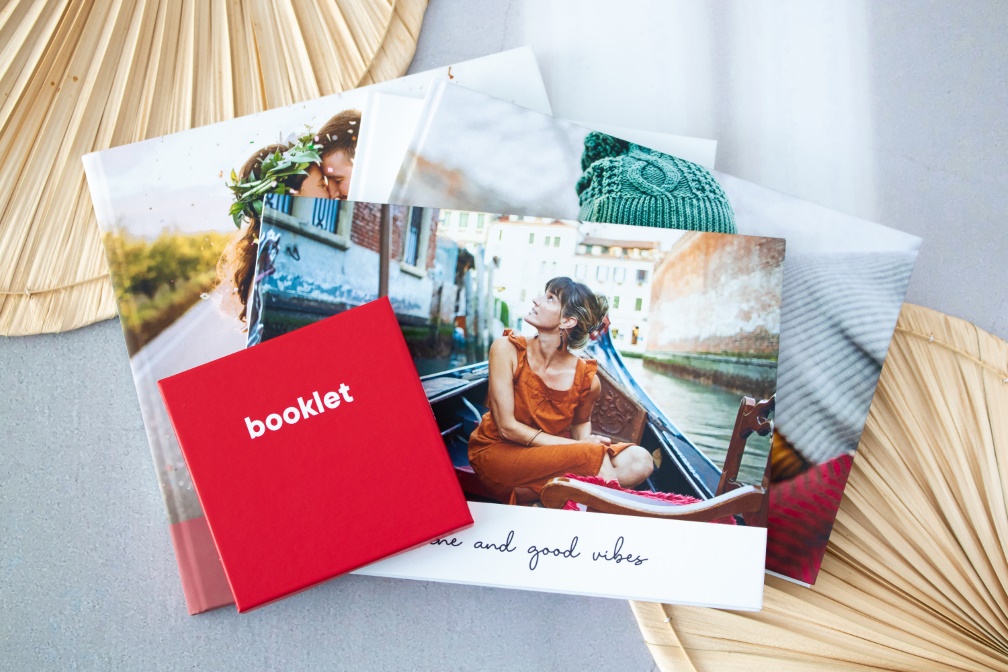
Photo Book Ideas: Highlights of the Year
Put your favourite memories of the past year in a best-of photo book. We will provide you with some tips and ideas for making a best-of photo book.
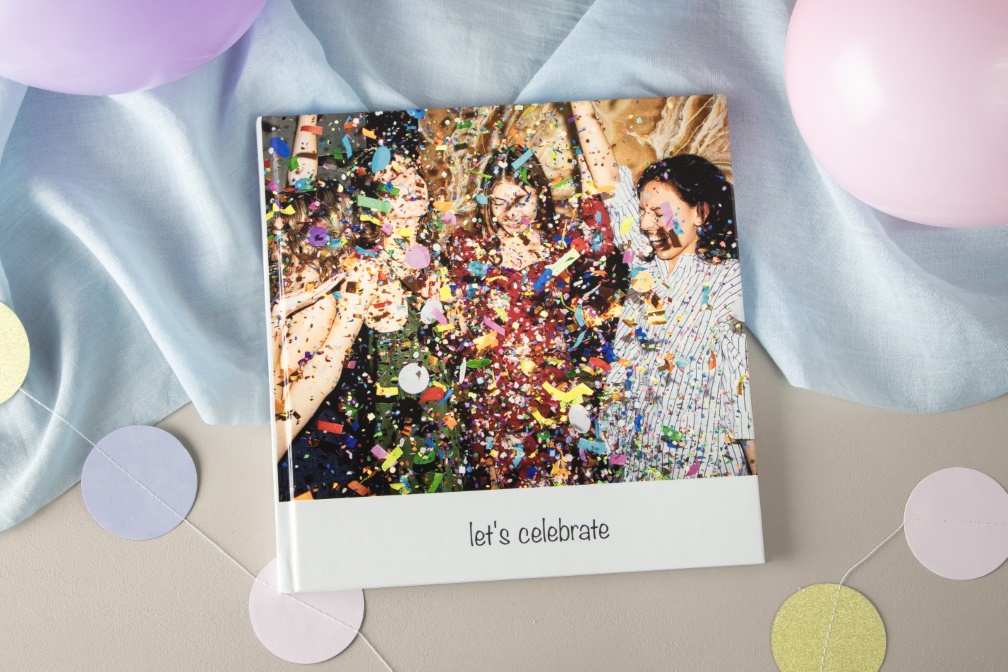
Designing a Party Yearbook
Design an individual photo book full of great party photos for you and your friends. We will provide you with some helpful tips on how to make a great keepsake.

New Year's Eve in Switzerland: The Best Cities to Ring in the New Year
New Year's Eve 2024: Switzerland’s top places to ring in the New Year

The Most Beautiful Swiss Places for a Magical Advent 2024
Discover the best Swiss locations for festive family outings during the Christmas season with ifolor.
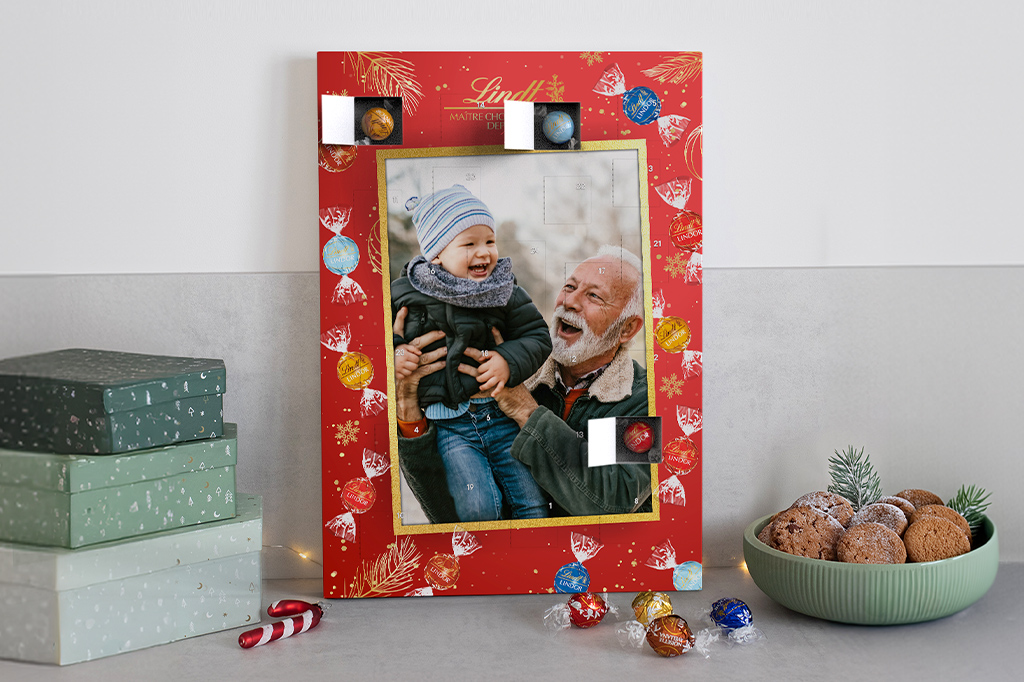
Personalised Photo Advent Calendar with Lindt chocolate
Sweeten the pre-Christmas season for your loved ones with a personalised photo advent calendar filled with delicious Lindt chocolate. Order now!
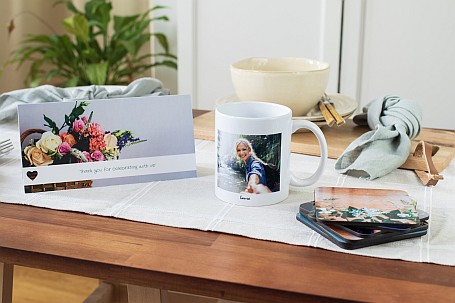
Create place cards yourself
Classic photo cards, modern square prints and original photo mugs: With ifolor photo products you can design creative and unique place cards. Try them now!

Simply Saying Thank You
Thank your loved ones with individually designed thank you cards. You could send a thank you card after a big party, moving house or to simply show your appreciation.
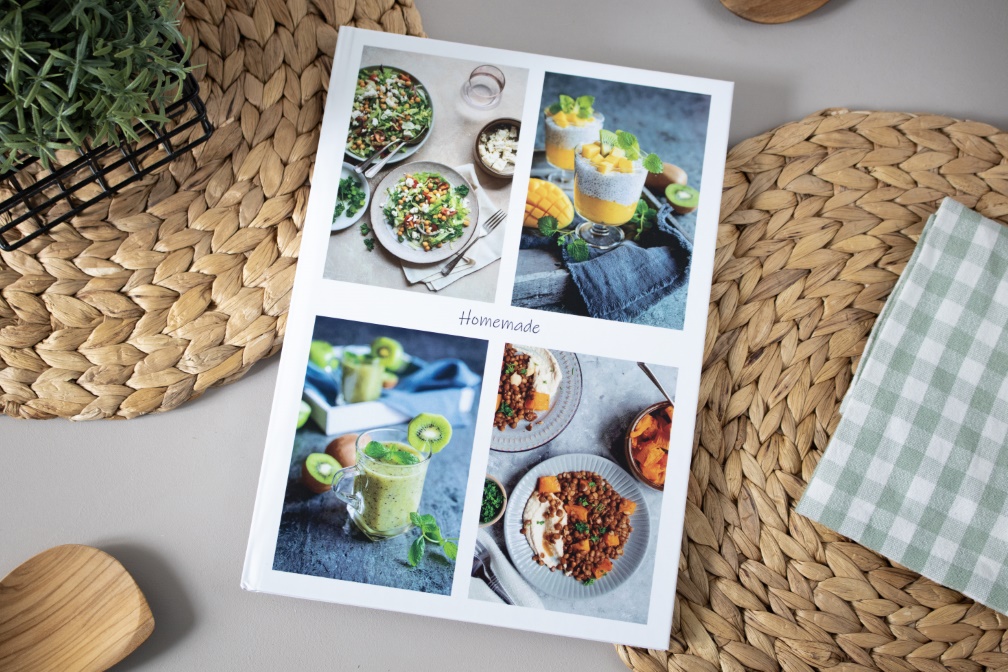
Designing Your Own Cookbook
You can design your own individual cookbook with ifolor, where you can add all your favourite recipes with photos.
Capturing Holiday Memories for Eternity
Unique holiday photos are a beautiful reminder of your trip. We’ll bring out your creativity and show you how to take beautiful holiday snapshots with some simple tricks.
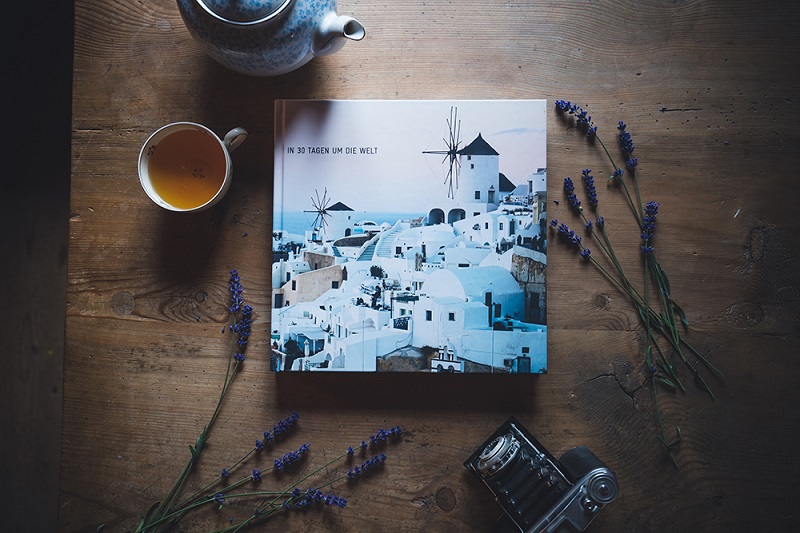
Lasting memories: Pro Tips for Designing a Travel Photo Book
Instagram pro Martina Bisaz puts together 7 tips on how you can make the most beautiful photos from your trip last forever in a great photo book
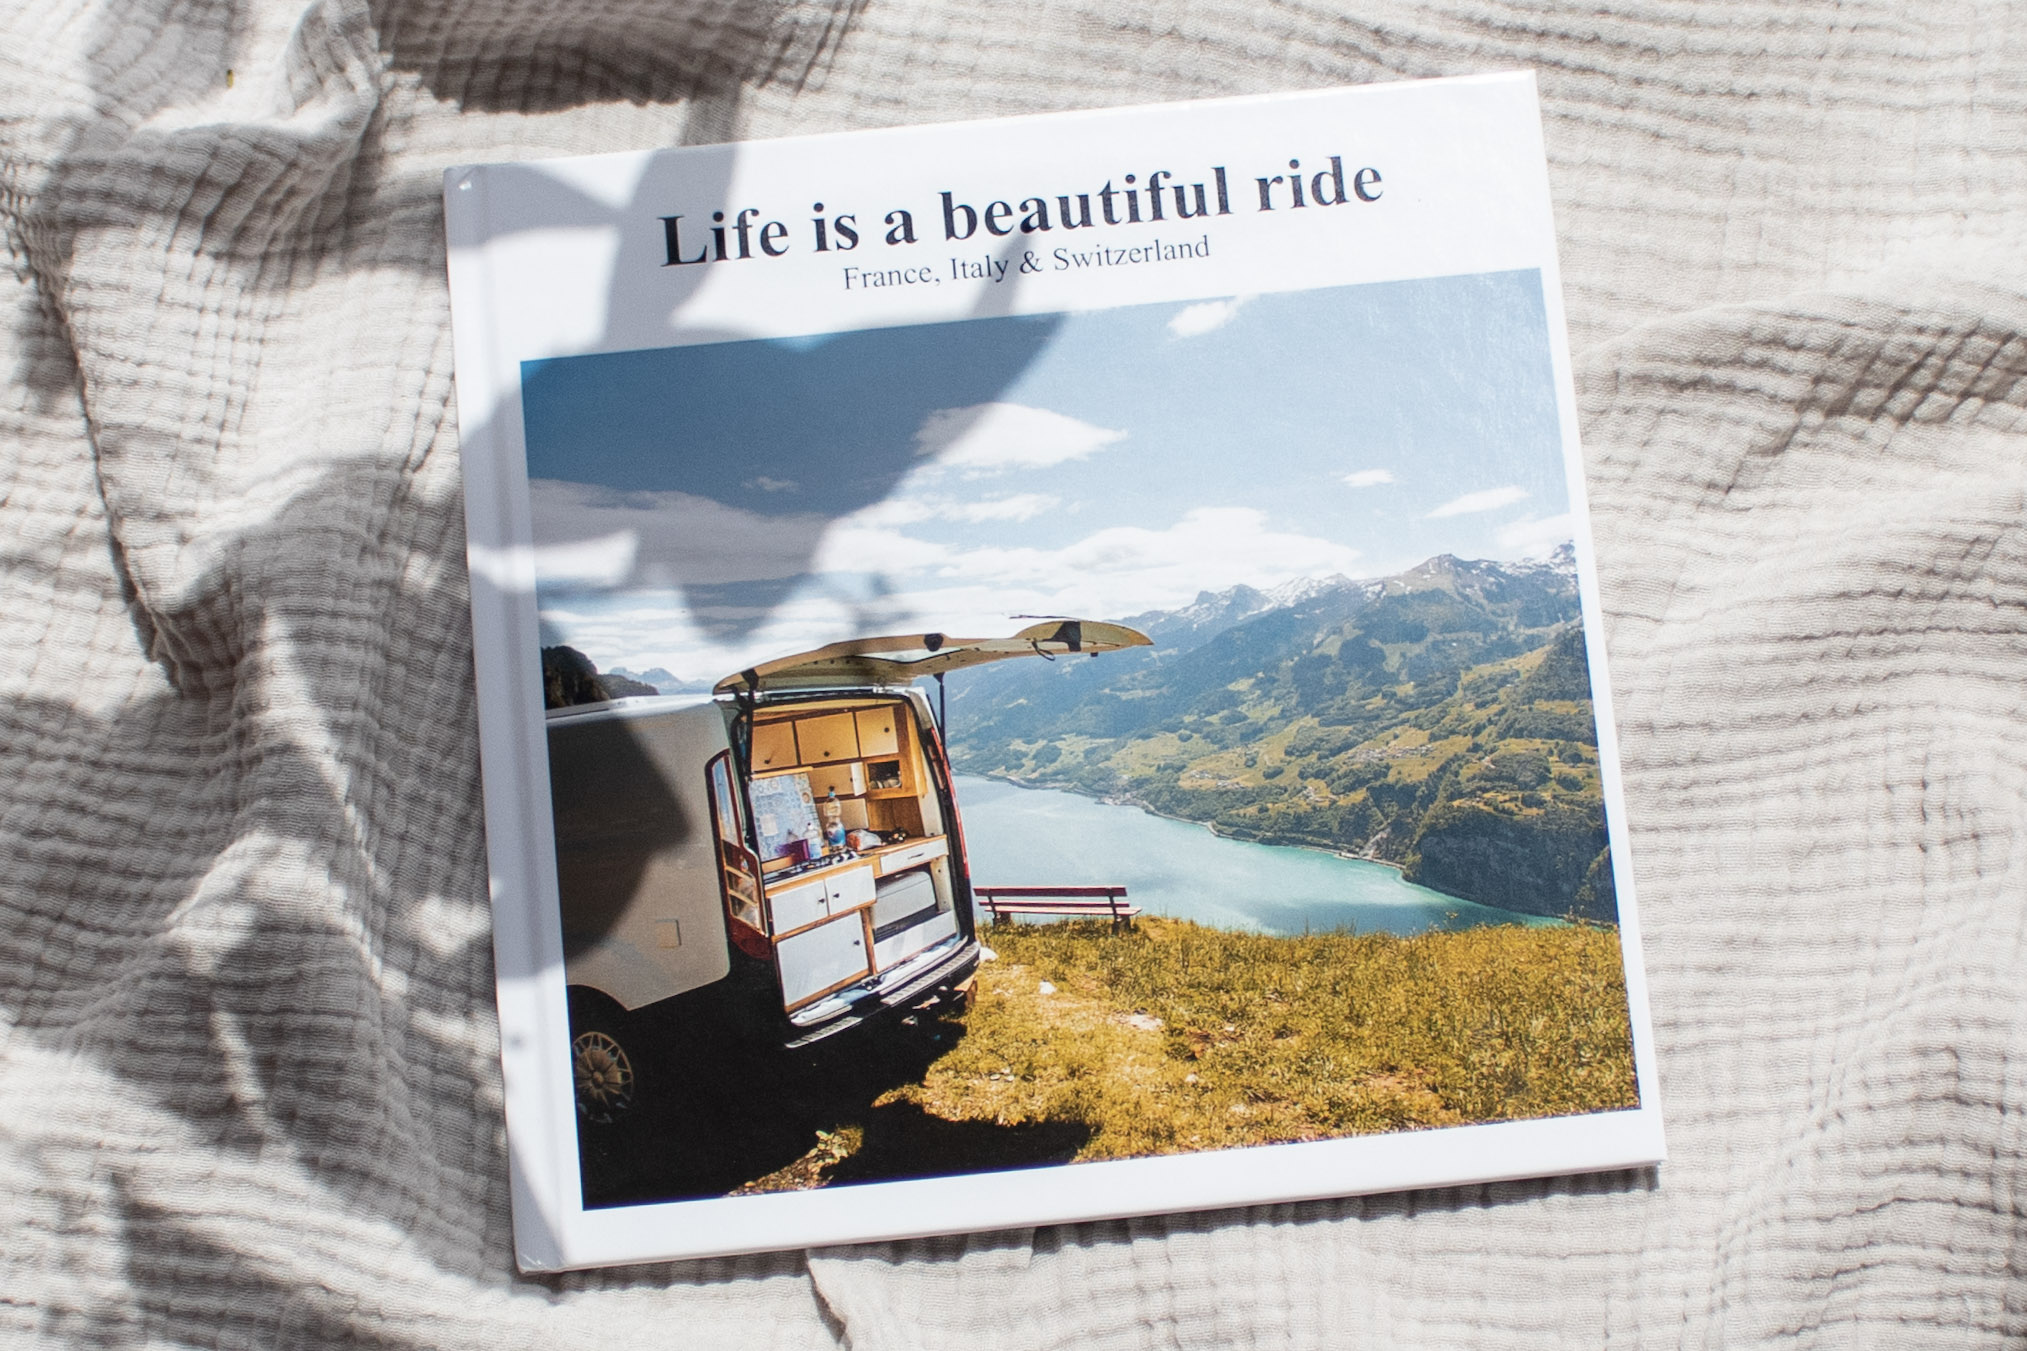
Ideas & Tips on Designing a Holiday Photo Book
Each and every holiday is a unique experience. We will show you how to individually design your own holiday photo book full of your favourite photos.
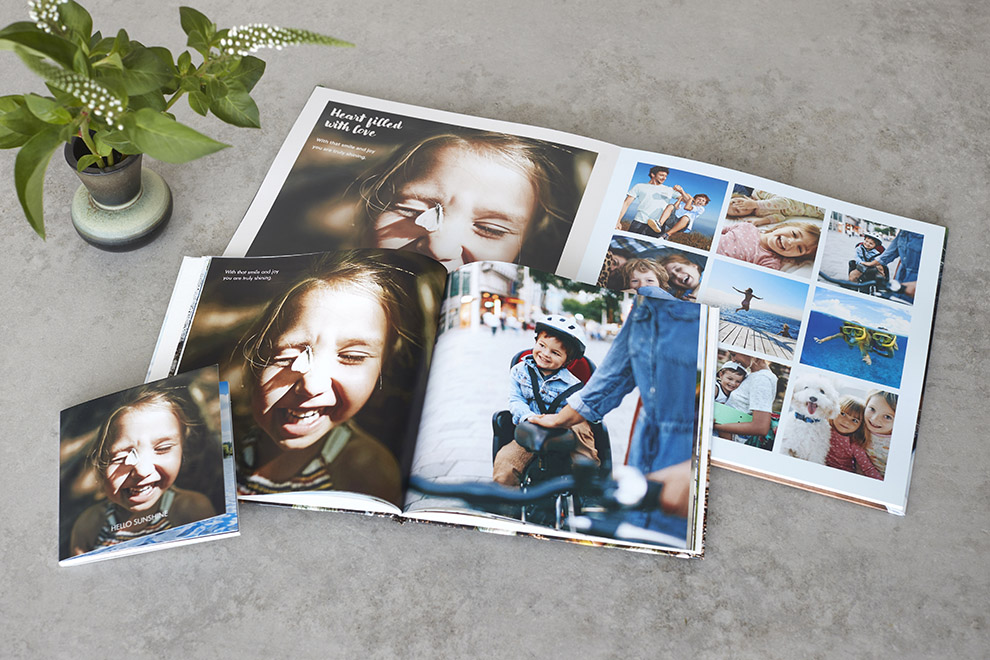
Unleash your inner designer:
Ever wondered what kind of epic photo book you could whip up in just 15 minutes? Or maybe you're ready to dive into an hour-long creative frenzy? Compare these three options and choose the best one that’s right for you.
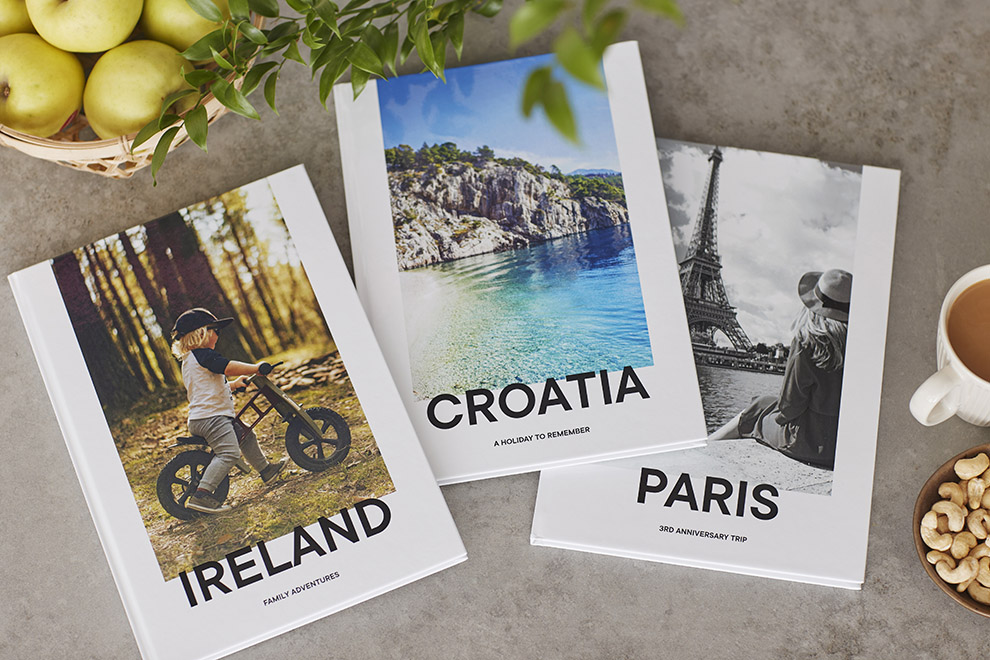
How to create the perfect travel photo book from your holiday photos
How would you like to create the perfect photo book that captures the highlights of your trip? Design a travel photo book that is just as unique as your adventures. Hands down the best souvenir, a photo book captivates viewers with every detail.
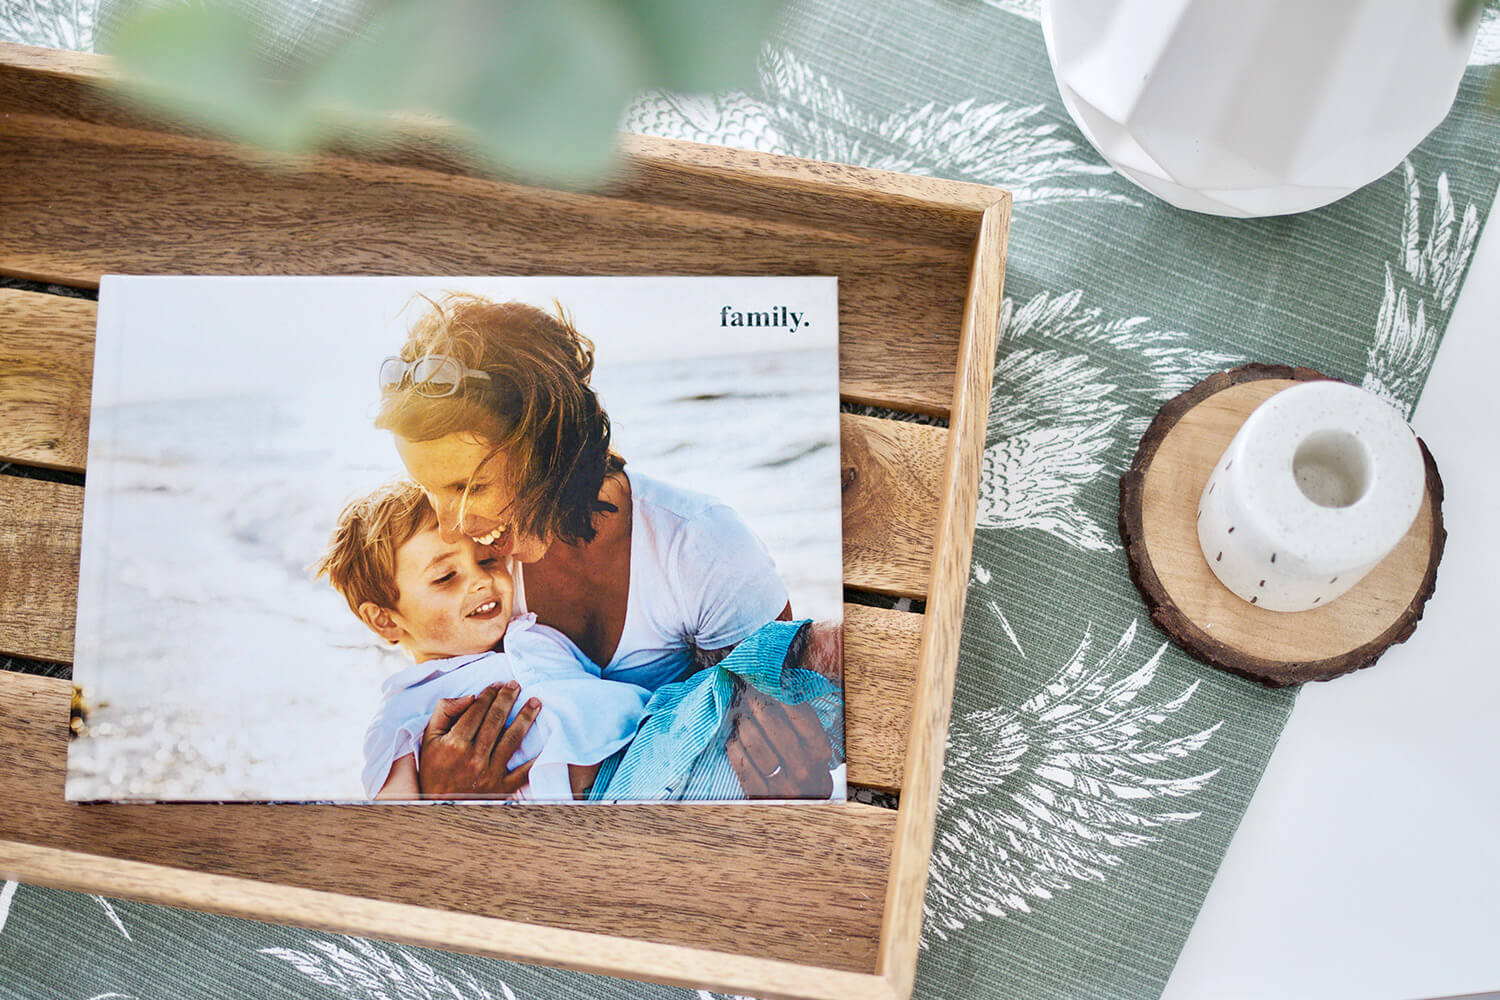
Family Photo Book
Use our creative photo book design tips to create a unique family yearbook full of memories to share with your loved ones

First impressions count: tips on taking a professional photo for job applications
In this blog post, ifolor shares expert tips and tricks on taking the perfect professional headshot photo to leave a lasting impression. Learn more here!
From film to photo or from photo to film
A film that nobody watches is nothing but a pile of celluloid.” I would like to add to this: “Photos that only exist in the computer as a file are just digital clutter; only once they are transformed into a real photo product that you can touch do they gain meaning, and only with the delivery of the finished photo product is the photographer’s mission fulfilled.
