inspired by Martina Bisaz
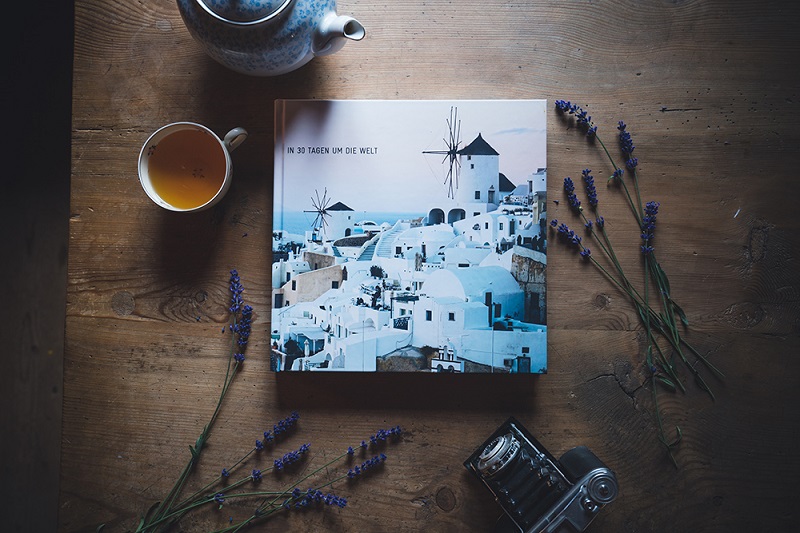
Lasting memories: Pro Tips for Designing a Travel Photo Book
Some time ago, I was lucky enough to be able to travel around the world. The trip unfortunately only took a month and as a result I had a very short but intensive time in every country. I took as many photos as possible in order to be left with lots of vivid memories. Nowadays, we mostly look at photos on digital devices. Pictures accumulate on hard drives and “gather dust” there. That’s a real shame. There is nothing more wonderful for me than seeing my photos printed out – be it as a picture on the wall or in a photo book. This kind of book is a bit like a travel documentary, where the memories come alive again every time you browse through it.
I have therefore decided to create an ifolor Photo Book Premium Photo Paper out of my round-the-world trip photos. This version has a special binding so that the pages lie flat when open. As a result, you can let a photo run wonderfully over both pages without a piece of the picture disappearing into the book fold.
I am really impressed with the quality of the book. The surface with a slightly grainy structure is really beautiful, as is the matt cover I chose. The heavy photo paper also adds value to the book.
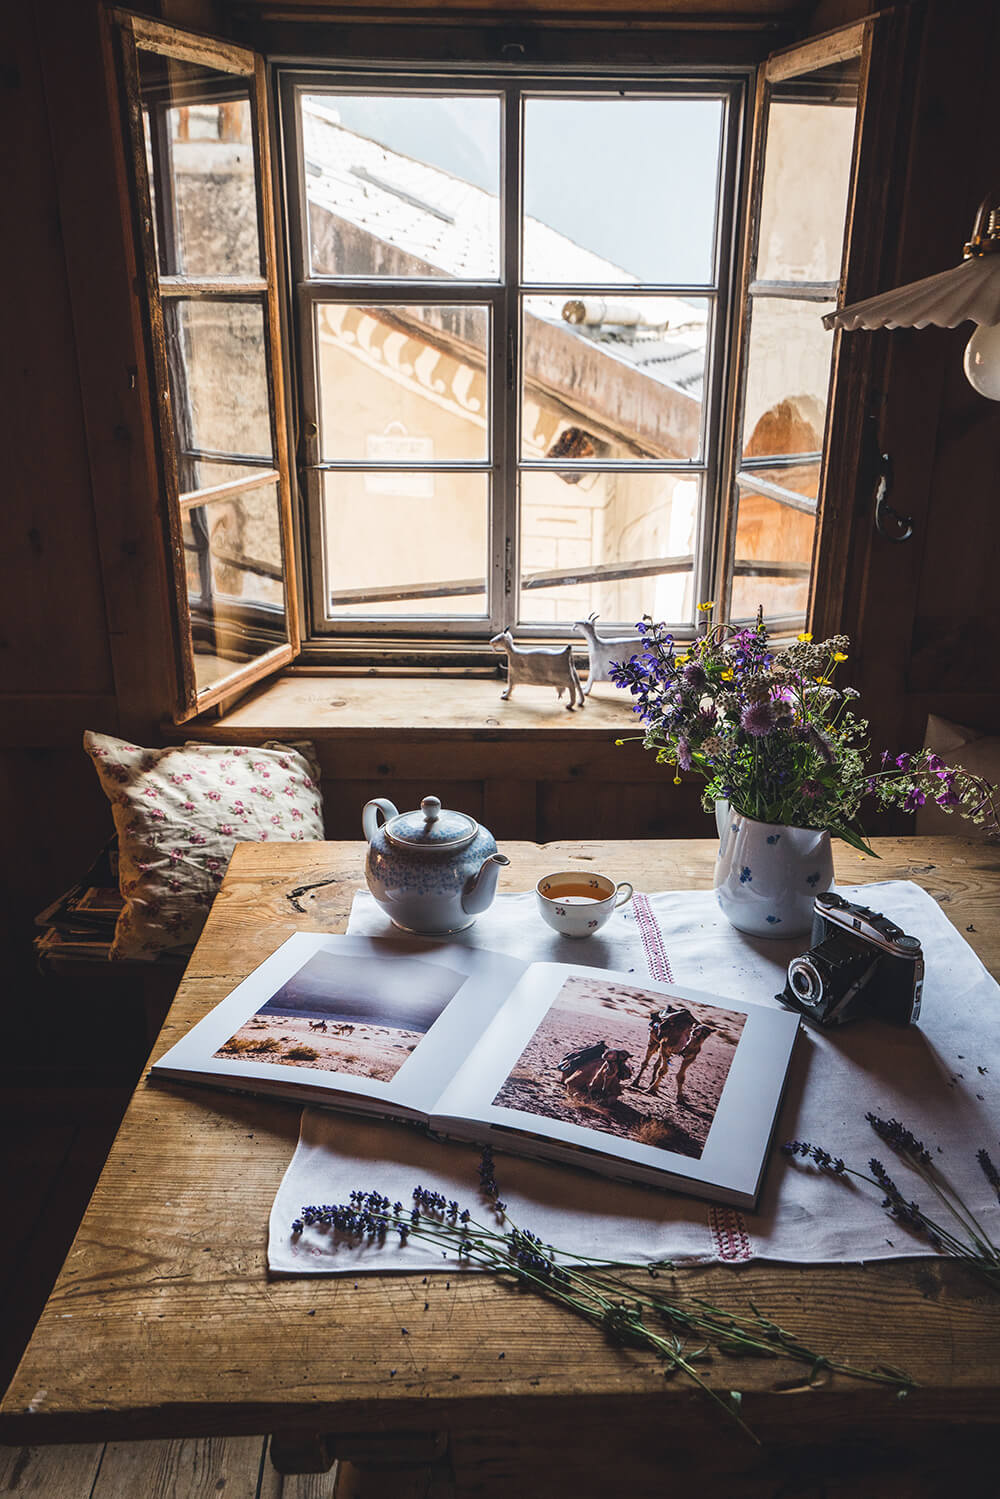
1. Preparing the photos
Before you start designing a photo book, you should have selected and edited all the photos needed for it. If you have thousands of travel photos on a hard disk, as is the case with me, sorting and editing the photos can be the most time-consuming part of the whole book production process. I have the photos sorted in chronological order in the travel photo book, this means my first travel destination appears first in the book. But this can of course be designed totally individually. For example, you can sort the photos by theme. By colours, animals, people or other motifs. If you have enough time, photograph the same motif once as landscape and once as portrait, if possible. Later you will then have plenty of freedom when it comes to designing your book.
2. Download ifolor Designer
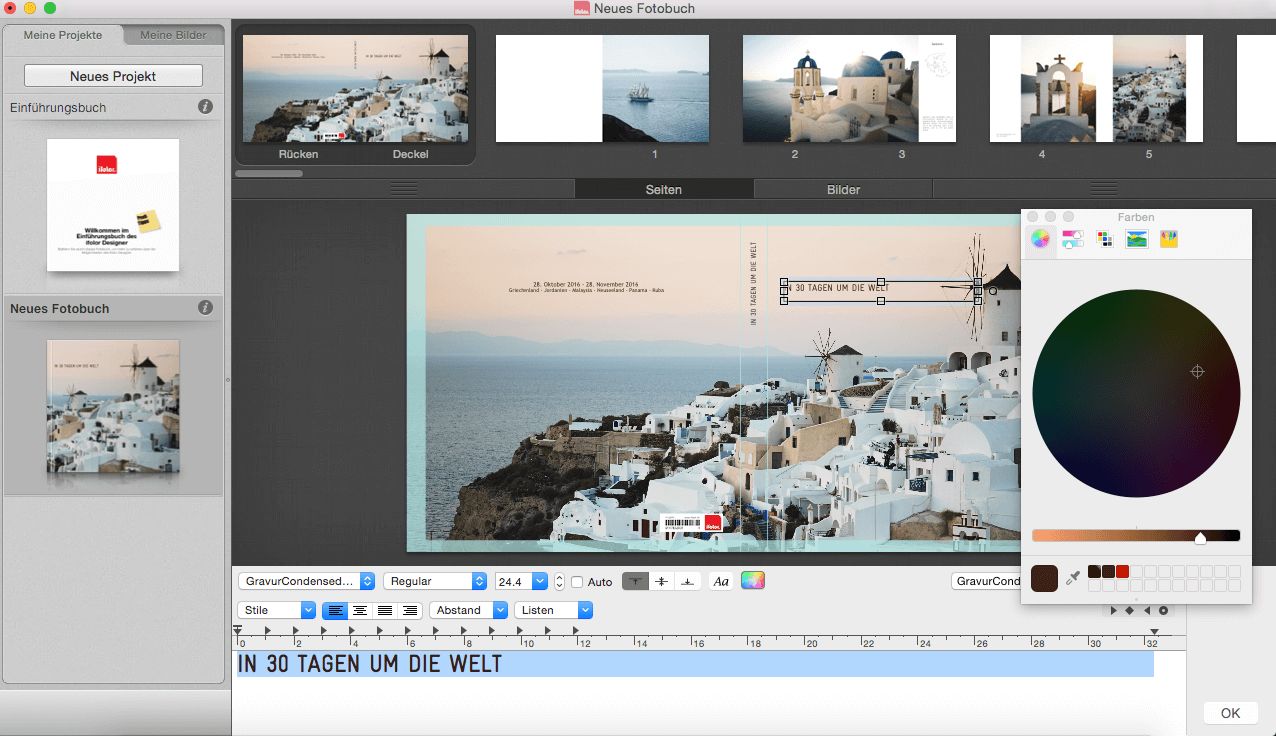
There are various options for where to design your photo book. For example, through the website, on the computer using ifolor Designer or even using the ifolor app on your smartphone. The advantage of doing it on the computer is that you can save the book and edit it again later. This is highly recommended as you should look at your work once again after a bit of time has passed. After a day or a few hours, you suddenly see quite a few things differently. In the first step, you should familiarise yourself with the app and find out what it can do. For example, I quickly noticed that I wanted to design my own photo book template and therefore created my own template. It was important to me not to use jet-black font. Therefore, I set up a text template with text size, font style and colour, which was consistent throughout the book. The text template is very convenient, as you don’t have to look for the font style and size with every new text box that you set up.
3. Positioning photos
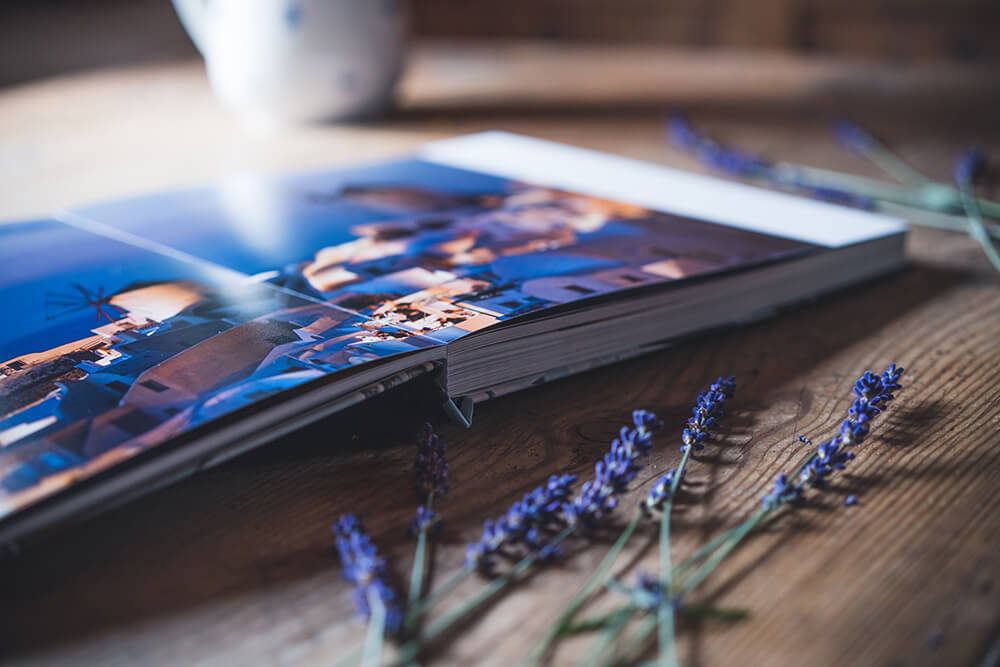
I’m a huge fan of flat inside pages. Make use of this special page feature and position your photos generously over two pages and the middle of the book. I have photos that I really love, which look much better printed big positioned over two pages. Come up with a specific system. You can very classically design every page in the same way, with one or two photos on each page. If you prefer a bit of variety, you should still make sure that the layout is repeated now and again, as designing every page differently can seem too busy and chaotic. I would avoid positioning photos at an angle or overlapping. This is a no-go for me, but ultimately also a question of taste of course. For me, the design should be simple without any fancy gimmicks. I always made sure that two photos positioned next to each other went well together in terms of the colour and theme.
4. Less is more
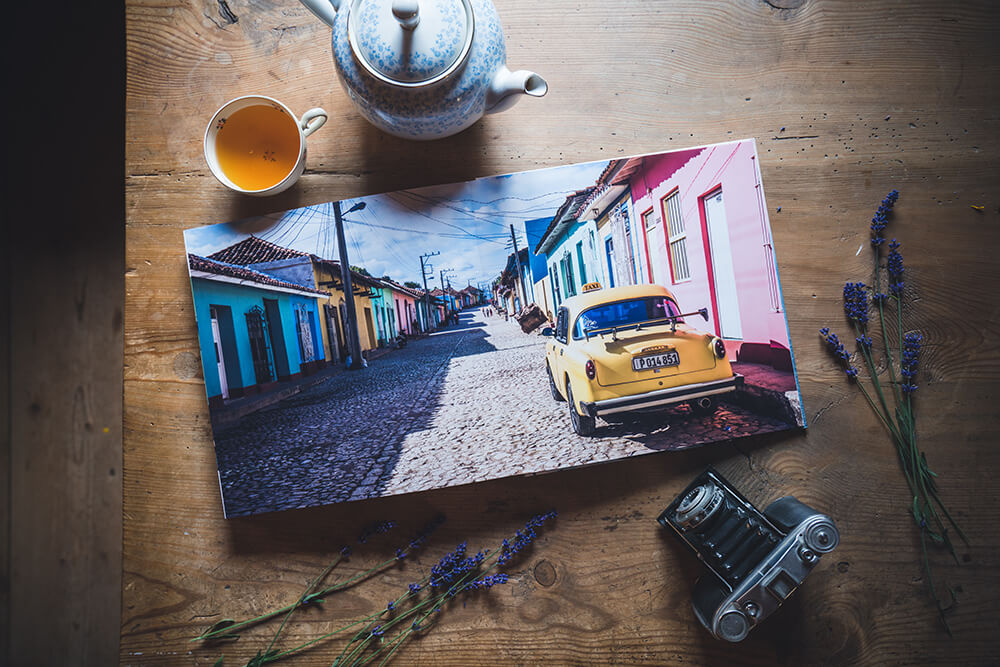
My motto is: less is more. A beautiful photo must be able to breathe. There shouldn’t be too many photos positioned on one page. Otherwise the individual photos no longer come into their own. I would rather add some more pages than pack as many photos as possible onto a few pages. You have to be strict with yourself when it comes to pre-selecting the photos and really only select the very best photos. I know that it can be difficult sometimes when you have so many photos and you’d love to use all of them. But the book simply looks far more elegant if you only consider a small selection of photos and then just show the best ones. As a result: kill your darlings.
5. Drawings, symbols & sketches
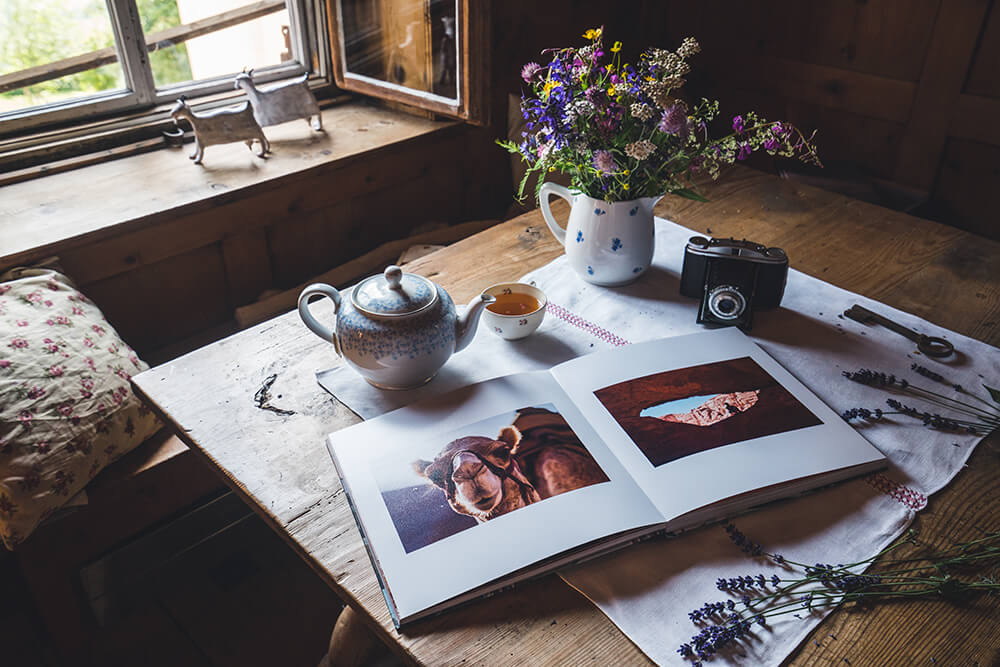
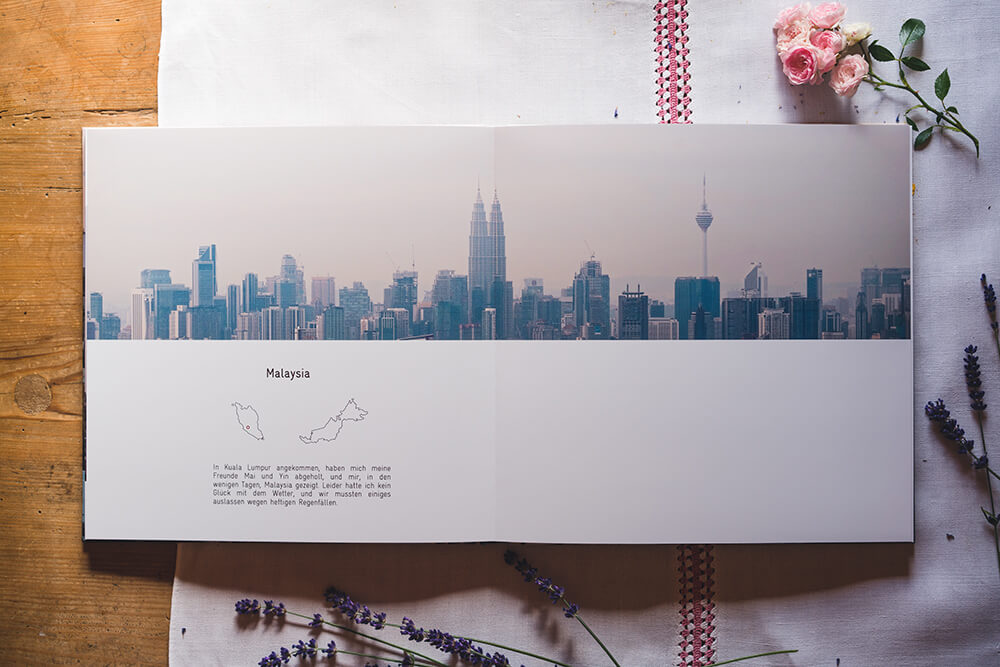
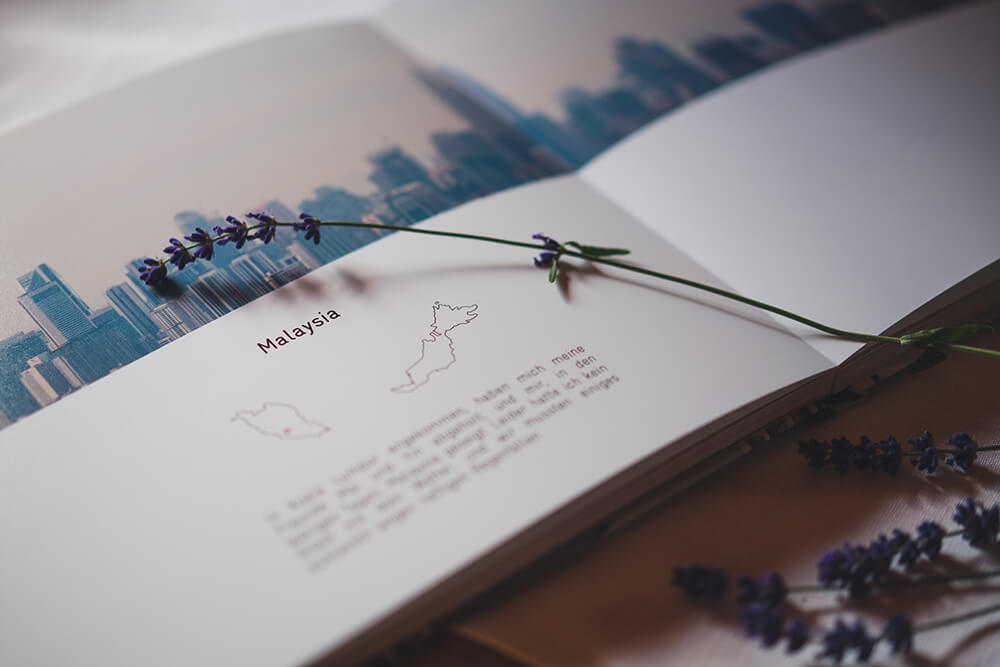
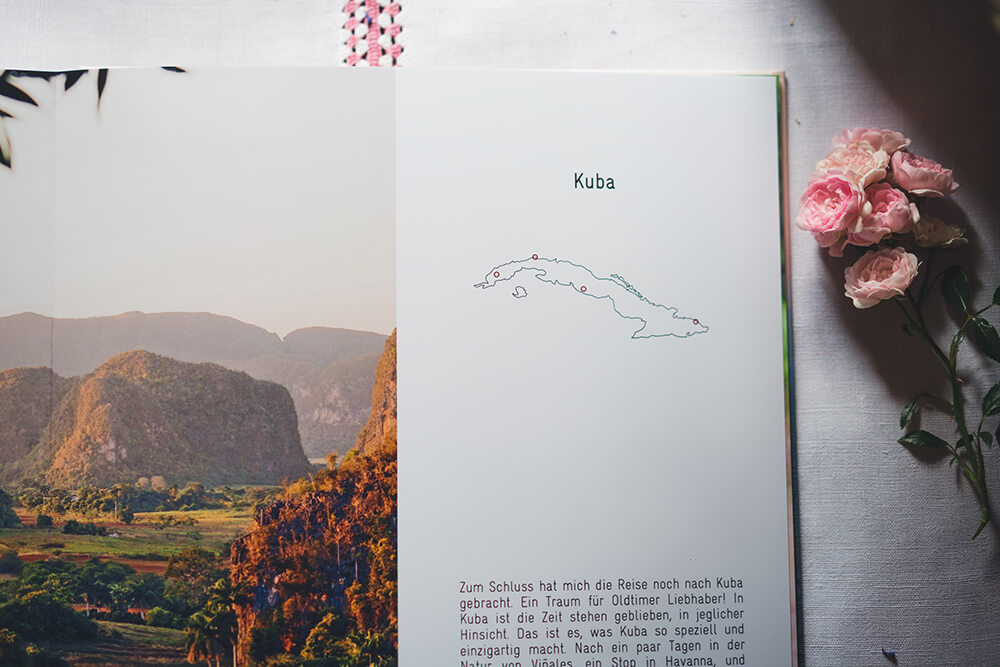
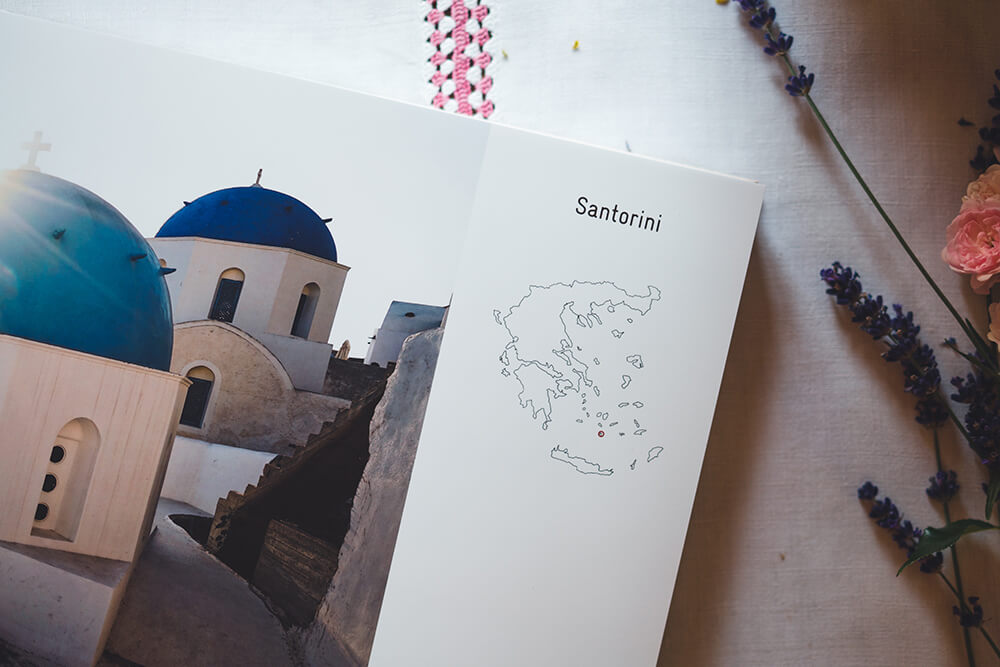
Just before I wanted to place my order, I had a flash of inspiration. I could in fact add a map outline for every country including a mark for the towns that I visited in the country. If I had had more time, I would have created the map outlines myself using Adobe Illustrator. But I didn’t have any more time for this and so I googled them and found what I was looking for. The images should be a png-file so that the background will be transparent. As a result, only the country’s contour line is really superimposed on the picture in the photo book. I downloaded the maps here: www.landkartenindex.de/kostenlos.
I made the red mark for the towns with a little “O” using a font with a round “O”. It can also be really lovely to scan in your own sketches or drawings and insert them as a picture. Making the photo book that bit more personal.
6. White pages for poems and quotations
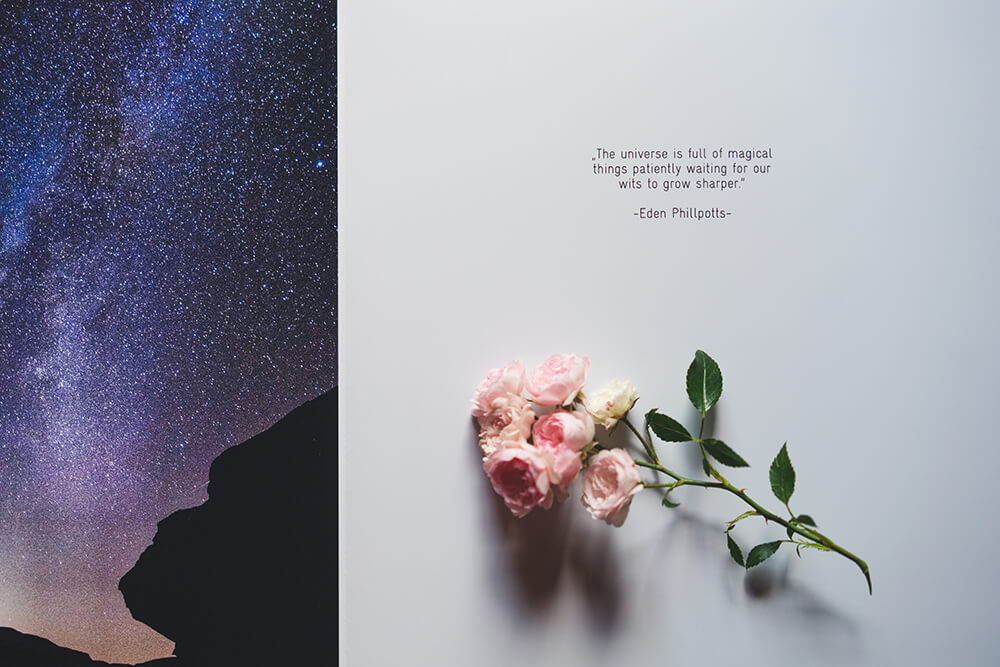
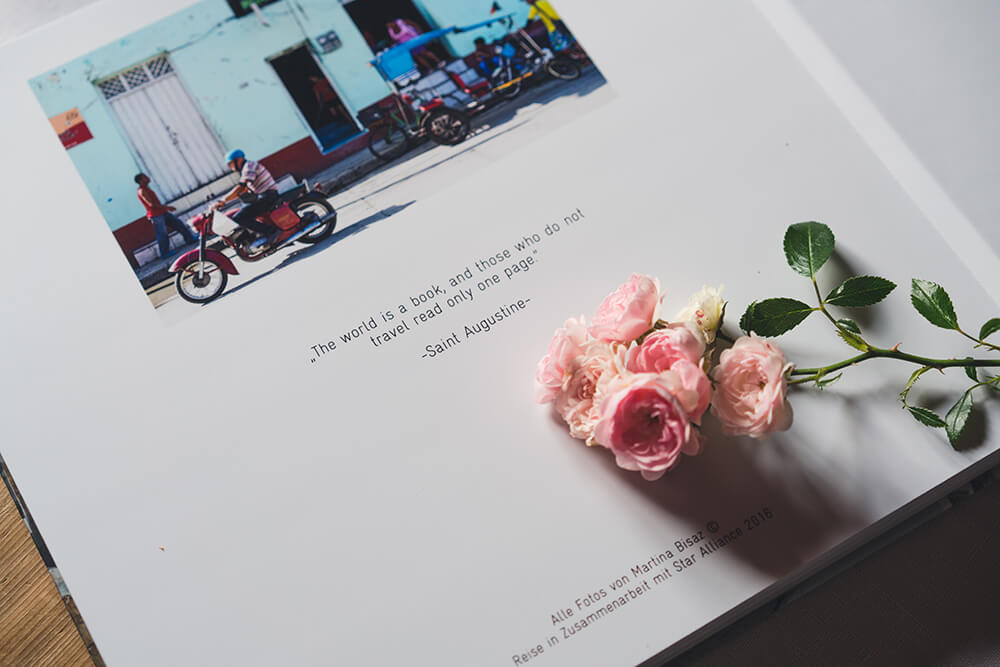
Every now and then, leave a page blank in between. This allows the eyes to rest for a bit. I used the blank pages for fitting quotations. If you have your own quotations or poems at hand, all the better. I googled the quotations and choose ones that I already knew and liked a lot. I’m not a great writer myself, which is why pictures speak more clearly to me than words. But you could also write about your trip in more detail. Then you would have a kind of travel diary.
7. The central theme
Try to establish a central theme throughout the book. Repeat certain schemes time and time again, for example a blank page with quotation or the order in which you arrange the photos.
Tip
Use the same font for the same type of text. I would not use any more than two different fonts in one book. You could, for example, use a different font for quotations or poems to slightly highlight the difference to the rest of the text. You should be consistent and continue the same scheme throughout the book. To give my book a noticeable structure I approached it like this:
- Picture captions: 12 pt, left-justified.
- General text: 15 pt, full justification.
- Quotations: 15 pt, centred.
All the pictures in this feature were taken by Martina Bisaz and protected by copyright.
© Martina Bisaz
Martina Bisaz
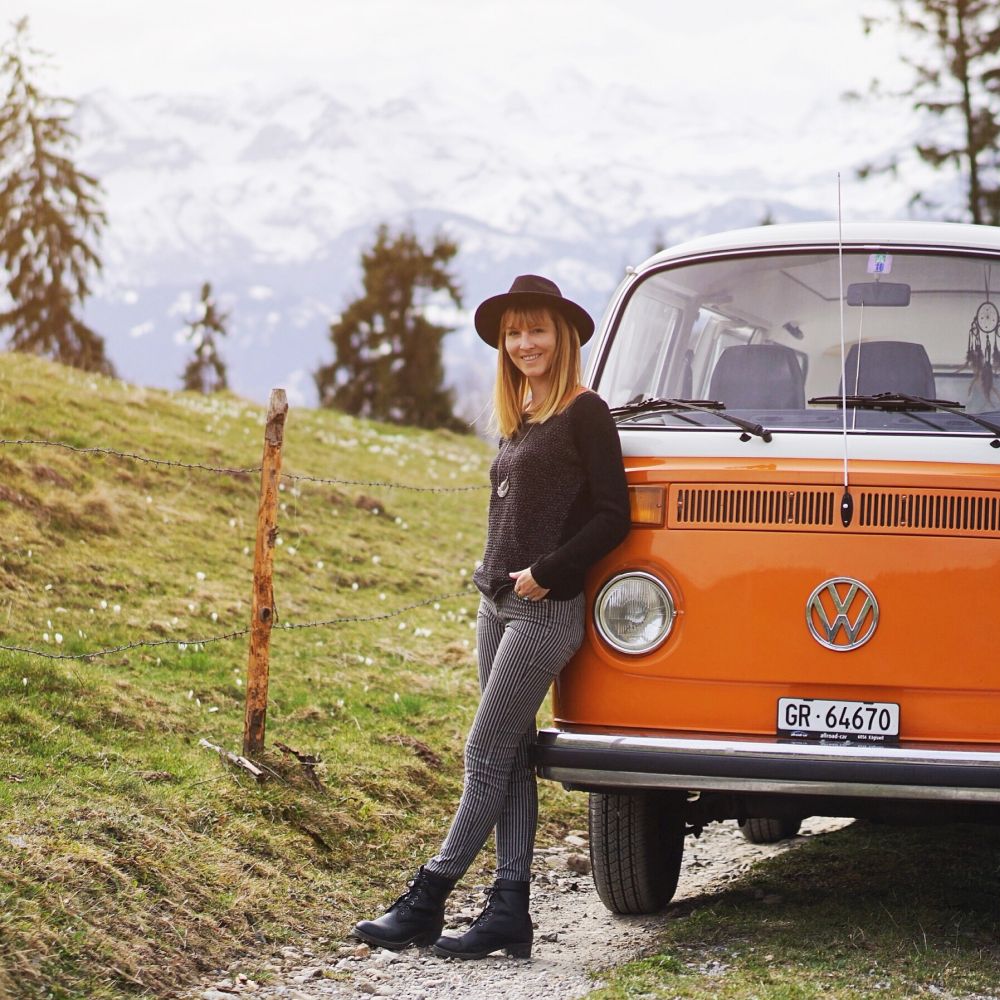
There is hardly any other Swiss person who has as many Instagram followers as her. Martina Bisaz, born in Grisons, impresses more than 275,000 followers with her landscape photos on the Instagram photo platform as kitkat_ch. The 42-year-old travels across Switzerland and all over the world in her vintage Fiat 500 and an orange VW bus. And as with Heidi, it can also be said of Martina that the mountains are her world. Photos of impressive snow-capped mountains, turquoise blue alpine lakes and misty mountain ranges are her trademark. Martina Bisaz quit her job as a scientific illustrator in 2017 and has been working as a freelance photographer and dedicating herself to her Instagram account since then. Martina used to write a blog about the world of photography and photo products for the inspire photo blog from ifolor every month.
