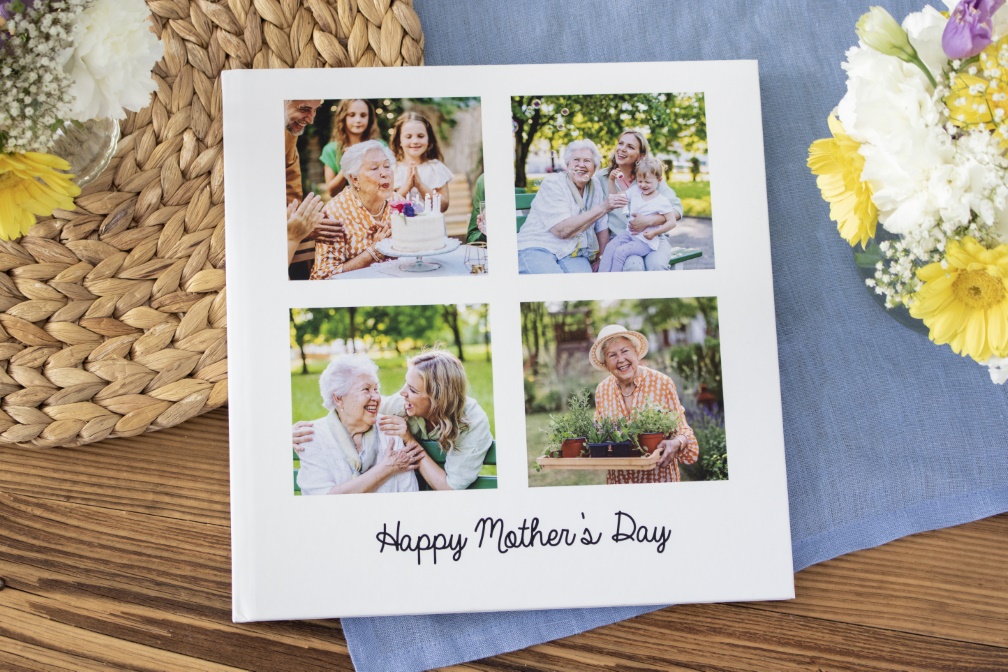
An Individually Designed Photo Book for Mother’s Day
Give the Gift of Shared Memories
Mum is the best! Mother’s Day is the perfect occasion to say thank you. Use this special occasion to thank your own everyday heroine. An individually designed photo book is a great way to say thank you.
We’ll show you how to individually design your own photo book full of favourite memories and photos of you and your mum together.
Looking Back at Fond Memories
To begin, find as many recent and old photos as you can. Whether it’s the first Polaroid of you together, holiday photos of you and your siblings or other family snapshots choose the photos with the most sentimental value. Photos of your first baby shoes or other fond memories are also suitable for your individual photo book. You could also consider digitising an old drawing you drew of you and your mum when you were a child. Once you’ve chosen all your photos, you can choose to either put them into a chronological order or into categories. This will help during the design process.
Tip
Old analogue photos can be digitised in no time at all with your smartphone. We'll show you how it works in our guide on how to digitise old photos. Click here to find out more
Our Design Tips for Your Individual Photo Book
You can use the online Design Editor on the website, the ifolor App for Android and iOS or the ifolor Designer for Windows and Mac to design your own individual photo book. On the ifolor Designer there is a wide range of design options available to choose from. You can create and save your own templates, choose where to put placeholders for images and text and so much more. You can also save your progress at any time on the Designer and continue working on your photo book for Mother's Day at any time.
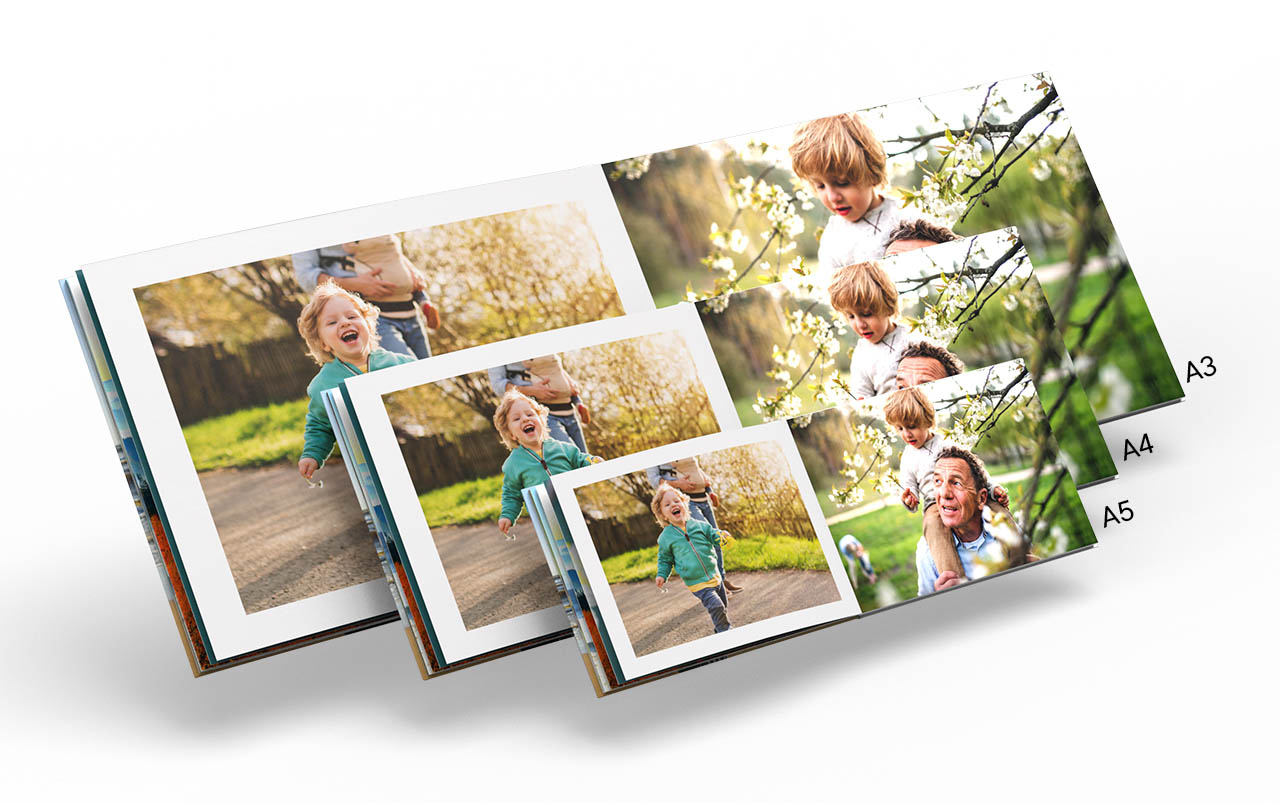
Photo Book Premium Photo Paper
This photo book is a great choice for your individual Mother’s Day photo book. It has a matte hardcover which gives it an elegant look. The pictures are printed onto high quality photo paper and the pages are layflat pages.
Photo Book Deluxe
This is our bestseller when it comes to photo books. It is available in various layouts and with up to 180 pages. Your photos will be presented in rich colours on digital printing paper and the hardcover with an adhesive binding will hold your favourite memories securely together.
Tip 1: Stick to Your Main Idea
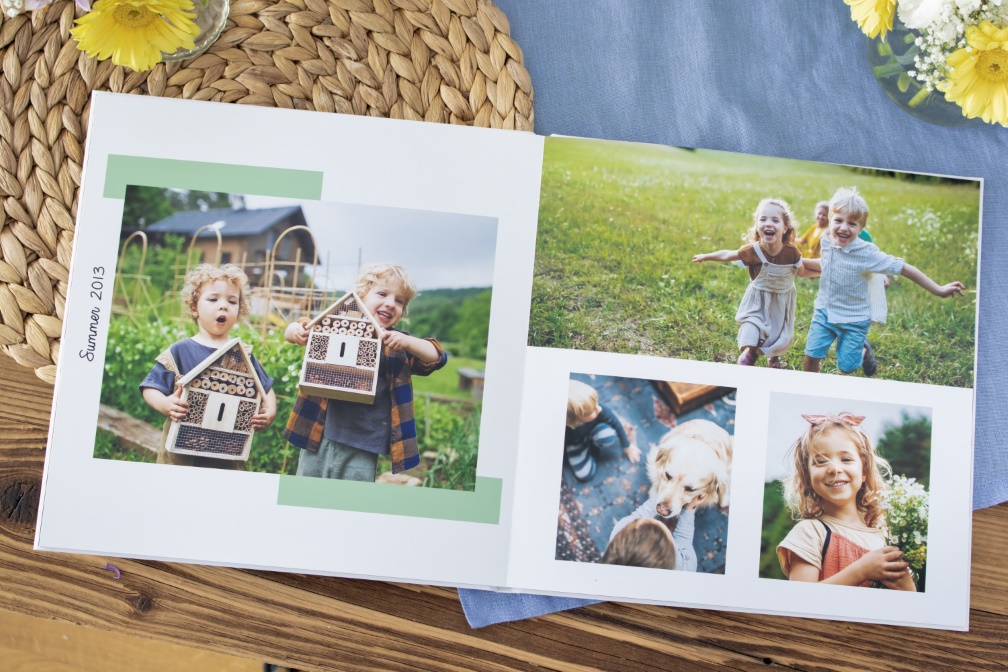
Now that you’ve decided on a photo book and gathered your favourite photos, it’s time to fill those empty pages. A classic layout for your individual photo book is a timeline. This is a great way to look back on all the good times you’ve had. You can also divide your photo book into categories such as favourite holidays or photos of family celebrations. It’s important that you use the same layout throughout and stick to one main idea when you are designing your individual photo book.
Tip 2: Add a Little Note Saying Thank You
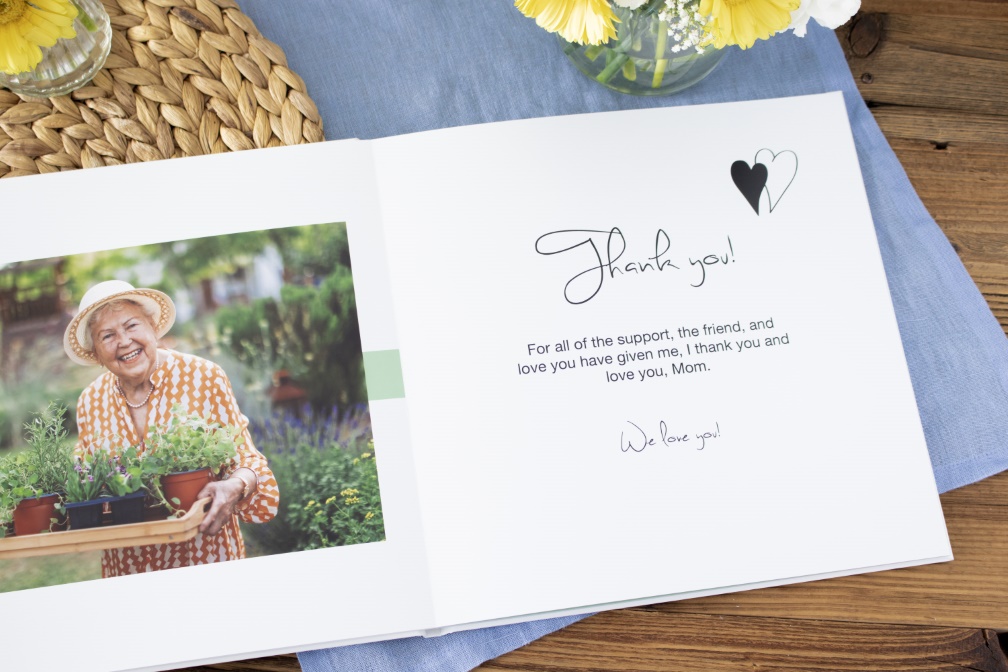
Express your gratitude with a few kind words right at the beginning of your photo book. It can be personal words, a lovely poem or a few lines from a song that you both enjoy. Try using 2 different fonts on your little note to make the design really stand out. For example, use fonts with an italic style for the heading and when adding your name and for the main body of the text use a sans serif font. To add textboxes simply click on the "Layout" tab on ifolor Designer and double-click on the textbox to view various editing options.
Tip
Add your name or a small personal message to say thank you by hand to give your individually designed photo book a more personal touch. When adding a personal message to your photo book it is a good idea to use a permanent marker that does not smudge. You can either leave some pages blank or make sure to leave enough space to add a personal message whilst designing your individual photo book.
Tip 3: Don’t Add Too Many Photos
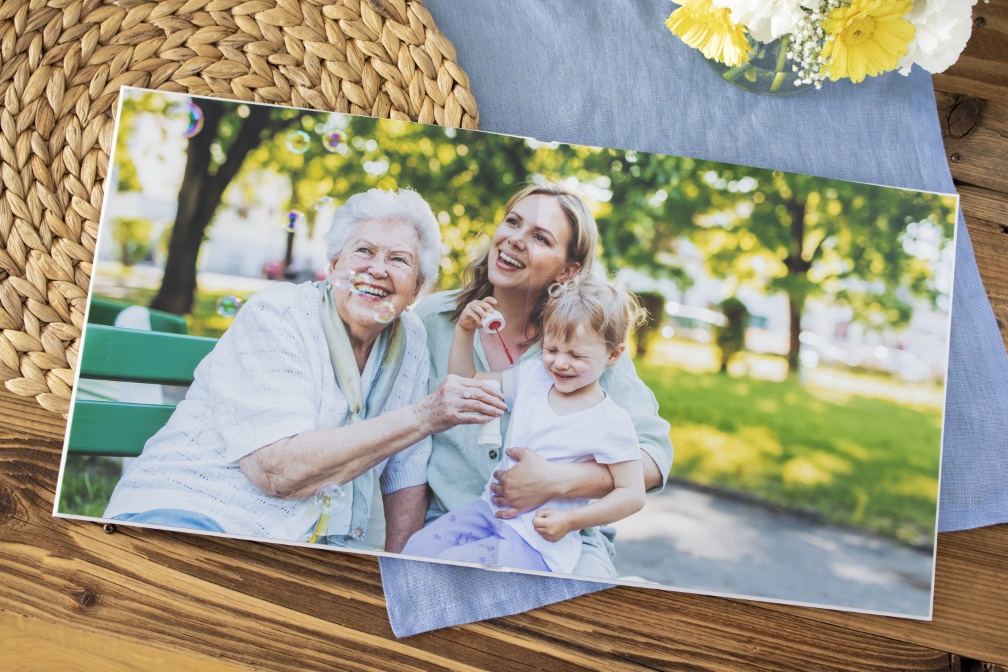
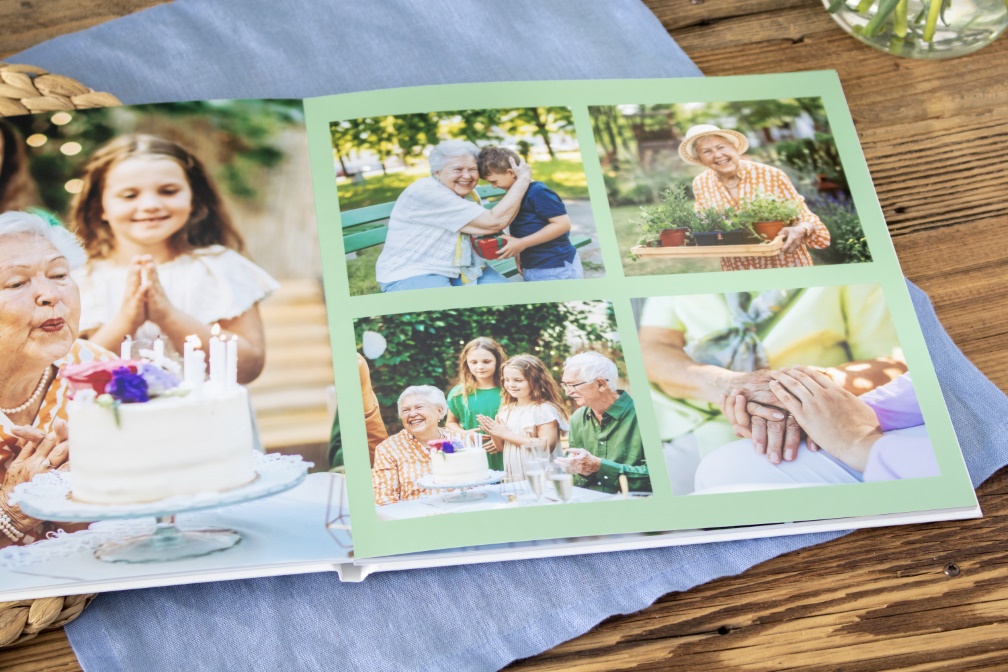
Whilst designing your individual photo book for Mother’s Day it is a good idea to follow the important rule of less is more. Don’t add too many images on one page. Selecting just a few photos will give your individual photo book a great look as it will not look too busy. You can even add a single photo in landscape format and have it spanning over two pages. This is a fantastic idea for your favourite photos of you and your mum or grandma.
Tip 4: Get Creative with Different Backgrounds
Whilst designing your individual photo book use our many designs or add your own individual design in a just a few simple clicks. You could use your mum’s favourite colour or type of flower for the design. If your mum’s favourite colour is red, then you could use this colours as the design for your individual photo book. You could use the colour for the whole page, part of the page or just as a border to add a bit of colour. If you would like to add your own graphics and backgrounds, you can simply do this by clicking on ‘’Add’’ in the Design Mode and then choosing an option.
Use black and white photos of you and your mum or your siblings and add them to a coloured background for a striking design. In addition to a black and white filter, the ifolor Designer also offers other great effects for photo editing.
Tip 5: Add Little Anecdotes and Sayings
Add some personal touches to your individually designed Mother’s Day photo book with headings, dates, places and quotes. Make it even more personal by including little anecdotes and a small message to say thank you. Adding little anecdotes are a great way to reminisce about fond memories and to make your loved one laugh with joy about the good times.
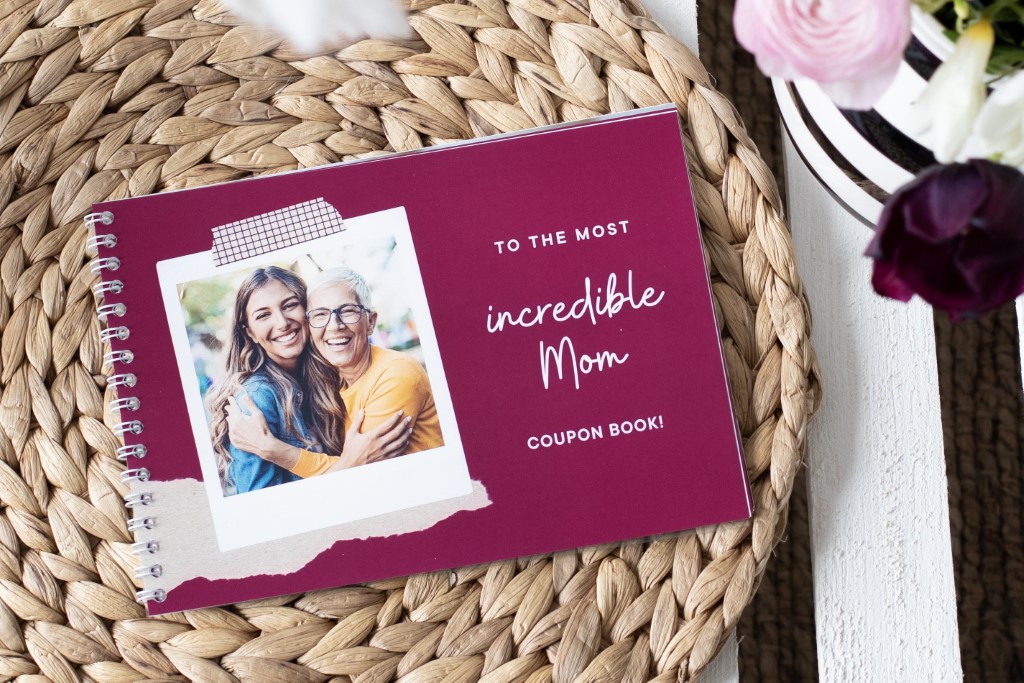
Mother's Day Gift Voucher Book
Turn your individually designed Mother's Day photo book into a gift voucher book. Surprise your mum with some vouchers for great days out that you can enjoy together. We'll show you some fantastic design ideas for your individual gift voucher book.
Tip 6: Use Different Fonts
Use different fonts and text sizes to add a bit of variety to your individual photo book. For example, use a different font and size for your headings and for your main text. However, don’t use more than three different styles, otherwise your book will appear too busy. You can add your text to textboxes that look like labels, which will make your text stand out. These can be added to some background designs. To do this, add a black area to your background and then click on the corners with your mouse to change the size of it. Then insert a textbox with white lettering, place it in front of the label and adjust the font size. You can change the individual elements by clicking on the image. Under the stack symbol you will find ‘Arrange placeholders’. Here you can decide which elements will be brought to the front or set behind the design.
Creative Gift Ideas for Mother's Day
Get inspired by our tips and great ideas for individually designed gifts and personal mementos for Mother’s Day!
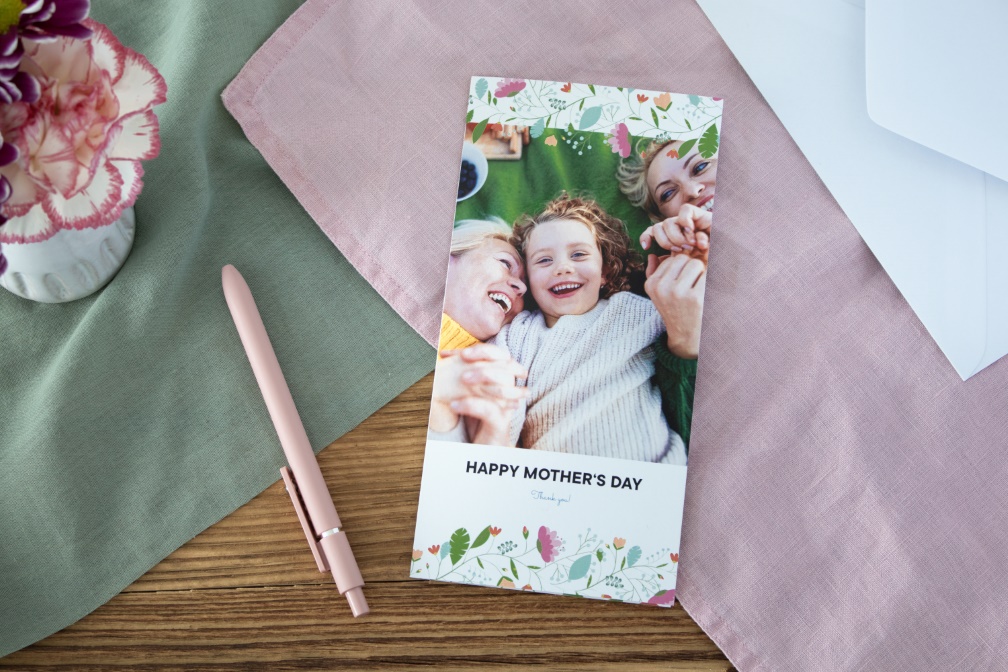
Design An Individual Mother’s Day Card
Design an individual Mother’s Day card with our creative design ideas and tips.
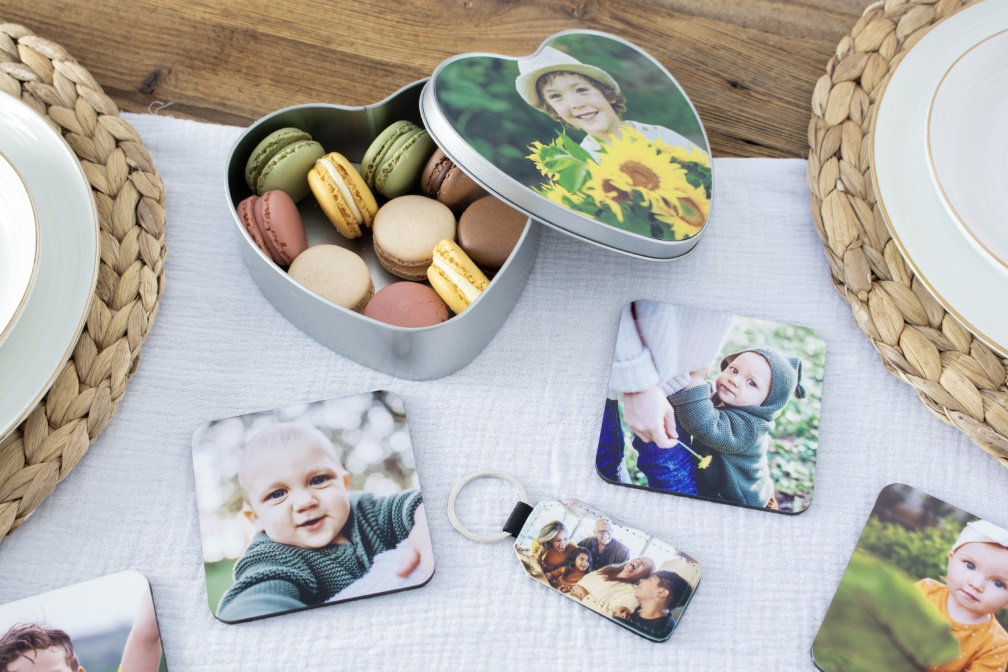
Personalised Photo Gifts for Mother's Day
Discover our fantastic gift ideas to make this Mother's Day extra special.

