Digitizing old photos with the smartphone
Instructions for digitizing old photo prints with the smartphone
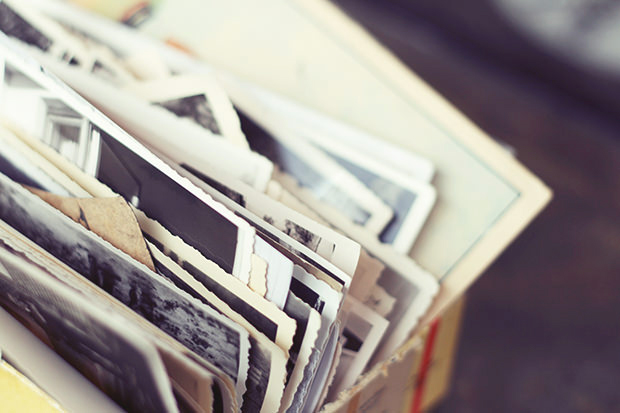
A photo can hold memories. Exactly these old analogue photo prints exude a nostalgic charm and put you back even more into the time of their creation. Unfortunately, time does not pass without a trace on these memorabilia. The photos gradually lose their colour and brilliance and the adhesive in the photo album also loses its hold. In order for the memories of bygone times to not fade as much as the photos do, we’ll show you how to digitize your photos quickly and easily with your smartphone, then create a new Photo Book out of them or archive them for later use.
Step 1: Gathering photos
At the time, when there were only analogue photo cameras with rolls of film, pictures had to be developed first before people can enjoy the snapshots taken. In addition, the number of possible photos per film was limited to 24 or 36 images. This compared to today, means that only a few snapshots were made. Therefore, the first step is to ask family and friends for old photos to get a larger selection of pictures for your new Photo Book.
Step 2: Organizing and sorting by topic
The new photo book can only be good if you take a critical look at the photos. Pictures that are out of focus or do not really say anything can be sorted out without hesitation. You’ll also save some time and work if you digitize just the photos you really want to include in your new photo book.
Once you have assessed and sorted out all photos according to their quality, the next step is to sort the prints by topic or occasion. This is how you quickly get an overview of how many pages you need for an event in your photo book.
Tip
For a photo book, it is always a good idea to have occasions and events such as Christmas, birthdays and weddings appear in chronological order to tell a story with the photo book.
Step 3: Digitizing photos
In order not to lose the desire to digitalize the prints, you should not do too many each day. For example, consider a topic or an occasion per day. If there are only a few photos on certain topics, you can of course do several in one day. Once you have made a plan for the implementation, all you need for digitizing is your smartphone.
Option 1: Smartphone camera
The cameras of today’s smartphones are able to take very high-quality photos. This makes it even possible to display the pictures of the recorded prints enlarged in a photo book. For the best possible result, it makes sense to photograph the prints outside on a bright but cloudy day. Natural light reflects the colours best, and if the sun does not shine directly on the photos, you will hardly have any problems with shadowing. Alternatively, it is of course possible to photograph the prints in a bright place in the apartment, for example at a window. Make sure the photo is in focus.
Tip
For most smartphones, you can manually set the focus by tapping the area you want to focus on.
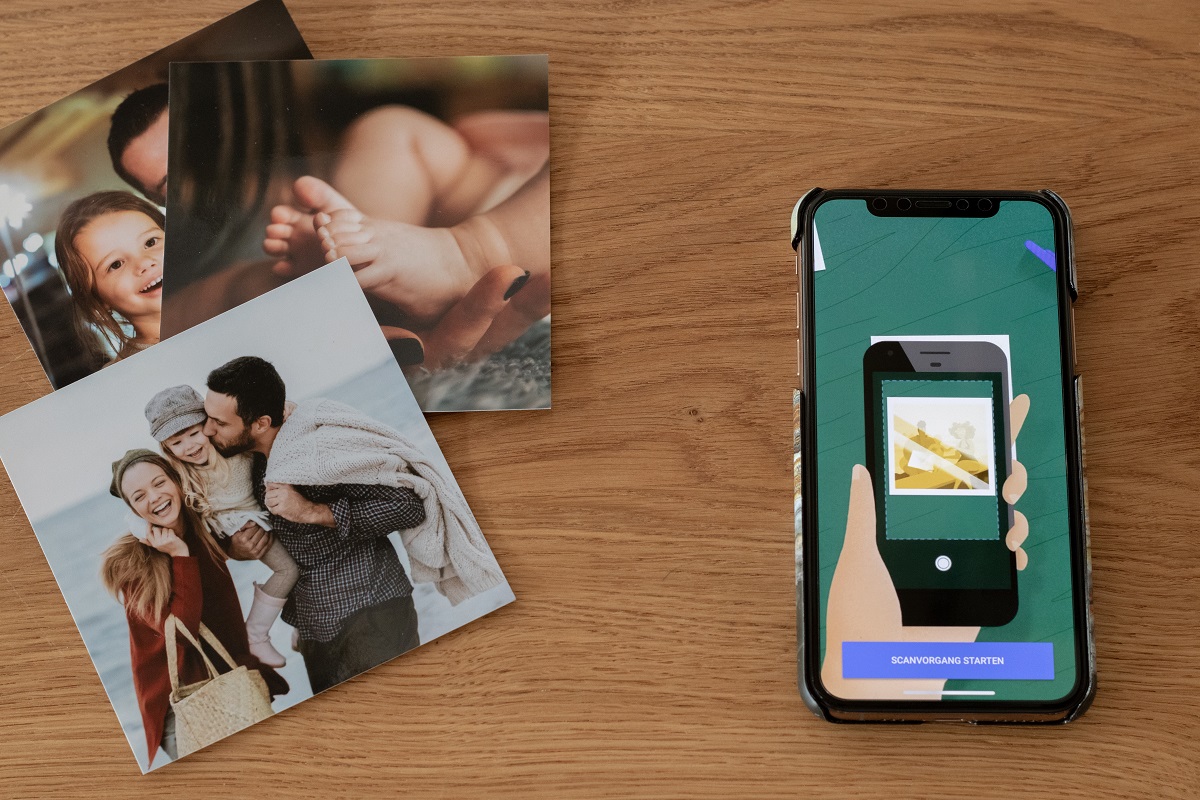
Option 2: Scanning apps
In addition to the usual camera app, you can also use special scanning apps to digitize your old photos:
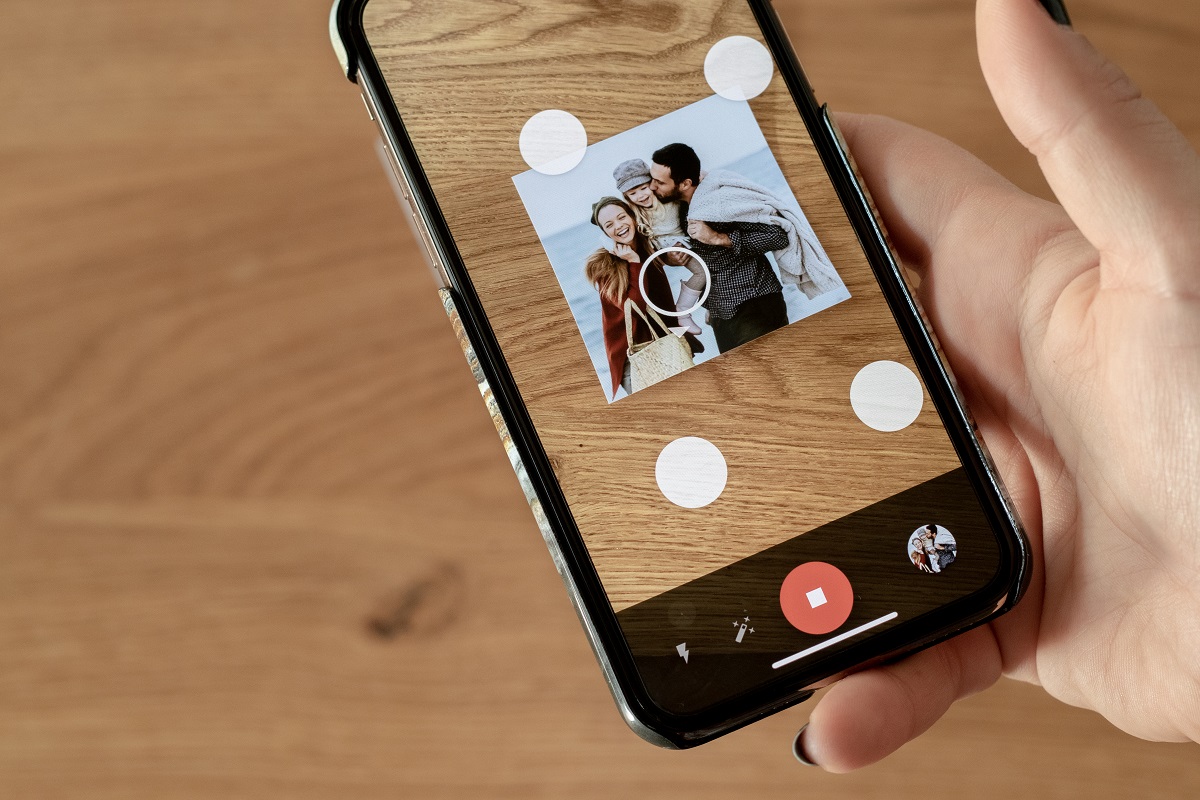
The “PhotoScan” app from Google Photos excels especially in its ability to capture the scanned prints in a very high resolution and without reflections. For this purpose, the app takes several shots of the picture to synchronize them with each other. The app is able to automatically detect the corners of the photo and navigates you step-by-step through the scanning process. Here, too, you have subsequently the possibility to rotate, edit or optimize your scanned photos. The “PhotoScan” from Google Photos is available for free for iOS and Android smartphones.
There are numerous further scanning apps for Android and iOS. Google Play or the App Store offer many alternatives.
Step 4: Create the photo book
Once you’ve digitized all of your old prints by taking photographs or scanning with an app, you can use ifolor to easily design and print a matching photo book. Download the free designer software for Windows or Mac. It provides you with an extensive selection of layouts and design elements to help you create your very individual photo book. An easy introduction to the desktop version of the designer software can be found in our video tutorials “ifolor Designer for Windows – Tipps for Beginners” and “ifolor Designer for Mac – Tips for Beginners”.