Photo Book Design Tips – Getting Creative with ifolor Designer on Mac
Create a professional looking photo book using ifolor Designer
The ifolor Designer makes it possible for you to edit and save photo books, photo calendars and wall decorations on your Mac. You will have numerous great design options to create a unique photo book. Whilst editing your photo products, you can share the unfinished version with your family and friends.
We will show you how to individually customise your photo products with a free design programme and also show you the most important features. In just a few clicks our manual and video tutorials will show you how to create an individual Photo Book.
Click here to download ifolor Designer for Mac If you are going to use Windows to design your individual photo book, you will find the correct version of the design software for your device as well as a helpful guide and video by clicking here.
Finding The Perfect Design for Your Photo Book
Would you like to design a guestbook for a wedding, keep your favourite recipes somewhere safe or keep all your holiday photos together in one place? You can find the perfect design on the ifolor Designer whether it’s for a review of the past year or a travel diary. Furthermore, you can add some finishing touches to your photo book by adding themed picture frames, clip art and backgrounds. This will help to give your photo book a professional look as it will have the same design in the whole book.
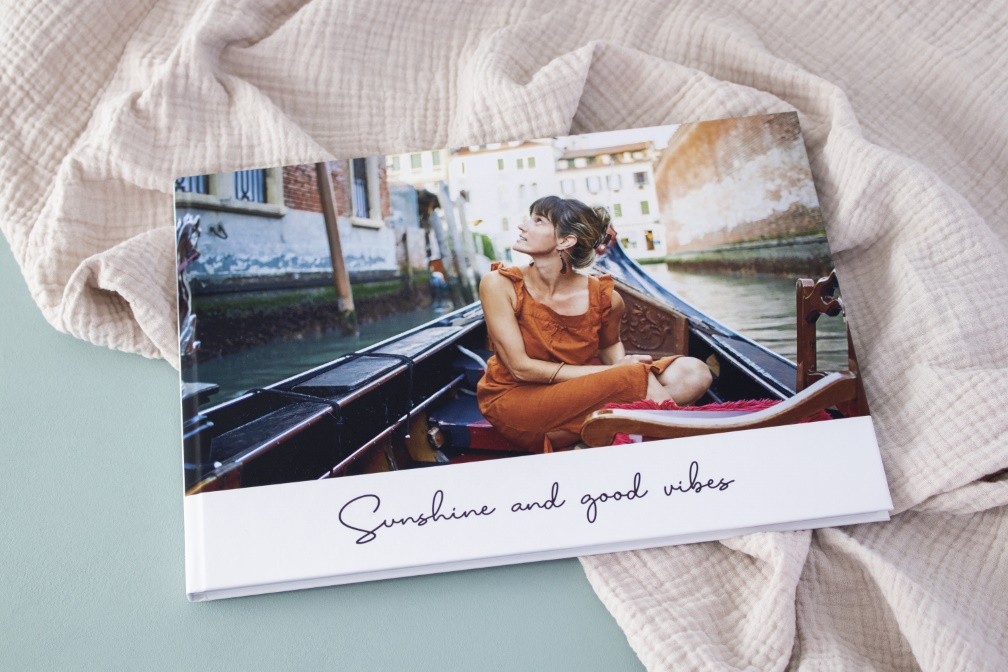
Travel Yearbook
Get inspired by our design ideas and put your best travel memories together in a photo book. We'll show you how to create a fantastic travel yearbook that you can use to look back on all the good times over the past year.
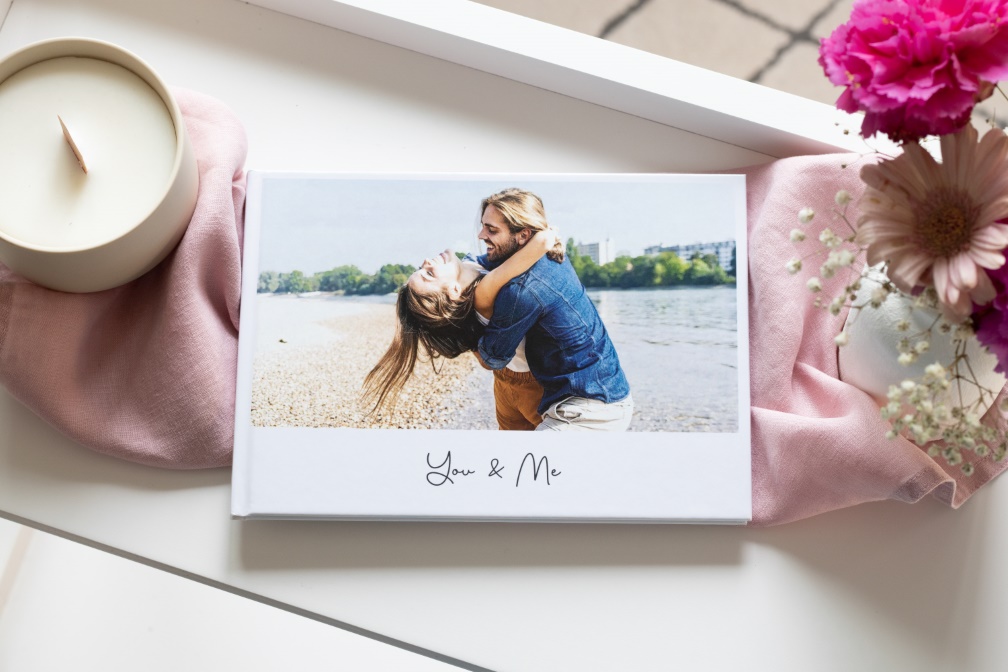
Photo Love Story
You can bring your love story to life by using speech bubbles. You can put your best shared memories together in a photo book. We will give you some helpful tips on how to design your individual photo book as well as what you should be mindful of when choosing pictures.
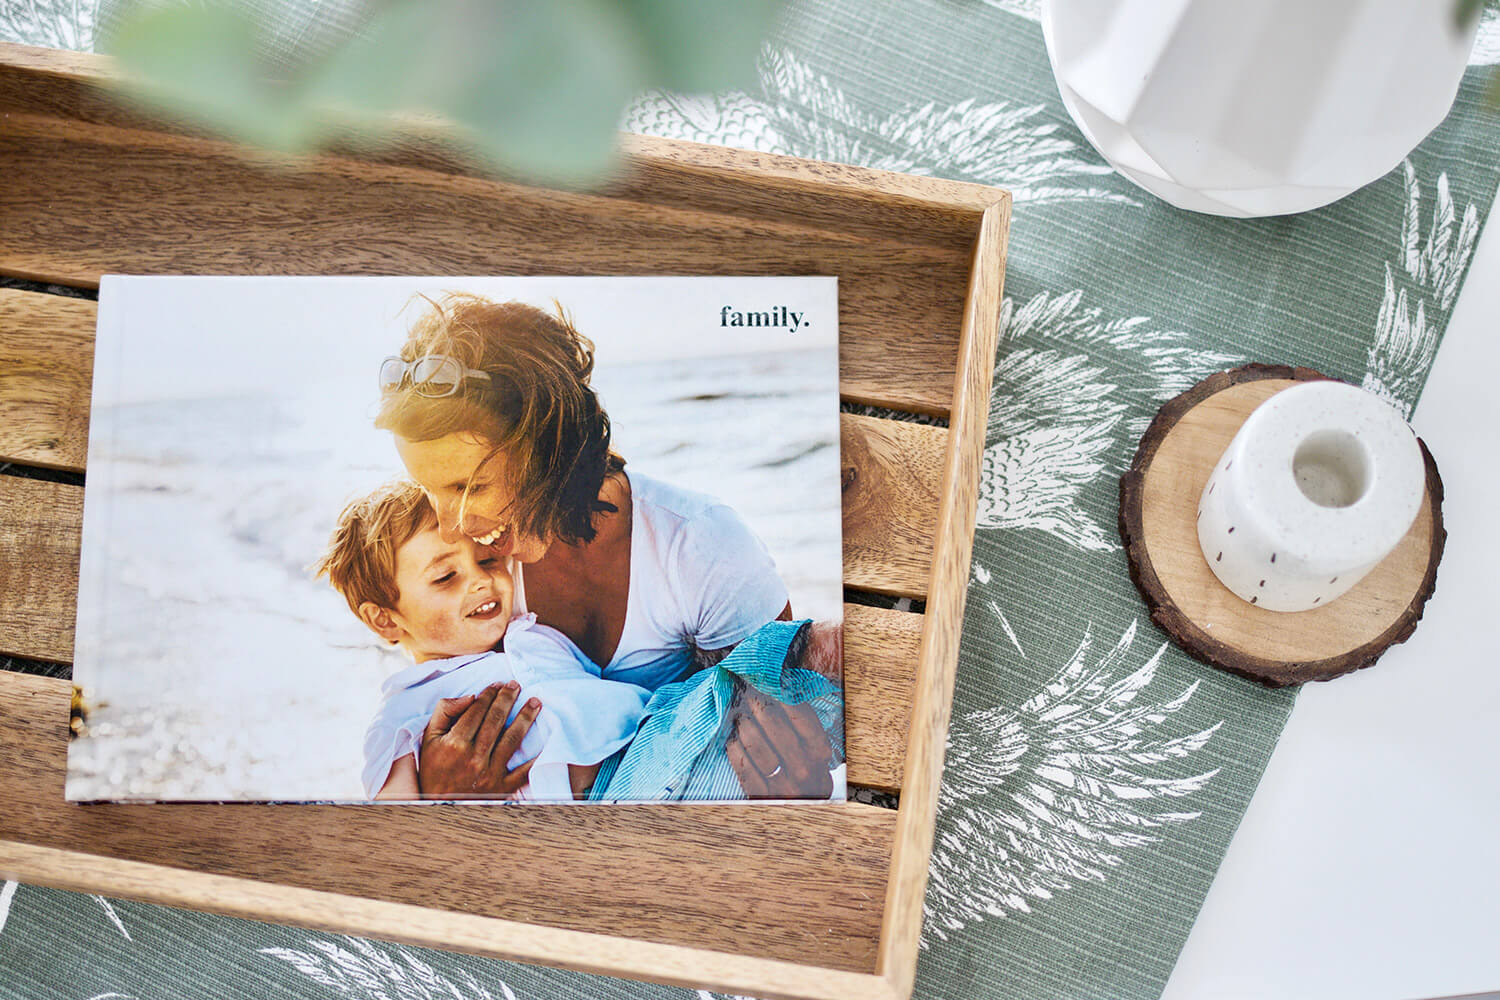
Family Yearbook
Create a unique keepsake and put your favourite memories together in an individually designed family yearbook. We'll show you some creative design ideas and tips on how to make a photo book.
Award winning: ifolor high-quality photo products
Your most cherished memories deserve only the best. This is why we are very proud that our photo products have already won several awards. Satisfied customers are our number one priority, which is why we always test our products and get them evaluated. Find out more about our awards and our complete satisfaction guarantee.
Using the Photo Book Assistant When Time is of the Essence
By creating an individually designed photo book you can keep all your favourite memories in one place, which you can look back on time and time again. If you don’t have the time to design a photo book, then you could use the Photo Book Assistant. You will be done in no time at all and you won’t have to redesign each individual page.
Start by selecting and sorting through images you would like to put into a folder on your Mac. The next step is to open a new photo book on the ifolor Designer and to tick the small box next to "Project assistant" on the photo book selection menu, which will enable you to use the Photo Book Assistant. There will be a range of templates to choose from and you can then choose the relevant template. After selecting your pictures and the number of pages, click on “Finish project” and voilà your Photo Book is finished. When using the Project Assistant there is no need to manually paste the pictures onto the template as it will fill it in for you. If you still have enough time you can then add some personal touches. Add text by choosing from a wide range of speech bubbles and frame designs. There is also a selection of clip art. Make sure to put your favourite picture onto the cover of your individually designed photo book.
Tip
By clicking here, you can find further useful tips and tricks on how to save time whilst designing your high-quality photo book.
A Wide Range of Designs to Choose from To Create Your Own Individual Photo Book
Have you had a look through the different designs, but you still haven’t found the perfect one? In this case then you may have only been looking at the default selection. On the toolbar you will see “Frames, Backgrounds and Clip Art” and this is where you can find a wide range of other design options. If you find a suitable design you can add the desired design directly to your collection. We will show you how to do this via the guide and in the video tutorial for advanced users.
Using Photos From iCloud and Other Saved Locations
The photos from your last party or holiday are not in a folder on your desktop, but they are either on iCloud or in another saved location. You don’t need to browse through the folder or platform tediously to gather the photos you would like to use. By using the ifolor Designer you can save yourself a lot of time as it will access your online saved folders. All you have to do is click on “My images” and then on the album you would like to use.
Creating Multiple Pages with Just One Click
You do not have to edit each image individually if you would like to transfer a specific frame, background or page template so that you have a uniform look in your individually designed photo book. To use the same design throughout your photo book, you can simply just left click on the corresponding frame, background or page template. Then it is up to you to decide whether this design should be applied to all the pages in the book or only to some of them.
Using Blank Spaces
A photo book should not appear too cluttered. In order to make your photos stand out, you can deliberately leave some blank spaces. By doing so you can make your favourite snapshots stand out. In addition, you can add some finishing touches by adding some texts or souvenirs such as tickets. If you would like to create some blank spaces you will only need to remove placeholders or insert blank textboxes.
Tip
Before placing your order you can have a look at the finished product via the preview option. You can view your finished product by clicking in the right-hand corner on “preview”. By clicking on it you can decide if the photo book is ready to be ordered, printed and bound.
Turn Your Photo Book Into an eBook
Would you like to share your lovingly designed photo book with your loved ones before it is printed? Then select the option "ifolor eBook Combi for download" via the shopping basket. Once you have ordered your photo book, you will receive an email with a link to download a digital version of your photo book. This way before it is delivered you can already take a look at your fantastically designed photo book with your family and friends.


