Photo Book Fast
How to Quickly Create a Photo Book
Creating your own personal photo book can take quite a bit of time. Many ifolor customers store and work on their photo book over the course of several weeks. Of course, you should take the amount of time you need for creating your photo book, but you’ll always be left with lasting memories no matter how much time you invest.
If you use the following tips, however, you’ll also be able to create your own photo book in less than 4 hours.
Prepping Is Half the Battle
Before beginning with the creation of your photo book, you should be clear about what it is exactly you want to achieve.
Start out by asking yourself the following questions:
- For whom am I creating the photo book?
- What kind of theme should the photo book have?
- For what occasion am I giving someone the photo book?
When you know for whom you’re making the photo book, you’ll also know what kind of style you should choose. Should you be making the photo book as a keepsake for yourself, you’ll of course know your own preferences best. If creating the photo book as a gift, on the other hand, you should ask yourself what the recipient might like. Does your husband prefer a simple design? Could the design be a bit more playful for the kids? Or would the grandparents like to have a few anecdotes and comments to the photos? Once you’ve already considered what your finished photo book will look like before getting started, you can keep this in consideration while creating your photo book and end up saving a lot of time in the end.
The overall theme and occasion for which you’re creating the photo book will also have a significant impact on the end product. The ifolor Photo Book Designer offers you many backgrounds, designs, as well as clip art for you to use. If you already know what style you’d like to go with, you can apply this at the very beginning.
After making these basic preliminary considerations, it’s time to gather together your photos. Feel free to take a bit of extra time for this since having a complete “database” is key for the speedy creation of your photo book.
Have you gathered together all the pictures for your chosen occasion or theme? Make sure to go through:
- Your digital camera
- Storage media such as memory cards or hard drives
- Your smartphone’s photo gallery
- If applicable: social media websites where you post photos
Once you have your database compiled, it’s time to create your photo book.
Creating a Photo Book with the ifolor Designer
Start out by installing the ifolor Photo Book Designer on your computer. The desktop version of the designer offers you more designing possibilities than the online version. Then choose your desired photo book. Don’t worry: you can also change this later.
Next, select your comprehensive image database. To do this, go to the “My images” area and select one of the photo folders from your PC or Mac.
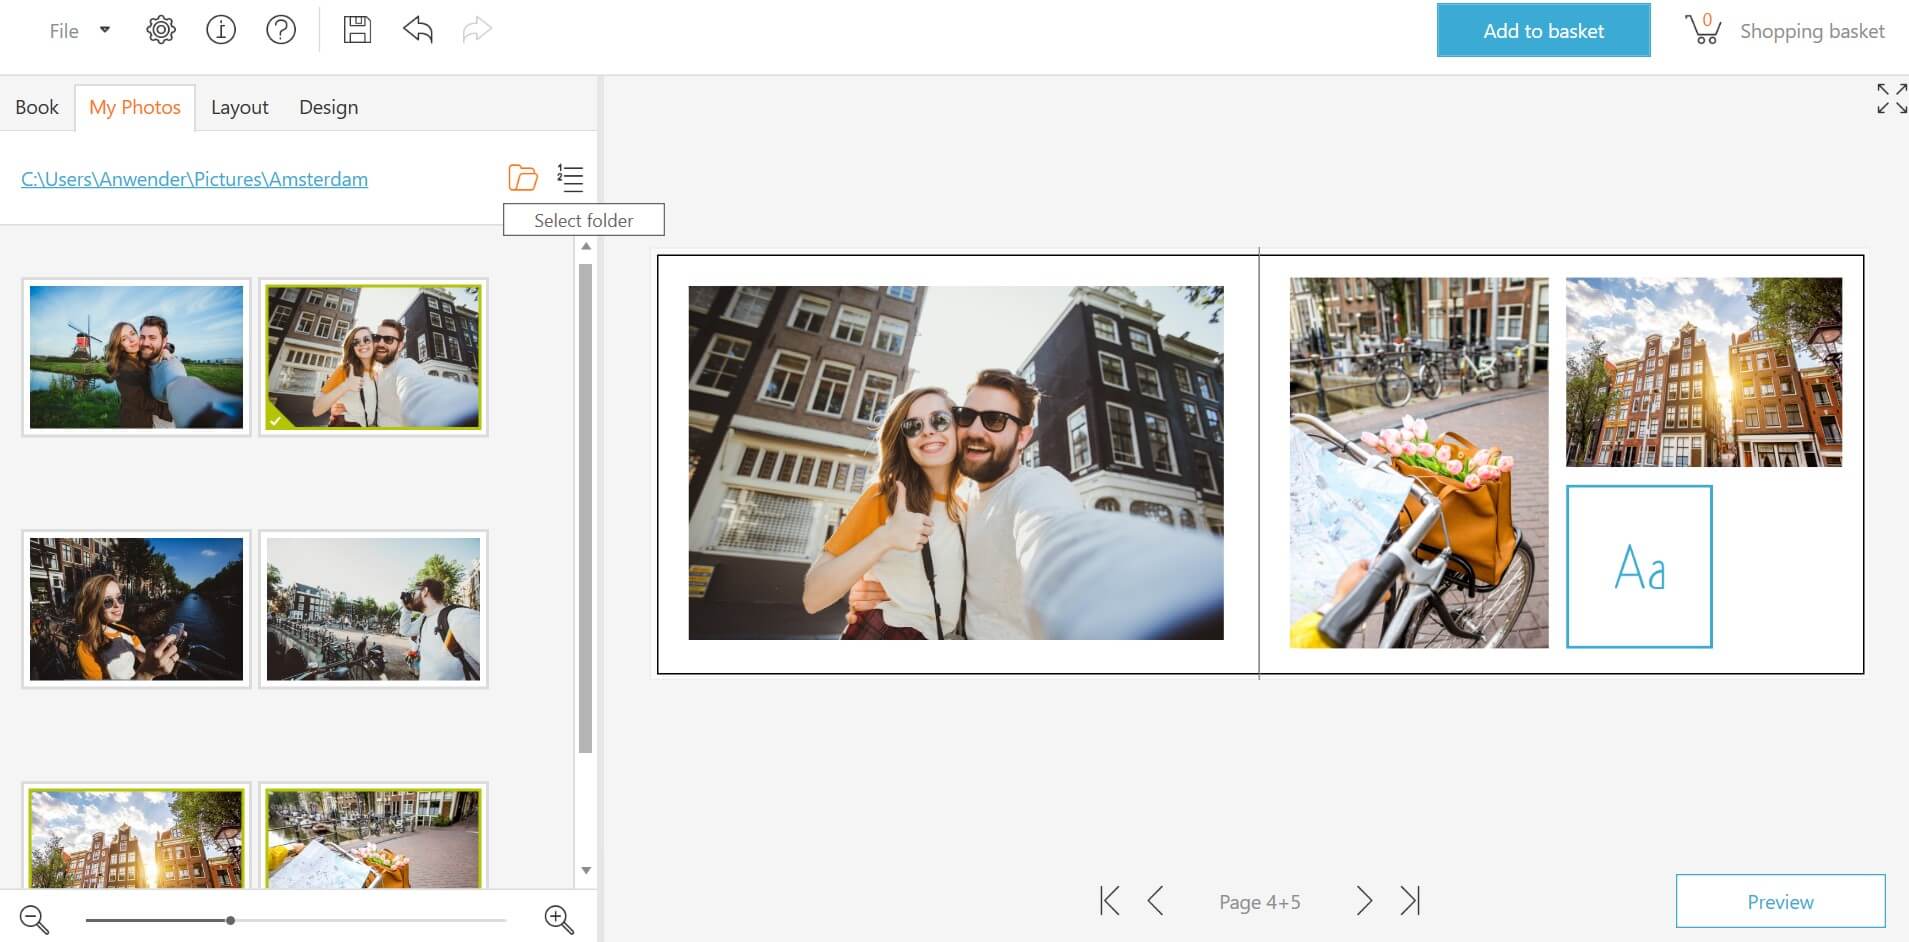
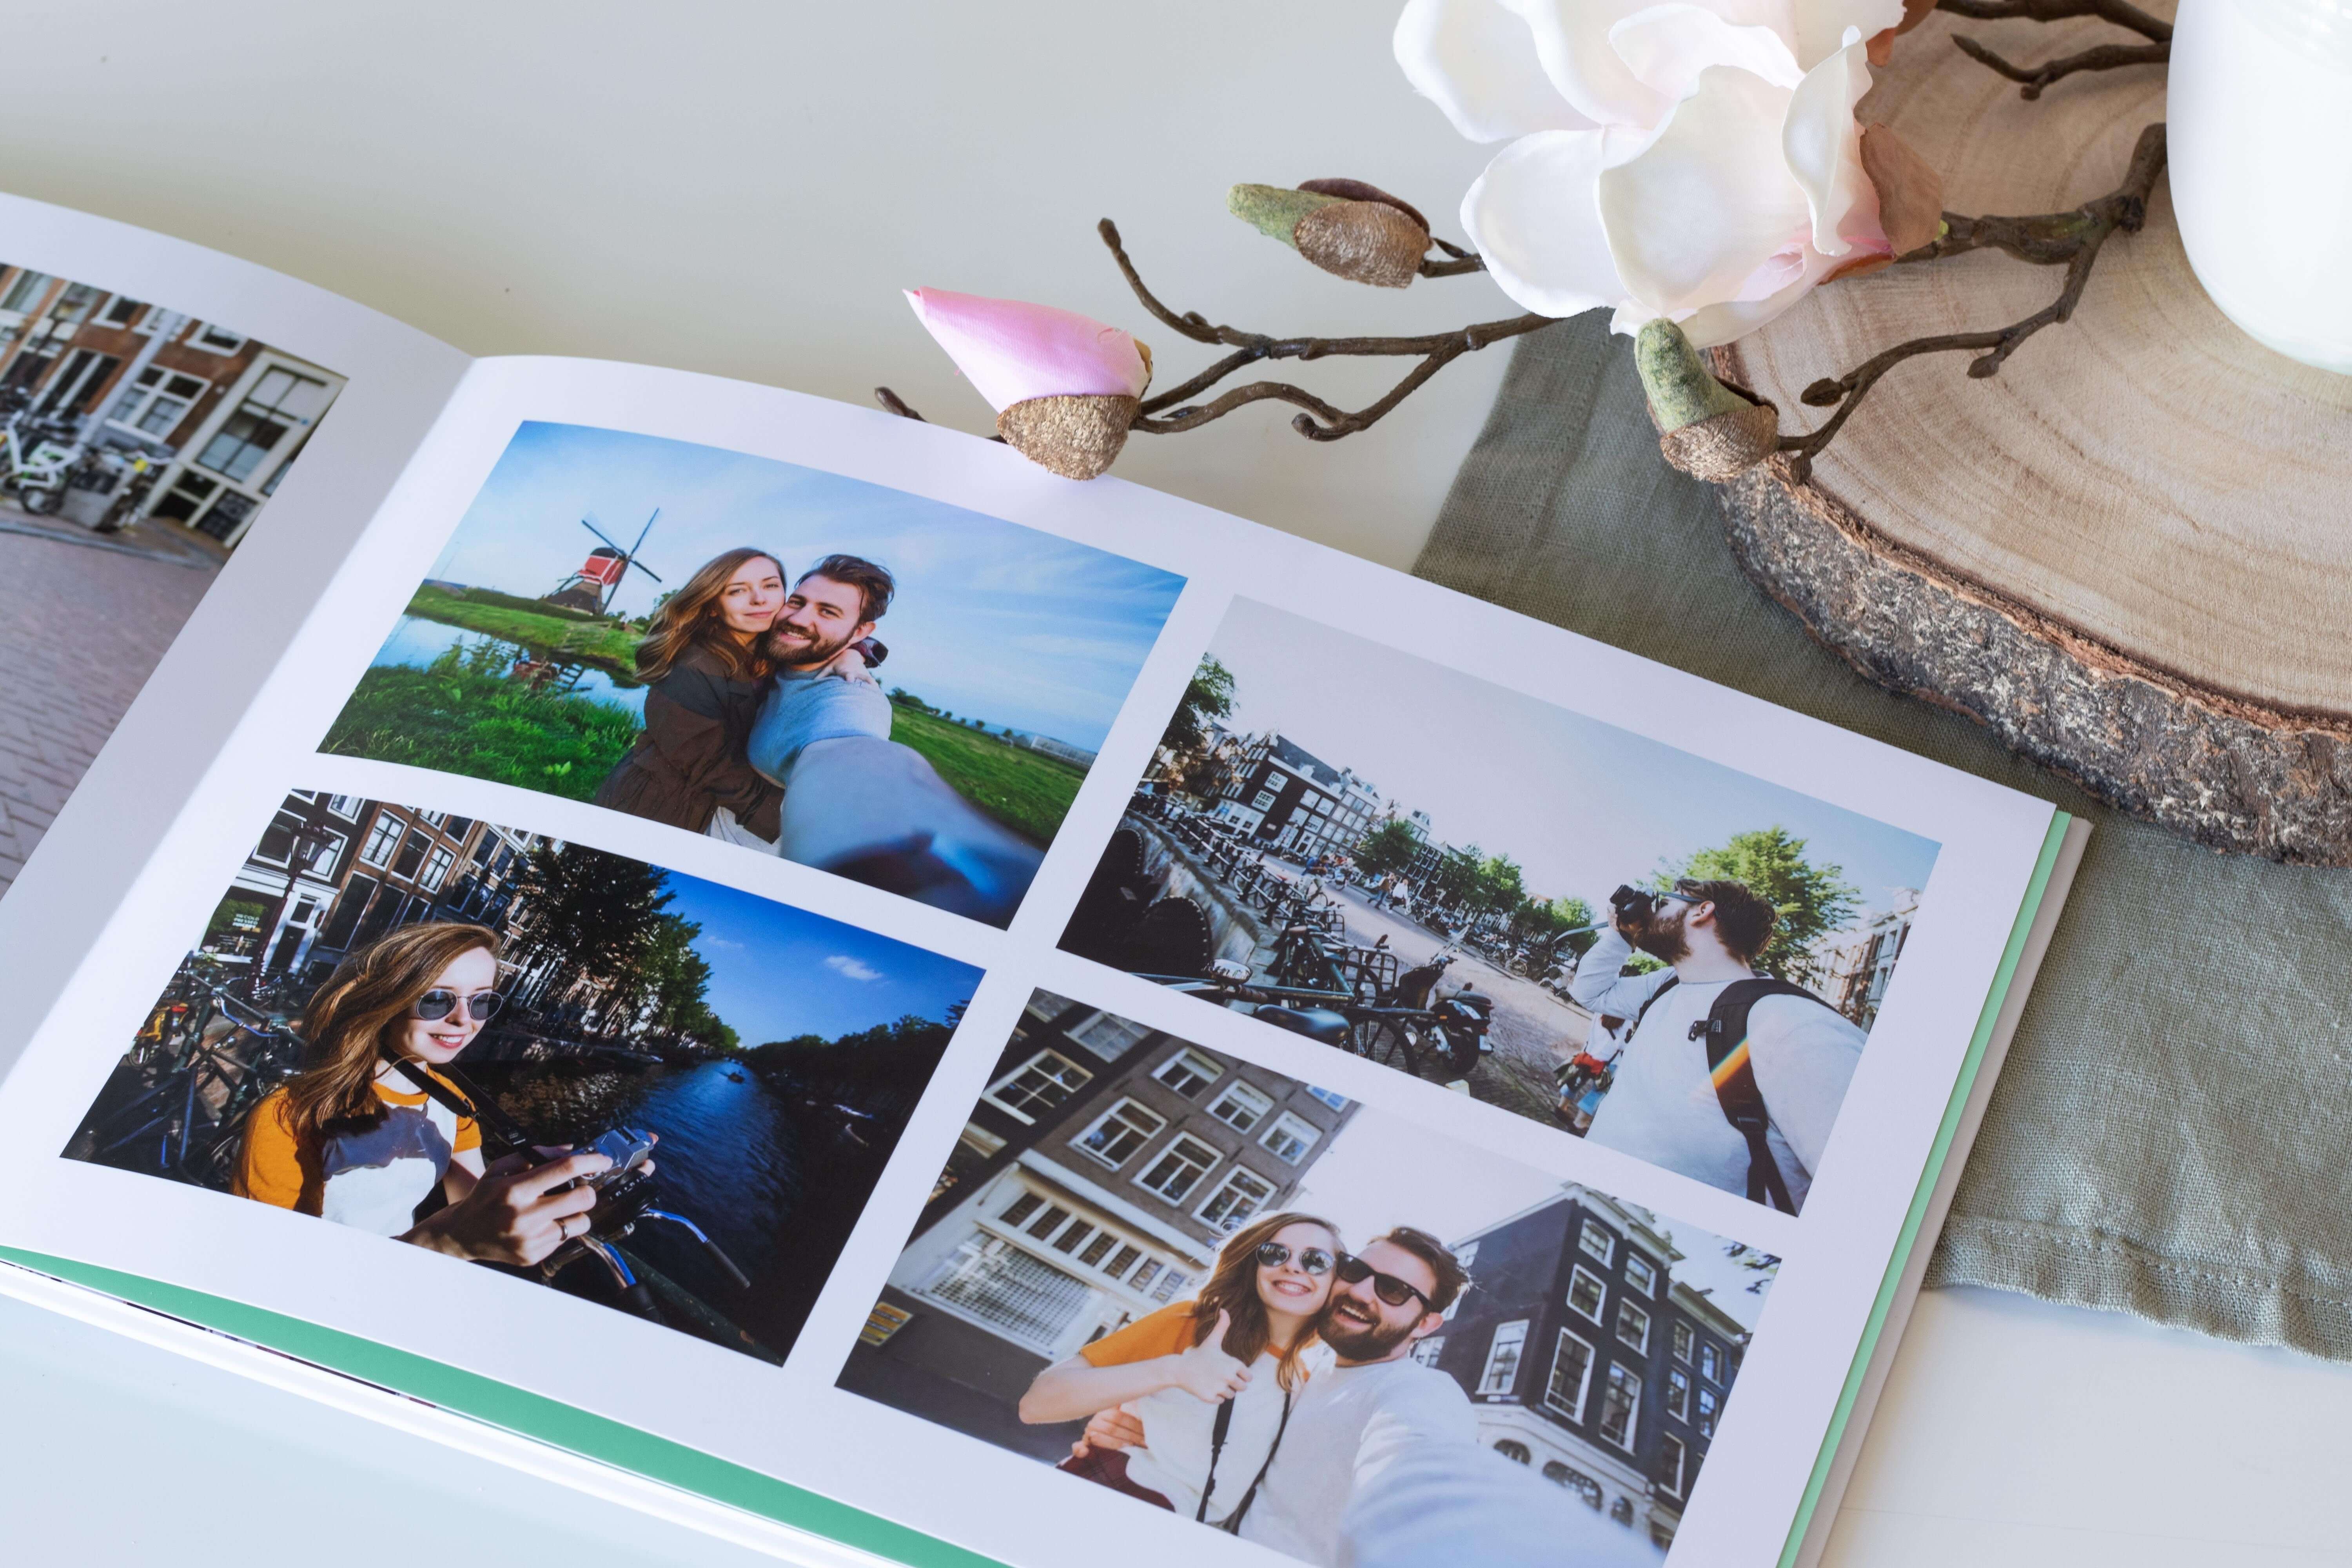
Now you’ll be shown all of the photos saved in this folder. You can then begin arranging these pictures in the placeholders on the photo book’s pages via drag and drop. Images you’ve already used will be labelled with a green checkmark - this will help you avoid mistakenly using the same photo twice.
To make things more convenient, the ifolor Photo Book Designer will then automatically arrange diverse placeholder variations on each page of the photo book. These will be different from page to page and can display from 1 to 9 photos or, if so desired, several text fields on each page.
If you’d like, you can go ahead and simply sort your pictures into the placeholders and you’ll be finished in the blink of an eye.
You could, of course, design each page of the book according to your own specifications. To do this, simply click on “page templates” from the design menu and drag your desired design to the book page with your mouse. If there are already images on the page, these will automatically be arranged in the new template.
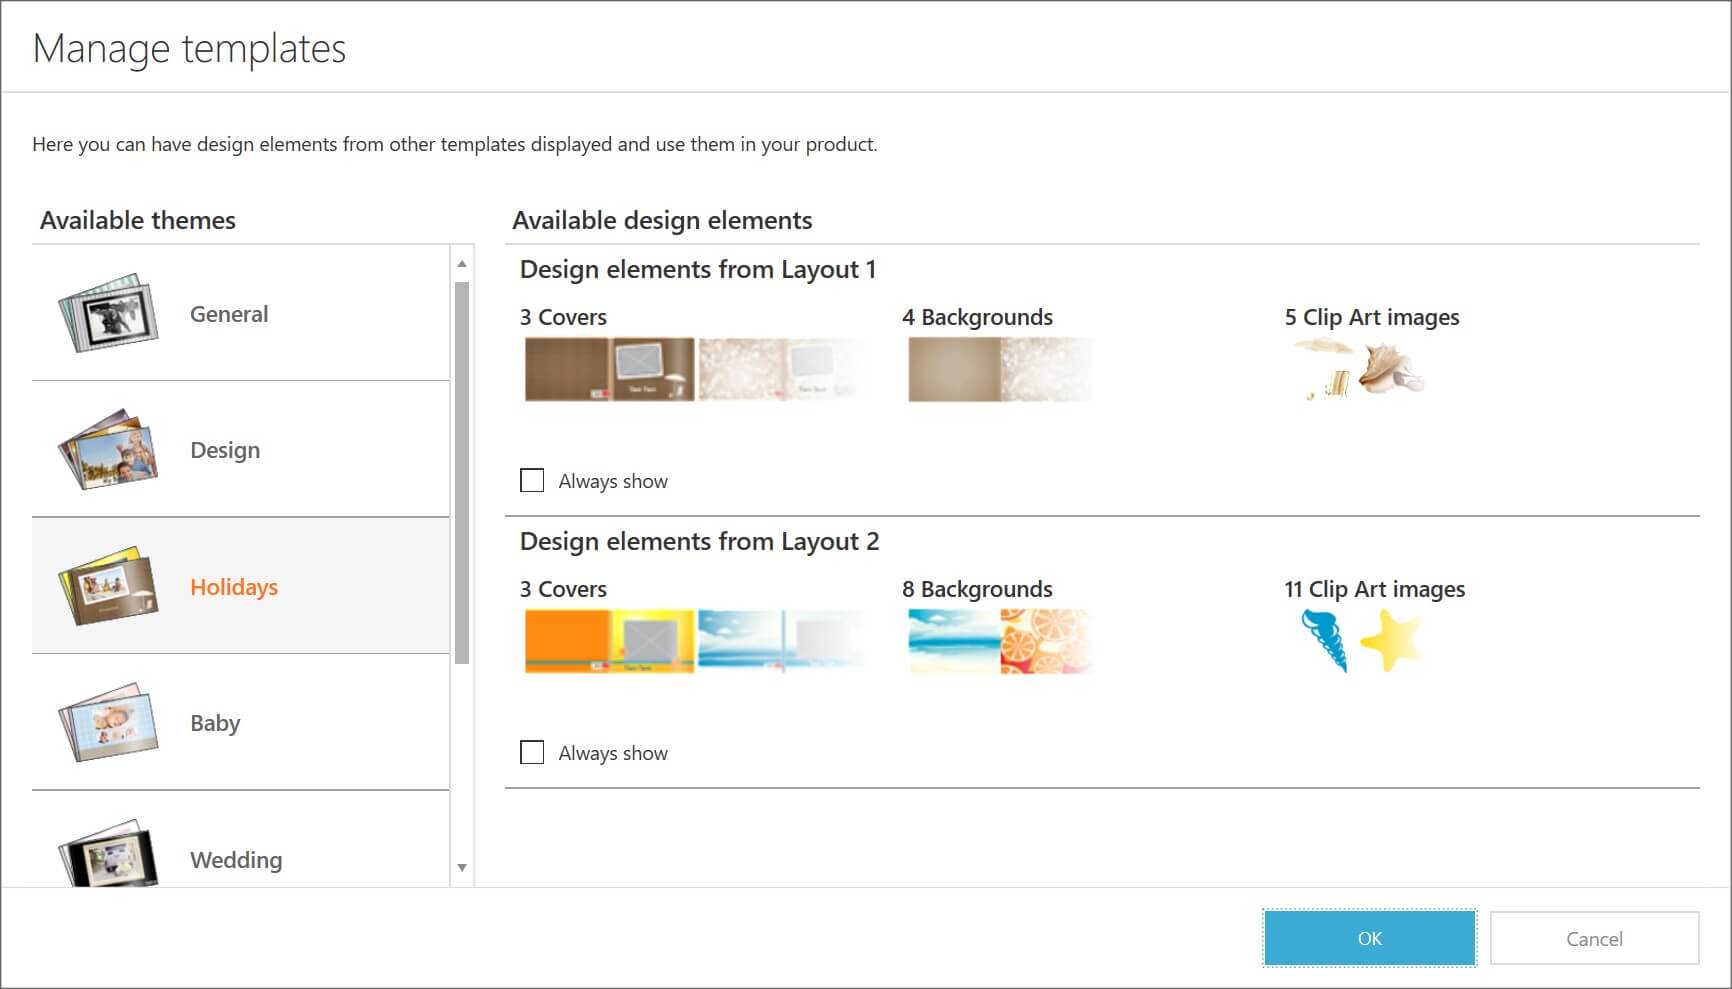
Inserting Backgrounds, Frames, and Clip Art
Thanks to the considerations you’ve already made before creating your photo book, you already know how you would like to design it. Here you can utilise numerous backgrounds and clip art. You can find these in the design area in the corresponding drop down menu.
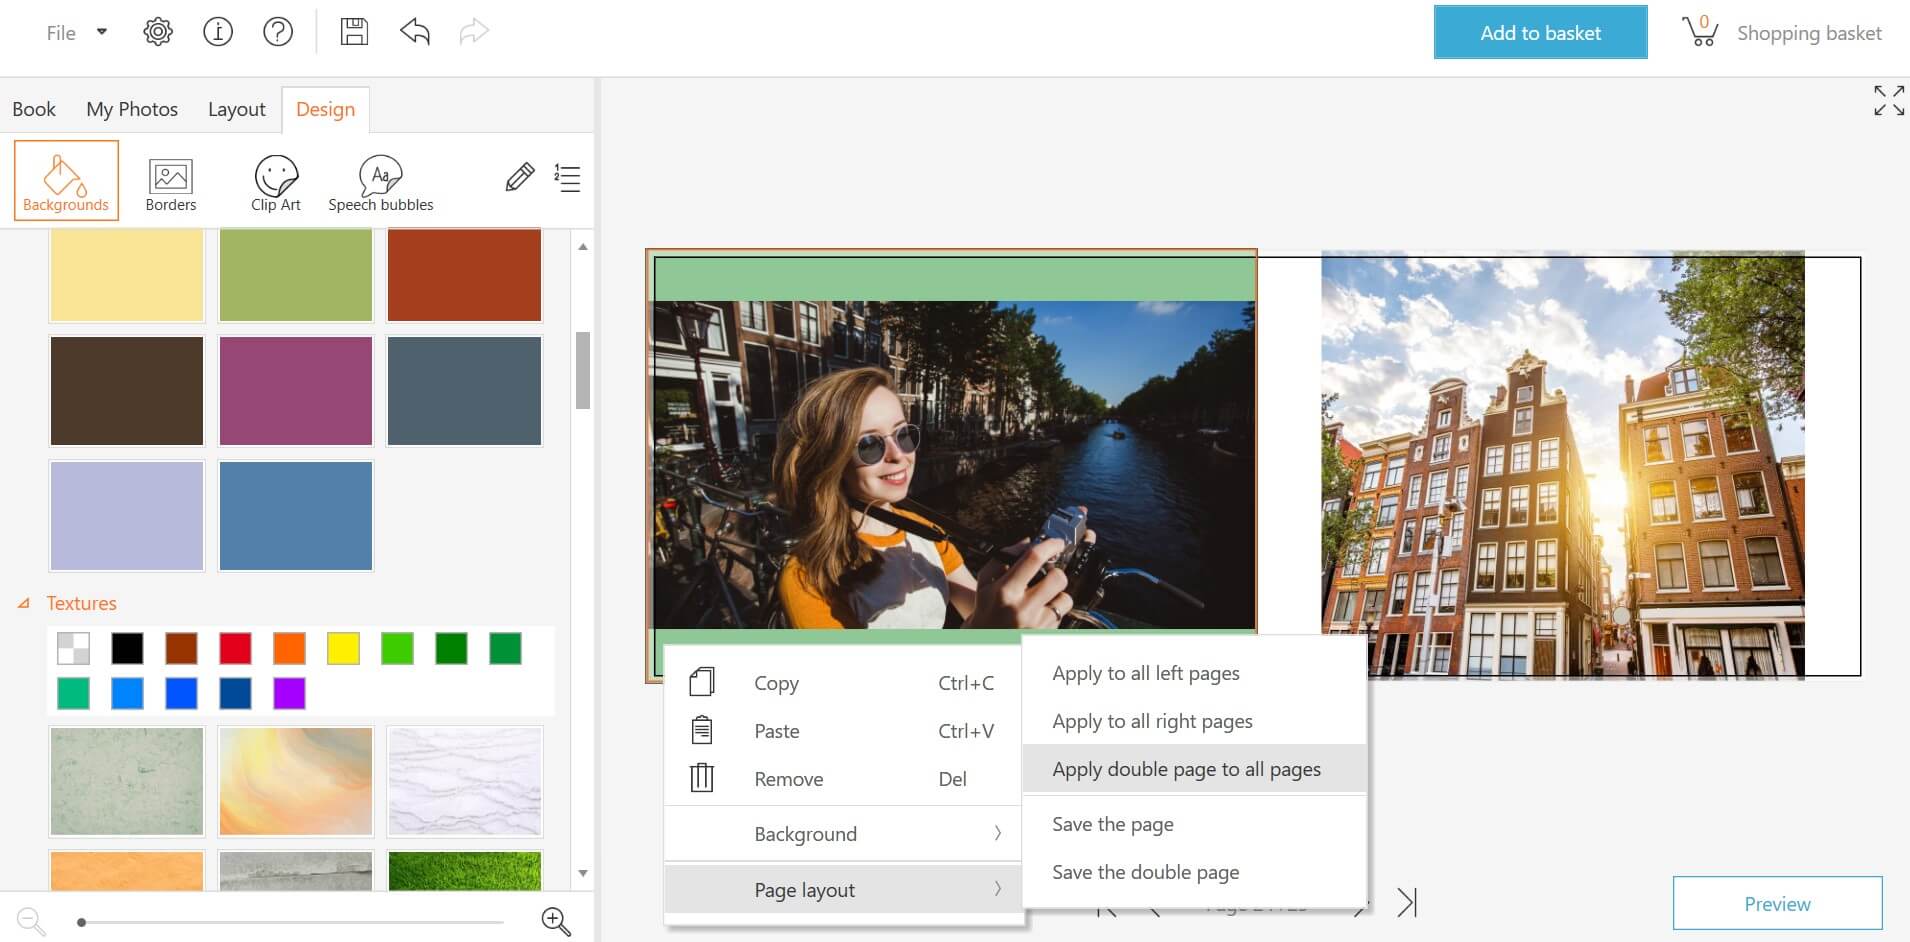
You can of course apply layouts and backgrounds to the whole photo book with a few clicks to save some time. Simply place your desired background in the book and right click. Now, in the “page layout” section, you can select on which pages the background should be applied.
If creating your photo book around a certain theme, such as vacations, you can filter which templates are shown. This will then ensure you only see thematically suitable backgrounds and clip art, which will considerably speed up the design process. You can then click on the pencil in the “design” area and edit your templates.
The Finishing Touches
Once you’ve arranged all your photos in the book, it’s time to apply the finishing touches.
Flip through your photo book and insert, if desired, text fields on pages where you’d like to add anecdotes or comments. You can adjust the font size, style, and colour as desired.
Before sending your photo book off to be printed, you should go through all pages and elements one last time with a keen eye. It’d be a shame to have a picture out of place in the finished product.
Go through your book and check that:
- All images have the necessary resolution
- You find the picture arrangement appealing
- The pictures are flush with the page margins
- Any added text is readable (contrast, font size, etc.)
- You didn’t make any typos or spelling mistakes
Once you’re completely satisfied with your photo book, you can send off the data and wrap up your order.

Tip
With just one more click, you can even save the time of having to wrap your photo book yourself. At the end of the ordering process, simply click on the gift box option. Then you’ll get your photo book delivered in a fitting and elegant black box.
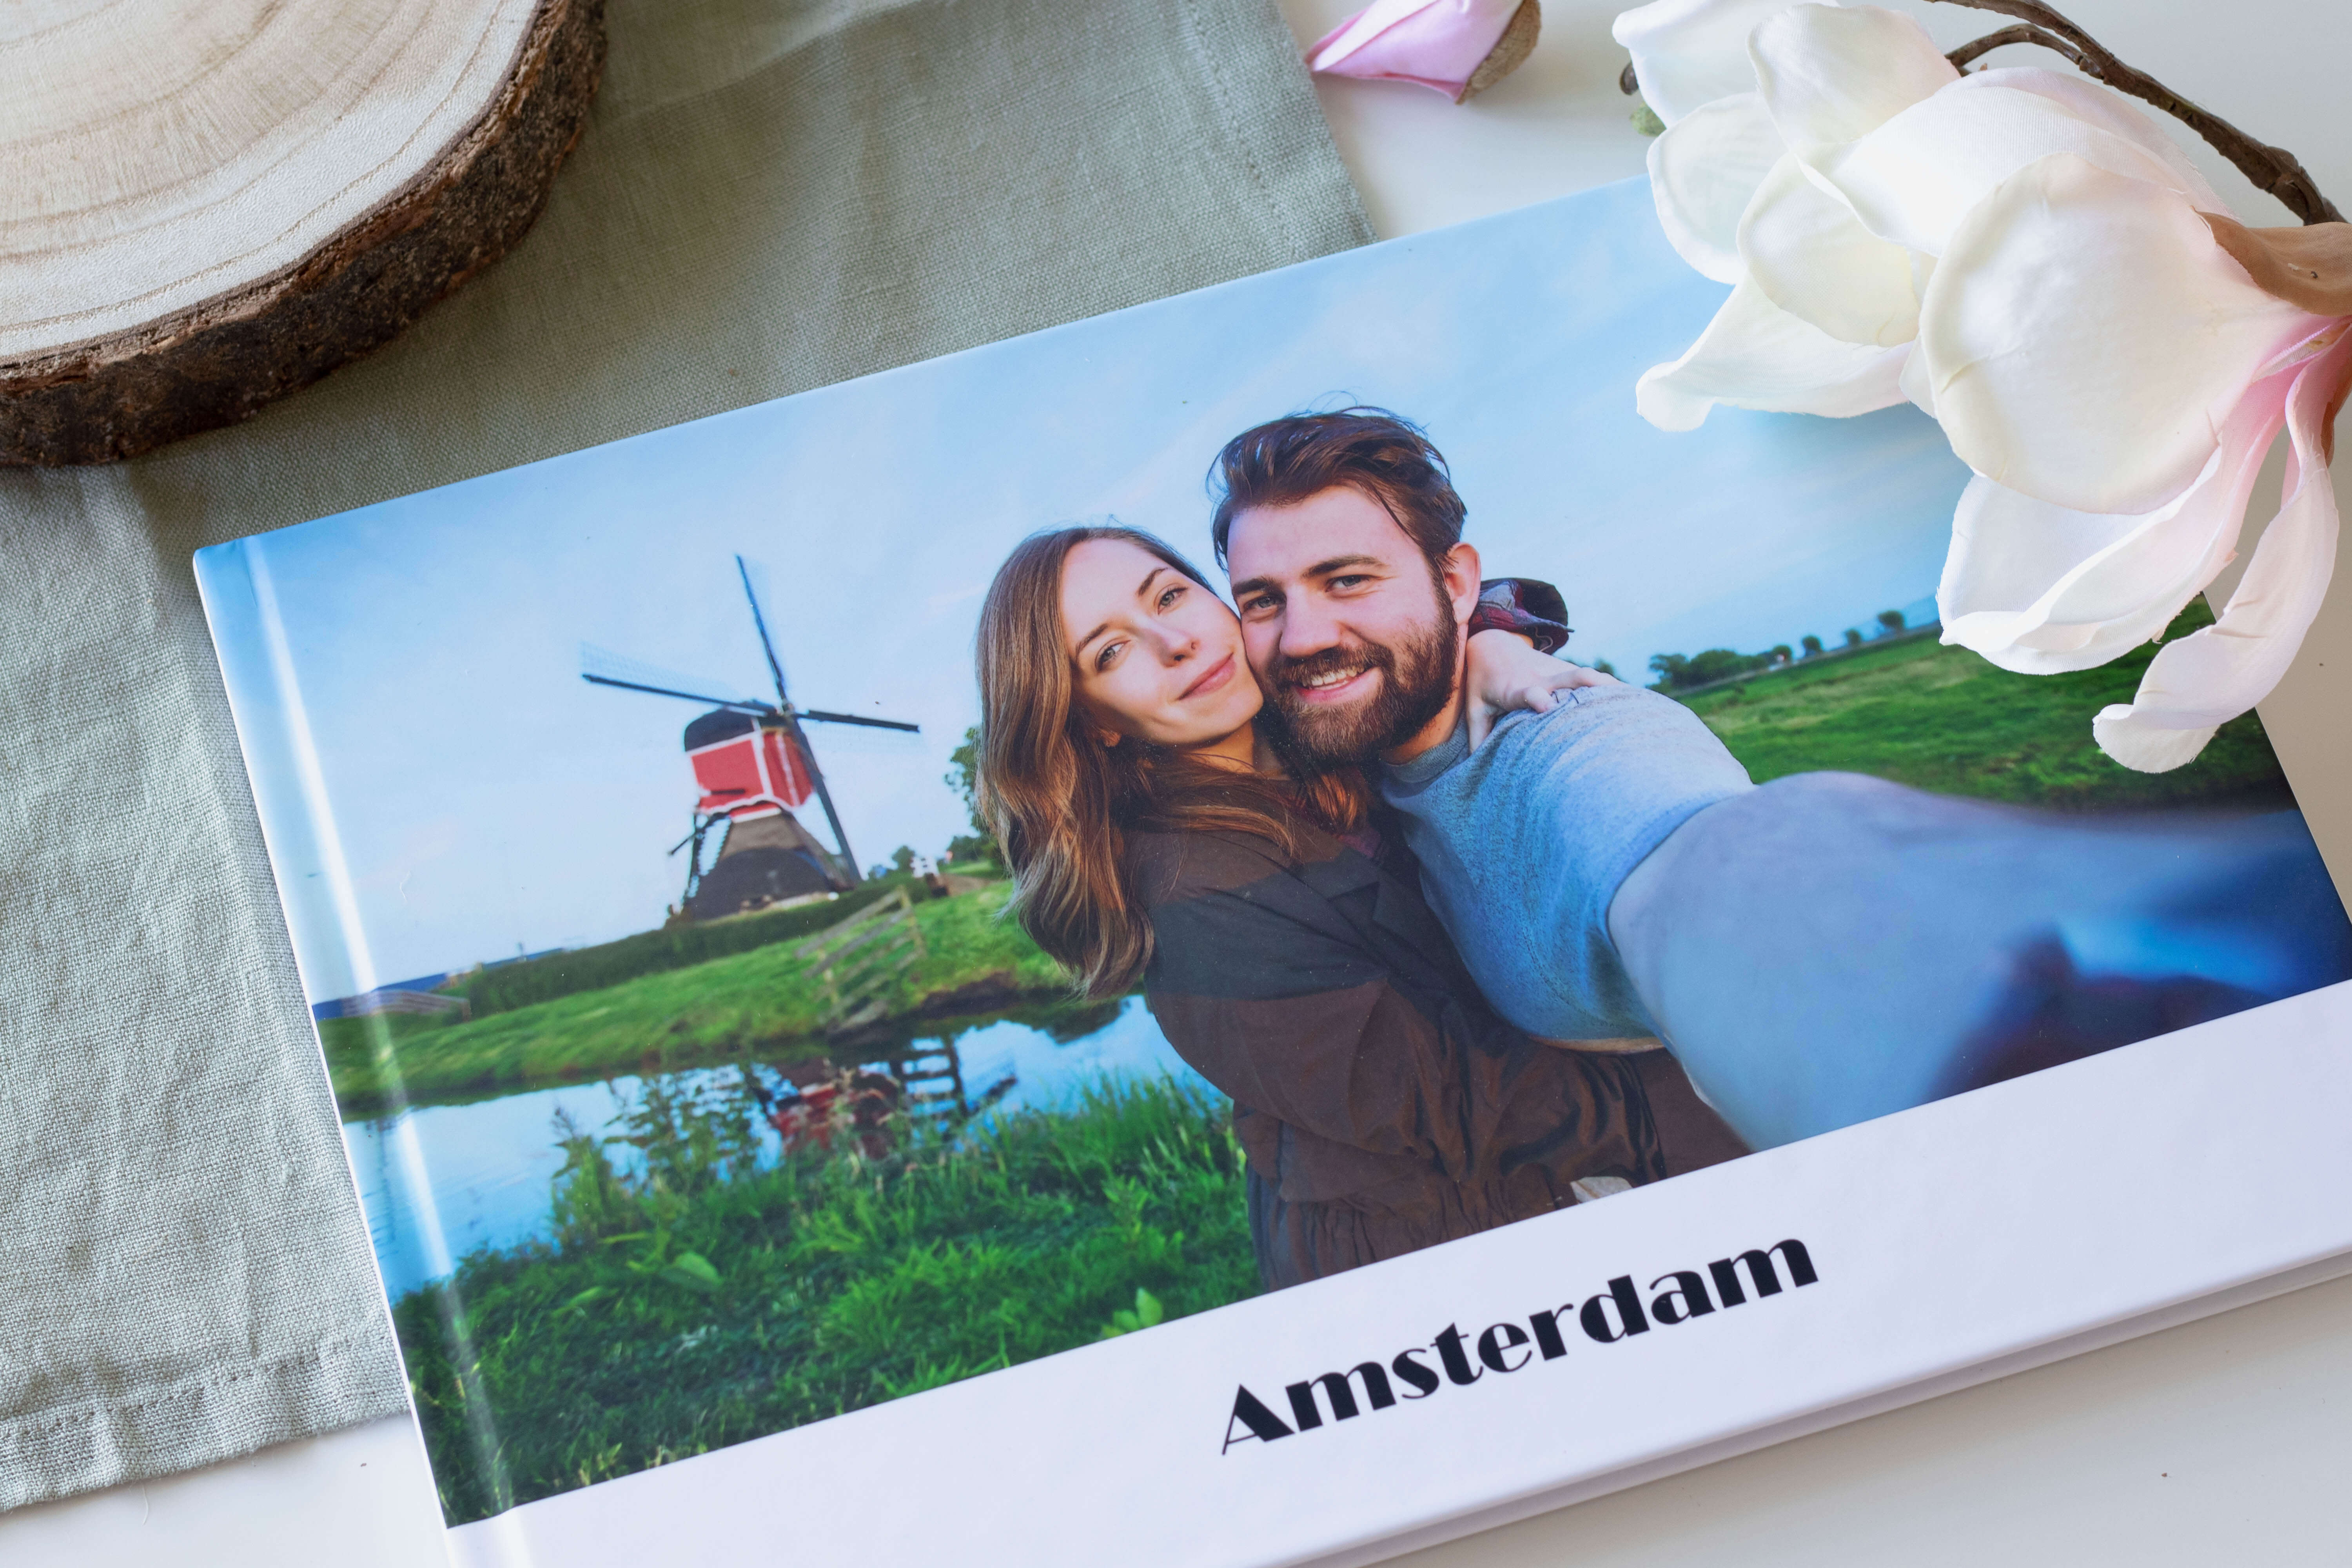
For creating this beautiful Amsterdam photo book, the following amount of time was needed:
- Preliminary considerations 10 Minutes
- Gathering together photos 40 Minutes
- Designing the photo book 155 Minutes
- Finishing touches 25 Minutes
All said and done it took less than 4 hours to be able to retain these precious memories for years to come. You’ll have enough time left over to sit back, relax, and enjoy a nice cup of coffee…