Take Charge of Your Pictures! 5 Tips for Organising Your Photos
Do you know the feeling when your phone is full of pictures and your cloud service sends you a message telling you that you're about to run out of storage space because you have too many photos? There’s no space left on your computer either. Something needs to be done about your photo chaos, but how do you get started?
Does the sheer number of photos you have to organise and store somewhere make you feel stressed? You are not alone. According to a recent study by ifolor, this makes a lot of people feel stressed. It found that 91% of participants said they thought it was important to keep their photos in order, but only 49% considered themselves to be good at organising them. 78% of participants had planned to organise their photos at some point. Seize the day and start organising your pictures now! We will give you practical tips on how to get started with organising your photos.
1. Organise Your Photos Bit by Bit
The same rule applies to any mammoth task. When it comes to arranging your pictures, do it bit by bit. The key is not to wait too long before getting started and to do it as regularly as possible. Whether you only have a few minutes or have a lot of time on your hands, there is always a moment to sort through your pictures. To be effective, create a routine around organising your photos at a specific time. For example, this could be half an hour on a Sunday evening or 10 minutes every day after watching the evening news. Even when you are out and about and waiting in line, instead of browsing the web, you can delete and move photos to their proper folders.
2. Delete Extras and Failed Photos
Ask yourself if you really need five photos of your loved ones cutting their birthday cake. Choose the best shot and delete the rest. You should delete any blurry, poorly cropped, overexposed, underexposed or otherwise unsuccessful photos from your phone and cloud storage. The fewer photos you have, the easier it will be to manage your photo library. Tip: Start with older photos that you are not as keen on. This will make it easier to delete excess pictures.
3. Move Photos to Labelled Folders & Keep Them in One Place
To keep things organised, it is a good idea to label your photos and keep them in one place. Photos usually go straight from your phone to your cloud (Google Drive or iCloud), where it is best to organise them into albums. It's good to be precise when naming them, as an album named "Summer 2023" can contain anything, while a more specific name such as "Summer trip to Savonlinna 2023" will help you find the photos more easily. It's also a good idea to organise photos by subject rather than by year, such as "Our pet cat" or "Our cottage renovation". Creating a photo library is quick and easy when your folders have been labelled and you can find your photos easily.

4. Make Backups of the Photos You Love
If you shoot pictures with your phone, it is a good idea to turn on the backup mode. Your photos will then automatically be saved to your Google or iCloud account. You will be able to see your photos on all your other devices, including your computer, when you sign into your account. You'll also be able to see any changes you've made. Cloud services offer a certain amount of storage free of charge. This is another great reason to organise your photos and delete any extra ones. For more tips, read our article on how to move your photos to your cloud.
5. Make Mugs, Calendars, Picture Books, a Photo Canvas…
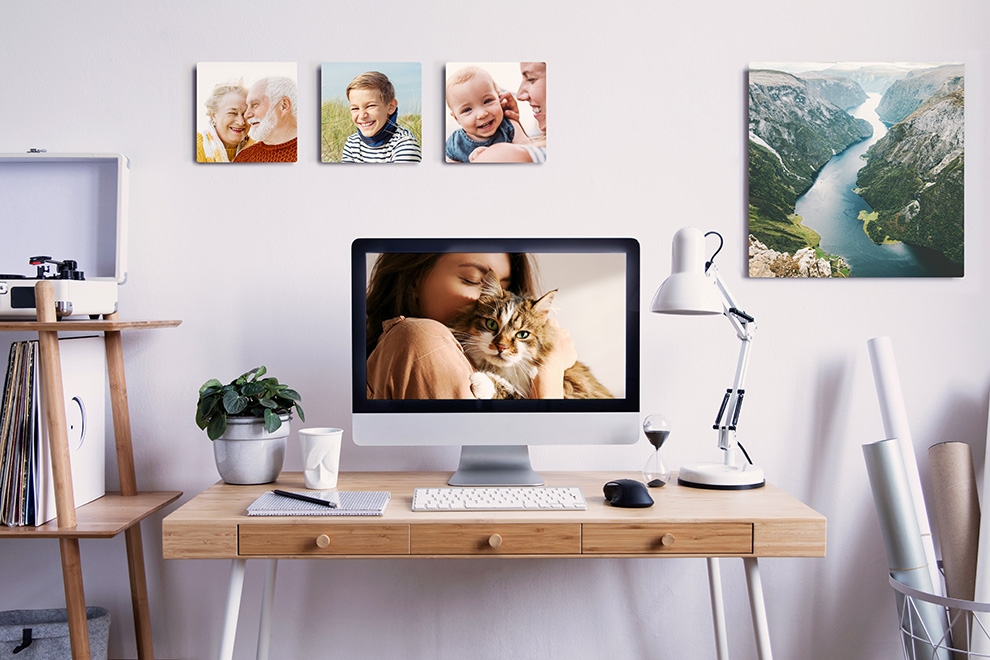
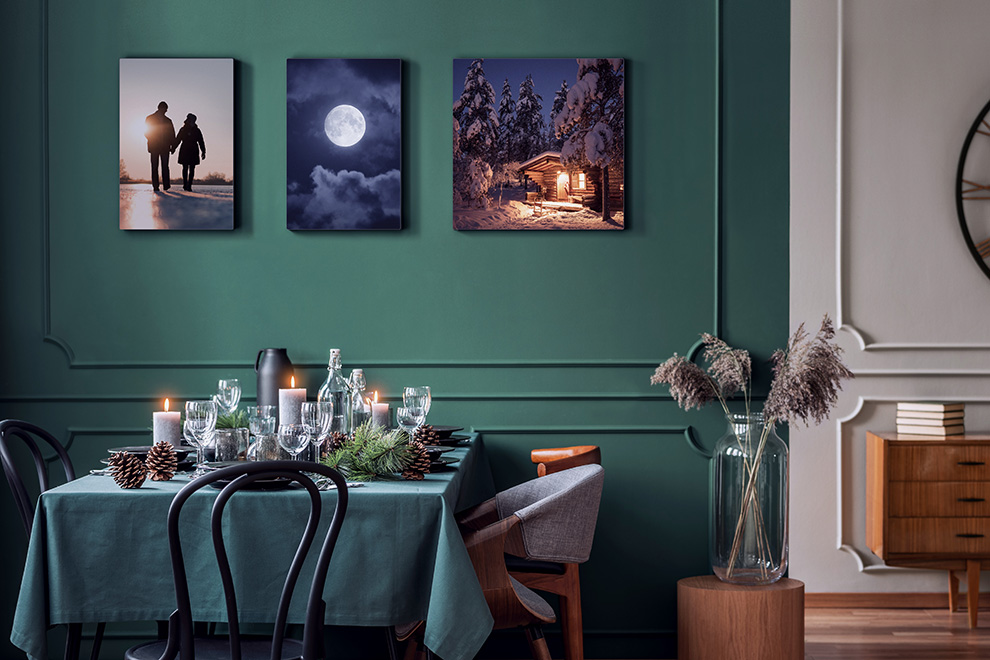
How often do you browse through your digital photos? Do you take lots of photos that end up just sitting there or get forgotten about on your phone or computer? Make the most of your favourite photos by turning them into printed images and Christmas cards. A great way to celebrate a trip or a special day, is to save your photos and stories in a photo book. Some other great ideas are making a calendar for your grandparents, an adhesive photo poster for your child’s nursery, a T-shirt for a loved one, a fun photo mug for your office or a photo canvas to brighten up your home.
Tip five: Next time you're browsing and organising your photos, think about all the fun and creative things you could make from them!

