Step-by-Step Guide on Taking Photos of Stars
For thousands of years, mankind has been fascinated by the night sky. Throughout the ages, drawings and paintings of the night time sky and its beauty can be found. Even today it is a popular subject in photography. The camera opens our eyes to the vastness and allows us to see more than is possible with the naked human eye.
We will show you step-by-step how to take stunning pictures of the night sky.
Good Preparation Is the Key to Avoid Disappointment
While during the day just a glance out of the window is enough to assess the numerous possibilities for a beautiful picture, but for taking photos at night time more preparation is needed.
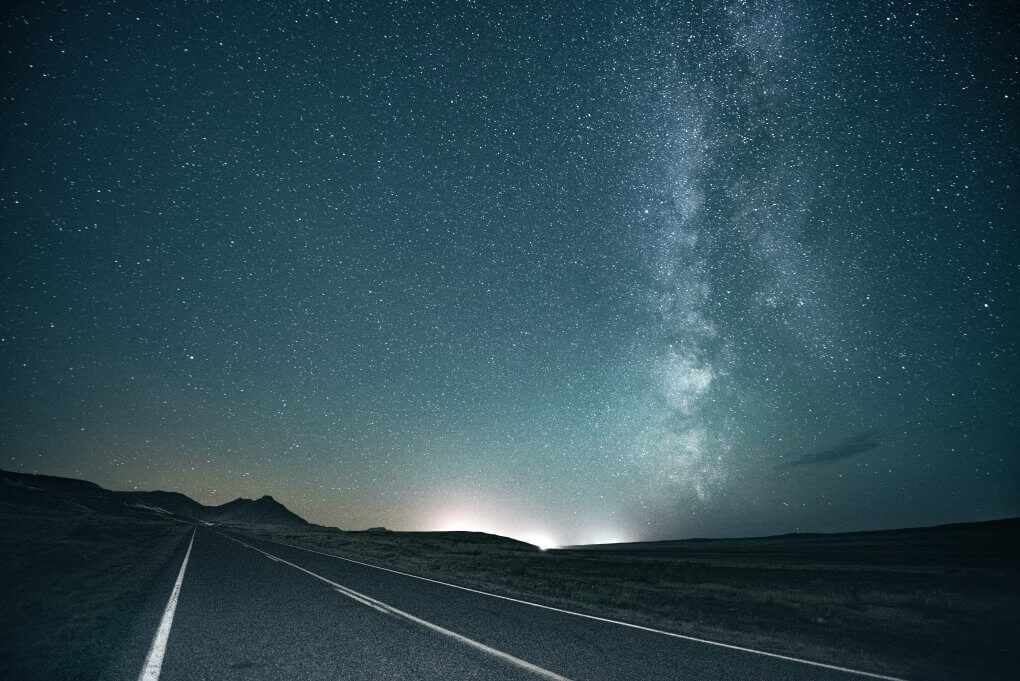
The moon is the second brightest celestial body, which often outshines the light of stars, therefore, it’s recommended to check the lunar calendar and to find a suitable day, i.e. around the time before and after the new moon. Ambient light, i.e. light from cities and streets also influences the lighting conditions. Secluded places away from light pollution, such as in fields are suitable for taking photos at night time.
When choosing a date and location, also check the weather forecast to see if it will be a clear night. Nights when it is not cloudy can be quite cold, but they offer great conditions for taking photos at night time.
If you would like the Milky Way to be the focus of your photos, then the following rule applies: the darker the surroundings and the sky without the moon are, the clearer and more colour intense the photo will be.
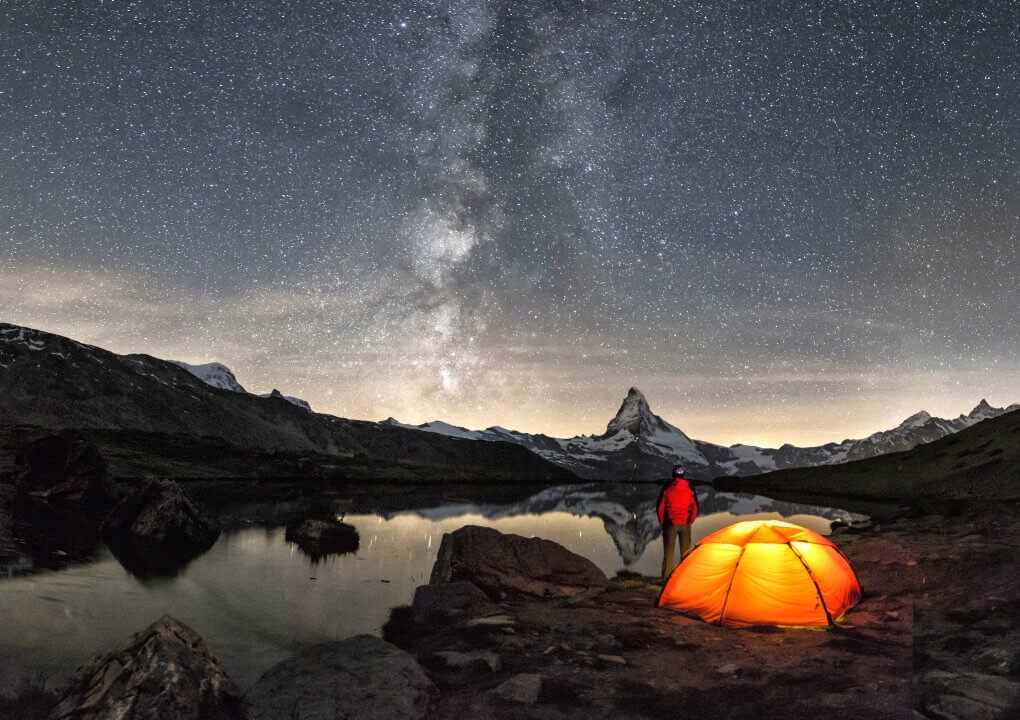
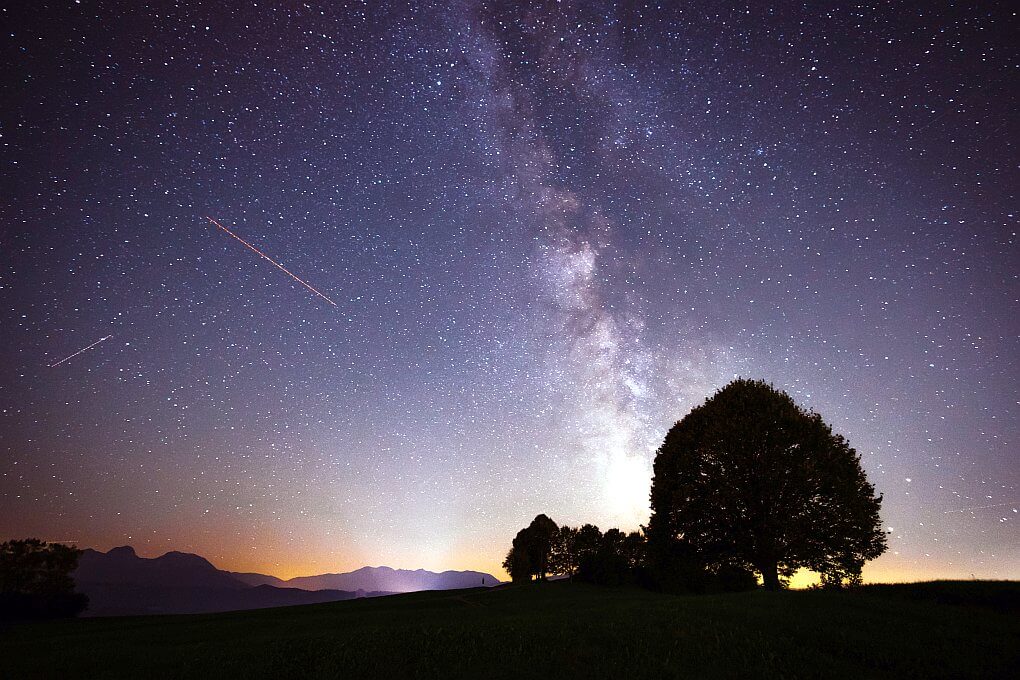
The choice of location is not only important for the lighting conditions. A clear sky shot quickly looks boring and generic. Look for a place with a nice silhouette for the foreground, this can be a beautiful tree, a lake with a reflection or even a nice building.
Just like the moon the stars move across the night sky and not all constellations are always visible. There are very good free apps such as SkyView® available for iOS and Android that project the starry sky in real time through the camera and indicate the locations of the moon, sun, planets and satellites. This way you can create an impressive image composition even without astronomical expertise. The stars and the Milky Way are most clearly visible during the summer months, depending on the hemisphere, latitude and moon phase.
Helpful Camera Accessories
Besides warm clothing and a torch, a stable tripod is the most important piece of equipment. To makes sure that you camera is steady an additional remote trigger can be helpful.
It is relatively easy to achieve beautiful images with a full-frame camera, as it has low noise even at high ISO values due to its large sensor. However, these cameras are a lot more expensive.
Besides the sensor size, the lens is of course also crucial for taking pictures with as much light as possible. When starting out you can use your kit lens. For very high-quality images, however, you cannot avoid investing in a fast wide-angle lens. For landscape and star photography, you can do without autofocus almost entirely. If you would like to specialise in one of these types of photography you can do without the more expensive camera feature.

Correctly Setting the Focus and Aperture
As mentioned earlier in this article preparation is the key as photos at night time are not taken in autofocus mode. You should set the focus manually to infinity. This range is usually marked with an infinity sign on the focus ring or you can set the focus the day before by focusing on a very distant object and marking the setting on the focus ring by making a small mark.
The aperture should be set as open as possible, i.e. in the range from 0 to a maximum of 4, in order to capture as much light as possible. The image stabiliser should also be deactivated, as it can be rather counterproductive when taking photos with a tripod.
For everyday use the ISO value is kept low to reduce noise, but for taking photos of a starry sky the ISO value needs to have a higher value. The ISO value is closely correlated with the exposure time and should be adjusted at the location, depending on the desired focus. For star trail images with a long exposure time the ISO value should be kept low, but for images of the Milky Way a very high ISO value of at least 1600 should be selected.
The setting of the exposure time depends on the end result. If you would like a static image of the stars and Milky Way the exposure time should not exceed 15-30 seconds. A higher exposure can be used to capture the effect of the star trails. The stars revolve around the northernmost point of the sky, the North Star, and you should bear this in mind when composing the image as the star trails will kind of form a circle around it. The closer the image is to Polaris, the longer the exposure time will be before the star trails are visible. If you are taking photos of the horizon keep the exposure time as short as possible.
Below you will find the formula for the maximum exposure time without star trails:
500 / (camera crop factor*focal length) = maximum exposure
Editing Star Photos
It is important if you would like to edit your pictures that you have taken the pictures in RAW format. Even with small adjustments to white balance, depth, warmth and contrast, you can set the scene for your shot and make the stars stand out in greater detail.

Conclusion
Getting the perfect picture of the night time sky full of stars requires patience and intuition, as well as some camera accessories. Even as a beginner with not a lot of camera accessories, you can get a view of the fascinating night sky that would otherwise remain hidden.
