Avoid rookie mistakes: Photographing stars correctly
During a daytime photo tour, the hours and minutes can fly by, and all of the sudden it’s dark. This seems like a great opportunity for a few night shots with a sky full of twinkling stars. For successful shots of stars or the Milky Way, however, a few things have to be considered.
We will explain to you how to capture an impressive night sky effectively and which mistakes to avoid.
Mistake no. 1: Looking out of the window to get a weather forecast
Almost every passionate amateur photographer is tempted to go outside with their camera when the weather is good. But while nice weather during the day makes for good photos, other factors play an important role in star photography. The moon phase has a decisive influence, since during a full moon, many stars are over-illuminated by the light of the moon. Consequently, the four days before and after new moon are best suited for impressive night shots. You can find out the moon phases by looking at the lunar calendar, which you can find on numerous web pages and apps.
Furthermore, you get a better shot of stars in cold air than in warm air, as it is clearer. After rain, which also provides clear air, there is also a particularly good chance of photographing a beautiful night sky. If, however, cold, clear air is added to a snow-covered area, this can become a problem. The white snow reflects light and the stars in your photo will be hard to see. The months of March to May and September to October are particularly suitable for nocturnal photo tours.
Mistake no. 2: Mysterious astronomy
As already mentioned, it requires some background knowledge about the moon and its phases to catch good conditions for star photography. Knowledge about the constellations and the Milky Way is also very helpful for an impressive image composition. That’s why it’s always useful to bring a star map with you. The most practical way to do so is using an app on a smartphone. For example, the free app SkyView® (iOS / Android) shows both the locations of different constellations and the locations of the sun, moon, planets and even satellites. In addition, this app has a search function that leads you to the specific position of a constellation or another celestial body.
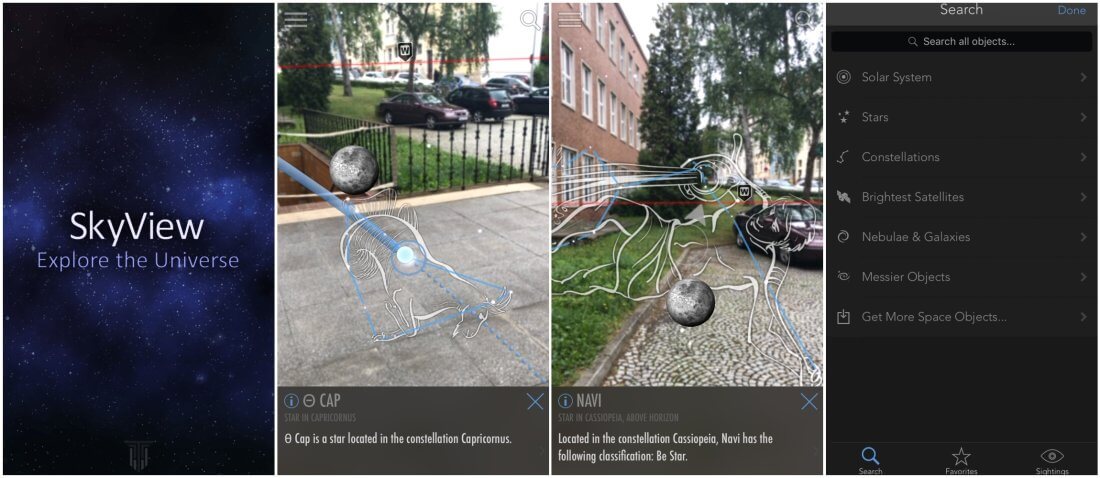
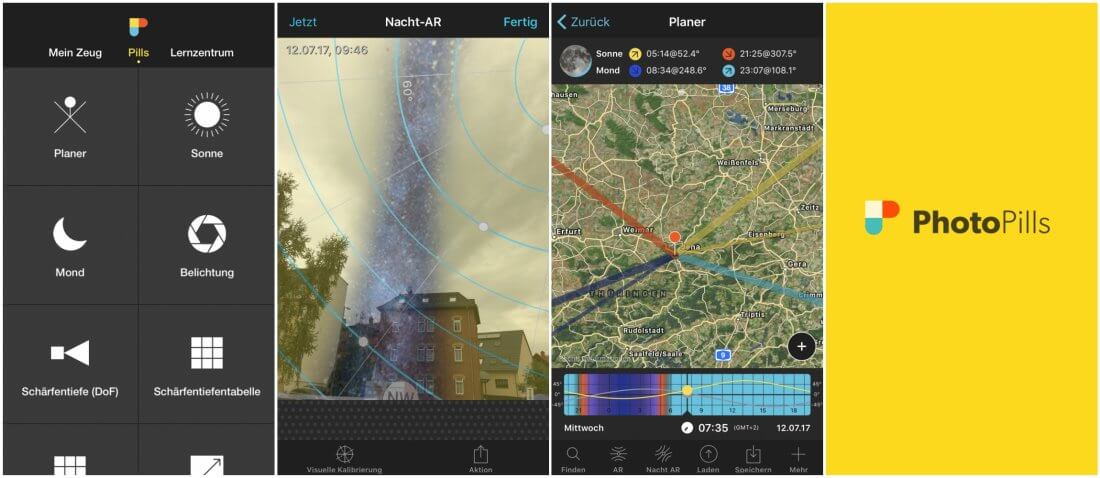
Another very useful app is called PhotoPills (iOS / Android). This app is not free of charge, but offers a lot of helpful functionalities. It gives you exact information about the course of the sun, the moon and the milky way at your specific location, which you can view in Live View mode. The app also shows you the phases of the moon and sun as well as the golden and blue hour. To plan individual photo sessions, you can use a planner that shows you precisely in which hours it is particularly worthwhile to take pictures outside.
Independent of star photography, this app offers a large selection of cameras, so that you can adapt the uses specifically to your own camera. With the help of this tuning, the app can give you numerous tips for different settings options with regards to exposure, depth of field, object distance and much more. For better understanding, the app provides operating instructions and YouTube tutorials.
Mistake no. 3: There are stars everywhere
The statement “There are stars everywhere” is technically true and yet they cannot be admired from everywhere. Especially in big cities there is a lot of light pollution due to the many lanterns, traffic and also the illuminated advertisements of countless shops. This means that it never really gets dark. That is why you should go to a place far away from the city to photograph stars. The less ambient light, the better the conditions for a successful shooting at night. On top of that, a higher point, such as a hill, a mountain or a starting point, helps to get a clear view.
Mistake no. 4: Taking pictures with Autofocus
Before we start with the settings, some questions regarding the equipment have to be answered. Full-format cameras offer the best conditions for taking pictures of the night sky because of their large sensor, which has fewer problems with noise behaviour at high ISO values. However, this doesn’t mean that a good shot cannot also be taken with a camera with a smaller sensor, such as an APS-C sensor.
But the body of the camera does not do the work all by itself. The lens plays a significant role. Above all, the lens should be as wide-angled and powerful as possible and allow an aperture of four or less. Autofocus does not play a role when choosing the lens for star photography, since the focus in star photography is set manually anyway.
Photographs of the night sky are always taken with an open aperture. This means that the smallest aperture available is chosen to capture as much light as possible. The most complicated step is to focus on infinity. With some lenses, the infinity sign is shown directly on the focus ring, which makes the adjustment much easier. If this image is not available, it is possible to focus on a very distant object during the day in order to then place a mark on the lens yourself. This is only possible with lenses that let you rotate the lens ring infinitely, though.
The Live View mode can be useful to check the focus. Since this can be magnified tenfold, it is easier to see whether the point has actually been focused. If this is not the case, you can readjust the focus in a few small steps.
The ISO value in photography should ideally be kept rather low to avoid noise in the image. When photographing stars, however, you should use quite high values in order to get the best image effect. Depending on the camera model, ISO values between 1600 and 8000 are used. Therefore, it is even more important to shoot in clear air as this reduces noise considerably.
Once all settings have been adjusted, the image can be captured with an exposure time of 15 to 30 seconds. However, do not expose for more than 30 seconds, as the circular stars will turn into stripes. Due to the long exposure time, using a tripod is recommended. In addition, a remote shutter release can be a great help to prevent shaking caused by releasing the shutter.
Mistake no. 5: Only aiming the camera at the sky
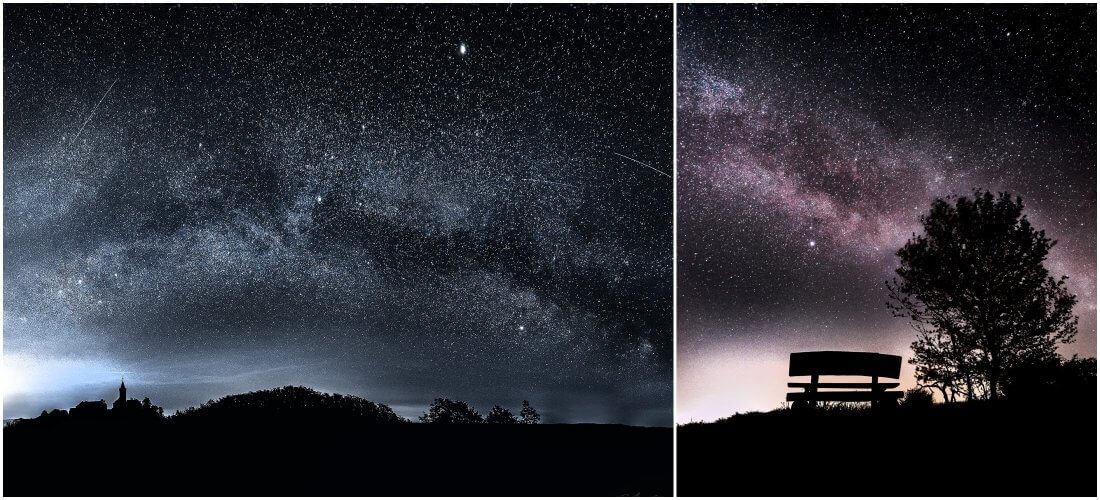
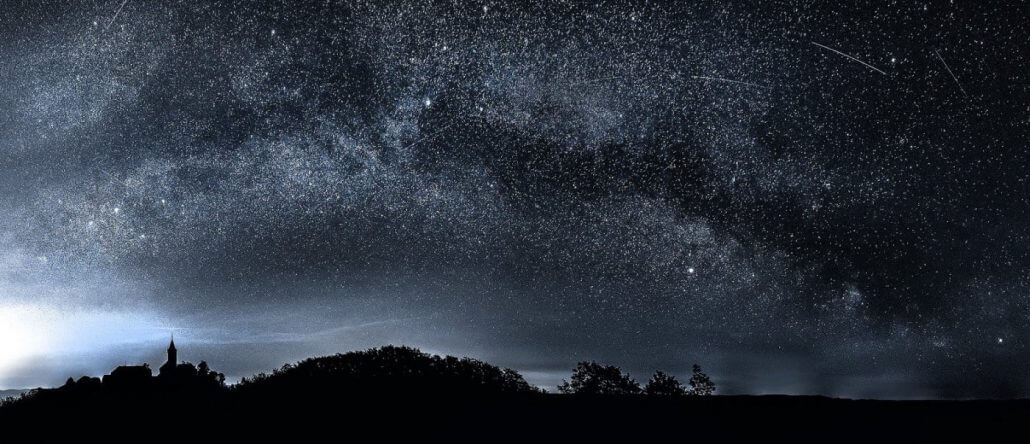
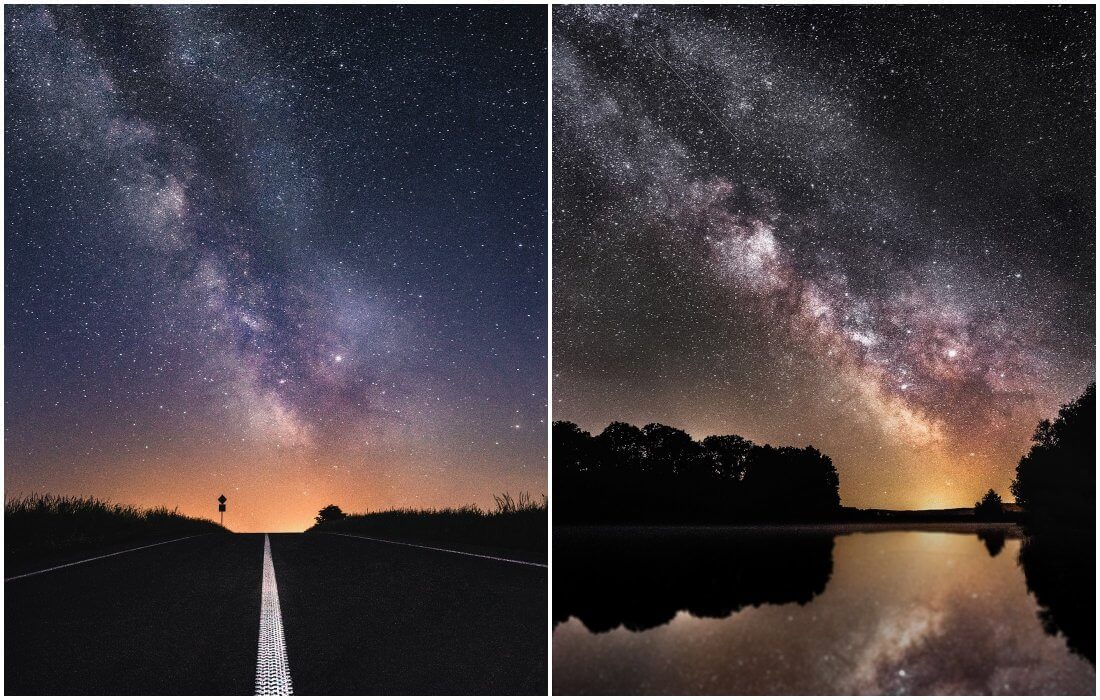
The starry night sky and above all the Milky Way are extremely impressive. Nevertheless, a picture that only shows the sky can quickly become boring. The right tension can be created by bringing in other image elements, such as a tree, a street, a building or the silhouette of a landscape.
Conclusion
Photographing the starry night sky involves a number of preparations, but considering them will produce impressive results. So be experimental, play with ISO values and exposure times, and include objects and stray light from streets or cities in your image design. Practice makes perfect.
We would like to take this opportunity to thank Andreas Franke, who not only impressed us with his incredible photos, but also helped us create this article with valuable advice.

