Shooting in Manual Mode (M-Mode)
Manual mode is the opposite of automatic mode. All settings are automatically adjusted by the camera in automatic mode, whereas all settings must be manually done by the photographer in manual mode. This mode is therefore particularly suitable for advanced photographers who are familiar with aperture, ISO and exposure time.
Manual mode, or "m-mode", is primarily used when the photographer wants to creatively organise a subject and the camera's settings need to be manually altered in order to get the desired result.
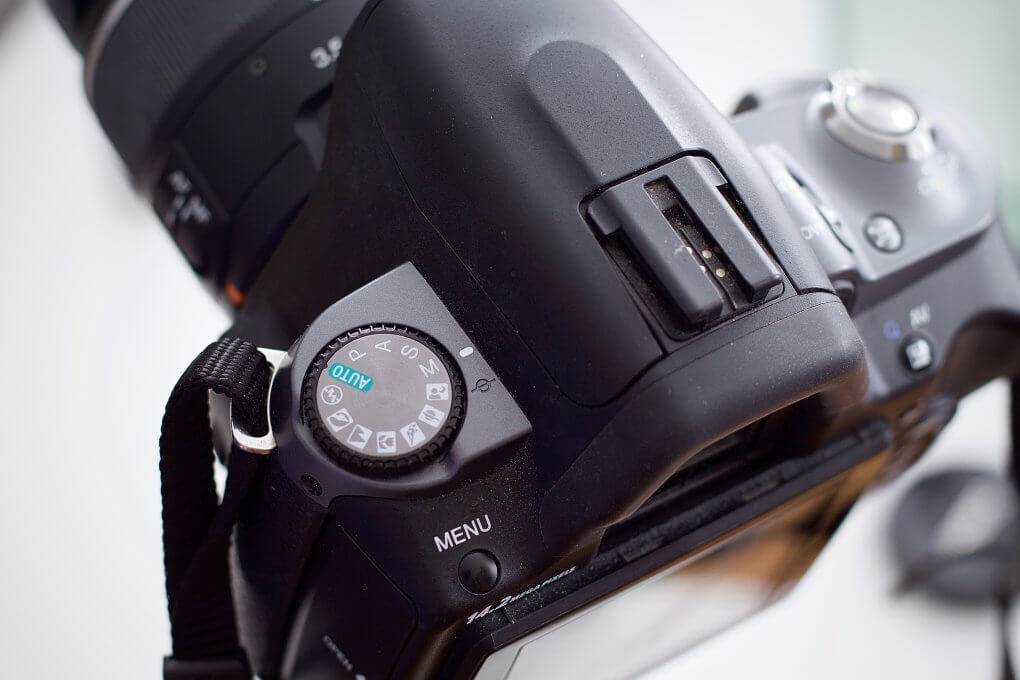
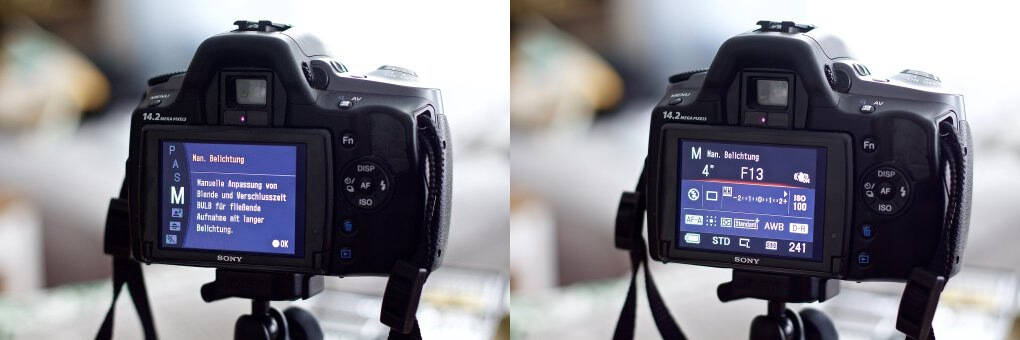
You can set the manual mode by operating the mode dial on your camera. This is usually labelled with an "M". Other programme modes that you will see on the mode dial are aperture priority "S/Tv", aperture priority "Av", programme priority "P" and the above-mentioned automatic mode "A" or "AUTO". As the characters for the respective programmes may vary depending on the camera manufacturer, some cameras display a short text about the features of the different modes.

Tips on Changing Your Camera Settings in Manual Mode
If you have set your camera to manual mode using the mode dial, you must adjust the aperture, ISO value and exposure time to the given lighting conditions yourself. Trying to find the right settings means you will need to find the right combination of the previously mentioned exposure factors. It will take some practice before you have captured the desired effect or mood in your photo.
Most cameras offer a camera assistance with the standard exposure index, where you can see how the image is exposed with the current settings on the viewfinder or on the display. This display is also known as the "light balance". If the mark is in the centre of the scale, then the exposure is optimal and this also means that the combination of ISO, aperture and exposure time matches. The scale area to the left of the centre indicates underexposure, to the right of the centre means overexposure. To ensure correct exposure, you should therefore make sure that the mark is always in the centre on the scale. You can also use the exposure display specifically for creative image composition and experiment with overexposure or underexposure.
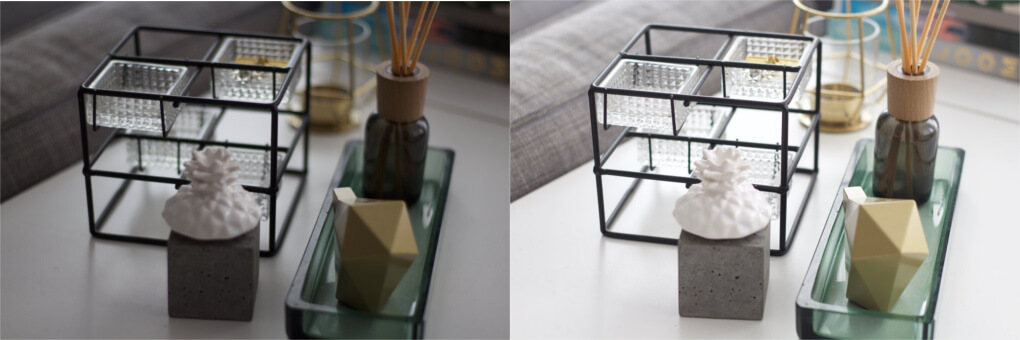
Varying the aperture and exposure time is the best way to take creative and expressive photos. You should always set the ISO value as low as possible to avoid unwanted image noise. The example below clearly shows the effect of well-adjusted exposure settings in m-mode compared to automatic mode. The photo is quite dark and partially blurred in automatic mode on the left, whereas in the photo on the right the subject appears sharper and has more contrast.

What Advantages Does M-Mode Offer Compared to Automatic Mode?
Sharp Images in Low Light Conditions
The automatic mode makes it easy to take photos without having to make lots of changes to the settings. Good results can also be achieved in daylight and when the subject is well lit. However, if you are taking photos in the evening or on a cloudy day, then the photos are quite often blurred. Manual mode, on the other hand, allows the photographer to react accordingly to the given lighting conditions and the parameters for optimum exposure, which can be individually adjusted. In m-mode, you can also take successful photos in poor lighting conditions by varying the exposure time, aperture value and ISO value.
Creative Image Composition with Depth of Field
As already mentioned, manual mode enables creative image composition and certain effects on a photo. For example, you can take expressive portraits by setting the f-number low for the desired depth of field (wide open aperture) and slightly blurring the background. Automatic mode, on the other hand, usually closes the aperture too much (higher f-number) for this effect to be visible. Alternatively, the automatic aperture priority mode (A/Av mode), in which only the aperture value is set manually and the exposure time is adjusted automatically, is particularly suitable for portrait shots and for targeted control of the depth of field.
Fantastic Motifs with Moving Objects
Manual mode also gives you a clear advantage when photographing moving objects. A long exposure time, a low ISO value and a small aperture are required to blur people passing by in the street, for example, while the background is in focus. However, you cannot influence these factors in automatic mode, which is why the entire image is often blurred or does not show the desired effect. If you do not want to adjust all exposure settings manually, you can also use the automatic aperture control as an alternative to m-mode. This automatically adjusts the f-number and on some cameras the exposure time and the ISO value can be manually set.
Conclusion
Particularly in difficult lighting conditions or when you want to create a certain effect in your image, manual mode is a good choice as it allows the photographer to be creative. As the exposure time, ISO value and aperture settings have to be adjusted manually, m-mode is particularly suitable for advanced photographers. If the exposure factors are well adjusted, high-quality and expressive shots can be achieved.
