Guest contribution
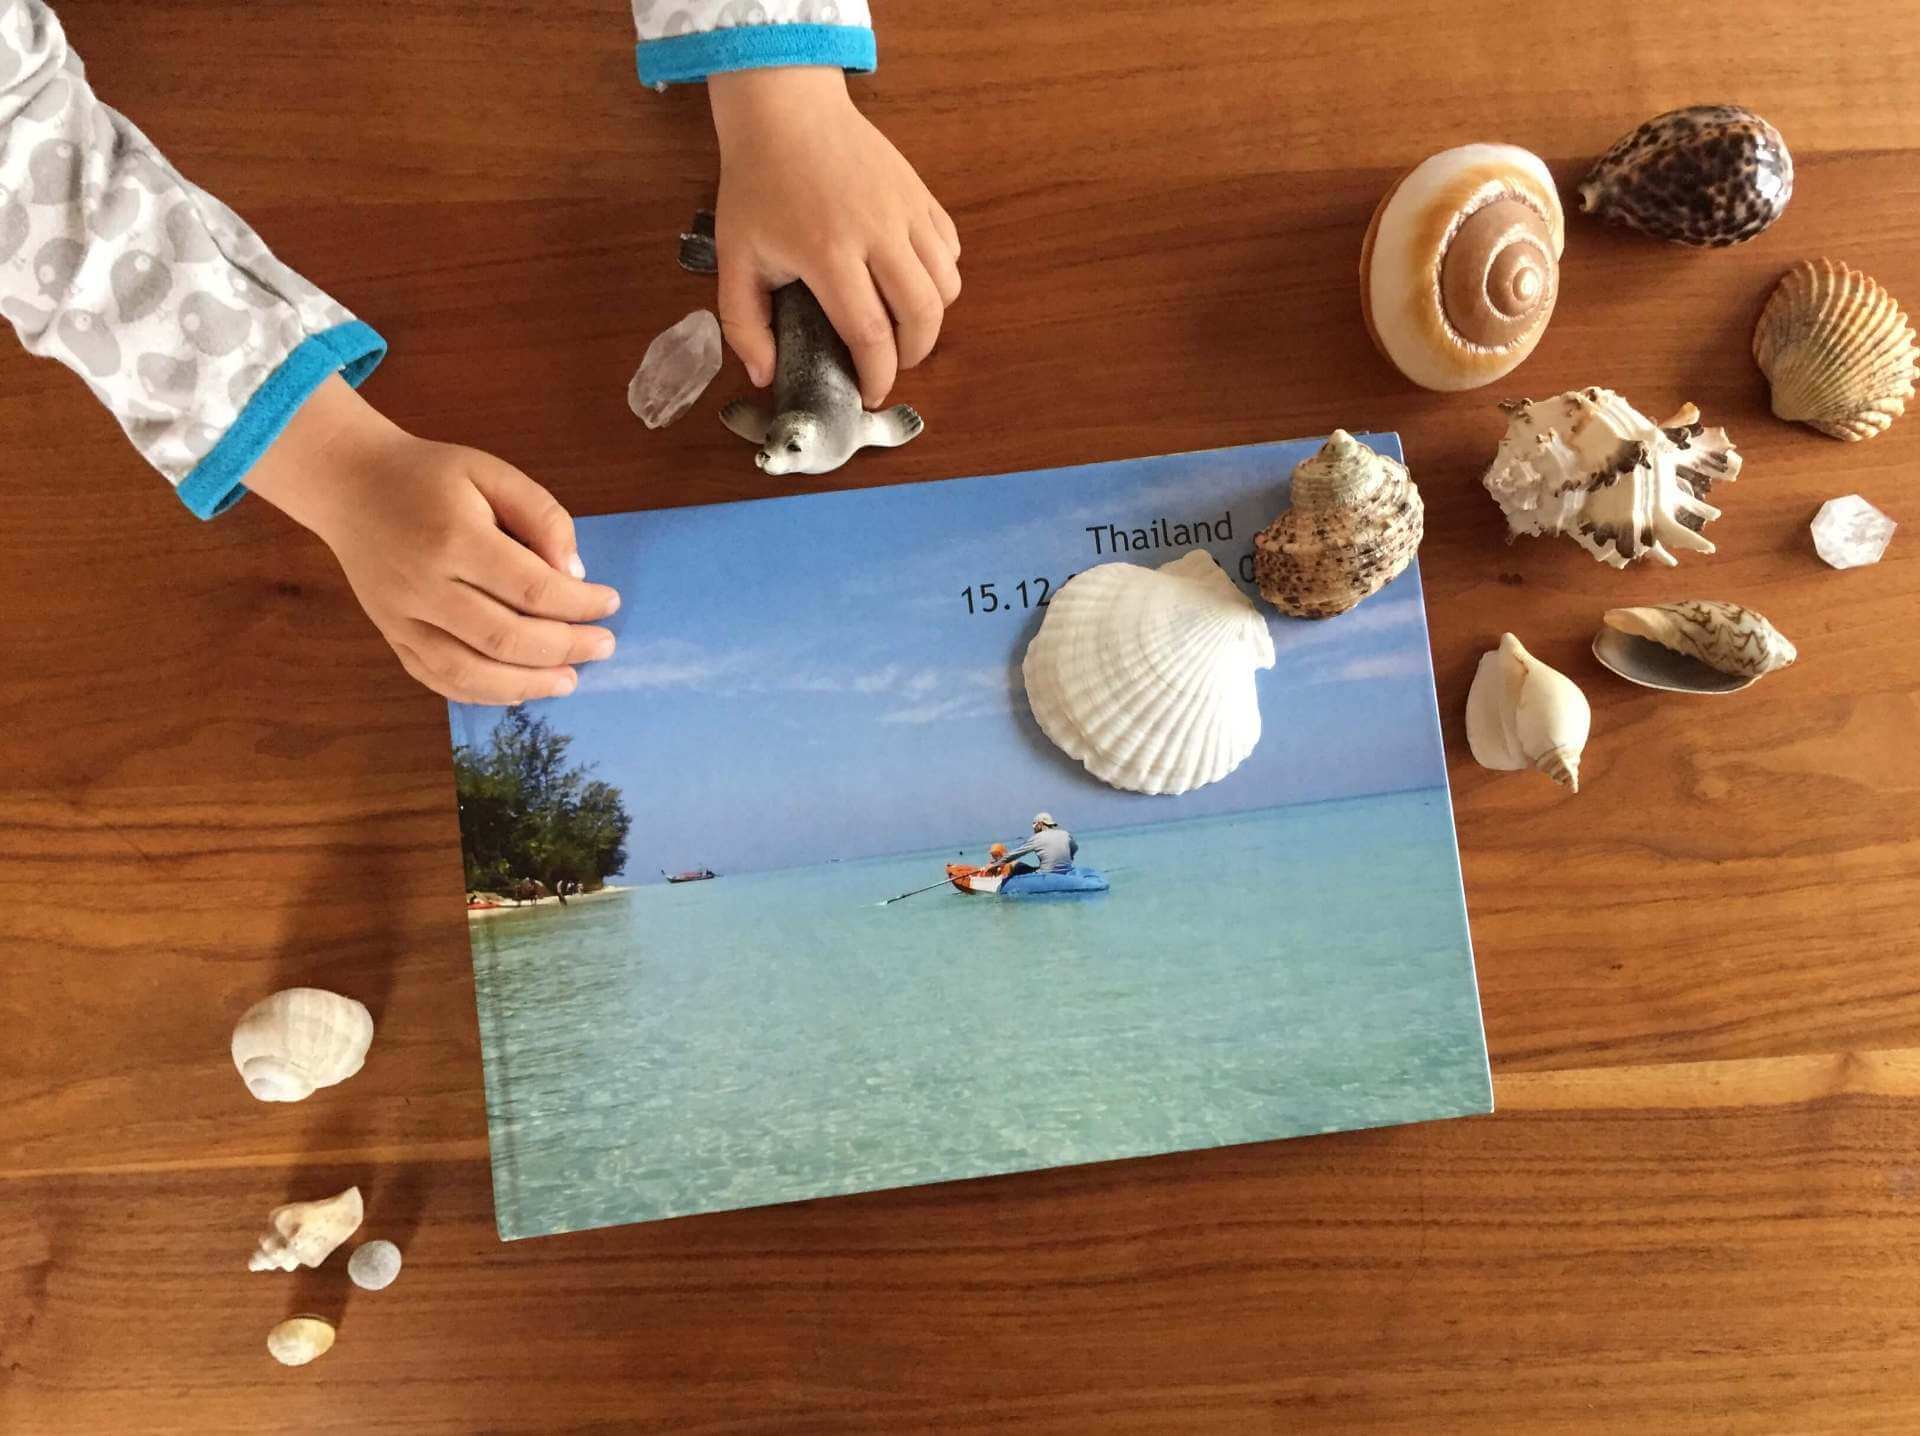
Tips and inspiration on how you can create your photo yearbook too.
Since I have children, my virtual photo album on my MacBook is bursting at the seams: there are simply so many moments that I want to capture forever. The first smile or first steps – there are literally thousands of first times with children. Added to this are the funny facial expressions, shared experiences or holiday. In short: I take at least 3,000 photos every year.
To ensure I don’t lose my way in this huge flood of images, I create an ifolor photo book of every year. With my first child I created an album of the first year in my son’s life for us which I also gave to relatives for Christmas. But now with three children, I create the photo books based on calendar years and to be honest: the children love them! They make themselves comfortable on the sofa and regularly look at the photo books – the eldest son explaining what can be seen in the photos to the youngest. I, too, like to join them and reminisce over and over again. The long holidays in Thailand, the many baby photos, our outings and adventures…
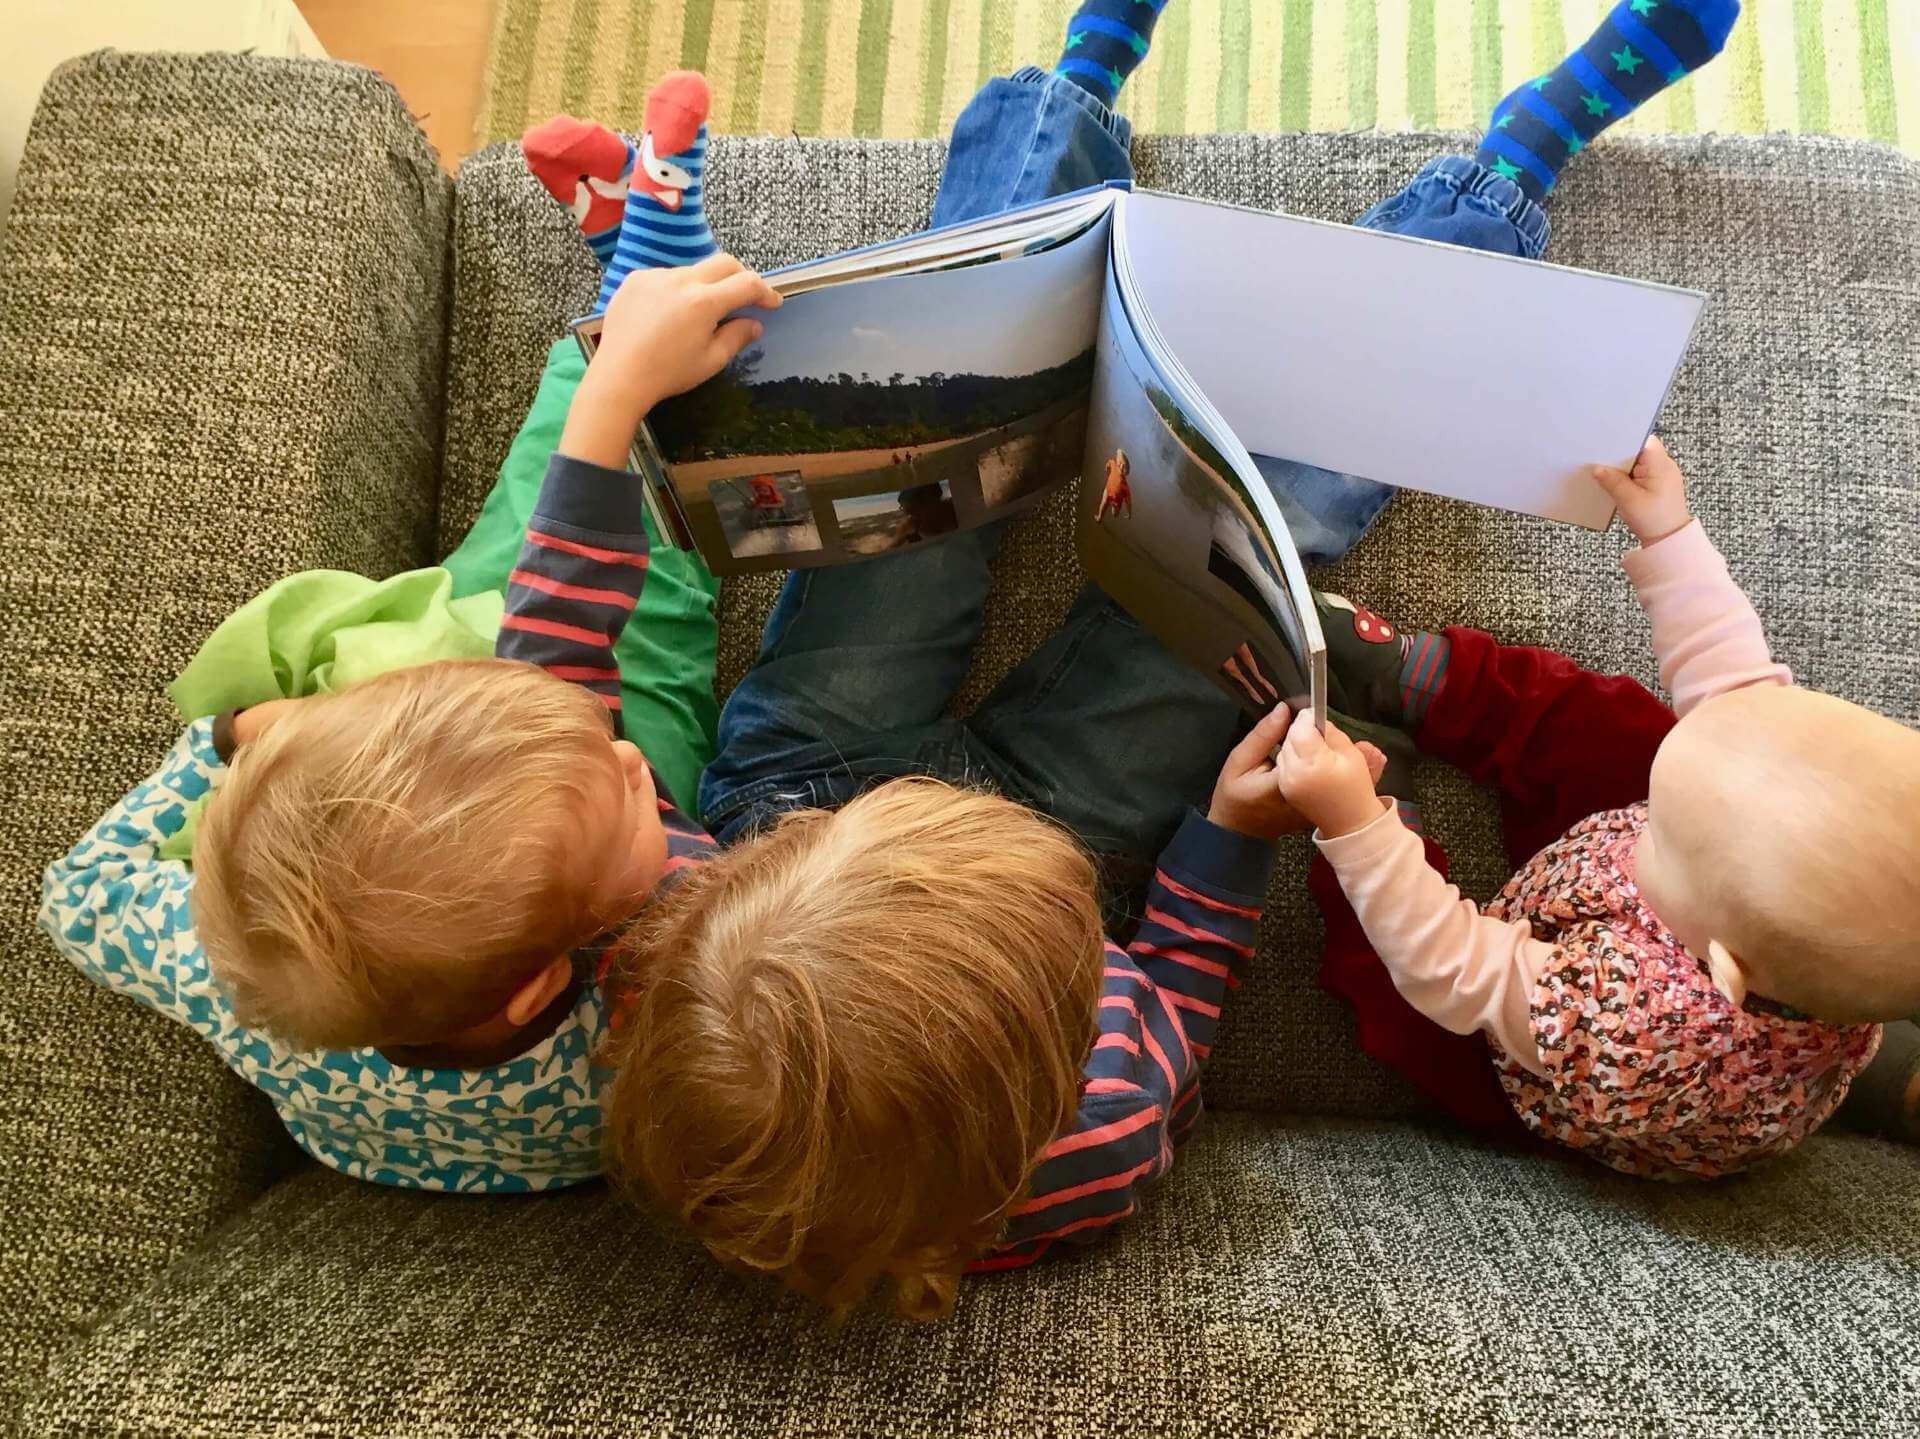
A photo book for ordinary people too (they don’t always have to be professional photos!)
I’m not a photo expert. I take my photos with my smartphone, without exception, and yes, I admit this: my photos naturally aren’t as good as a professional photographer’s. Despite this, my photo books turn out wonderful every time because they are personal photos.
I could in fact edit individual photos in ifolor Designer but I leave them as they are – they are photos that were taken in everyday life and you should be able to see that too. As a result, my photo books don’t have to meet any exaggerated standards of professionalism. They are intended for my family and me to remember unforgettable family moments. The photo books are also an opportunity to express my creativity. I love giving the pages an individual flair and frequently like a bit of colour!
ifolor Designer is simply and clearly structured. Have you not attempted a photo book project until now? I hope my tips inspire you to do so!
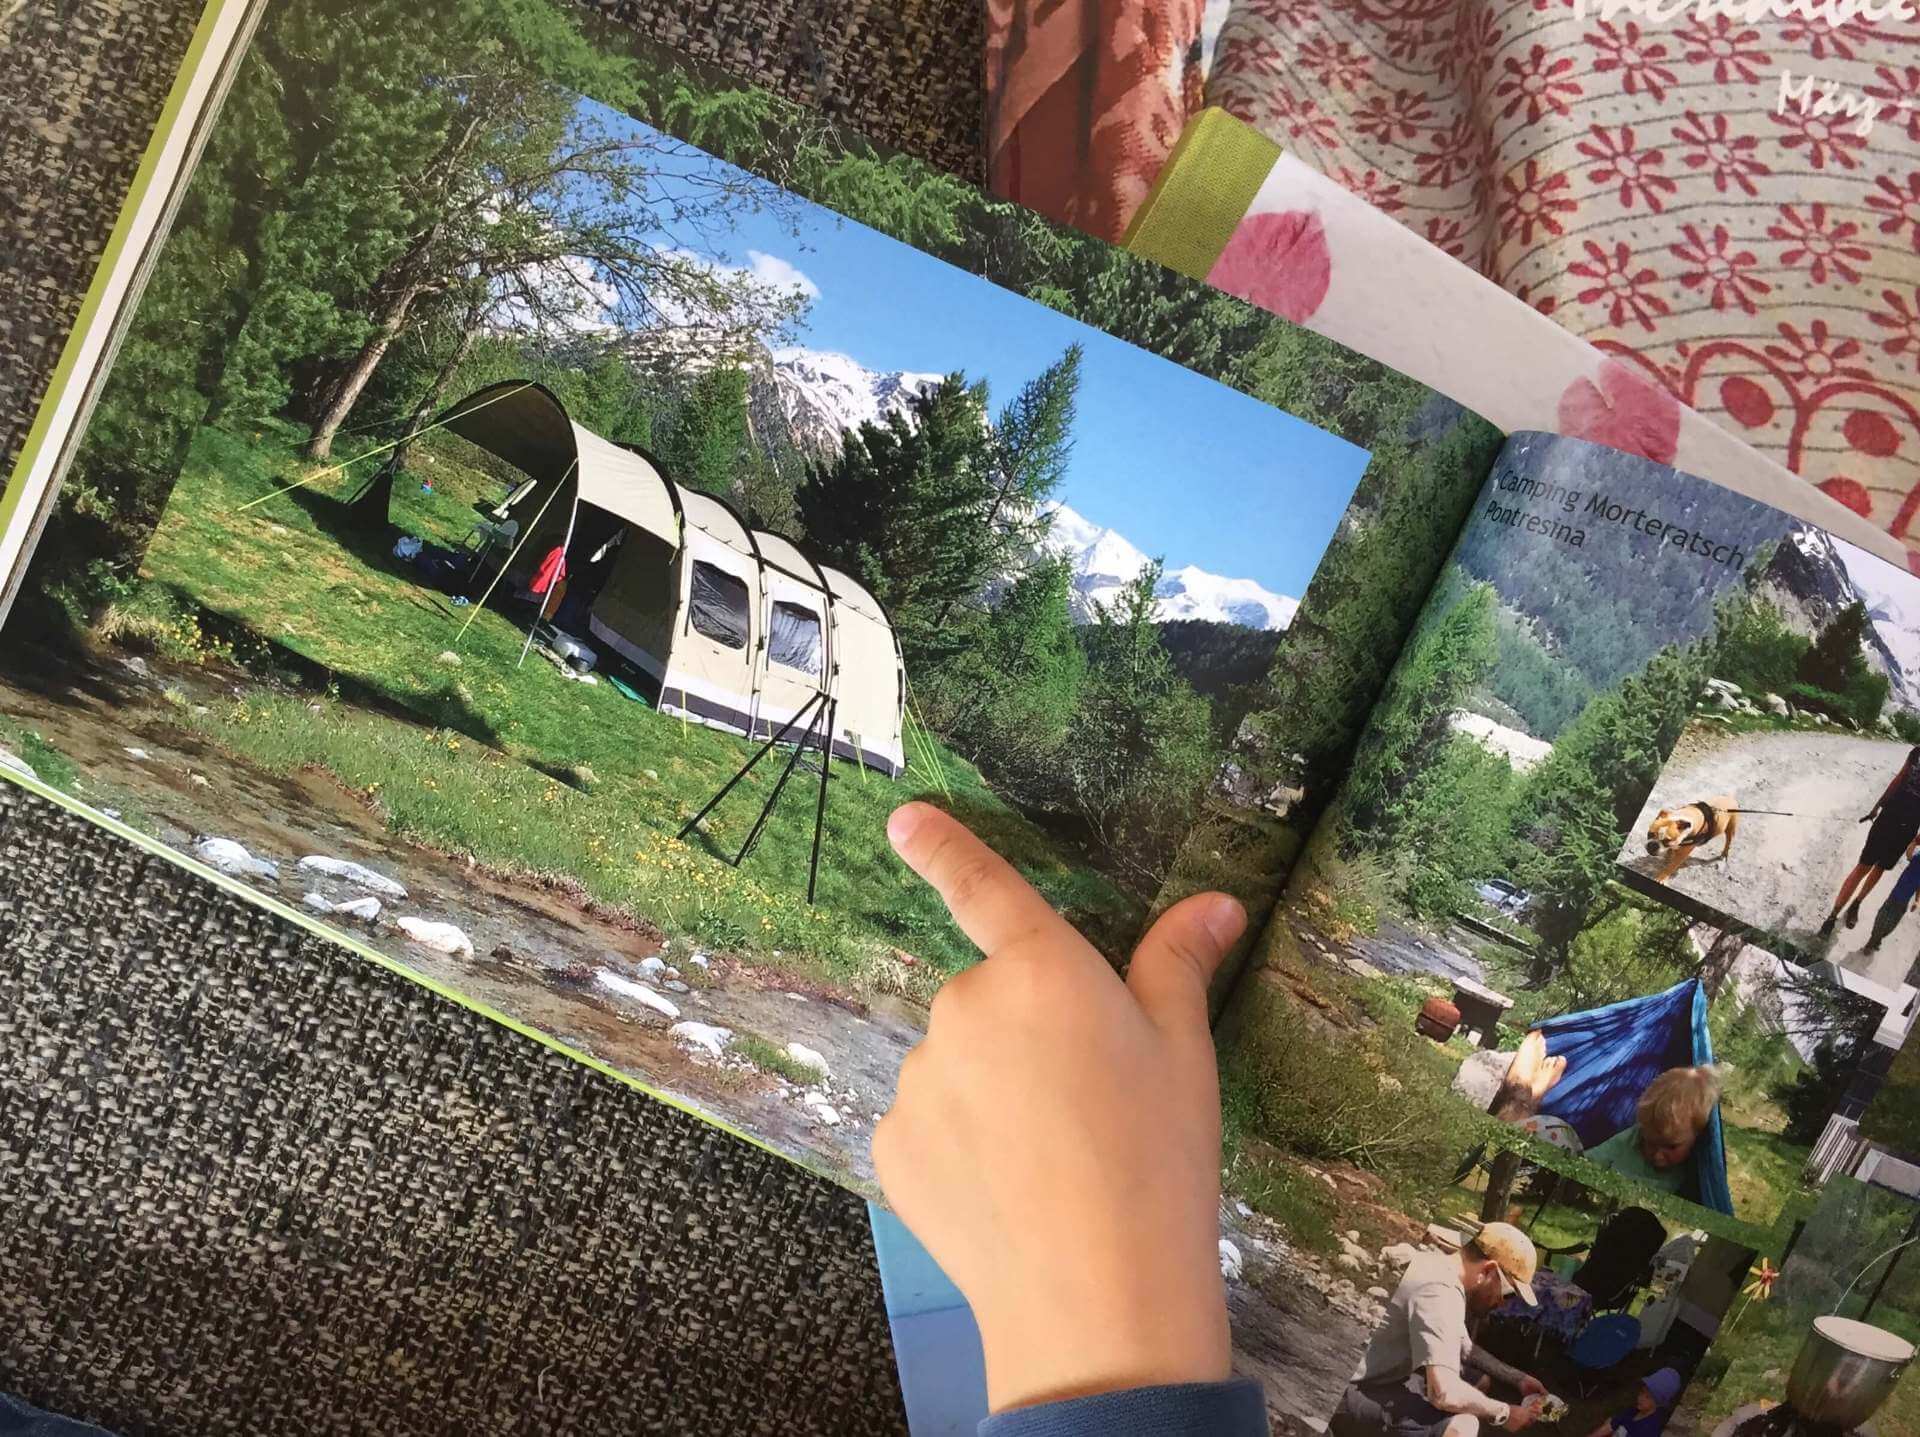
How to proceed:
1. Sorting out the photos
The most important thing of all! If you have lots of photos, then there is no avoiding this. Ruthlessly delete them. The baby is smiling at you in ten almost identical photos? Just keep the best one (I know, sometimes you simply NEED two photos, because on one they are smiling so sweetly and on the other one they are looking so dreamy but otherwise ONE photo is really enough).
Less is often more here and you will save yourself a lot of time and occasionally hassle too later on when creating the photo book. I recommend you do this work step in your normal photo programme as the photos can be viewed in their usual size there and it is easier to compare them and sort them out. Once you’ve done this, you’ve already done the worst bit.
2. Selecting a photo book
Think about which photo book is suitable for you. It’s a good idea to choose the same format over the years so it looks uniform on your book shelf too. I always use A4 in landscape format. A lovely variety would also be to deliberately choose a smaller format and just show a few of the year’s photos in it. This makes the photo books easier to store as they take up less space, are quicker to create and yet you still have wonderful memories of the past.
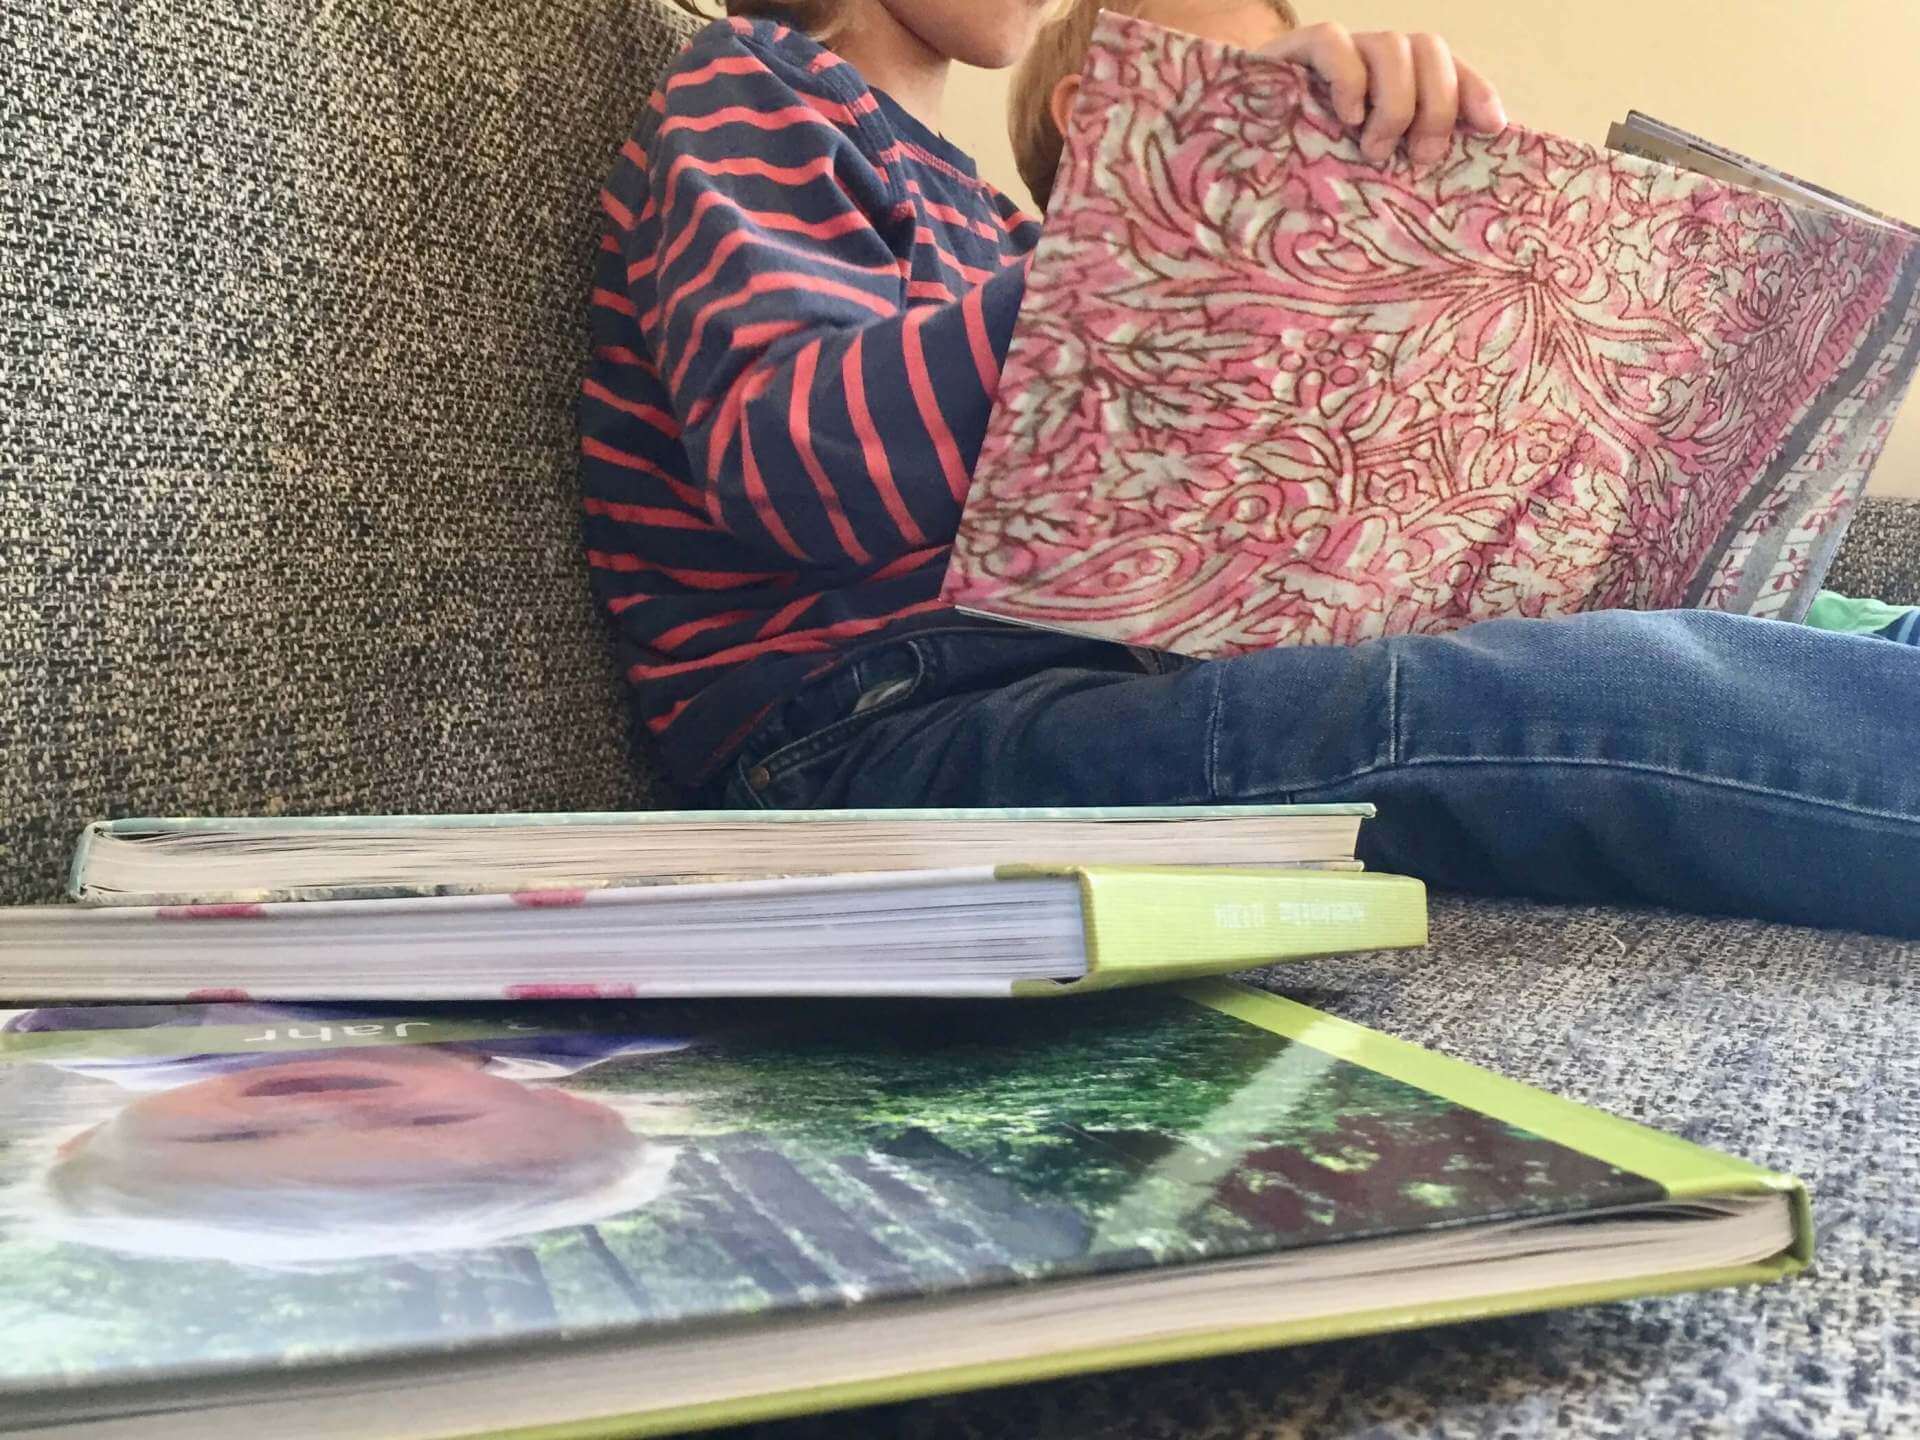
3. Thinking about your concept: How am I going to design the pages?
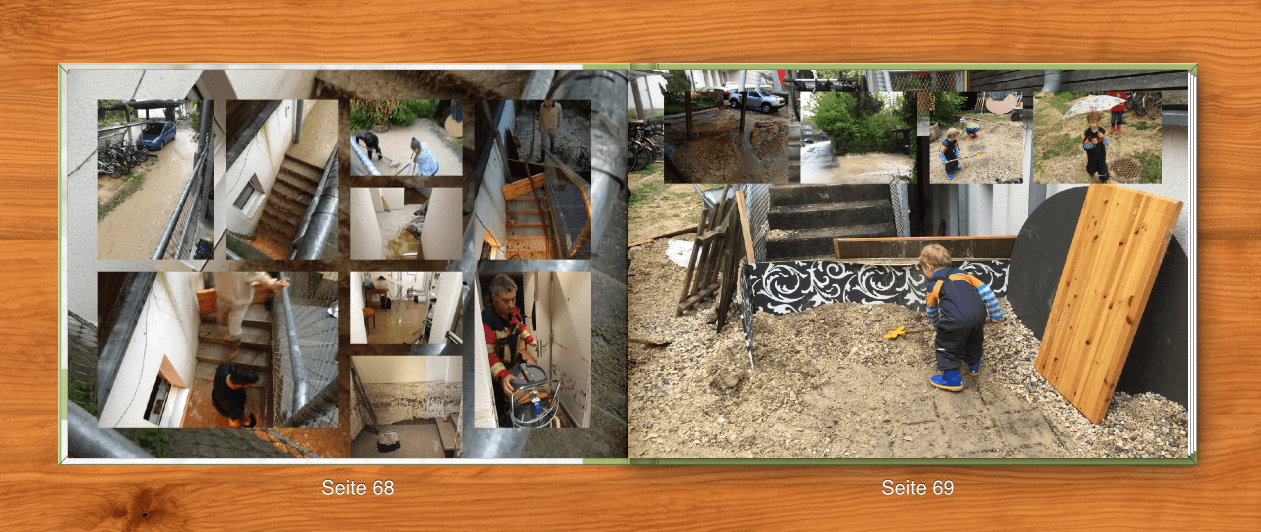
I look through the photos already as I’m sorting themout and think about themes. I create special pages for festivals and parties, holidays and special occasions. Sometimes I also give people their own page, for example, their godfather, or a page with photos of different friends. I then select a page template from ifolor Designer individually for every page that suits the photos.
Then there’s the mixed pages. For these pages I choose a good page template with placeholders in different sizes and formats. I like it when one or two photos per page are bigger and therefore stand out. I can then place all the other photos here that thematically don’t belong on a specific page.
Anyone who wants to save time, though, (and has sorted the photos well beforehand) can also choose one page template for the whole photo album and then simply arrange one photo after the other. The children are bound to like that kind of photo album just as much.
There are virtually endless design possibilities. From simple to extravagant. From time-saving to a lot of work. From classic to crazy. Which type are you?
Two tips to finish:
Be create with the backgrounds.
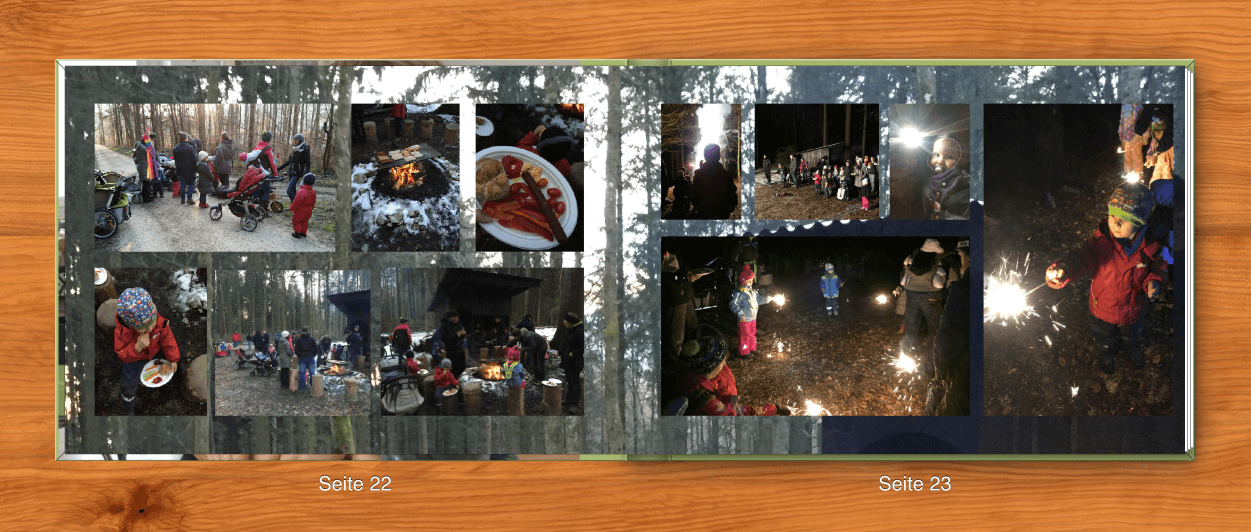
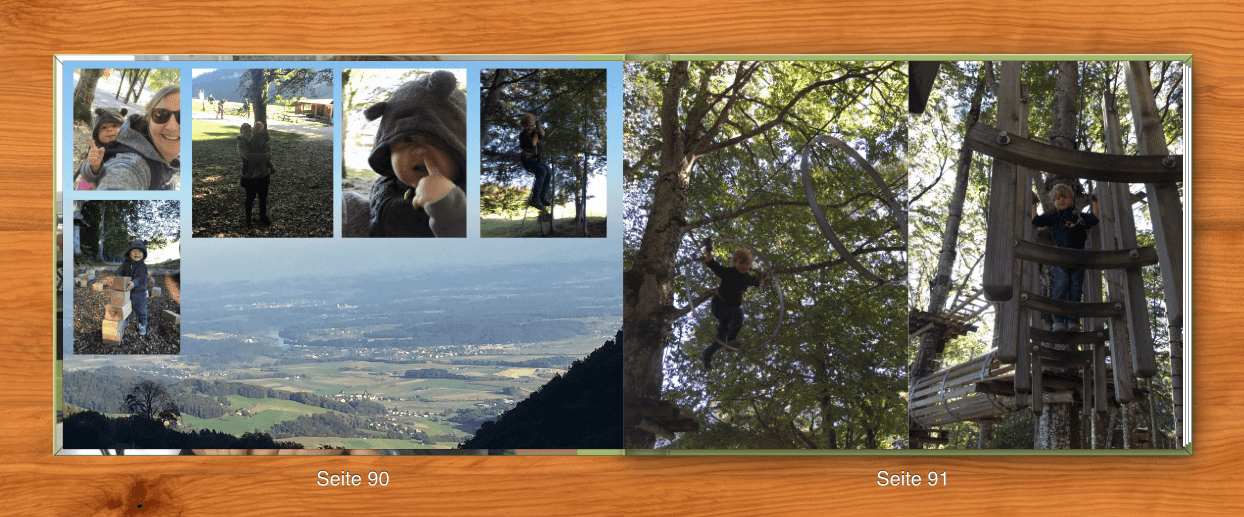
My tip for giving a page a unique design or putting the reader in a specific mood are the backgrounds. Yes, a classic photo album with white or black pages also has its charm. But with ifolor, I don’t have to restrict myself to this if I don’t want to. I often design pages with one photo as the background photo. How about looking at photos from the holidays with a beautiful photo of the beach in the background? I already feel in a holiday mood again. Or a page with carnival photos looks great with a confetti picture behind it. I also like using photographed children’s drawings as background pictures. There is no limit to your creativity.
By the way: because I don’t use any professional photos, I often get a warning from ifolor Designer: “Critical or poor resolution.” I safely ignore this as long as the photo is just being used as abackground. The mood I want is still conveyed even though the picture is not in sharp focus.
Are you a bit behind with your annual photo books?
Sorting out the photos works more efficiently for me a few years afterwards. I’m less emotionally attached to the photos then and can make clearer decisions. Give it a try!
I wish you lots of success and fun creating your personal annual photo book. Don’t be afraid to get started and be proud of your result. Experience what it feels like to review the many wonderful experiences from last year with your family.
Kind regards, Svea
Svea from “dreimalfrei.ch”
Svea Wolkenfrei is the mother of three children and writes about the family, alternative schooling and learning in her blog www.dreimalfrei.ch. Honest, self-critical and sometimes sarcastic… but also with a great deal of warmth, humour and a healthy portion of depth, she takes her readers through her everyday life and on the path of free learning.
