DIY-Note holder from a photo display
Simple ways to make your personal notepad holder yourself
Grocery lists, appointments slips for doctor visits or hairdresser appointments, to-do lists and “Don’t forget” sticky notes – Pieces of paper and notes are used daily as reminders. These little scraps of paper quickly gather and pile up on the desk, dining table or in the wallet. A note holder helps to organize these notes neatly. If you choose an original design, you will give your desk a personal note as well: We’ll show you how to turn a photo display into an individual note holder in a few easy steps.

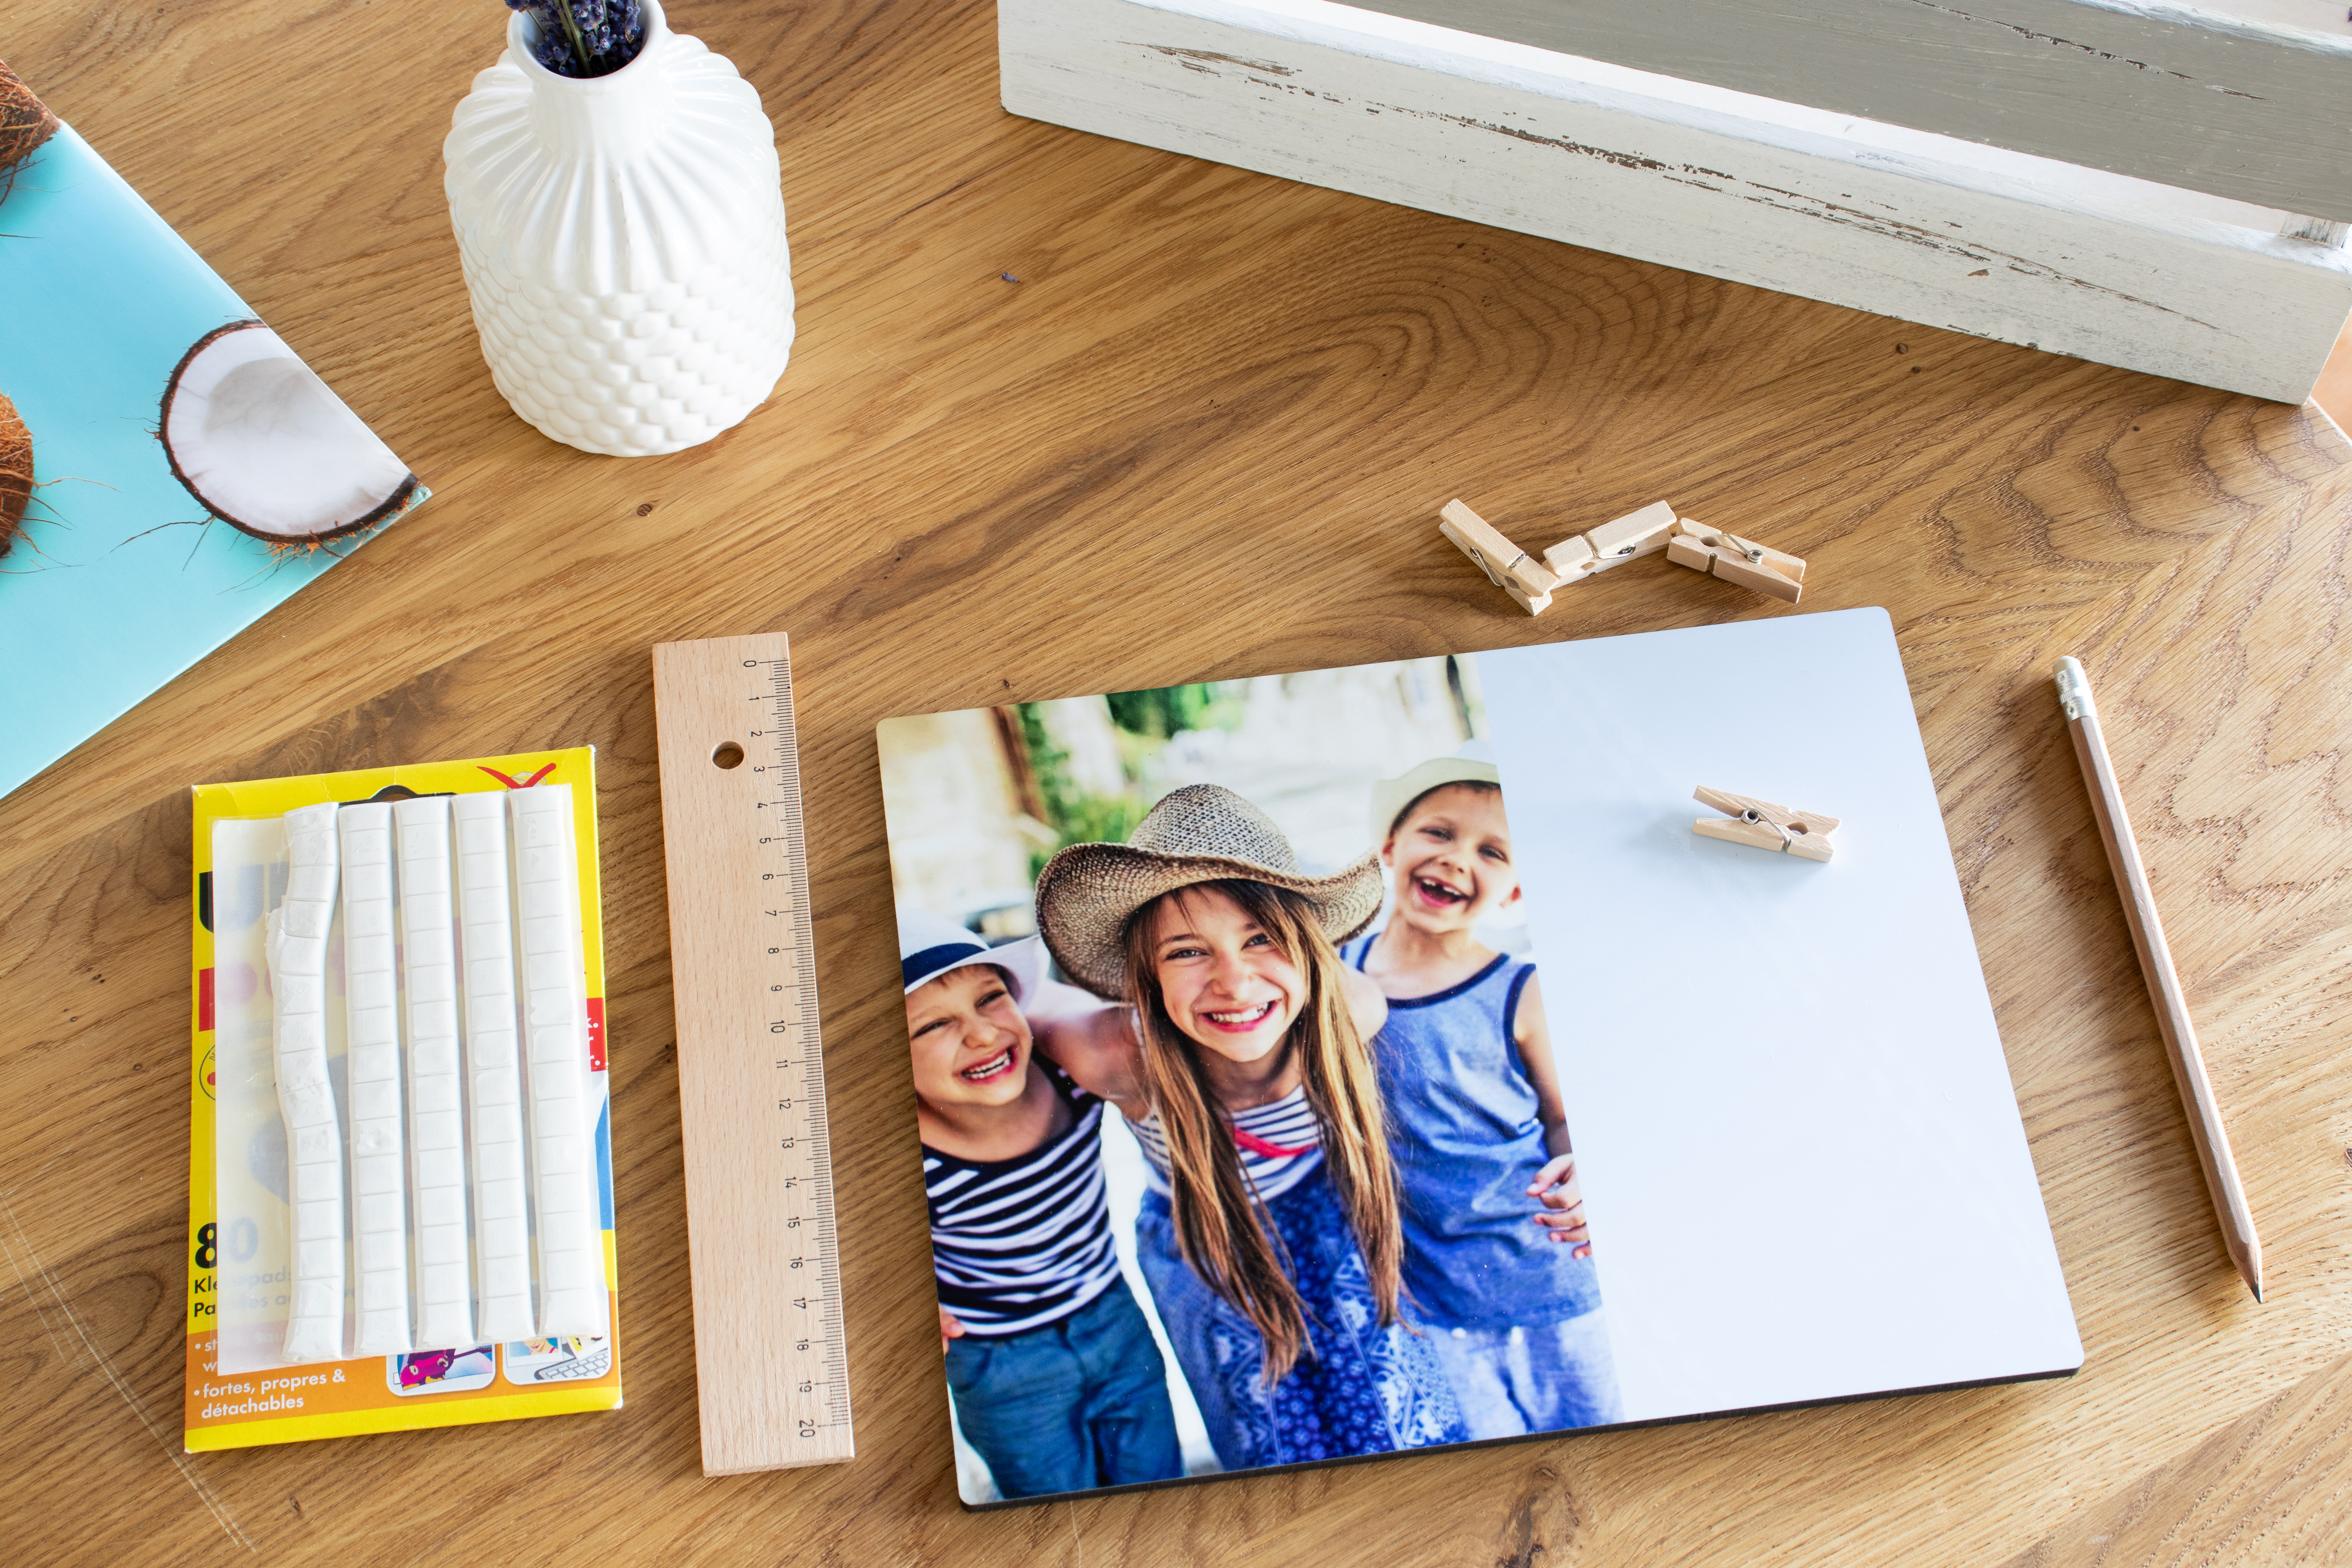
For the DIY note holder you need:
- ifolor photo display
- strong double-sided adhesive strips
- ruler and pencil
- a big wooden clothespin
- colour and brush as needed
Customizing the photo display
The first step is to design your own photo display online or with the help of the ifolor Designer. A photo display in landscape format is best suited for a note holder – in this way there will be enough space to arrange your desired photo next to a blank surface on which you can attach the notepad later. We recommend you to use the size 20x25 cm as this will enable you to clip even larger pieces of paper onto the note holder. A smaller format (e.g. 13x18 cm) is also practical if you want to make your note holder a bit handier.
To design the photo display, you can resort to various design templates. For the DIY note holder, the most suitable format is “collage” as this will make it possible for you to set a free space for your notes next to your photos. If you pick just a single photo and keep the remainder of the photo display for notes, the chosen image will of course be highly visible.
Tip
With the ifolor Designer you can customize your photo display: You can insert placeholders for photos and texts, select clip arts, frames and backgrounds. If you manually adjust the layout of your photo display, you can use a 50:50 or 60:40 aspect ratio between photo and free space. Move the photo placeholder accordingly. You can then design the background in a colour that matches to the photo.
Turning a photo display into a note holder
After you have designed and ordered your photo display, you can get the rest of the crafting materials. To attach your notes later onto the photo display, use a large wooden clothespin. This can also be coloured as you like to suit the selected photo.

After approx. seven working days, your photo display will arrive at your home. Now the craft work can begin:
- On the blank side of the photo display, use a pencil to put a small mark in the center of the upper area. Use a ruler to keep the clip up straight later.
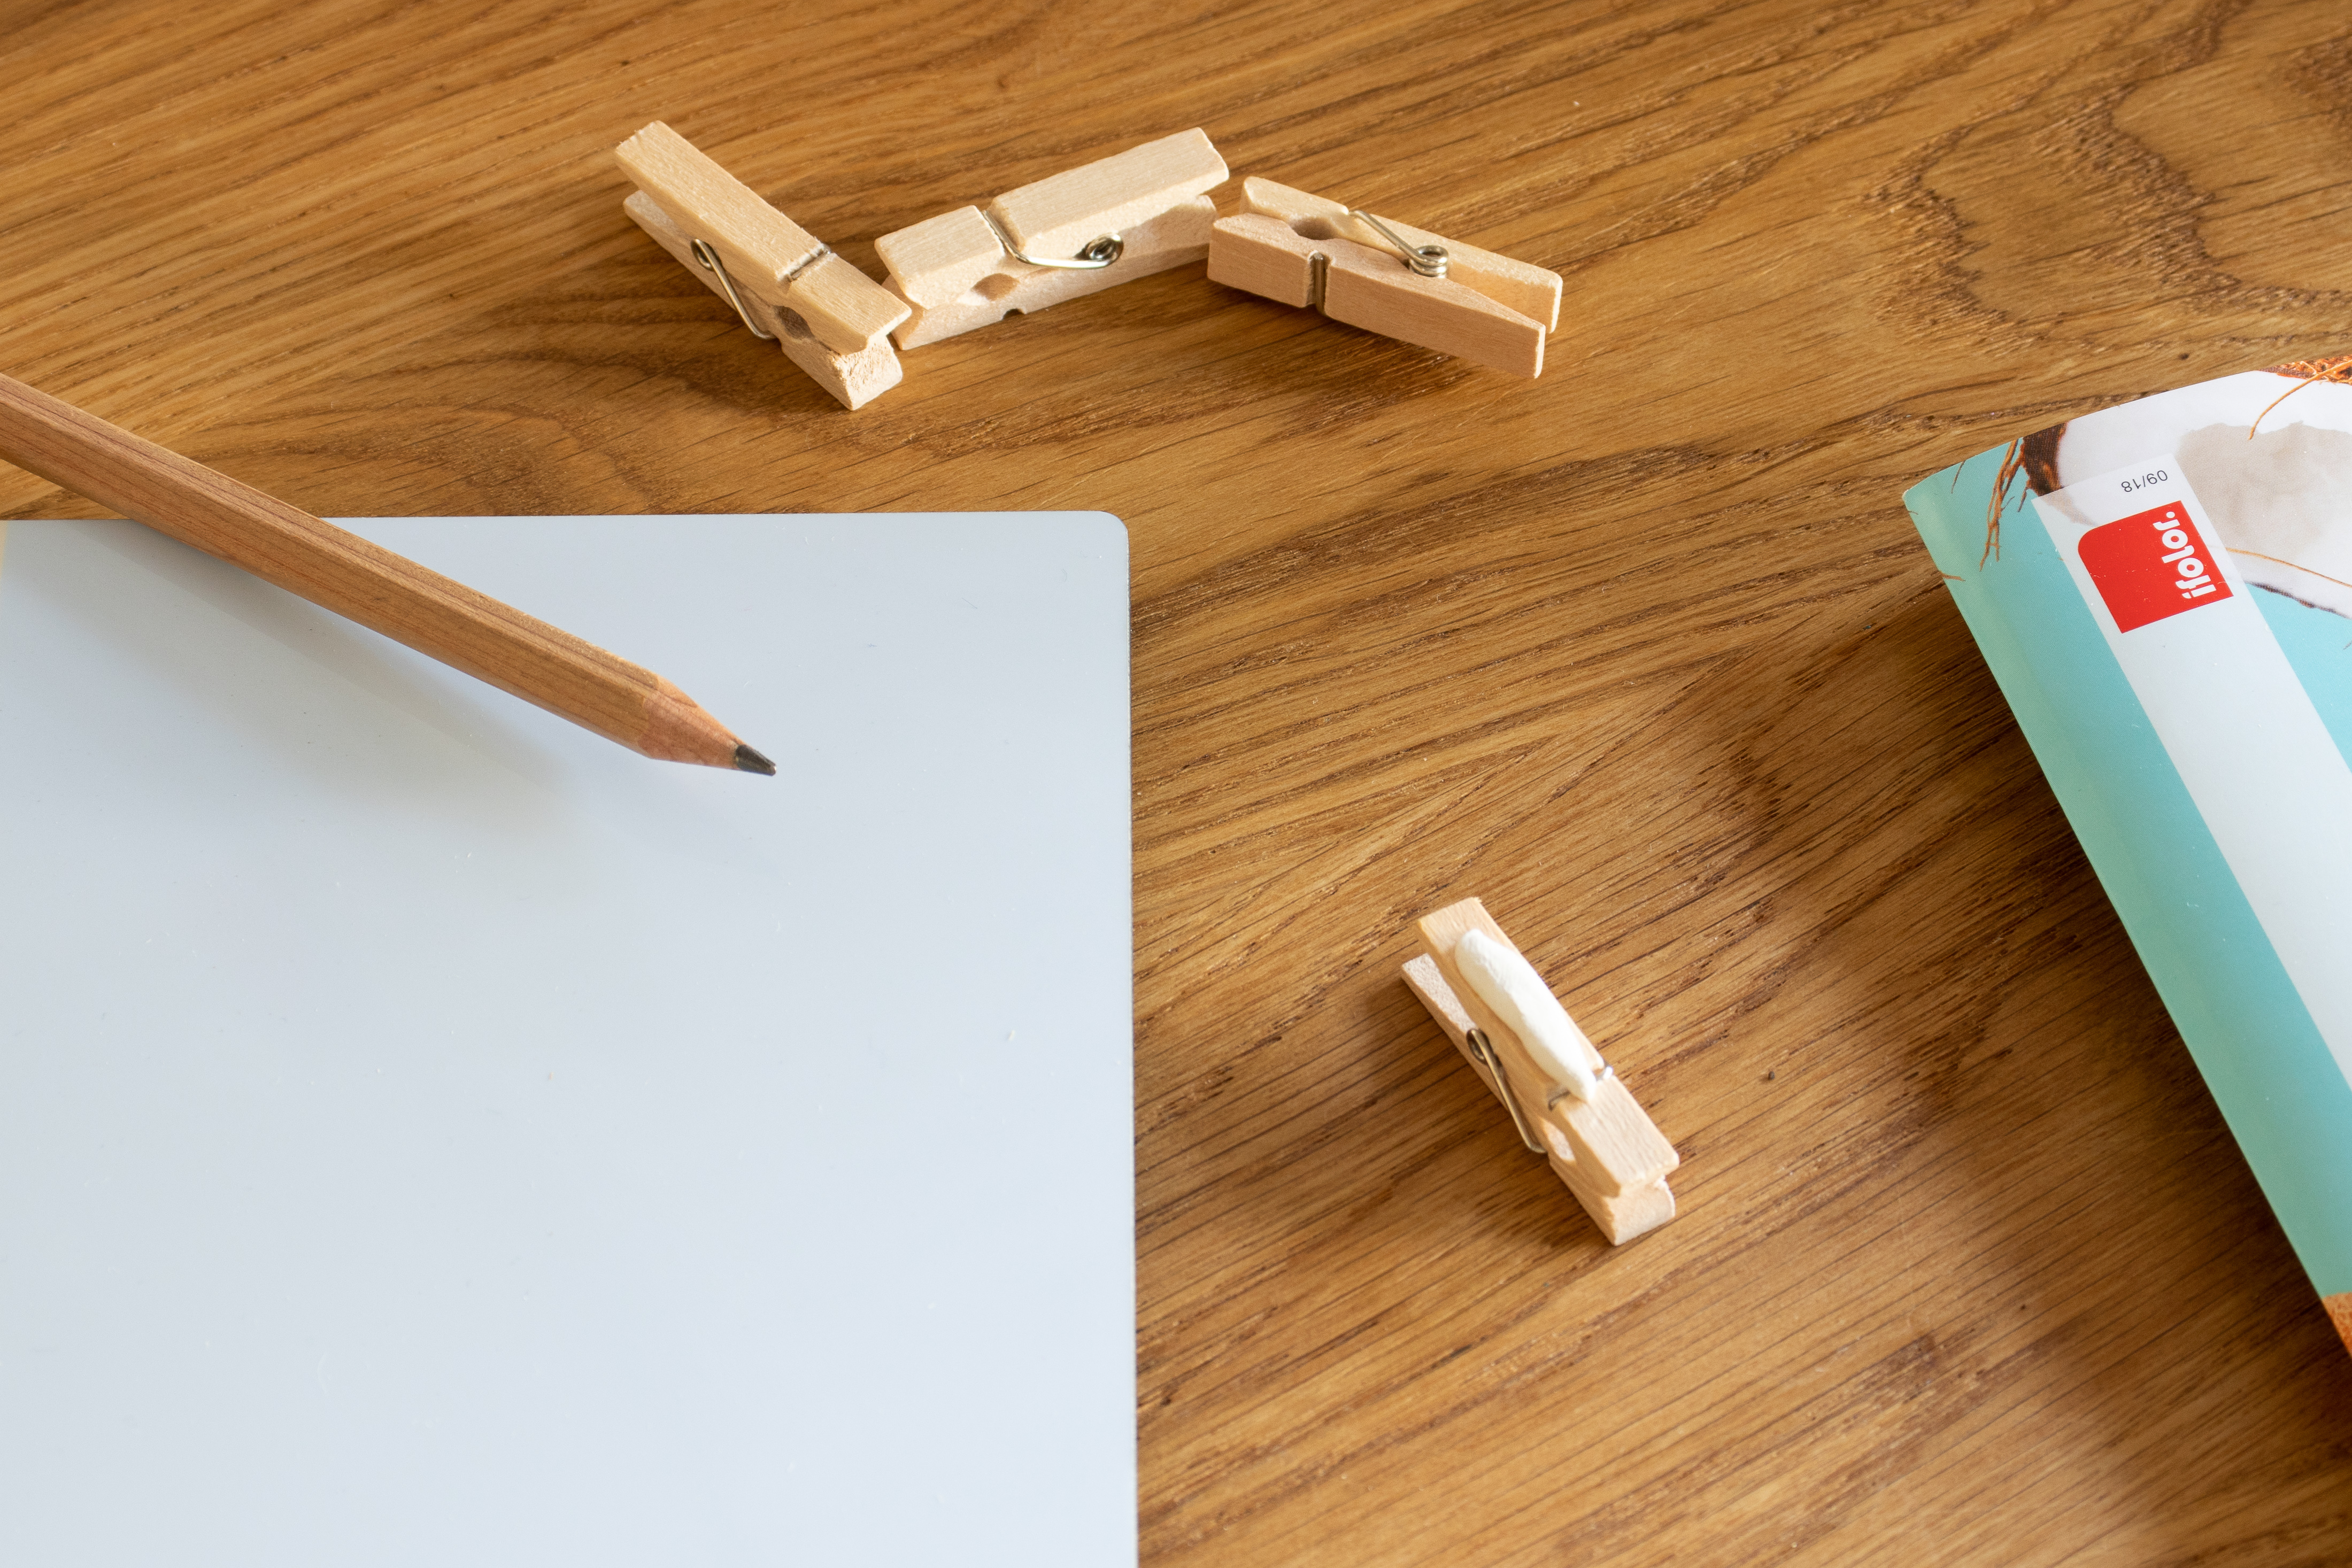
- Then attach the double-sided adhesive strip. Use extra strong adhesive strips (e.g. self-adhesive strips) or wood glue to hold the clip firmly.
- Attach the wooden clip to the adhesive surface.
Tip
Alternatively, you can attach a whole tear-off pad to the blank side of the photo display. For this, you just need more adhesive strips and a pad in a small format, say A6. In this way you can immediately jot down your to-do lists and reminders on the DIY note holder.
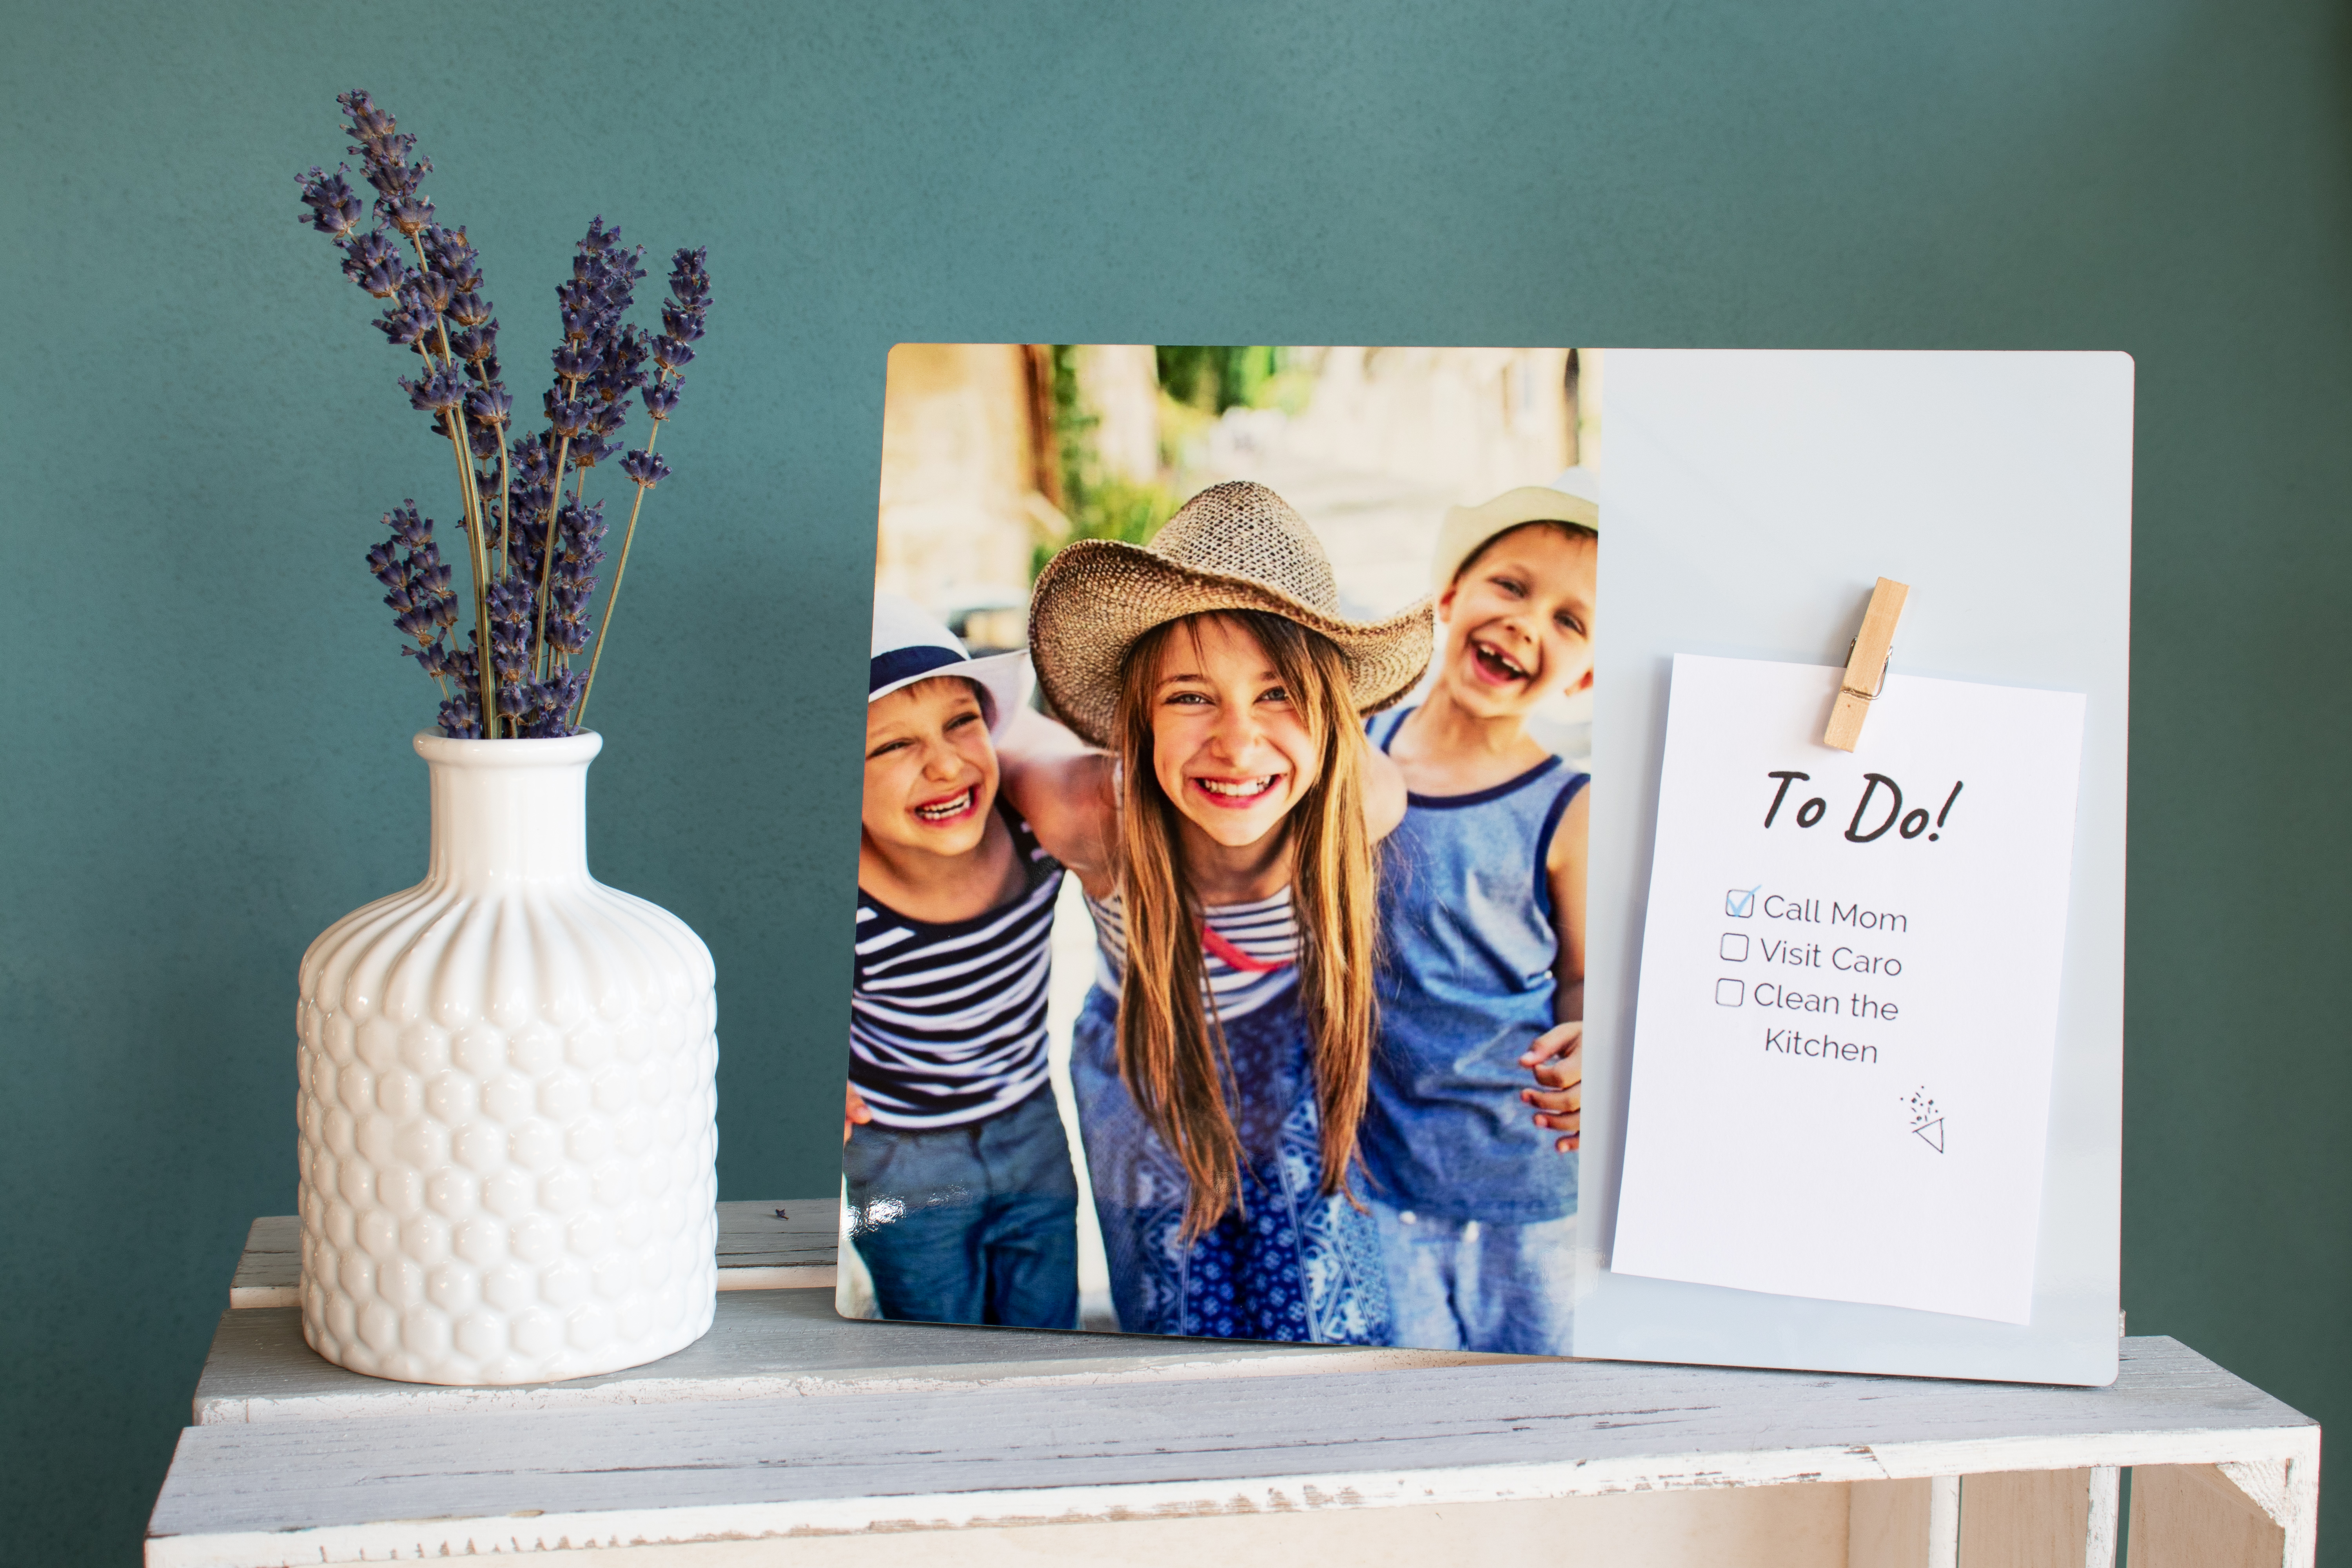
Then you can put up the photo display directly at the desired place. The display stand integrated in the photo display ensures a secure stand so that you can attach and remove notes at any time.

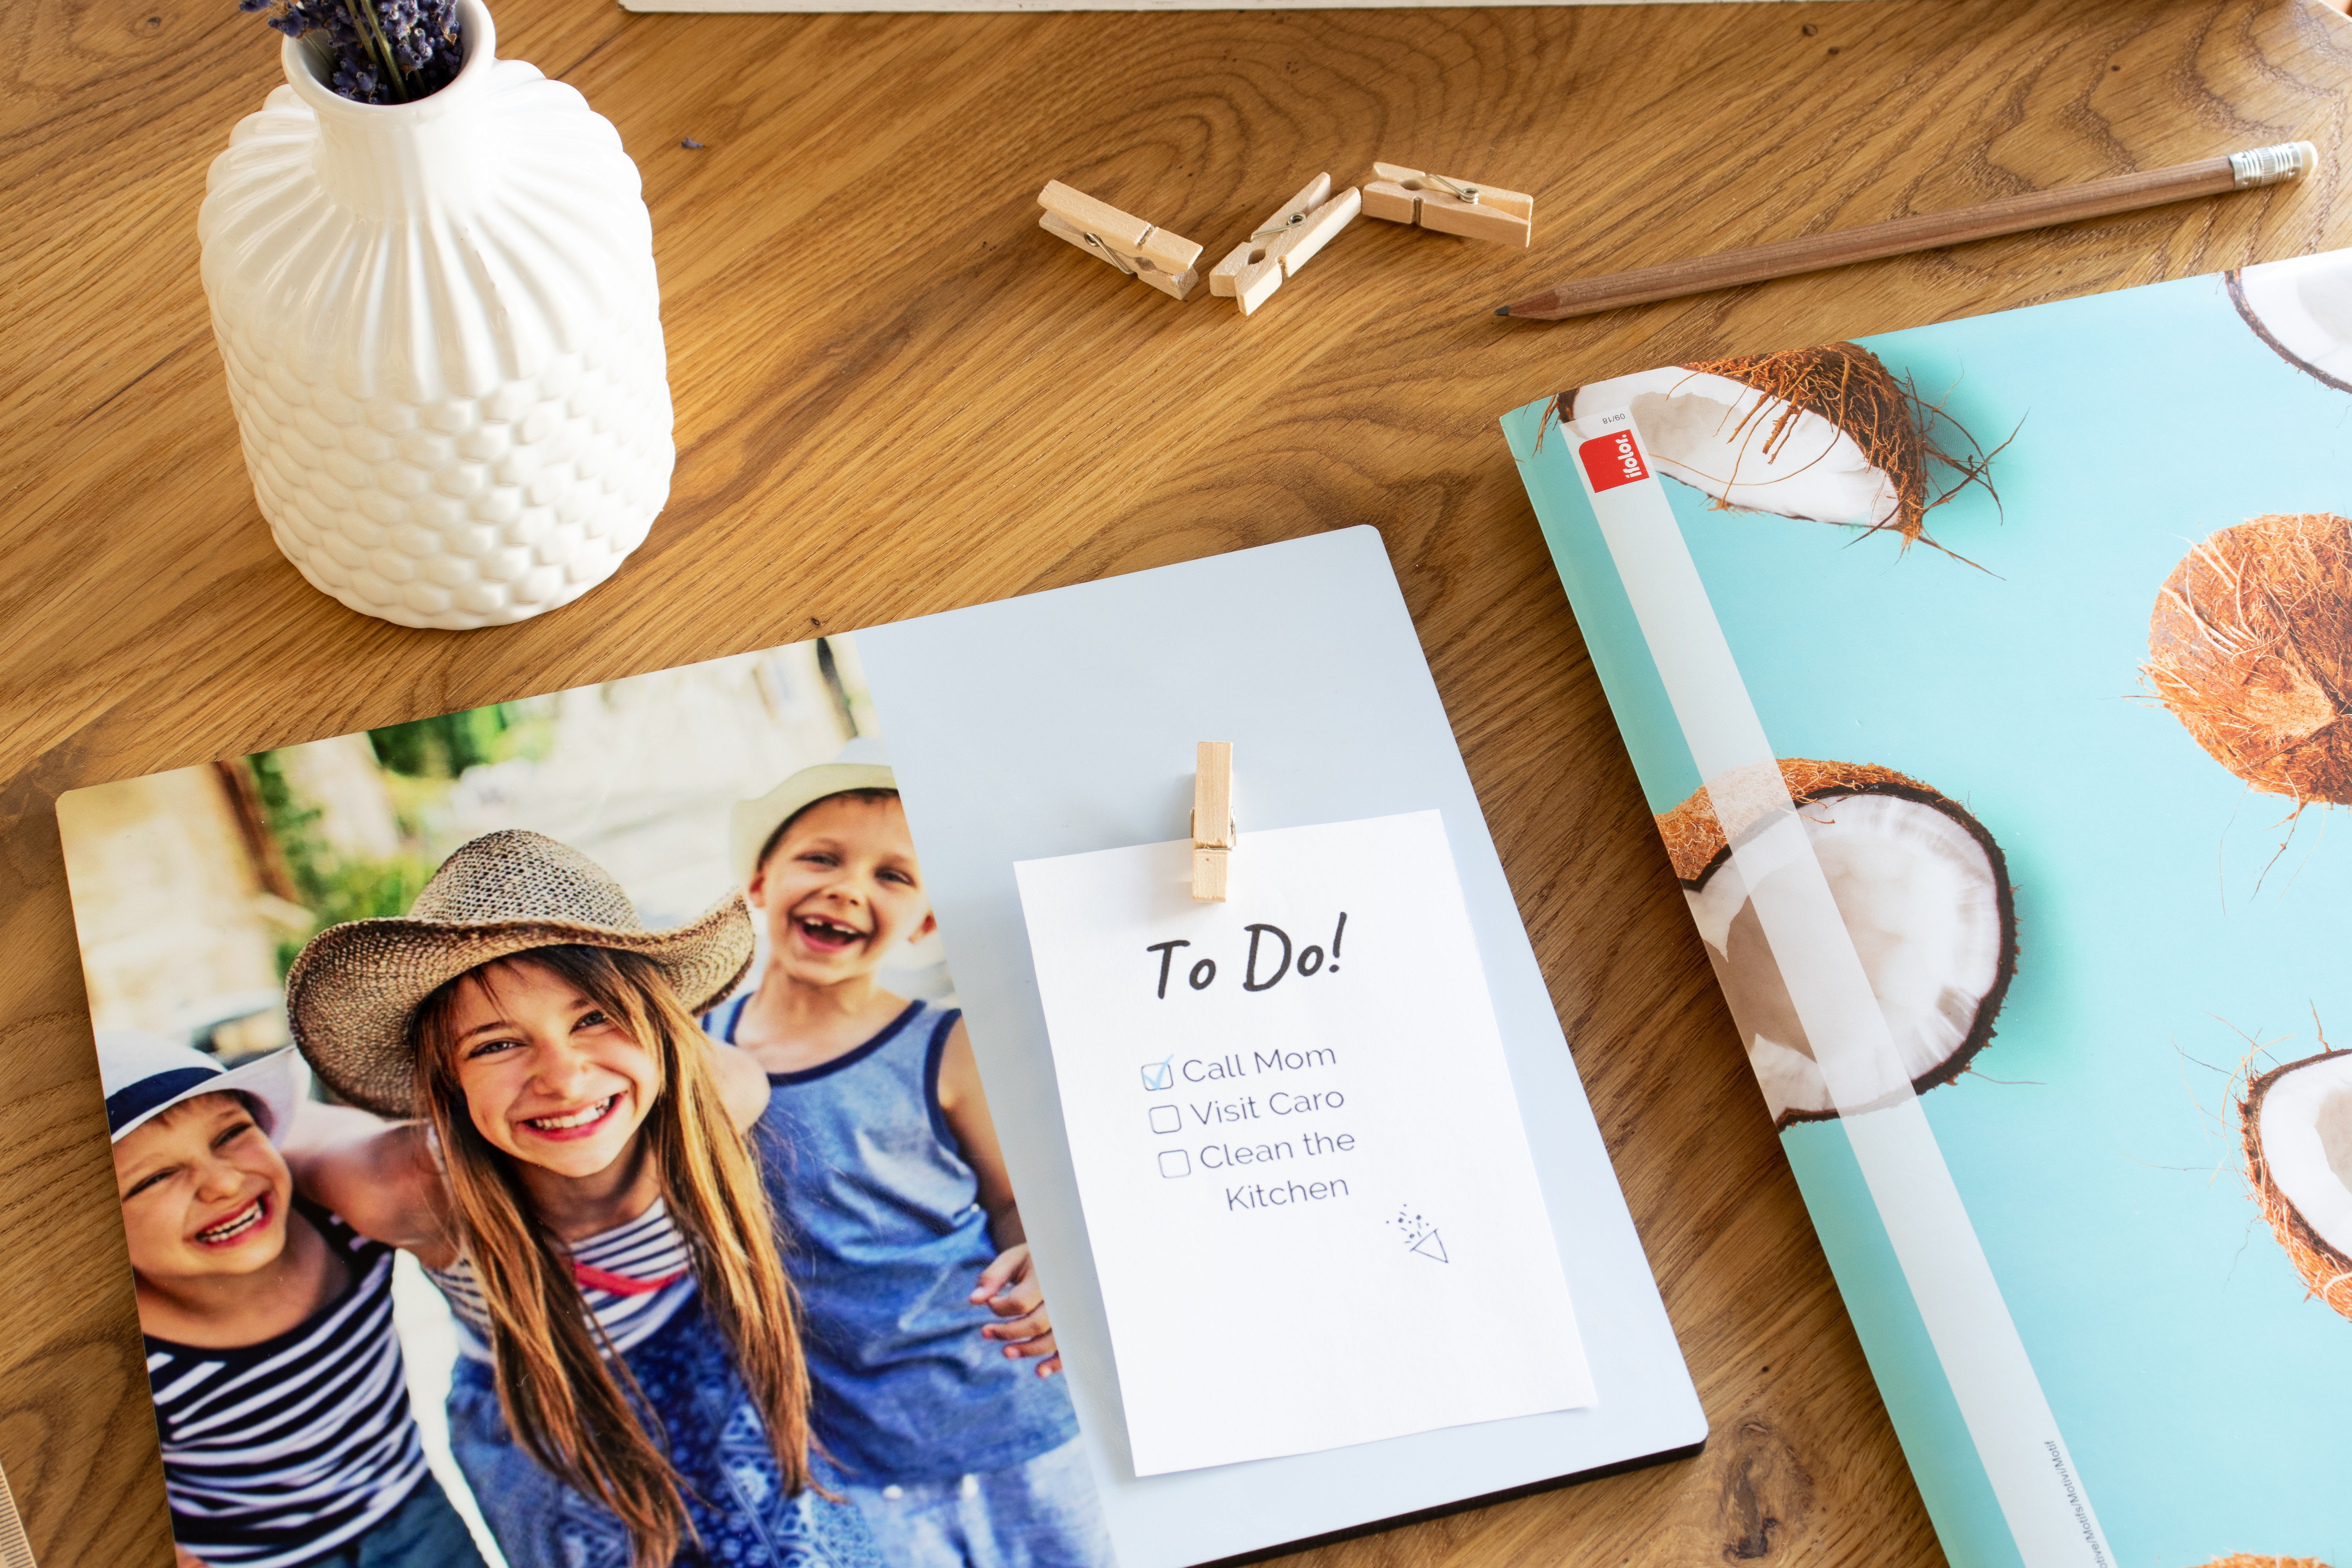
In next to no time, you have made your individual note holder and quickly eliminated the desk chaos. This simple and beautiful DIY project is thus also perfect as a gift.
Have fun crafting and decorating!
