The right perspective
6 tips on how to get an angle of view with maximum performance
Photos from your last holiday of old cathedrals or glorious mountain can create a quick and impressive shot. By getting the right angle of view, you can give your photos the right depth and bring them to life. Improve the efficacy of your photos by choosing the right angle of view.
1. The Rule of Thirds
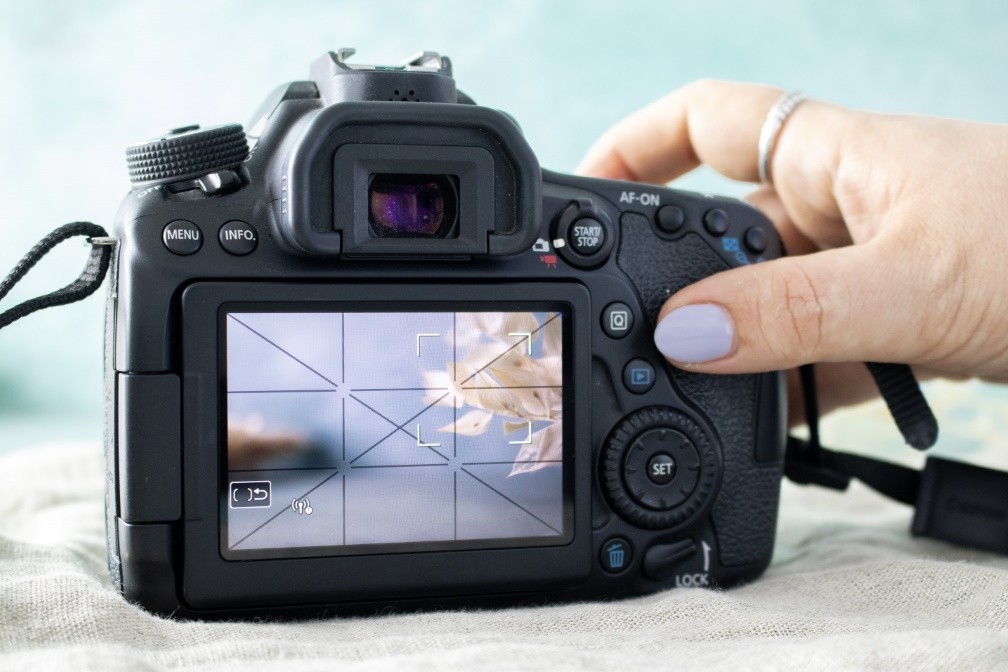
The Rule of Thirds is a simplification of the “Golden Ratio”. This rule divides the image into three horizontal parts and three vertical parts. Using four guiding lines create nine identical areas with four intersections. Important photo subjects should appear on the lines or at the intersections, in order to create a particularly harmonious picture.
Tip
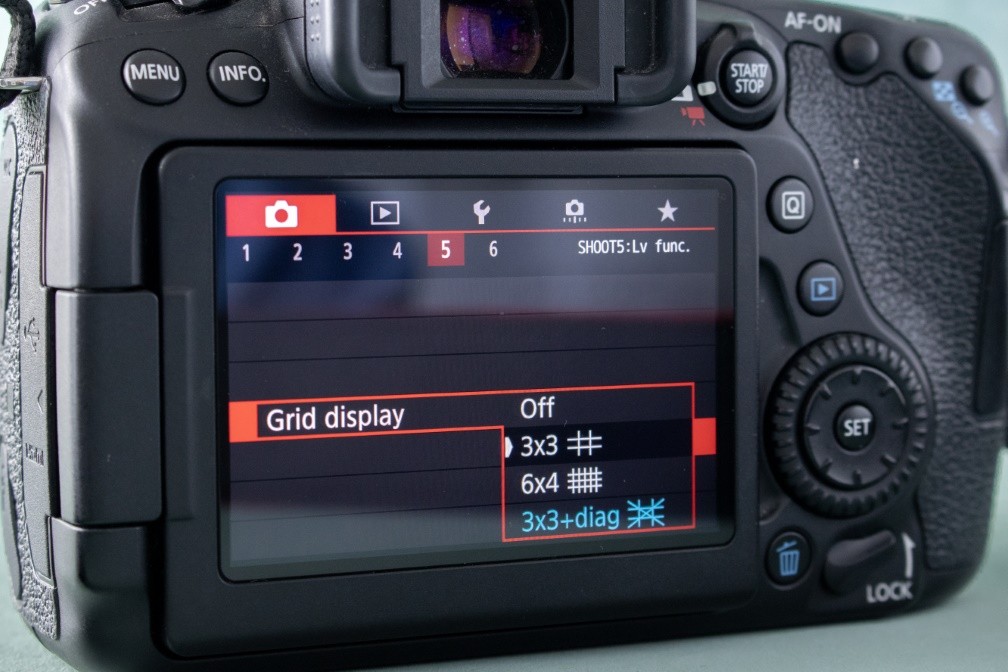
Most cameras and smartphones can display the guidelines on the screen. Activate this function before taking a photo to help framing. You can usually set the camera to take photos in square format. This is perfect for square photo prints or wall decorations in square format.
2. Position the main message in a targeted way
To get the right effect in a photo it is important that the main subject is in the middle or close to the edges of the photo. The main subject in a picture can be, for example, a person, a lighthouse, a jetty, a ship on the water or a whimsically grown tree. It is often recommended to take photos where the main subject is positioned in the centre of the frame. This usually creates a very symmetrical, orderly effect and emphasises the main subject. The central alignment for example is often used for architectural photos and portraits. However, to create a completely different image effect you can position the main subject more on the edge of the photo. Try it out and position your subjects in the centre as well as on the left or right edge of the picture and compare the different effects.
Tip
Use the advantage of digital photography and always take several shots to be on the safe side! Photograph an object in different sections and from different perspectives. Later you can sort through your photos and view the results.
How to organise your holiday photos
Learn how to organise, store and post-produce your holiday photos. This article shows you how to sort through the mountains of photos from your last holiday. This way you can organise and keep your favourite photos.
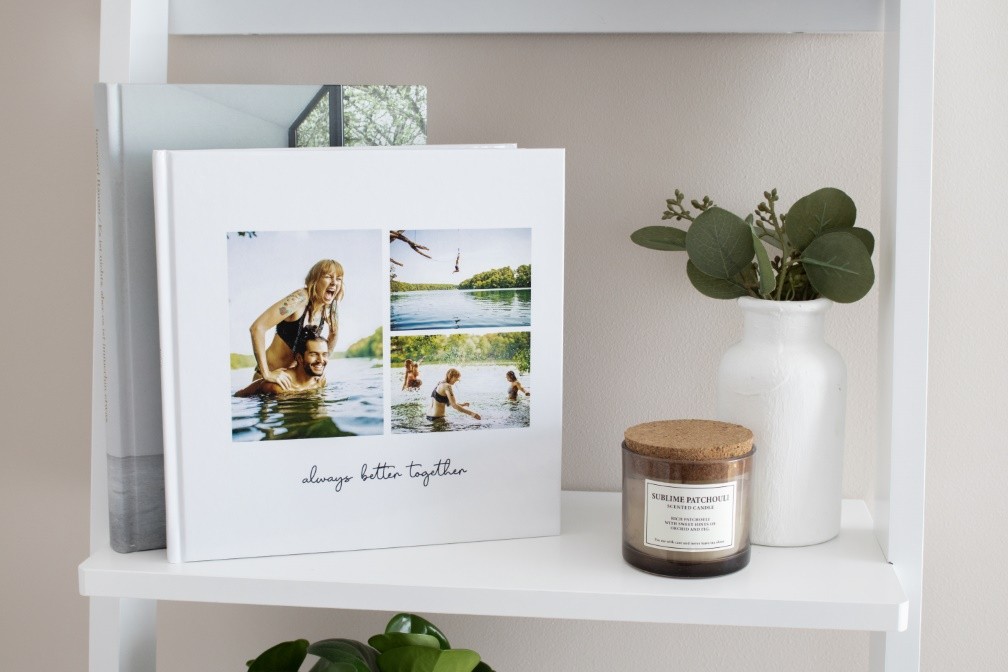
Deluxe photobook with your favourite photos
By cropping your photos, you can get lots of great photos. Put your favourite photos into a photobook so that you can look back on all the good times you’ve had whenever you feel nostalgic.
3. Give your photo the right depth
There are so many pictures of high mountains and sandy beaches, which stretch into infinity. However, these types of pictures can end up looking dull and they also fail to convey that special holiday feeling. When taking photographs of an oceanic panorama focus on a nearby object in order to convey the width and length of the entire image. Taking pictures with a bridge or a passing ship in the foreground can also work wonders.
4. Less is more: use the image details
A picture is defined by its borders and for this reason many photographers attempt to capture as much as possible in one shot. This often results in cluttered or busy looking photos, which in turn overwhelm the object or motive behind the picture. When taking photos, you should consider the story you want your picture to tell and which objects will help you tell that story.
Decorate your wall with your pictures
Not every photo reaches its full potential in a picture frame. Some are more suitable as elegant wall decorations. Present your pictures on high-quality materials such as aluminium, canvas or acrylic glass and enjoy decorating your wall with your favourite photos!
5. Making a statement with photos
Many viewers expect a complete image of the subject and are confused when you present them with only a partial image. However, a partially-cropped subject is sometimes more interesting and it can express the mood of when the picture was taken. Moreover, it makes your shot more unique and it challenges the viewer’s imagination.
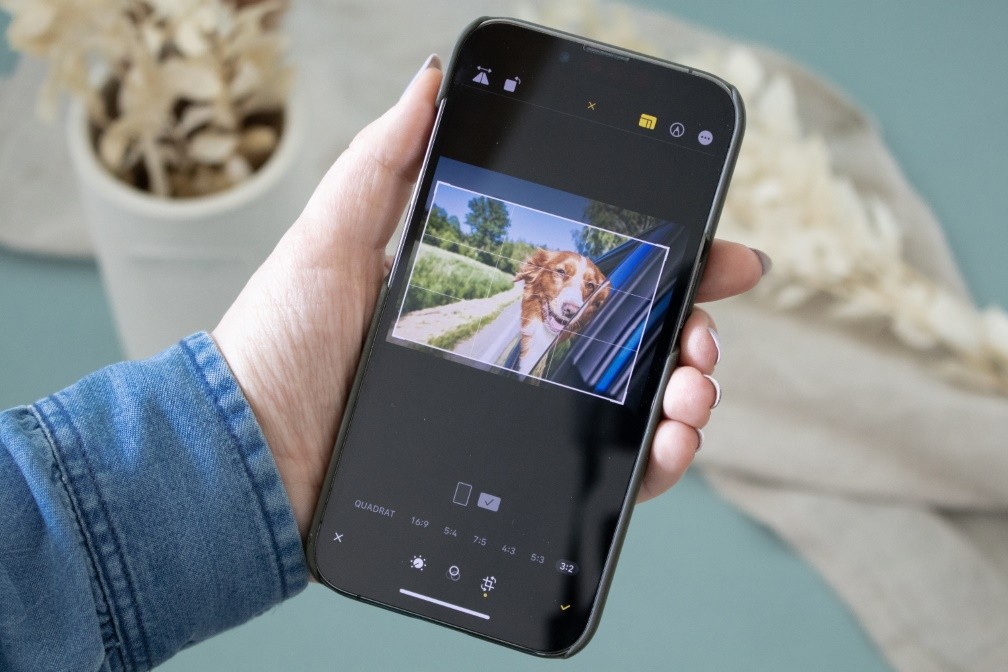
6. Edit Your Photo
It's often worth taking a look at your image archive and subsequently crop inconsistent images. With a bit of patience, willingness to experiment and the right cut you can still turn busy images into exciting compositions, which you can print out onto photo paper and show your friends.
Tip
By using the free ifolor Designer, you can also edit and optimise your photos whilst ordering your photo products.

