How To Remove The Background From An Image In Photoshop
Generally, plain backgrounds are used in product and portrait photography to make the subject stand out. White and smooth backgrounds are particularly suitable for this purpose.
If you want to do a photoshoot at home, a plain wall or a bed sheet are a suitable option for a background. However, seeing as most walls have some sort of texture to them and bed sheets quickly show wrinkles and creases, it can be difficult to get a completely smooth backdrop. We will show you step by step how to edit your images in Photoshop to achieve a smooth and seamless background.
Step 1: Select The Background
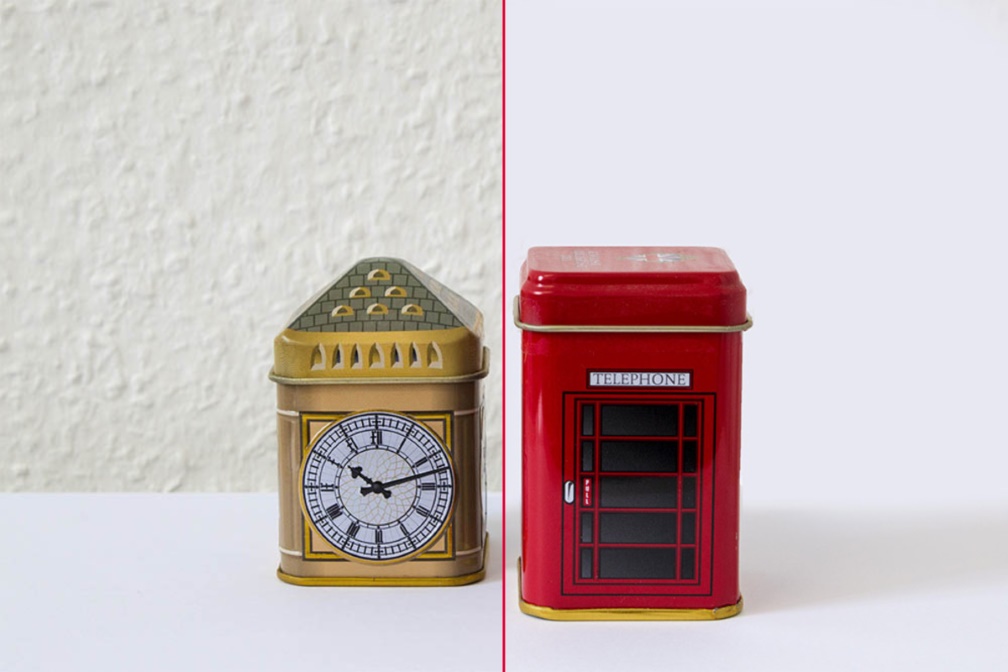
In our example below, two tea caddies have been placed on a white surface in front of a white textured wall. To improve the effect of the image, you can adapt the uneven background to match the smooth white base.
Tip
If your subject is smaller in size, a sheet of white paper makes a very good base to which you can match your background.
Start by opening your image in Photoshop. To smooth out your background, select the “Quick Selection Tool” in Photoshop. You will find this tool on the left menu bar. To check your selection, you can use the “Select and Mask” option.
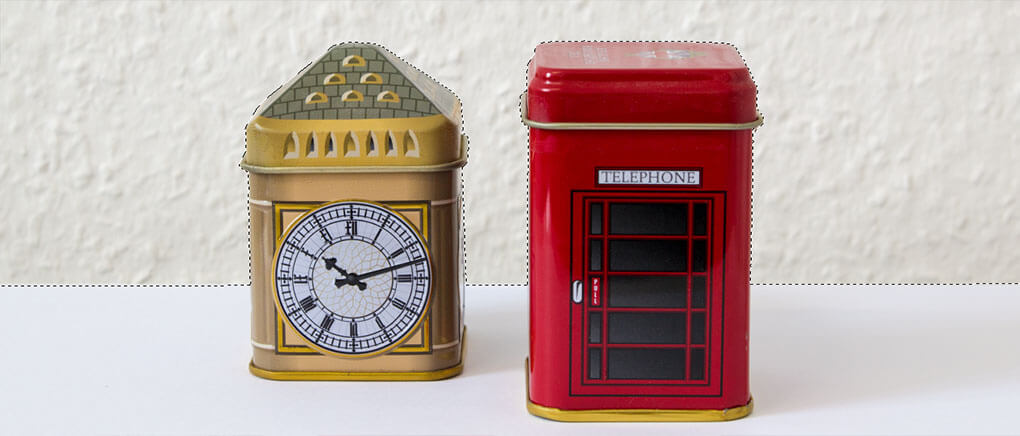
Use the tools in the “Select and Mask” mode to optimise your selection. An exact selection is particularly important during this stage, which is why it is important to take your time with this step.
Once you are happy with your selection, tick "Decontaminate Colours" on the right-hand menu bar to save the subject together with the foreground as a new layer. Complete the process by clicking on "Ok".
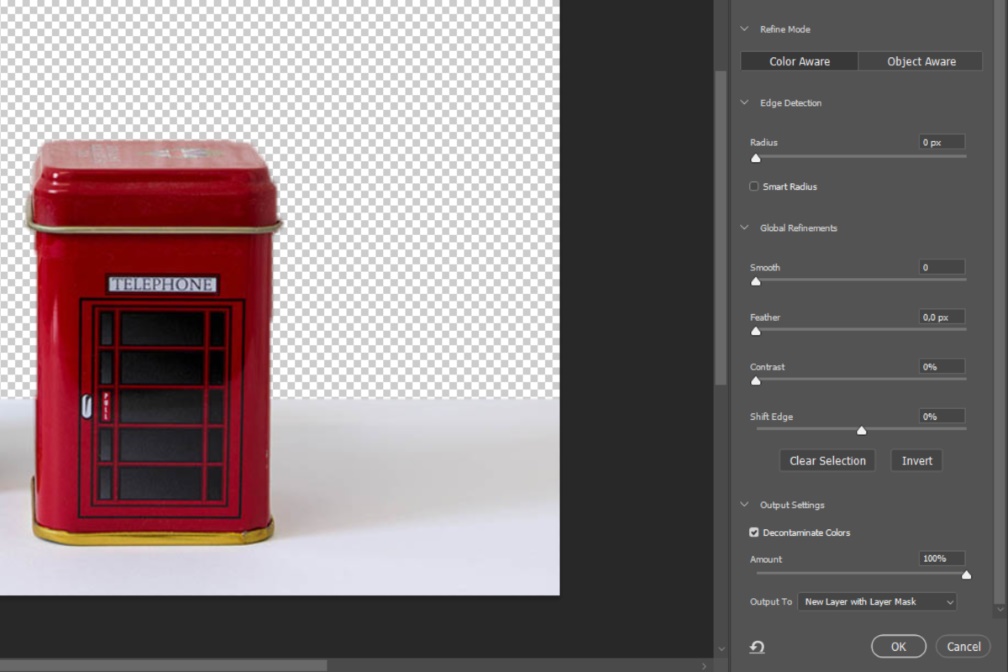
You will now automatically return to the normal Photoshop editing panel. Now only your newly created layer will be visible. Next, add the background layer, which was automatically renamed to "Layer 0".
Step 2: Smooth Out Your Background
In order to edit layer 0, it must first be selected. To do this, click on your image thumbnail in the “Layers” palette. The thumbnail will now be framed in white. Next, you will need the “Eyedropper Tool”. Use it to select the colour of the background to which you would like to adjust it to. The background can then be filled with the selected colour using the “Brush Tool” or “Rectangle Tool”.
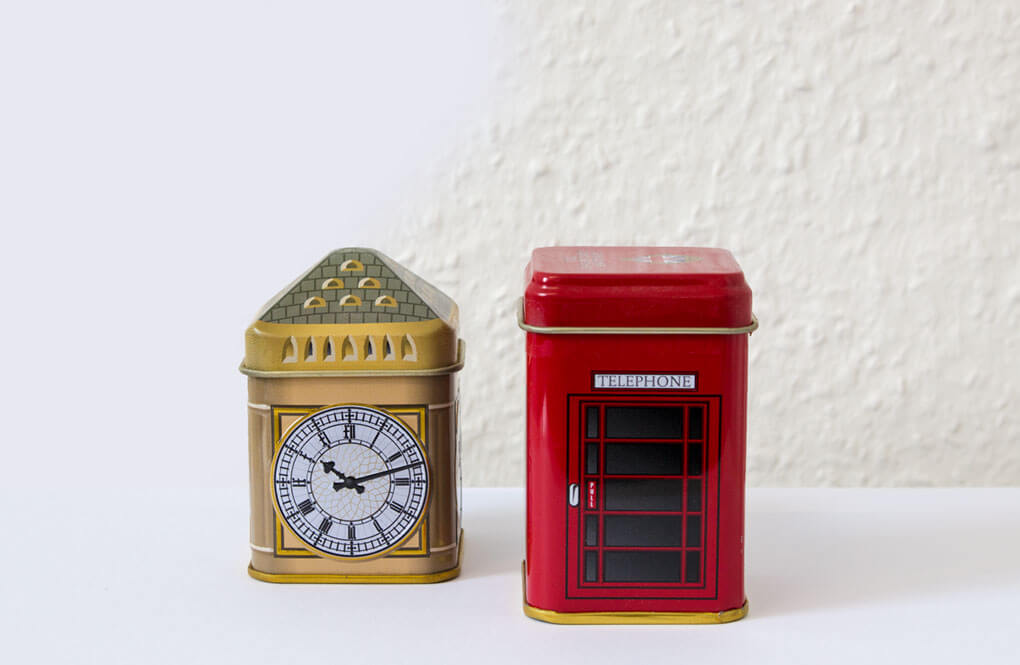
Creating a new layer with a precisely cut out subject in advance, allows you to paint over it when editing the background. However, after you have filled in the entire background with your selected colour, some of the edges around your subject may need smoothing out.
Step 3: Merge The Layers And Smooth Out Any Edges
To smooth out edges, you will first need to merge both layers. Right click on the top layer to open a context menu. This contains the option "Merge Layers".
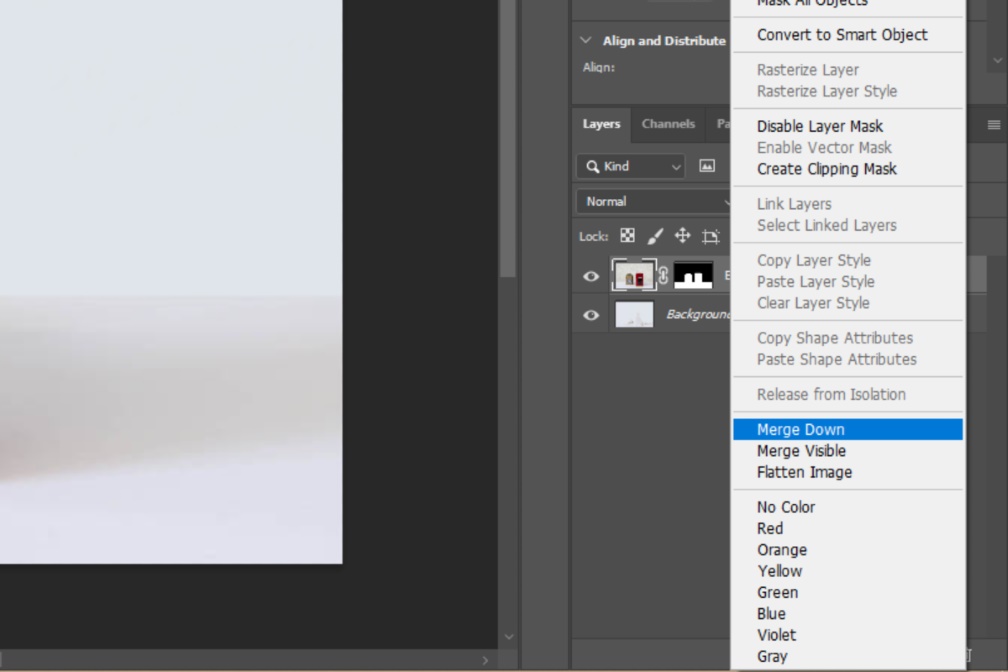
By merging the layers, you can now smooth out the edges manually with the “Brush Tool”. First select the area that you would like to edit with a selection tool to stop the subject from being edited too. Brush over the edges with a soft brush in the same colour as the background. Make sure to retain the natural shadow of the subject.
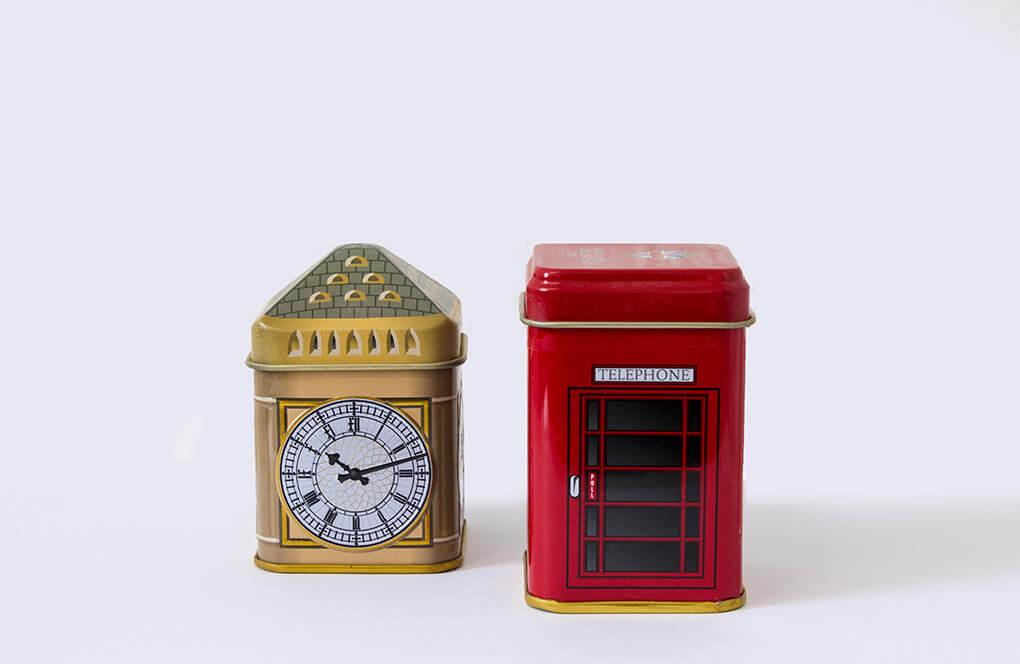
Once you have smoothed out all the edges and adjusted any colour discrepancies, the background of your image should be smooth and even. You can use this method to edit backgrounds of any colour.
Now it’s your turn to give it a go!
