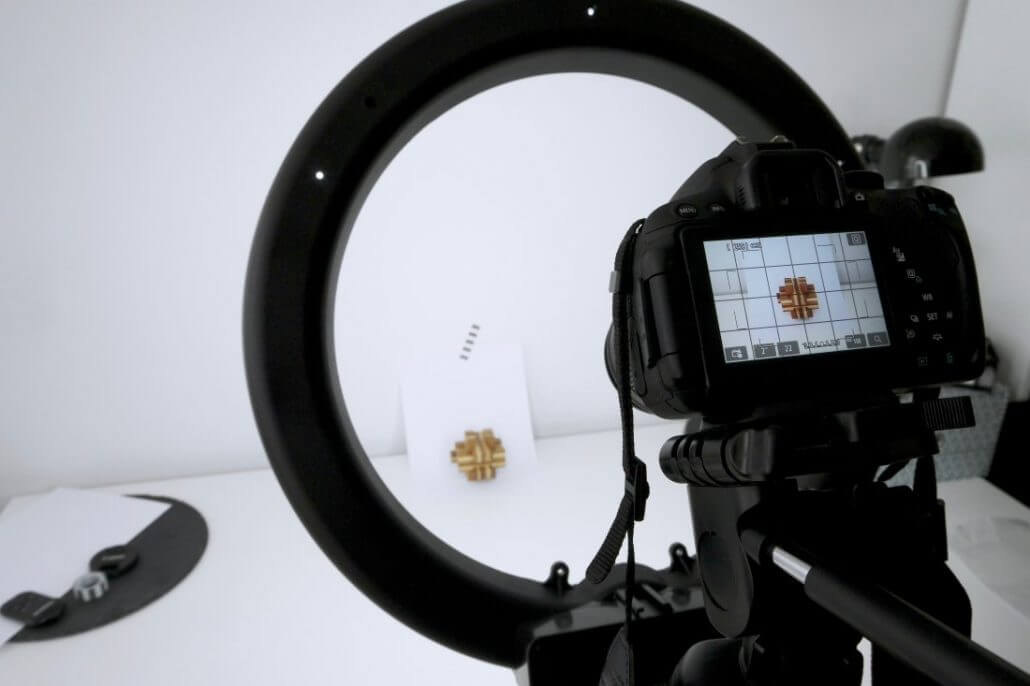
Product Photography - Taking Good Pictures for eBay or Your Own Online Shop
Anyone who has their own online shop, sells homemade products online or would like to sell old clothes or household items on eBay knows how important good photos are. If your photos are too dark or aren’t very clear then potential customers may end up buying from a different seller or online marketplace. Below we will show you how to take photos of small products and goods to sell online and we will also give you some tips on what you should be mindful of.
Camera Equipment and Accessories for Product Photography
If you would like to take good quality photos, which are very clear for your own online shop then you will need to have some good camera equipment. You will need a camera to start off with and a choice of camera accessories. Good pictures can also be taken with a digital compact camera. However, even these small all-rounders have their limits when it comes to working in a photo studio or a studio-like environment. For product photography a good system camera or DSLR is recommended, which allows you to adjust certain parameters such as the aperture.
It’s not only important to choose the right camera, but it is also just as important to get the right lens. Since the focus in this article is on small products, a macro lens is recommended. These lenses are designed for very close-up shots and can bring out details better than wide-angle or telephoto lenses. Even though there are a lot of camera and lens accessories to choose from a good tripod with a firm stand and a polarising filter for the lens are recommended. The tripod's stand is especially important if, for example, you would like to take a photo of a product that is available in several colours. It is very important to take photos from the same angle when you are photographing a product in different colours. If the tripod keeps slipping out of place, you will have to reposition the tripod before taking each shot. It is a good idea to use a polarising filter for the lens if your products have a reflective surface. A polarising filter will help to remove any reflections that have occurred whilst taking a photo. These cannot be edited afterwards.
What To Consider
Once you have set everything up it is time to start taking some photos of your products for your online shop or online marketplace. In order to get the best result, you will need to think about the background, lighting and perspective before taking any photos.
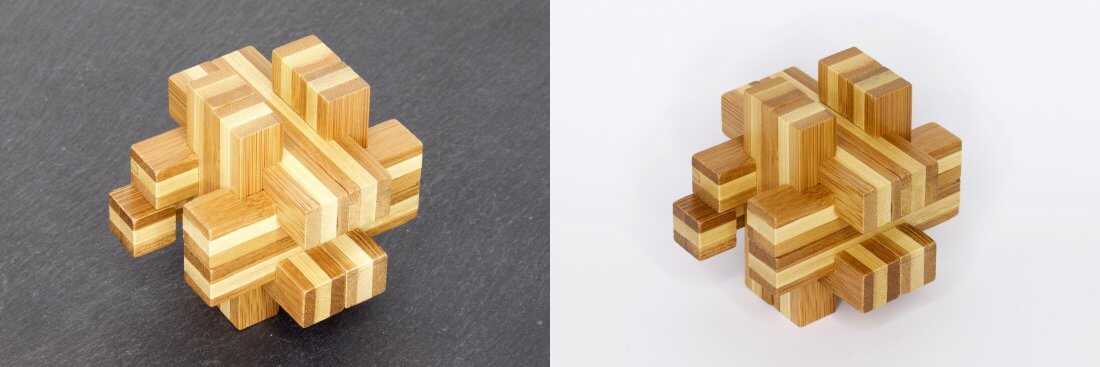
It’s a good idea to take photos of your products against a neutral background so that they stand out. This can be a white, monochrome or a black background. Whilst choosing a suitable background make sure that it stands out clearly. For example, it not recommended to take a photo of a light coloured product and then use a white background, as this will not make the product stand out. If you are taking photos of a colourful product it is advisable to try out different coloured backgrounds until you have found the right one. Make sure, however, that the backgrounds are all the same. It won’t look very professional if every product in your shop has a different background.
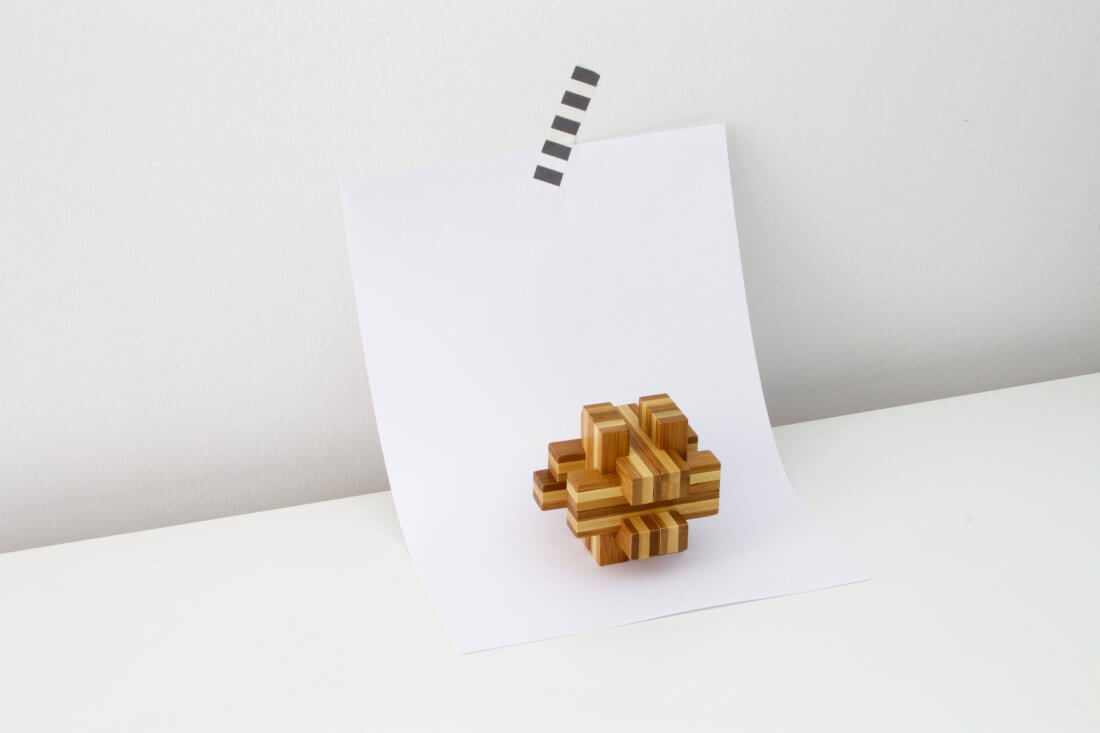
In the example below we have chosen a white background. It is a good idea when taking photos of small products to use a photo tent or a light cube. If you don't have any of these, you can also use a white sheet of paper as shown in our example below. The sheet of paper has been attached to the wall so that it curves slightly towards the bottom, which will give you some great results.
Exposure is very important so that all the details are clearly visible in the final image. There are two different ways to do this either you use a flash or a continuous light.
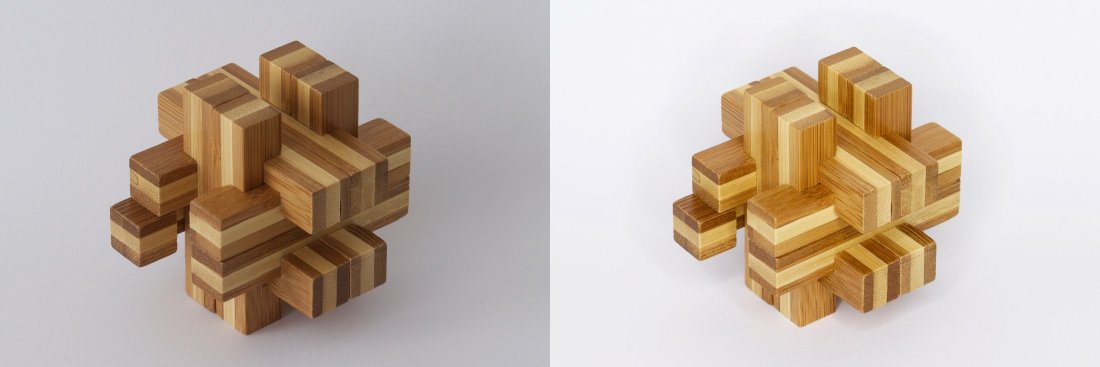
Once you have found a suitable background and the optimal exposure, it is now a matter of finding the right angle for your product. Sometimes it is a good idea to simply take a photo of your product from a bird's eye view However, to make sure that your product really stands out it is worth trying out different angles. For example, sometimes it is enough to turn the product slightly and move the camera slightly down. Whilst taking photos make sure to photograph the product from different angles so that the customer can get a good overall view of the product. In addition, don’t forget to take some detailed shots.
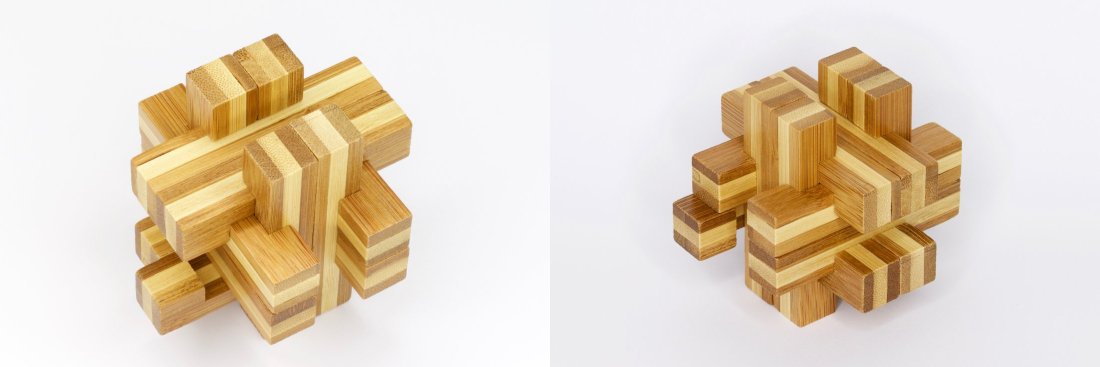
To make sure that you capture all the details of the product, you should also work with a high f-stop. This will ensure that none of the details become blurry. The ISO value should also be kept as low as possible so that there is no unsightly noise visible in the photos. If you prefer to work with a tripod, you can work with a long exposure time depending on the power of the exposure.
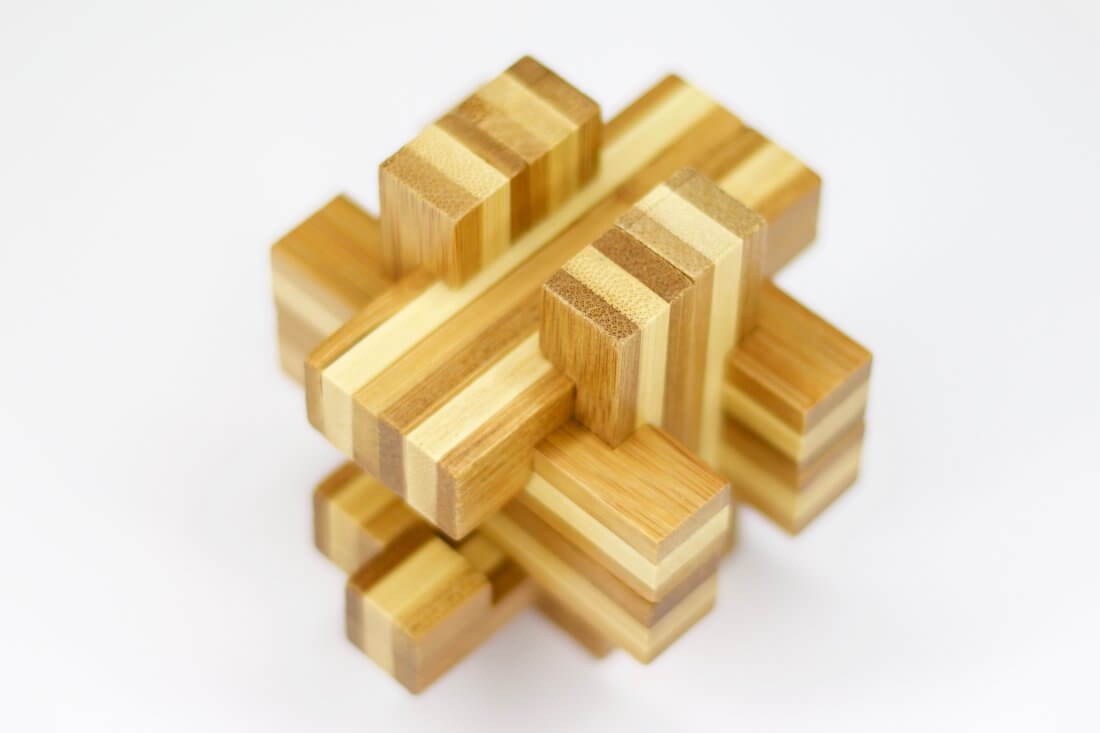
Editing Your Photos to Get Great Results
Even the best camera sometimes cannot capture all the details of a product. After taking photos you can use an image editing programme to optimise your photos. You don’t necessarily need to do it on Photoshop. There are also some great inexpensive alternatives which you can use to get even more out of your photos.
In addition to cropping your images, e.g. for detailed shots, you can also increase the brightness if some of the details in the photo appear a bit dark. The contrast option can also help to make certain features in your photo really stand out. You can also make colour adjustments afterwards by increasing or decreasing the saturation. Such a colour adjustment can also be regulated via the white balance. If you would like to edit this afterwards, it is important that you take your photos in RAW format.
