Doing crafts with kids for Mother’s Day
Creative DIY ideas for great Mother’s Day gifts
Crafts made from children’s own hands enchant every mother’s heart. Kids are also happy when they can make a gift for their Mom. We have put together seven creative crafting ideas for doing crafts together with children on Mother’s Day. With the help of step-by-step instructions, you can craft a unique Mother’s Day gift together. The ideas listed below are also suitable for making crafts together with smaller children aged three and over.
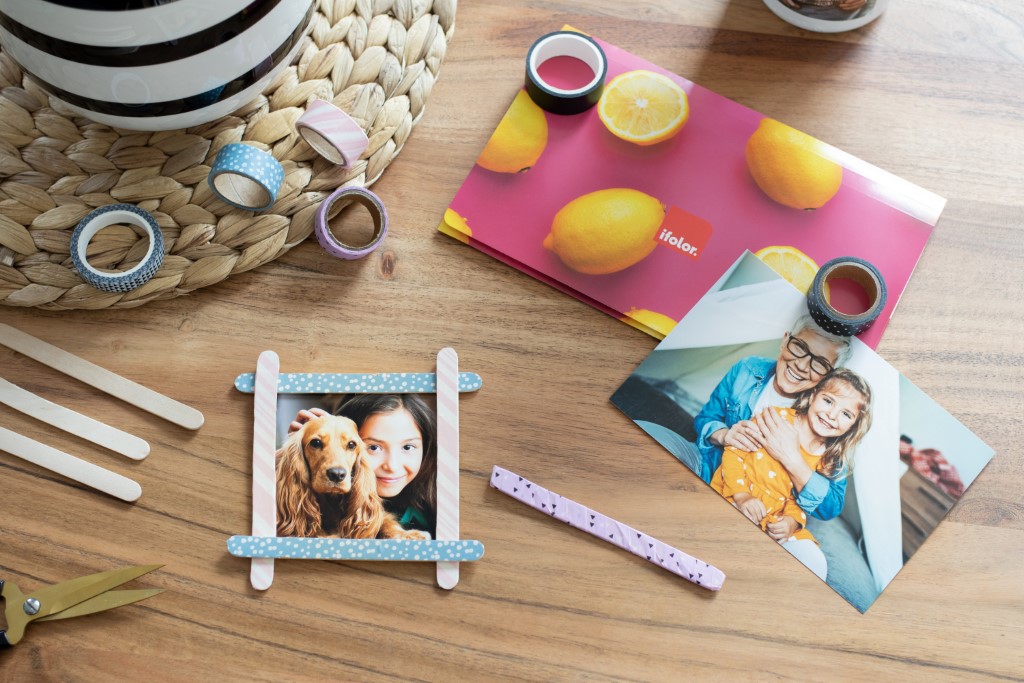
A colourful picture frame made with lollipop sticks
Make some cool picture frames out of lollipop sticks that really set the scene for your favourite childhood photos. This craft idea is ideal for younger children from the age of 3.
For the picture frames you will need:
- Photo prints of your favourite shots
- Wooden craft sticks or popsicle sticks
- Acrylic paint
- Coloured washi tape
- Wood glue
And here’s how to make it:
- You need four wooden sticks per frame. Stick the washi tape around the wooden sticks for decoration. Combine two or more different patterns and colours to create a harmonious and colourful frame.
- Now join the four sticks together to form a square by dabbing a little wood glue on both ends of the sticks on the back and fixing the two remaining sticks to them from behind. Leave about a centimetre of overhang at each corner.
- Now cut your favourite photo to size and glue it to the frame from behind.
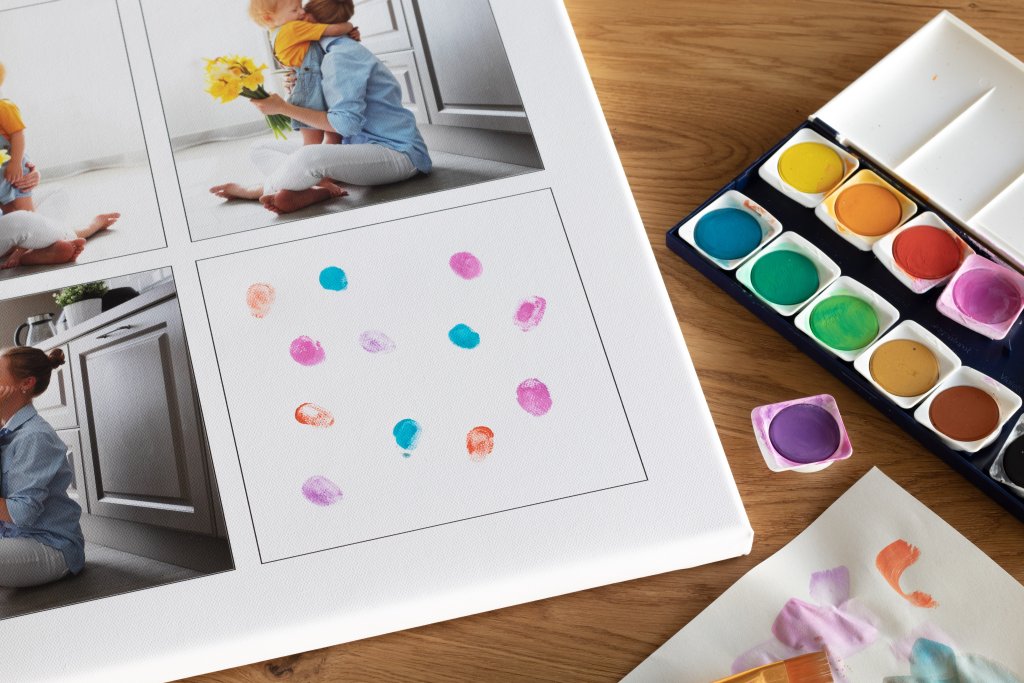
Original photo canvas with children’s palm print
Using a few beautiful family pictures and a little finger paint, conjure up together with your child a real eye-catcher for Mother’s Day. This idea is also ideal for smaller children because of its simple implementation. First create a photo canvas with your most beautiful pictures. For the Mother’s Day gift, the most suitable format is a square format and the design template “collage” with four tiles. Leave one photo field blank as your child can sign the work with his/her own hand here later on.
For the photo canvas for Mother’s Day you will need:
- A photo canvas with three great family pictures or photos of Mom and child
- Finger-painting colours
And here’s how to make it:
- Put some finger paint on a small plate or a wipeable surface
- Have your child dip his/her palm into the paint
- Now have your child press the palm filled with colour onto the blank photo field of the photo canvas
Tip
Practice the hand print first once or twice on a blank sheet.
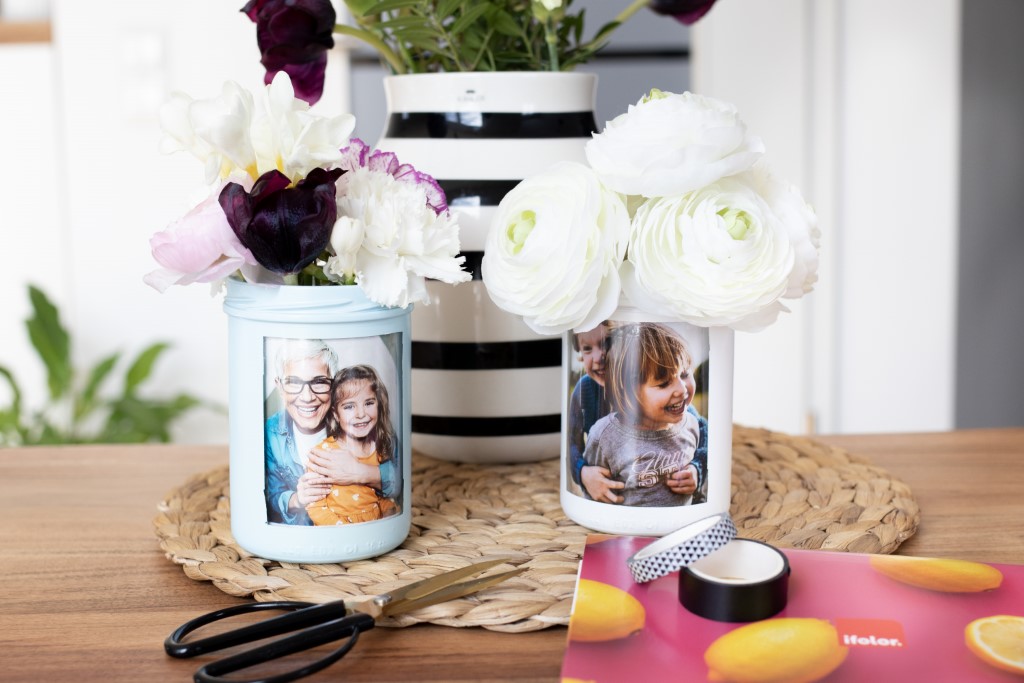
DIY photo vase: A flowery Mother's Day greeting with the most beautiful memories
Fresh flowers are a lovely gift for Mum. To make the colourful flowers stand out even more and stay fresh for a long time, you can create a stylish photo vase together with your child.
For the photo vase you need:
- Your favourite family photo
- A jam jar
- A sticker to mask the window
- Glass paint
- A paintbrush
- Adhesive tape
- A cup
And here’s how to make it:
- First, stick the sticker in the centre of the vase and press it on all the corners.
- Now paint the glass with the glass paint. You can also use acrylic paint. After drying, seal the paint with varnish.
- Let the paint dry well and then carefully remove the sticker.
- Now place the photo on the inside of the vase with adhesive tape so that it is visible through the small window.
Tip
To prevent your photo from getting wet, place a cup in the glass jar to hold the water.
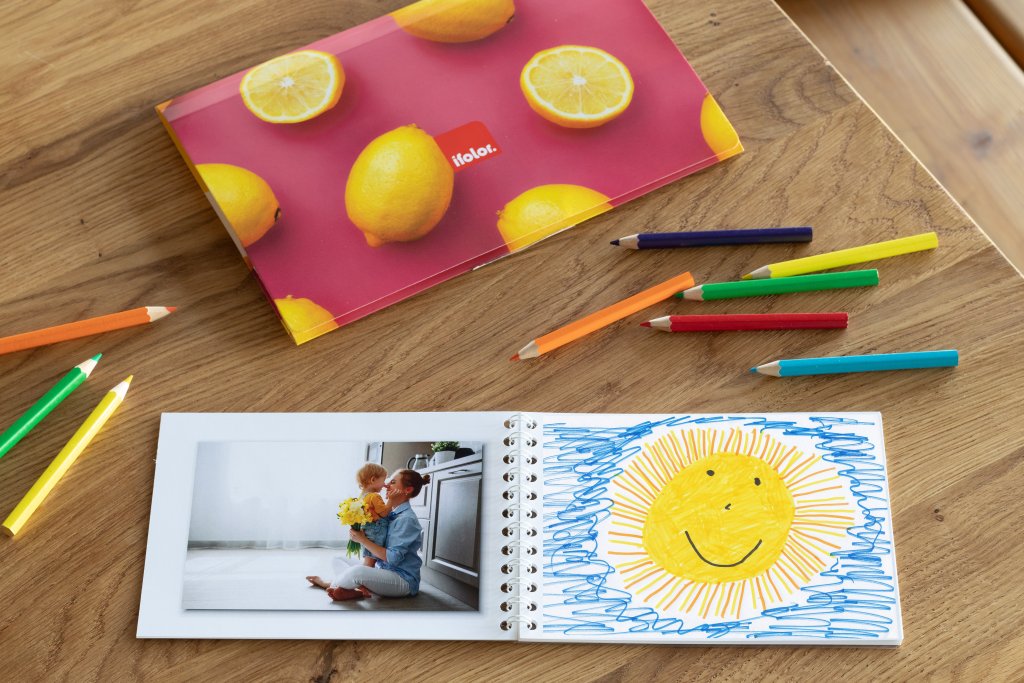
Photo book with space for children’s drawings
If your child likes to draw, together with your child you can create a very individual Mother’s Day gift out of photos and children’s drawings that will be of special memorable value. Create a small photo book with pictures of shared excursions, unforgettable experiences and great snapshots of mother and child. When creating the photo book, always leave one page blank. Here your child can add his/her own drawings and prepare a nice surprise for their dear Mom. The photo book Spiral is best suited for this crafting idea as it has a practical small format and a robust spiral binding.
For the special picture book for Mother’s Day you will need:
- A photo book full of beautiful memories and some blank pages
- Any colour pencils
And here’s how to make it:
- Browse through the photo book with your child and think together of motives for the drawings (e.g. those matching to the picture motives of the respective memory or the experience)
- Let your child fill the blank photo book pages with drawings and help your child if necessary
Tip
The delivery time of the high-quality ifolor photo books can be up to seven working days. Order your picture book for Mother’s Day early enough so there will be enough time to decorate it.
Alternatively, you can print Photo Coasters with child's drawings - they are quick to design and available in sets of 4 or 8.
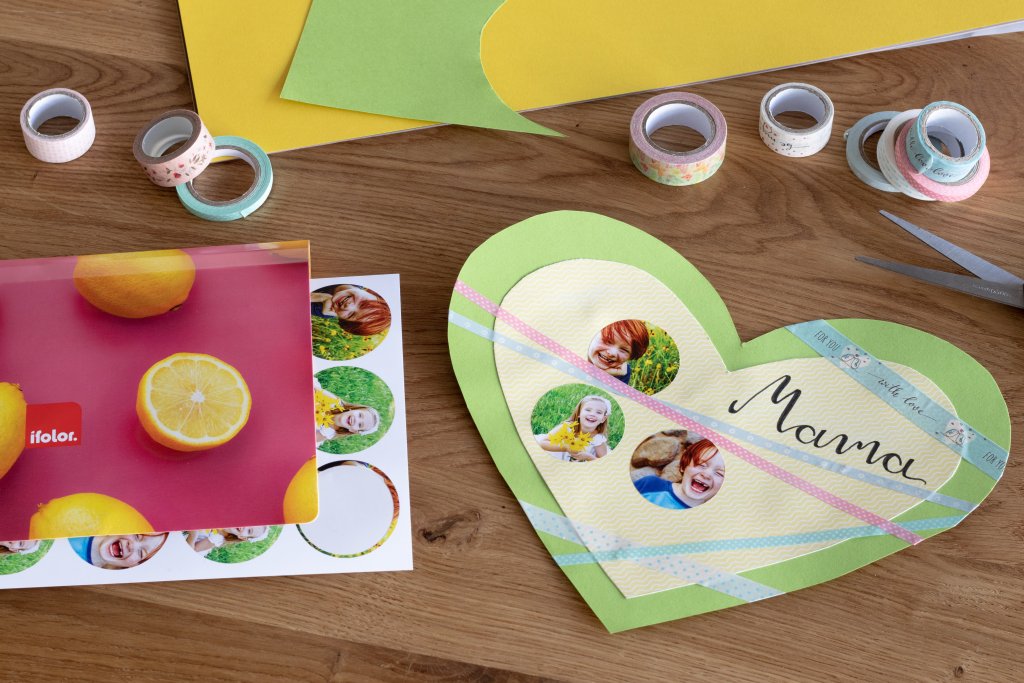
Heart as a DIY greeting card with photo stickers
This gift idea for Mother’s Day is particularly suitable for crafting with small children as it can be completed in a few simple steps. You can easily create the photo stickers used to decorate the Mother’s Day card online. 16 rectangular or 12 round photo stickers will fit on an A5 sheet.
For the self-crafted greeting card with photo stickers you will need:
- Color craft paper in DIN A4 or A5 (depending on the desired card size)
- Pencil and colour pencils
- Scissors
- Self-designed photo stickers
And here’s how to make it:
- Trace the heart shape on the craft paper and cut it out
- Write the Mother’s Day wishes in the middle or on the back of the DIY card (here, of course, you can ask for help)
- Decorate the heart with photo stickers and colour pencils
Tip
If you craft the Mother’s Day surprise with a smaller child, choose crafting paper in DIN A4 size or larger, as this will make it easier for children with little practice in using colour pencils and there will be enough space for the decoration of the Mother’s Day card.
As an alternative to the handprint, you can use two thumbprints to spread as many small hearts in the open field of the canvas.
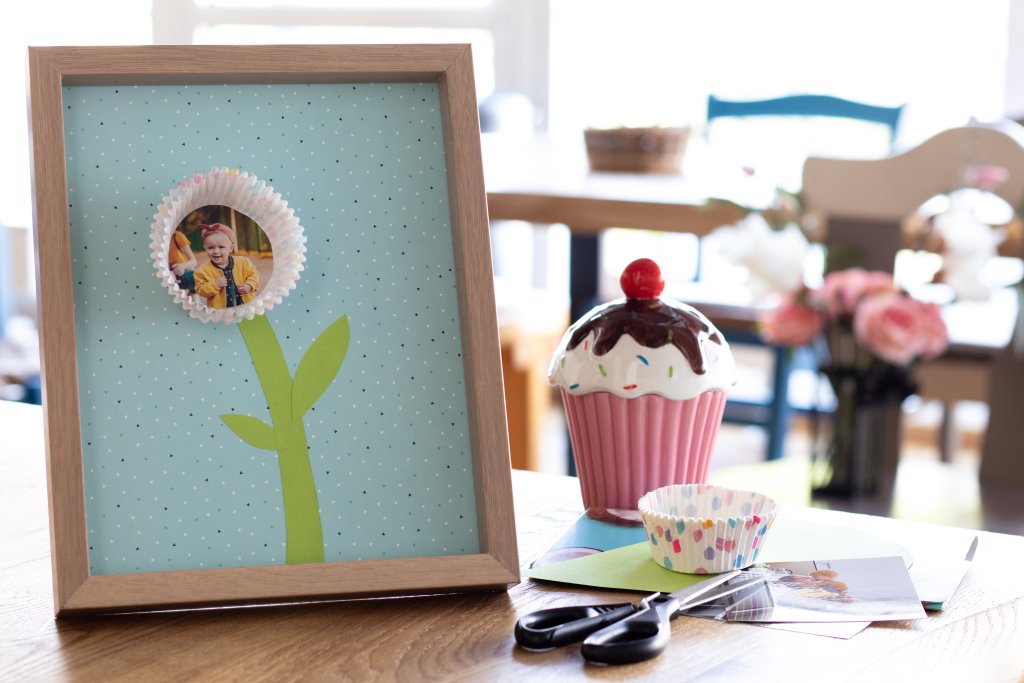
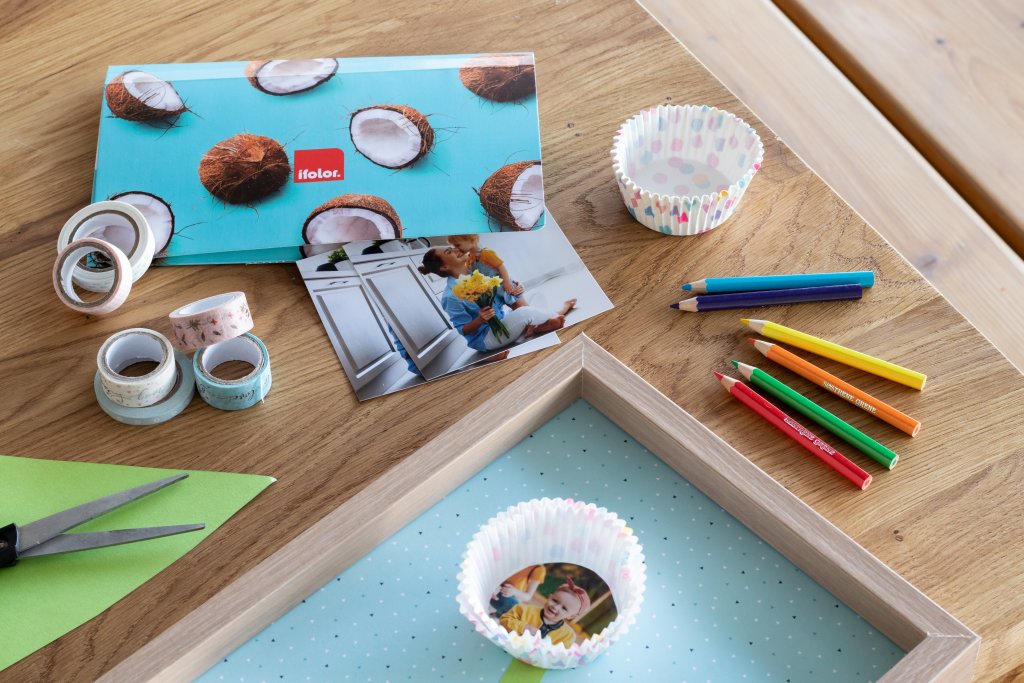
Photo flowers in muffin cups frames
Self-created photo flowers are a particularly original idea for crafting with children for Mother’s Day. Depending on how many flowers you would like to craft together with your child, you will first need a few prints of your favourite family pictures. The prints of your digital photos can be easily ordered online in various formats.
For the photo flowers you will need:
- Muffin cups made of paper
- A picture frame size 20x30 cm
- Crafting paper with pattern of your choice in size A4 as background
- Green crafting paper for cutting out the flower stems
- Scissors, glue stick and adhesive photo stickers
And here’s how to make it:
- Cut out the patterned crafting paper to fit the photo frame size
- Cut out the selected photos in a way to fit into the muffin paper cups
- For each flower, stick together several fanned-out muffin paper cups
- Glue one of the cut-out photos in each flower
- Use the green crafting paper to cut out flower stems and flower leaves and glue them onto the patterned crafting paper
- Insert the background with stems and leaves into the picture frame and lastly glue the prepared muffin cups as blossoms onto the stems.
Tip
In addition, use small chocolate paper cups to add small blossoms to the picture and to make a colourful bouquet or a whole meadow of flowers.
We wish you and all children lots of fun crafting a very special gift for Mother’s Day!
