Light Painting
Painting using light and photography
At first, light paintings look quite difficult. We are going to break down the process and show you just how easy it is to start creating light paintings.
In just a few steps, you will be able to show off your latest creation on your living room wall.
What you will need to get started
Before you get started, you will need to ensure you have some basic equipment to create light paintings.
Here are the most important tools:
- a camera with a manual exposure setting (e.g. a single-lens reflex camera (SLR) or mirrorless camera)
- a tripod or a stable surface (e.g. a table or a shelf)
- a torch, a glow stick, or a similar light source
- a dark space (either a room or a night-time setting)
The secret to light painting is using a long exposure time. That is why it is essential to have a camera with a manual exposure time adjustment. Along with SLR cameras, many compact cameras and even smartphones have a manual exposure adjustment.
Learn more about photography terms:
One of the biggest issues with long exposure time is the risk of camera shake. To prevent this from happening, the camera should be kept stable by a tripod or a sturdy surface. Another very useful aid is a remote shutter release, as even pressing the shutter button can sometimes cause camera shake.

You can use any kind of light to 'paint' with, from flashlights to glowsticks and even the illuminated display of your smartphone. The brighter the light, the higher the contrast and the more your painting will stand out from the background.
The same rule applies to the surroundings: The darker the environment, the more the light will stand out and the less visible the person moving the light will be. Light paintings get the best results late in the evening when it is already dark. If you are indoors, then try to block any light from the windows by using think sheets, or better still blackout blinds. Choosing a clear background like a plain wall will add even more clarity to your painting.
Light Painting: aligning and adjusting the camera
Firstly, set your camera facing a wall in the background. Once the frame is set, you can manually set the focus point of the picture. To do this, place an object such as a chair where you will be standing and then focus the camera on the chair. This method allows you to manually set the focus on the chair on your behalf. If you have another person on hand, then simply use them to stand in the correct position for focusing.
Next, you need to select an aperture to create an appropriate depth of filed. To make sure that there is enough of the subject in focus, a good place to start is a smaller aperture such as f8.
The final step is the most important: the exposure time. The keyword here is 'experimentation'. Start with a shutter speed of about 10 seconds and if you need more time to 'paint' then increase the time in small increments.
Tip
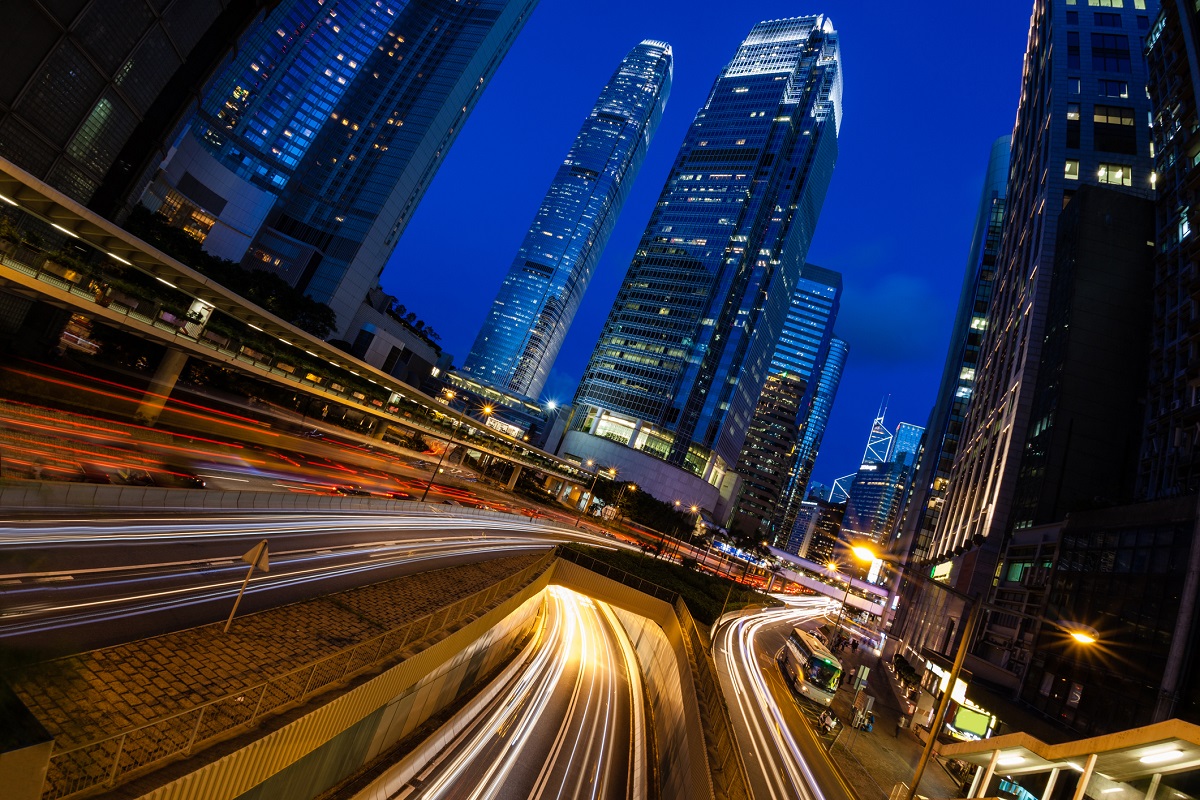
The same principle works for road traffic at night. Here, the light painting is created by the motion of the cars. To get the best picture, choose a suitable place to set up and let the traffic paint the light painting!

Release the shutter and create a light painting
Now everything is set up and all the preparations have been made, it is time to darken the room and start painting with light.
The stutter can be released by remote or self-timer. If you have a helper, then it is even easier as they can press the shutter release manually.
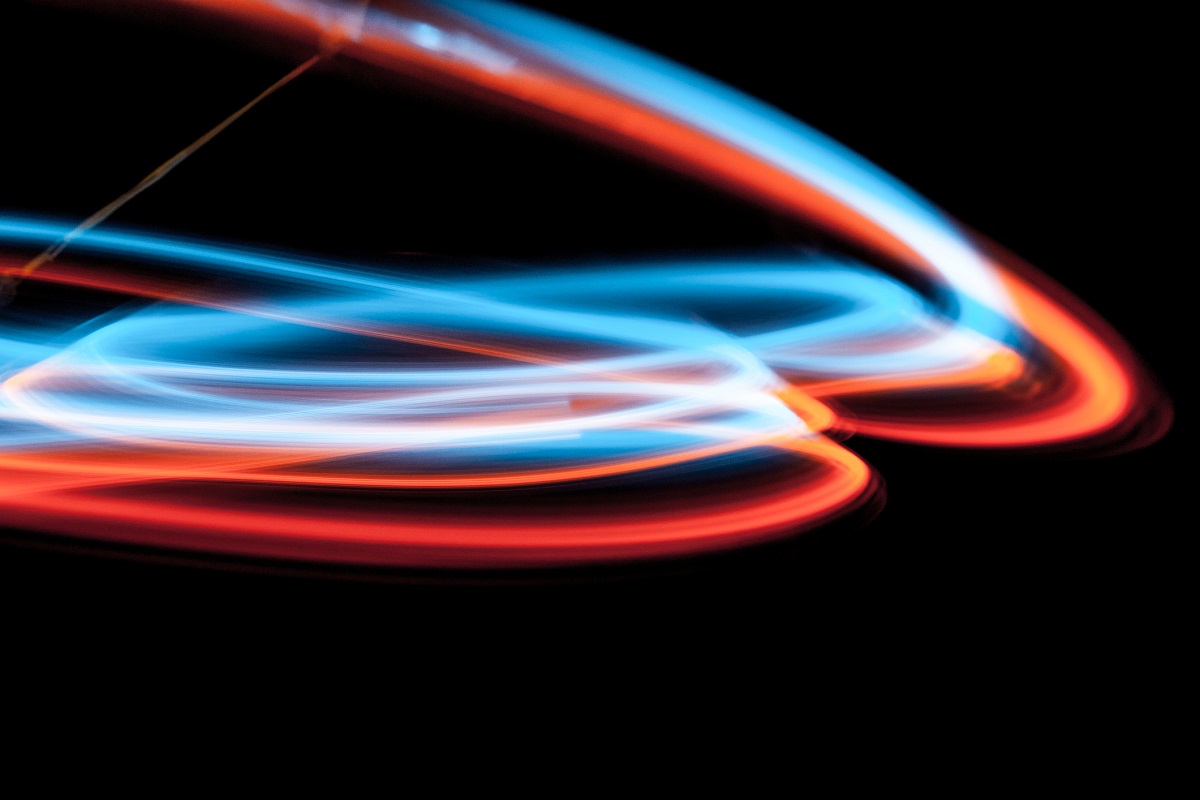
And now it’s time to get started: to begin with, try large round movements. When you are more comfortable with light painting, then you can start experimenting with different exposure times, movements, illuminates, and light colors.
Tip
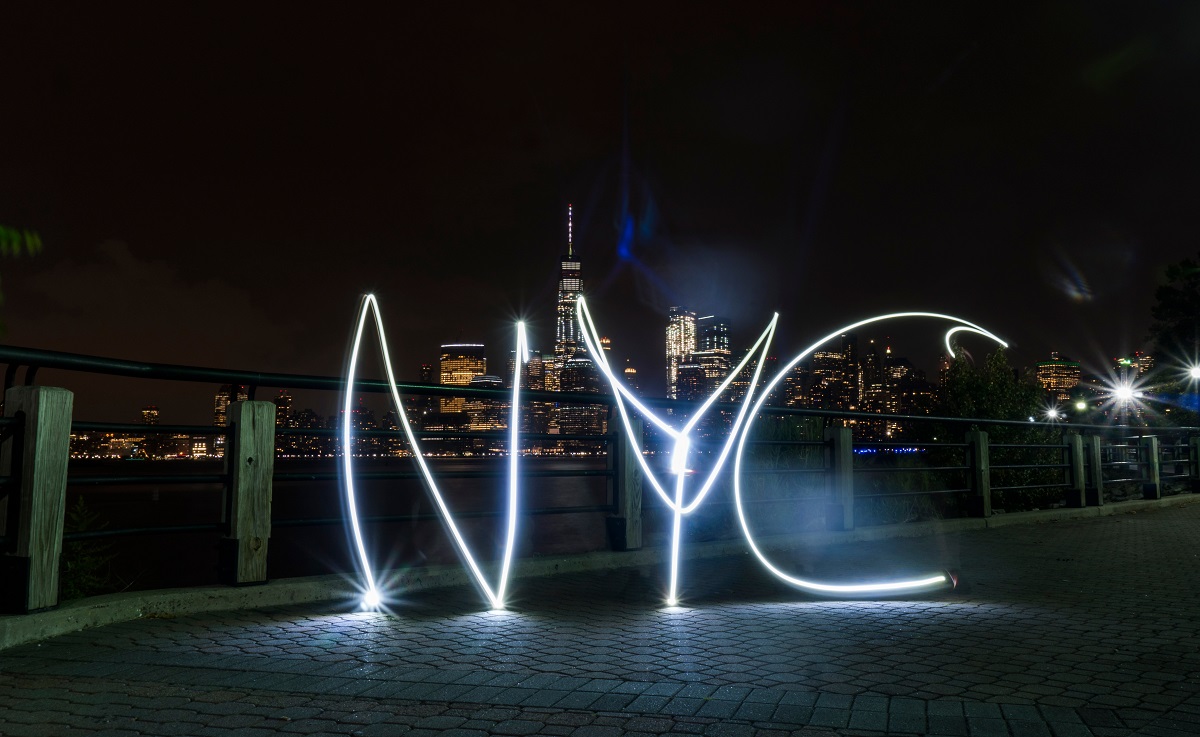
Don't forget that you have to paint letters inverted like a mirror image.
Get creative
The possibilities are only limited by your creativity. Don't be afraid to let your imagination run free!
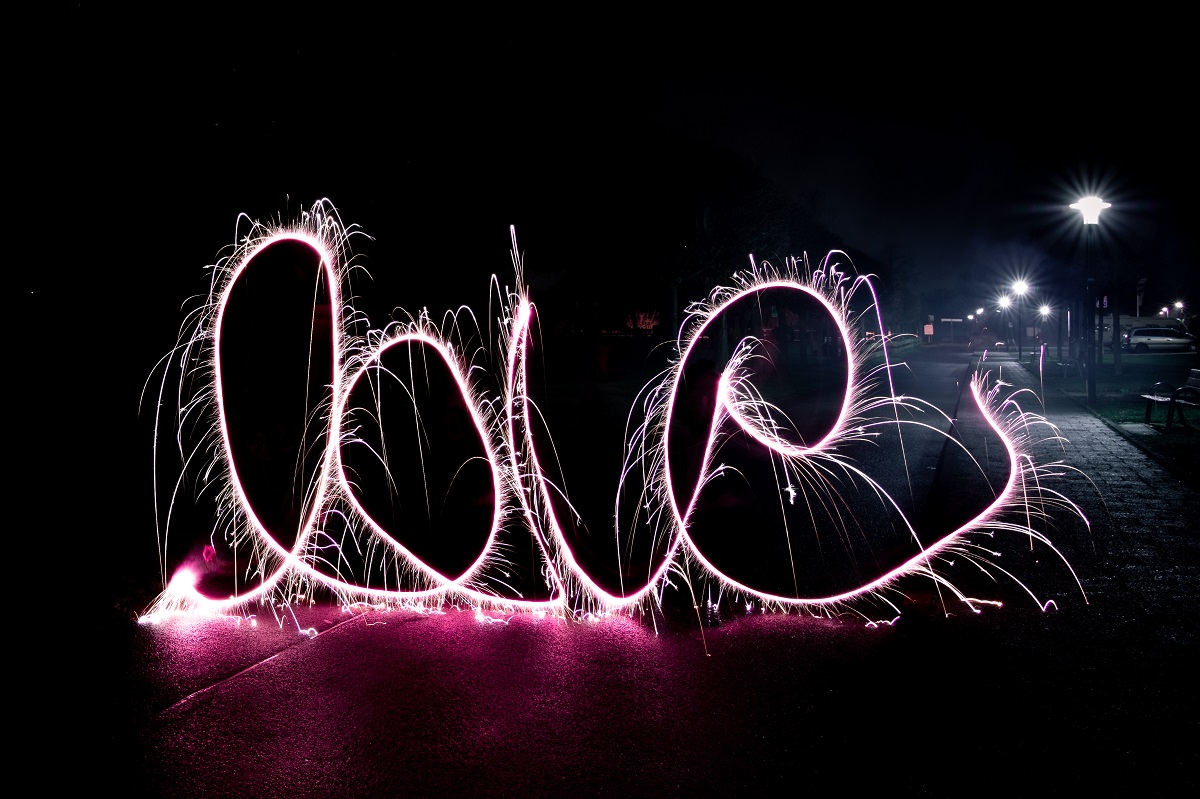
When you have mastered the basics, you can start with more advanced light sources, for example, using long sparklers or glowing steel wool. If you use fire as a light source, then be extra careful and make sure there is nothing flammable nearby.

If you want to take your light paintings to the next level, then you can use editing software to superimpose multiple images together.
Now you can create these amazing light paintings, don't let them gather dust on a hard drive. How about a unique wall decoration to show off your creation? For example, you can create a high quality aluminium dibond in just a few clicks.
Have fun getting creative!
Image sources:
[1] iStock.com/master1305
[3] iStock.com/ronniechua
