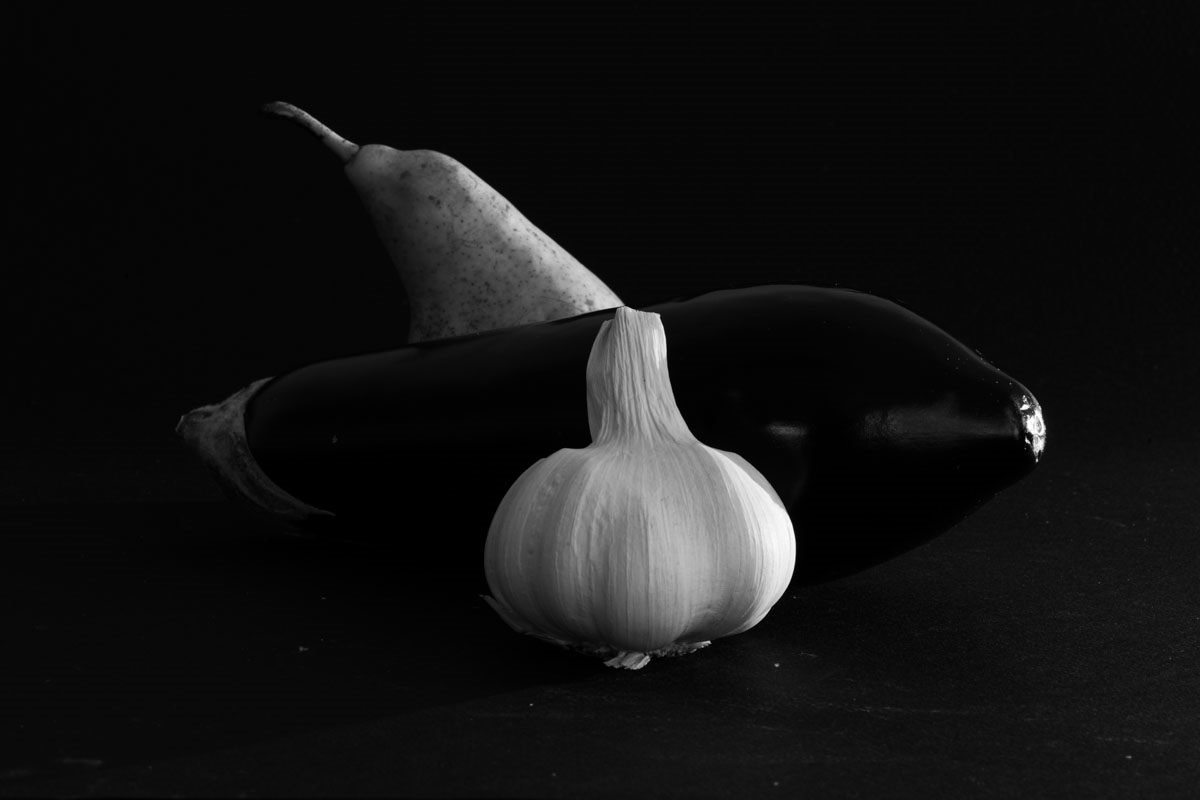
Image composition – light and shadow
We need light and shadow to visually perceive the environment, which makes them key to our vision itself. Light and shadow are therefore just as important in photography. The light draws the shapes and creates shadows. This article will give you a better understanding of what options are available with respect to image composition using light and shadow, with a few different images provided as examples.
In my photography, I work very closely with light and shadow to better bring out the character of the subjects. In landscape photography, a lot of patience is needed to get the perfect lighting conditions. I often need several attempts before everything is just right. Failure is always part of the process. That way, you then know exactly what you will need to do differently next time.
You can respond much more directly to adjustments in studio photography. For this, you have to stage everything yourself. So I’ll start here with some staged examples that you’re welcome to recreate as well. By “studio”, I don’t necessarily mean a professionally equipped photo studio, but also staged photography at home, using some very simple techniques. You can find suggestions for simple techniques that you can use in the tips.
Light/shadow and contours
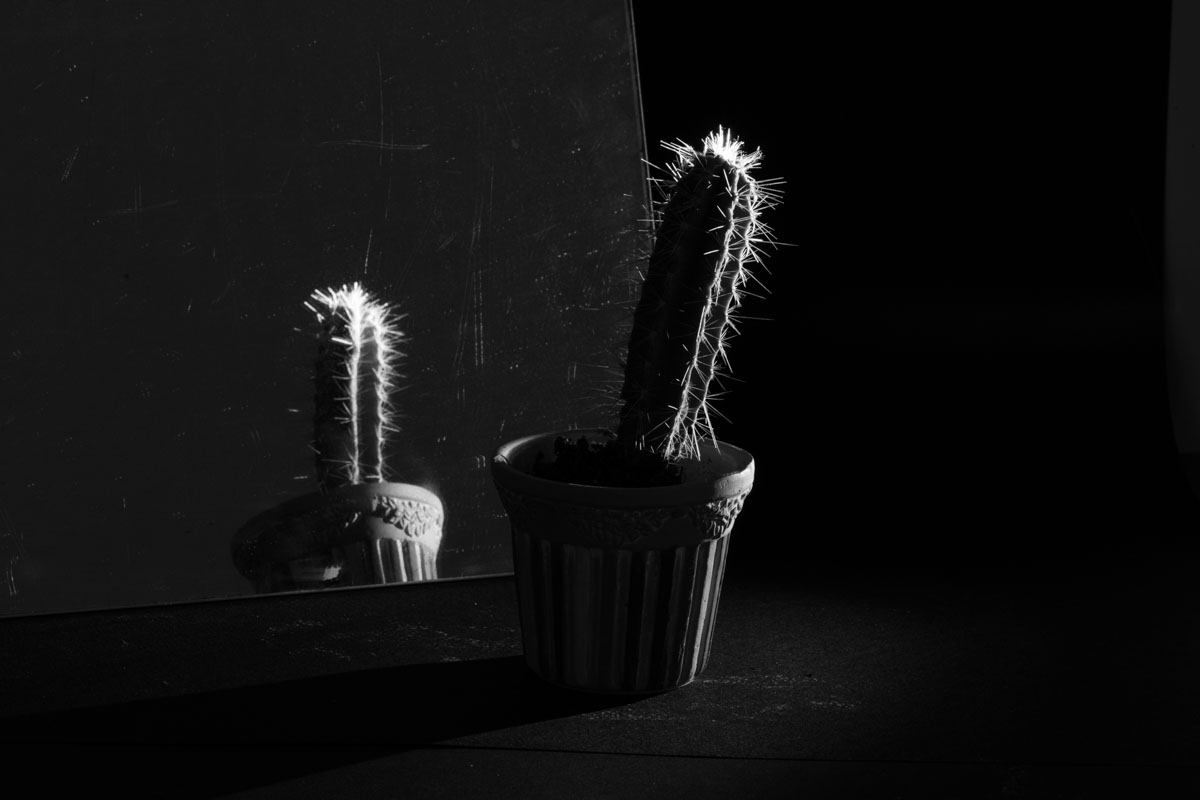
Taking the image of a cactus as an example, we can see how side lighting highlights the contours of the cactus, making the spines really stand out. From the perspective that can simultaneously be seen in the mirror, we can see that the direction of the light is key to peeling out the key elements of a subject. In the mirror image, the spines do not have the same effect since they are part of the white light contours and do not stand out from the dark background as they do with the actual cactus itself.
Tip
The best thing to do is to ask yourself what you actually want to show before you start taking any pictures. Is it the area? The contour? Then you’ll already know which direction the light source should come from. You can also do this for portraits, for example.
Light/shadow and surfaces
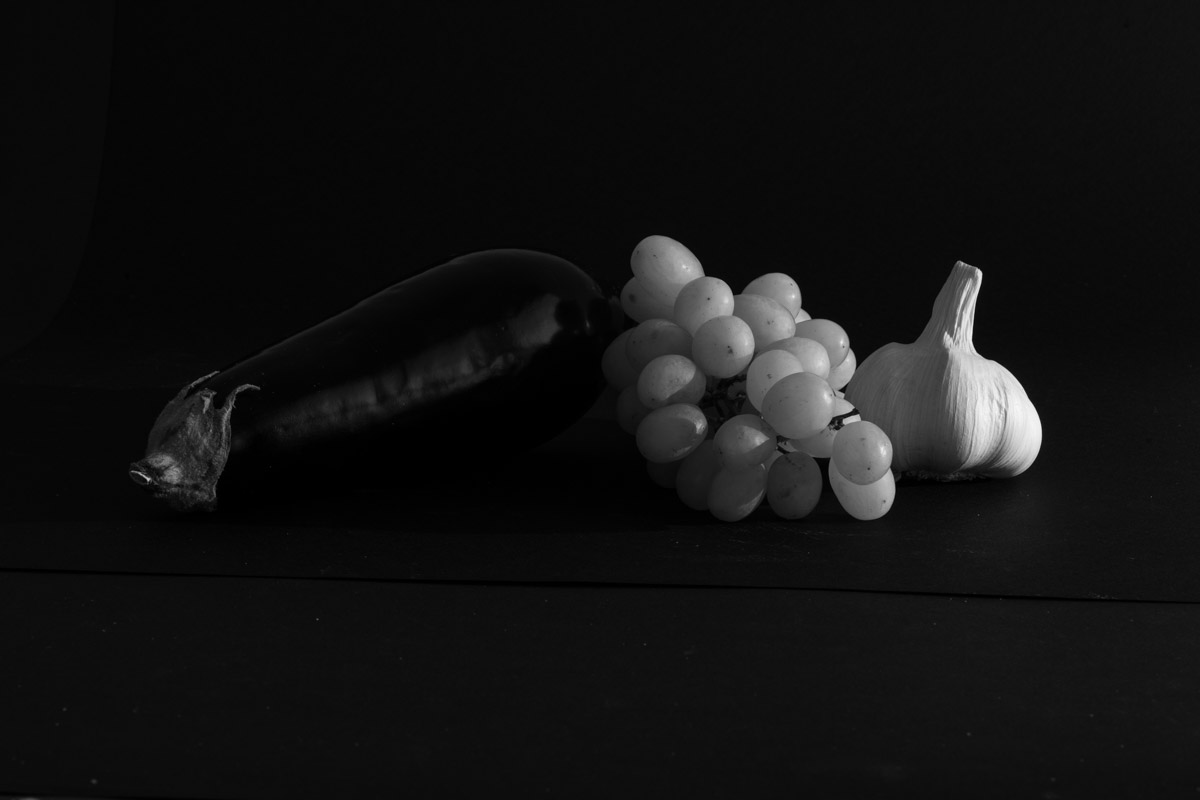
In this second still life, you can see how the same light as above (side light) hits different objects, thereby bringing out different textures from the surfaces. So in the case of the aubergine, the shine on its skin is highlighted in particular. The opacity of the grapes, which are illuminated in their entirety, is also visible. What’s key with the light is not only its direction and strength, which then affects the brightness of the subject, but also its harshness. “Harshness” means whether the rays of light all hit the subject in parallel, thereby creating harsh shadows with strong contrasts, or whether they come scattered from all directions (diffused). A simple example of this is sunlight as opposed to sunlight through mist. (see examples below)
Tip
Play with different light sources to bring out different aspects of your subject. One way to experiment with some simple techniques is to use a mobile phone flashlight and baking parchment as a diffuser.
.jpg)
Examples in natural light
In this photograph, I used the soft evening light to make the leaves’ veins glow and reveal the velvety fur around the leaf. The background was in shadow – that’s why the leaf glows like that. For a similar photograph, I recommend strong evening light so that the sun can still shine through the leaf pigmentation.
Tip
Shoot in soft evening light to bring individual objects into better directional light.
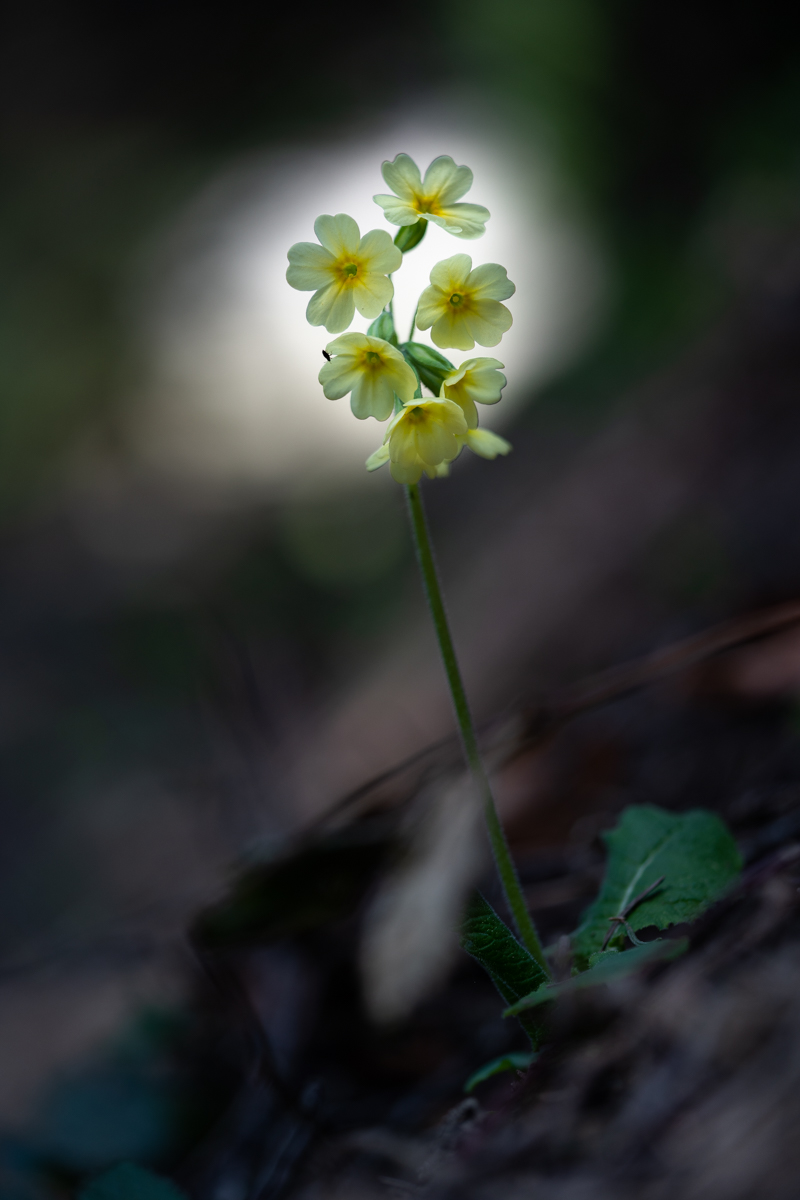
Unlike the image of the Alchemilla, here I used a spot of light at the end of the forest to put all of the attention on the cowslip. The spot of light attracts the eye and contrasts with the flowers, which are illuminated yellow. As an eye-catcher, the gaze ultimately wanders to the little beetle, which, with its dark colour, contrasts the most with the light.
Tip
Bright parts of the picture attract the eye. This allows you to control the composition in a purposeful way.
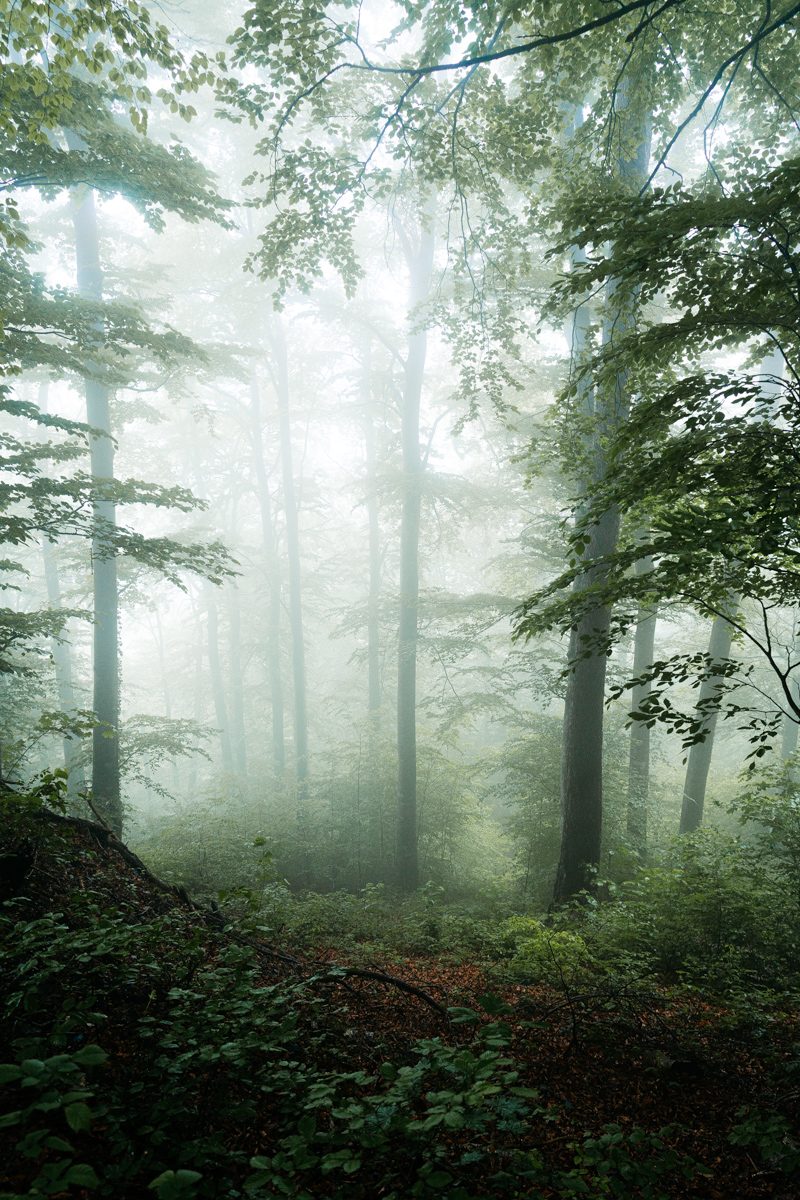
Forest in the mist.
In this forest scene, the diffuse light created by the mist ensures a mystical atmosphere. There is no longer any clear separation between the foreground, middle ground and background. In this photograph, the line of sight should lead from the clear, sharp, saturated foreground to the background, ending in soft light.
Tip
.jpg)
Mountain landscape in amongst cloud formations
To separate the hills from each other, I waited for just the right moment to be created by the cloud formations here so that certain hills were in sunlight while others were entirely in shadow. In this way, they contrast with one another and create a graphic abstraction.
Tip
Major contrasts in light and shadow create graphic abstractions that can give or take away depth from the space.
To cleverly make use of light and shadow, you should remember: Light does not shine without shadow and shadow does not offer contrast without light. So they are always closely interlinked. The relationship between them not only determines the composition, but also steers the viewer’s attention and the direction of the gaze to specific fragments of the picture.
Where does light end and shadow begin? The spaces inbetween can be used as areas for action. This experiment is worth the effort and will give you a better understanding of how you can use light and shadow in your photographs. Why not give it a try! I recommend you try things out and experiment as much as you can. If you do, you’ll definitely succeed in taking special pictures. I hope you’ll be able to get as excited about light and shadow as I am.

Profile:
Andri Laukas is an artist and teacher from Switzerland. Using a variety of artistic interventions, he creates spaces for a dialogue about our own experiences of the world. He often uses irritations to send viewers on new paths of enquiry. He also gives workshops, for example in landscape photography.
www.andrilaukas.com/
Instagram: https://www.instagram.com/andrilaukas/
