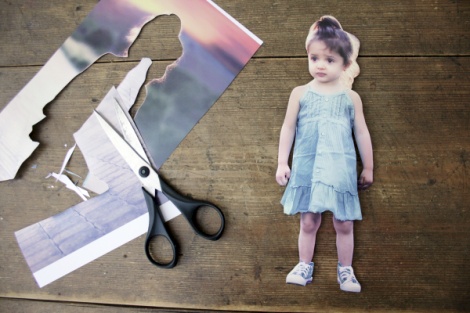
Gift Idea: Make a Jumping Jack Puppet with Your Child’s Photo
Inexpensive & Very Simple: All You Need Is a Piece of Cardboard and Your Favourite Photo.
Get creative: this personalised jumping jack puppet is an unforgettable gift for a child's birthday or as an original gift for adults. It is easy to make and inexpensive too!
Follow Our Step-by-Step Instructions for a Fun Photo Gift:
1.
You will need a photo of your child. It is easiest if you take a full body shot of your child for this project. The photo should fulfil the following criteria:
- Take a picture of your child from the front.
- Their legs should not be covered by clothing and they should stand up straight. Both their arms should either be by their sides or stretched out to the sides of their body. It is important that they do not cover their stomach or clothing.
Tip: the easiest way to craft a jumping jack puppet is if your child wears long-sleeved clothing on the photo.
Have this photo developed as a premium photo poster.

2.
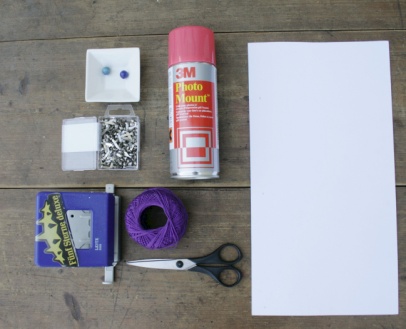
In addition to the photo, you will need the following materials:
- a sheet of cardstock
- scissors and possibly a box cutter
- spray adhesive
- 4 paper fasteners
- a large wooden bead
- wool or string
- a hole punch
3.
Carefully cut your child out of the photo. This means you should cut away any background. If the arms and clothing overlap slightly, you can carefully cut a few millimetres of the clothing to expose their arms.

4.
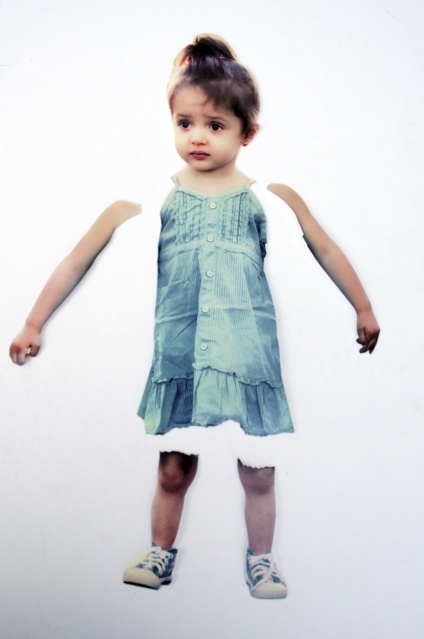
Now start by neatly cutting out the arms and legs. Make sure that the clothing remains completely intact. The arms and legs will overlap behind the body later. However, a skirt that has not been cut out neatly can’t be fixed or changed later.
5.
Now, glue the five pieces you have cut out onto a thin piece of cardstock.
6.
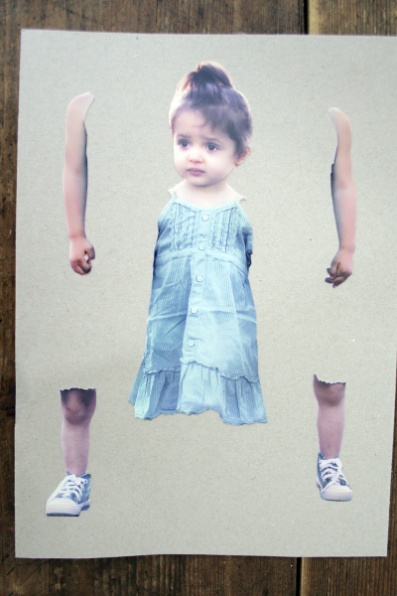
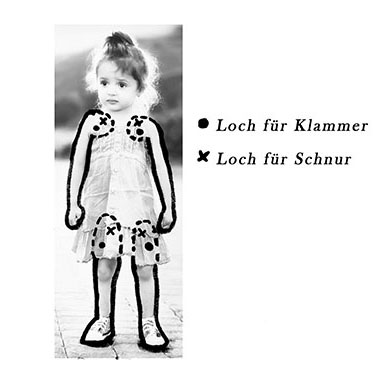
This sketch shows you how to add the arms and legs and where to insert the paper fasteners and the pull-string.
7.
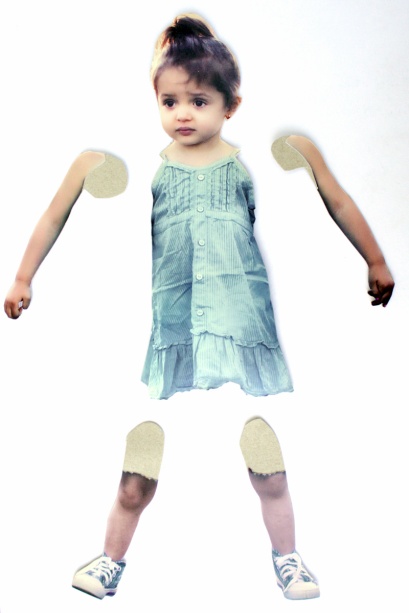
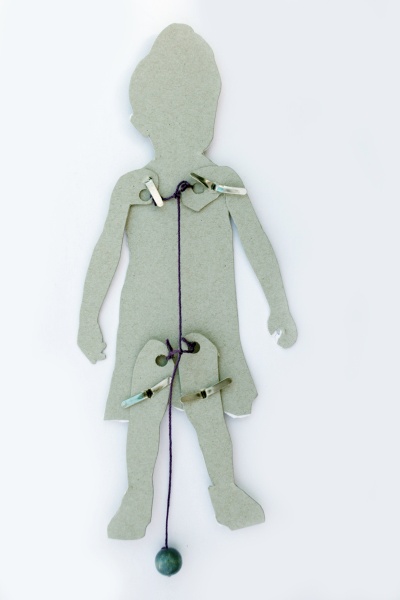
Cut out the arms, legs and body from the cardstock again. However, this time you will need to make a small alteration (see sketch). Now, the arms and legs need to be extended with the cardstock, so that you can attach them to the manikin and move them later. To do this, you need to extend the legs by a few centimetres. The arms need a kind of shoulder joint to get a pull-up effect. Do this by cutting out two large circles on the shoulders.
8.
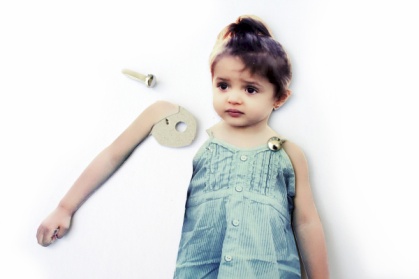
Each of the four joints requires two holes: one for the paper fasteners and one for the pull-string. You can make both holes with a hole punch. Alternatively, you can use a box cutter or scissors to drill a small hole for the fasteners.
9.
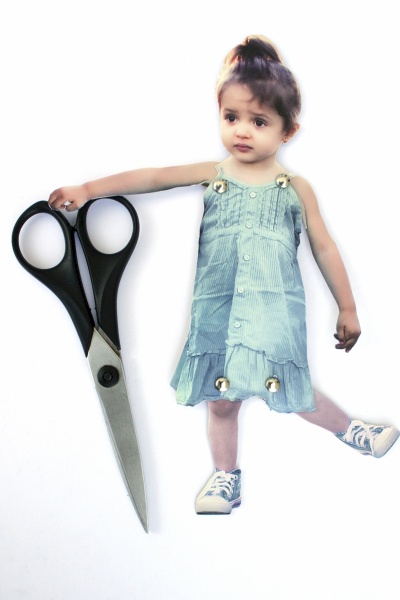
Once all four paper fasteners have been inserted, you will be able to move the picture of your child like a puppet. Now, attach the string to the back to transform it into a jumping jack puppet.
10.
Connect the two arm holes horizontally with the string and the two leg holes with one another. Now tie another string vertically, which connects the arm string at the top to the leg string underneath, and extends downwards to below the feet. You can now tie on the wooden bead that you will need to pull in order to move the puppet.
About the Author
Julia Marre is a features editor with an affinity for photography and design. She runs the blog http://www2.kommandokarottenbrei.de/. Julia enjoys crafting photo products and writing about these DIY projects and self-designed gifts for ifolor.
© Photos and text: Julia Marre
