How to get great portrait photos in the workplace
In times of extreme competition, creative and great looking portraits are essential. Customers are looking for trustworthy and professional contacts. The right photo can immediately convey this and have a positive impact on the customer's perception of the company.
Doing a photoshoot in a photo studio or in the workplace?
This is an important question when it comes to taking photos. The reasons for this are the professional equipment and the experience of the photographer. However, by doing a photoshoot in the workplace the picture can capture the background and show the different employees at work. So, there is also the possibility of staging portraits of the employees in the company itself. In the following guide, you will find out more about what photographers should pay attention to.
Portrait shots in a working environment
Photographing employees in their working environment can be a great challenge for the photographer. Especially reflective surfaces or glaring light often pose a problem for the correct exposure. Before doing a photoshoot you need to keep the following questions in mind: how many light sources do I need? Which background should I choose? What kind of flash should I use? To find the answers to these questions let’s first look at the important aspects of corporate portraits.
1. Light
Available Light
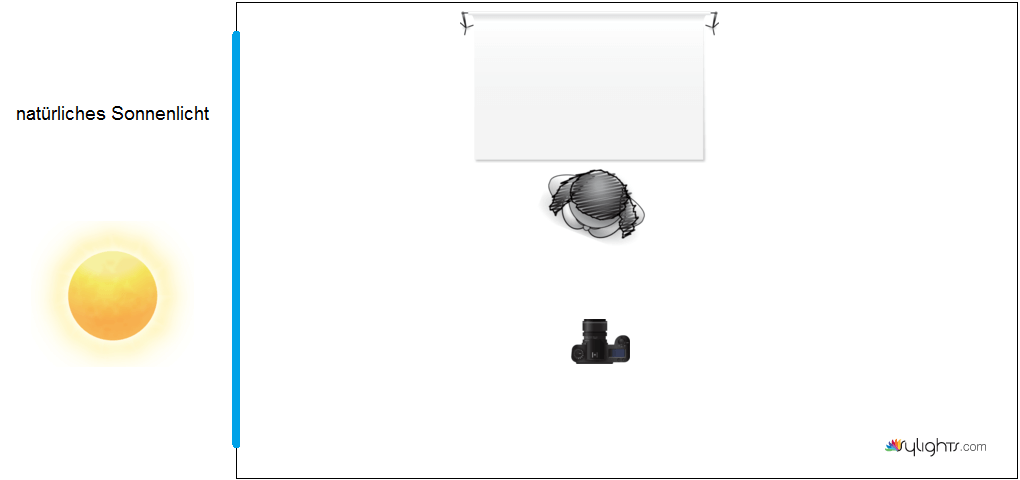
Offices which have large windows have a lot of available light, which makes taking photos easier as you don’t need a flash and you don’t need to turn on the lights in the room. Photographers should only rely on the natural light source when there is sufficient incident light. If the camera allows it, you can experiment a little with the ISO value. However, make sure that the ISO value is not too high otherwise you will cause unsightly noise on the subject. Photos for the workplace should look professional, but make sure that they do not have colour casts or over- or underexposed image areas. The following image contains an example of available light photography in a workplace. However, direct sunlight should be avoided at all costs, otherwise dark shadows will appear on the subject’s skin.

Artificial light
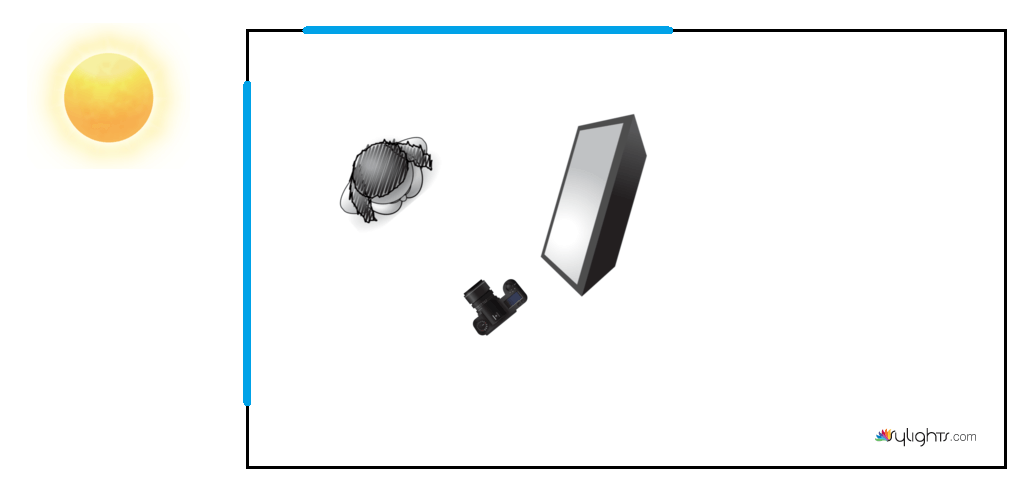
If the windows are directly behind the object who is being photographed the result is an overexposed background without the use of artificial light. There are many ways of adapting the lighting conditions to the room and the object. However, a studio flash and a softbox as a diffuser are often sufficient.
What is the best way to take pictures of people in an office with a flash?
- Light reflections from surrounding objects can be reduced by using a minimum of flash. That is why in most cases we recommend using only one studio flash in a softbox.
- Using a softbox will diffuse the light, which can then be directed better at people rather than using a light through a photography umbrella.
- Make sure that the angle is correct so that the light from the flash can reach the person being photographed.
- Position the softbox in such a way that no unsightly reflections can be seen in the windows.
- The artificial light should be placed as close as possible to the object.
- If the subject is well exposed but the background is too dark, then the shutter speed can be extended and the light intensity of the flash should be reduced. This means that the softbox can be moved further away from the subject.
- Make sure that you have had enough practice taking photos in manual mode.

2. What camera settings are recommended?
- Try to capture your subjects with the highest quality. The RAW format is best suited for this.
- Leave the white balance untouched. In RAW format, this can easily be adjusted afterwards in Lightroom.
- The ISO value remains set at 100. Only experiment with this in the sunlight.
- The shutter speed should be between 1/200 or 1/250 seconds. When using a flash make sure to check the synchronisation speed.
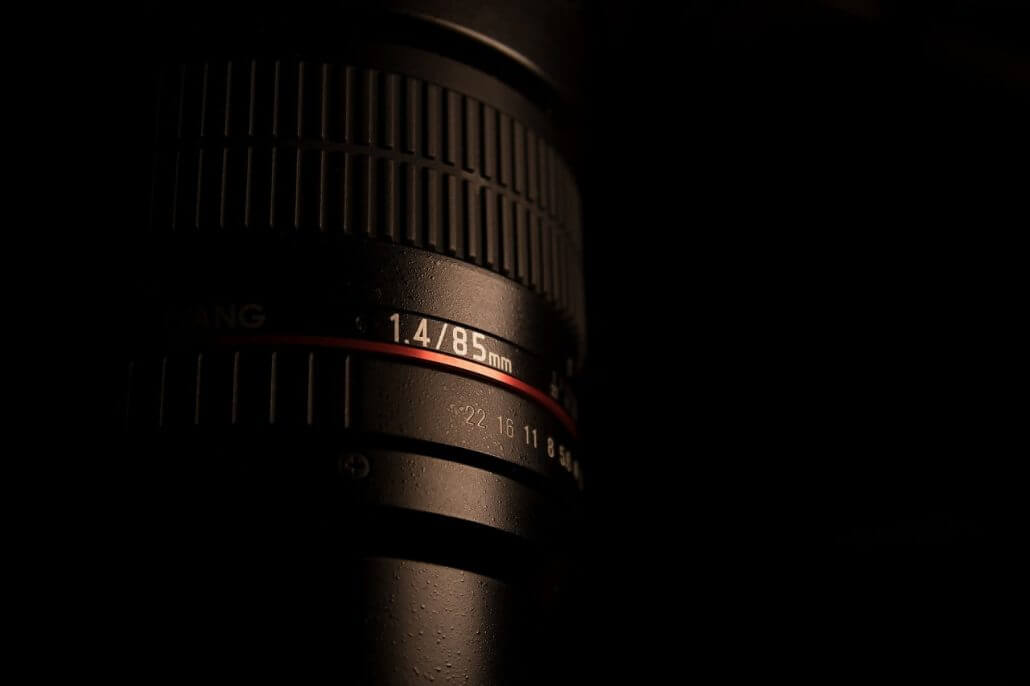
- For portraits an 85mm lens is an excellent choice as it produces almost no distortion.
3. Finding the right expression
In the following video, professional photographer Aaron Nace gives a behind-the-scenes insight into his work. The video is meant to inspire finding the right pose and facial expression for people who are having their photo taken. In doing so, the photographer also addresses the correct breathing technique.
4. What you should avoid
There are a lot of license-free images that are easy to find. However, these types of photos look very unnatural. Below you will find a couple of examples why:
- Business partners shaking hands and smiling at the camera.
- Members of staff smiling whilst looking at a pie chart.
- "Boy band" types of photos in which a person has folded arms in the foreground.
- A woman smiling at the camera whilst wearing a headset.
Professional workplace photos do not need to be works of art, but they should still look professional and be appealing. Therefore, the photographs must be of high quality. This shows the professionalism of the company and helps to put the company in the good light.
