Creating Fascinating Nighttime Photographs with the GoPro Night Photo Setting
Being able to take nighttime photos is one of the key disciplines in the field of photography. With our tips, you’ll be able to shoot spectacular photos even in poor lighting conditions in no time at all.
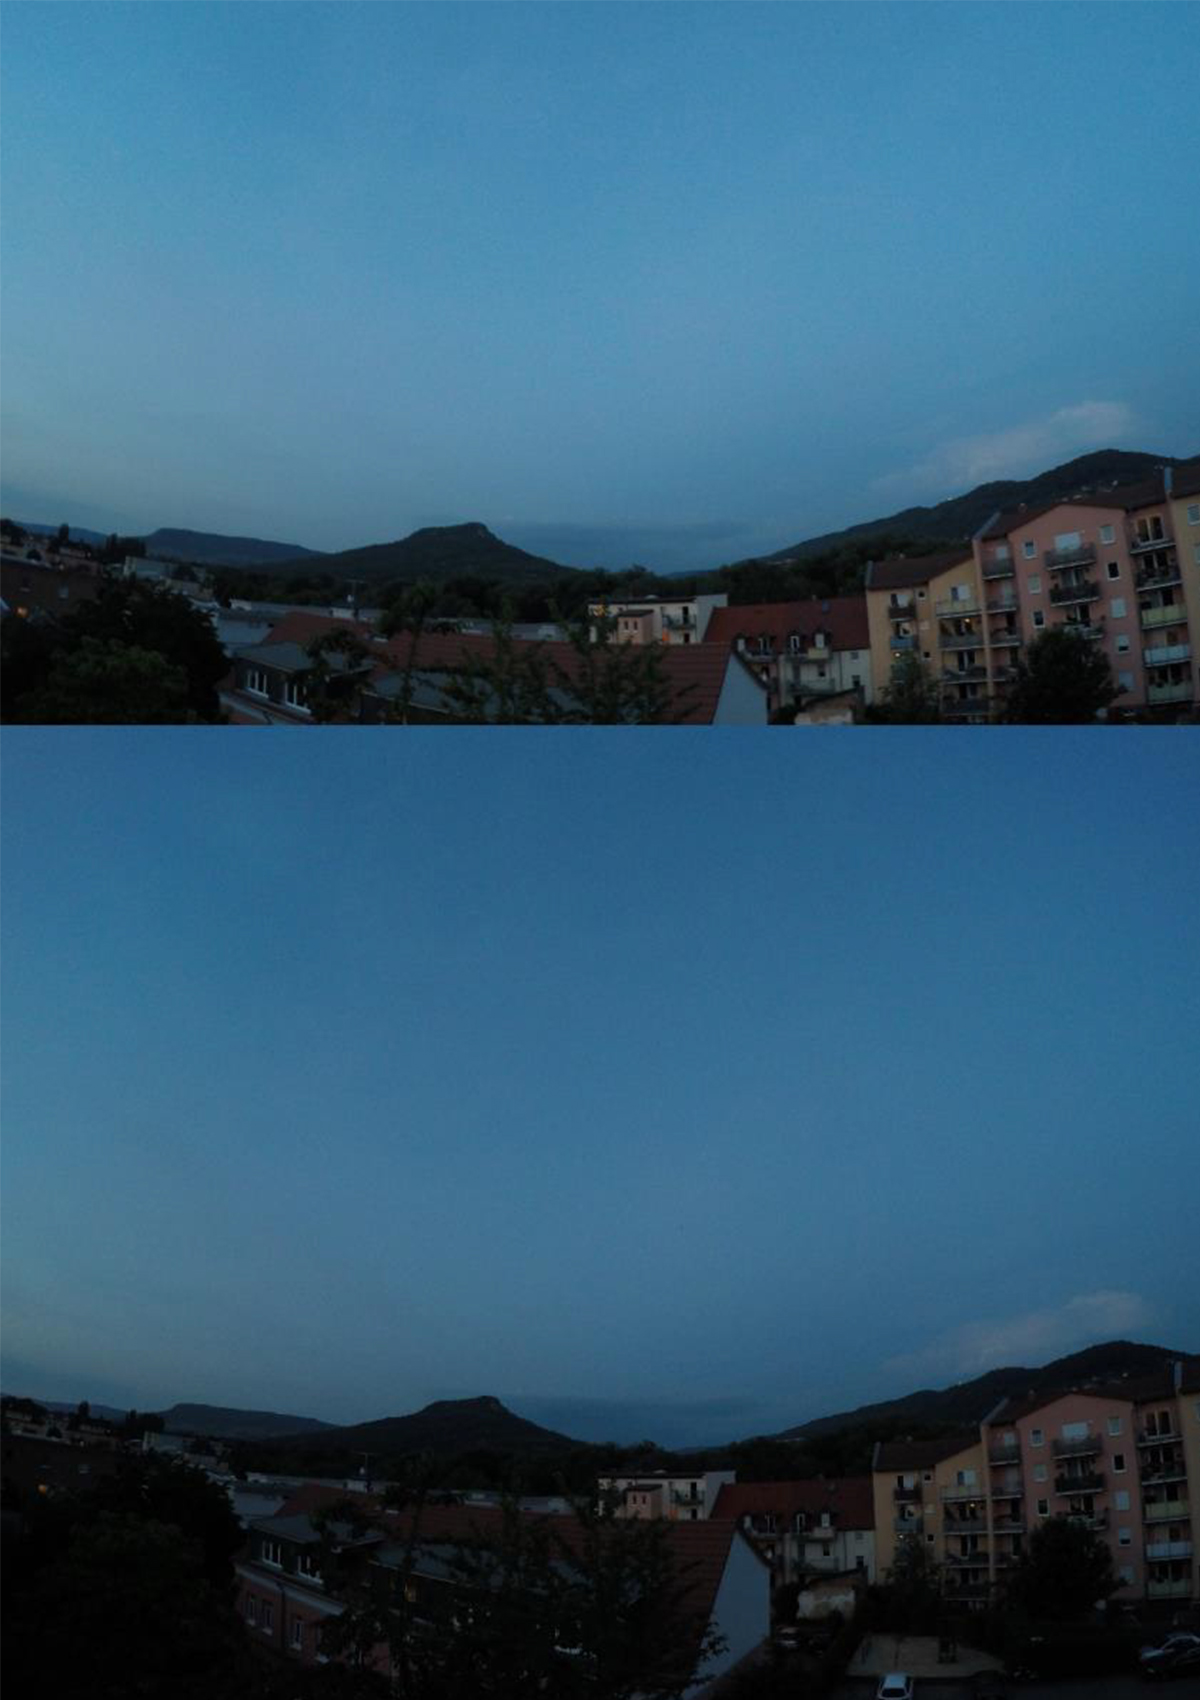
For those of you who might not have noticed, dusk and nighttime scenes provide brilliant motifs for photographing. When the lighting conditions are poor, however, it can become quite difficult to produce good results. Many photos can easily appear blurry or pixelated when taken in such conditions. The lighting conditions under water are also not that optimal. You could especially run into trouble when taking photos in poor lighting conditions with a GoPro since it’s more of a sport camera and not really built for taking nighttime photos. If you make use of the following tips, however, you’ll easily be able to shoot nighttime scenes with your GoPro in no time at all.
Please note that some of these tips are only applicable for the newest models such as the GoPro HERO4 Black Edition.
Mess Around with the Shutter Speed
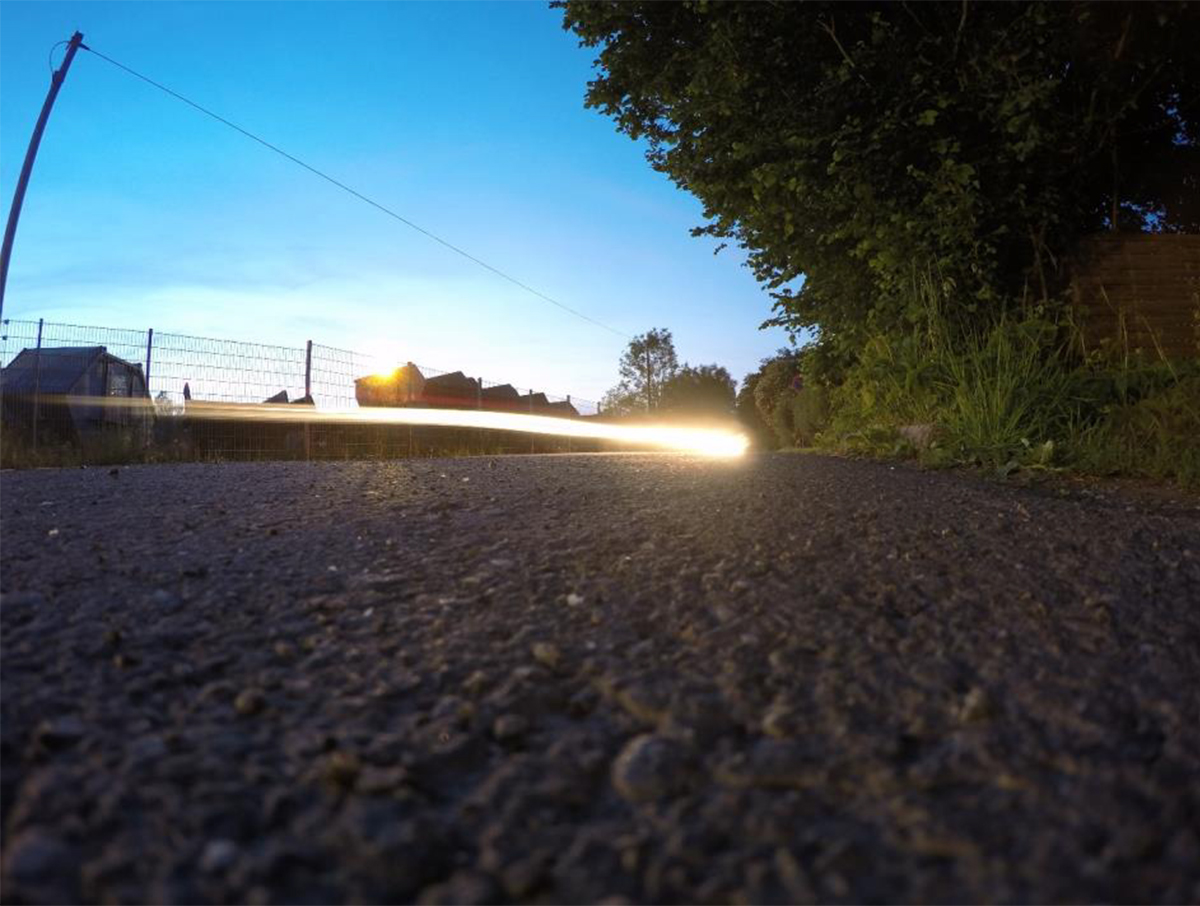
You can take really brilliant nighttime photos with a new feature that is currently only offered by the HERO4 Black Edition in the GoPro product line. The night photo mode of the Black Edition ensures that images are captured and more illuminated than normal which leads to exceptional results. Your creativity will know no bounds here: you can experiment with different lighting sources (e.g. sparklers or glow sticks), let blurred motions swim around in the image, or “write” something in the darkness with a light. Naturally, there’s also the option of making a time lapse using night mode. There are many different ways you can make use of the night mode on your GoPro.
Using the Spot Meter Against Automatic Brightening
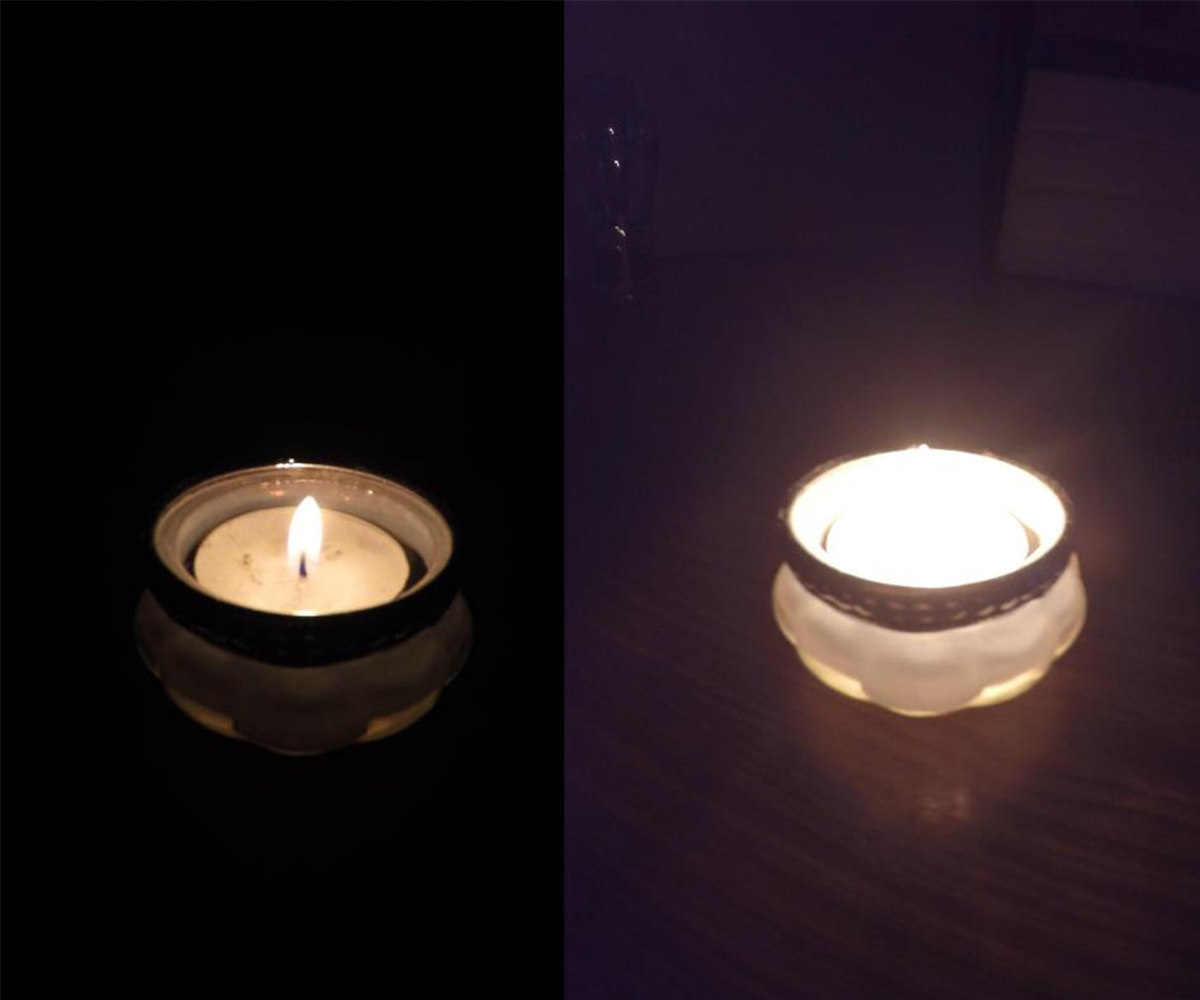
In case you didn’t already know, your GoPro comes equipped with a so-called spot meter, which makes it possible to capture brighter motifs in darker environments. Without the spot meter, your GoPro would automatically try to brighten the dark environment, which would lead to a decline in image quality or the bright motif would be made even brighter, both of which could turn out unsightly. The spot meter can also help you to add a bit of creativity to your shots. Just give it a try!

Controlling Settings with the GoPro App
By using the Wi-Fi function of the GoPro in conjunction with the corresponding app for smartphones, it’s even easier to regulate the settings on your camera. It’s much easier to just connect your smartphone or tablet to your GoPro to change your settings since it can sometimes be quite problematic to view the settings on the small display of your GoPro. This will allow you to adjust the settings with ease and they’ll immediately be implemented on your GoPro. In addition, you can see a preview of how your photos will turn out when using the settings you just applied. Even if the preview of the photo isn’t exactly spot-on in depicting how the actual result will turn out, it’s still a useful tool to take advantage of. After shooting your photo, you can comfortably view it in a more suitable size on your tablet or smartphone.
Regulate the Image Rate with the Auto Low Light Mode
This is another feature that is only offered with the newer GoPro models (HERO3 and newer). The auto low light mode adjusts the image rate according to the surrounding lighting conditions. The GoPro does this automatically and doesn’t require manual adjustment by the user. This is a very useful feature since it allows the user to easily photograph and film while changing between bright and dark lighting conditions without having to adjust the camera’s settings.
One more thing before you go: it’s clear that the GoPro was mainly built to record high quality action videos and photos and it wasn’t especially designed for taking brilliant nighttime photos. If you make use of the tips we’ve given you and you use the right settings, however, it’s still possible to end up with good results even in poor lighting conditions.

