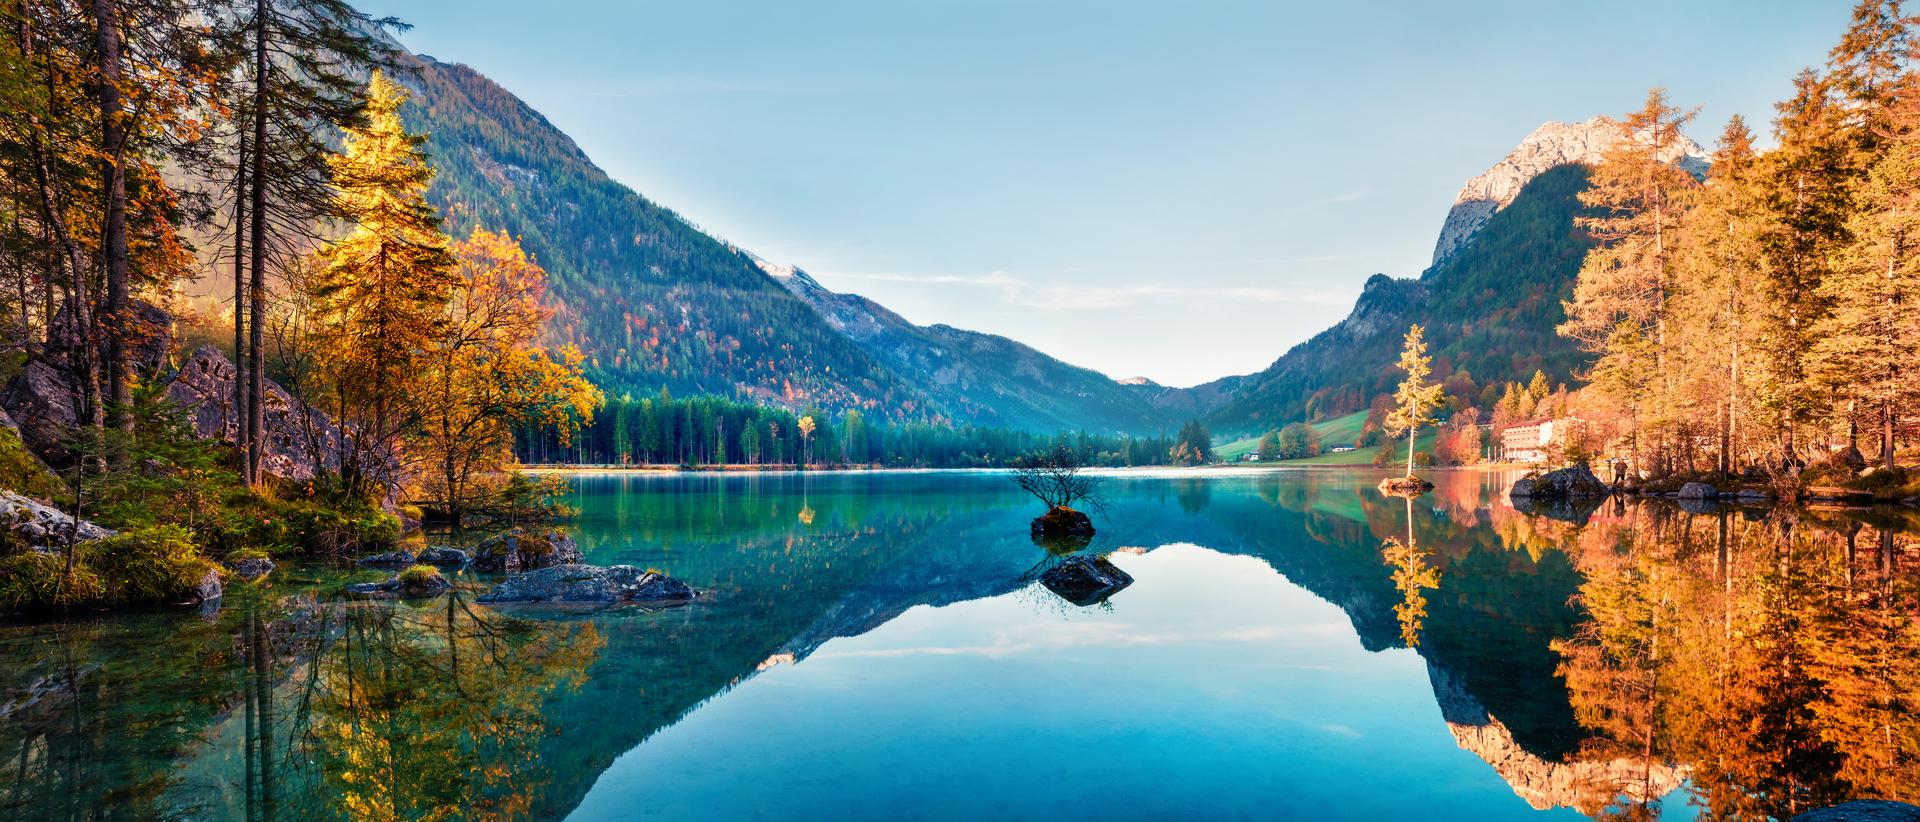
Creating a Panorama from Individual Shots in Photoshop
It’s a good idea to take a panoramic photo of breathtaking landscapes, such as a mountain range. For high-resolution panoramic photos it is worth using a digital SLR camera. Although you can't take a panorama photo in one go, you can turn several individual photos into a breathtaking panorama in just a few clicks on Photoshop. In this article we will show you how you can do this.
The Individual Shots
You can combine several portrait photos as well as landscape photos to make a panorama photo on Photoshop. The width of the image is determined by the number of shots. It does not matter whether the panorama photo is made up of three, four, five or more photos.
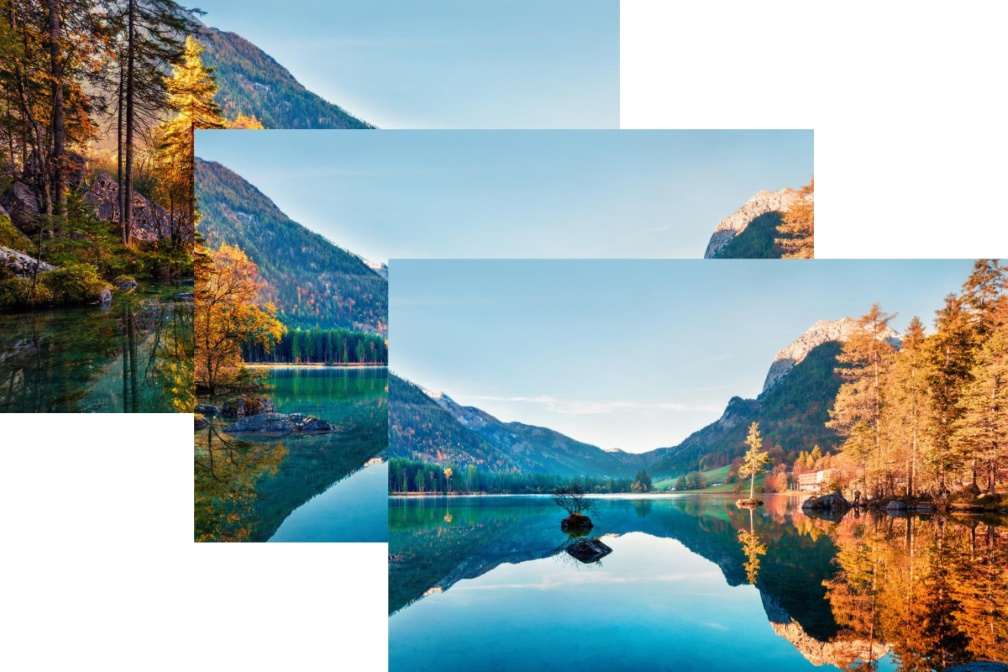
When taking the individual photos, you must ensure that some of the images overlap so that you can combine them later. If you have a large area that is overlapped you will need more photos to create your panorama. You can find out how to take individual shots and what camera accessories you will need in the following article: ‘’Panoramic Photography’’’
Once you have finished taking your photos upload them onto your computer. Put all of your photos you want to use to create a panorama in a separate folder. This will make it easier to find them.
Merging Individual Shots On Photoshop
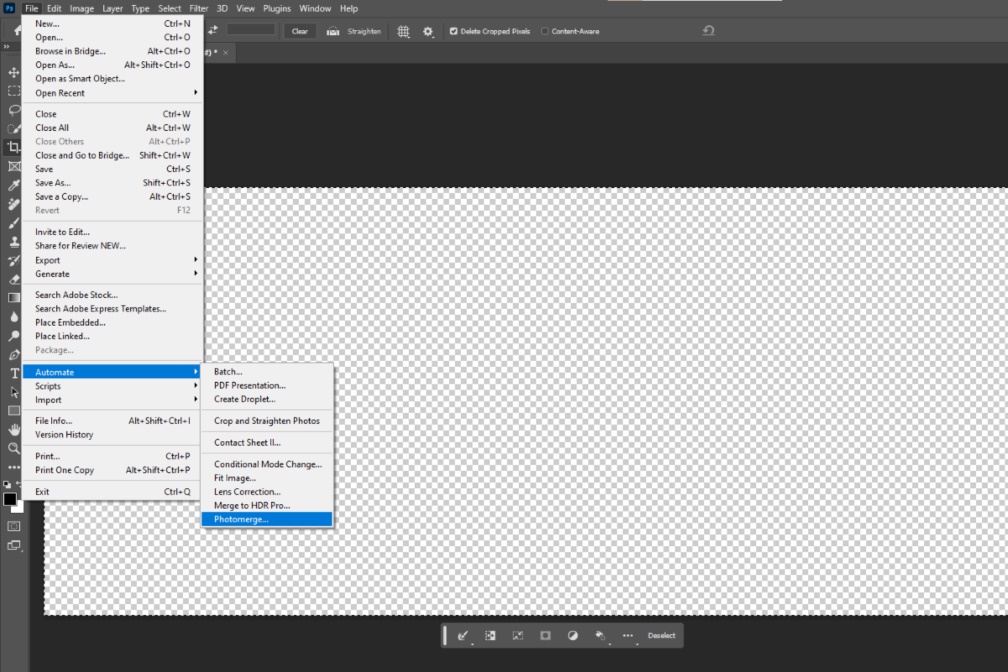
In our example, a panorama is made up of three individual photos in landscape format and you will need to use the Photomerge feature on Photoshop. You can find it on the upper toolbar under "File" and "Automate".
A new window will then open. There you will find several options for the layout. To create a panorama leave the setting on "Auto". Photoshop will automatically decide between the perspective, cylindrical or spherical layout, depending on which choice results in a better composition. Now you can choose whether you would like to upload individual files or a folder onto Photoshop. To do this, click on "Browse" and select any folder or all files needed for the panorama.
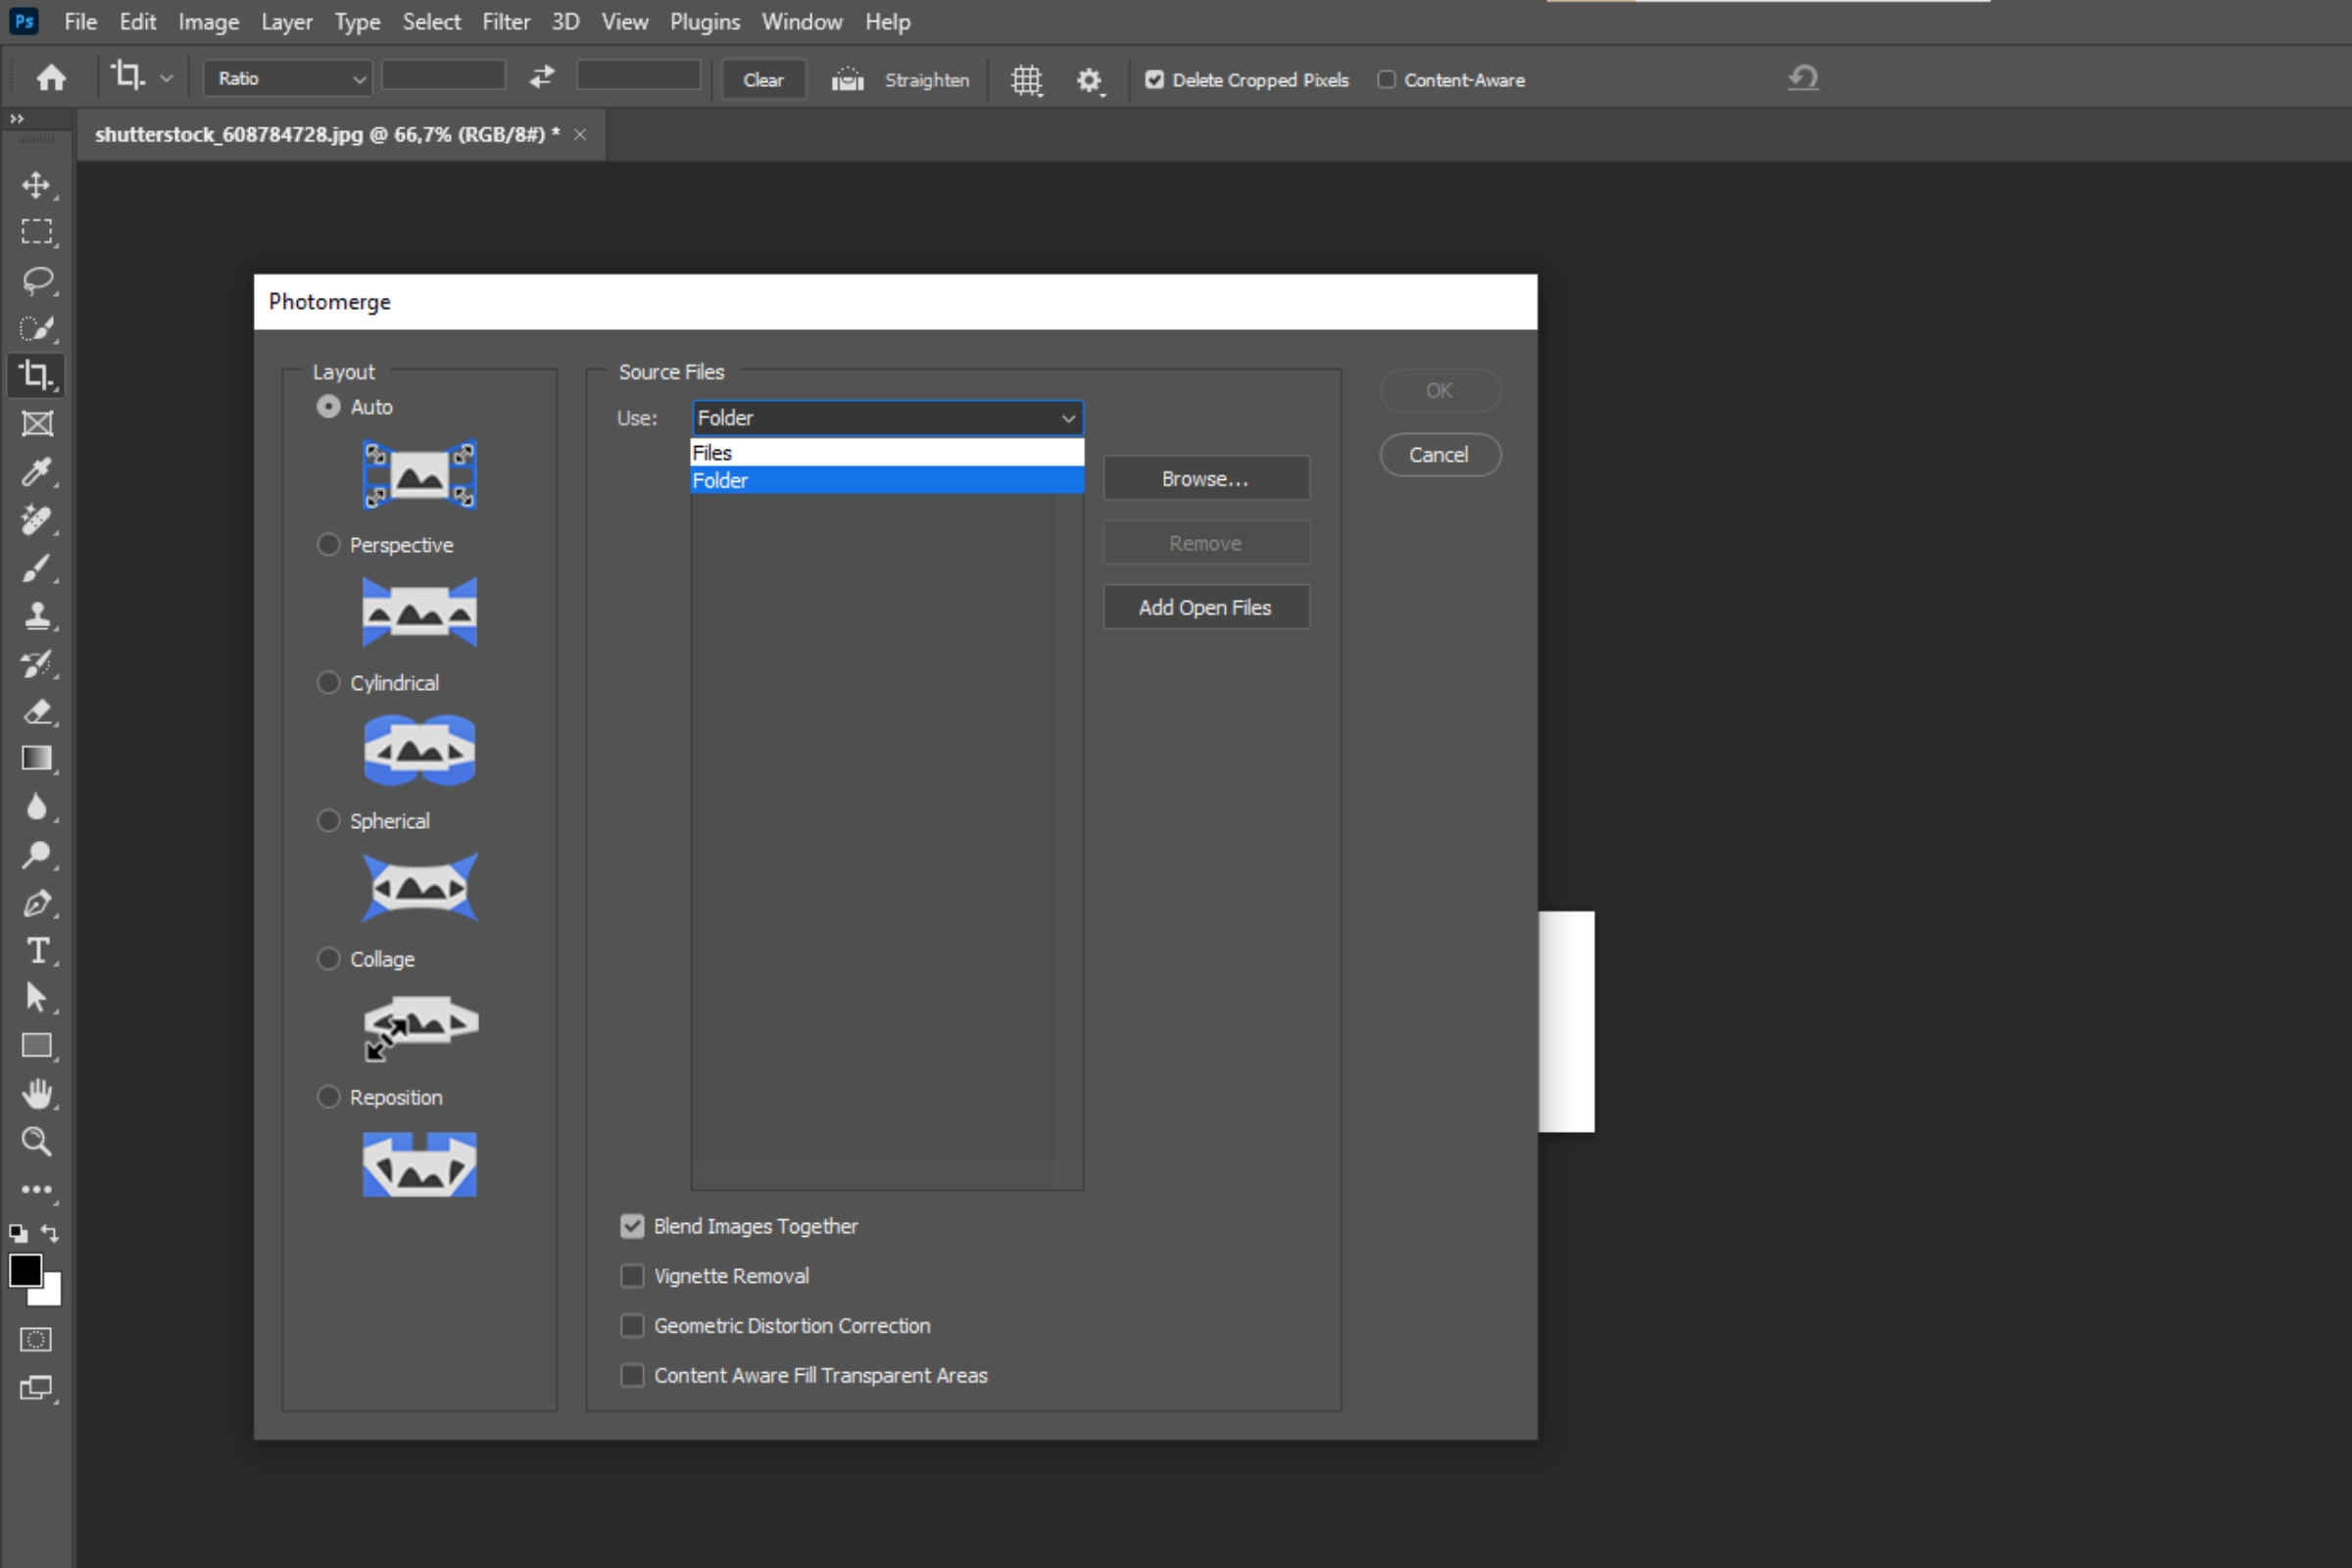
At the bottom of the window you will find other options such as"Remove vignetting", "Correct distortion" and "Content-aware’’ for filling transparent areas. In our example we use the option "Blend images together". Photoshop finds the optimal borders between the images, creates suitable transitions and adjusts the colours of the individual images.
By clicking on "OK", Photoshop will now begin to merge the images. After a short while the panorama will be displayed.
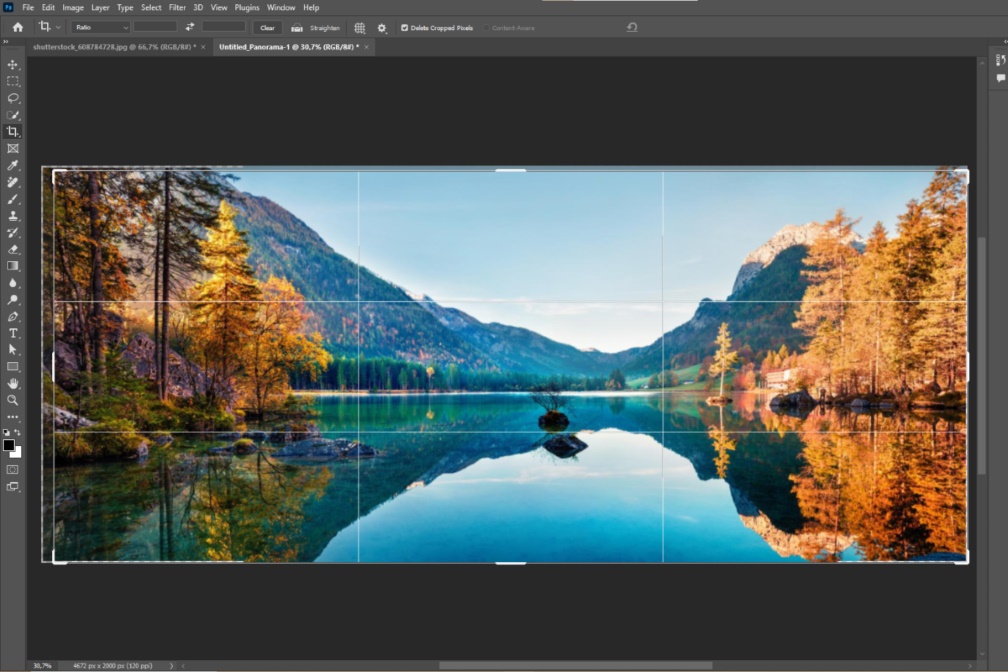
Merging the individual photos together can create unshapely outer edges on the panorama. You can easily remove these by cropping the image. Crop the photo until no more transparent areas are visible.
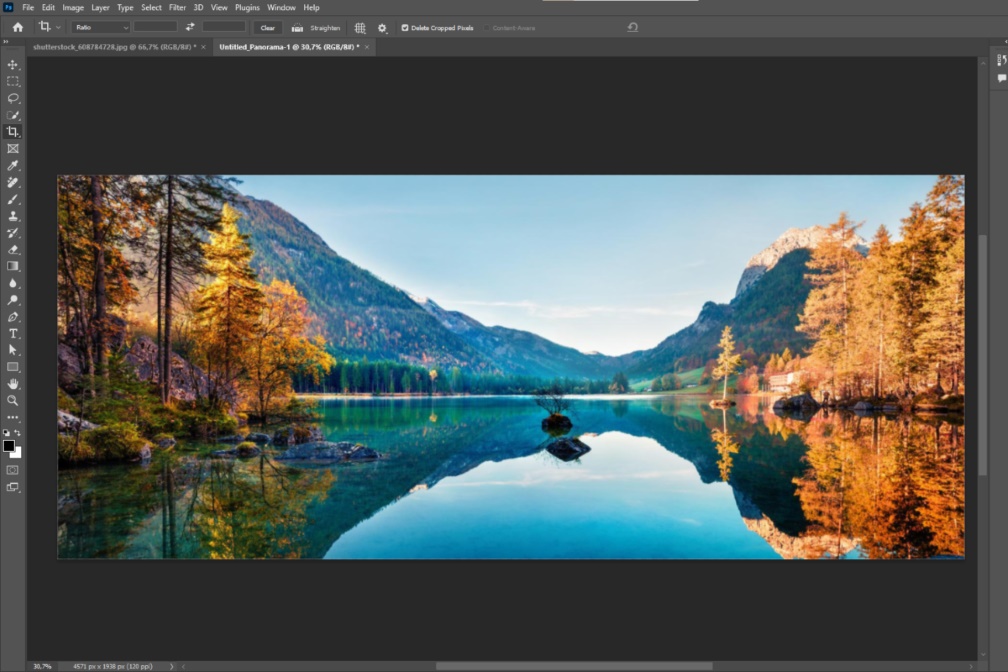
Now your high resolution panorama photo made up of individual shots is ready to go. Afterwards you can easily save it.
Have fun getting creative!
