Setting Up Studio Lighting
The two most common sources of light are a camera flash and studio lighting. These can be used separately, but also together. However, sometimes a single light source is not enough to capture the subject exactly how you would have liked to. Once you introduce two or more light sources they must be correctly positioned to achieve the desired result. This arrangement depends on the lights and the working area.
Lighting Arrangement - Portrait Photography
Portrait photography usually requires three separate light sources: a guide light, a fill light and a highlight.
The leading light also called the ‘key light’ and this is the strongest and the main source of light in this set-up. The key light is situated so that the light falls diagonally across the subject’s eye; usually at a 30–45-degree angle. This causes one side of the face to be well illuminated and the other to be cast in shadow.
To reduce the intensity of the shadows, another light source is positioned opposite the guide light. The fill light is weaker than the guide light and only serves to reduce the contrast between the two halves of the face.
The third component is the backlight, which is set up in the background and illuminates the model from behind. This creates a clear boundary between the head and the background, giving the shot a greater sense of depth.
Lighting Arrangement - Product Photography
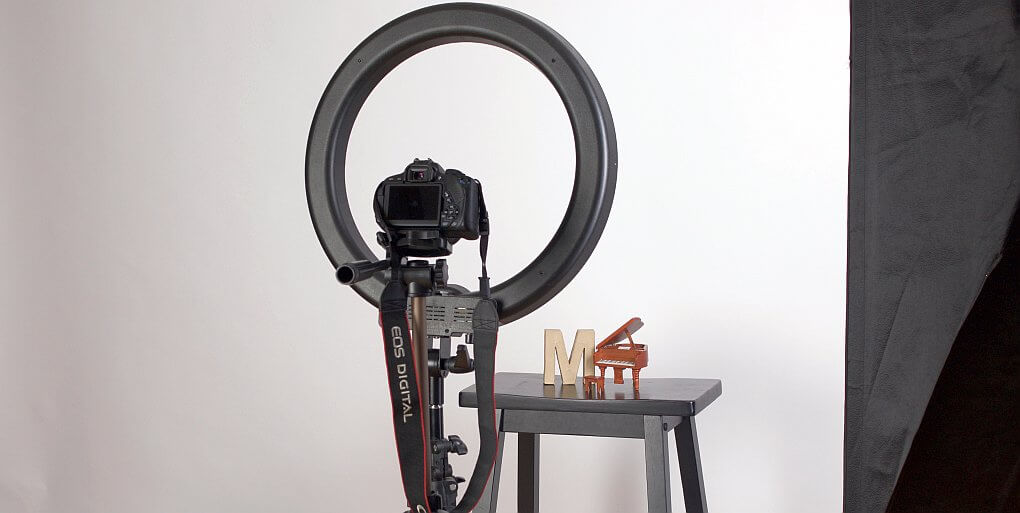
Objects with many corners and edges need several light sources for optimal illumination. As with portrait photography there are several components needed when setting up lighting.
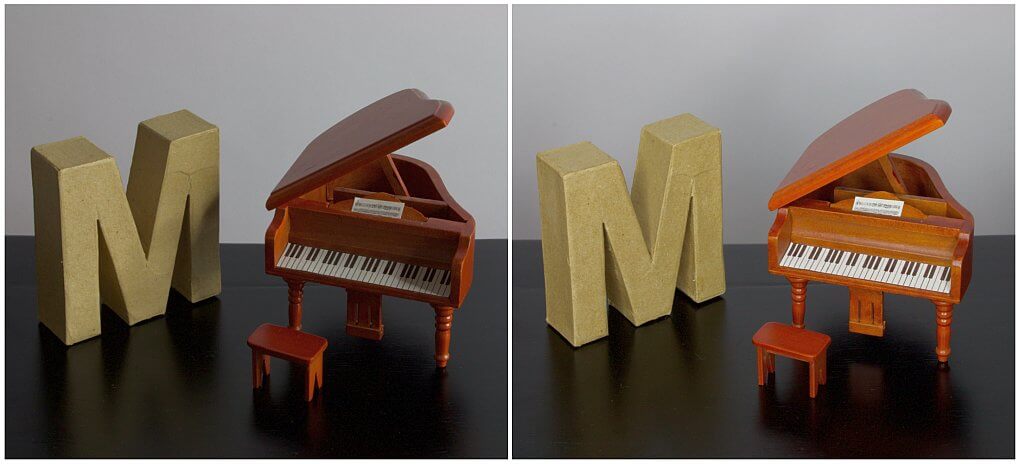
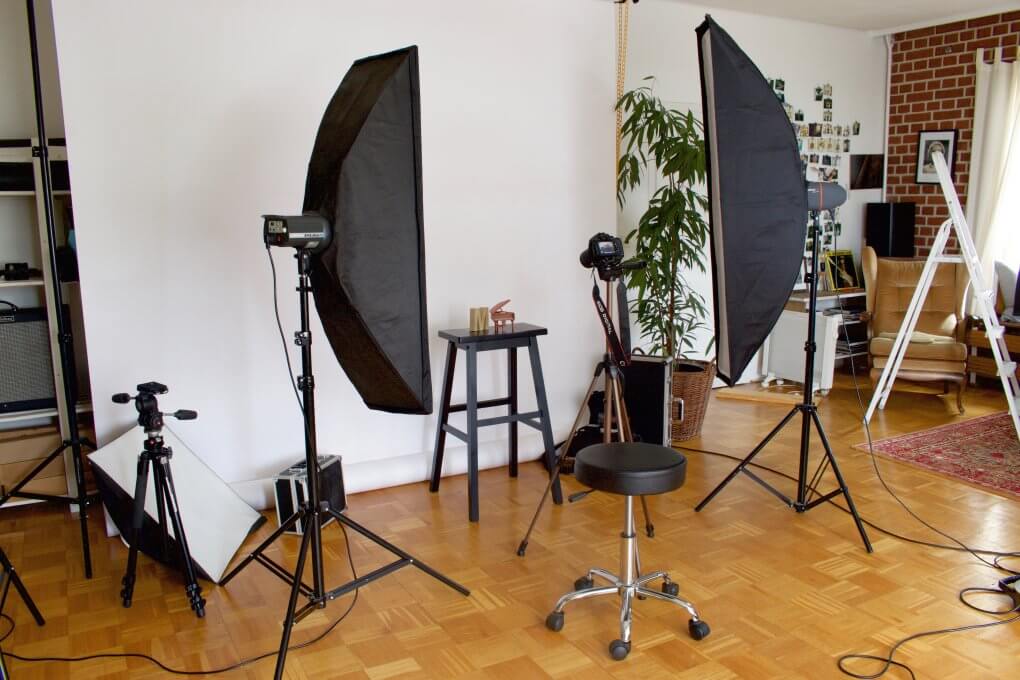
In this case we also start with the positioning of the guiding light. If the object needs to be evenly illuminated then the guiding light will need two light sources. These should have the same intensity and be positioned on either side of the subject. After the first test shot the subject should be relatively well illuminated, only the upper edge still appears somewhat dark.
As products usually need to be seen from all angles, another light source is placed above the object. The second test show will show better illumination along the top.
If the lighting shows the product evenly lit, the next step is to focus on the details. As with a portrait shot lighting is used to add depth to product shots. In this case, two reflectors can be used instead of a separate highlight. These are placed diagonally behind the object so that they reflect the guiding light onto the back of the object.

There should be enough light when using a guide light, an overhead light and some reflectors. However, if you would like to highlight more details, you can hold a white sheet of paper at the correct angle which will reflect more light onto the area.
Further subtleties can be controlled by using different camera settings. Setting the correct aperture is important in product photography. In most cases, a large depth of field is desired to show the product evenly and for this a low aperture value such as f/16 is needed.

Set-Up - Flash or Continuous Light?
For product and portrait photography either continuous light or flashes can be used. A combination of both is also possible if they are properly adjusted.
For beginners it is recommended to work with continuous light as it is easier because the effect of the lighting can be seen and adjusted without taking a photo.
Conclusion
In almost every situation multiple light sources will be needed. The base light comes from the guide light. Test shots can help to visualise the effect of the different light sources. It is a good idea to take a picture using each light source separately after it has been set up to understand the effect of the individual lighting components.
However, a little practice is needed before setting up lighting becomes easier. Working with lights allows you to get creative once the basic set-up is in place.
