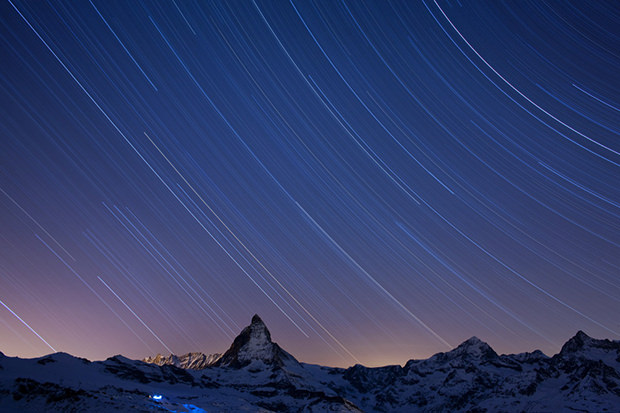
Time-Lapse Photography and Videos
Within just a few seconds you can see houses being built from scratch, flowers sprouting from the earth, blossoming and then withering away again. Time-lapse videos speed things up as if the Earth suddenly began rotating faster. Making time-lapse videos used to be something best left to the pros but nowadays it’s relatively simple to make videos like this yourself using your digital camera or smartphone.
We’ll show you how you can create impressive time-lapse videos and photos with long exposure times and what you should keep in mind.
How To Make Impressive Time-Lapse Videos
The easiest way to make a time-lapse video is to play a video at 2X or 5X the normal speed. However, instead of adjusting the video settings, you can get better results by taking a series of individual photos. If you use this method, the frames per second will depend on your choice of subject and how quickly it moves. You could, for instance, take photos every 5 or 10 seconds and then later play them back as a video at 24 or 30 frames per second.
The slower your subject moves, the longer the interval between shots can be. For faster moving subjects, such as clouds, you may need a shorter interval between shots to ensure a smooth and natural flow in the finished video.
The Right Equipment and Camera for Time-Lapse Videos and Photos
You can make time-lapse recordings with most cameras. Whether you are using a digital single-lens reflex camera (DSLR), compact, bridge, or system camera, it’s important that the camera is equipped with a manual exposure mode (M mode). Action cams generally come equipped with a special timer or a setting for interval shooting, which makes creating time-lapse videos that much easier.
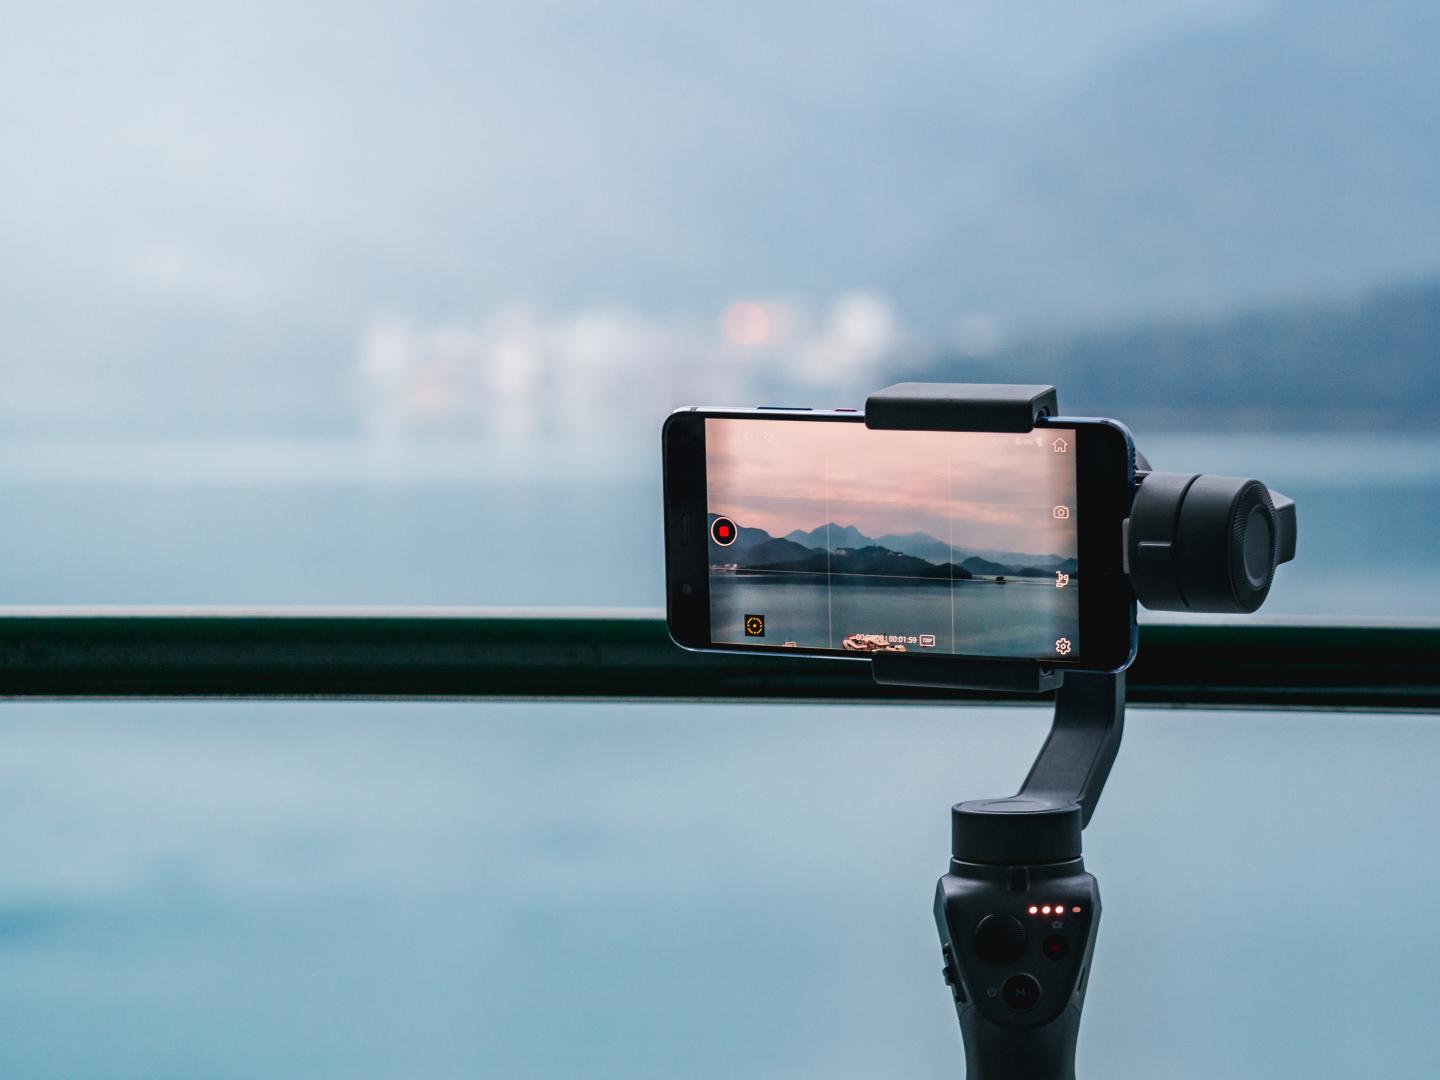
Nowadays, smartphones and tablets offer a variety of built-in possibilities for making time-lapse recordings. Most modern devices have integrated time-lapse modes that are easy to operate. However, with the help of practical apps, you can use additional features to further optimise your time-lapse recordings. For iOS devices, apps such as Skyflow or Lapse It Pro offer user-friendly and advanced features for impressive time-lapse videos. Android devices can use apps such as Framelapse or Time Lapse Camera, which are easy to use and have impressive features Cross-platform apps such as CapCut and Adobe Premiere Rush are also great choices as they provide comprehensive editing tools to optimise your time-lapse footage.
The Right Equipment for Time-Lapse Photography
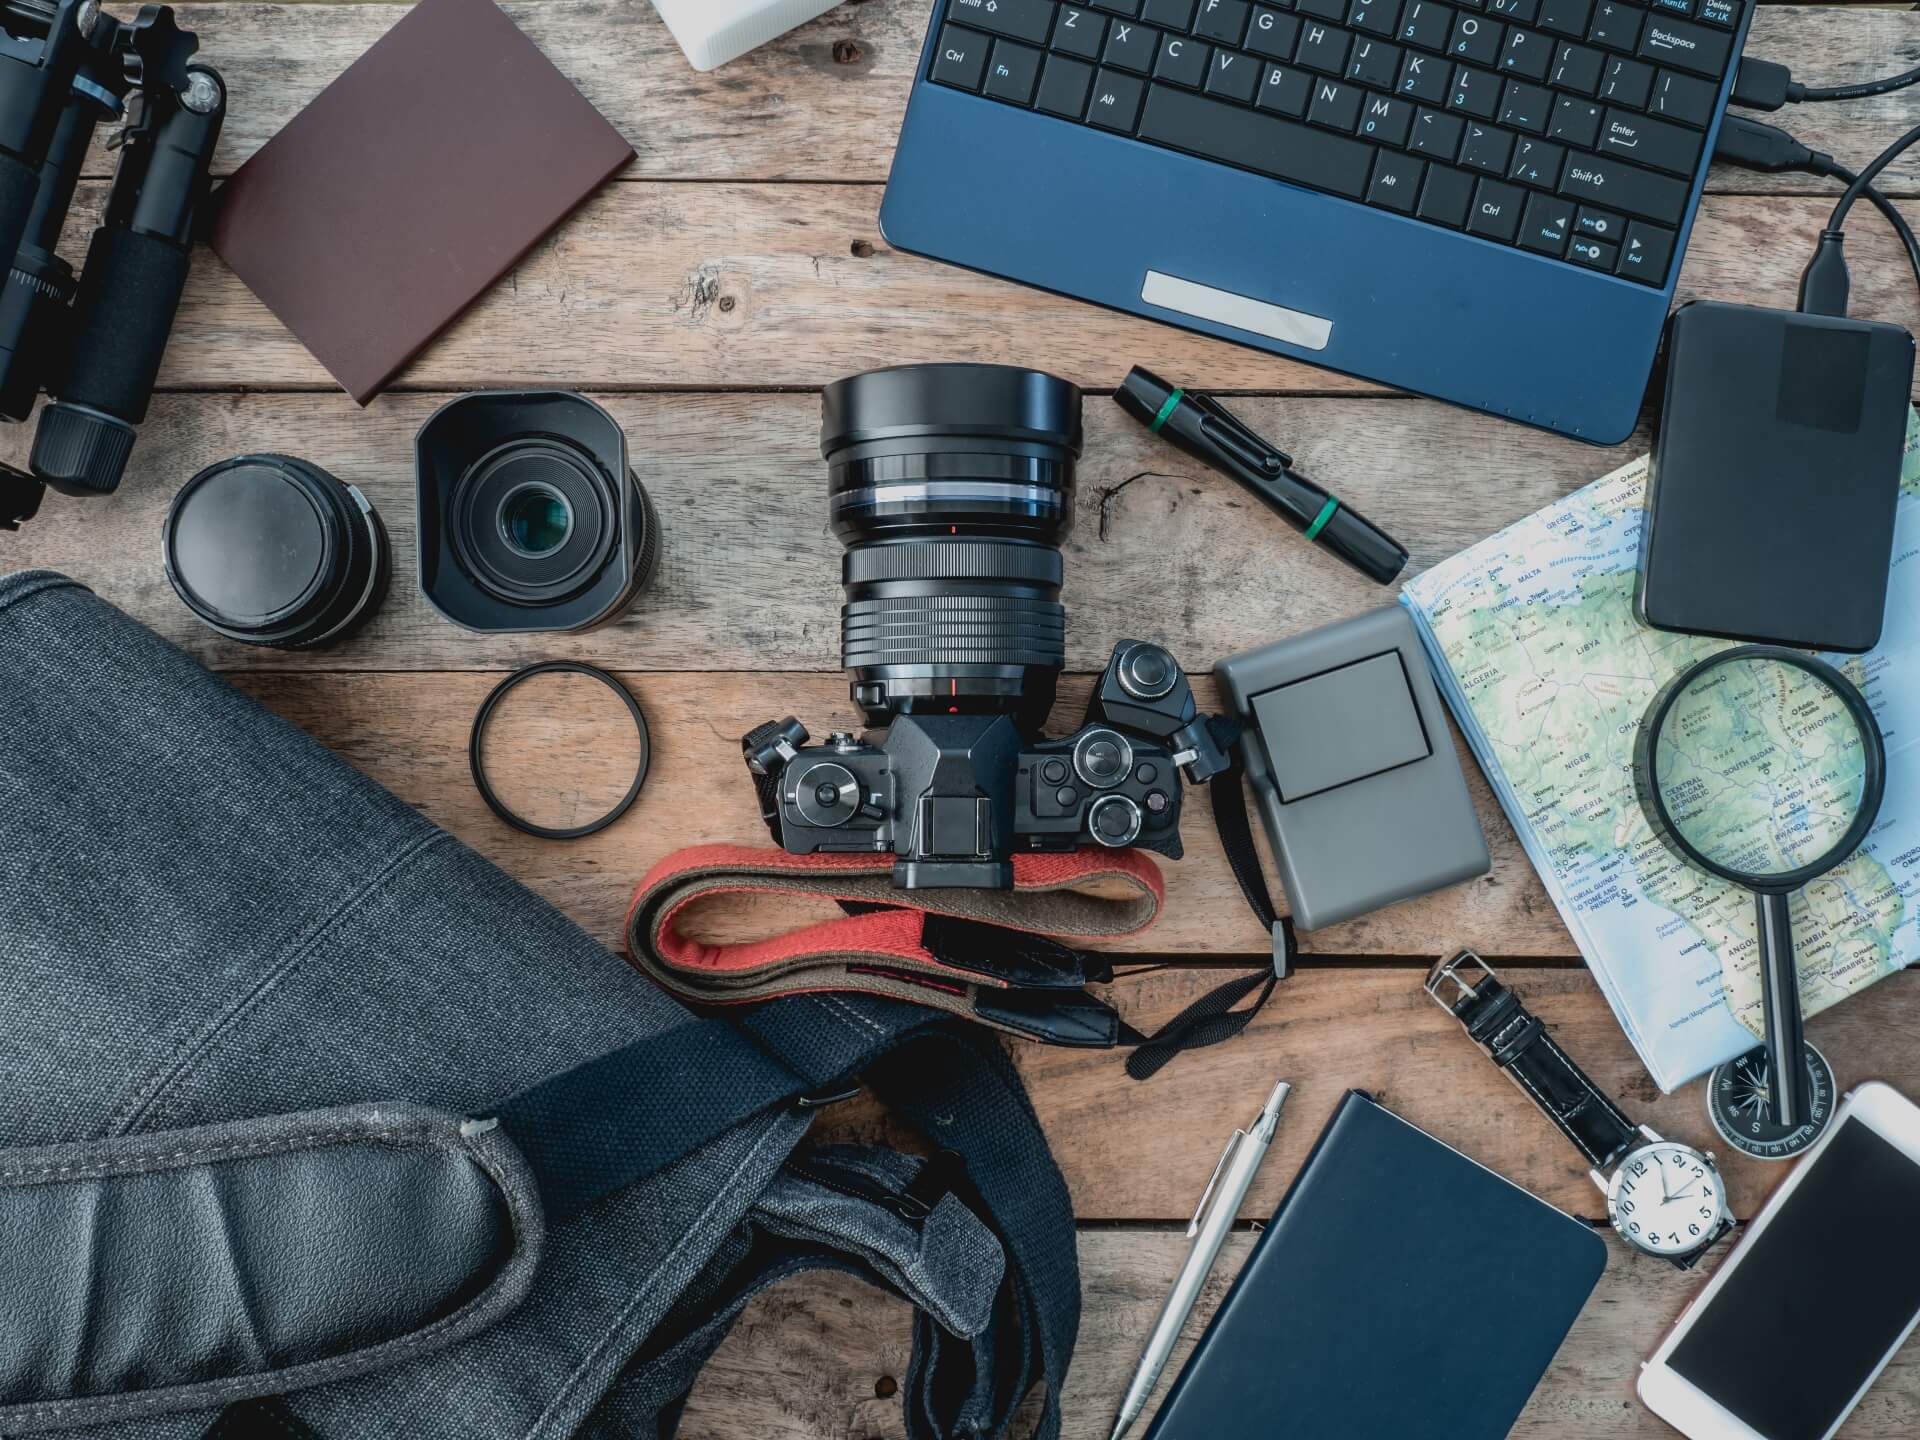
No matter which camera you’ve decided to use, a tripod or a stable base is a basic requirement for creating great time-lapse footage. This will help you avoid unnecessary and distracting shaking on your final video. Additionally, you should make sure that your device’s battery is fully charged and that you have enough free memory space for several hundred photos. If you are planning a longer shoot, we recommend getting an additional battery or power bank to ensure that you don’t have to stop recording in the middle of your project. A remote shutter release can also be useful for taking pictures without having to physically touch your equipment and risk knocking it. It is a good idea to consider protecting your camera from the elements if you are planning on taking outdoor shots.
Inspiration for Choosing a Subject and Designing Your Shoot
Since everything in our world is constantly changing, almost anything can be used as a subject. However, keep in mind that landscape shots with moving clouds or a sunset during the golden hour are easier to plan and curtail than something like the construction of a new building. Nonetheless, things like blossoming flowers or a house being constructed are still popular time-lapse subjects. Other great subjects could be things like a crowded intersection at sunset or a ship passing by. The only thing to keep in mind is that you need to take photos at regular intervals from the exact same position.
Tip
For even more impressive time-lapse videos, why not move your camera whilst shooting. For example, if you have a small camera, you could attach it to something like an egg timer.
Planning and Preparing a Time-Lapse Recording
Before you start your time-lapse recording, you should make sure that the spot that you would like to take photos from has a stable and safe area to set up your equipment. This will help prevent any unnecessary camera shaking. Also pay attention to the weather forecast and the time of day, as these factors will have a significant influence on your results. Cloudless days are ideal for recording sunrises and sunsets, whilst slightly cloudy days are suitable for recording moving clouds. Think about how long you want the recording to run for. Short time-lapse recordings can be created in just a few minutes, while larger projects can take several days or even weeks.
Camera Settings for Time-Lapse Recordings
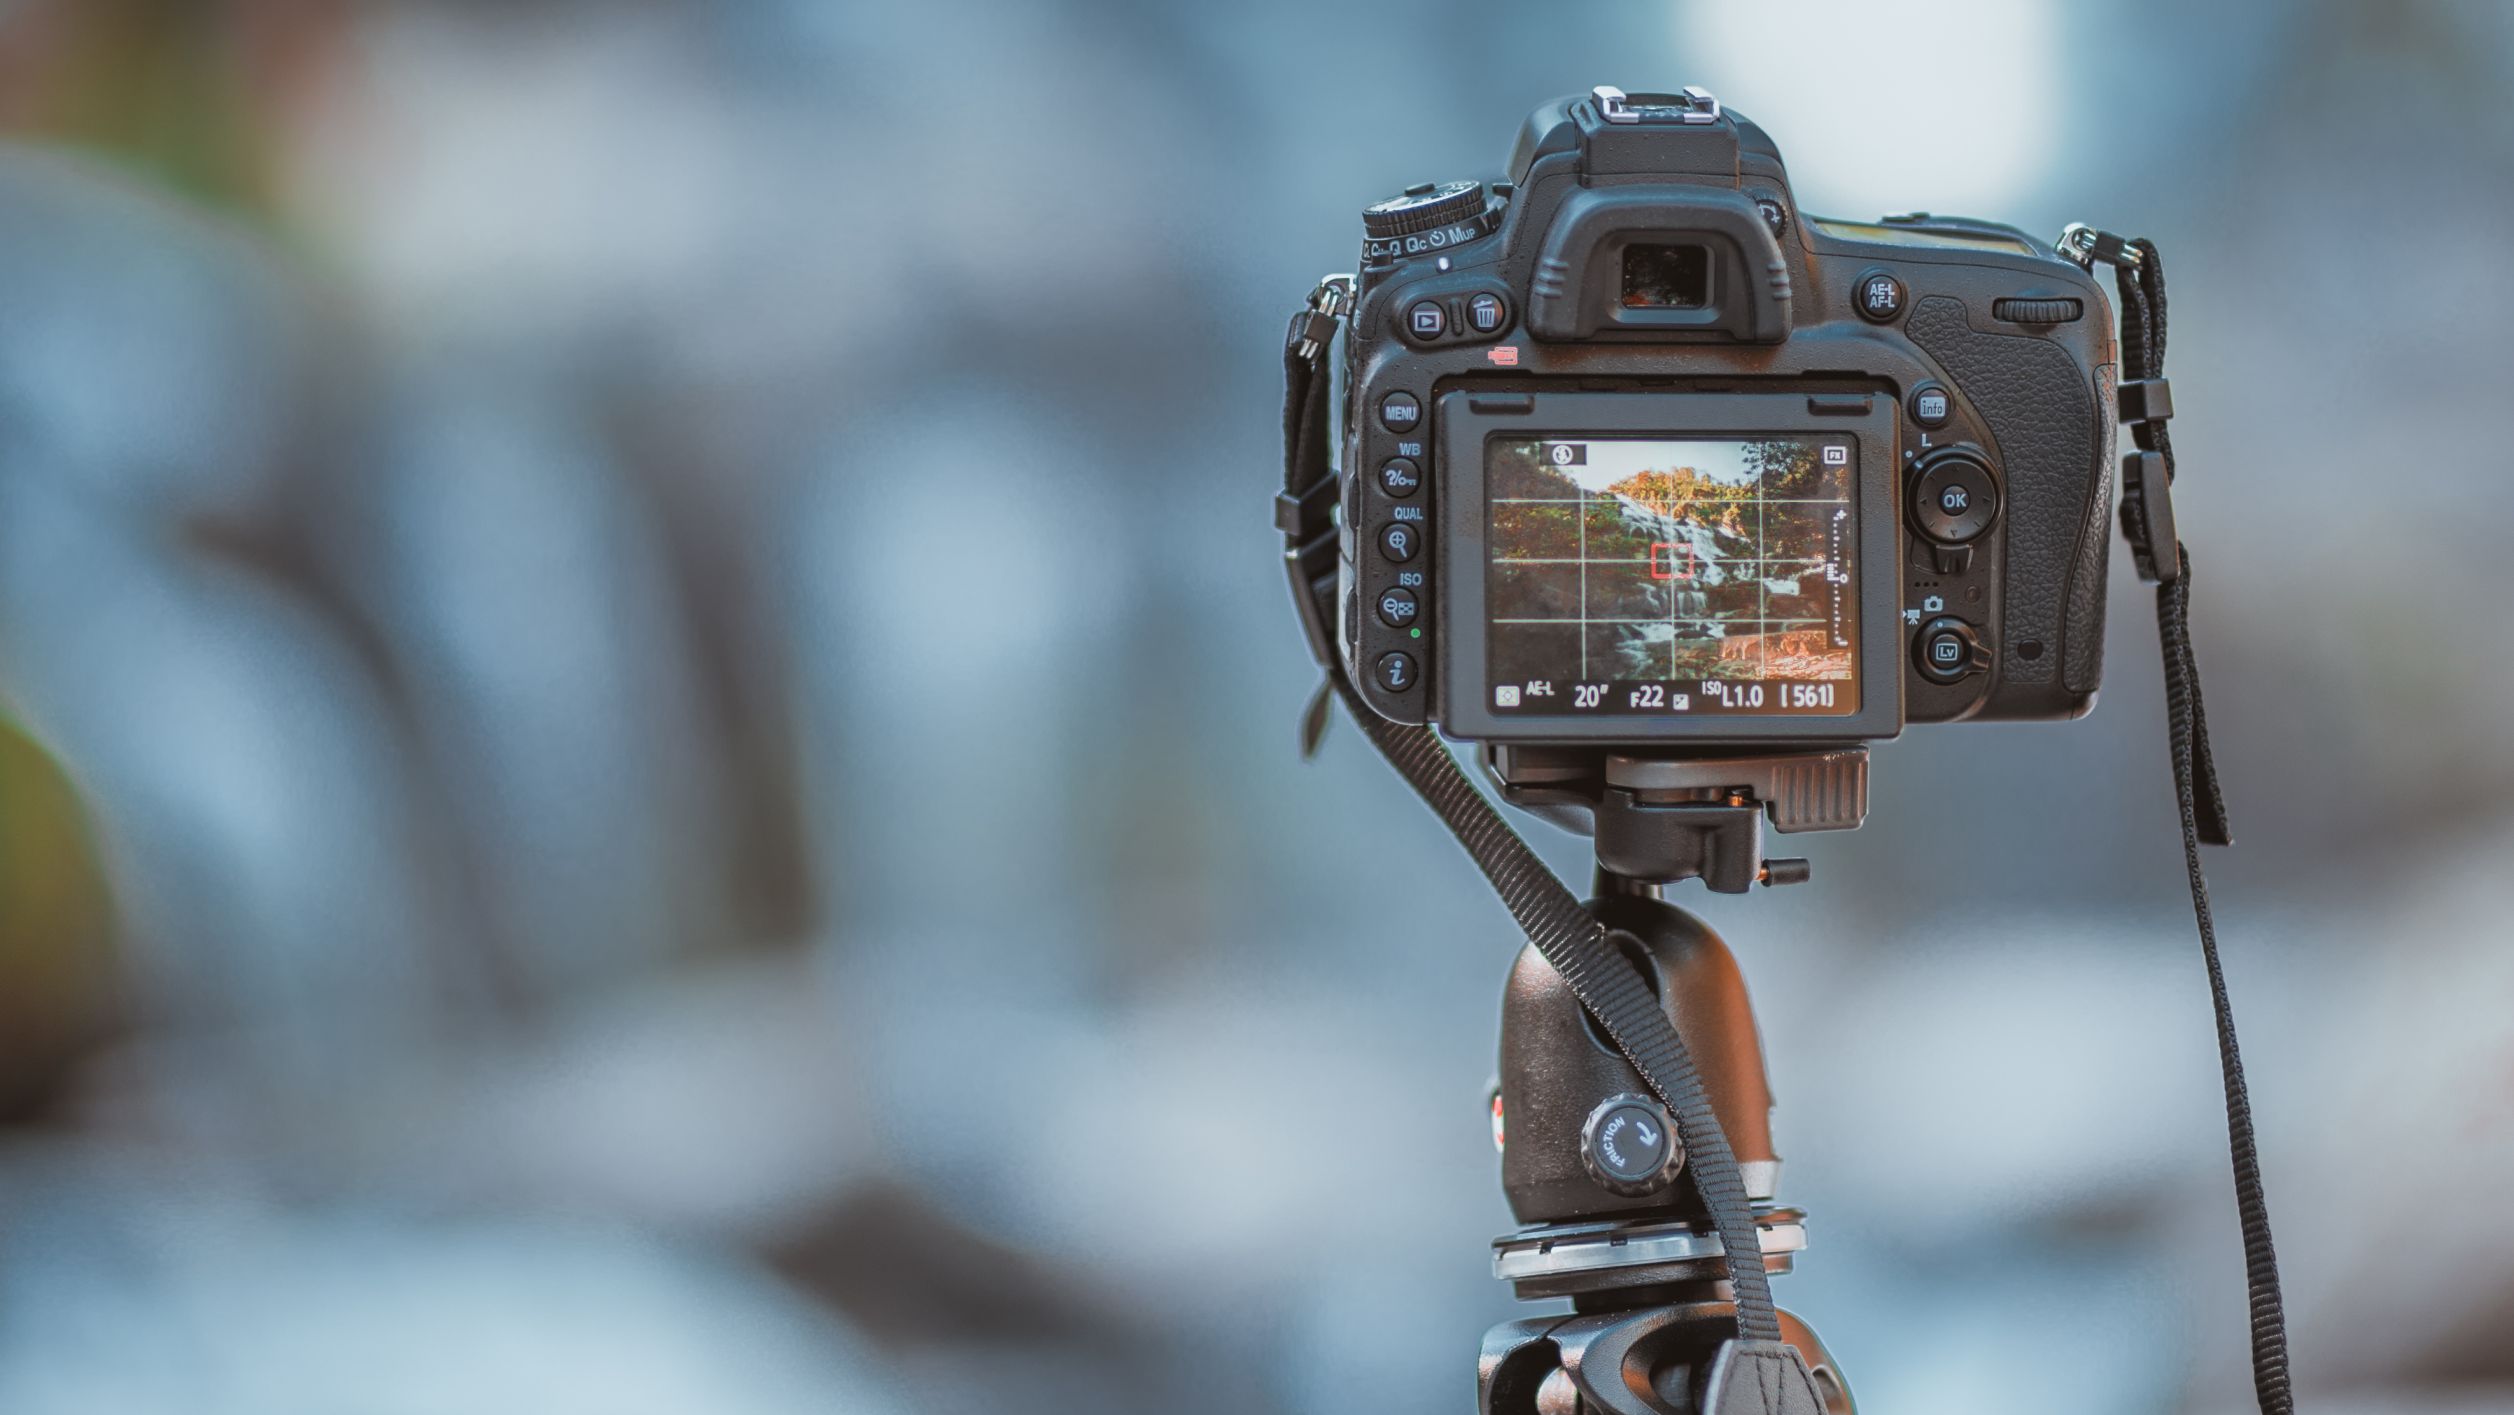
After setting up your tripod and choosing which section of the scene you would like to use for your image, you’ll have to set the parameters, such as the aperture and ISO value. We recommend using a relatively open aperture (small f-number) and choosing the lowest possible ISO value (50-200). It is just as important to select the correct shutter speed, which should be adjusted to match how quickly the scene is changing. We also recommend setting and fixing the white balance to avoid colour changes. The focus should also be set and fixed manually to ensure continuous sharpness. Be sure to put your camera in manual mode before shooting your series of photos to ensure the camera does not automatically change the settings while the photos are being taken. For your first time-lapse attempts, you should use the JPG format. This will ensure you have enough free memory space for the photos. In addition, importing and editing your photos afterwards is a lot quicker than when using large RAW files.
Choosing the Frames Per Second for Time-Lapse Videos
To create a smooth time-lapse video, you’ll need to use 24 (optimally 30) photos per second (frames per second / fps). The question, then, is in what interval your camera should shoot each individual photo to get a good result. Here it’s best to try out a few different settings since the speed with which the subject changes will determine how many photos you need to take per second or hour. You should aim for an interval of one to five seconds when photographing scenes on the street or people in public and five to 15 seconds when photographing the sun or sky. When photographing blooming flowers, you can use an interval of about 30 to 60 seconds. For longer projects such as recording the changing seasons or a house being built, it’s best to only take a picture every hour or every day.
The Software: How To Turn Your Photos Into a Time-Lapse Video
There are numerous (as well as free) programs that you can use to compile your footage into a single video. You can use most video editing programs to import all of your photos at once and then export them as a video. This is easy to do with programs like iMovie for Mac, Adobe Premiere, Windows Movie Maker. or Photoshop Lightroom (the demo version will suffice in most cases here). Another option is to create a simple photo slideshow with your default image viewer and play it at an accelerated rate. You’ll end up with the best results if your video has 24 or 30 fps.
Photos with a Long-Exposure Time
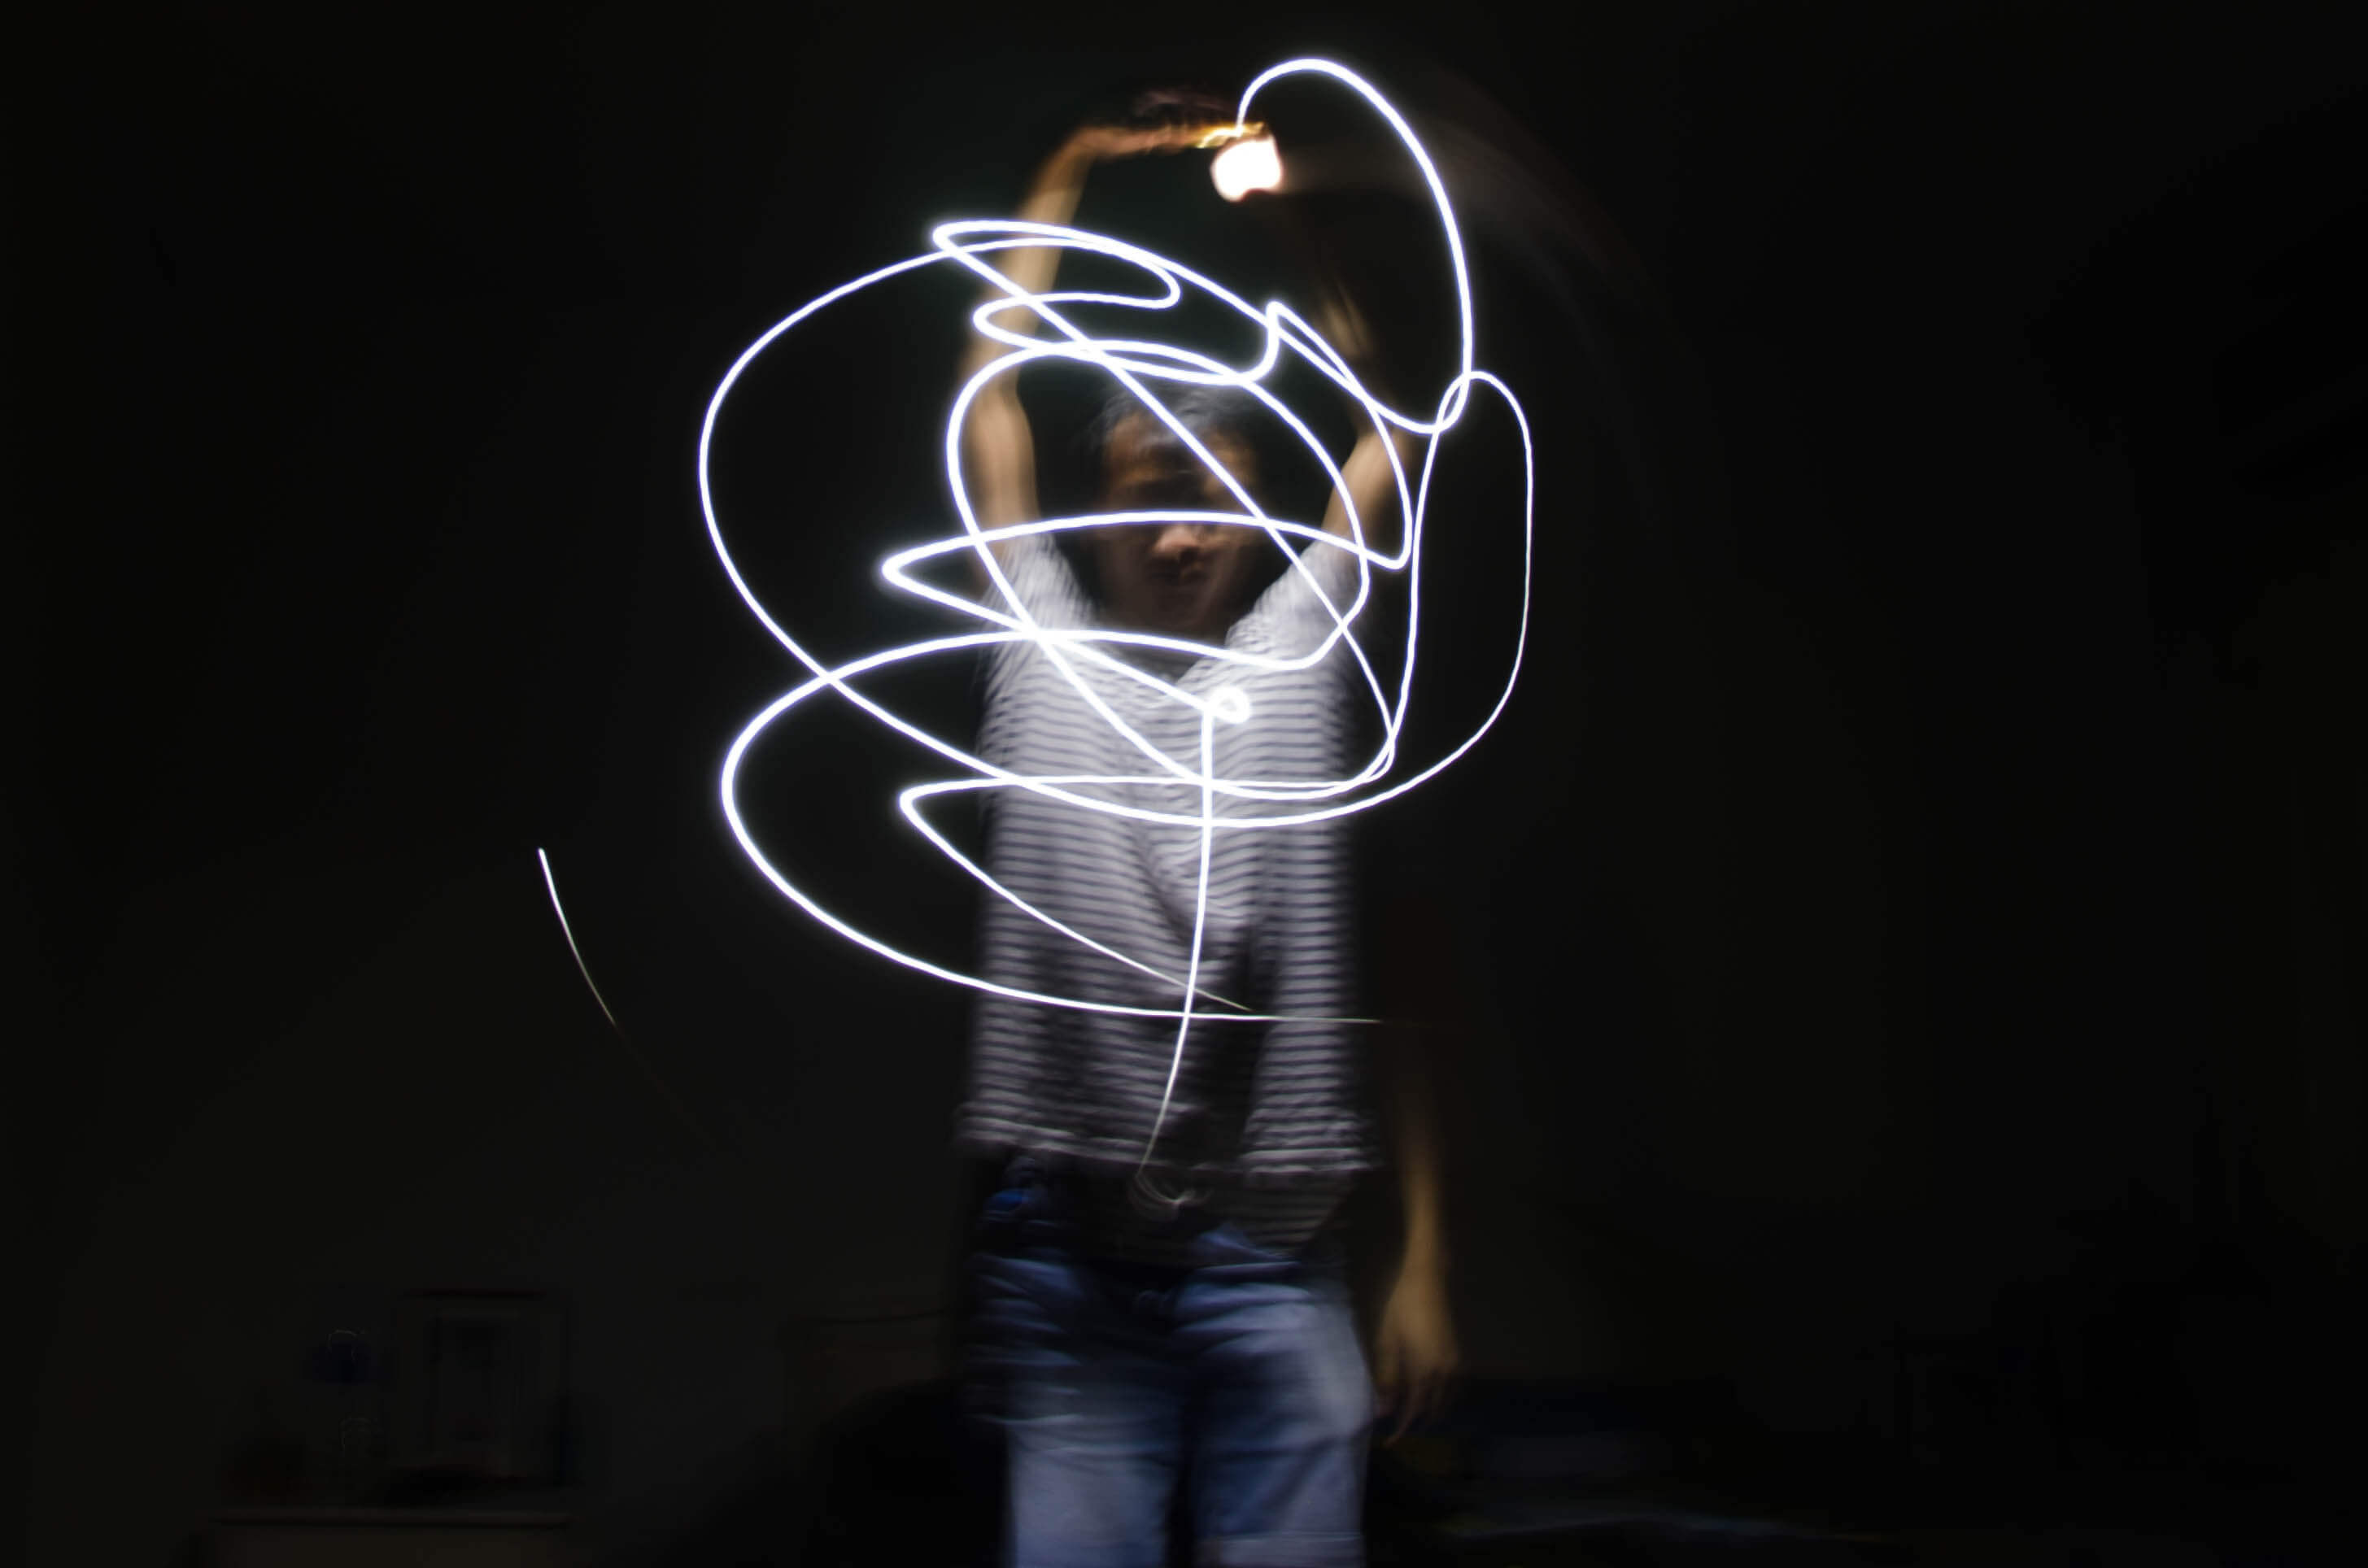
You can also use time-lapse techniques on individual photos. With a camera and a source of light, you can “paint” on your photos. This technique is called “light-painting”. To do this, set your ISO value to 100 and choose a long enough exposure time and photograph yourself while “painting” a motif in the air with something like a torch in front of the camera. It is good to start with an exposure time of 10 to 30 seconds. Set your camera to manual mode and use a small f-number (e.g. f/8 to f/11) to ensure sufficient depth of field. Also use a tripod to keep the camera stable during the long exposure time. This is another instance where it’s best to just try it out a couple of times to find the right settings for your motif.
Conclusion
Time-lapse photos and videos give us a fascinating opportunity to capture the ever-changing world around us. With the right techniques, equipment and a little patience, you can create breathtaking photos and videos. Modern cameras, smartphones and tablets have a lot of built-in options and settings. You can also use apps that will help optimise your shooting process. Careful planning and preparation are just as important as understanding the basic settings on your camera so that you can get great results. Whether it's a landscape shot, an urban scene or a creative project such as light painting, time-lapse photography opens up a world of possibilities for you to express yourself creatively. Furthermore, it’s not uncommon that you’ll end up with photos that don’t only work well as a video, but also as a series of printed photos.
Of course, it’s best to learn from the pros: in the following article you can learn more about the Swiss photographer Alessandro Della Bella and his time-lapse series “Helvetia by Night” (with video).
