How to Avoid Beginner Mistakes Whilst Taking Photos of Water
Water is not only the origin of all life, but also a very popular subject for photographers. However, not all water bodies are the same as they come in many different forms. It does make a difference whether you are trying to take a photo of a small stream, a flowing waterfall or a lake.
We will show you which four mistakes you should avoid whilst taking photos of water.
Mistake 1: Indecisiveness
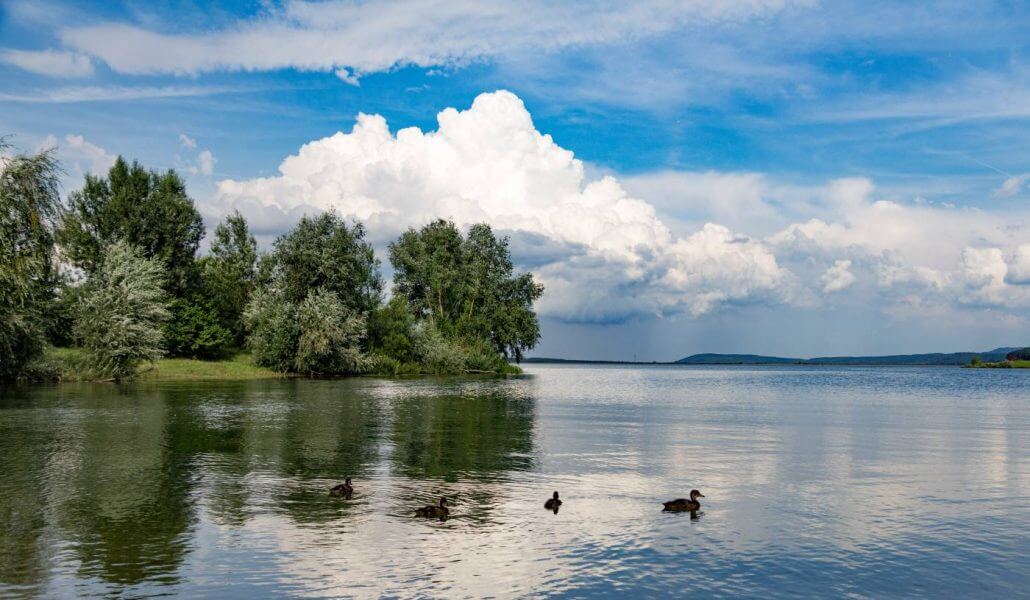
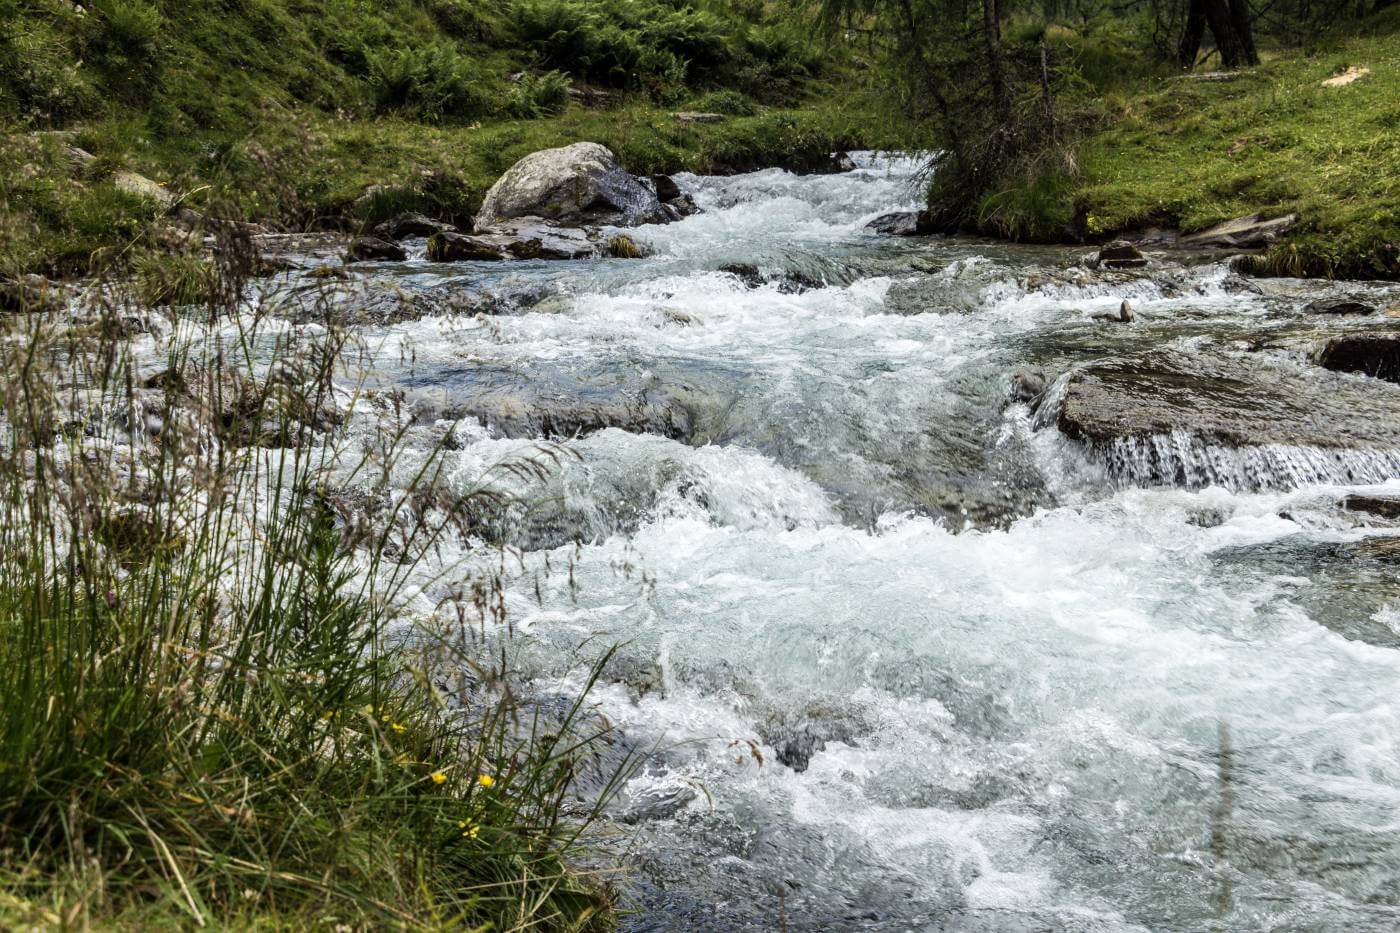
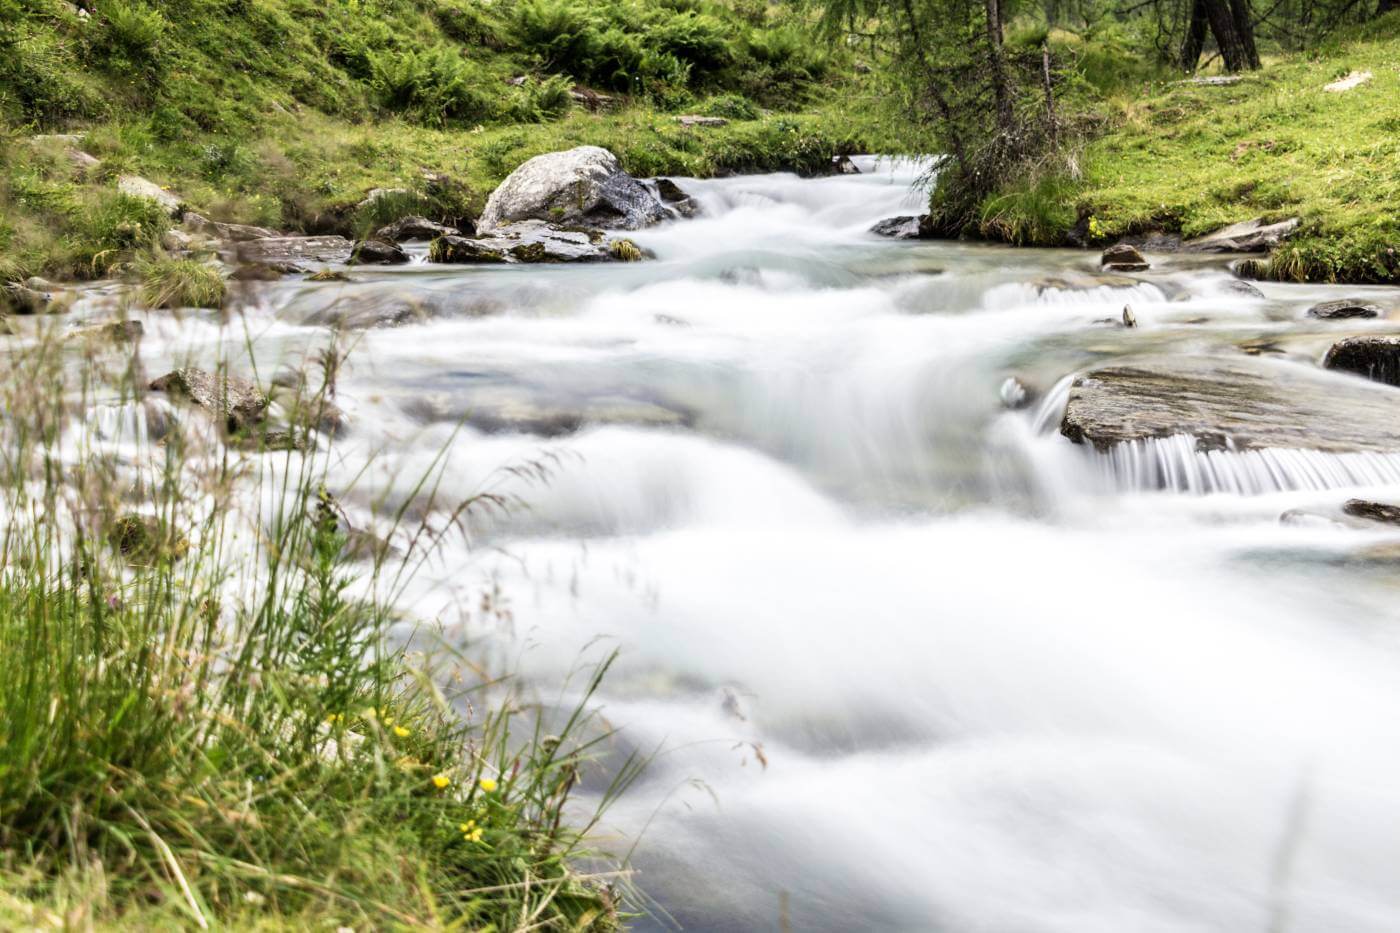
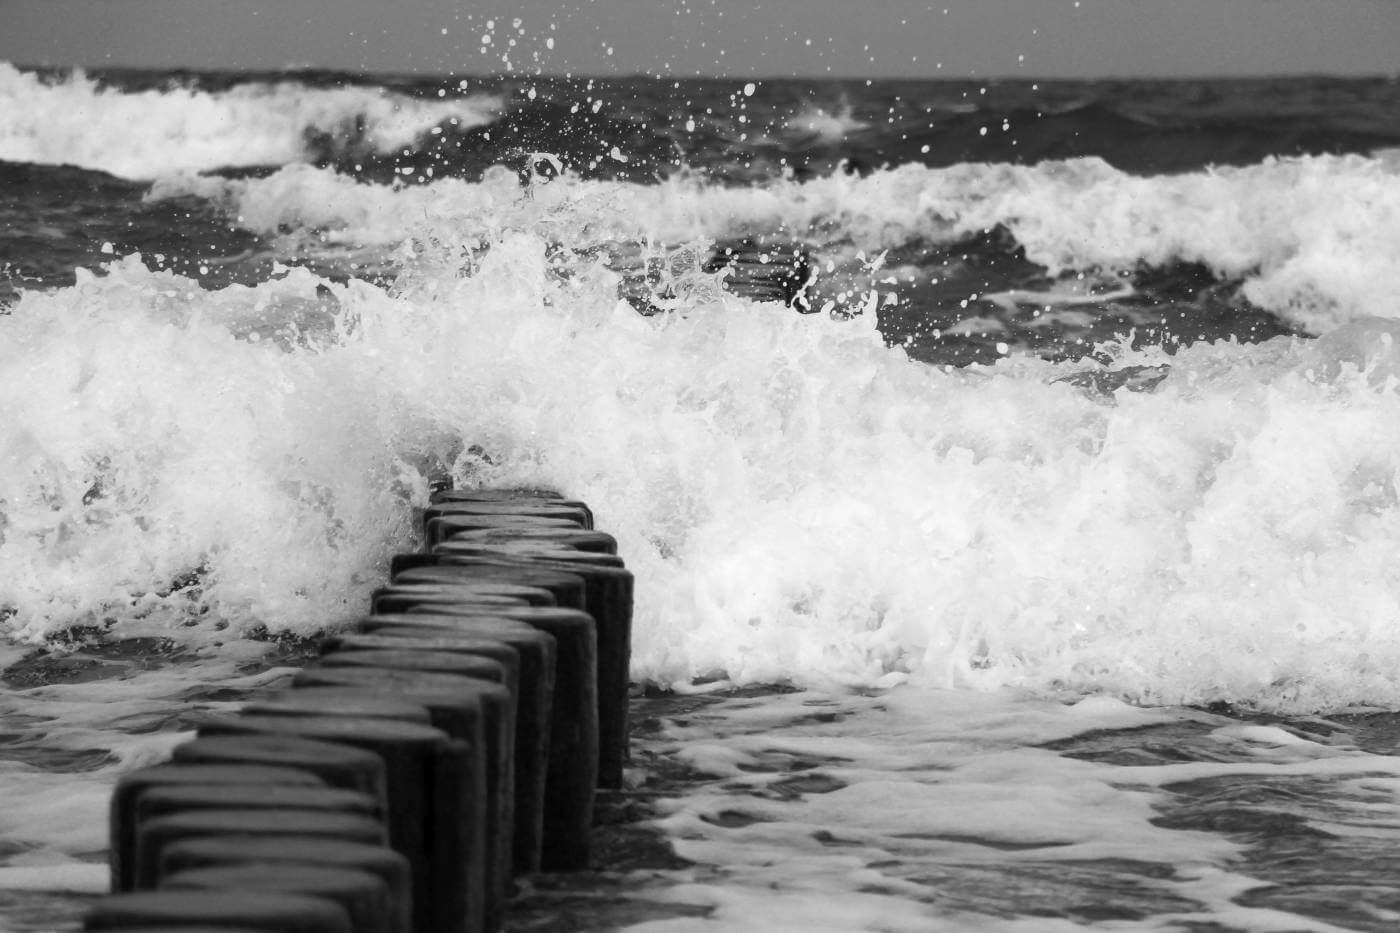
Water can vary in how it is presented. Still waters offer the possibility of capturing breathtaking reflections. There are two options when it comes to flowing water. On the one hand, flowing water can be stopped, which can make the water in the photo appear rather harsh and very detailed. In addition, individual drops can be seen through the breaking waves. The second option is to show the water in a rather soft and dynamic way.
Both modes of representation differ in how they are carried out. Before taking a photo you will need to set up your camera correctly and decide on how the water body should appear in your photo. Depending on how you set the exposure time can make a real difference. To freeze the movement of water, you will need short exposure times such as 1/500 or up to about 1/2000 seconds. By increasing the ISO value you can have even shorter exposure times as the light sensitivity will increase. However, keep in mind when you increase the ISO value this will also increase the image noise.

The exact opposite applies if you would like a softer and more dynamic photo of flowing water. For this you will also need a longer exposure time. The rule is, the longer the shutter speed, the softer and more dynamic the flowing movement of the water will be. The advantage of these slow shutter speeds is that the ISO value can be kept low. Furthermore, there is the possibility of closing the aperture, which reduces the amount of light and thus extends the shutter speed. The reduction of the aperture value should be used sparingly, as a closed aperture cannot detect the desired sharp or unsharp contrast in comparison to an open aperture.

Mistake 2: Clear and Sunny Weather
People enjoy being outside and taking photos in nice weather. However, too much light can also be a hindrance. That's why you should generally avoid the midday sun whilst taking photos outside.
You will get better results if you take photos of streams, rivers, lakes and other water bodies when it is cloudy. There are not a lot of differences in brightness on cloudy days in comparison to a sunny day. These differences in brightness are difficult to control photographically. Besides clouds make certain motifs more interesting such as the reflection of an impressive sky on a lake can be very appealing.
Mistake 3: Not Enough Camera Accessories
One or two camera accessories can make life easier for photographers.
This is quite often the case and we would recommend using a tripod, which offers you more stability whilst taking photos with longer exposures. Filters are also a great accessory to have. A polarising filter is particularly suitable for taking photos of water bodies, as it suppresses reflections on non-metallic surfaces. However, this only concerns reflections resulting from oblique incident light.
Closing the aperture can increase the required shutter speed for taking photos of flowing water. This has the disadvantage that the sharp-unsharp effect will not work very effectively. For this purpose, a grey filter proves to be particularly useful. This filter also has a special nickname "camera sunglasses" because the glass on the filter is grey coloured and therefore, it reduces the incidence of light on the sensor.
A filter attached to the lens will not only improve your shots, but it will also protect the lens from splashes of water, dust, dirt and other particles that are in the air. For example, at the seaside, there are small grains of sand in the air that can scratch the lens. The filter acts as a protective lens and replacing a filter can be quite inexpensive.

Mistake 4: Not Being Prepared
If you choose rivers, streams or lakes as your motif expect to get wet feet, as you will also have to walk along trails that are not accessible by car. That is why a photo backpack is recommended for transporting your camera equipment. Especially on stony, uneven paths in a forest it is a good idea to carry your camera equipment in a photo backpack to stop it from getting damaged. Moreover, such backpacks not only offer a safe place for your valuable camera equipment, but they also offer one or two centimetres of storage space for other things.
Not only the camera equipment, but also the photographer should be suitably equipped before setting off. This means depending on the location, you will need sturdy shoes, outdoor clothing and last but not least don’t forget to take your raincoat with you.
Conclusion
Water bodies alone are already great photo motifs, but if you combine this with a beautiful setting then you will get a great photo. It is worth waiting for a grey day before taking photos of water bodies so that you have the best lighting conditions. In order to be prepared for any situation, you should bring the right clothes as well as one or two camera accessories with you.
