
Photographing moving images
Capturing water splashes and other moving subjects is a challenge for any photographer. In addition to technical knowledge, creativity, human skill, and a lot of practice are required. Photography offers a multitude of possibilities to deal with this challenge. With the right photographic technique and some practice and patience, you will get the perfect shot – the following tips make it possible.
First of all: With a simple compact camera you will quickly find yourself at the limits of your possibilities. It is worth investing in a good SLR camera for such shots.
Creating good conditions
Movement can be displayed either flowing or frozen. The right technique plays a decisive role. However, good light is the basic prerequisite for successful shots of moving objects. If the available sunlight is not sufficient, artificial light must be used. In an interview, photographer Gerd Gropp tells us: “What is important is the orientation of the lights, regardless of whether flash or photo lamps are used.
Sharp, blurred, or high-contrast images – the exposure time determines the result. If you want to display moving objects in razor-sharp detail, you should choose an extremely fast exposure time. For dynamic shots, especially with running water, a longer exposure time should be chosen. Basically, the sports mode should be switched on for these shots, if available, which automatically takes over some settings and thus makes life easier for every photographer. When photographing moving objects, settings on the camera must generally be made before taking a picture. In order to avoid additional camera shake in the picture, the tripod is a great help for beginners when shooting moving subjects. Gerd Gropp also recommends taking pictures with a tripod and a remote shutter release in order to have one hand free for the objects to be photographed. Shoot a few test shots first to get a feel for it all.
Thee techniques for the perfect shot
Razor-sharp, blurred, or high-contrast. Here are three techniques to show what needs to be considered.
1. Freeze
If you want all details to be sharply displayed, you should use the freezing technique. For this, the exposure time should be in the range of 1/500 and 1/1000 seconds. The subject section and the sharpness are preselected here. The object moves into the subject. A tip: Use the continuous mode to get as many shots as possible, because this way you can sort out unusable pictures afterwards.
2. Blur
This technique is especially suitable for those who still need some practice. The exposure time lies in a range from 1/10 to 1/90 second. Interesting effects are created with this technique by blurring the main subject. To avoid shaky pictures, the camera is fixed on a tripod. Characteristic for pictures taken with this technique is the contrast between the blur of the moving object and the sharp surroundings.
3. Panning
If you already have some experience, you can try out the technique of panning. With an exposure time of 1/60, 1/90 or 1/125 second, the camera moves parallel to the main subject. In contrast to its blurred surroundings, the subject appears relatively sharp. But be careful here, because the exposure times can cause shaky images. A tripod with a swivelling ball head can help.
Examples and tips for correct camera settings
Here we show a few impressive example photographs with personal tips from Gerd Gropp on the correct camera settings. A 60 mm lens was used for all shots.
Fruit slices in the aquarium
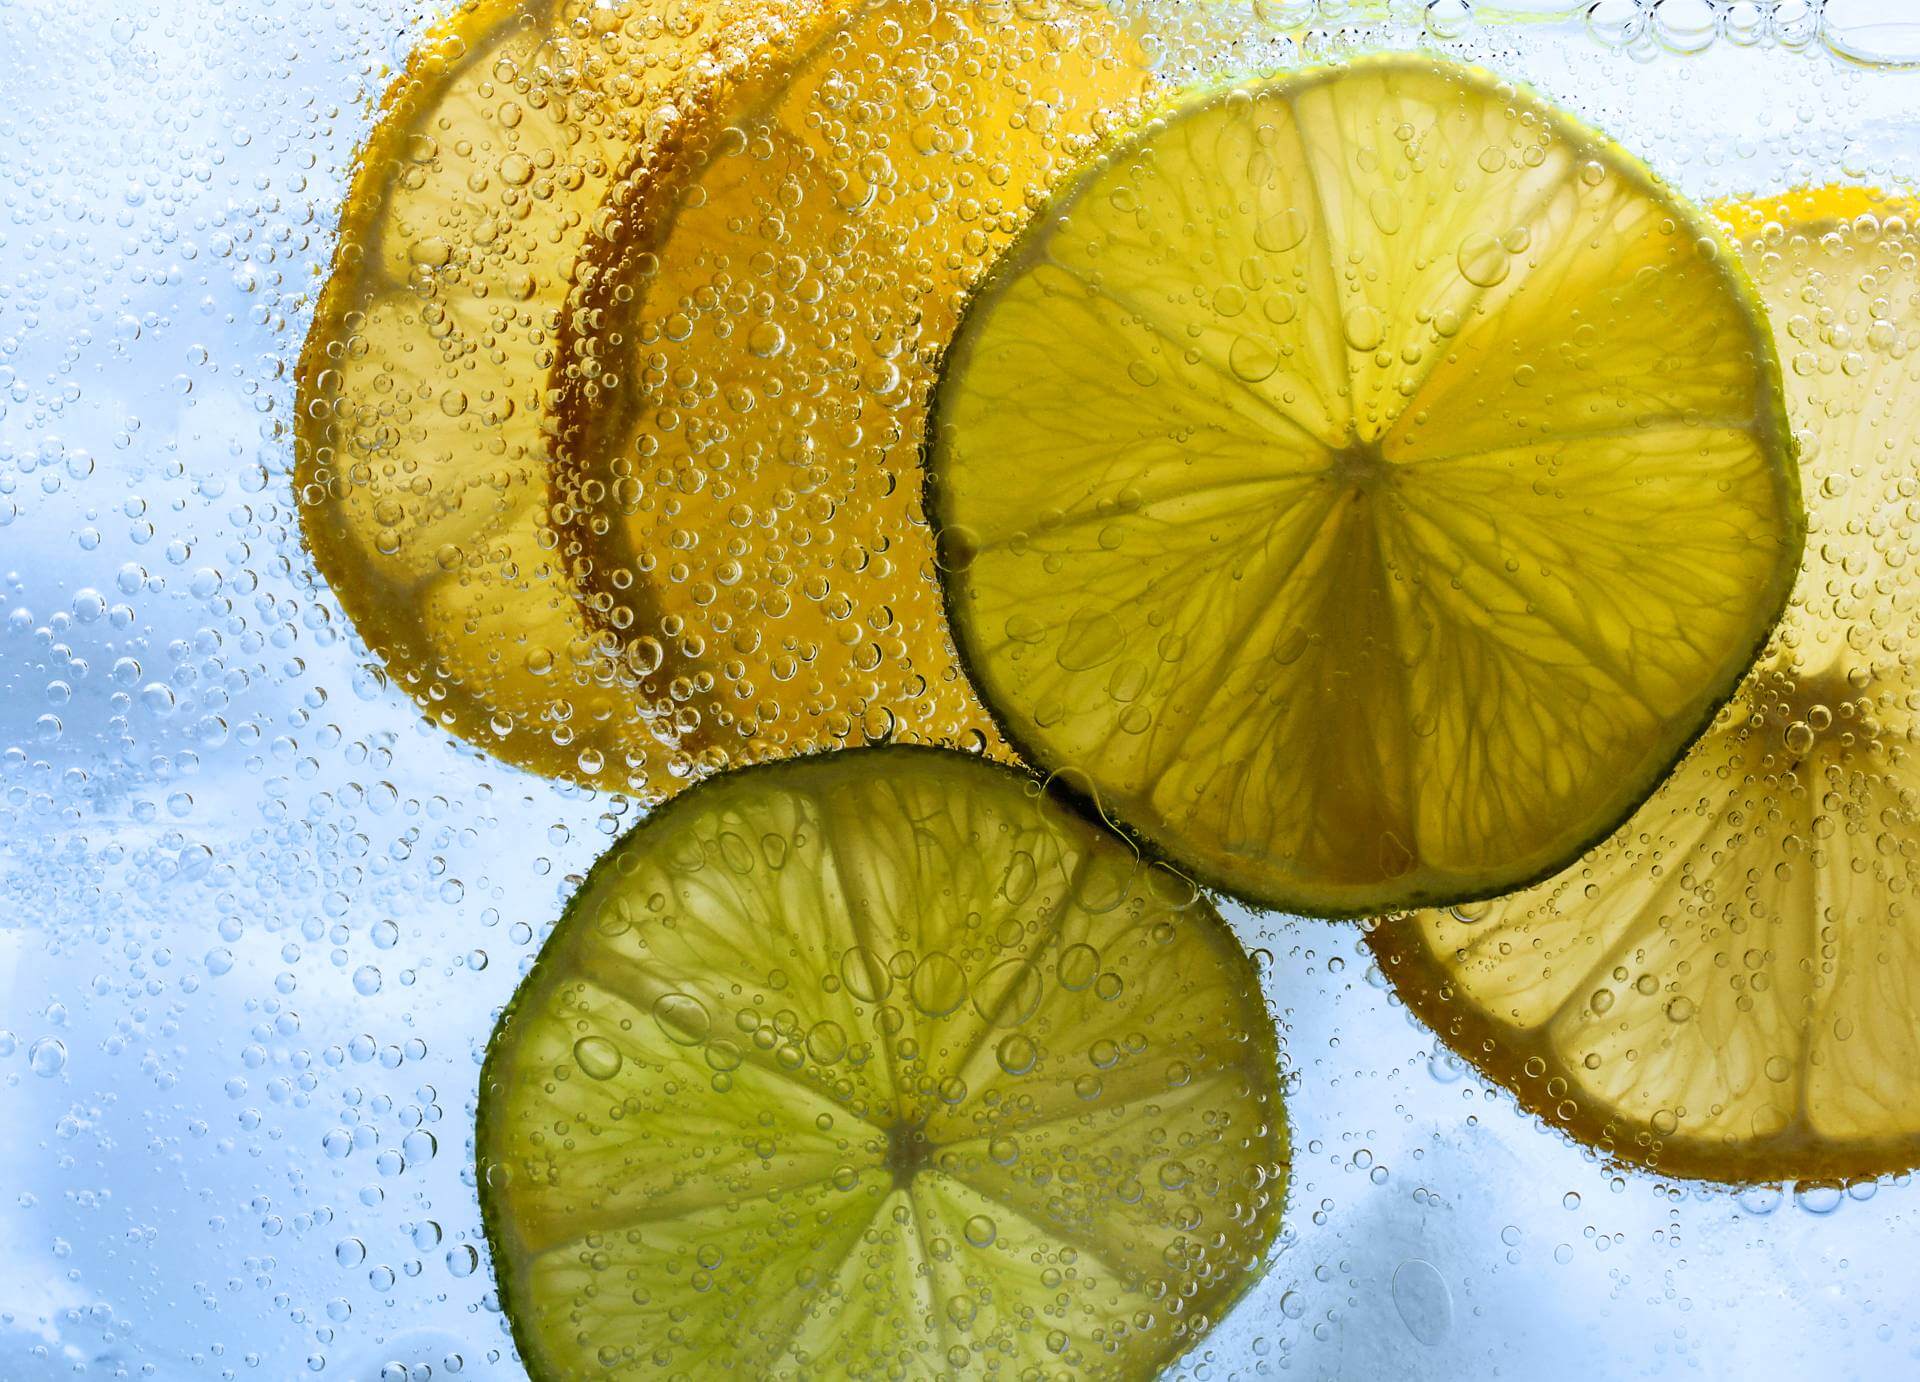
The fruit slices are attached to the disc of an aquarium and backed with a blue background. With regard to the shutter speed, an exposure time of 1/100 second should be selected. Photo-lamps provide good light. In order to get a sharp picture, the camera should be fastened with a tripod. To ensure a sharp background, the aperture value is 13.
Strawberry in milk
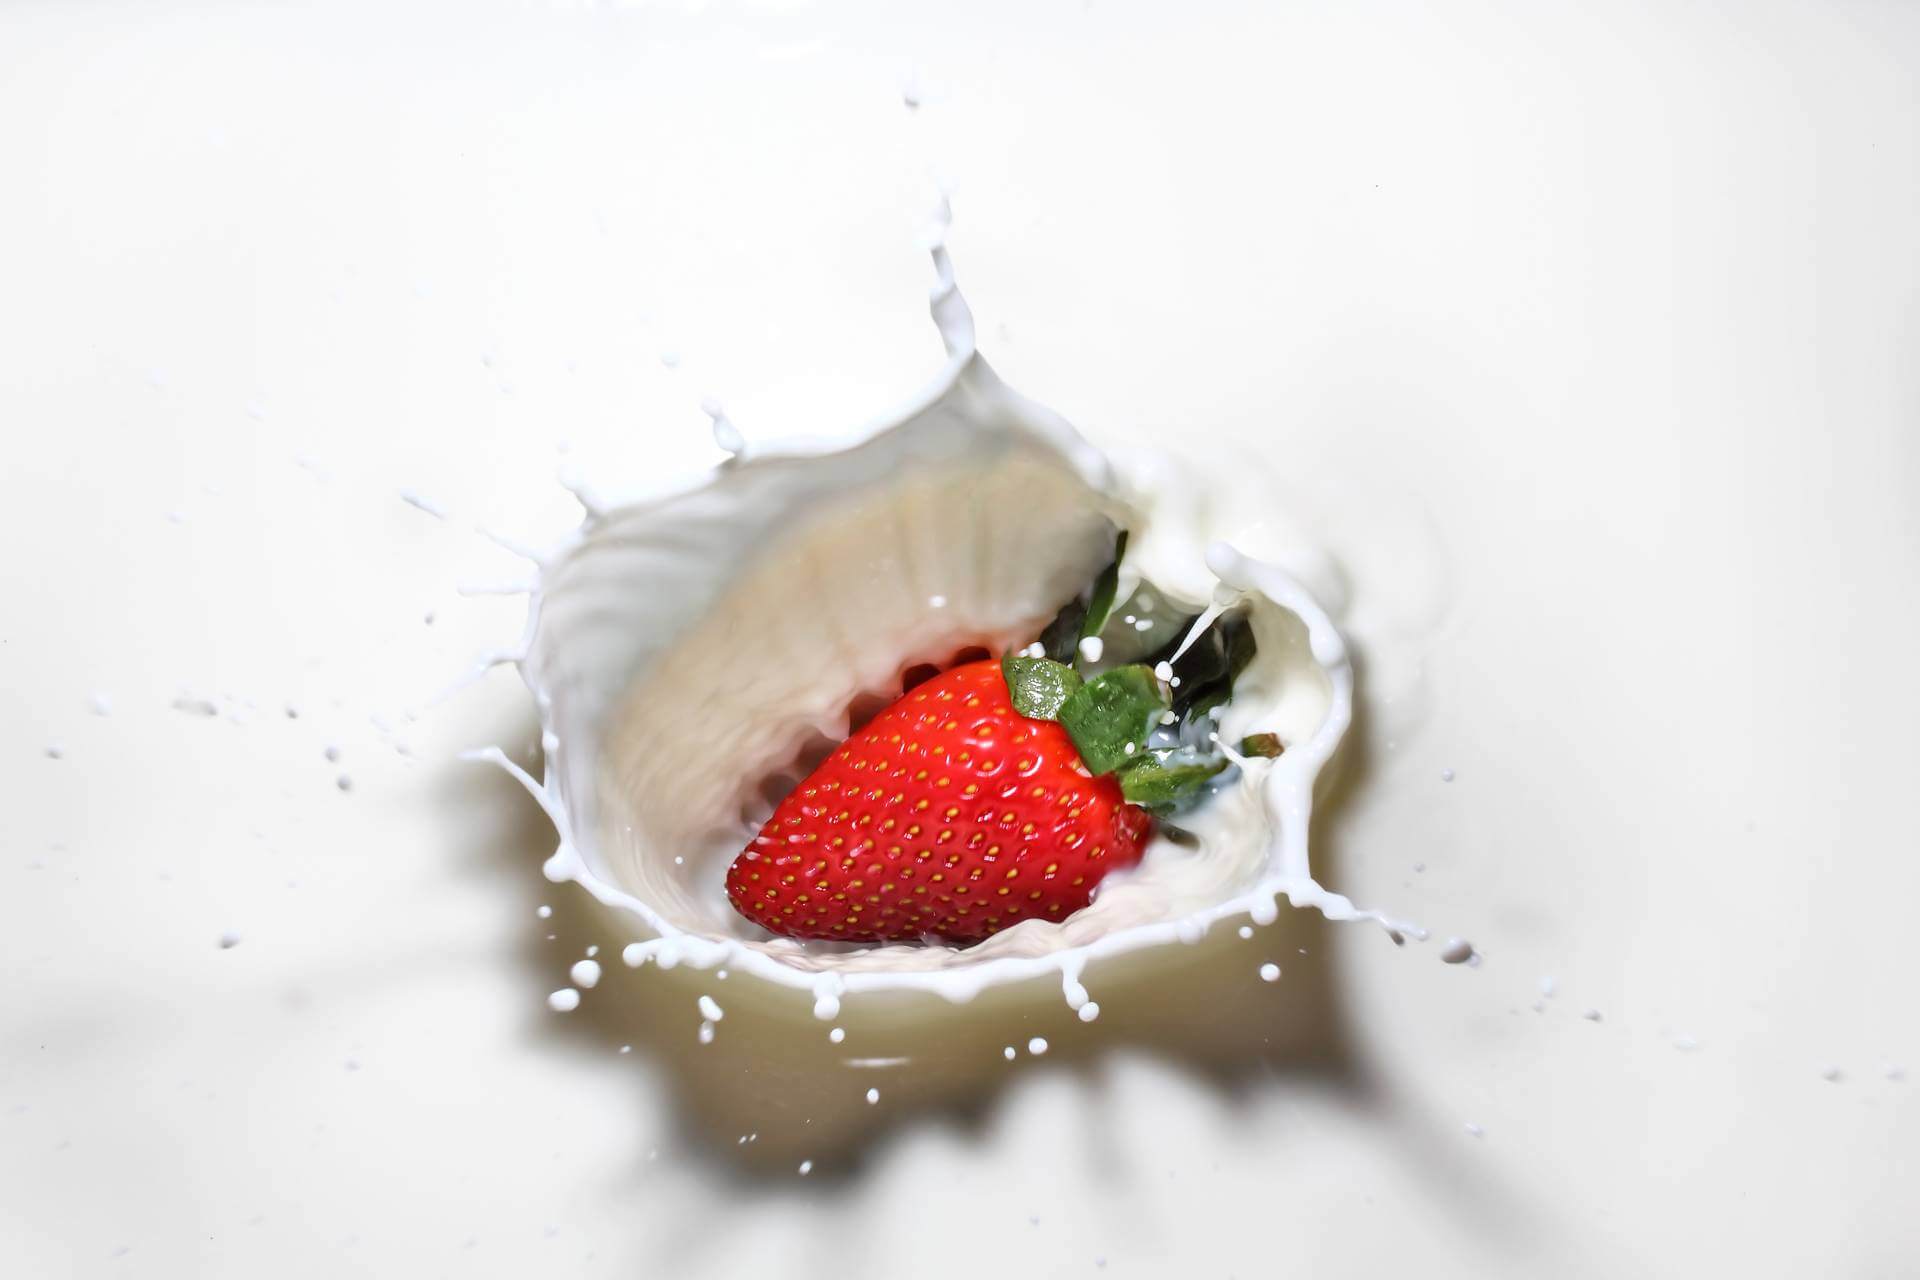
A bowl is filled with milk to absorb the strawberry into the milk. A flash is needed to put everything in the right light. Here, too, the tripod is an indispensable aid. In order to throw the strawberry into the milk bowl with one hand, a remote trigger should be used. It is best to adjust the sharpness beforehand to the level at which the strawberry is to be dipped into the milk. It is advisable to choose a smaller aperture to increase the depth of field. Now drop the strawberry and quickly press the trigger. Don’t despair, some attempts will be necessary.
The dandelion as a moving motif

Good light is also a requirement here. You should therefore use a flash unit in spite of daylight. A remote shutter release and a tripod are indispensable. These aids make it possible to blow at the dandelion and operate the trigger at the right moment at the same time. In addition, the image processing program Photoshop could also be used to insert individual elements later.
Dice game with moving dice
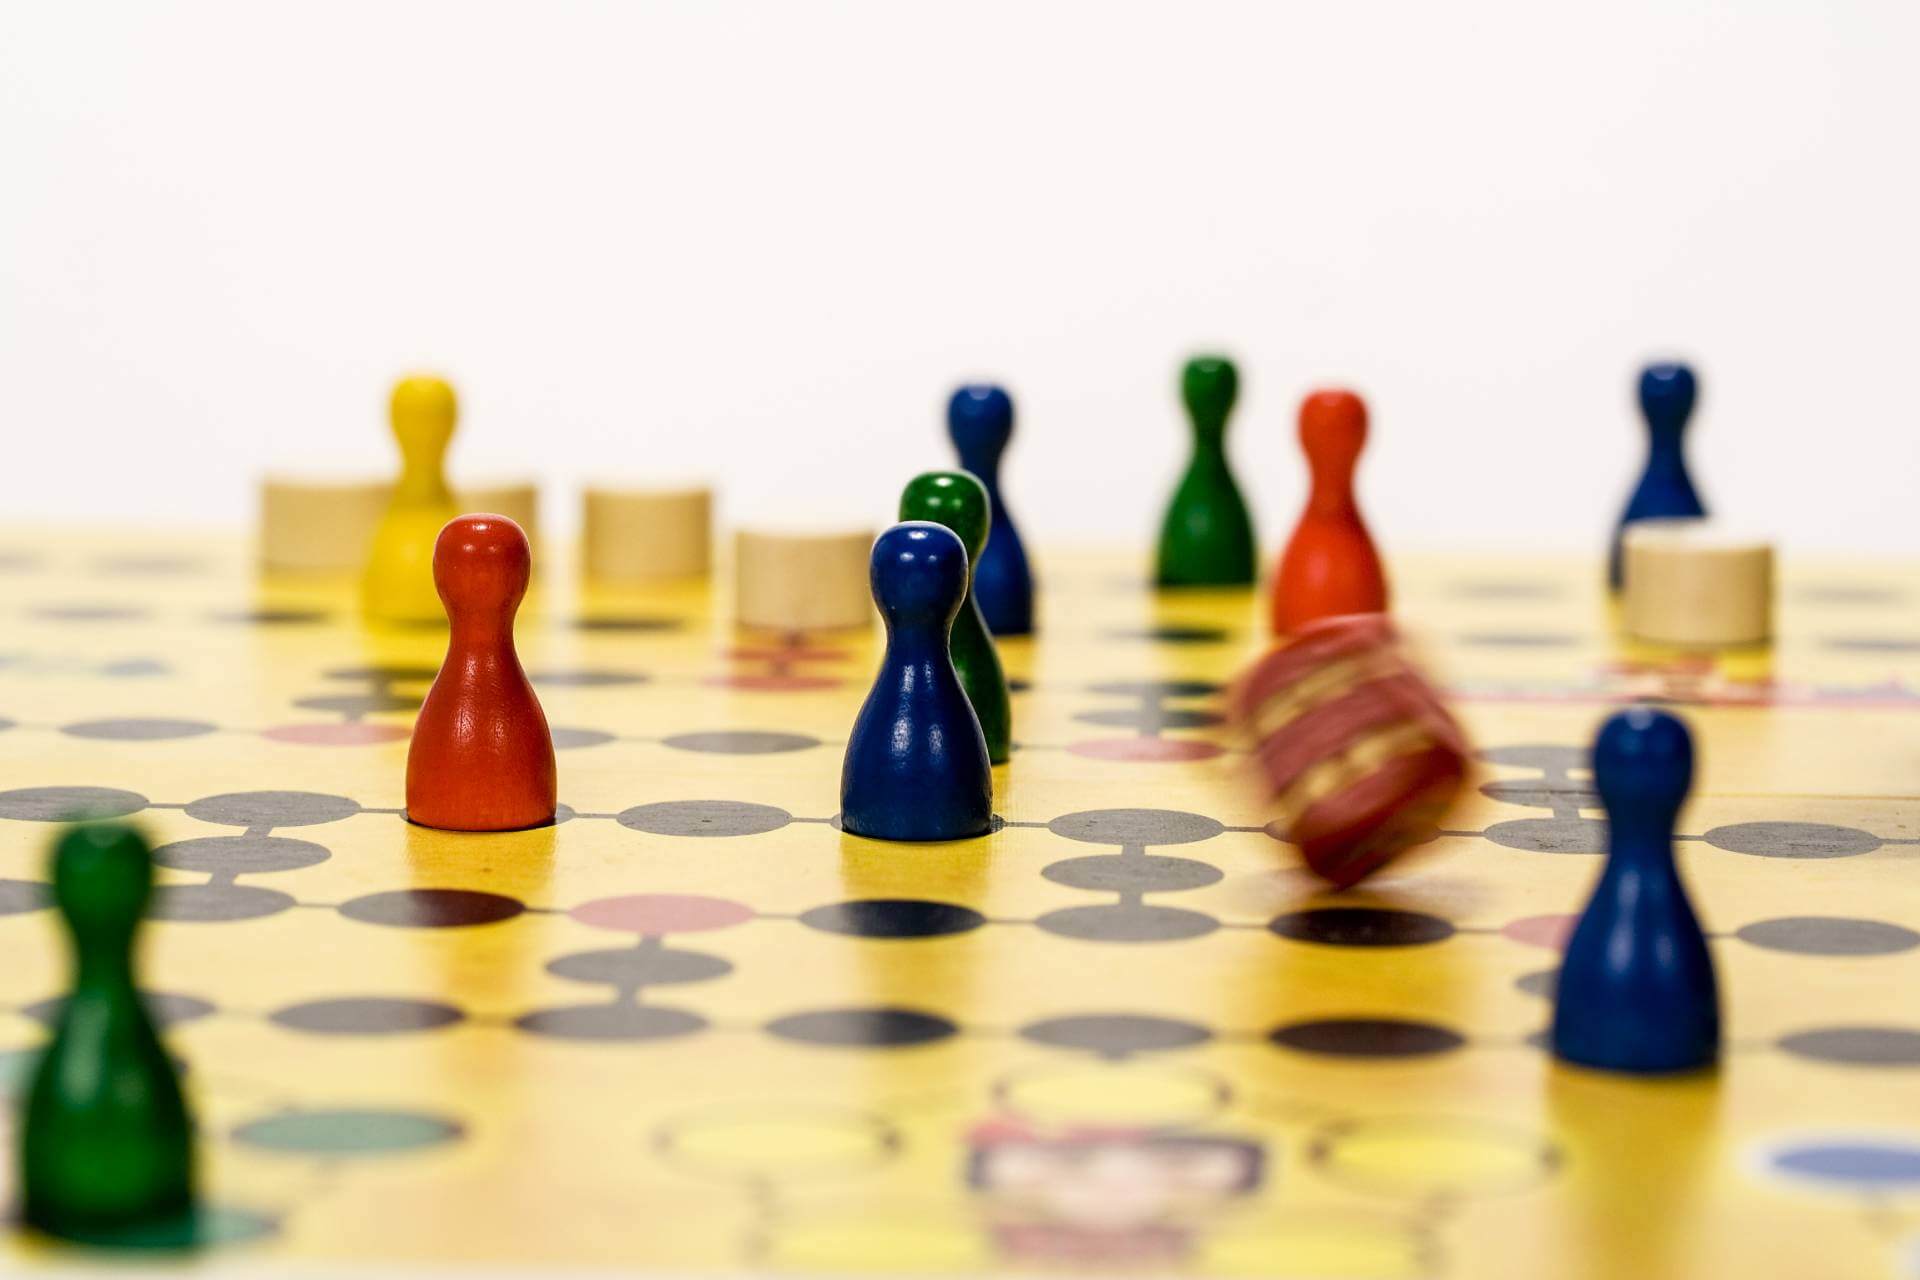
In addition to the above-mentioned aids such as tripod, remote shutter release and photo lights, the correct camera setting is indispensable when capturing the moving cube. The exposure should be set to 1/60th of a second, as this will reveal the dynamics of the cube. To achieve a contrast of blur and sharpness, the aperture should be set to 5.6. Once all settings have been made on the camera, the cube is thrown with one hand and the remote shutter release is operated with the other.
Dynamically capturing a waterfall
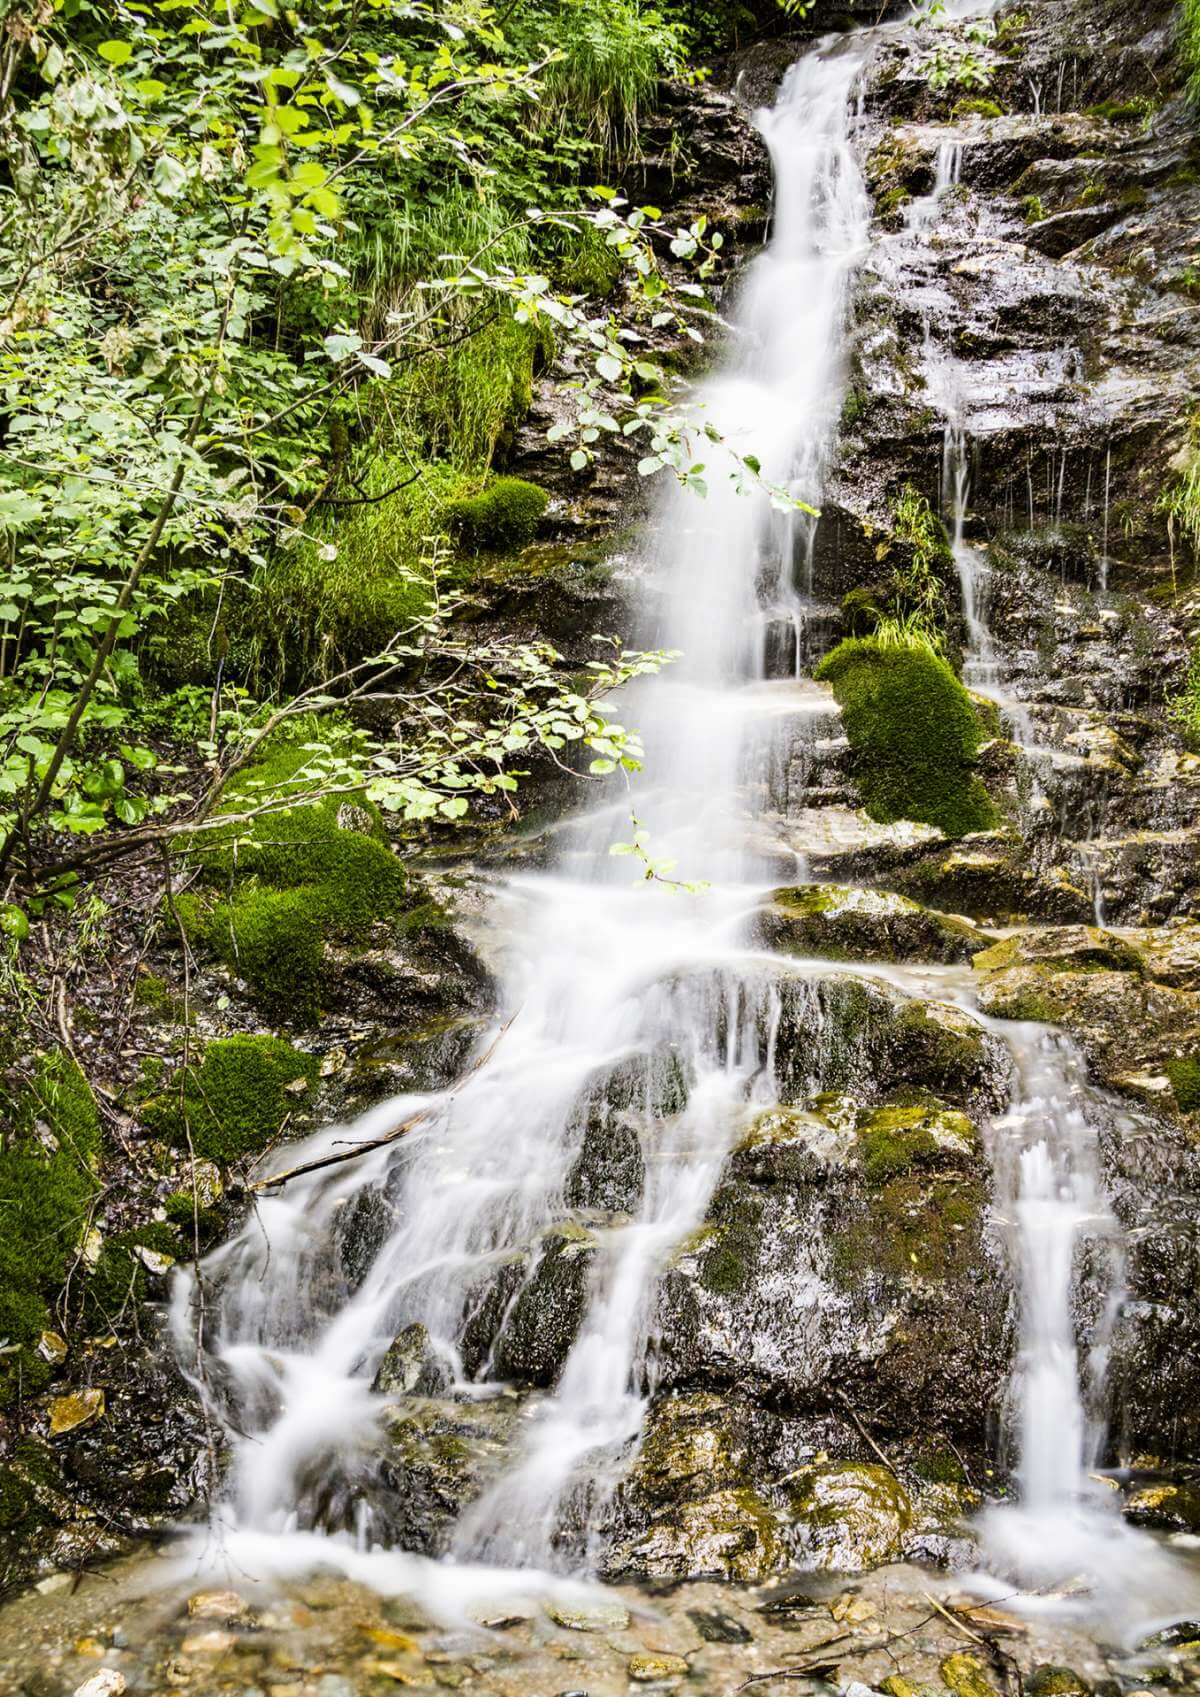
Running water is best captured dynamically. A long exposure time should be set for this. The exposure time for this picture is 4 seconds. This makes it possible to blur the water structures. Since the image is slightly overexposed in daylight with an exposure time of 4 seconds, a grey filter is used to reduce the amount of light. This filter is available in various intensities and is mounted in front of the lens of the camera.
A few last tips
When photographing moving objects, the following applies: Have patience and budget sufficient time. Not every shot will be perfect. It is advisable to edit the photos afterwards. The Photoshop image editing program is worthwhile for this. Interesting: Motion can also be generated using the zoom blur. By zooming in and out during a long exposure time, unique photographic effects are created. The image becomes blurred from the center outwards.
Have fun trying it out!
