Photographing Landscapes for Beginners
ifolor Photo Hacks
Monumental mountains, a deep blue sea, or picturesque forests – these one-of-a-kind landscape atmospheres really fascinate and many wish to capture these landscapes in photos. While photographing these, there are many external factors you have to pay attention to such as the light and weather conditions. Here we’ll give you some tips and ideas on how you can take brilliant landscape photos.
A tip before we get started: especially breath-taking landscape photos can be brilliantly displayed as one of our various wall decorations and really brighten up your home.
The Blue Hour and Golden Hour for Stunning Lighting Conditions
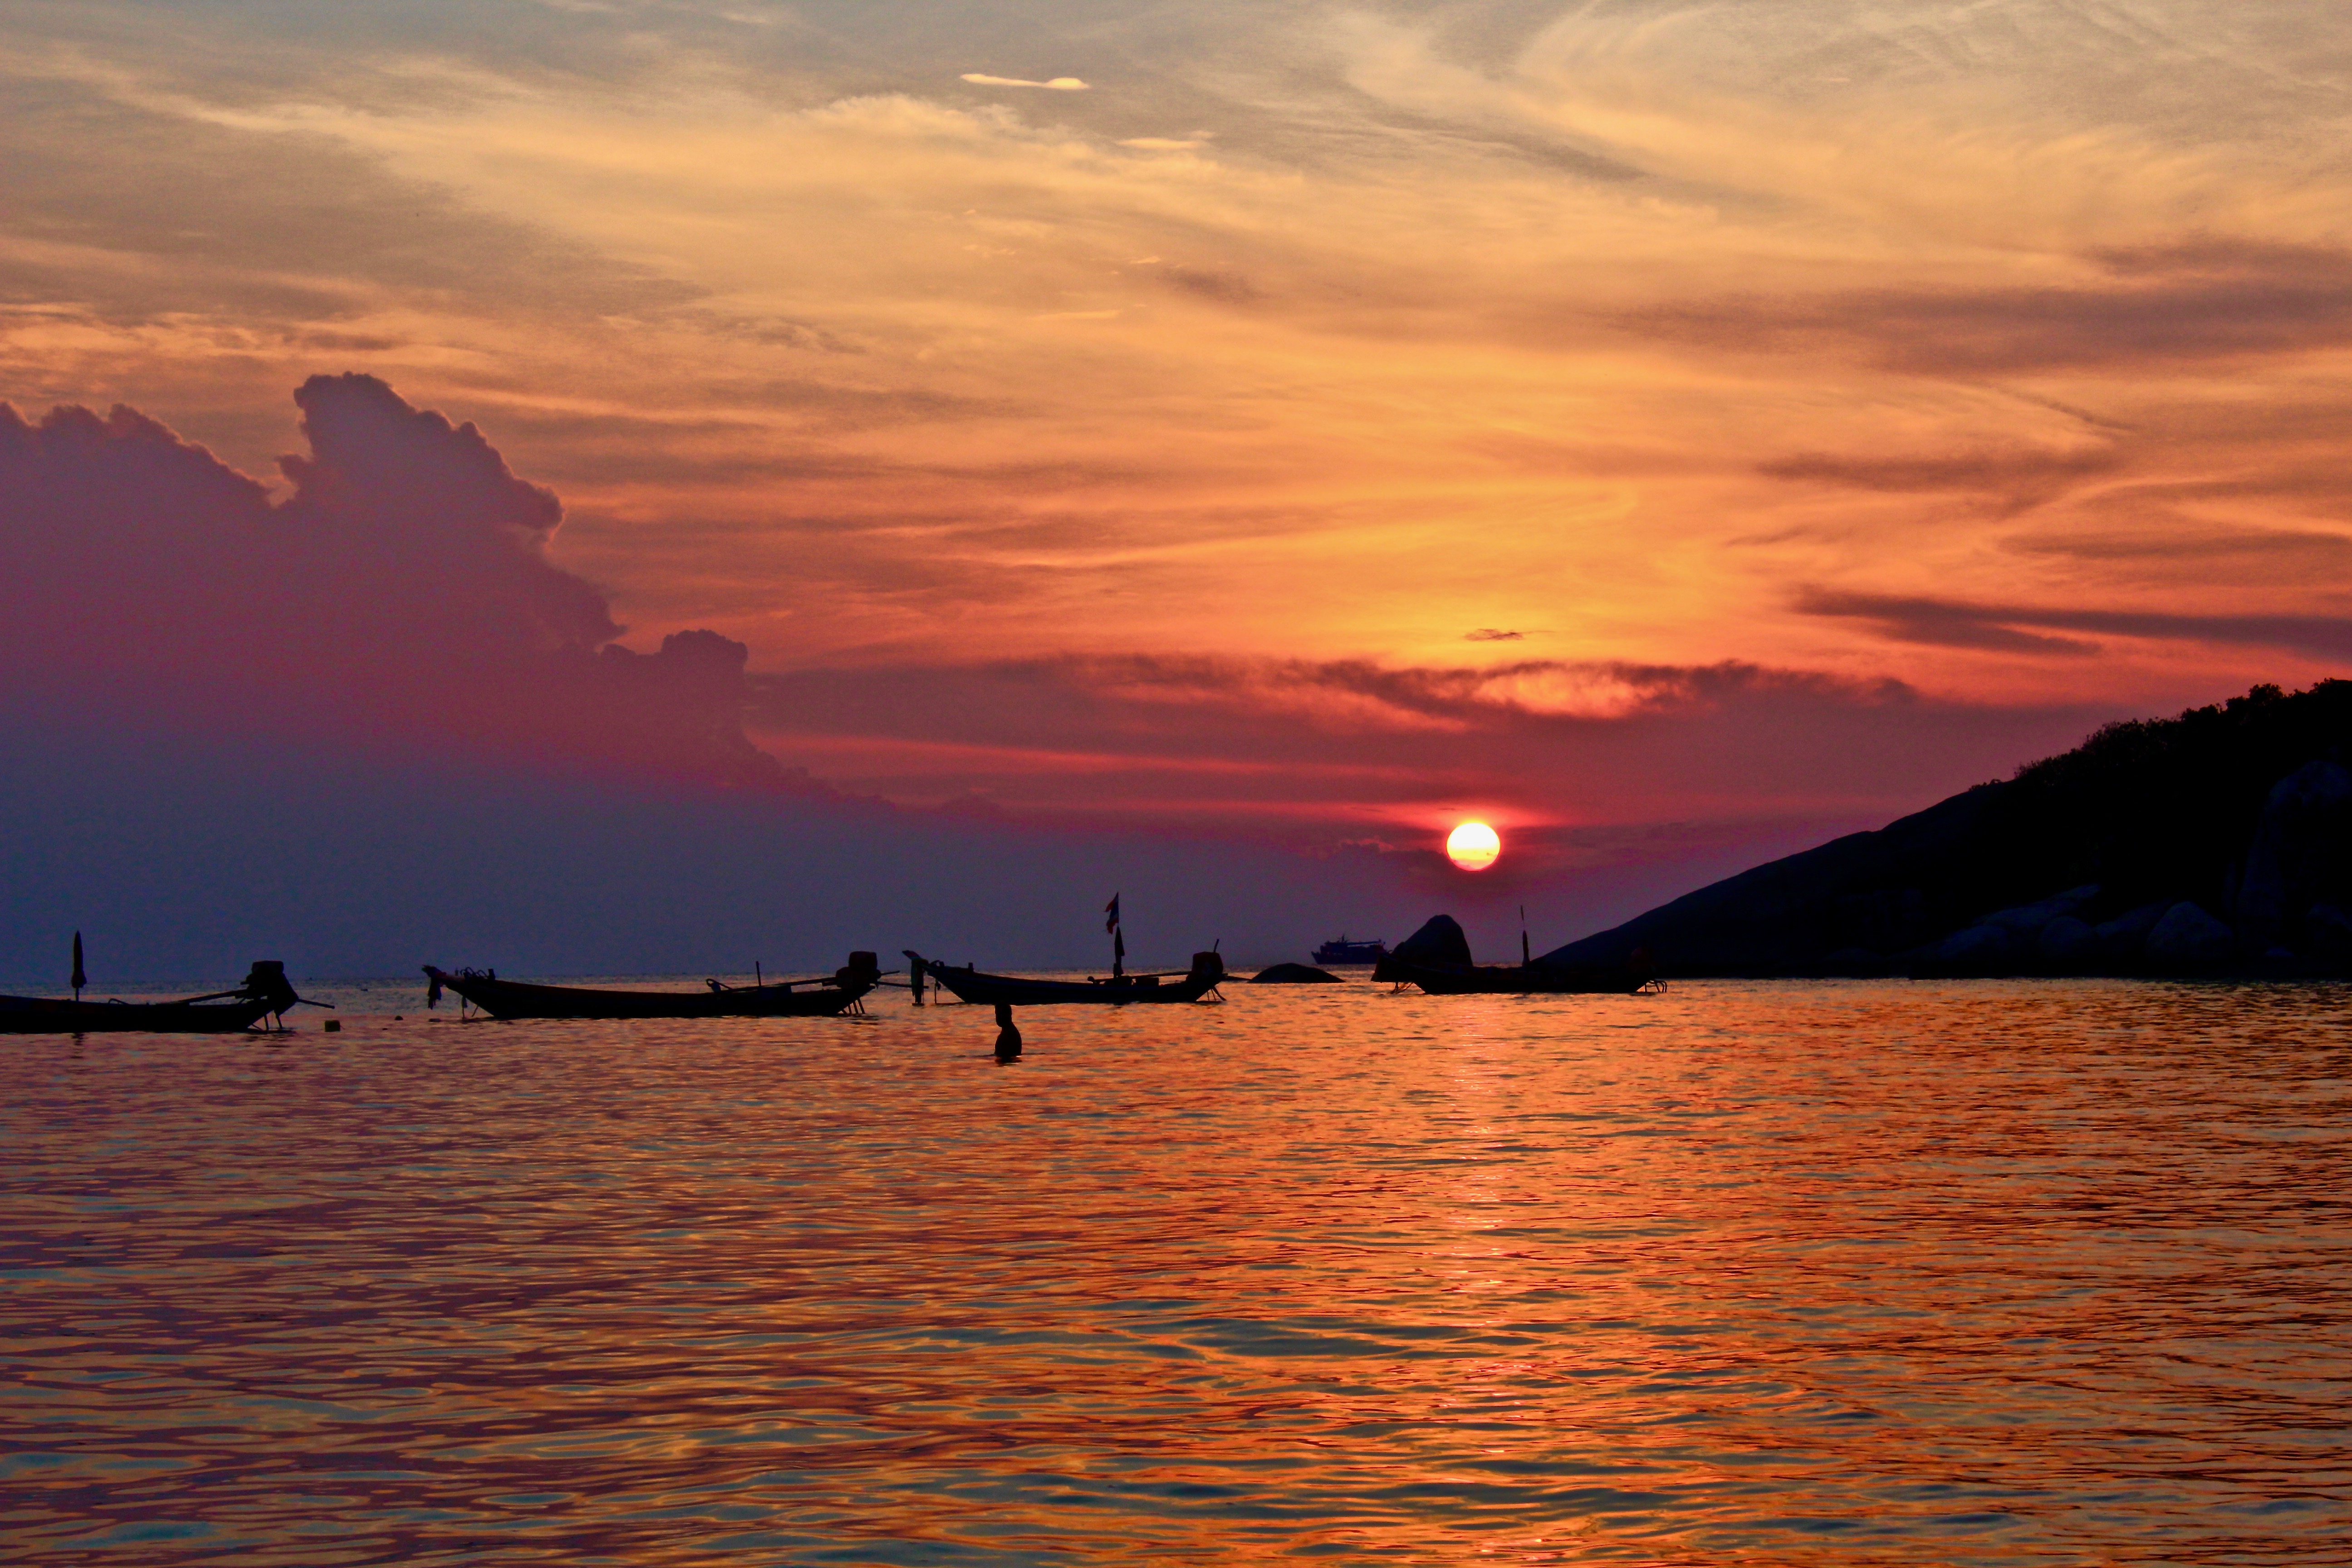
In the world of photography, timing is everything. When photographing landscapes, it’s all about the right time of day. The early morning hours around sunrise as well as the hours around sunset will provide you with especially impressive lighting conditions for your photos.
During the blue hour, which is shortly before sunrise and shortly after sunset, the sky turns a deep blue hue. Landscape photos that are taken during this timeframe have one-of-a-kind, almost magical ambient lighting. Thus, it’s worth it to wake up a little bit earlier or wait till the sun goes down to be able to catch the blue hour.

The hour after sunrise and the hour before sunset, on the other hand, are known as the golden hour in the world of photography. The low-lying sun puts off a warm and shimmering light and produces long shadows. This lends your landscape photos more structure and depth. Landscape photos taken in this beautiful golden light look especially enchanting.
Take More Impressive Photos with Manual Settings
By using manual settings, you can better influence the overall appearance of your photos and end up with pictures rich in contrast. Manually setting the exposure time, ISO value, and aperture does take a bit of practice, but in the end you’ll have more creative liberty with the overall design of your photos.
Purposefully accentuate light and shadow intricacies in your motif by varying these parameters and photograph against the light as a stylish technique. For instance, you could photograph against the light with a smaller aperture opening to create a so-called lens flare effect in your photo.

Especially with the help of the aperture settings, you can alter the depth of field in the image and sharply accentuate distinctive objects in front of a blurry background or to sharply depict the entire image section. Here, the more closed the aperture is, the more depth of field you’ll end up with.
When photographing in manual mode, you should especially be careful when adjusting the ISO value to find the most optimal one to use. The larger the ISO value is, the more light-sensitive the camera’s sensor is. On the one hand, this can be advantageous when there is little ambient light. On the other hand, however, using too high of an ISO value can cause image noise and thus significantly degrade the image quality. It’s worth experimenting around a bit to find the optimal setting.
You can find out more about ISO values, aperture, and other topics in our PDF guide “Photographing Made Easy” (only available in German).
Find a Suitable Spot to Photograph From
Besides photographing during the right time of day, the place from which you decide to photograph plays a decisive role when trying to end up with impressive landscape photos. Photographing from an elevated position, i.e. from a hill or roof of a car, tend to be ideal for taking impressive landscape photos.
Additionally, the perspective you choose to go with influences the overall image appearance of your landscapes. Things like blades of grass or roots that are in the vicinity of the camera can be used as charming motifs when photographed from a worm’s-eye view. Rolling fields or the winding flow of a river, on the other hand, are ideal motifs for photographing from a bird’s-eye view.
Choose the Best Image Section
Choosing the right image section can influence whether the resulting landscape photo looks exciting or rather boring. A main motif will lend your photo a touch of expressiveness and your attention is drawn to a certain point. You’ll also end up with more depth in your photo if the fore- and background are clearly differentiated between thanks to a main motif.
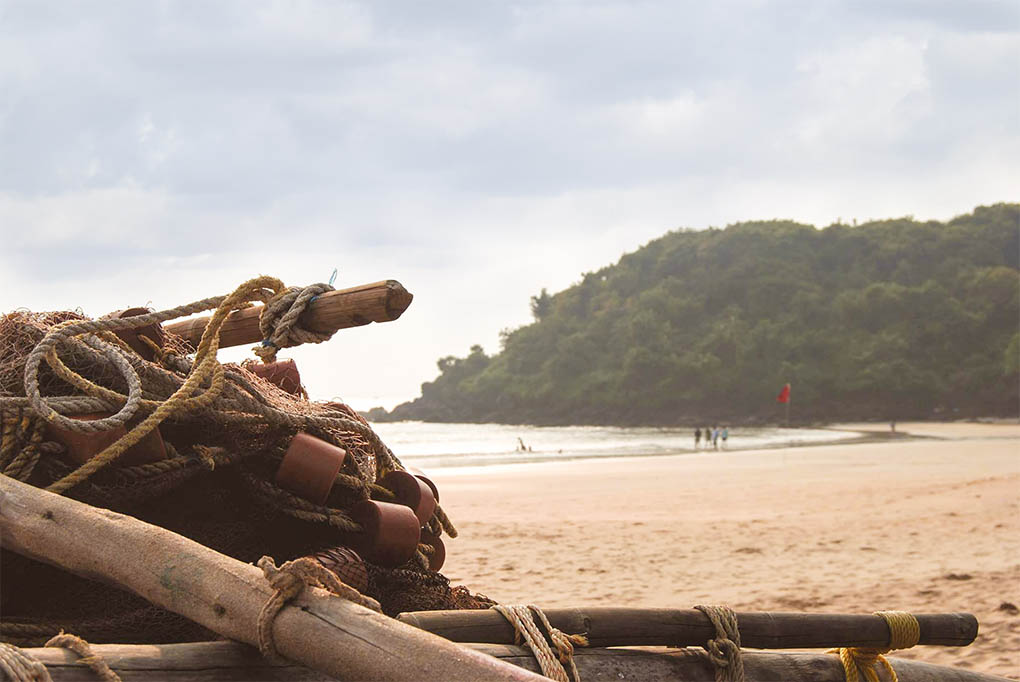
Such a motif could be something like a single tree standing alone in a clearing or a boat resting on the edge of a body of water. Your photo will look especially harmonious if the main motif is slightly left or right in the image section. Such an image composition follows the golden ratio (or simplified as the rule of thirds). However, even a more centralised orientation can produce brilliant landscape motifs.
Capture Special Effects
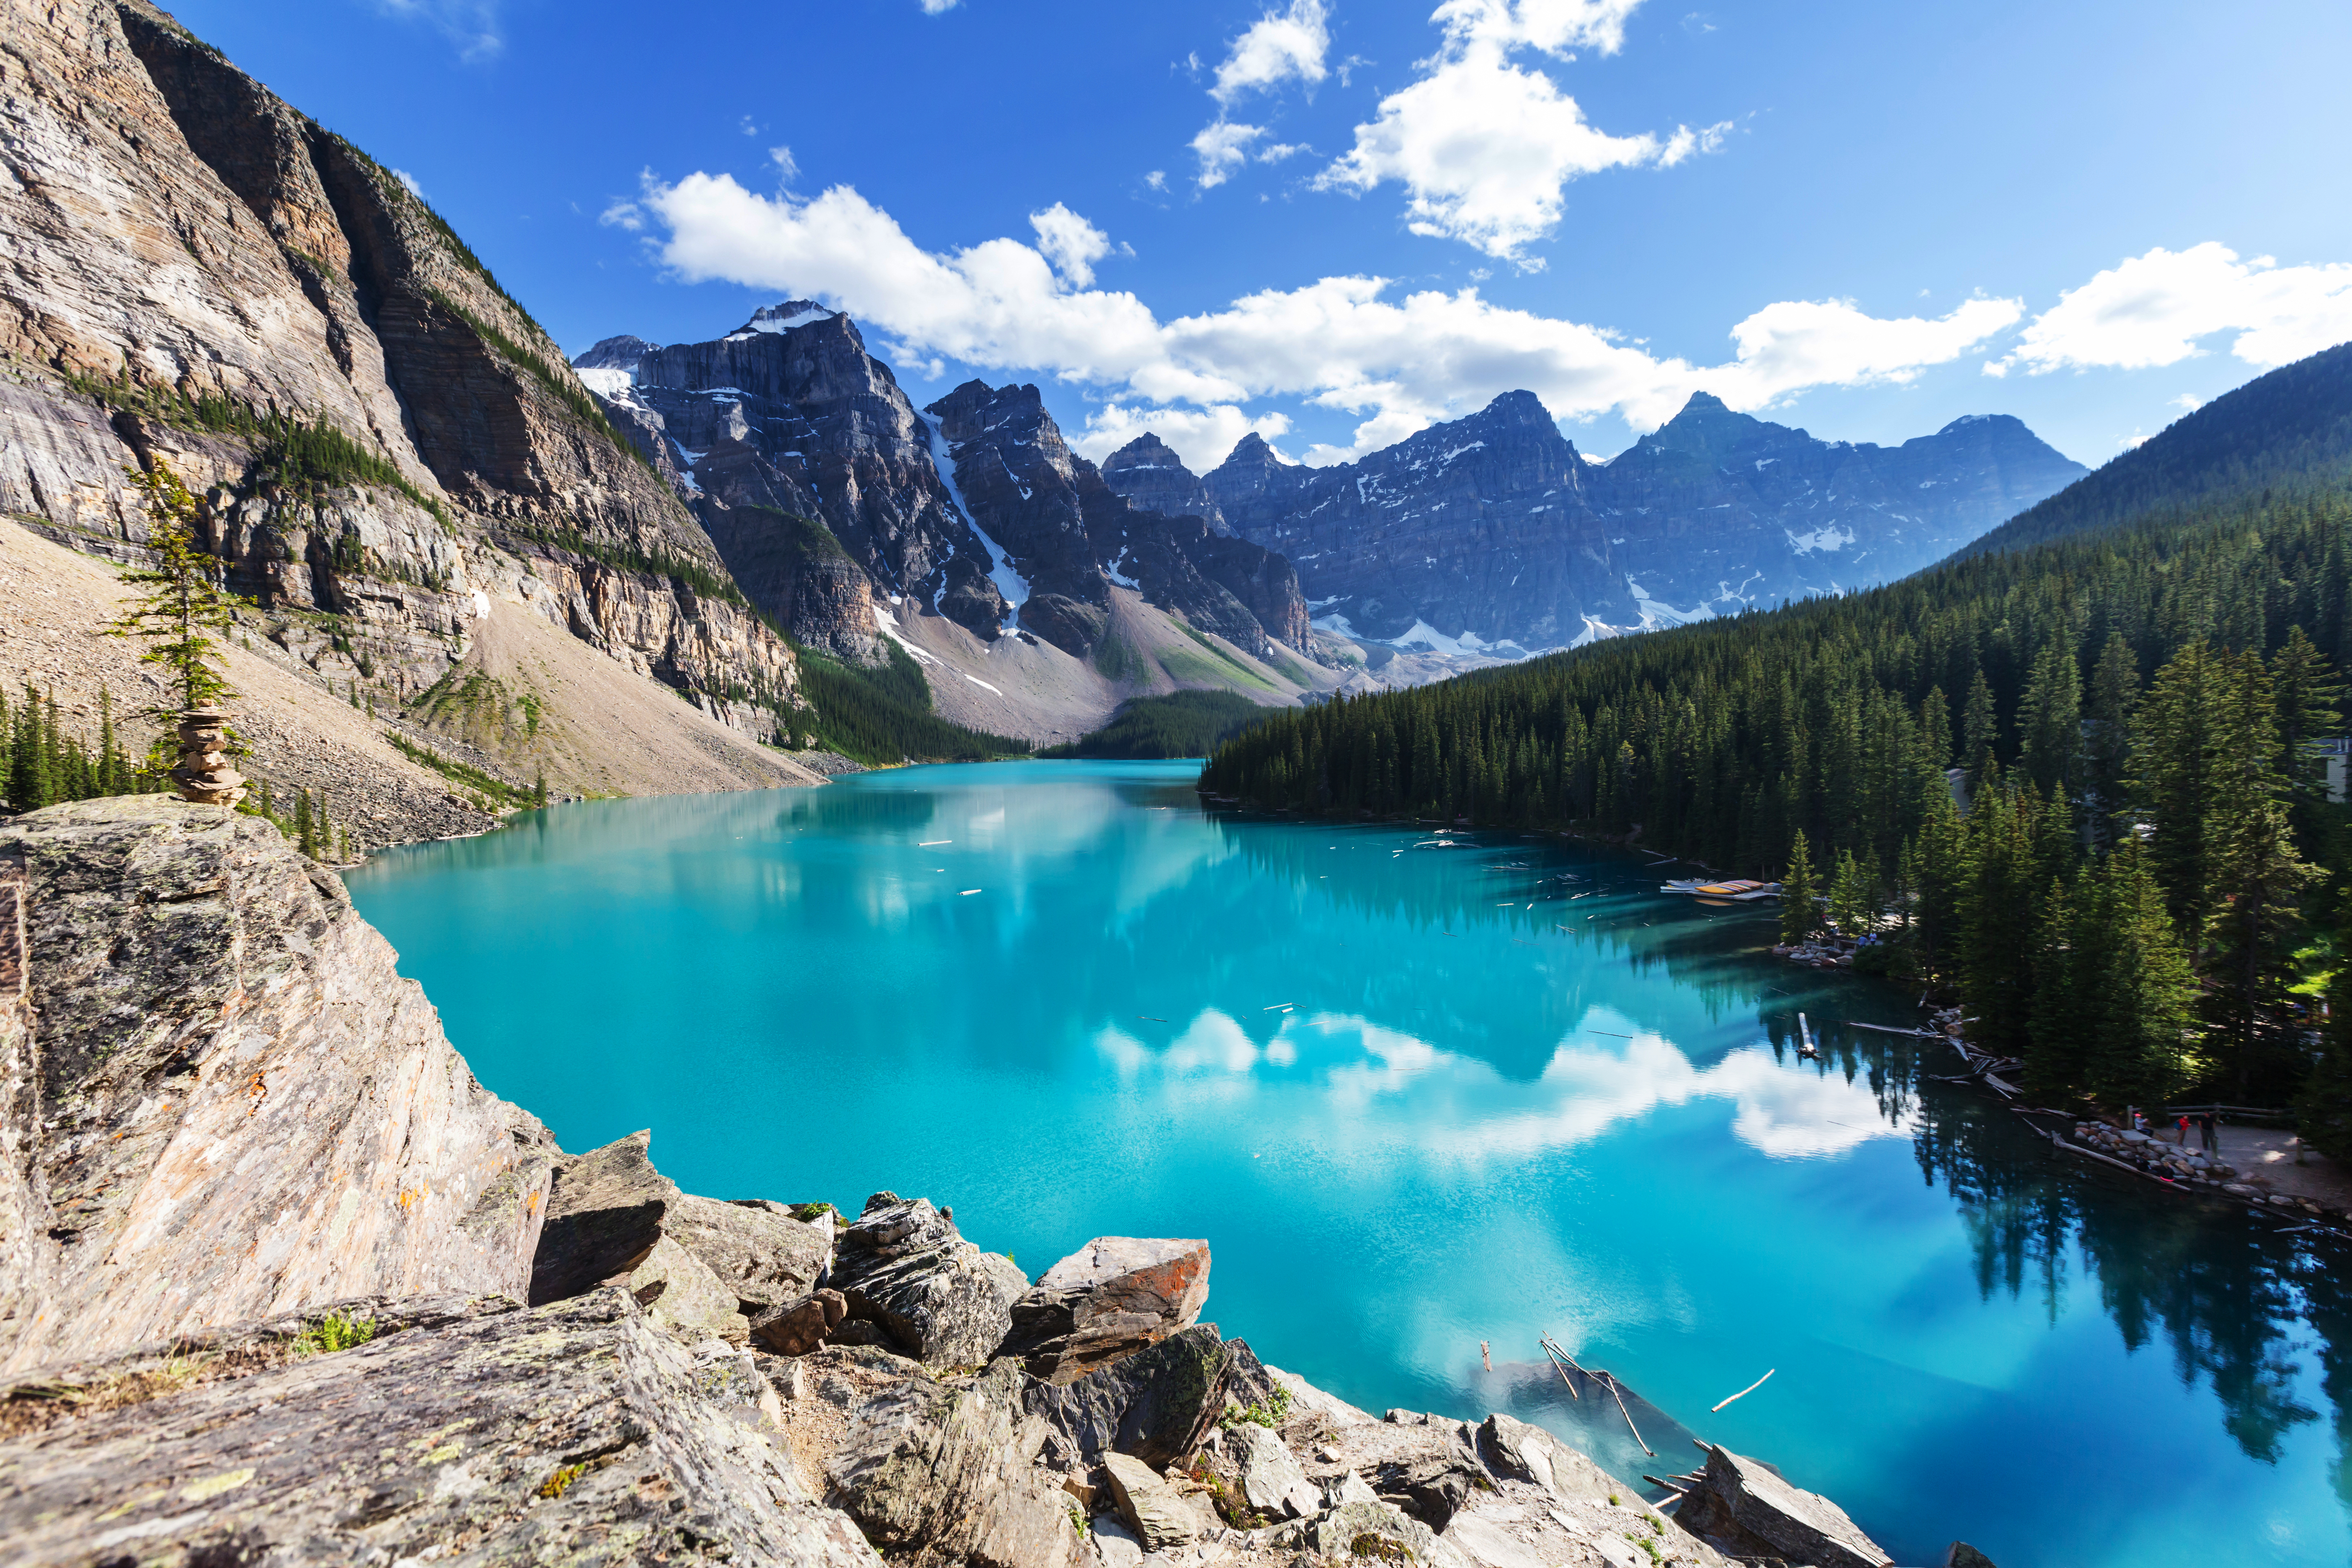
An especially aesthetic landscape photo motif is something such as mountains or forests that are reflected on crystal-clear water surfaces. To produce a fascinating photo effect, you could photograph your motif using a half-turned polarising filter, which reduces the reflections in a portion of the photo. This will increase the visibility of things that are underneath the surface of the water.

To make your landscape photo a bit more dynamic and diversified, try to capture small waves and ripples in the pond, lake, or river you’re photographing. You can give waves a much softer look by using an exposure time of several seconds in order to make the water’s movement appear blurry.
Use the Right Equipment
In order to capture as much of the landscape as possible, you could use a wide-angle lens. These are characterised by their short focal length. However, when using too short of a focal length, you run the risk of the edges of the photo appearing distorted. The ideal focal length in the wide-angle range for landscape photos is between 10 and 35 mm.
Furthermore, a tripod or stand will keep your camera in a stable position while photographing and will make it much easier to align your photo. This will help you avoid ending up with blurry photos. A tripod is basically indispensable when photographing using long exposure times. This is usually the case when photographing during sunrise or sunset, for instance. You’ll also need to use longer exposure times to end up with more depth of field.
Gather Together Your Most Brilliant Landscape Photos
Once you’ve taken so many breath-taking landscape photos, creating an album featuring your best pictures is, of course, a must. Gather together your most favourite landscape photos in an individualised ifolor photo book and also enter in the places and dates you took the photos. Then you’ll be able to time and again flip through and gaze upon all the beautiful views and landscapes you’ve captured.
