Photo Hacks: DIY Camera Equipment
Do you want to get the best out of your photos as you take them? Sometimes, ordinary everyday items from your household can help to avoid having to use an image editing programme or buy expensive professional equipment.
DIY camera equipment is inexpensive and often easy to implement. In this article, we will show you how to build your own diffuser and reflector.
DIY diffuser for your camera
A diffuser helps to soften hard, direct light and contain strong light-shadow contrasts. A diffuser is effective even when a flash is used. Diffusers are made of a semi-transparent material and are placed between the object and the light source. The colour should be neutral so that there is no colour cast on your shot. You should also note that the diffuser must be larger than the object you want to photograph, as the diffuser can only illuminate the area it covers.

It is quite simple to make a diffuser or even several diffusers in different sizes. All you need is some translucent material and a frame. You can use paper or fabric for the material. Bear in mind that different thicknesses of paper or fabric will produce different results. You should therefore make sure that the material is neither too thin nor too thick.
Tip: You can quickly find out how translucent your material is by holding it against a light or a window in daylight.
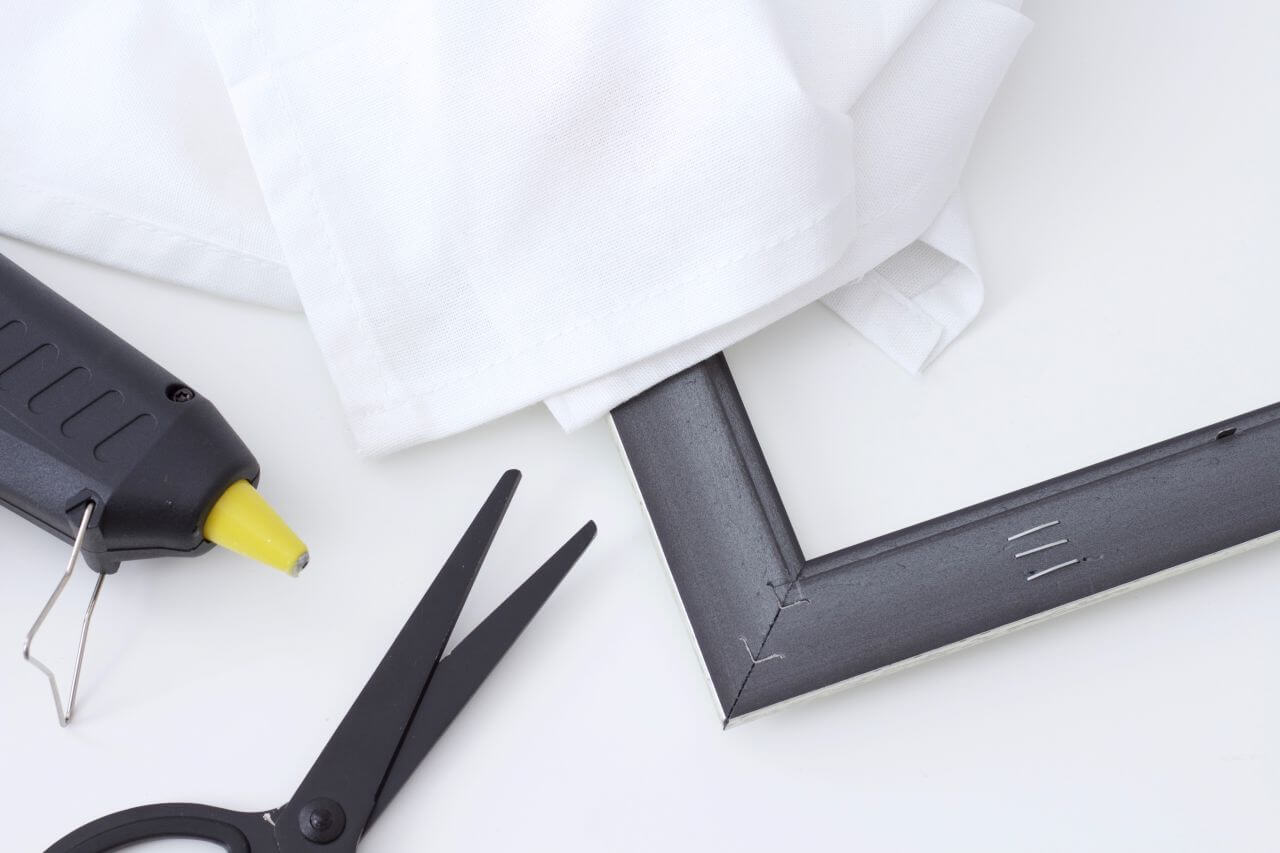
The second step is the frame. If you want to make a small diffuser, you can make use of an old picture frame. For larger diffusers, a picture frame may become too heavy, therefore, it is better to build a frame yourself from a lighter material. For example, you can use thin wooden or aluminium rods, which you can buy at any DIY or handicraft store. Depending on the material, you can nail, solder or glue the frame together.
Tip: For larger frames, add supports across each corner at 45 degrees for extra stability. This will help keep the frame sturdy.
Once you have a suitable frame, all you need to do is cut the material to the right size. Add about two to five centimetres per side to stretch it onto the frame and fix it on the back. With paper, you don’t need to add the extra few centimetres if you glue it directly onto the frame.

Reflector
A reflector is used to direct the light to the shady side of a subject. You can do this by placing the reflector behind the unlit side of your subject so that it reflects the light back onto the shaded side of the subject. A diffuser can also help smooth out the light, but it absorbs a certain amount of light and might not let enough light through. Therefore, opaque surfaces are more useful in this case.

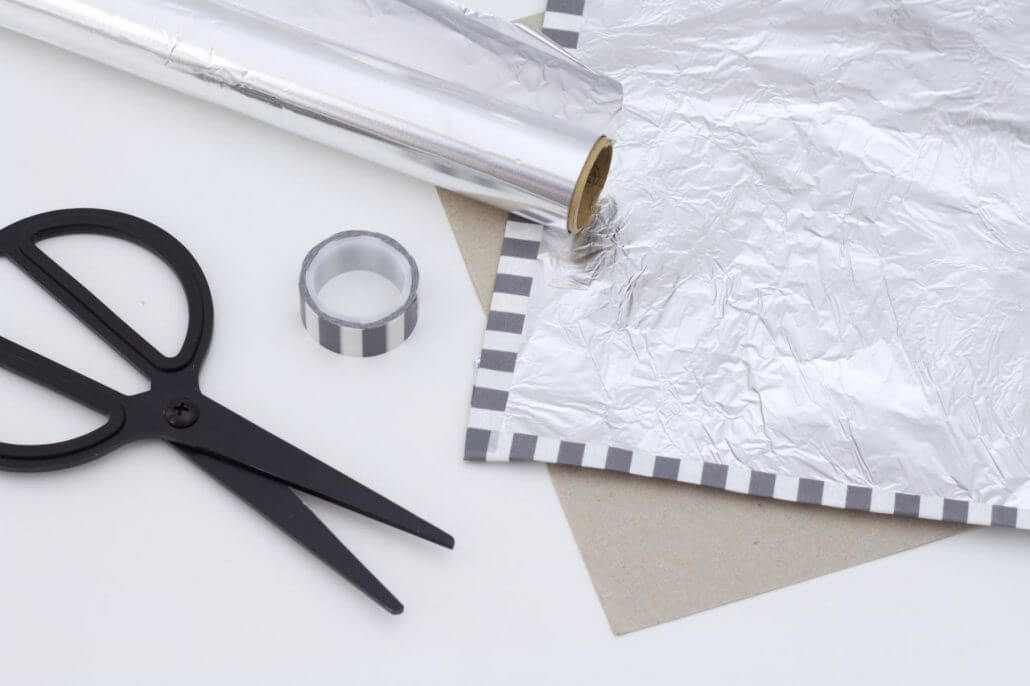
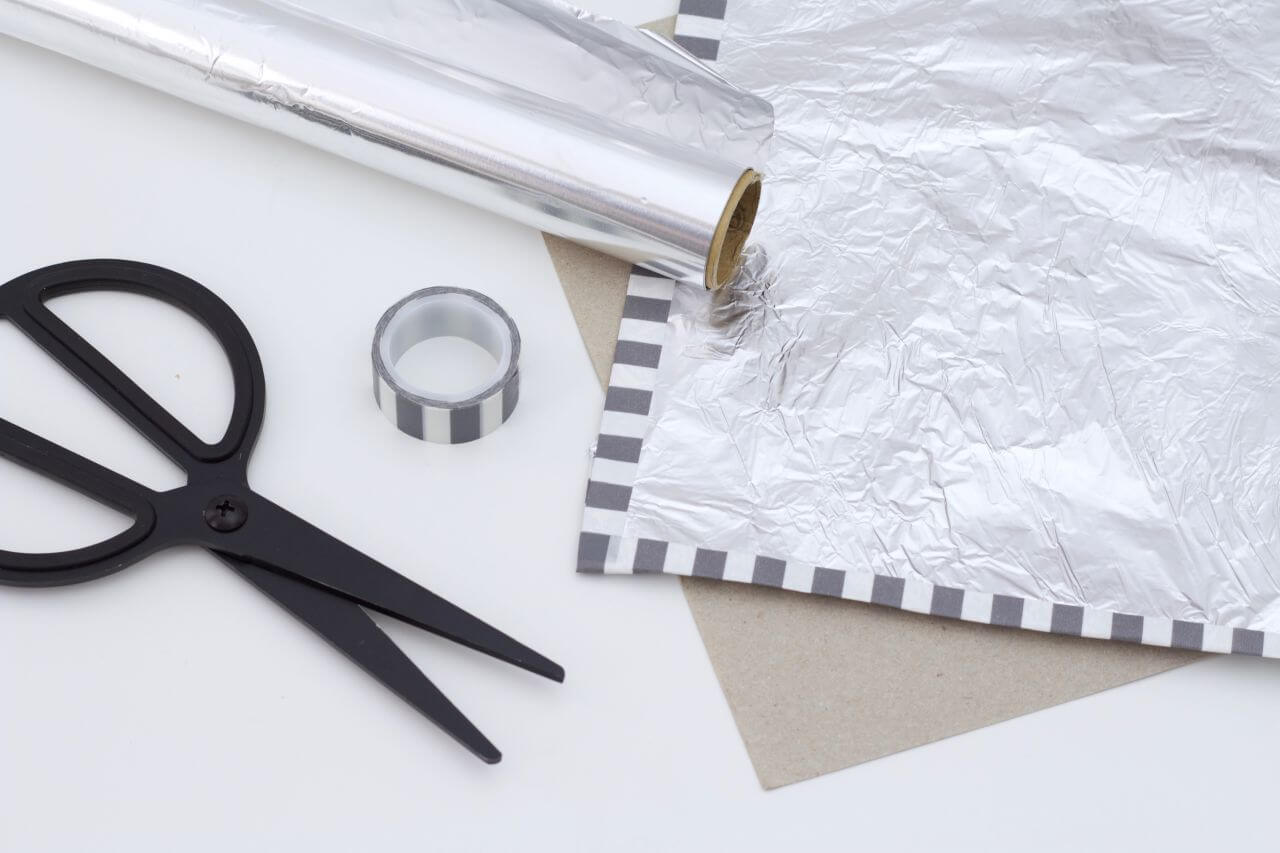
Aluminium foil is a suitable material for making your own reflector. It is opaque and reflects the light very well. To achieve a warmer effect with a reflector, surfaces with a golden colour can be used. For this purpose, the emergency blanket from a first-aid kit is very effective, as the blanket has both a golden and a silver side to create warm and cold reflections. The blankets are usually quite large, allowing you to make a big reflector.

As with the diffuser, a frame is needed to create a straight and stable surface for the aluminium foil or foil blanket. You can attach the material to a solid back or frame. A solid back will help prevent any light loss by ensuring the opacity of the reflector. Select light material for your project such as sturdy cardboard or Styrofoam for the back and rods made of wood or Aluminium.
Simply attach your material to the surface or frame and you are ready for a shoot with your homemade equipment.
