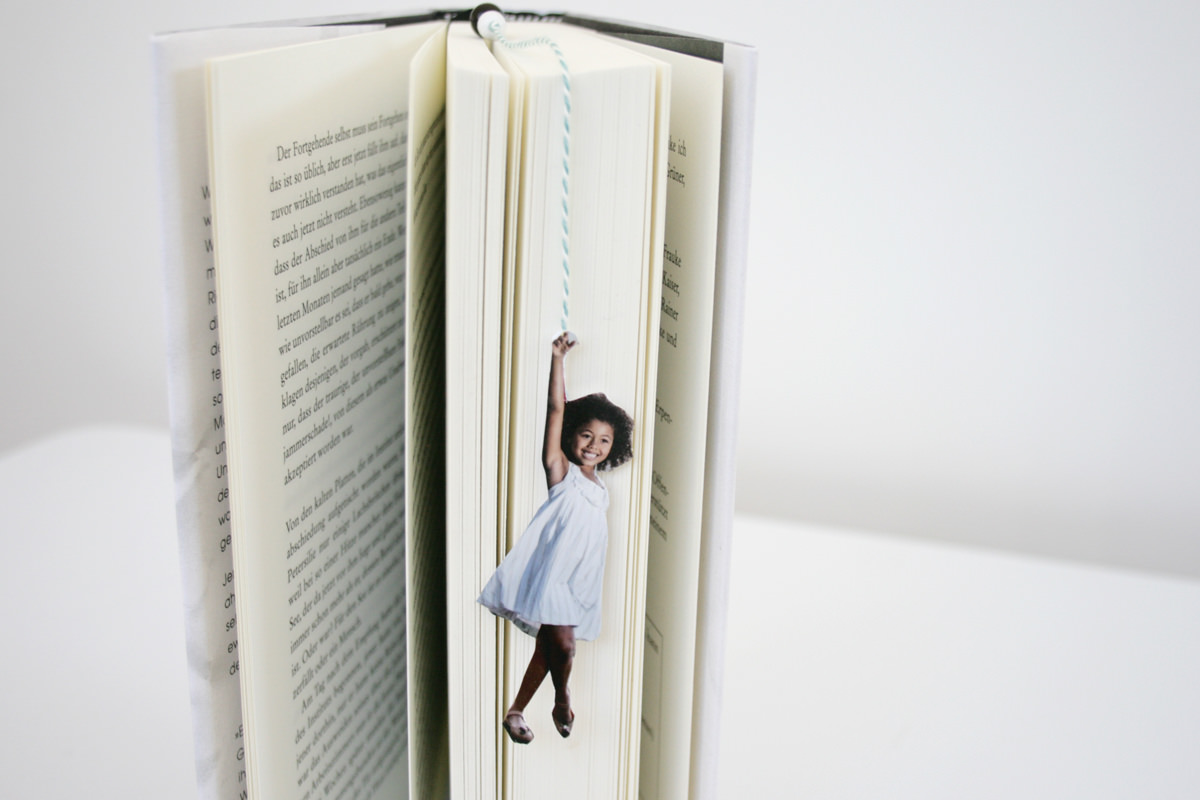
The Photo Bookmark
Creative, personalized, pracitical
Not just for bookworms
Books are still among the most popular gifts. To give the present a personal touch, use these individual bookmarks – because what could be better when reading than having a beloved person there as a bookmark? It could be your grandma, aunt or best friend from kindergarten that will be putting it in their picture book, these bookmarks are a beautiful surprise – and they are very quick and simple to make.DIY photo bookmark
1. Photograph the model
2. Print it
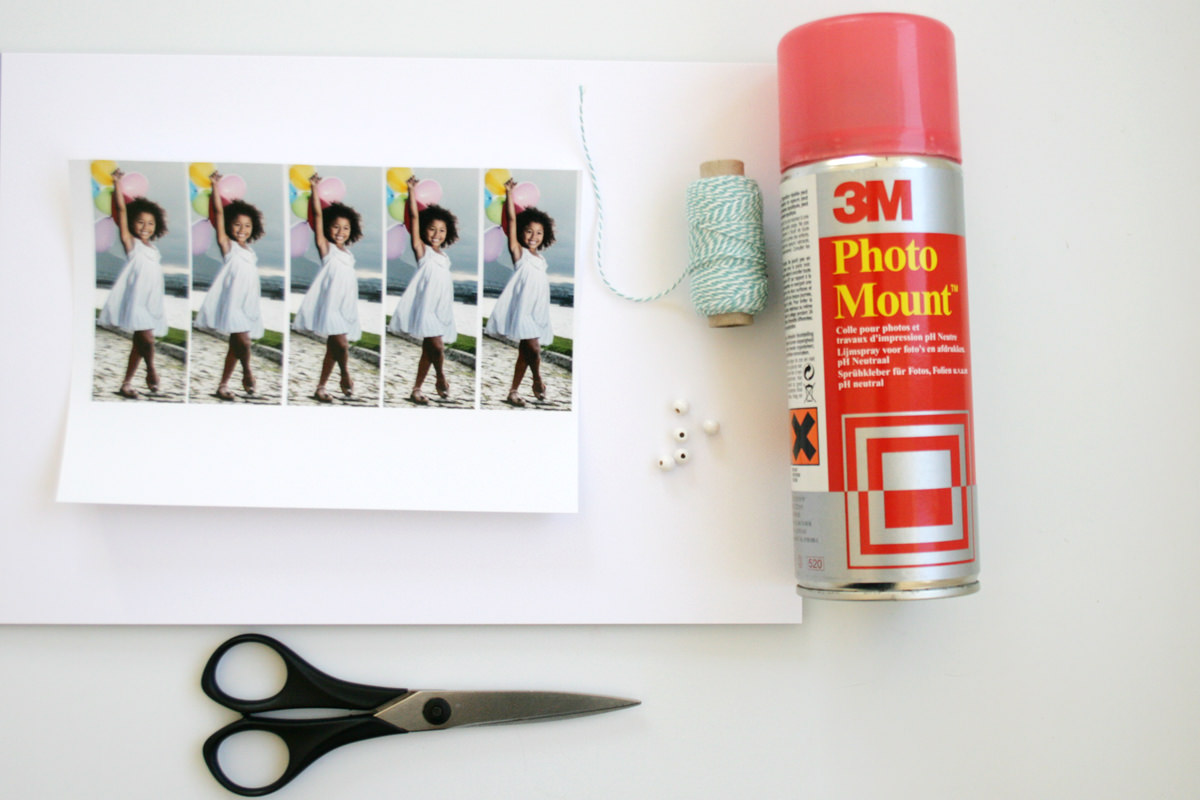
Now get the photo printed as a photo poster in the 30x40 cm format. This format is particularly suitable, because this way you can get several photos – which have been copied next to each other with an image-processing program – printed on one poster at the same time. If you do not have any kind of image-processing software, you can of course have the motif developed as a photo. Both products are printed on very high-quality premium photo paper, which is easy to work with. It is recommended that the person on the photo is depicted between 7 and 12 centimetres high – this way the bookmark will fit perfectly into any book.
3. Material needed
The only materials that you will need are:
- the already printed photo poster or photos
- scissors
- glue (spray adhesive is best)
- white cards
- a little ribbon and
- perhaps beads for decoration.
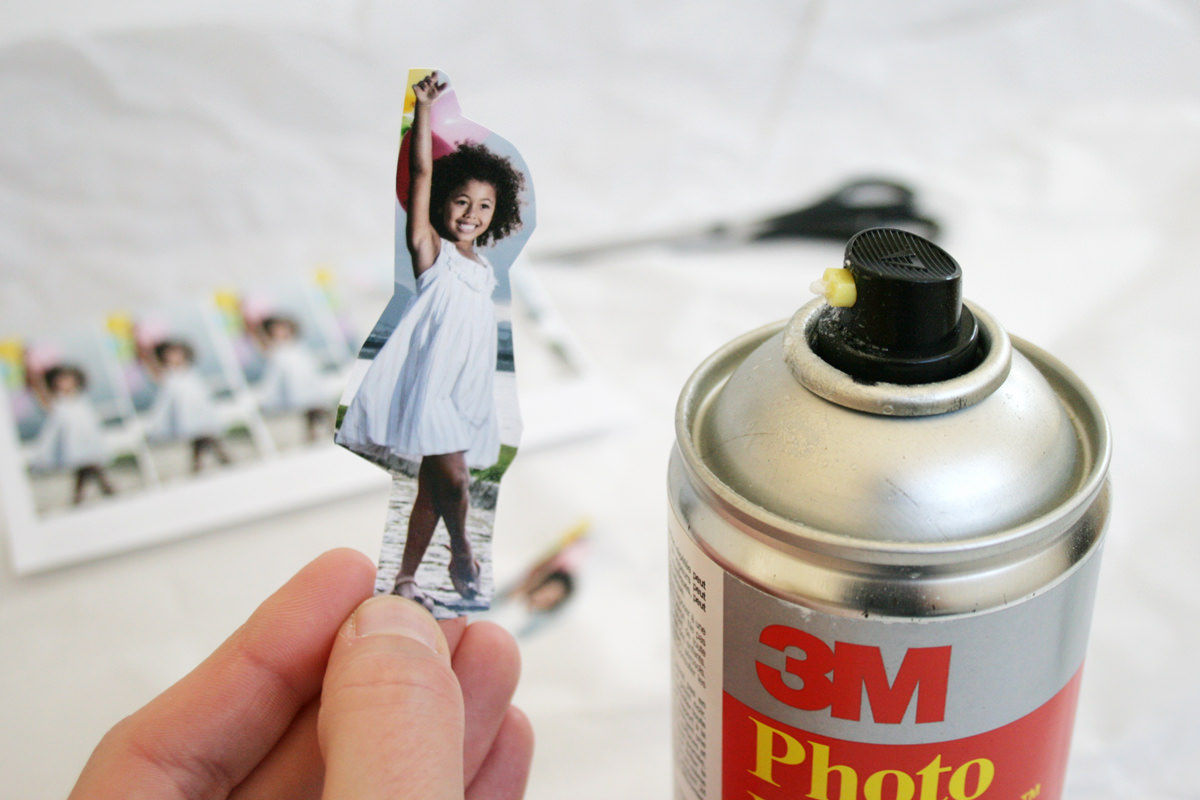
4. Prepare the template
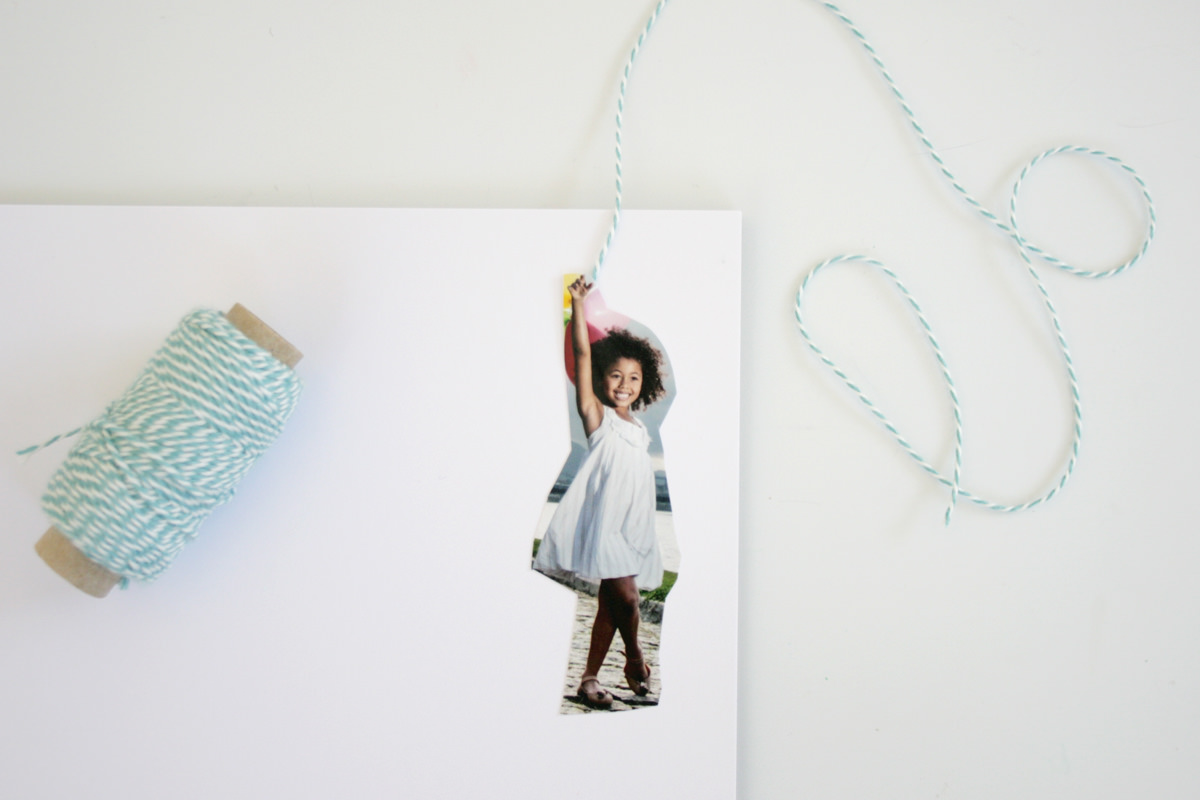
5. Glue the template
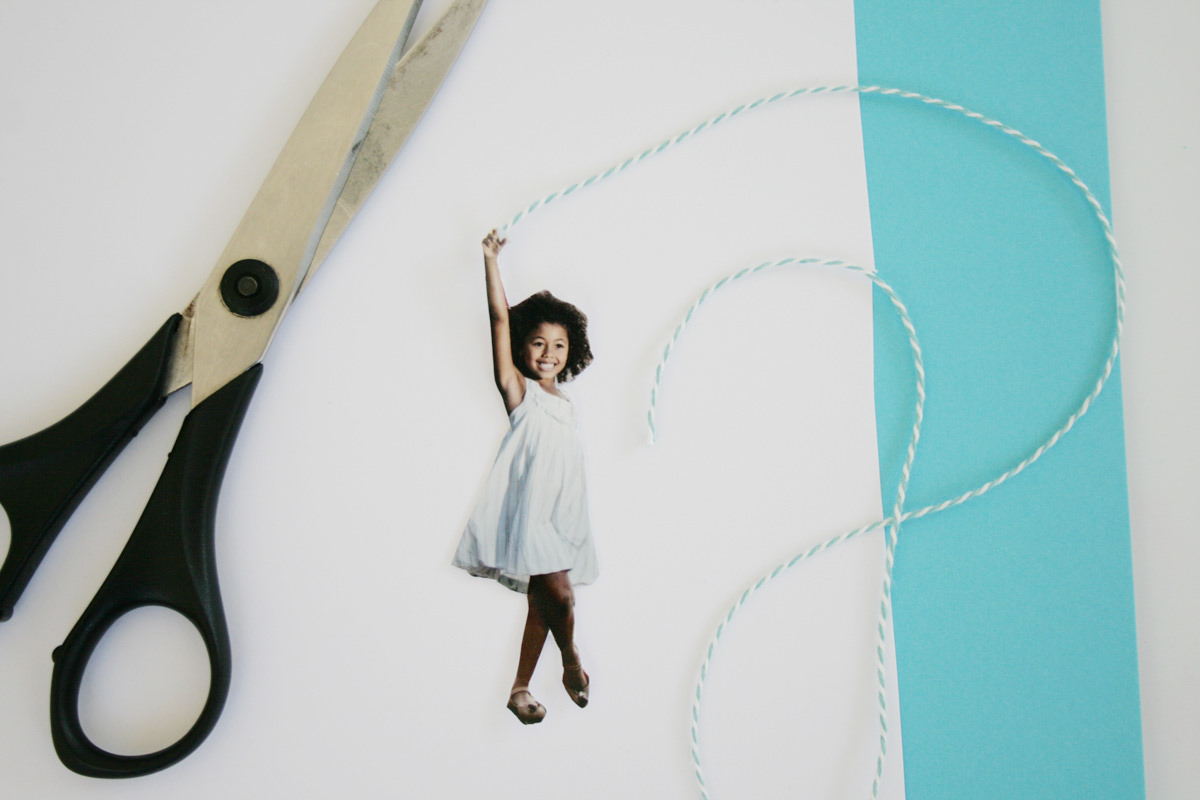
6.Tailor the template
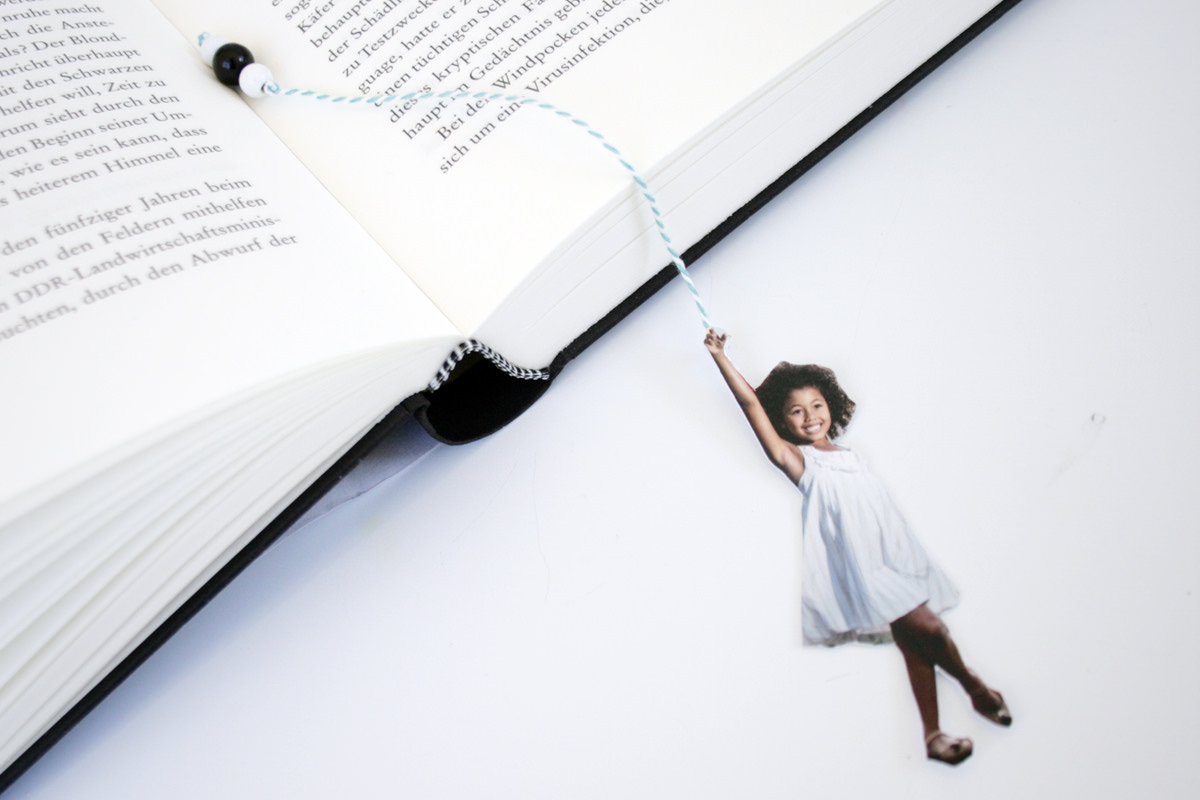
7. Decorate the ribbon
Finally, thread some pearls onto the small ribbon – your personalized bookmark is ready!
About the author
Julia Marre is a features section editor with a penchant for photography and design. She writes the Kommando Karottenbrei blog.
She plays around with photo products for ifolor and writes about these DIY projects and self-styled gifts.
