A Guide to the Perfect Food Photo
Nowadays it’s common practice to take a photo of your food before you eat it. The pictures are then shared online with friends and followers. Not only are quick snapshots of lunch very popular, but also elaborately arranged food photos that require a lot more preparation and time. The right camera settings are just as important as having the right lighting, food styling and cropping. In our guide we will show you step-by-step on how to take a great photo of food and drink, as well as which food styling tricks and camera technique were used. For our guide we chose to take a photo of a hot chocolate.
Decoration and Background: Emphasise the Subject in Your Picture
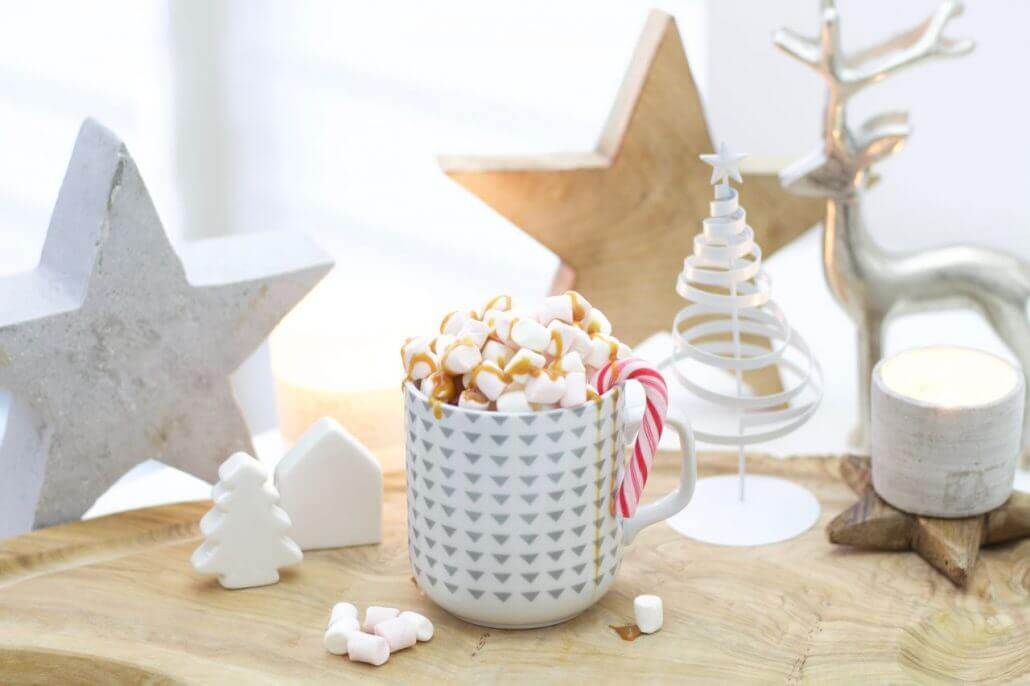
It’s important to decide what food or drink you would like to take a photo of before even getting started with decorating and finding the right angle. In our example it is a cup of hot chocolate with mini marshmallows. Hot chocolate is a drink that most people mainly drink during the winter, therefore, the decorations should match the theme.
The cup as well as the decorations should stand out. Choose a cup with a quirky pattern or shape to liven up your shot.
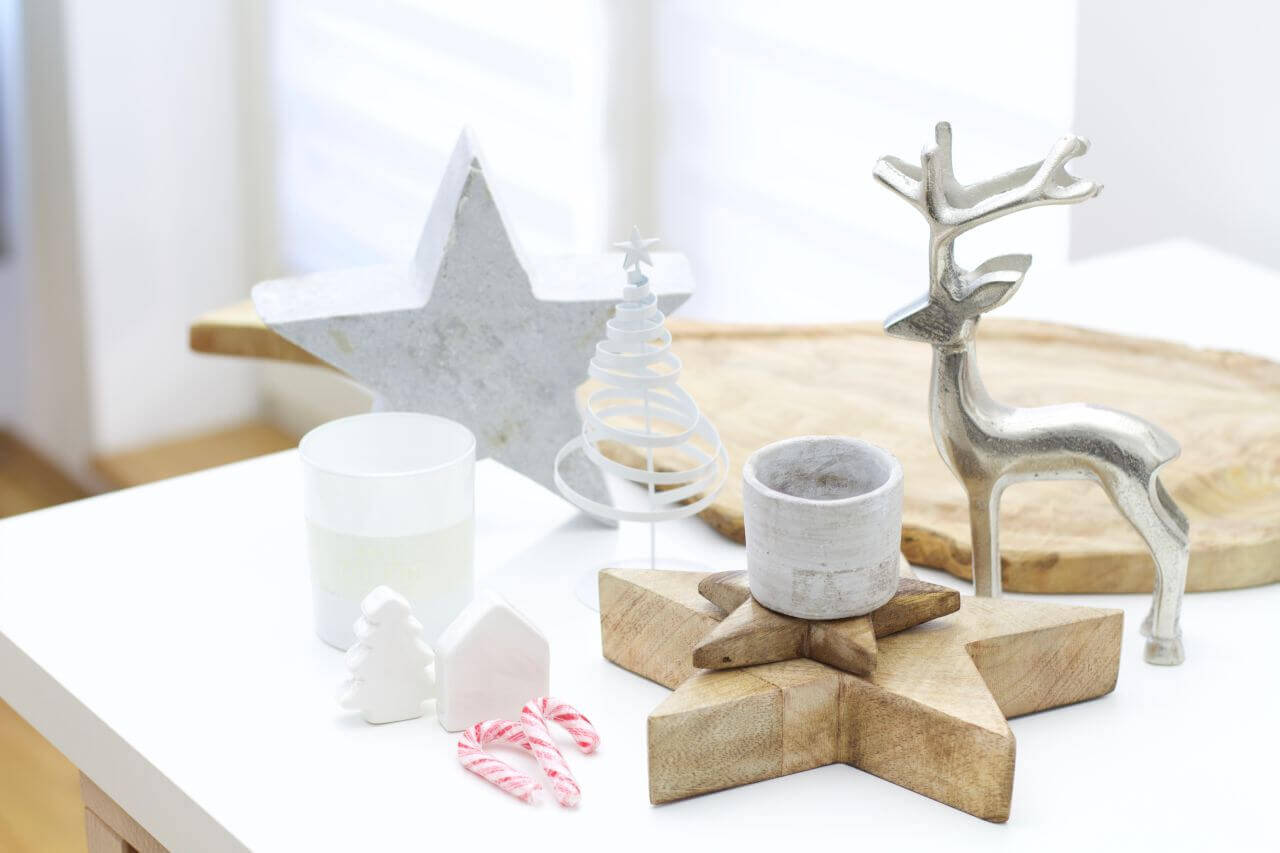
The decorations and the colours should match the chosen concept. Decorations with different materials or designs were used to emphasise the wintry theme in the picture. Besides wood, which will give your photo a rustic look, ceramic and metal decorative elements were also used. The use of the different decorative elements made out of different materials gives the photo a great overall look.
Make sure to stick to certain colours when setting the scene for your photo. Either you need to go for strong contrasts or like in our picture we stuck to a colour scheme. If you are going to stick to a colour scheme then you should only go for a few colours that go well with each other such as white, grey or light brown.

The background and base are just as important so make sure that they match. The background should have a bit of contrast in comparison to the cup and the other decorations. For this food photo, a rustic wooden board in a light brown tone was chosen to match the white ceramic cup with a subtle pattern.
To create a bright background we arranged everything in front of the window with white voile curtains. Since the light does not fall directly onto the scene from the window the white curtains create a soft and bright background with the appropriate aperture setting. We placed a candle on the side behind the cup, which adds a warm feeling to the picture.
Food Styling: More Appearance than Substance
Elaborately arranged food photos are generally not real. We also used a small trick for food styling in our photo.
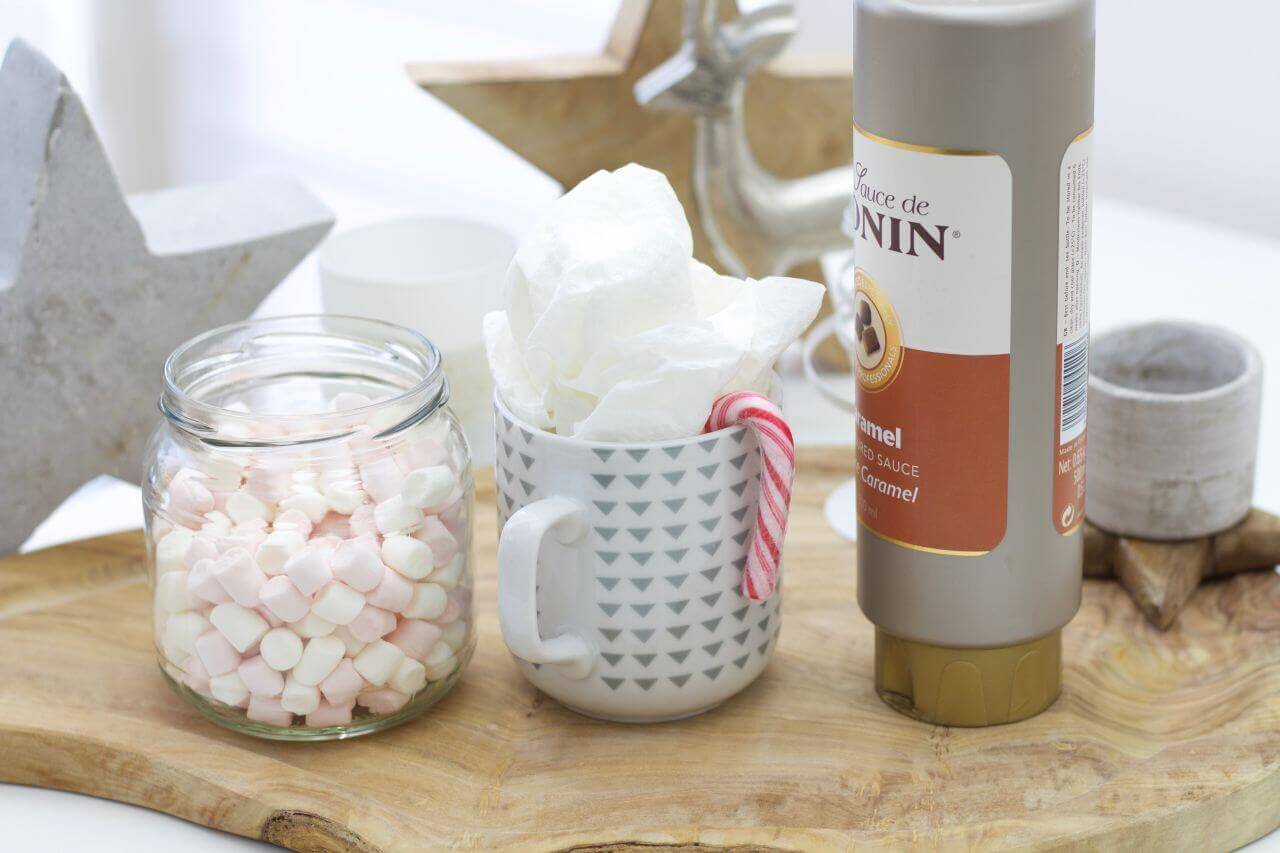
In order to get a good photo you need to take your time, therefore, for this photo we did not use real hot chocolate. Instead, we used some kitchen towel which we stuffed into the cup and then finished off by adding some marshmallows on top. On the one hand, this has the advantage that they do not melt from the heat of the hot chocolate and on the other hand you can take your time to arrange them.
To make the photo appear even more realistic we added a little bit of caramel sauce, which was not only poured over the mini marshmallows, but also drizzled a little bit over the cup. Don’t forget to add a candy stick to your cup so that it stands out and this will also match the winter theme.

Exposure: Taking Photos Without Daylight
The basic requirement for a great photo is lighting, but well lit pictures can be taken indoors not only during the summer but also during the winter months. The only piece of camera equipment you will need is a so-called softbox or a daylight lamp, which creates a naturally cool light.
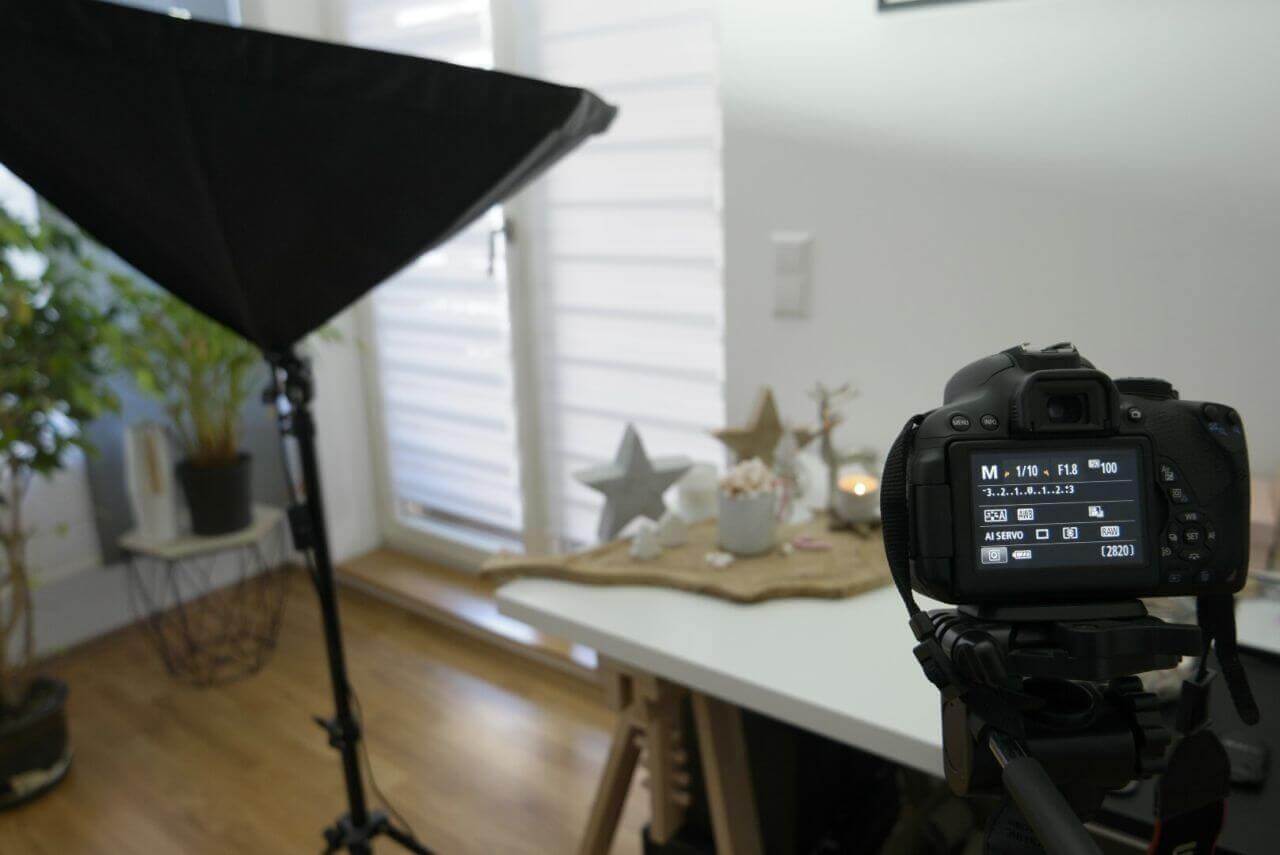
We set up a softbox near where the photo was taken. Instead of lighting the subject directly, the focus here is indirect lighting. This makes the picture look less shiny and it makes it appear warmer. For good indirect lighting the soft box should simply face the ceiling so that the ceiling is illuminated. Especially with a white ceiling the light can reflect quite well and it then falls softly over the entire room and the subject which you are going to take a photo of.
The rest of the image brightness will then be managed by the exposure time and aperture of the DSLR.
Technique: Finding the Right Settings
Good food photos can also be taken with a smartphone or digital camera, but the manual mode of a DSLR allows you to get more creative.
The right choice of lens is just as important as having a good camera. While standard lenses reach their limits especially in poor light conditions, lenses with a high light intensity and a 50 mm focal length are ideal for food photography. Thanks to a fast 50 mm lens the main subject can be captured with high sharpness and at the same time the background is presented with an attractive blur.

If you want to take good photos, you should definitely work in manual mode on your digital SLR camera. Ideally, the aperture and exposure time can be adjusted. For this shoot, we first tried different exposure times until the desired brightness was achieved. By varying the value of the aperture, it is then possible to determine how blurred the background should be. In the end, an aperture value of F1.8 and an exposure time of 1/10 were chosen for our food photo.
The brightness of an image can also be configured via the ISO value, i.e. the light sensitivity of the image sensor. However, for this photo we used a low value of 100 to avoid unsightly noise, especially from darker areas.
It’s recommended to use a tripod when taking photos in a darker room as the exposure time can be longer and the camera should be held steady the whole time.
Angle of View and Getting the Right Focus
Once you have set everything up the next step is to find the optimal crop. The overall impression of a picture can be varied in many ways simply by the angle of view and the framing. There is no one optimal shooting angle. Depending on how you have arranged everything, you should try out different angles.
In our food photo the cup with the mini marshmallows is clearly in the foreground. Therefore, the focus should also be on it. Before finding the perfect angle for this photo we did first try out different angles. The so-called bird's eye view, where you look at the picture from above is rather unsuitable for this picture as it would make the overall picture appear quite flat. When taking a photo from above at a slight angle, all the details of the photo are visible and it gives the picture a great look.
Once the optimal angle has been found, you can also try out different things with the different sections of the picture. You can get creative as much as you like here as there are no set rules. Use the golden section as a guide or place the main subject in the centre just like in our example. Try out different settings to find out what looks best.
