Night Sky Pictures: Light Trails Instead of Dots
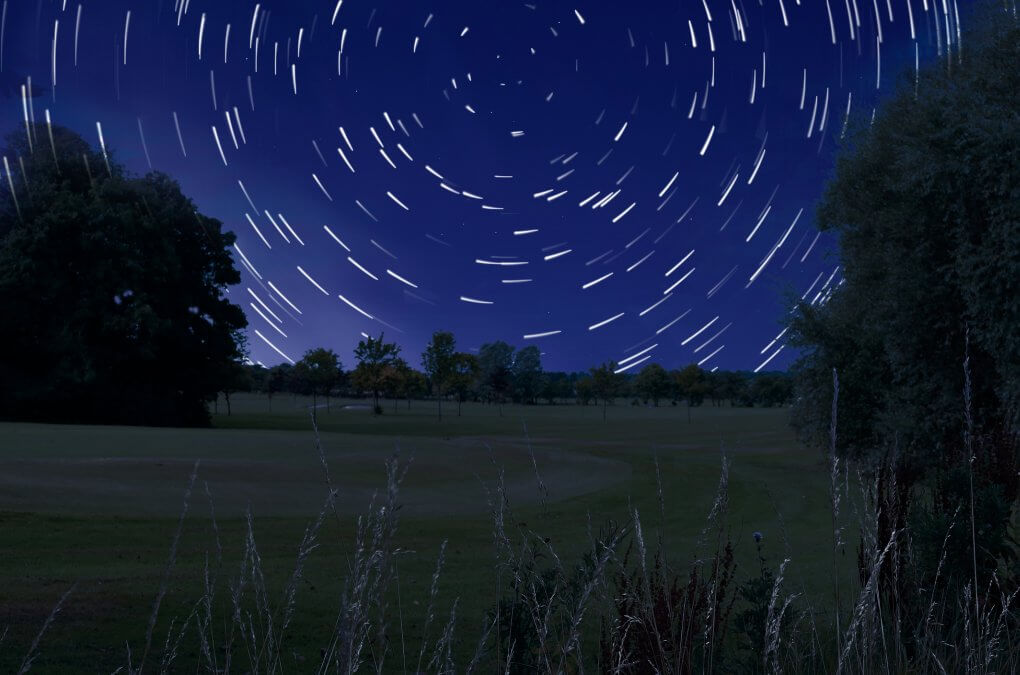
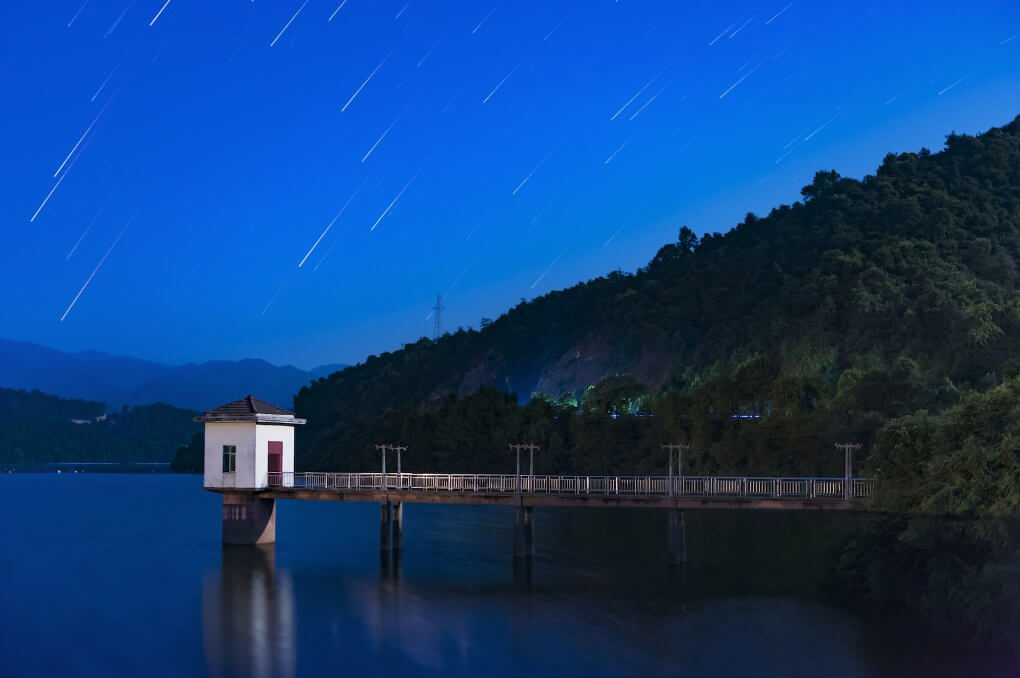
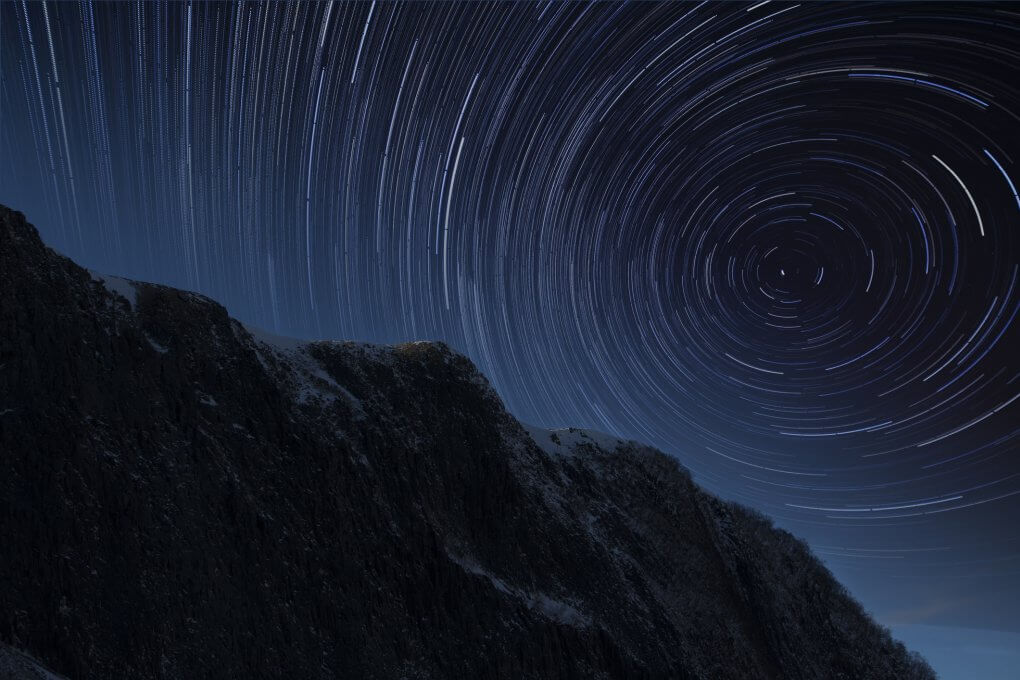
Stars gleaming in the night sky are an enchanting sight for star gazers and give you a glimpse into the great beyond. However, capturing a brilliant starry sky can be a real challenge, even for advanced photographers. There are different ways of capturing a starry night sky in a photo. One approach is to use long exposure times (>30 seconds). The Earth rotates around its own axis, and as an effect, the stars will create unexpected shapes and trails in your pictures.
In this article, we will give you great tips on light trail photography and show you what you should bear in mind.
The Right Preparation
While good daytime shots are mainly the result of your own creativity and spontaneity, nighttime shots require good preparation and planning. To ensure that your efforts are rewarded with great images of the starry night sky, there are a few things you should bear in mind.
It is a good idea to find out about what the weather conditions will be like before the shoot. Try to avoid shooting on rainy and cloudy nights, as the stars will not be clearly visible in such weather. If you choose to capture the moon in your shot, be aware that its bright light could distract from your intended subject.
You should also visit the location where you are planning on shooting ahead of time and find a suitable position for taking photos. To ensure that the stars look sharp on your images and are not affected by light pollution, it is best to take photos far away from cities or larger towns.
Make sure you take enough time for your photo shoot. Long exposure times mean that it can take several hours to capture the effect you want. Remember to pack warm clothes, snacks and a camping chair so that you will be comfortable.
Equipment for Star Photography
Full-frame cameras are particularly suitable for taking pictures at night, as they can display dark image areas with low noise even at higher ISO values. However, because of the long exposure times that enable lower ISO values, half-format cameras, which are a lot cheaper, can also achieve good results.
As with landscape photography, wide-angle lenses are particularly suitable for shooting the night sky. You can capture larger sections of the sky and shoot impressive shots with them.
It is essential to use a tripod for nighttime photography and for photography with long exposure times in general. It is also advisable to use a remote shutter release, which ideally has a snap-in function. This is particularly practical when setting exposure times that are over 30 seconds.
Make sure the battery is fully charged because the long exposure time and operating time of the camera will drain the battery. For longer shoots, it can also be helpful if you have a spare battery with you.

Camera Settings for Great Star Trail Photography
For star photography, the camera settings that you will need can vary depending on the approach you choose. Whilst taking photos of static stars requires an open aperture, exposure times of 15 to 30 seconds and high ISO values, light trails in photography require a different approach.
The exposure time and ISO value are fundamentally set differently.
If you want to capture stars as dots on your image, you will usually need a maximum exposure time of 30 seconds. You will need more time if you want to capture light trails. Photographs are therefore taken in so-called BULB mode. This is conceptually based on the early days of photography, in which a long exposure was achieved by repeatedly pressing a bellows. BULB mode can be activated in different ways, depending on your camera model. In most cases, you have to select an exposure time >30 seconds in manual mode (M). The camera then exposes for as long as the shutter release button is pressed. This allows you to achieve specific exposure times, even if they are longer than 30 seconds.
Choosing a longer exposure time allows you to select a lower ISO value for static star photography. This way, the dark areas of the image are less affected by image noise and the picture appears sharper overall.
The aperture setting can be varied depending on the situation. For example, a wide-open aperture can be selected with a fast lens. In turn, this allows you to choose the next lowest ISO value. For even more pronounced light trails and an even longer BULB exposure, you can also use a smaller aperture. To find the right settings for the scene you would like to capture, you should simply try out different ones.
For long exposure times, it is always advisable to switch on the mirror lock-up feature on your DSLR. This will cause your camera mirror to be flipped each time the shutter is released. This prevents vibrations from affecting the sharpness of your shots. Also make sure to switch off the image stabiliser of your lens, because this has no function when you use a tripod and can be rather counterproductive. Save your images in RAW file format so that you can still make changes to them afterwards.

Conclusion
Star photography with light trails instead of dots is an interesting way to make the night sky appear more dynamic in your photos. With longer exposure times and the Earth's rotation, it makes it appear as though the stars in your images have a light trail. Good preparation is important for this type of photography. In order to capture the stars’ light trails, you will need to select a long exposure time. As a result, exposure times will usually last longer than 30 seconds, which can only be achieved by using the BULB function. When you use a long exposure time, you can use ISO values in the three-digit range, depending on the specific scene you would like to shoot. These recommendations serve only as a guide, as you will generally have to experiment and adjust the settings on your camera to suit the specific conditions of the scene you would like to photograph. Editing the RAW files afterwards can further enhance the effect of your images.
