Guest contribution
Lightroom/Photoshop compact
Use these tricks to effectively optimise your images.
What is image optimisation?
In general, the aim is to optimise the images from the camera for reproduction, whether on photo paper or as a print. Nowadays, digital cameras or mobile phones can take excellent photos, but you can still get a lot more out of them using Lightroom or Photoshop. Because there will always be situations where certain parts of a photo are too dark or clouds’ edges are blurred. Whether you simply want to process your images to make them crisper or give them more contrast, or whether you want to alter them for artistic purposes, the choice is yours. Below, I’d like to show you some impactful tricks to get more out of your photos.
Contrast
Contrast is determined by the difference between the lightest and darkest parts in a photograph. If a photo is rich in contrast, it means it has many tonal values; such images appear crisp, harsh, colourful and lively. High-contrast images typically result from sunlight. If a photo is low in contrast, it means it has fewer tonal values; such photos appear flat, soft and dull. Such images typically result from shady conditions, a cloudy sky or fog. Atmospheric images are often low in contrast, which can be quite appealing.
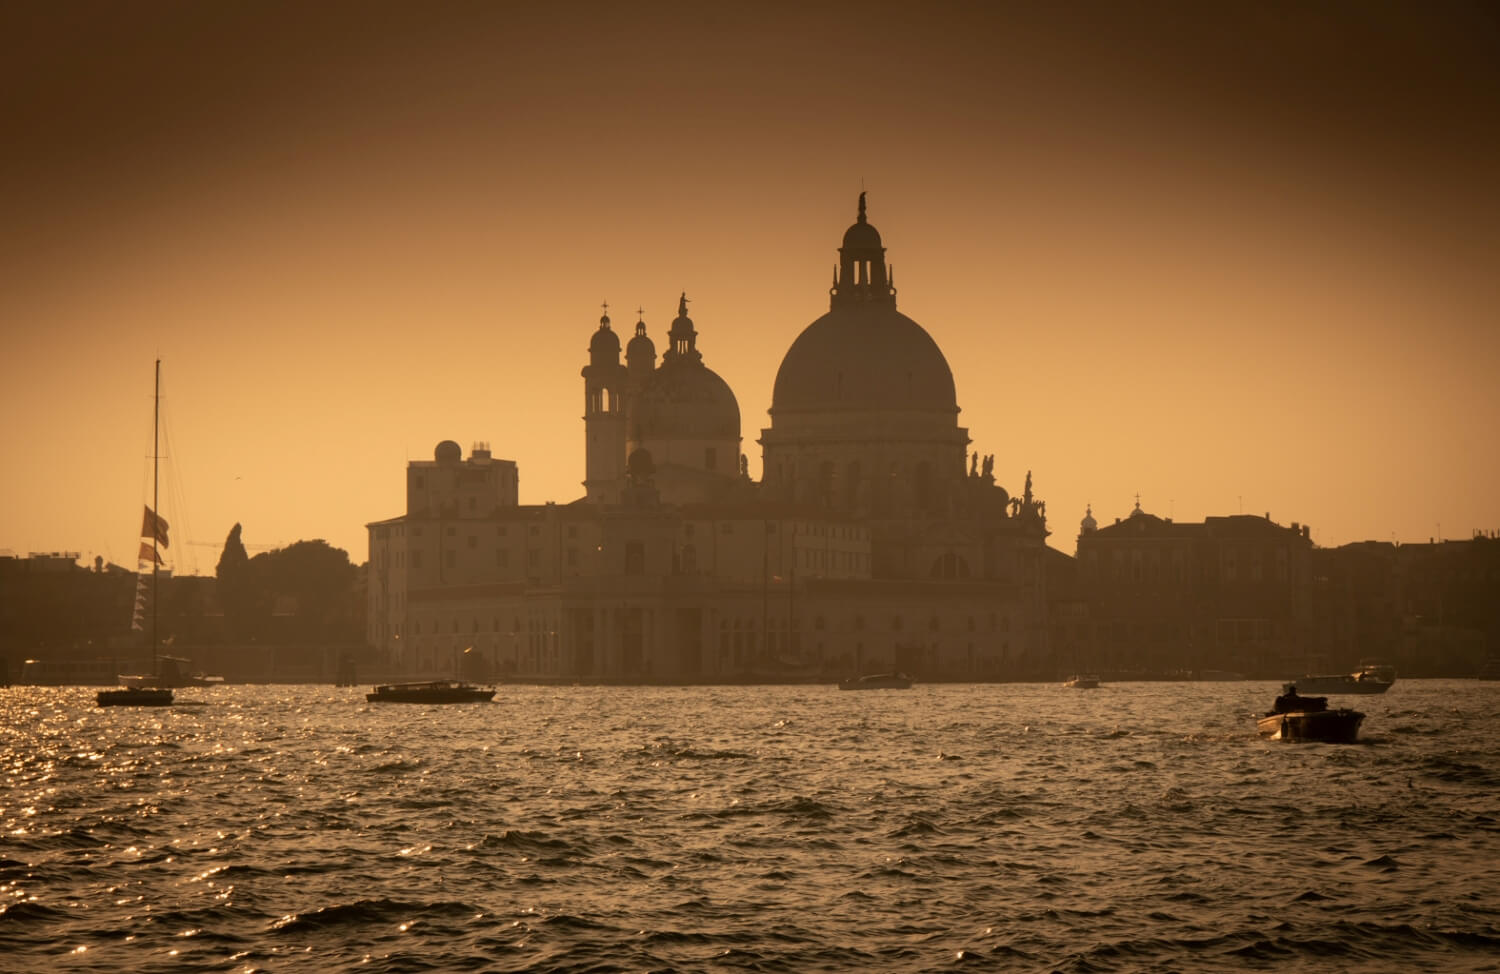
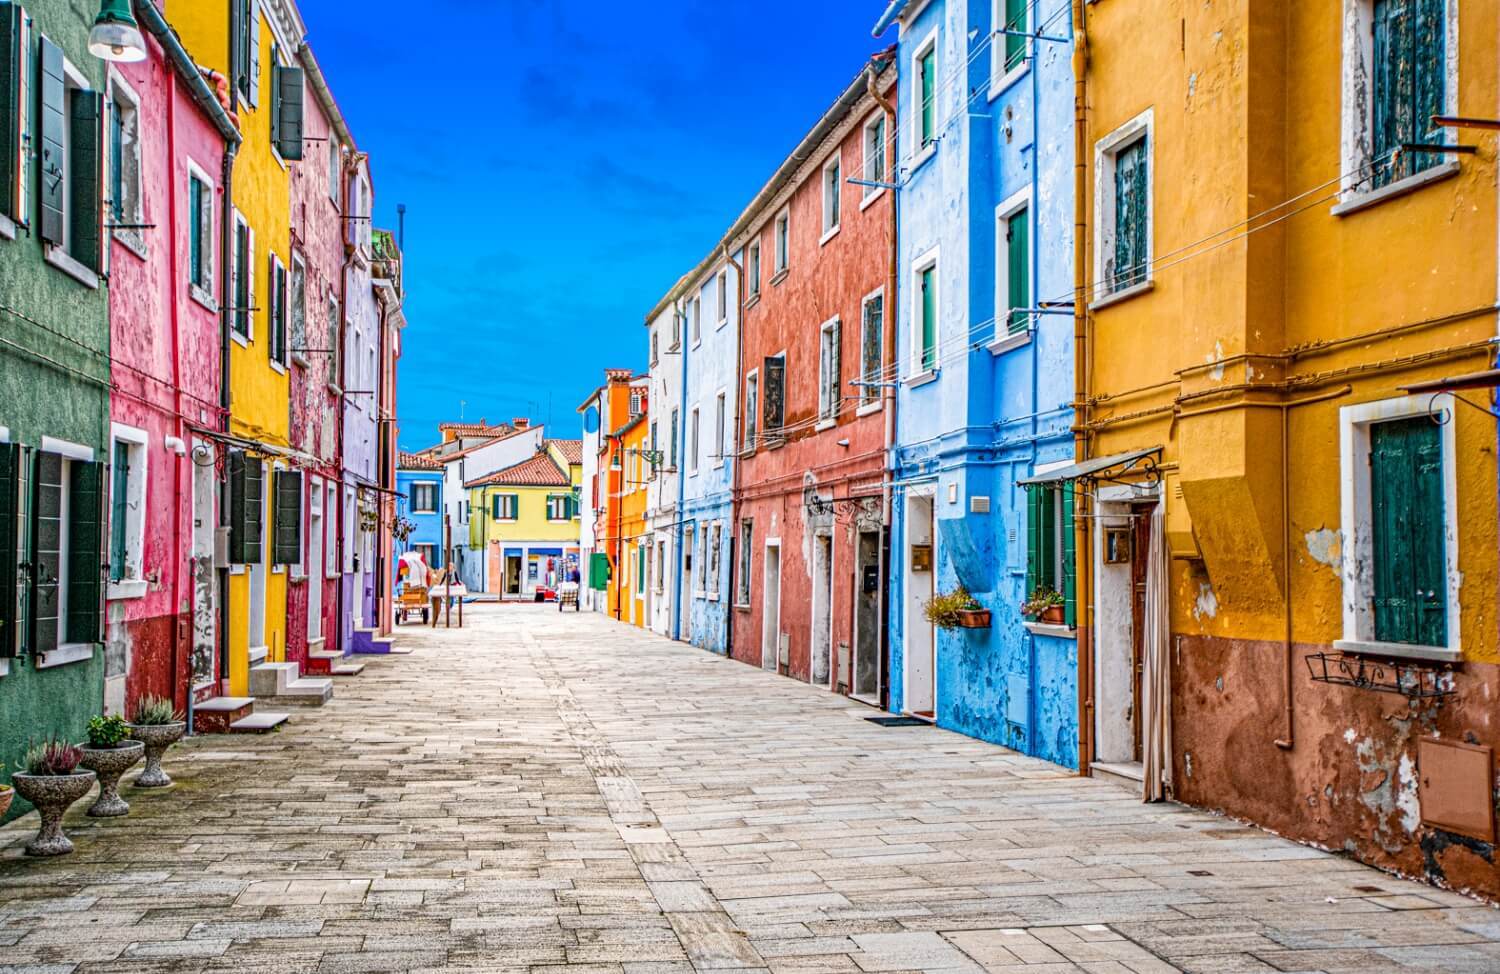
Cameras take photos with a calculated average exposure value, which in many cases means that the photo is rather a little too low in contrast. This means that you can easily increase the contrast slightly, which makes the picture appear crisper.
Contrast enhancement in Lightroom
Develop module > Basic panel. From there, you can find sliders for increasing the photo’s contrast. The most effective of these is called Dehaze. The mid-tone values increase the contrast, which clearly makes clouds’ edges more dramatic.
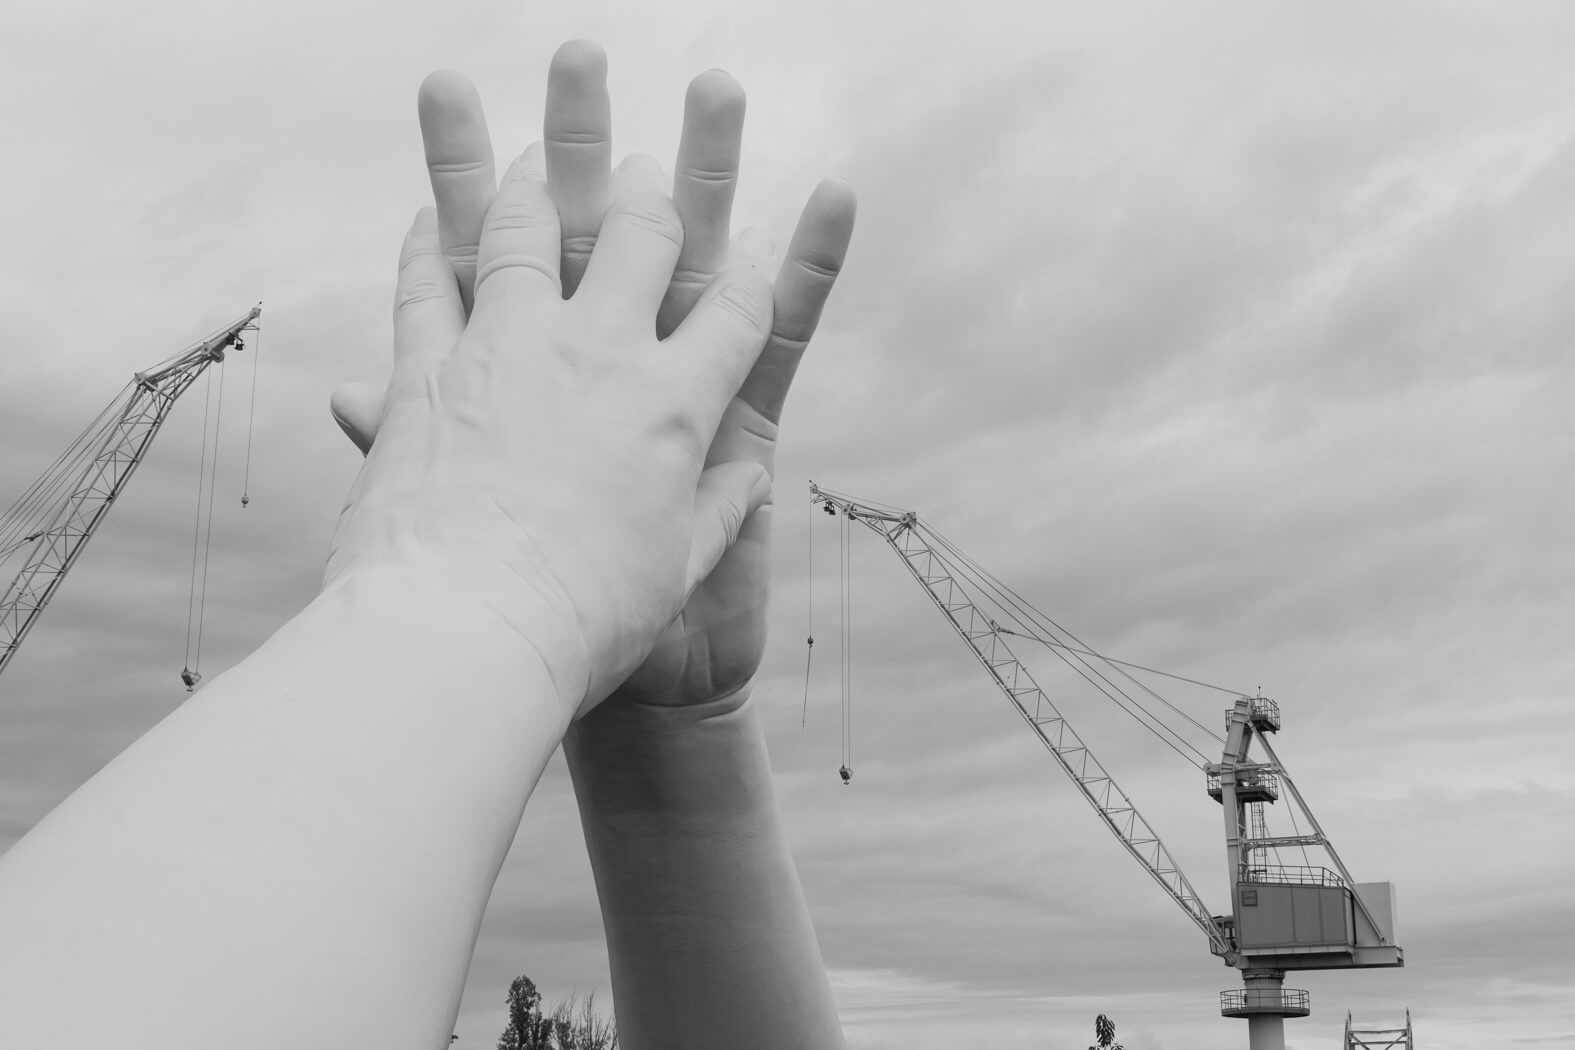
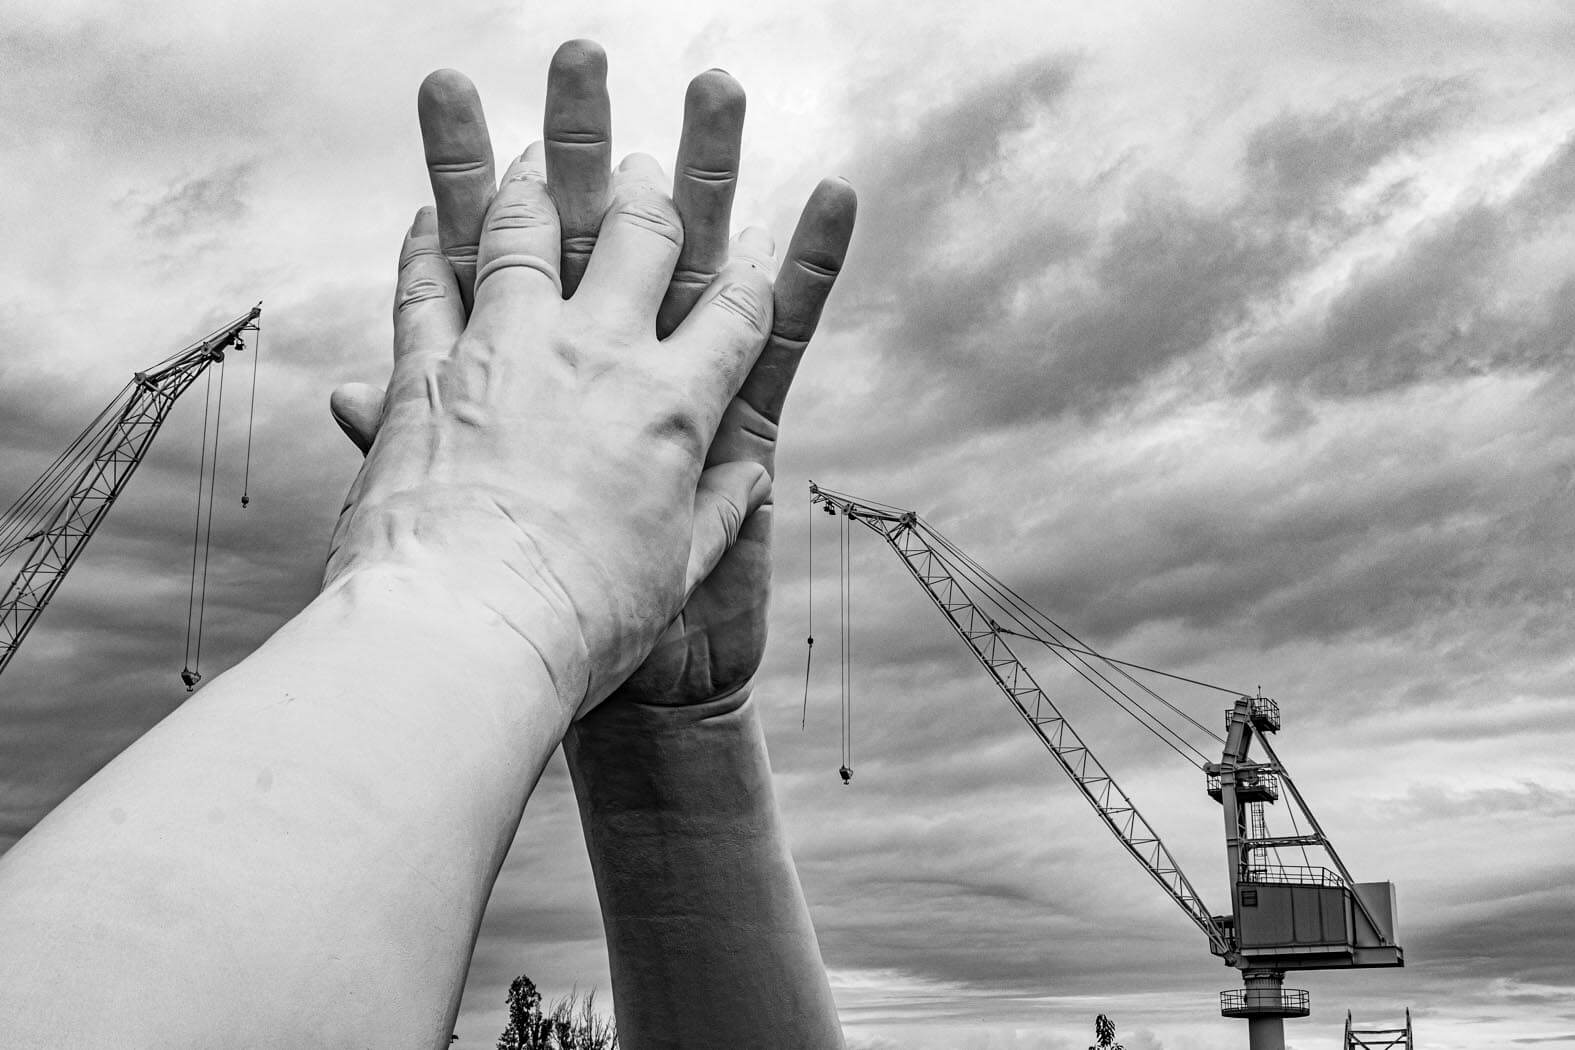
Any image can be optimised using the Basic panel in Lightroom.
Contrast enhancement in Photoshop
You can use the same tools in Photoshop as in Lightroom. In the Filter menu, simply choose the Camera Raw Filter. It doesn’t matter whether you shoot in RAW mode or with JPG. The window that opens will provide you with all the tools you need to spice up your photos.
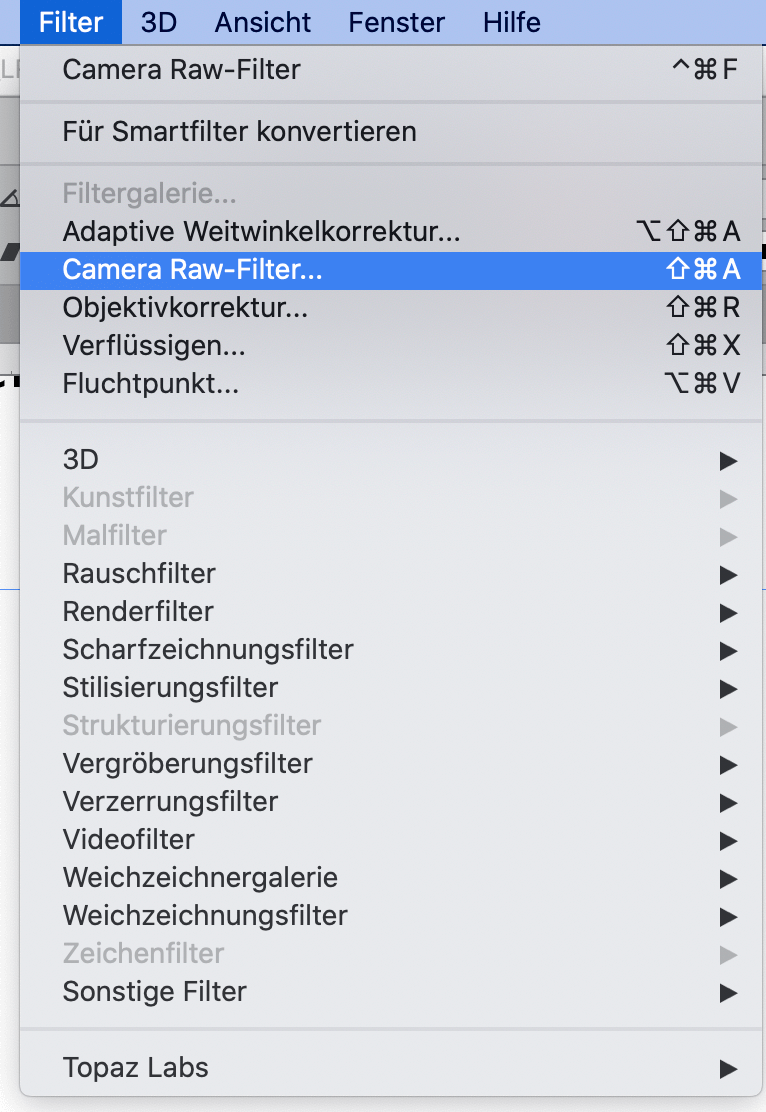
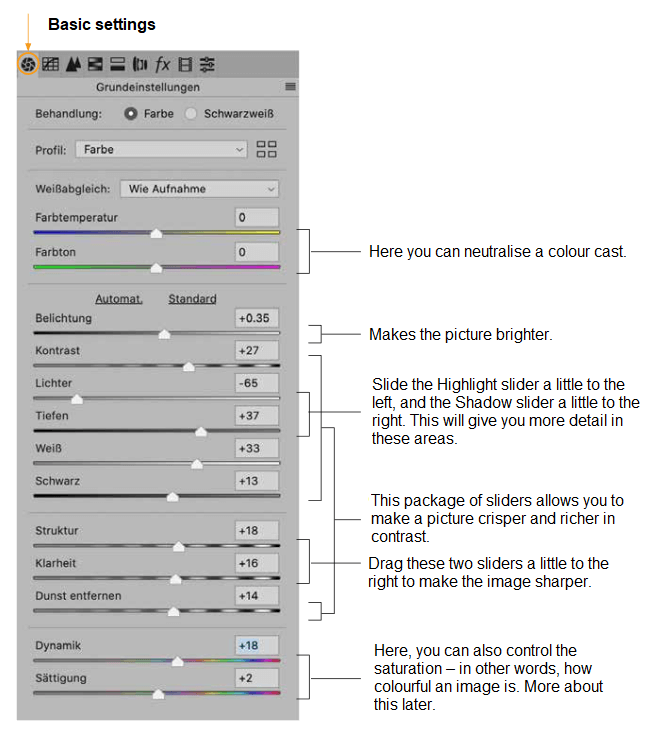
Using the basic settings, you can adjust the photo to create a natural effect. Because images are often a little under or overexposed, or the colour can be a little too dull.
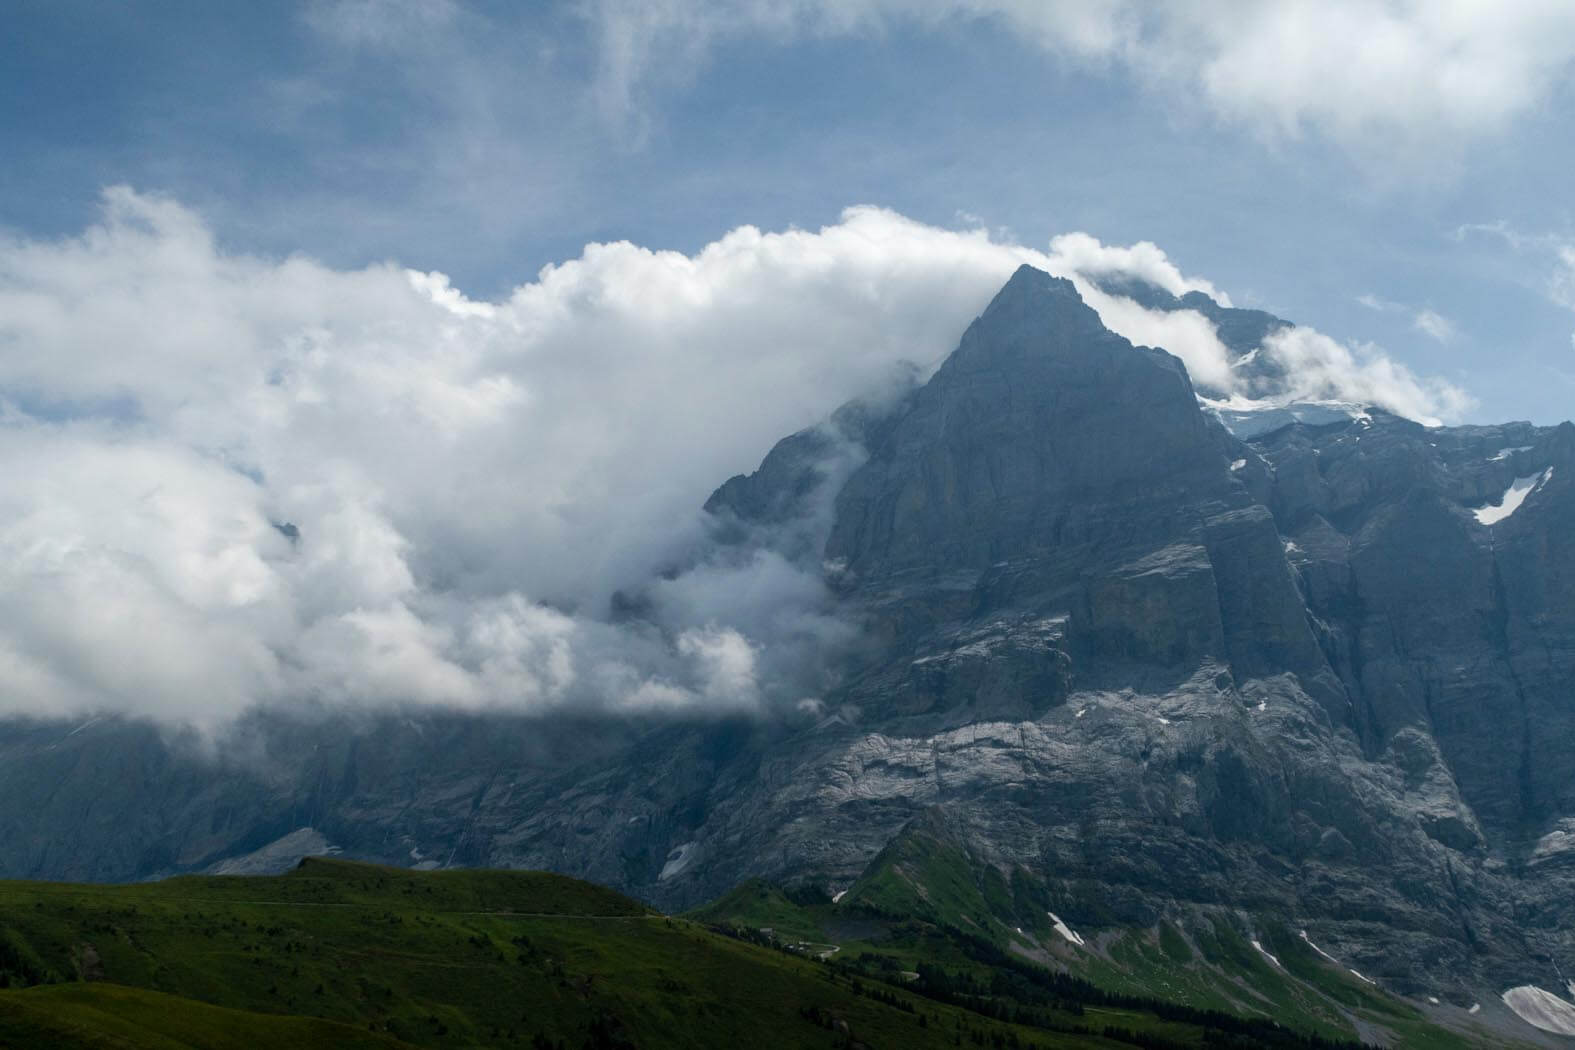
The sliders in the basic settings affect the entire image, not just individual parts. So don’t overdo it with the optimisation and only move the sliders as much as you need to. An over-corrected image is just as bad as one that hasn’t been corrected at all.
Making your photo more colourful
Depending on the lighting conditions and camera settings, photos can appear somewhat dull and devoid of colour. As a viewer, it can be hard to tell how authentic a photo is. Here, I will show you how you can spice up your photos by adding more colour.
For this example too, we will use the Camera Raw Filter in Photoshop. We will make the image more colourful using a few sliders.
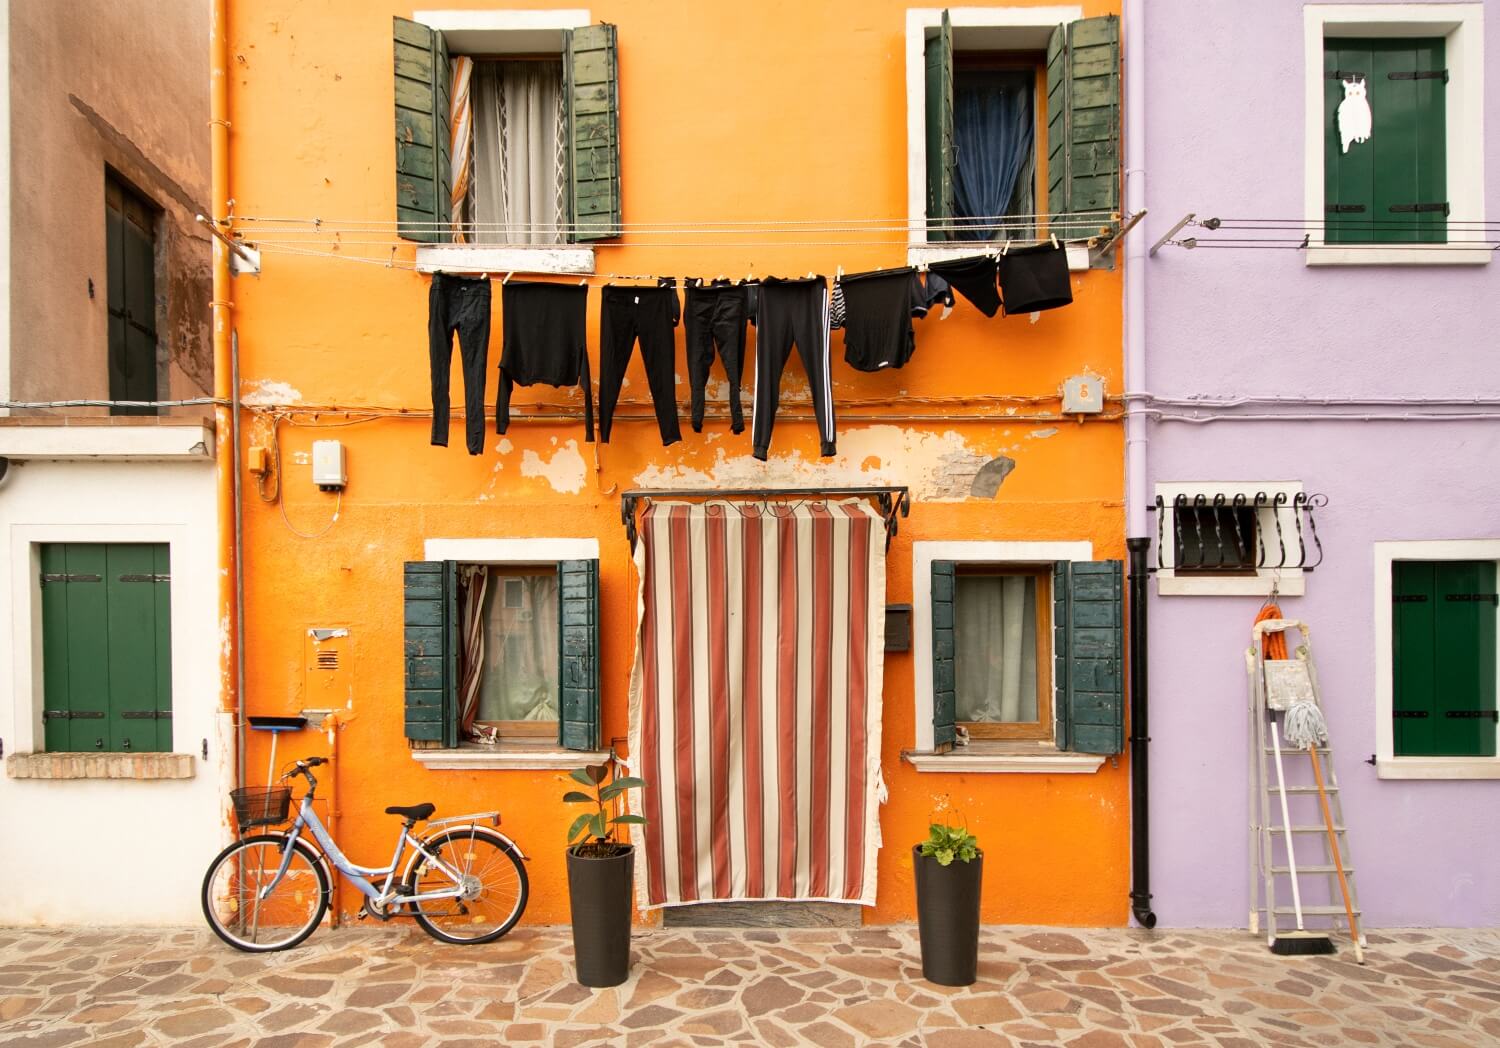
For this example too, we will use the Camera Raw Filter in Photoshop. We will make the image more colourful using a few sliders.

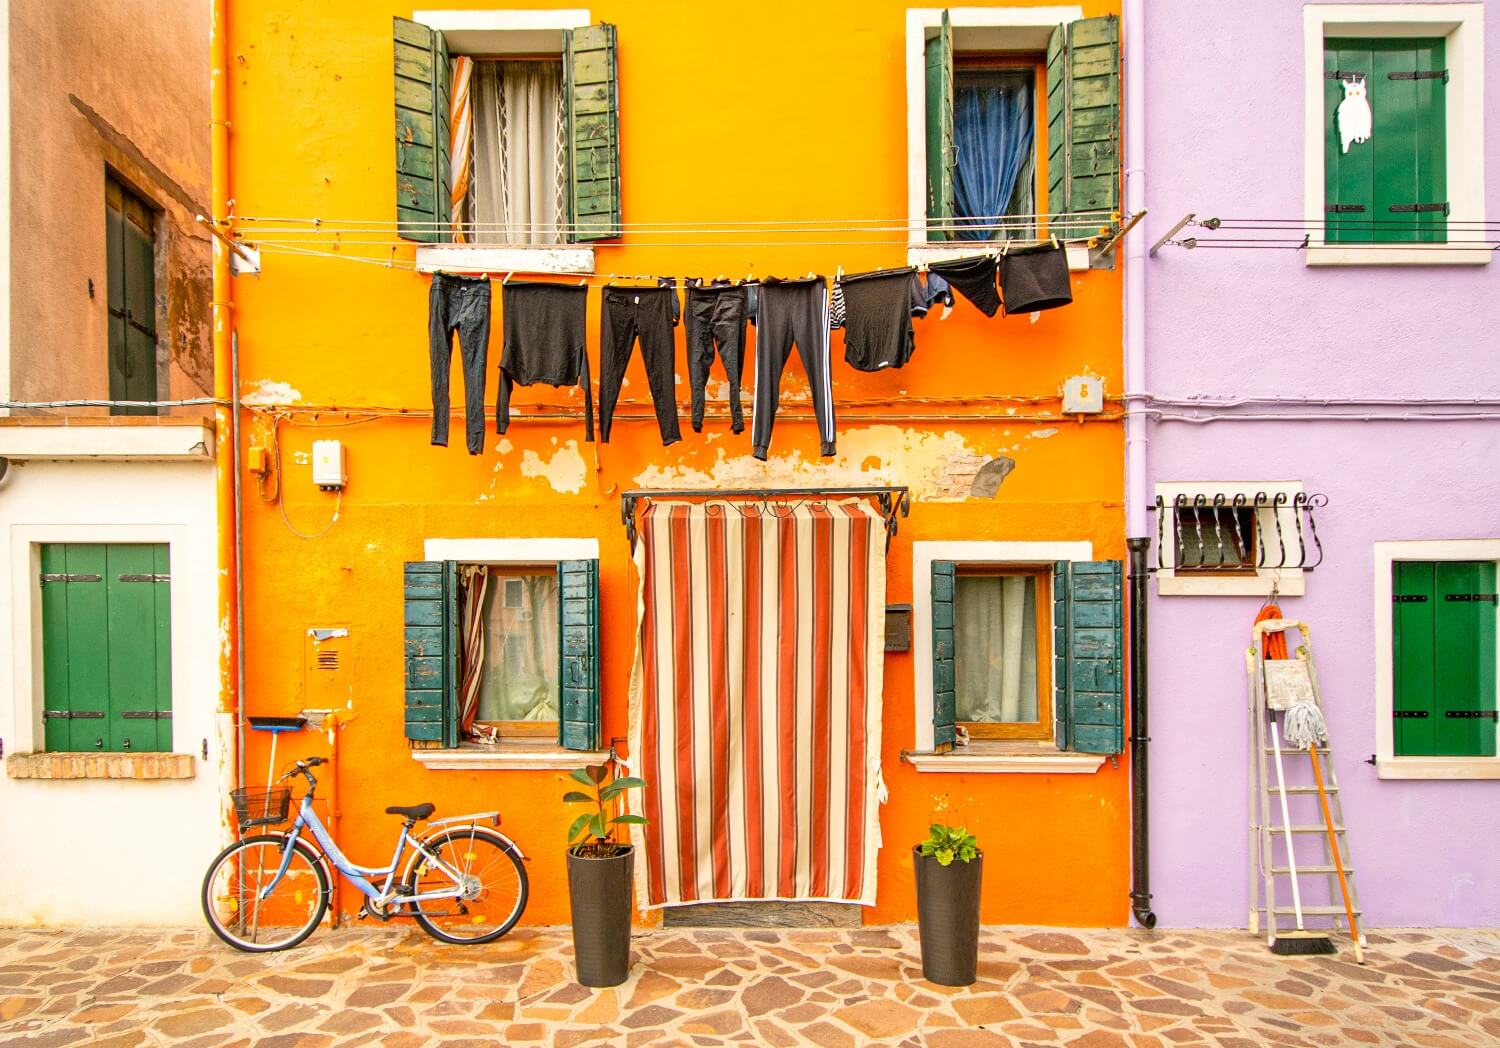
A First, drag the Shadow or Black slider a little to the right so that the black washing gains some detail in the shadows.
B Dynamics controls the saturation of all colours in the image dynamically. Highly saturated areas are more affected than those with less saturation.
C Saturation saturates or desaturates all parts of the picture linearly, no matter the saturation level.
Another option for saturating colours is selective saturation, in which individual colour components can be controlled separately. In Photoshop, select Image > Adjustments > Hue/Saturation.
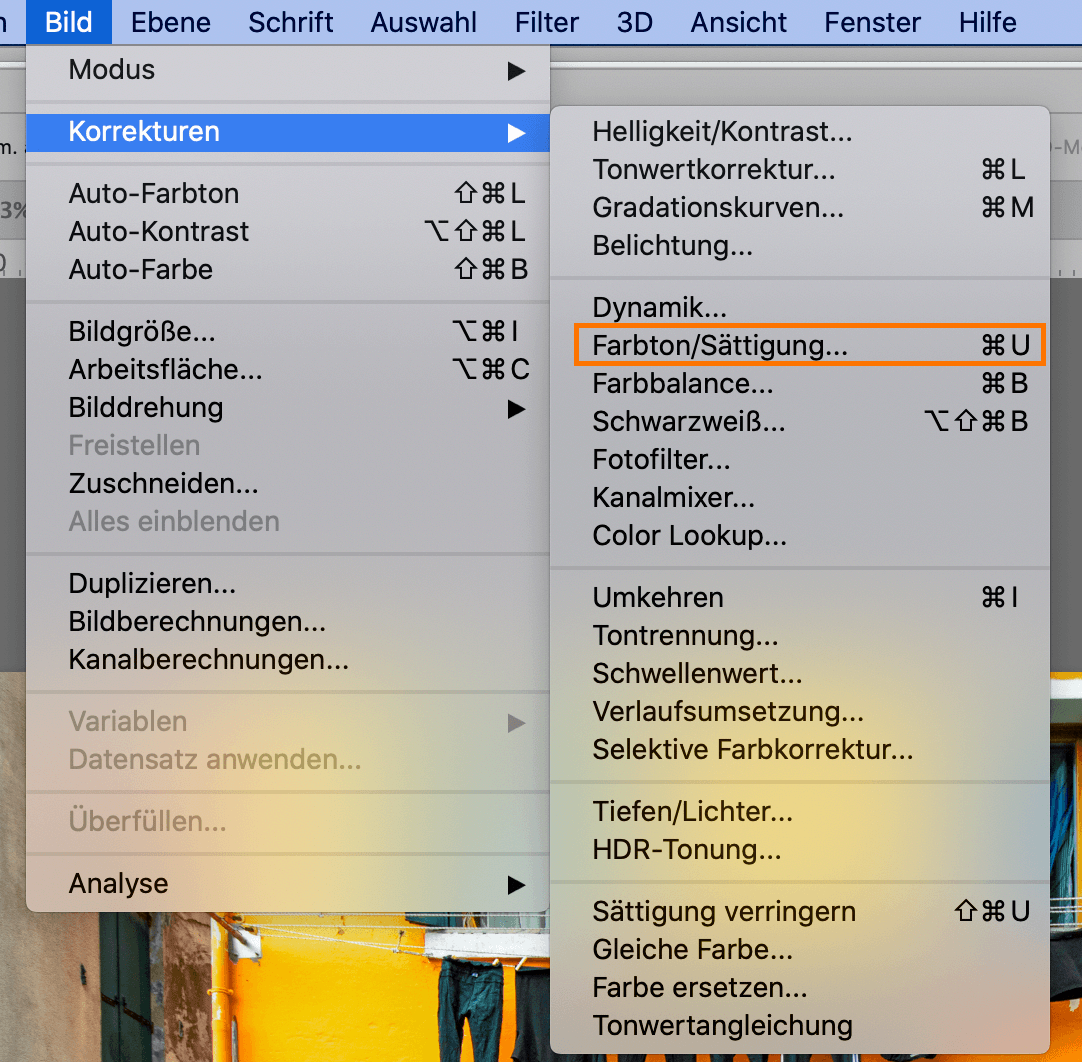
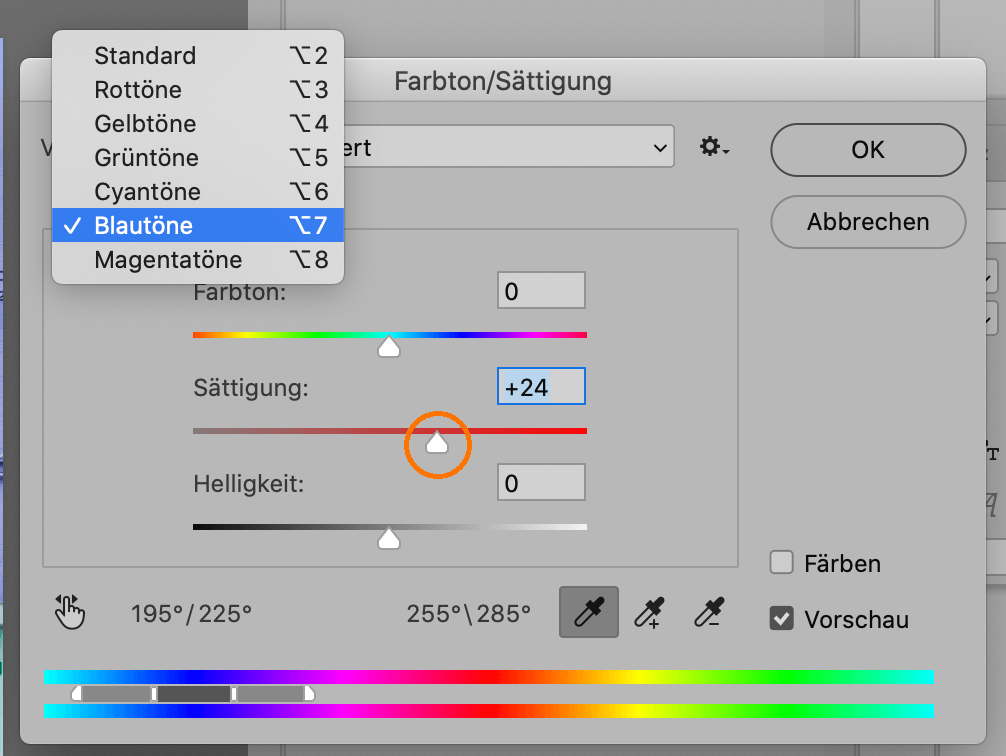
Using Hue/Saturation, you can now choose the hues you want to adjust. There is a blue component in the purple hue of the image. Drag the Saturation slider to the right to selectively saturate the blues. All other hues are unaffected. Try out the different hues and see how the colours change.


Adjusting the perspective
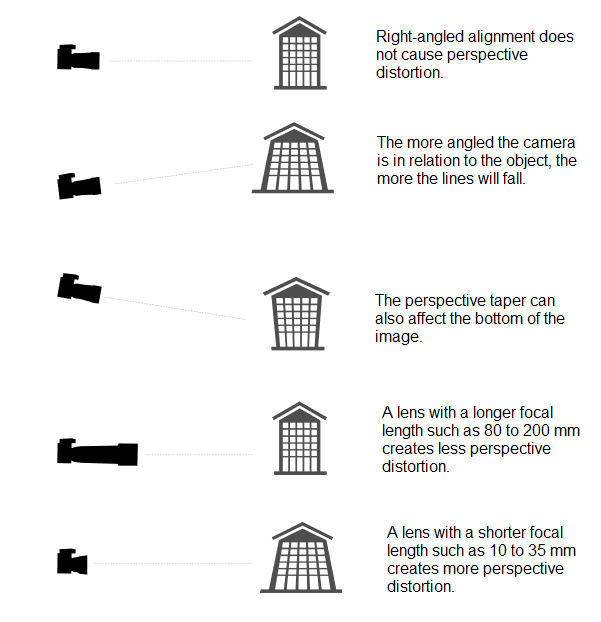
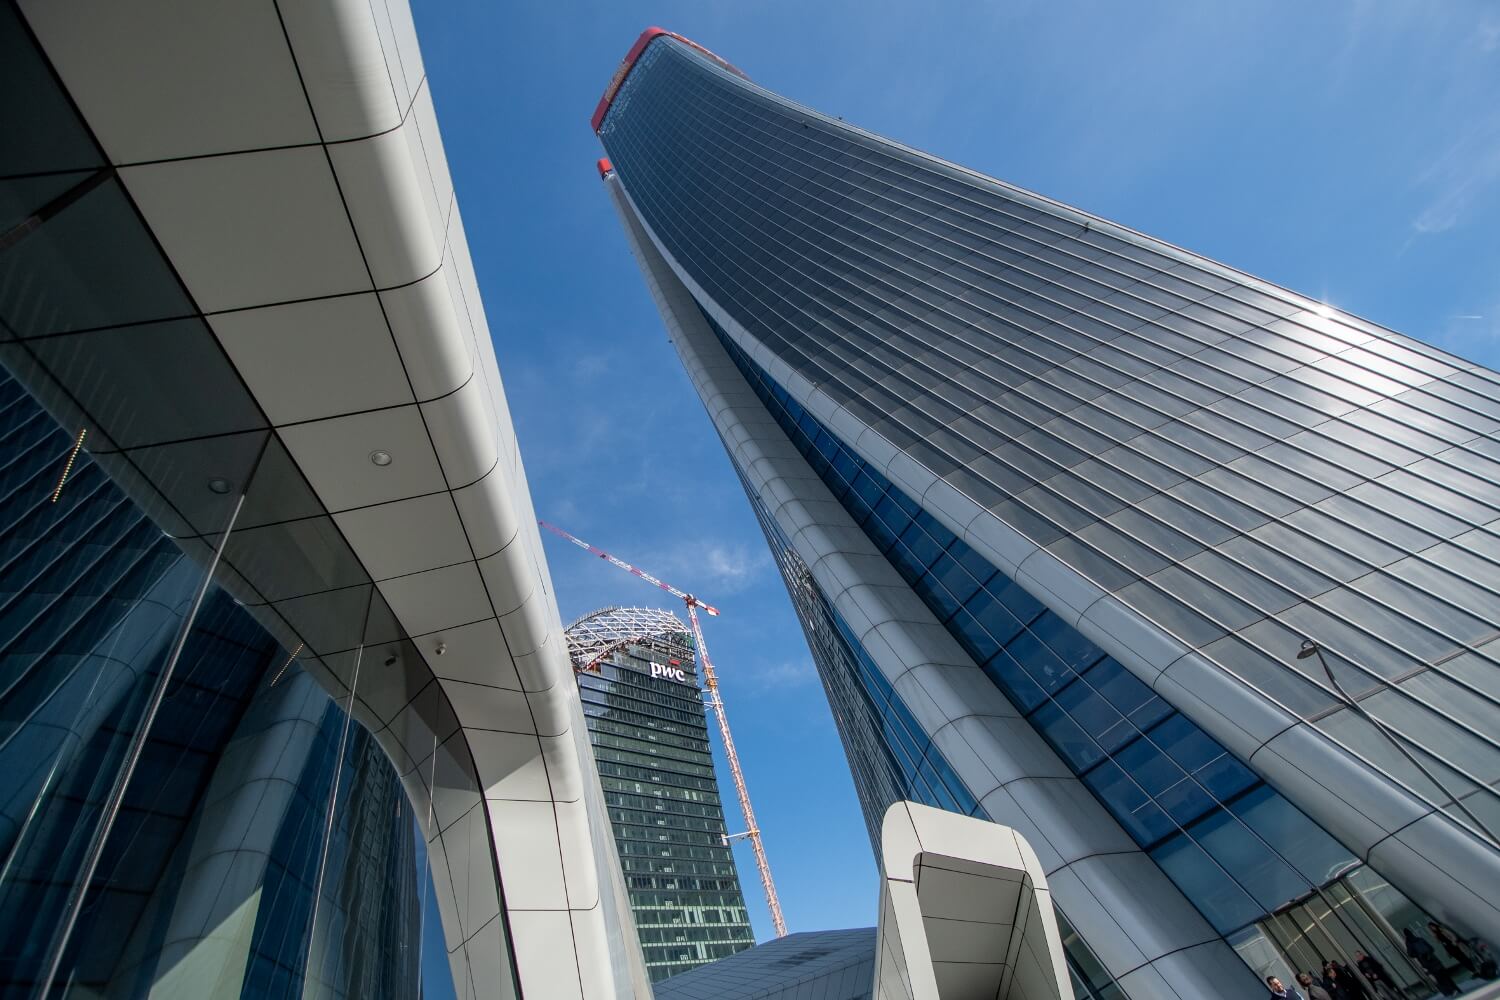
The shorter the focal length, the more likely it is that the lines will tilt, which leads to a distorted, unnatural perspective. A normal focal length of 50 mm will provide for a natural perspective. A wide angle of 35 mm or less increasingly emphasises the perspective, which leads to falling lines. The falling lines are influenced by the camera position. The more the camera is angled at a subject above, the more the lines will fall. If the camera is pointed from above at a subject below, the lines will also fall, but in reverse.
The perspective corresponds very well to our natural sight ability. It is up to you to decide how much it is staged as a stylistic element, whether it is exaggerated or whether all the falling lines are adjusted in general. It is easy to either do too little in one area or to overdo it entirely.
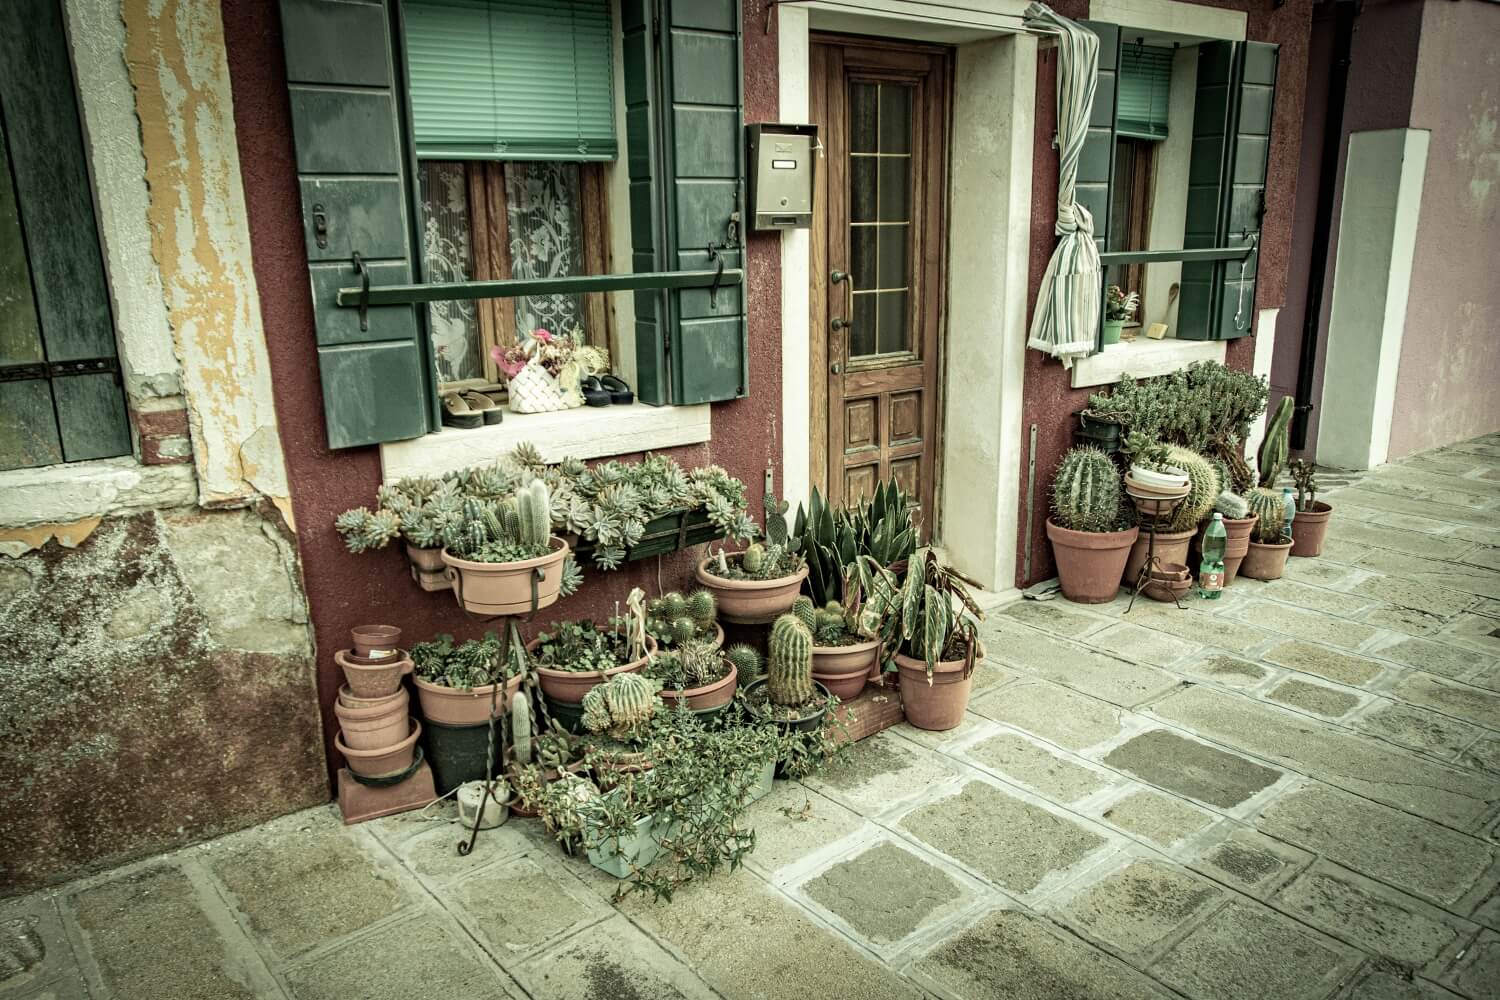
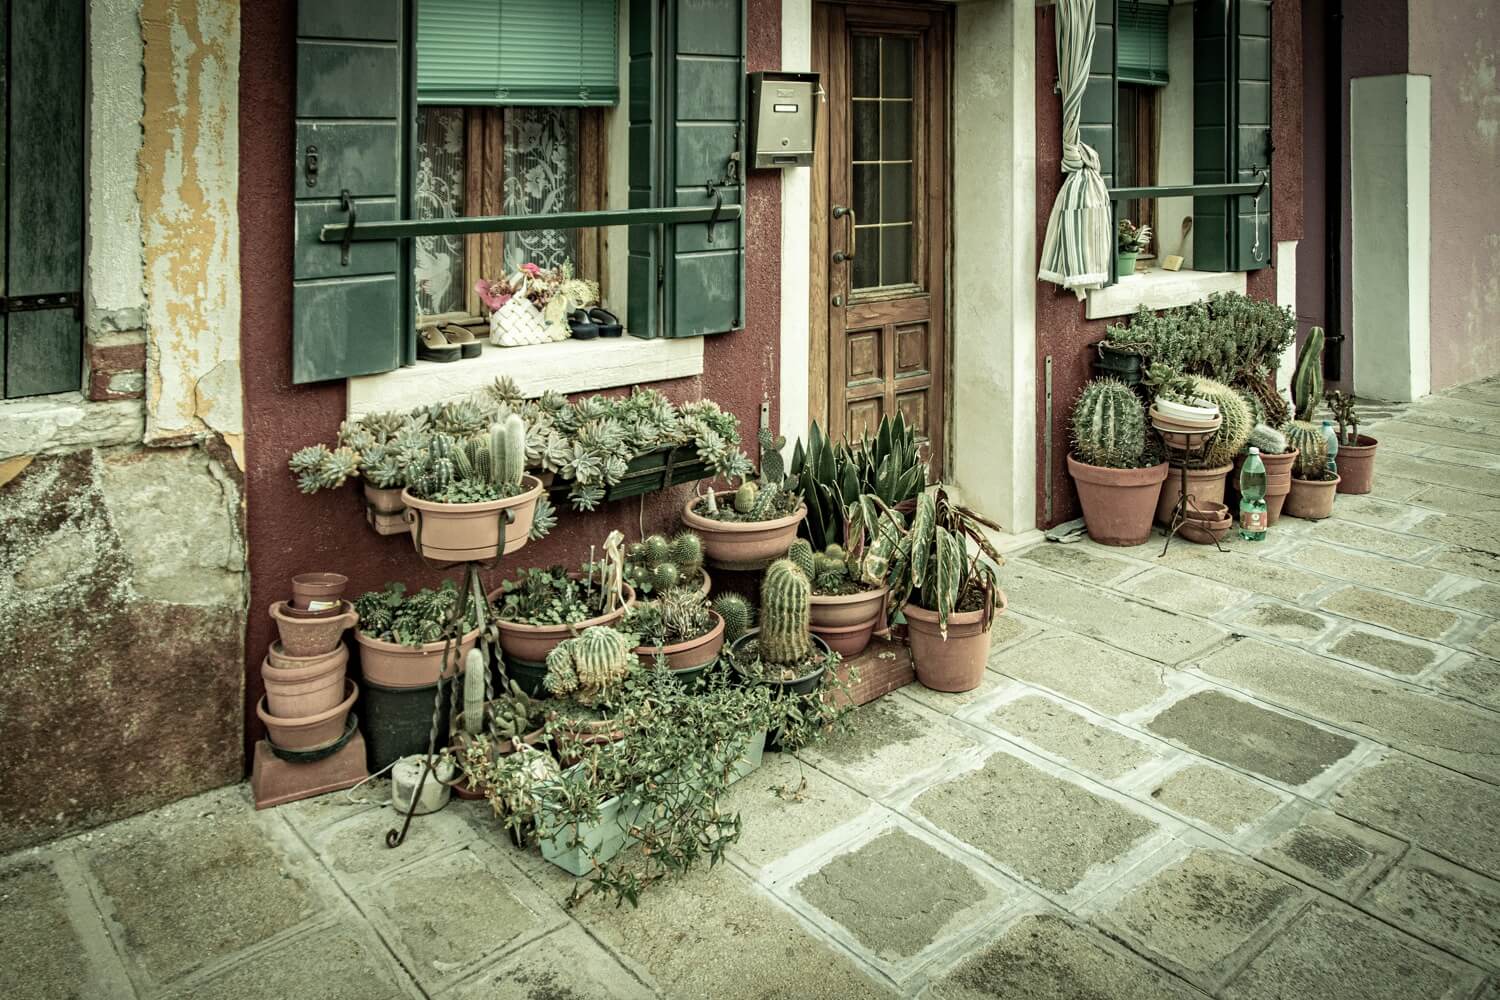
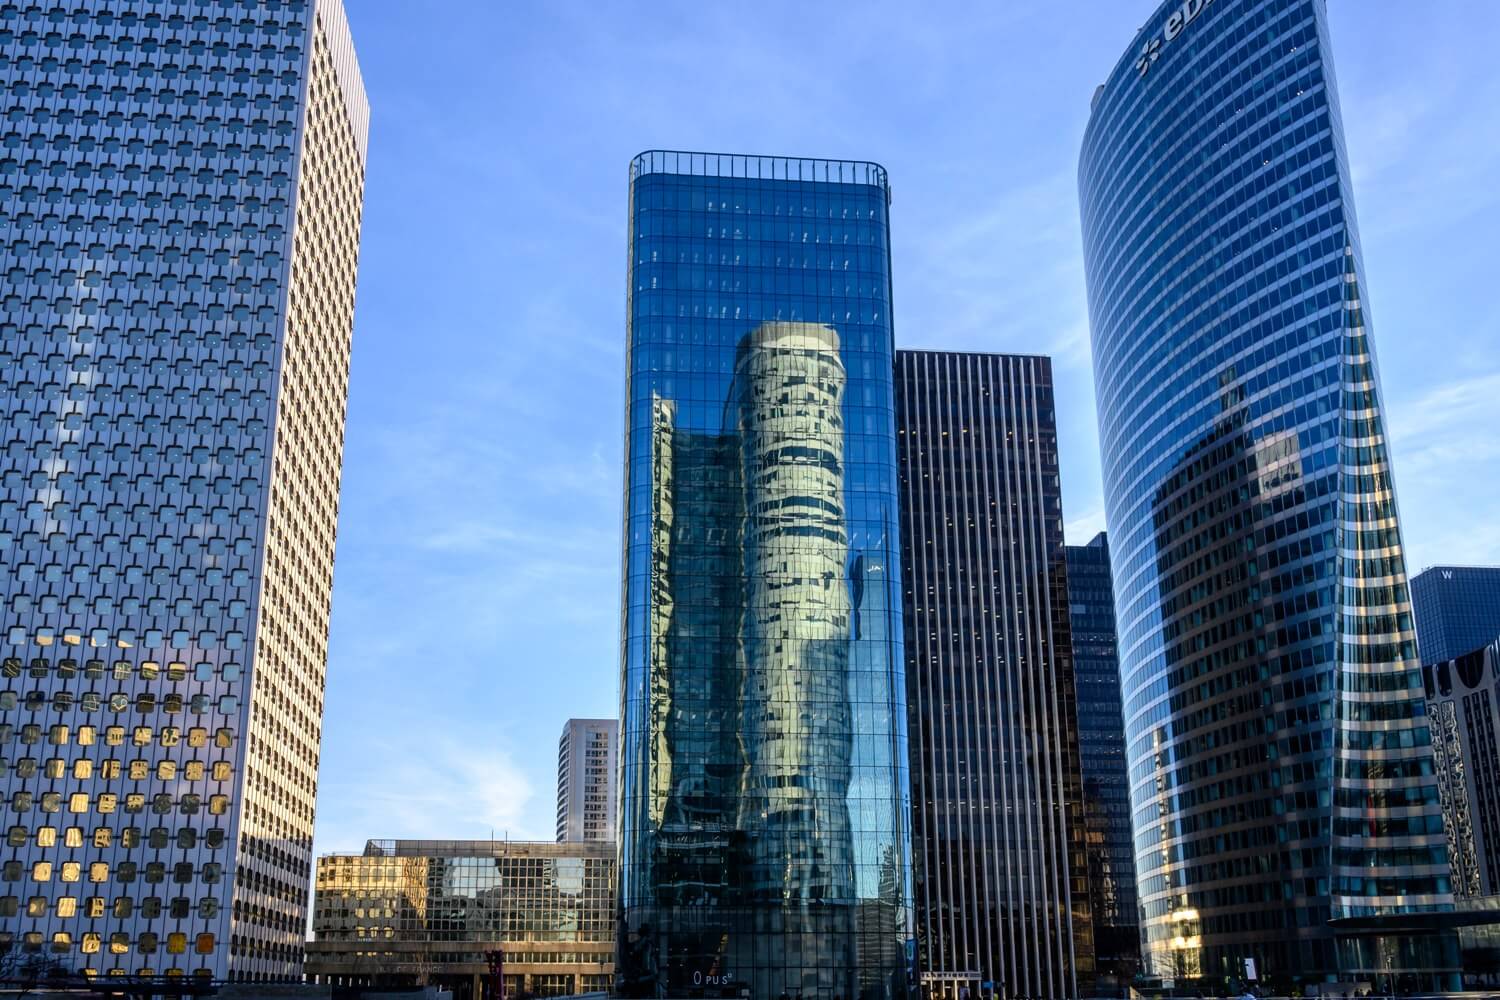
The example on the right demonstrates what happens if only the vertical falling lines are adjusted using Photoshop or otherwise, while the horizontal perspective remains untouched. Such equalisations have a very disadvantageous effect and should be avoided.
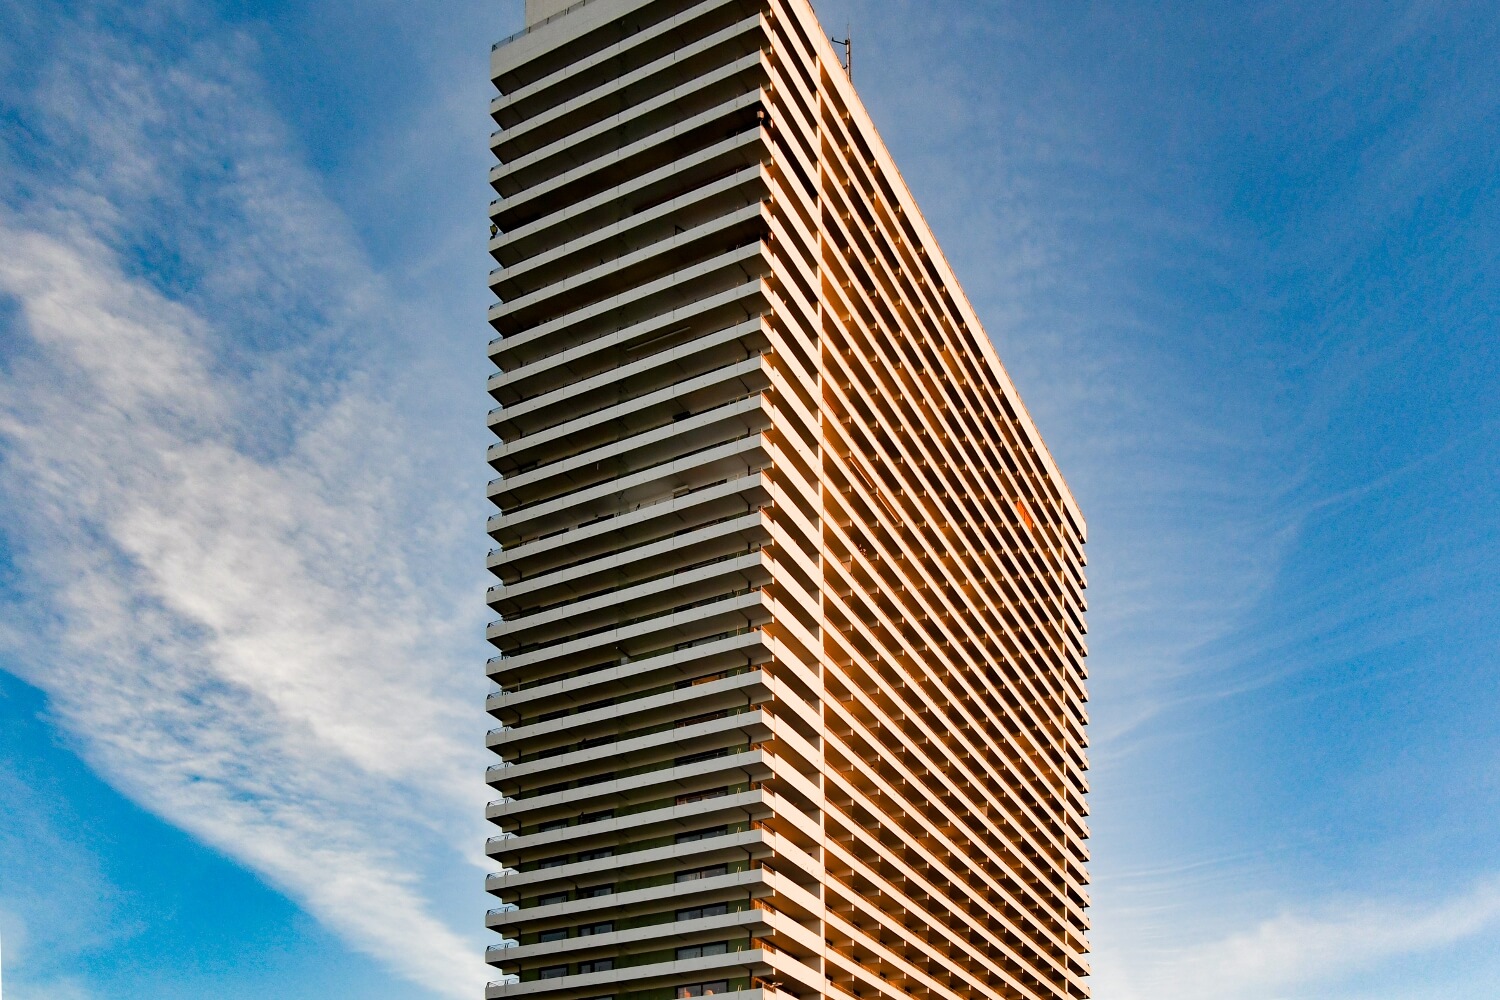
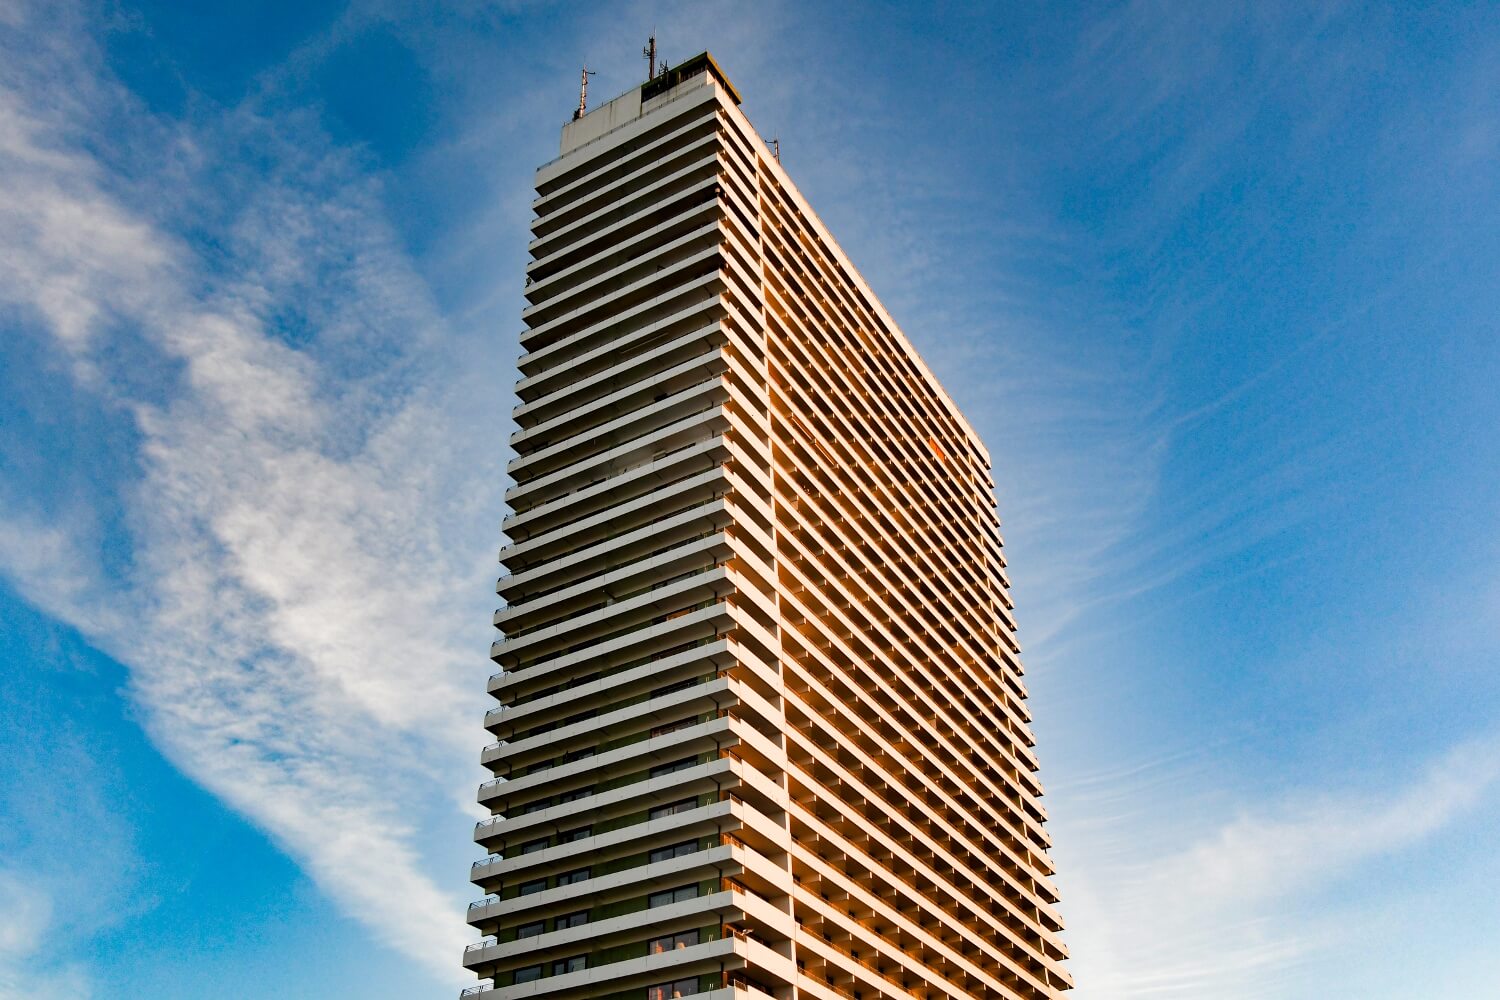
Often, photos with straight edges contain a slanted horizon and distorted perspective lines at the same time, as shown in this example. Here, I will show you how you can correct both using one filter.
To align images horizontally and vertically at the same time, you must first rename the Background (with the lock symbol behind it) in the Layers panel. Otherwise, the Warp function is not available and appears greyed out.
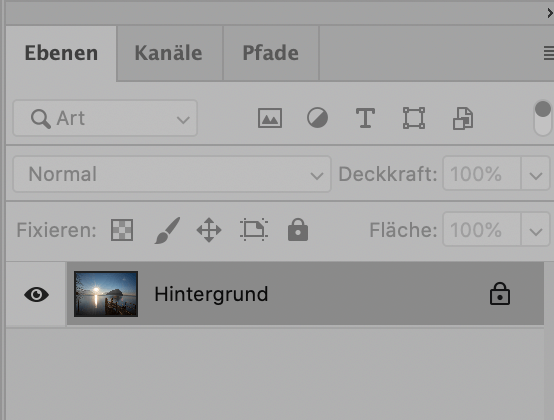
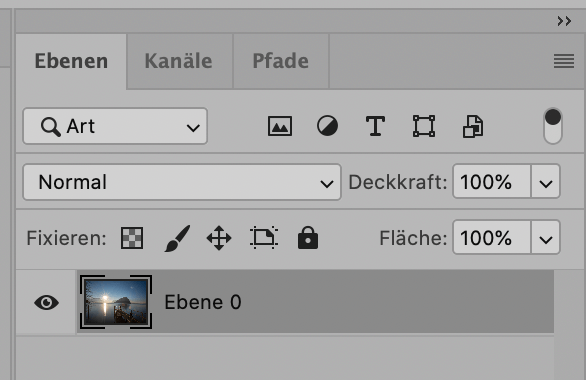

In the menu, choose Edit > Transform > Warp.
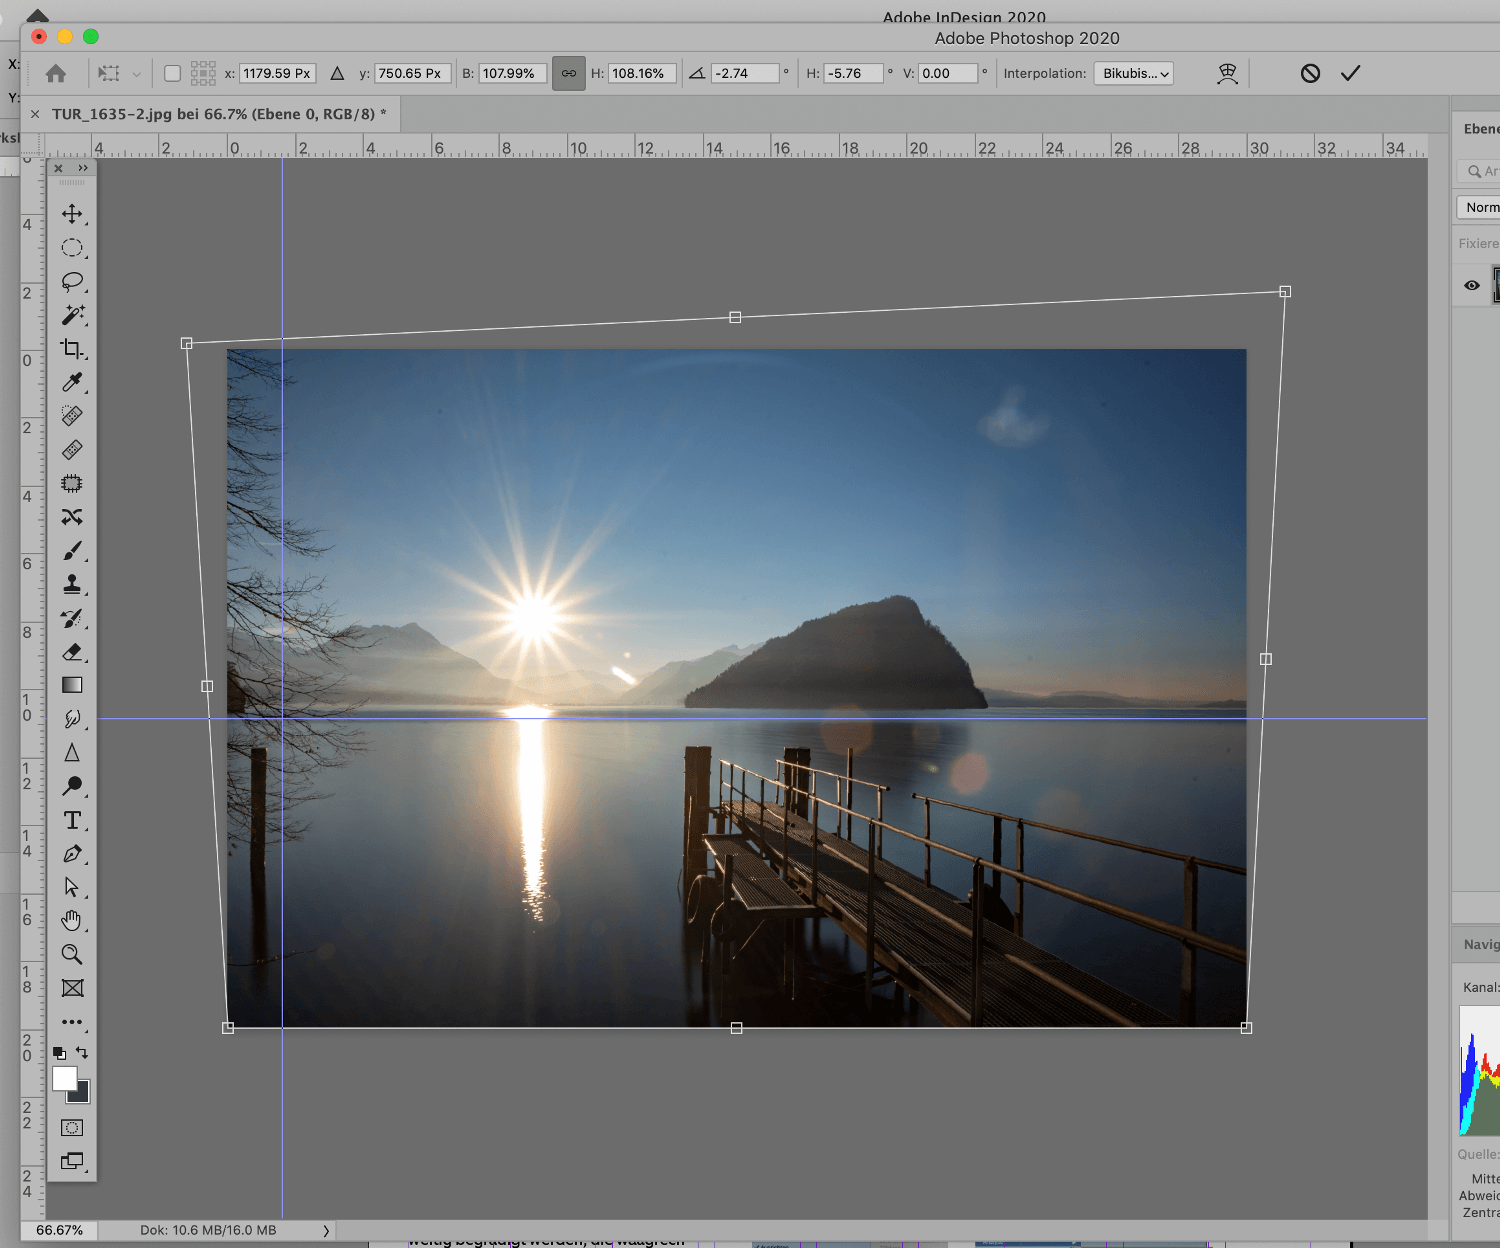
Drag the control points at the four corners of the picture to straighten it – the perspective distortion can be corrected at the same time. Move the cursor to the top or right of the scale and from there drag a horizontal guide into the picture. You can use this to align the image horizontally.

Ralf Turtschi
Ralf Turtschi has made a name for himself as a specialist book author and journalist. He works as a photojournalist, is a hobby photographer and lecturer and gives technical and creative advice on all aspects of photography. He is particularly fond of nature, landscape, portrait, travel, macro, architecture, and night photography.
Further information: www.agenturtschi.ch
