Preventing shadows in photography: Tips and DIY tricks
To prevent unwanted shadows on your photos, there are a few things to keep in mind. In addition to the lighting, the area and background also play an important role. In the following article, we will discuss what you should pay attention to and how you can take professional photos without unwanted shadows even without any large studio equipment.
Choosing the correct lighting to prevent shadows
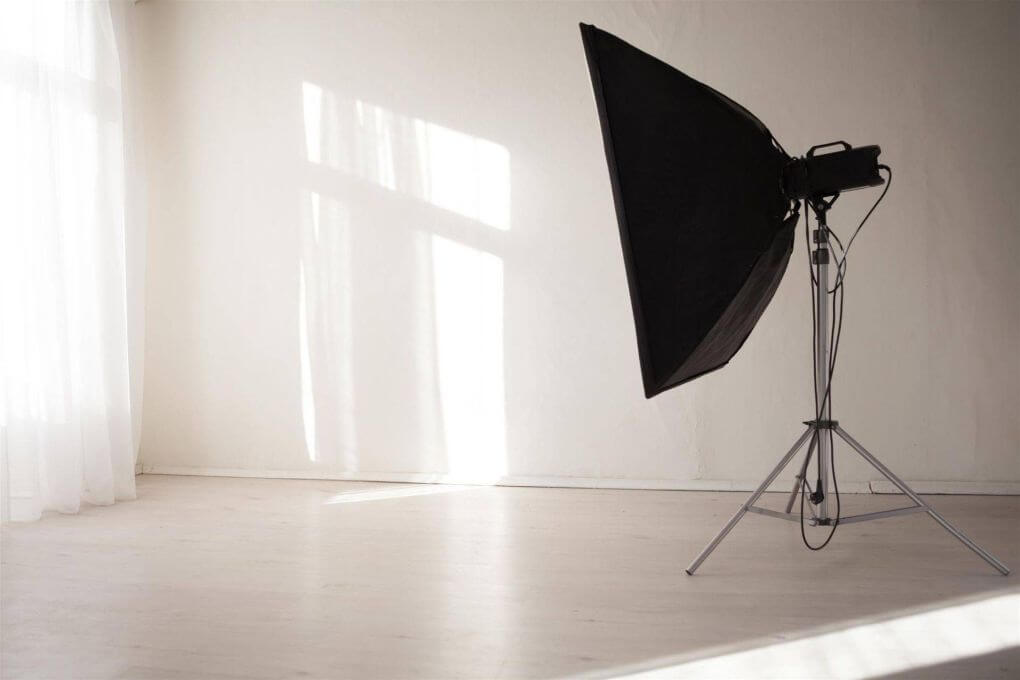
Continuous light lamps are the best way to capture subjects without shadows as they give you full control over the lighting before you take the picture. Shadows can be corrected more easily by simply shifting the light. Continuous light lamps are available in various designs. From simple daylight lamps to softboxes and ring lights. The best choice of lighting depends on the subject and the photographer's personal preference. For smaller products, small daylight lamps or a ring light would work well in addition to some natural light. For larger subjects or portrait shots, softboxes would give you better results. They emit more light, which makes moving objects easier to capture as you can set the speed of the shutter.
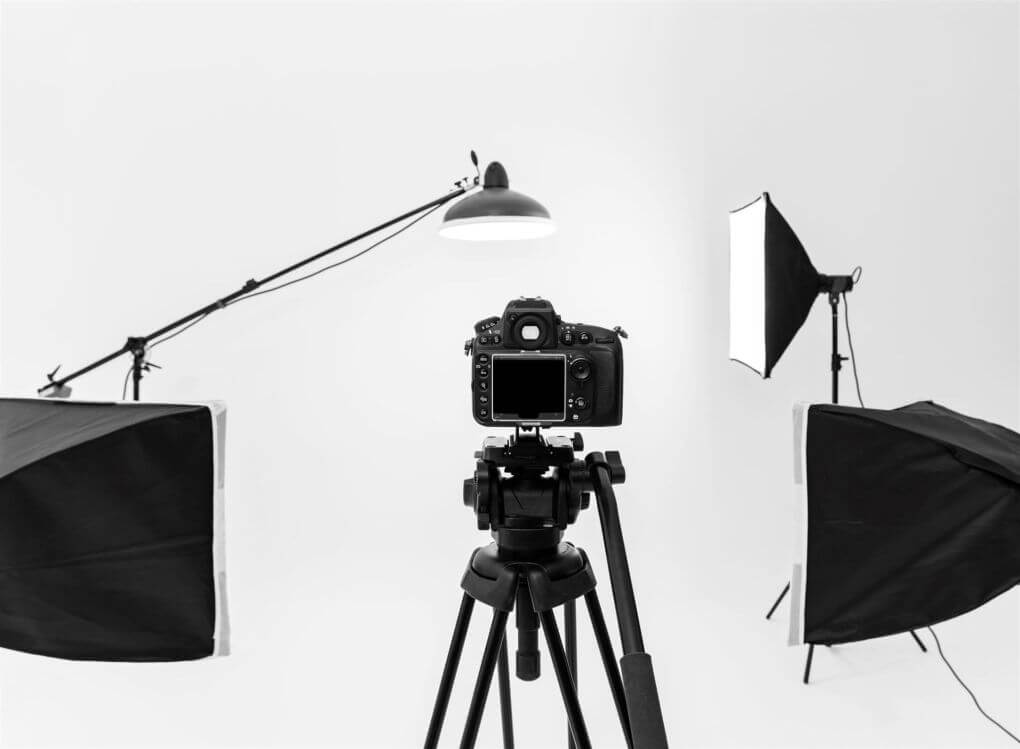
How you arrange the lighting has the largest effect on capturing your subject without any shadows. There are several ways in which lights can be arranged. The distance between the lamp must be considered as well as the subject. If the light source is close to the subject, then it becomes harsher, therefore, enough distance is needed. The positioning of each light depends on how it casts a shadow on the subject. Ideally, they should be illuminated from all sides: from above, below, from the front and behind and from the sides. In most cases, however, it is enough to use two lamps at a 45-degree angle to the subject or the right and left of your camera. This will eliminate most of the shadows. If there are too many shadows behind the subject, you have two options. Firstly, you can try to position the lamps a little higher so that they shine from the side and slightly above the subject. You could also take a third lamp and illuminate the subject from above.
Cove lighting to create shadow-free photos
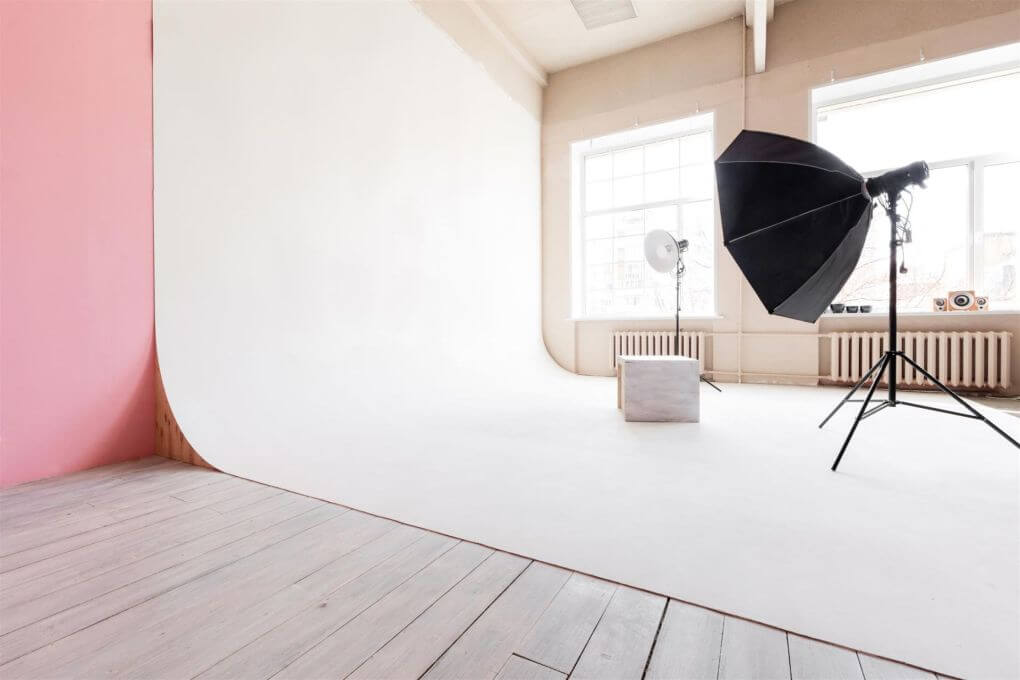
In addition to getting the right lighting, the background and the floor also play an important role. If the background is uneven, then unsightly edges and shadows will appear in the photographs. By using a cove you can avoid this, which is why it is often used in professional shoots when the background and the floor need to merge. This creates a ‘floating’ effect for the subject.
Shooting products without shadows
When doing a photo shoot for products shadows need to be avoided, especially if the products are for online shops or for catalogues. For those who do not have a large photo studio at hand, the use of a small mobile photo studio can still give great results. A photo table or a photo tent (also called a photo box) are ideal for product photography as either can achieve great shadow-free shots of products. The choice depends on the size of the product and the space available.
A photo table has the advantage that the product can also be lit from below as it has a translucent worktop. Larger objects can also be staged on a photo table. A photo box is usually smaller than a photo table and is ideal for smaller products, such as jewellery. In addition, it can be set up and dismantled more quickly than a photo table. Another advantage of the photo box is that it is made out of a translucent material which softens the light shining on the product.
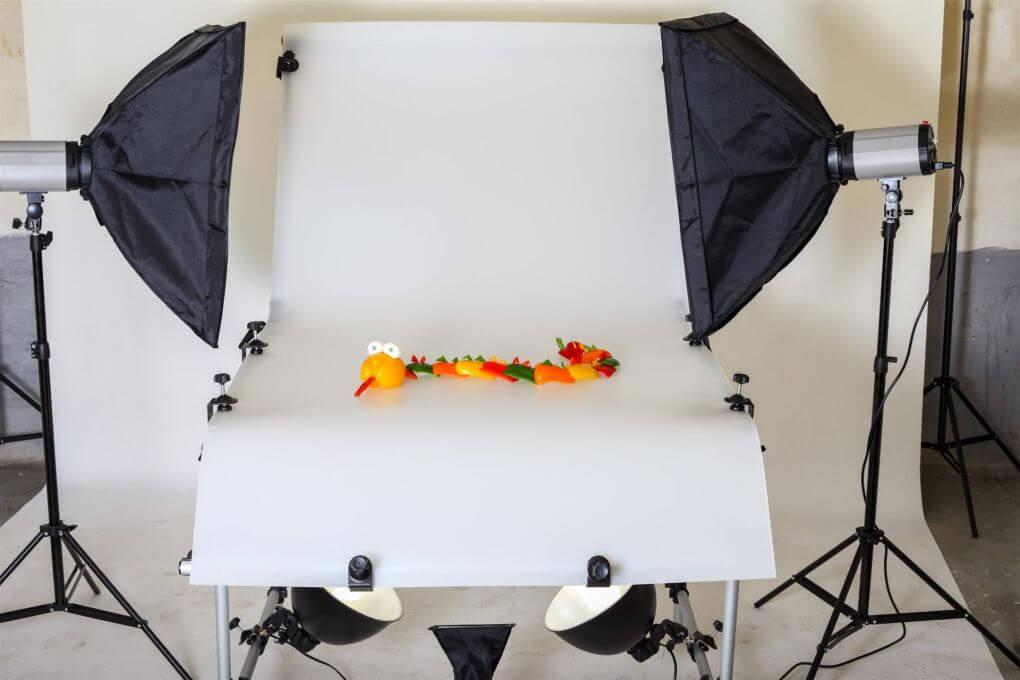
Objects can also be photographed from below on a photo table.
DIY photo hack: photographing products at home without shadows
You only need a few items to get good results in your own home as you don’t need a lot of space or technology for good lighting. All you need is sufficient daylight, a suitable background and a few items.
A simple white sheet of paper is a proven way of taking shadow-free pictures. If you don't have a photo table at hand, you can attach it to the wall to form a cove to give the product a floating effect. If the product is larger, you may need a large sheet of paper. Have fun shooting professional-looking photos without needing a photo studio.
Note: If you are only using daylight for lighting, it is best to work with long exposure times to ensure the photos have enough light.

DIY photo hack: make a cove with the help of some white paper.
Depending on the amount of light, a reflector can be a helpful tool to deflect unwanted shadows from the subject. Place the reflector facing the unlit side of the product so it reflects light onto the unlit side of the subject. Depending on how strong the shadow is, a white sheet of paper is often enough to reflect light into the dark spots. If the shadows are stronger, you can use silver foil wrapped on a piece of card.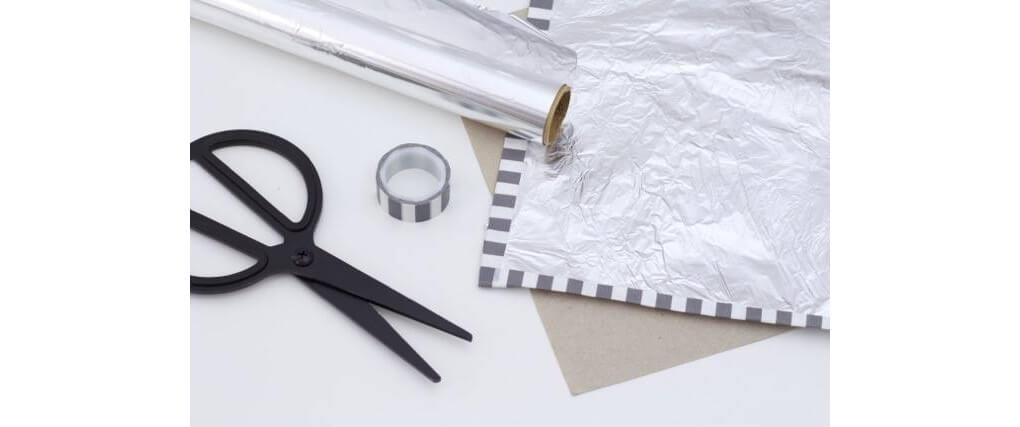
DIY reflector made out of silver foil