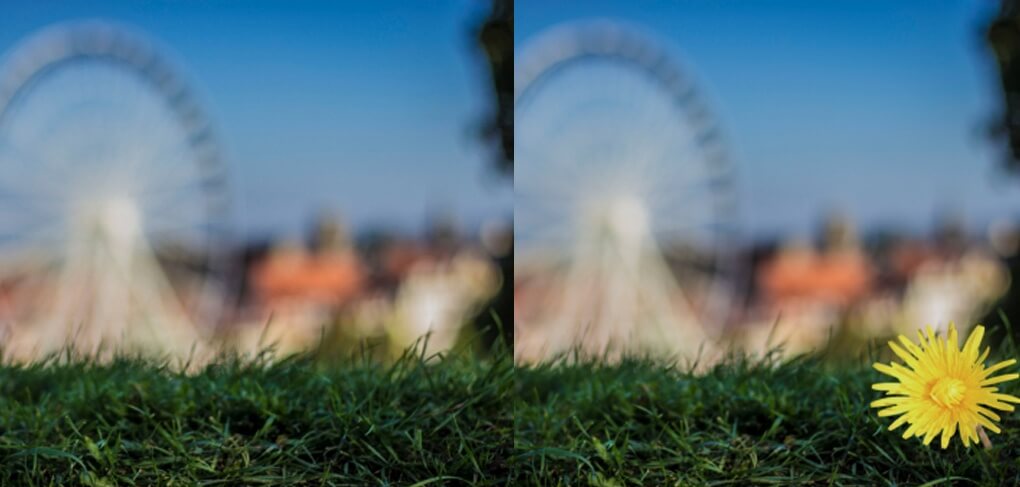
Photoshop: Inserting image objects into new backgrounds
Removing and adding individual image objects is not uncommon in today’s photography. With the help of Photoshop, illusions can be created retrospectively in a few simple steps. Even if a photomontage can only withstand a trained eye for a short time, interesting creative effects can be produced.
We will show you how you should proceed when creating a photomontage and how you can adapt the inserted image into the background very well.
Inserting and scaling images
Select an image and drag and drop it into the open Photoshop file. To make the photomontage appear as authentic as possible in the end, you should have the picture cleanly cropped before inserting it.
Once you have inserted an object, you should make sure that the object layer is converted into a so-called “Smart Object”. The conversion allows a non-destructive scaling of the image. For this purpose, the image information of the reference file is stored in the Smart Object. Any changes you make to the design are made to a separate copy of the reference file. This means that your design retains its original quality even after repeated scaling and modification.
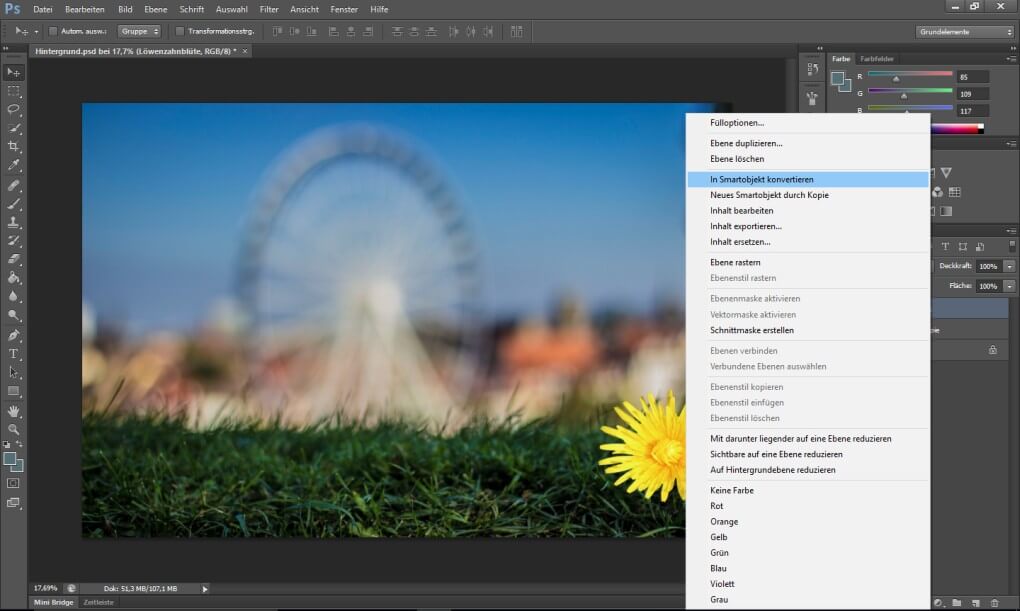
You can access scaling using the shortcut “Ctrl” + “T”. Make sure that you have selected the layer that you want to scale. After activating the shortcut, a grid appears around the object, which allows you to change the size using the corners. The object can be scaled proportionally by holding down the “Shift” key. This maintains the relation of the object and does not distort it.
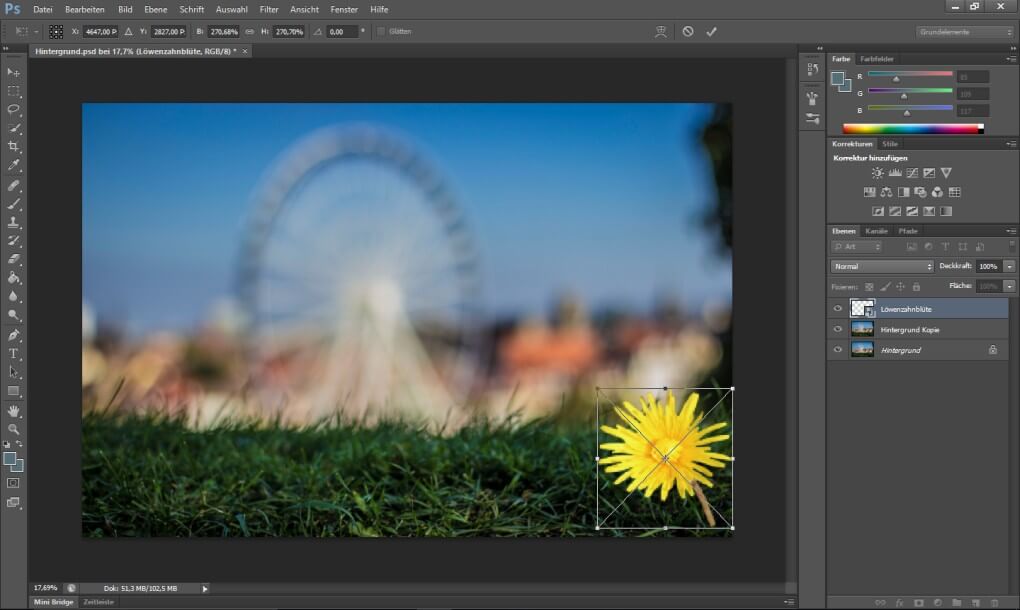
Pay attention to the most realistic proportions between the inserted object and the rest of the image. Otherwise, you will quickly notice that this is a photomontage.
The object should also be placed in a suitable position in the image. Make sure that the viewing angle of the subject is the same as the rest of the image. Furthermore, the subject should be placed in alignment with the focused area of the original image. When shooting with a shallow depth of field, a perfectly sharp object cannot appear in a blurred environment and away from the focused area. On the one hand, this would appear very unnatural and, on the other hand, would quickly be exposed as a photomontage.
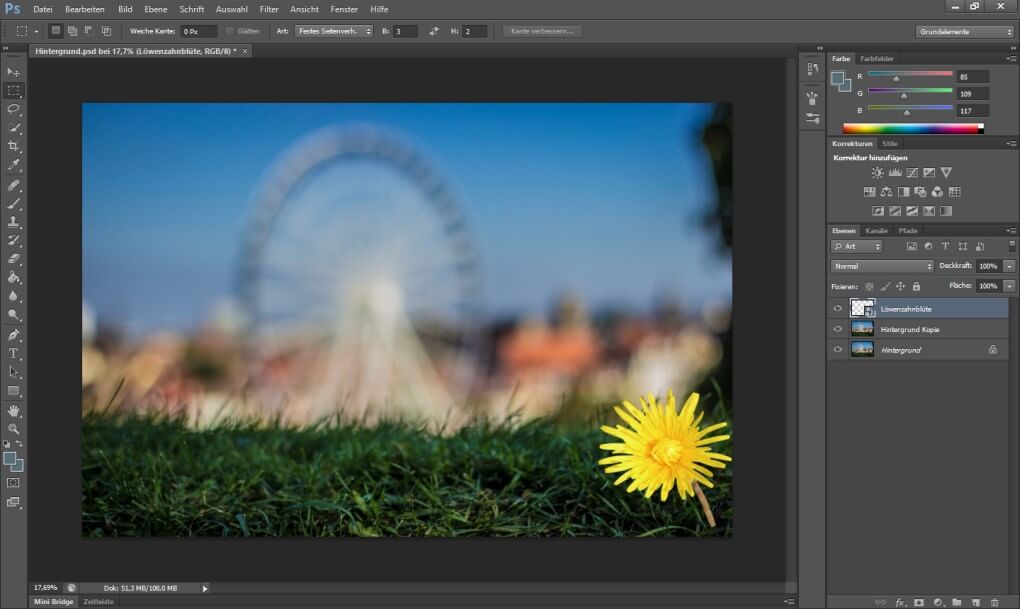
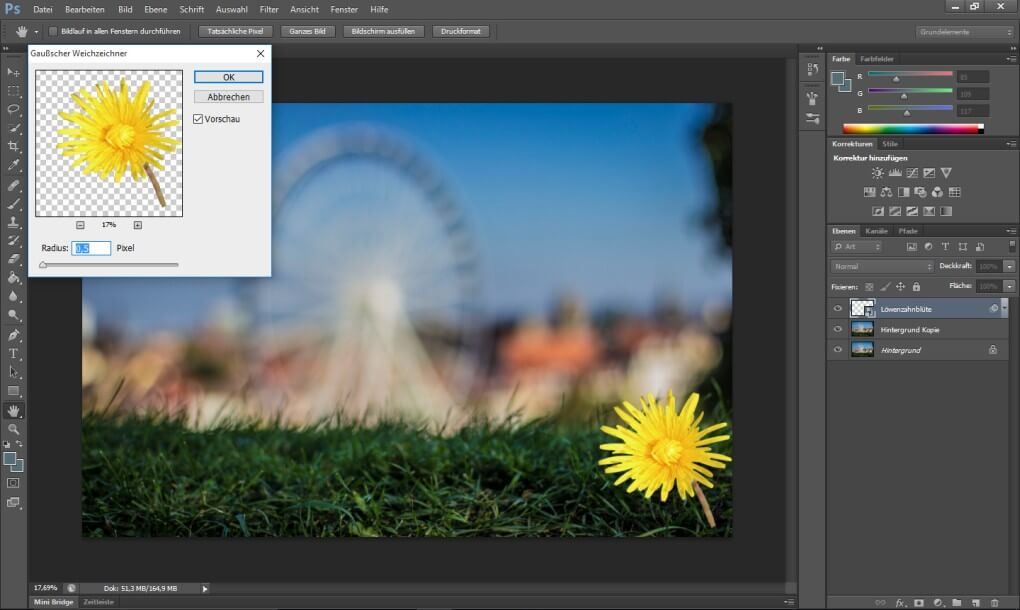
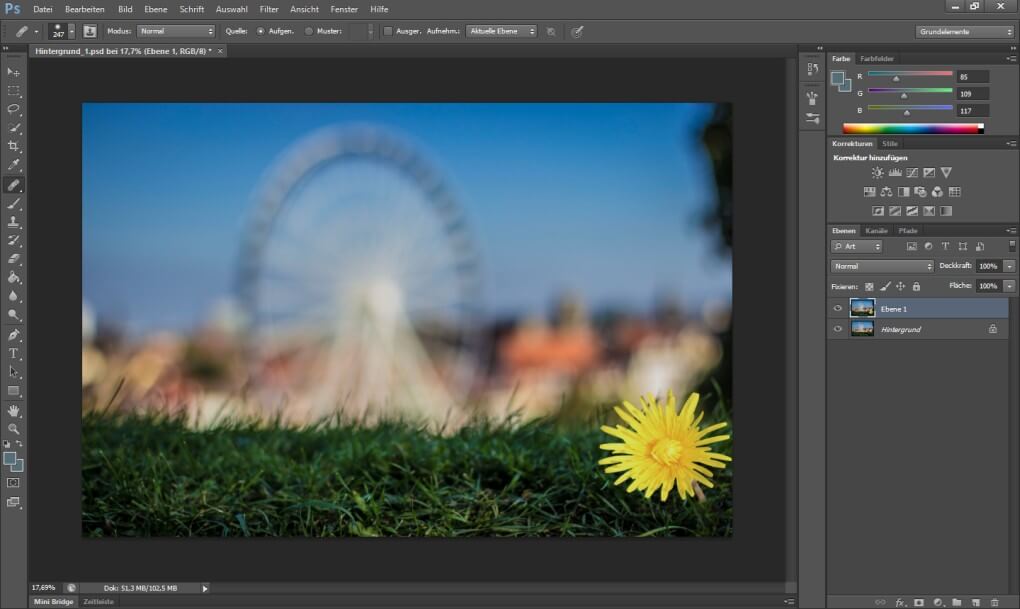
If the dandelion blossom, in the given sharpness, were placed even further towards the background, it would stand out noticeably to the eye. To reduce the sharpness a bit, we select “Filter”, “Blur filter” and then “Gaussian Blur filter”.
Adjusting the image to the lighting mood of the background
For a harmonious interaction between the inserted object and the background, it is also very important that the lighting mood of the two elements matches.
By using special filters, Photoshop allows us to match the colour mood of both the background and the object. One possibility, for example, is to colour in the average hue. First select the background layer of your Photoshop file. Then navigate to “Filter”, “Blur filter”, “Calculate average”.
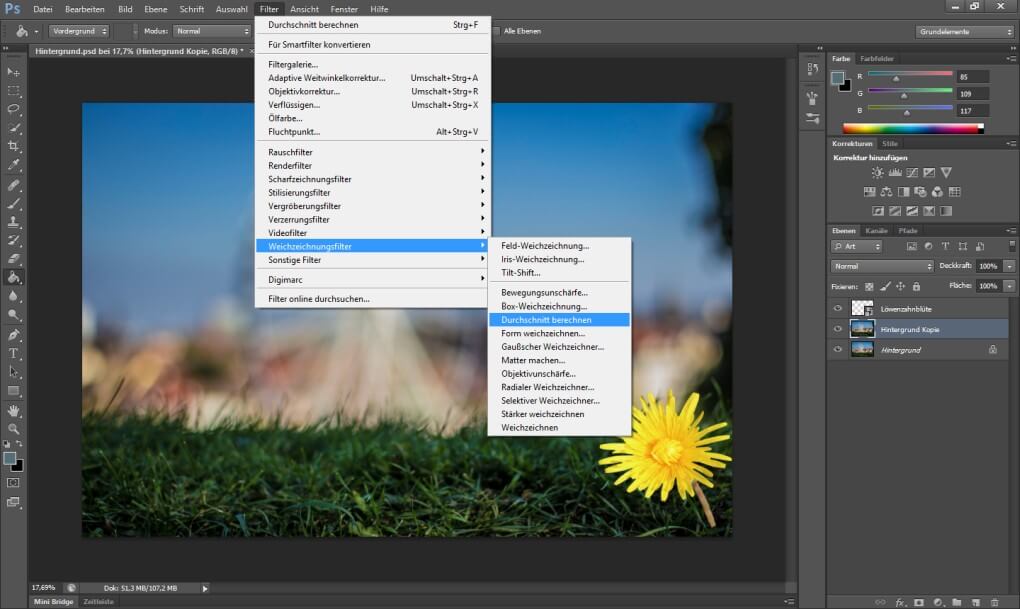
Photoshop then fills the selected layer with the average hue of the other layer. For further processing, we add this hue to the colour selection using the pipette.
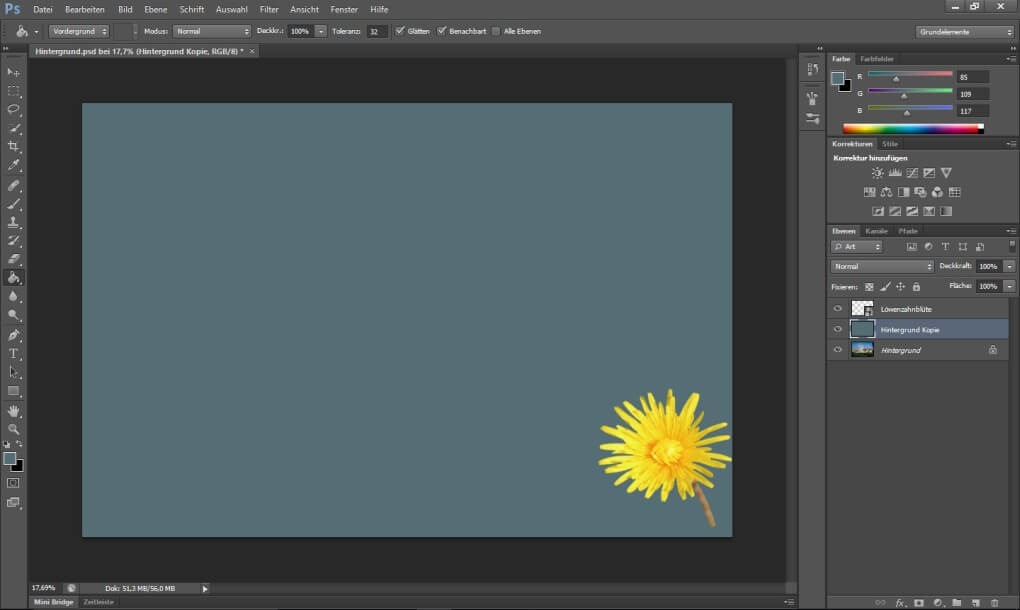
The colouring of the background can be undone using the shortcut “Ctrl” + “Z” (alternatively: “Edit”, “Step back”). Create a new layer and fill in its background in the colour of the average hue.
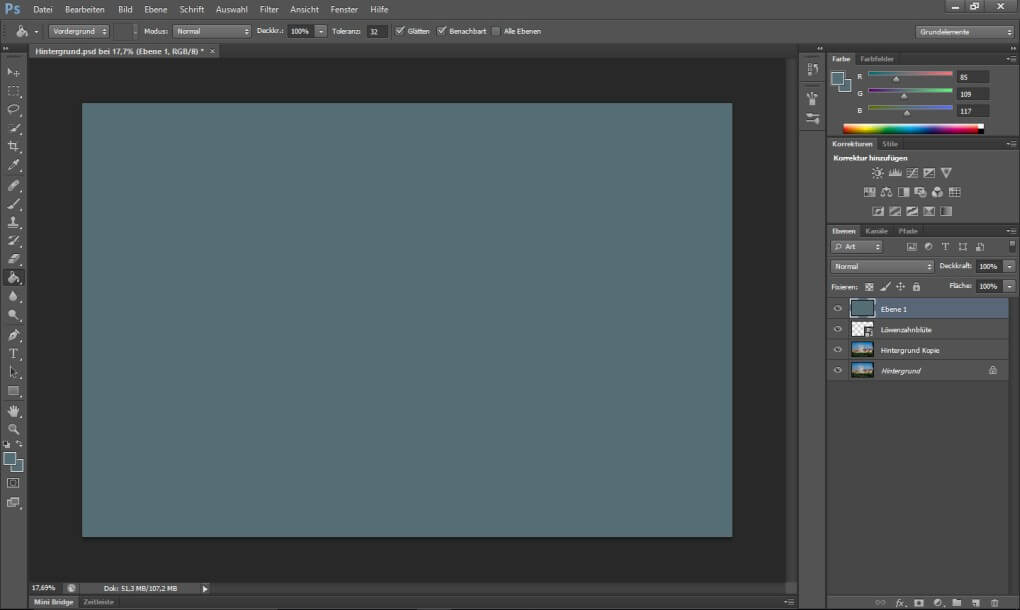
The aim of the procedure is to apply the average hue only to the object to be inserted. To do this, you first place your hue layer above the object layer in the layer hierarchy. Then, while holding down the “Alt” key, move the mouse pointer over the hue layer. Confirm the square symbol that appears with the arrow pointing downwards by left-clicking. The background should now be visible again and your object should be completely coloured in the respective hue.
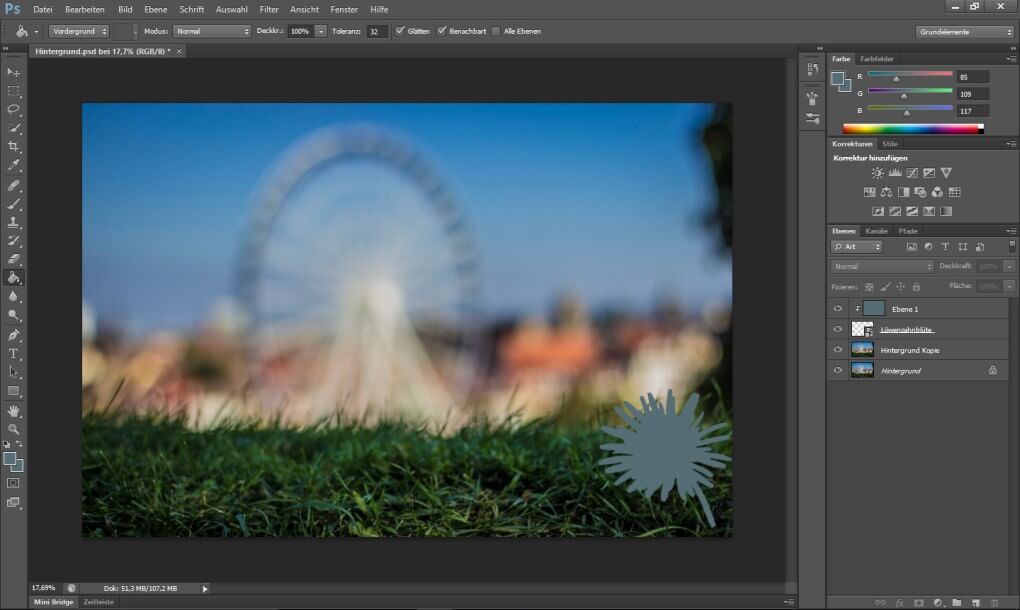
The opacity of the hue can then be adjusted to your own taste by selecting the hue level. Ensure that the opacity is balanced and matches the background.
Conclusion
The creation of photomontages requires a certain amount of experience in working with Photoshop. However, advanced users have the opportunity to add their own creativity and personal feelings to the photos they have taken and can add new elements afterwards. The result of the photomontage is directly dependent on the quality of the cropped objects to be added to the image. For a credible representation, it is recommended to coordinate the relations of the image components and not to choose an excessively composed image. The inserted objects should always be adapted to the given lighting mood.
