Pro tips: hanging up pictures
How to do it: acrylic glass with a special wall mount
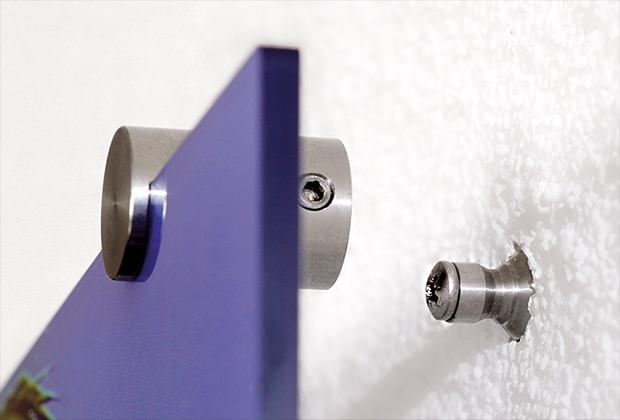
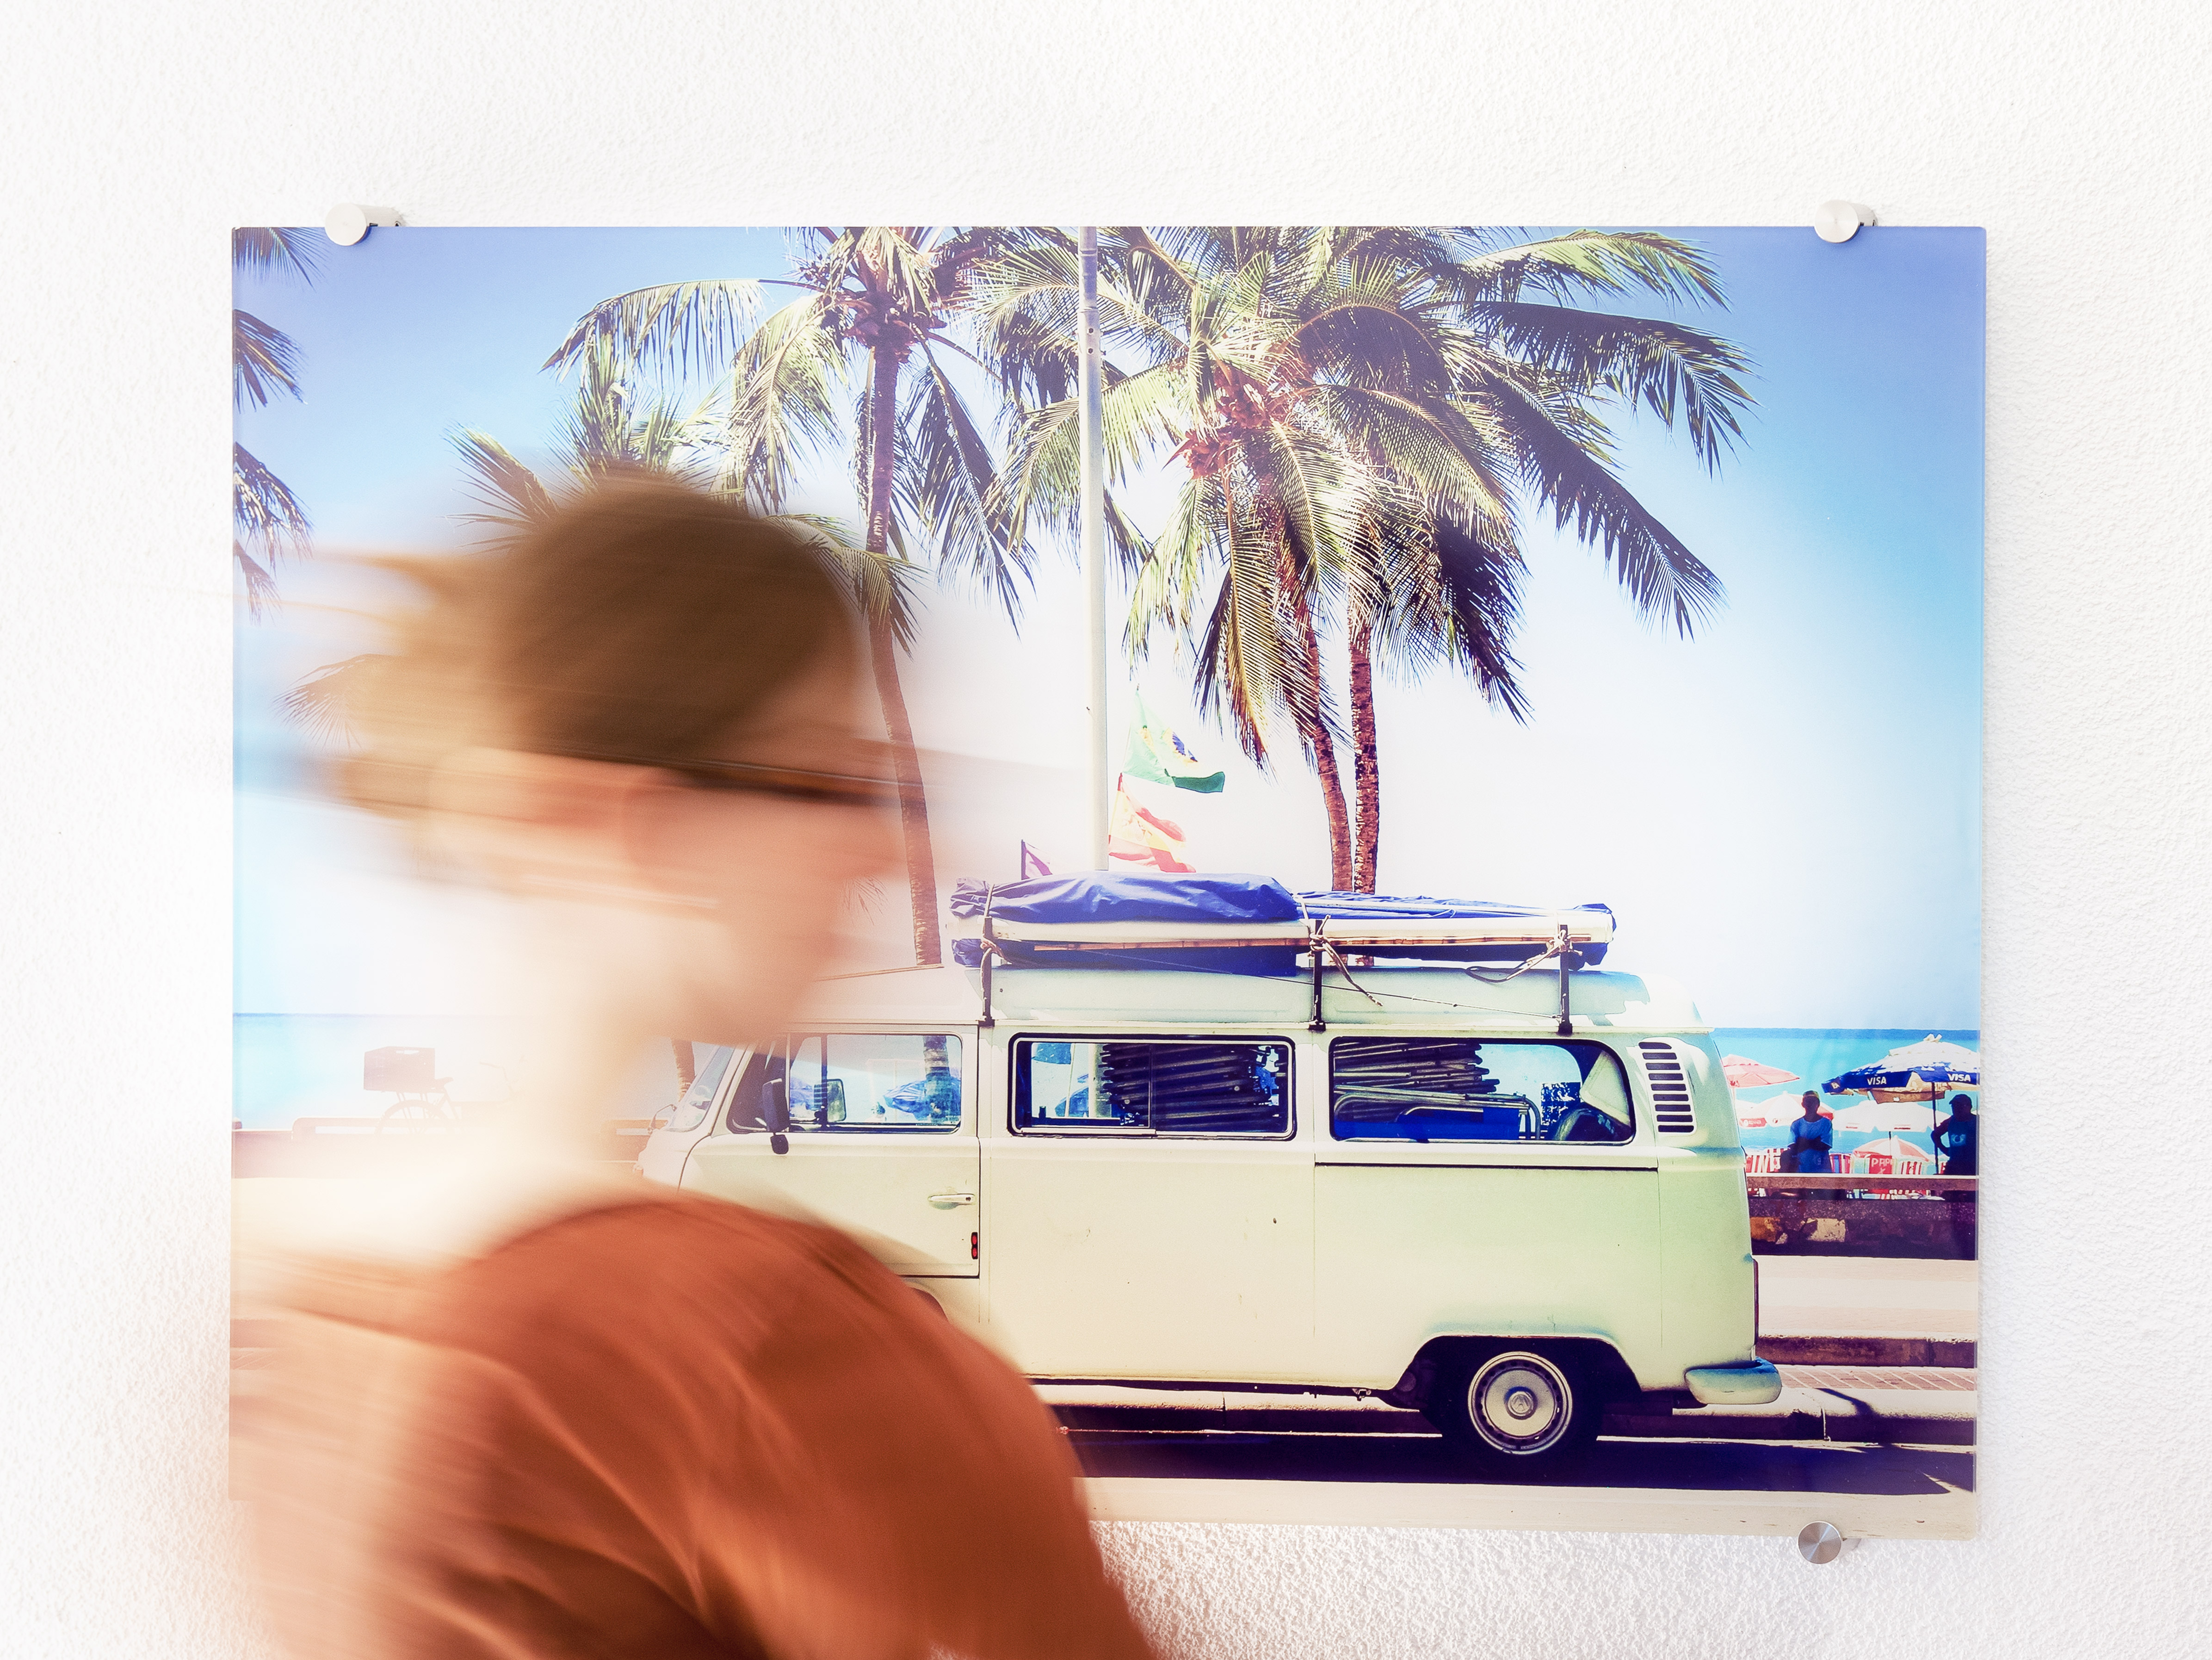
The wall decorations from ifolor are all delivered with pre-mounted hooks. Only the special wall mount for acrylic glass needs to be attached by you, in just a few easy steps. We will show you how simple this is.
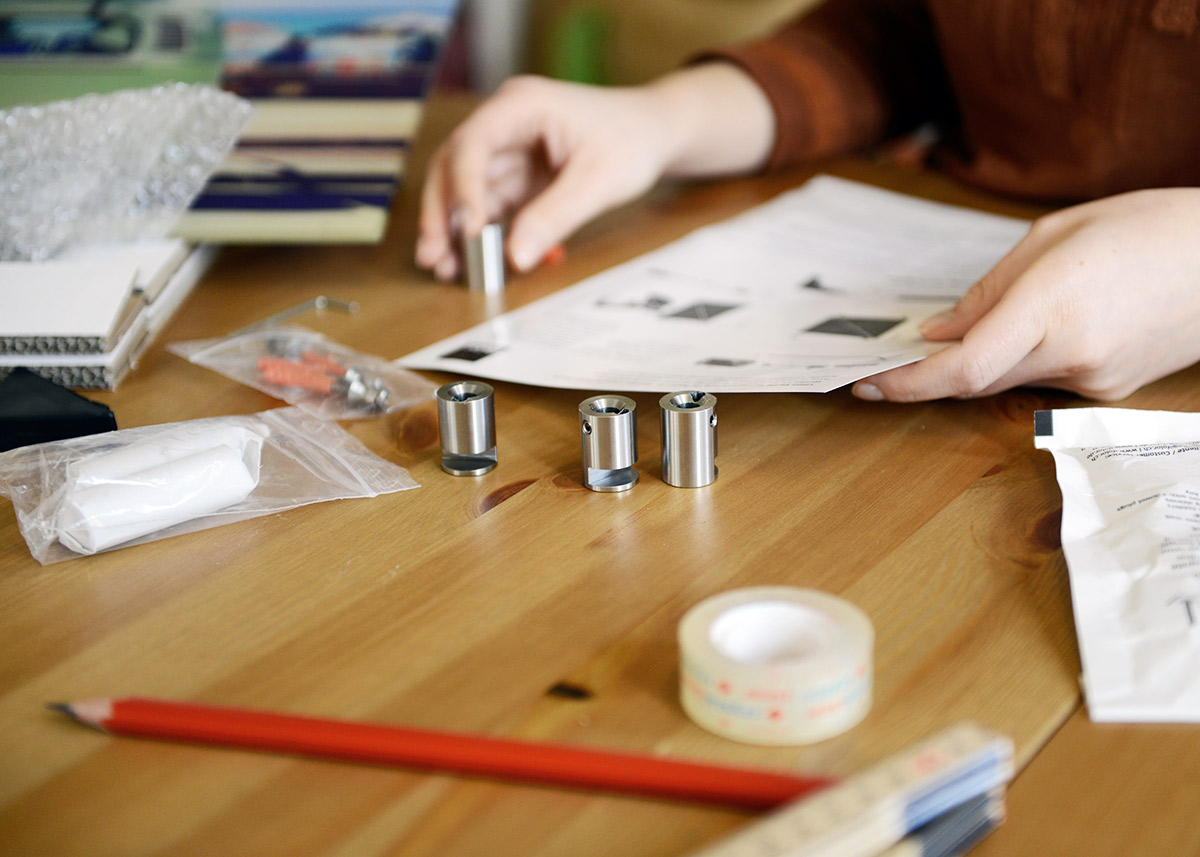
Unpacking
This is always fun, especially if not just your custom acrylic glass is being revealed, but also the accompanying special wall mount and detailed hanging instructions.
Attaching the special wall mount
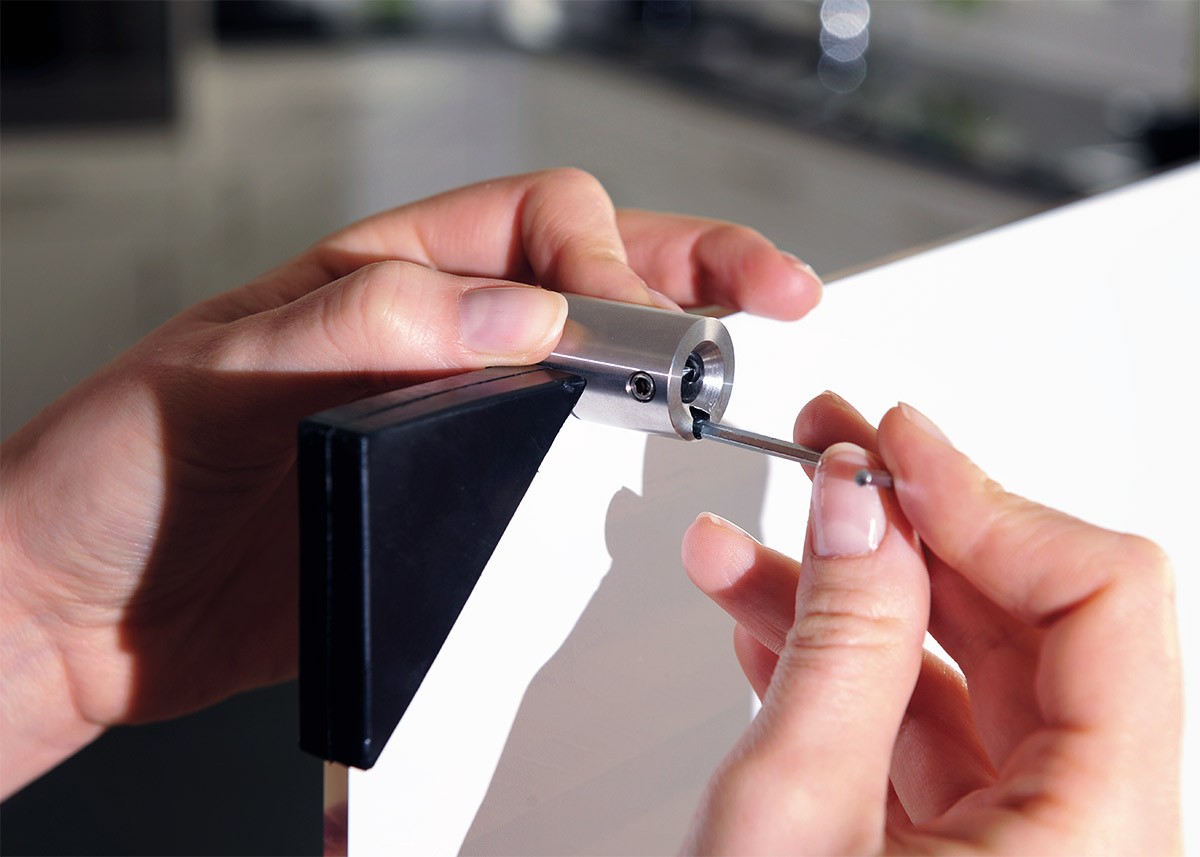
Because even the Allen key is supplied, you can attach the special wall mount straight away. Our tip: use the edge protector as a spacer to place the four mounts evenly on the acrylic glass.
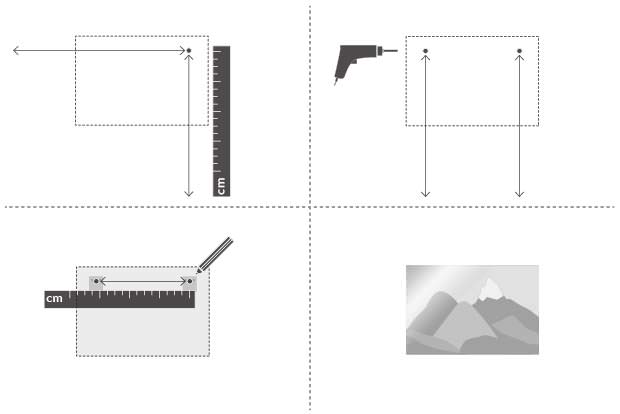
Now it is getting serious:
Measure the picture, measure the wall, measure the picture, drill.
Determine the height of the picture and its position. Because the special mounts are attached to the acrylic glass, the top edge of the picture is also the height of the top drilled holes.
Now measure the four drilling points, drill the holes and insert the supplied dowels and screws in them. Almost finished!
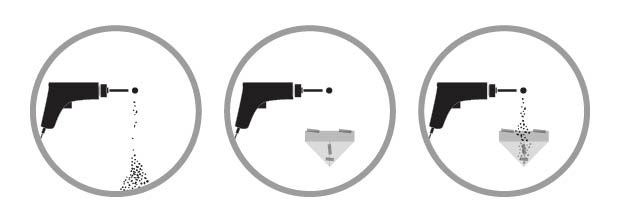
Tip:
You can catch drilling dust with a folded and stuck-together sheet of paper.
Grand finale - hanging up pictures
Now comes the moment of truth. Fasten the acrylic glass to the screws and tighten the special wall mounts with the Allen key. Now step back a few paces. Admire your wall decoration from various angles. Get used to the ritual. Every day from now on, you will be able to look at your photo in a new way, as a true work of art!
