Photographing Flowers Made Easy
Tips for Brilliant Macro Photos of Flowers
Spring – hearts beat faster and nature shows us once again her most beautiful facets. This warm time of the year, accompanied by lots of natural light and scenic greenery, draws people outside once again. Even urban landscapes have enough natural wonders to offer: small and large flowers alike are blossoming in just about every corner where nature can be found and really showcase their blazes of colour. This is the ideal time to capture the wonderfully colourful world of flowers in photos.
Flowers are one of nature’s true works of art. The more you know about photographing in natural light, the more impressively you can showcase and depict the forms of the flowers. Here you’ll find some tips on how you can correctly photograph flowers in their natural environment and how you can make optimal use of the daylight while photographing nature.
1. Choose the correct time of day
The midday sun might offer you the most amount of light, however it’s far from being the most optimal time of day to photograph flowers and plants. The glaring midday sun doesn’t only produce harsh shadows, but in some cases can also cause overexposed spots to appear in your photo. Thus, it’s better to photograph before midday or in the evening when the sun doesn’t shine as brightly and you’ll be able to make use of the natural, diffused light to end up with especially harmonious photos.
2. Take your time
It’s not uncommon to take a couple of quick photos of flowers while strolling by. These photos might at first appear quite promising when viewed on the small display of your camera. However, it can often occur that these photos later appear to be less than spectacular when viewed subsequently on your computer screen.
Thus, it’s a good idea to take your time and observe the motif you’d like to photograph from several different vantage points. When doing this, think about if you want to photograph one or perhaps several flowers. If you’d like to focus on one flower in particular with the rest of the flowers making up the background or take an extreme close-up of a flower, take your time to select the right one. Pick out the most beautiful of the bunch and look out for any flaws on the blossom or leaves.
3. Make use of various positions and perspectives
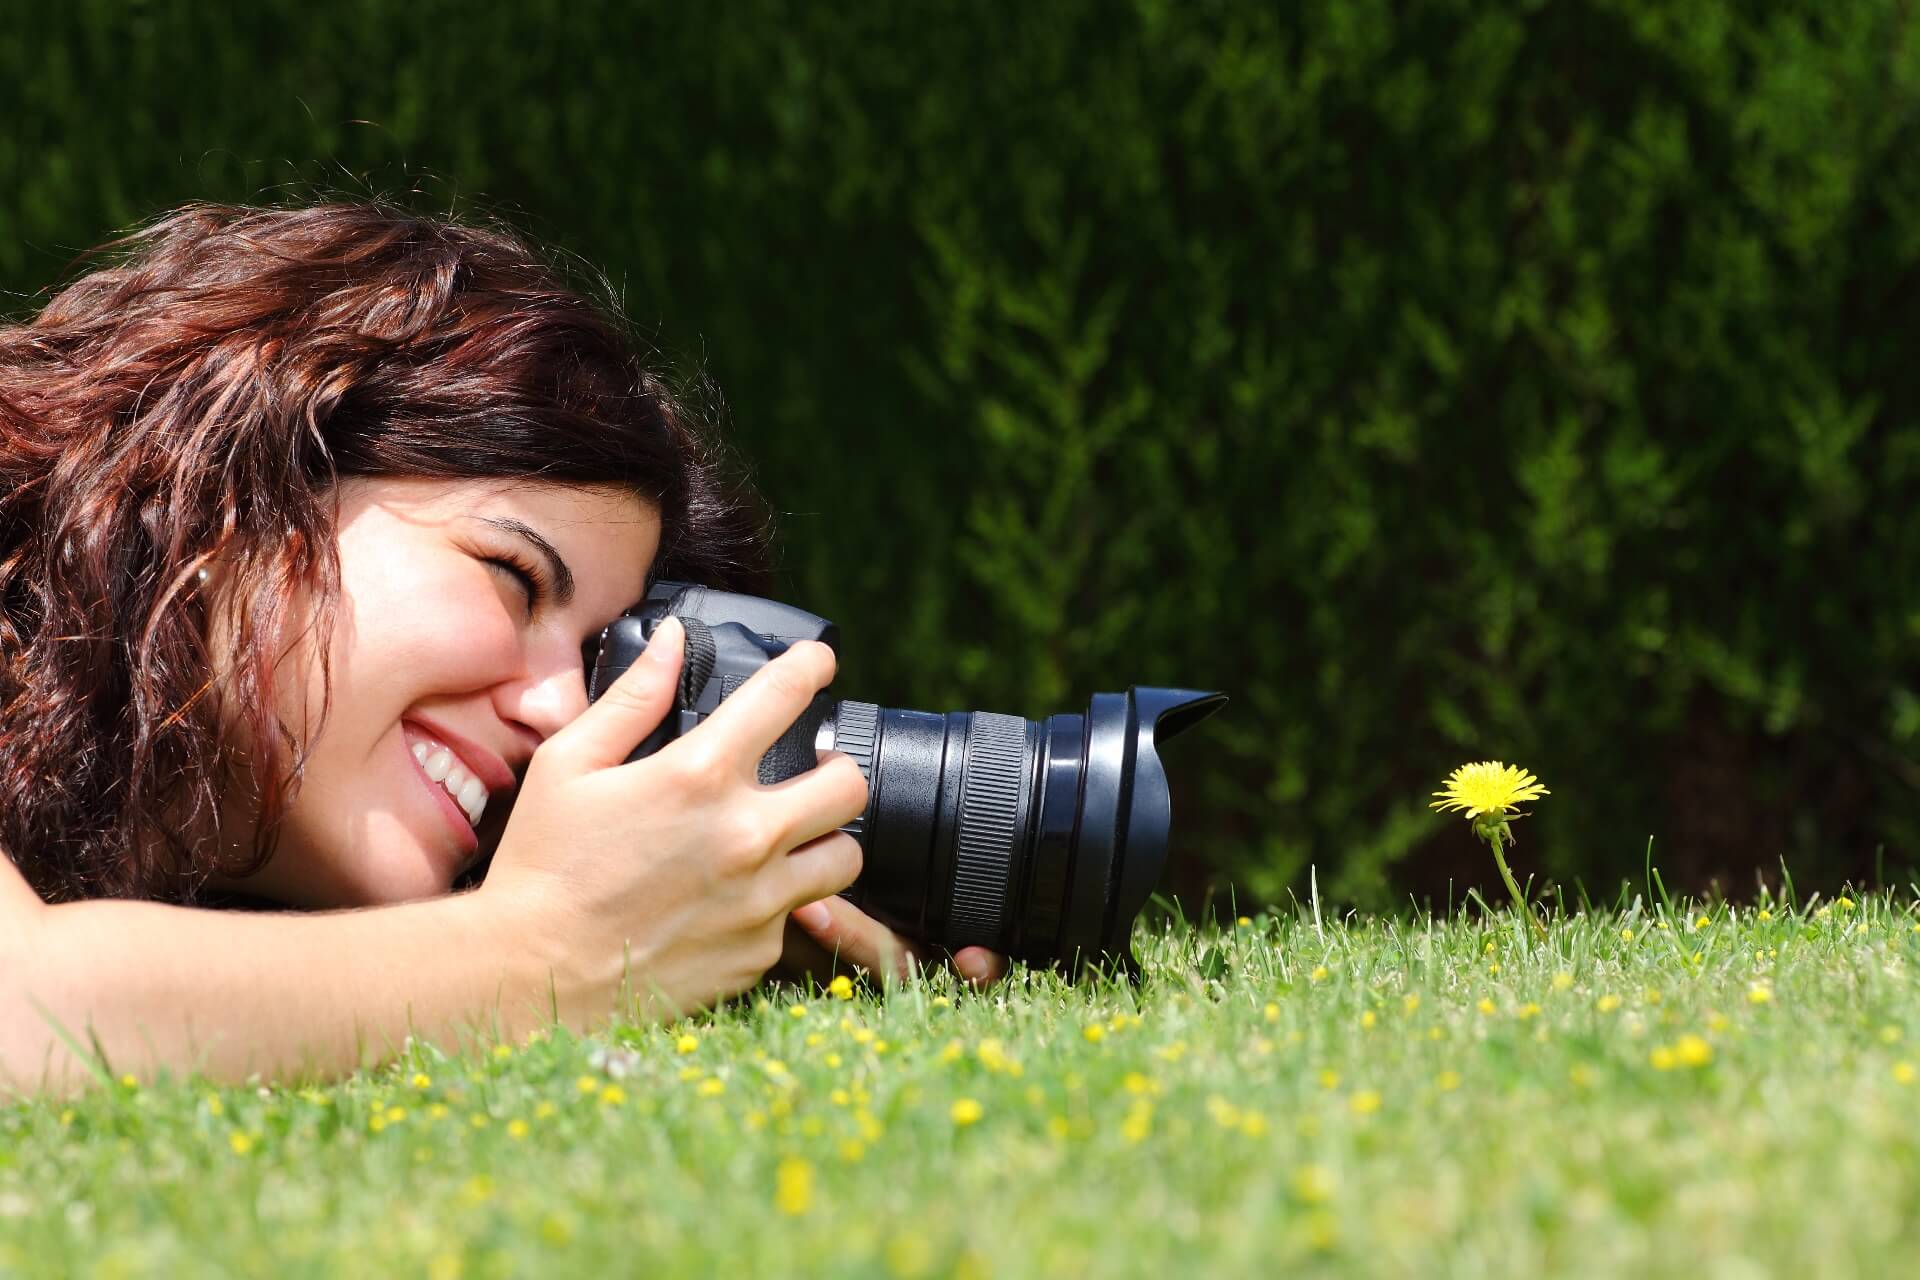
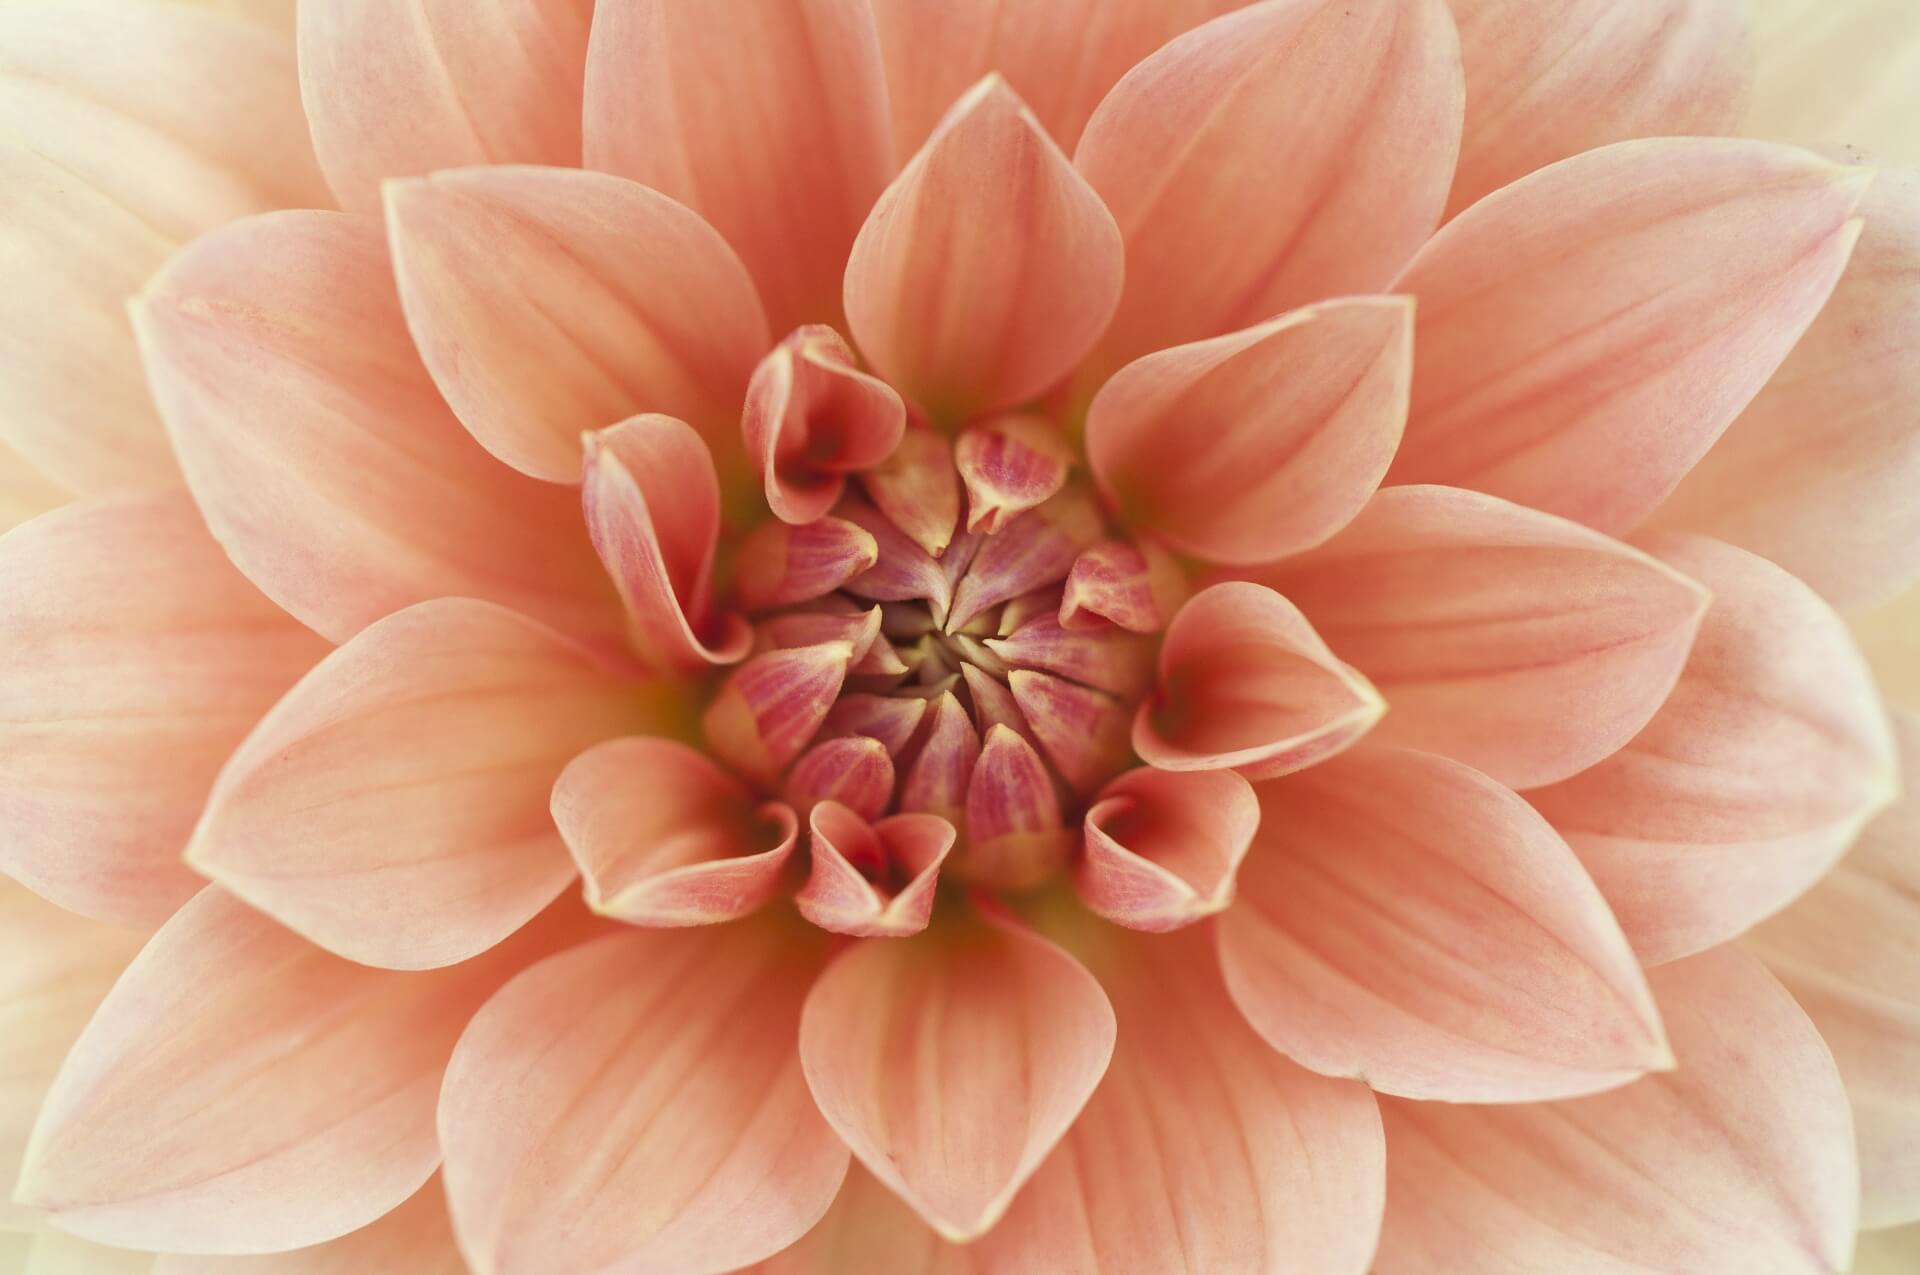
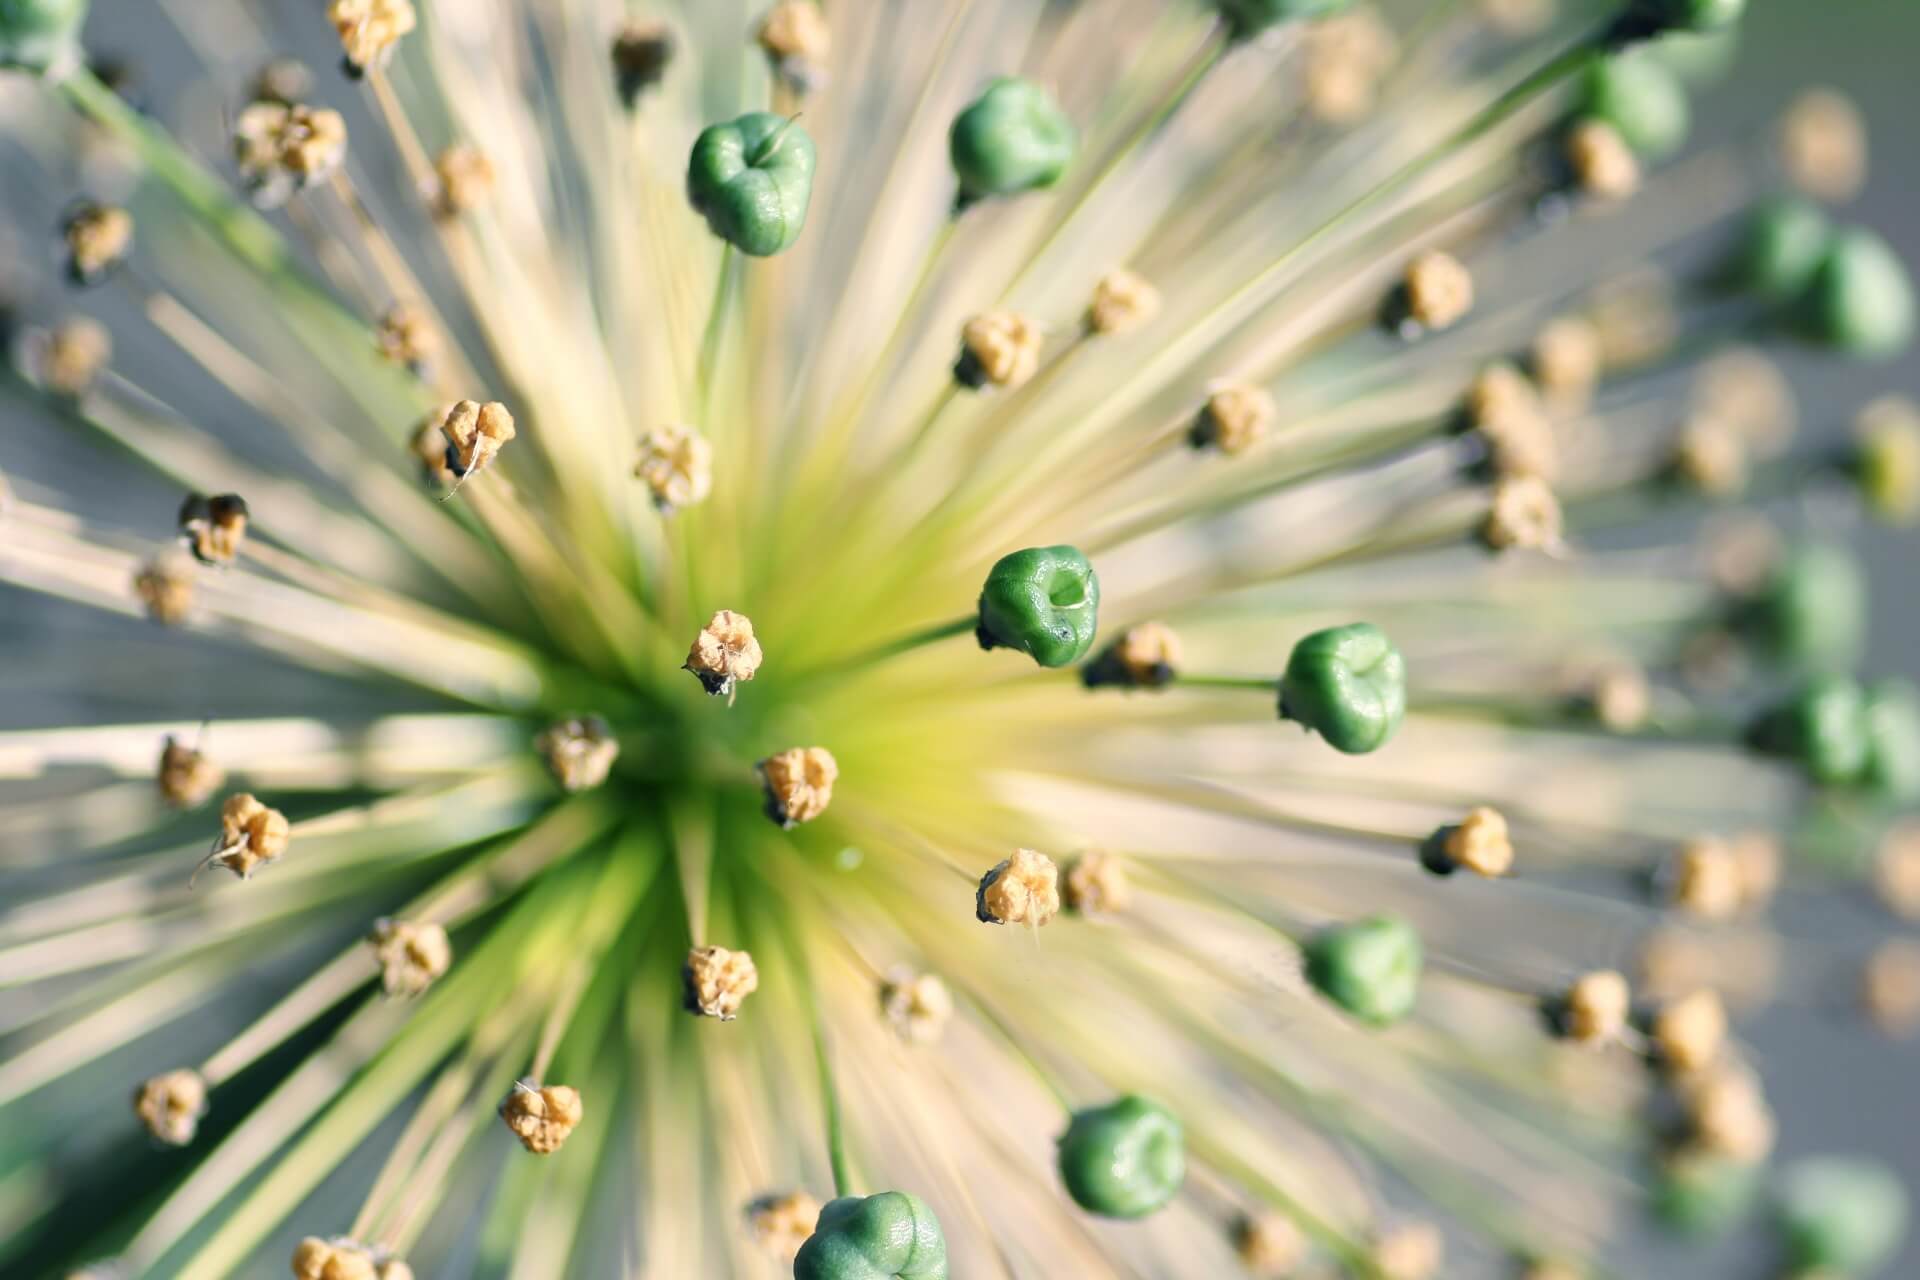
Making use of the bird’s-eye view when taking photos of flowers might be easy and comfortable, but this will rarely leave you ending up with spectacular photos. This perspective is best used when taking very detailed close-up shots where the focus is on the symmetry of the flower blossom.
If photographing the flower along with its surrounding environment, photos taken from the bird’s-eye view can often appear boring or unimaginative. Thus it’s a good idea to get down on the same level as the flower and photograph it from a worm’s-eye view in order to end up with interesting perspectives.
4. Pay attention to your surroundings
The focus of your photograph may very well be the flower(s), but don’t forget to look around at the environment surrounding the flower(s). Pluck dried leaves and withered parts of the blossoms from surrounding flowers so you won’t have any unsightly brown elements in your photos.
5. Experiment with levels of sharpness
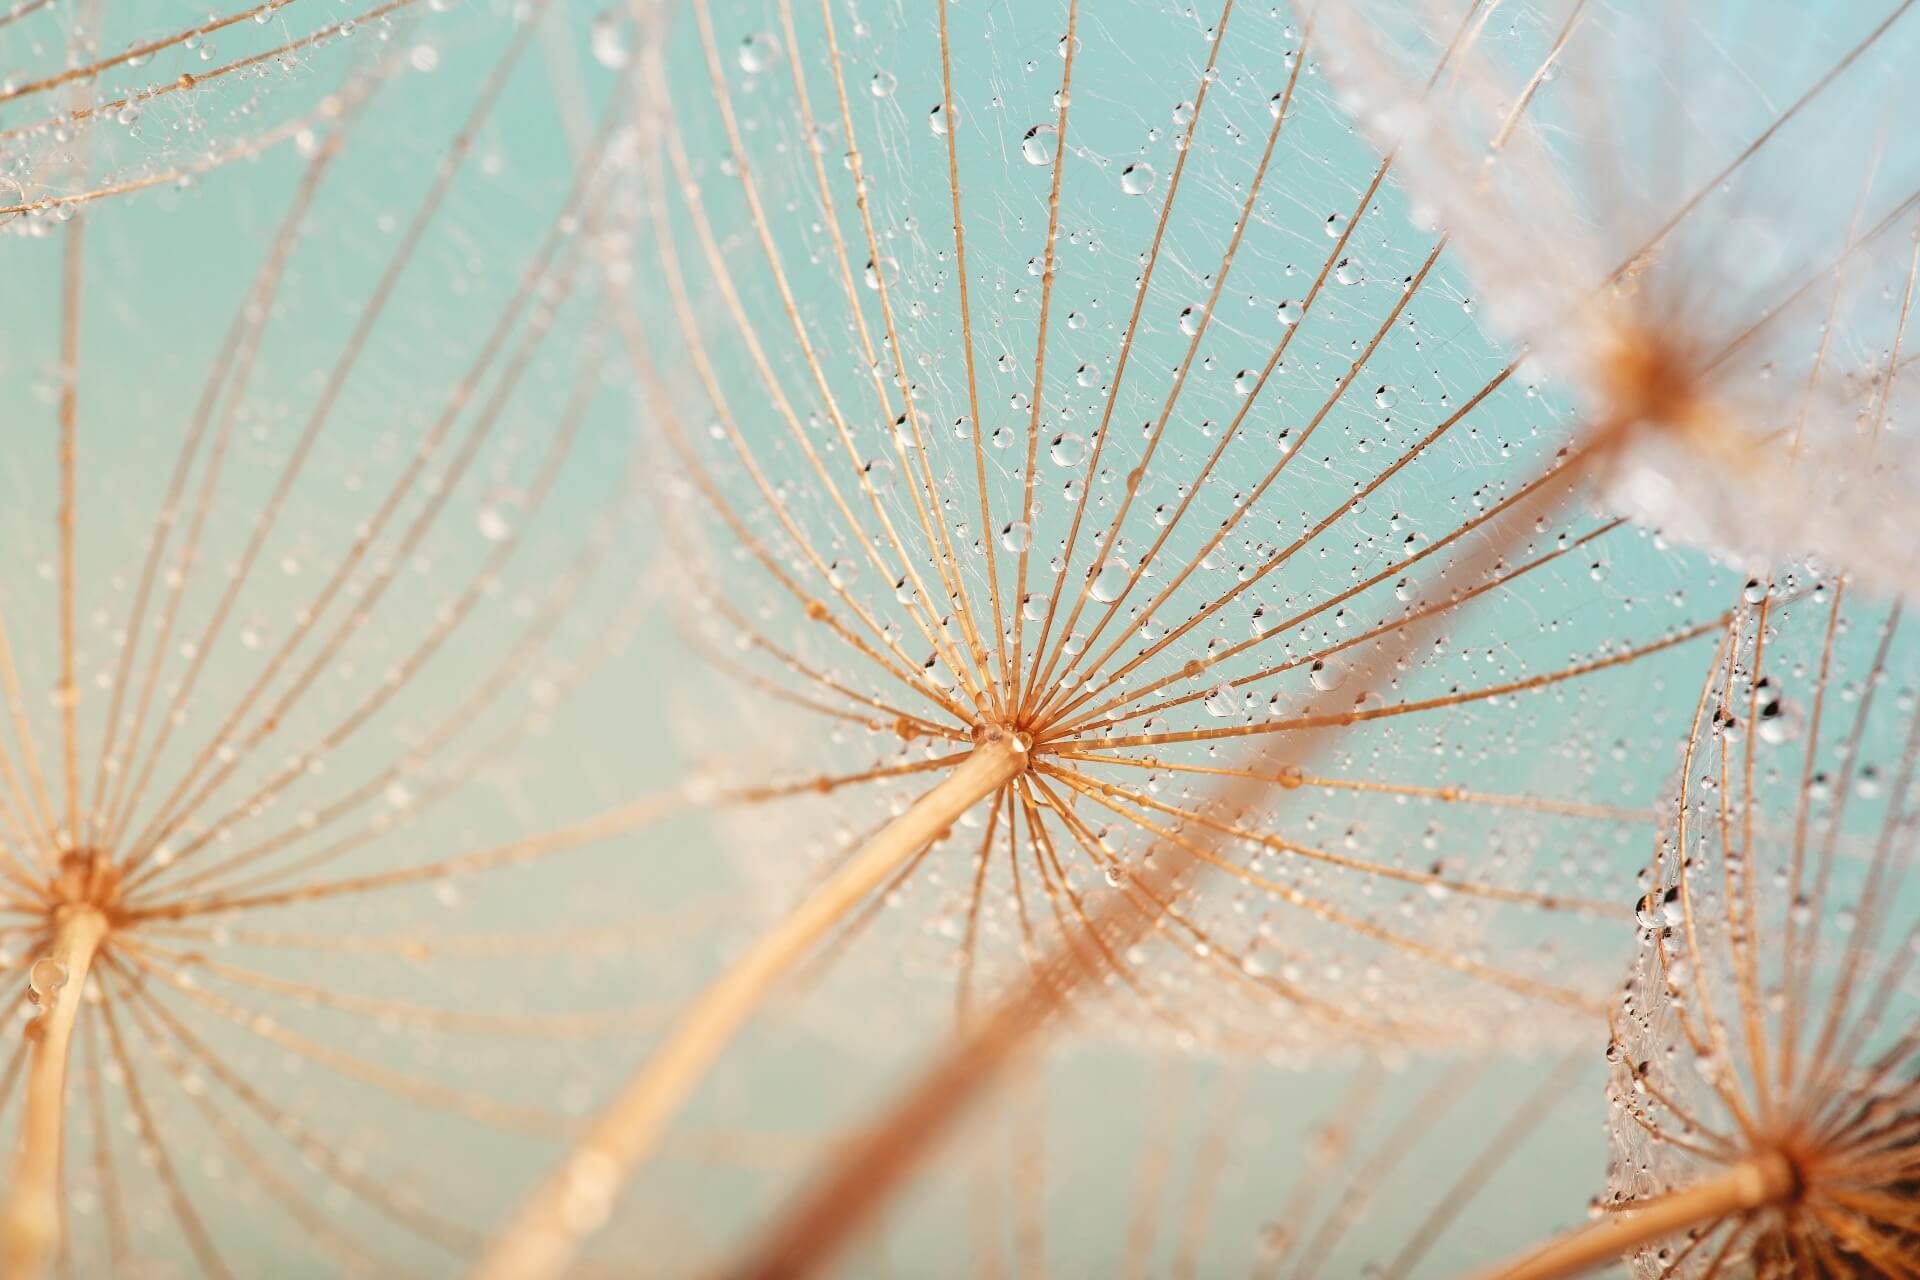
Utilising blurriness in the background is an integral component of photography so you can further accentuate the main motif in its environment and bring it to the foreground. Using background blurriness can also be a great help when photographing flowers so you can bring the focus to one flower or a small group of flowers amongst many other flowers. Furthermore, this effect will also lend more depth to your photo.
You can make your background appear blurry by minimising the area of sharpness in your shot. You can successfully do this by using a wide-opened aperture, i.e. a large f-number. Manually regulate the aperture of your camera in order to adjust the sharp area of your motif in your photo. However, the sharp area of your picture doesn’t always have to be in the foremost layer of your photo. You could also select a flower that is a bit further back and have the flowers in front of the main motif appear blurry. When doing this, manually focus in on your main motif in order to make sure that your motif is the focus of the photo and is sharply depicted.
6. Use short exposure times in order to avoid image blur
Using a wide-opened aperture can be advantageous since this allows a lot of light to hit the camera sensor. Thus, when you have enough surrounding light, you can use a shorter exposure time. If you use an exposure time of 1/250 of a second or shorter, you’ll even be able to sharply photograph plants that are slightly moving in the wind without blurriness appearing in your photos. This method is known as “freezing motion”.
7. Also pay attention to the details
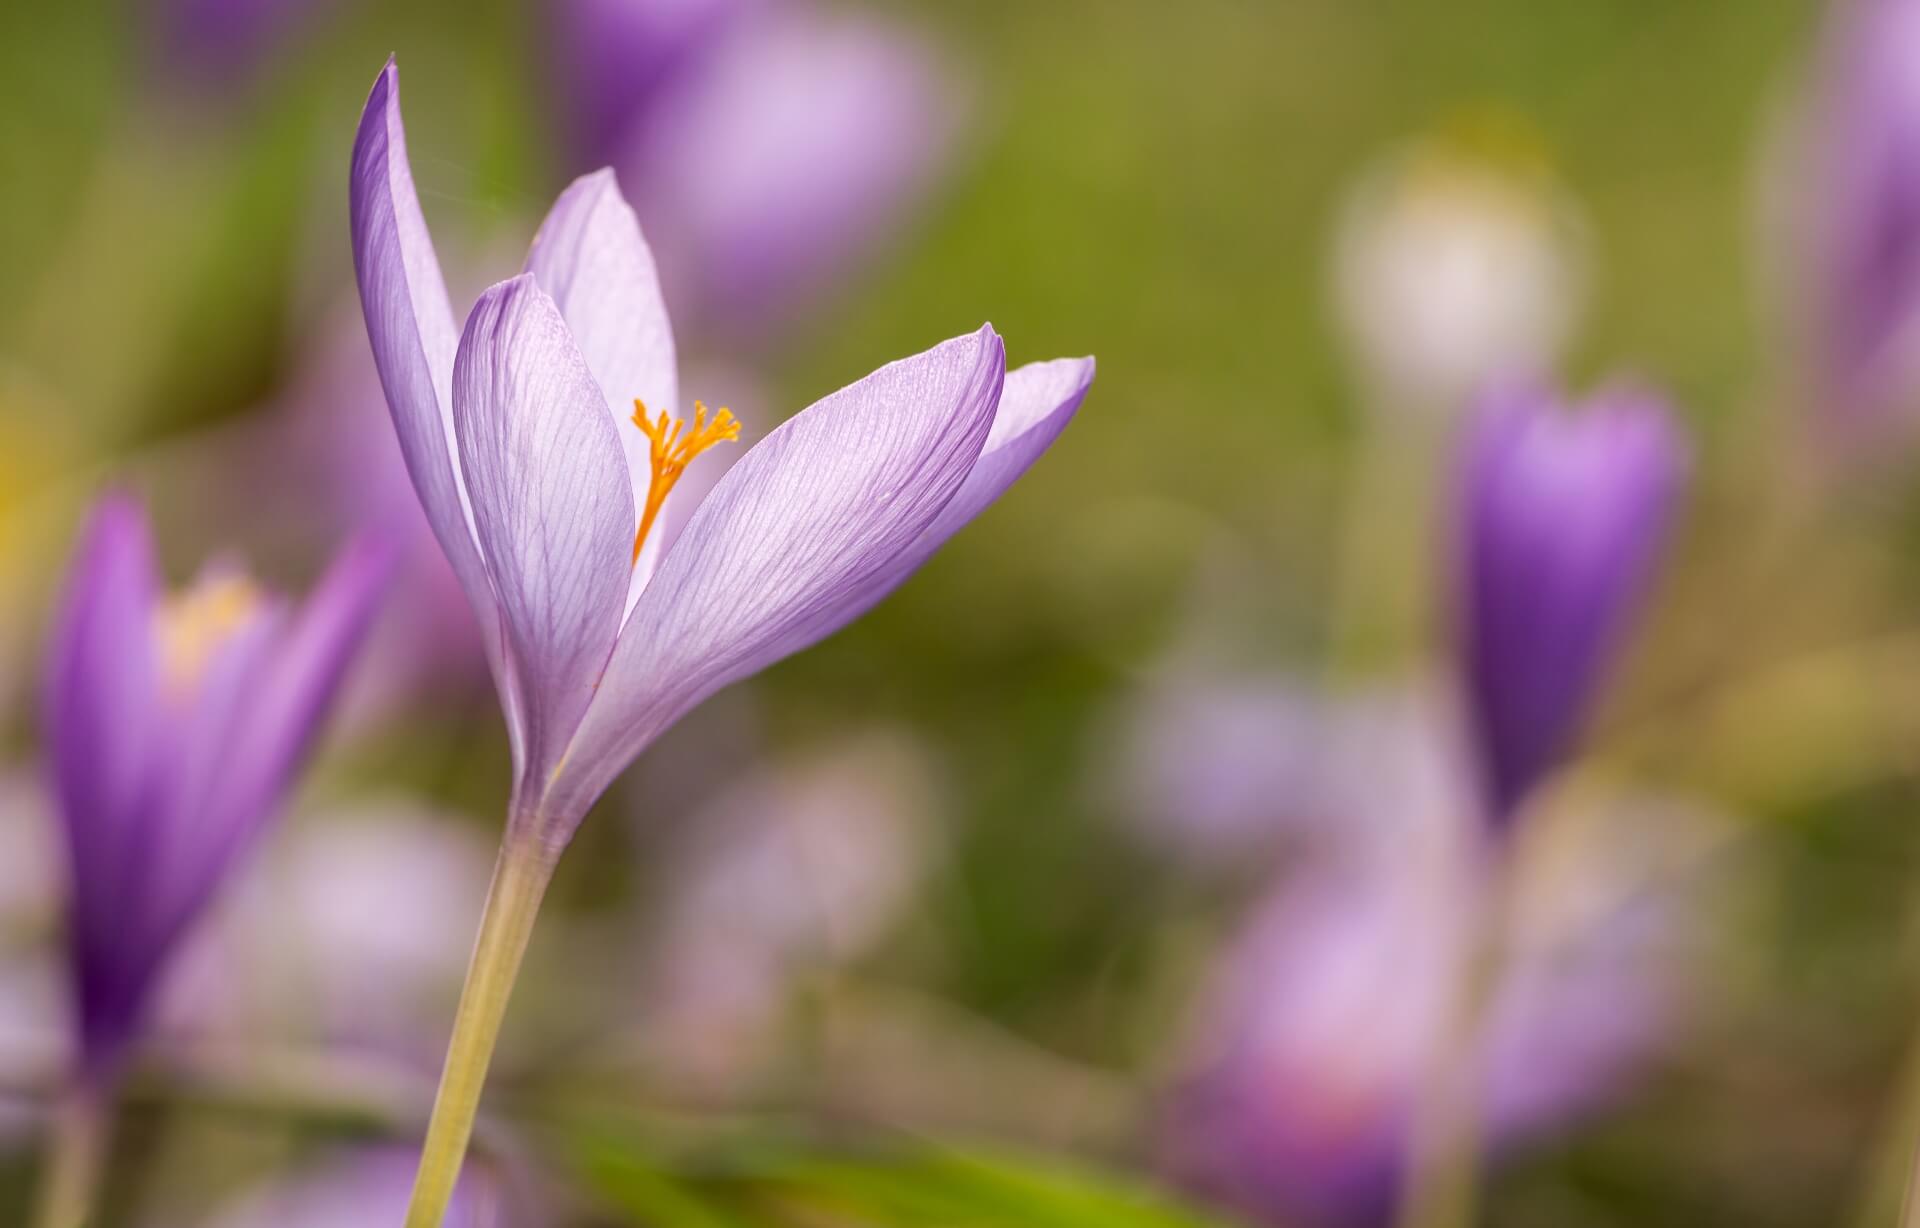
A flower in its entirety can look really magnificent. However, a lot of the time you can find more beauty in the details. So don’t be shy to get really close to your motif with your lens. Very often the inner portion of the flower, i.e. the pistil and stamens of the flower, makes a very interesting photo motif as well. Something else that is very popular for close-up shots is to photograph the plant with drops of dew gathered on its leaves or on its blossom. You’ll also often have the chance to photograph various insects while they’re resting on the flower pistil or stamens.
8. Choose the right equipment
When photographing flowers, you’re dealing with the area of macro photography. Here, using the right camera lens can make all the difference. For the occasional close-up shot, the kit lens that came with the camera will suffice most of the time. If, however, you often take macro shots, it would be worth investing in a macro lens with a focal length of 60-100 mm. Macro lenses offer a larger scale of reproduction, which allows you to depict small objects in great detail. The longer the focal length you select, the further away you can position yourself from your motif while still being able to take impressive close-up shots.
In order to produce the blurred-background effect mentioned above, it can be advantageous to use a fast lens, which will enable you to use larger f-numbers. When talking about this characteristic, lenses with a fixed focal length outperform other lenses due to their more simplified construction and design.
Like in many areas of photography, here, too, it’s sensible to make use of a tripod or stand. This will enable you to take your time to find the right position. Once you have your camera in the right place, you can try out various settings so you’ll be able to end up with optimal results. The live view mode will help you here to see how the various settings affect your photos directly on your screen.
9. View your photos while still on-site
When photographing in nature, there are always factors at play that can influence your photos. Especially the sharpness of your photos can be vastly affected by the wind. Thus, it’s a good idea to view your photos while still on-site to be able to retake certain shots with different settings should the results have turned out to be less than optimal. Zoom in very close on your camera display to make sure the focus is actually correct and to check if the whole of your main motif is depicted sharply.
After shooting, review your photos on a tablet or laptop. Viewing your photos on a larger and more high-quality display will help you better recognise shortcomings in your photographs.
Conclusion
Flowers, as a main motif for your photographs, are especially photogenic and extremely multifaceted in their appearance. Flowers come in a wide-multitude of various colours and forms, which can be photographed from many different perspectives.
Since flowers tend to remain still most of the time, it’s the perfect motif for photographers who are just starting out. You can use flowers to try out various perspectives and numerous settings, as well as play around with different levels of sharpness and blurriness. However, even for more advanced photographers and pros, flowers will never lose their appeal.
