Gift a Heart of Photos This Mother’s Day
The Happiest Memories Crafted for Mum
You probably have countless great holiday and family photos. Sadly, it’s nigh impossible to frame all our happiest memories and hang them on the wall. That’s where a collage comes in. We’ll show you three DIY collages, embellished with photos, words of love, and messages for surprising Mum on her day.
Choosing Photos for Your Collage
Before scanning or searching for your photos on that old hard drive, take a moment to consider how you’ll form your heart collage. To make it easy for you, our templates have many different arrangement options. Answer the following questions: How many photos will you need? In landscape or portrait format? Where will it be hung, and which colours do you want?
The pictures below demonstrate a few possibilities for organizing photos in various formats. The colours of the third image demonstrate varying photo sizes and formats, and how many of each you’ll need.
Once you’ve collected the perfect photos, you can apply an image filter as photos in the same style will make the finished collage look much more natural. Online tools or smartphone apps are the best tools for this. For a particularly personal note, add words of wisdom or love to your collage.
Variant 1 - A Digital Photo Collage
Canva offers you a super-easy way to create your own photo collage. Using a template, you can easily create a heart-shaped collage. Simply save it as a JPG and upload it to your product on ifolor. We'll show you how it's done in a step-by-step tutorial:
1. before you get started with Canva, all you need is a template for your heart layout. We have created some templates for you to download:
2. Next, create a custom design in Canva using a 30x30 cm format - perfect for the ifolor Photo Poster as it is the same size.
3. Upload your layout template to Canva, add it to your custom design and upload a selection of your favourite images.
4. Place your photos on the pink areas of the template and drag them to the appropriate size of the rectangles and/or squares. Make sure that the pink areas are completely covered so that there are no pink edges left on the finished image.
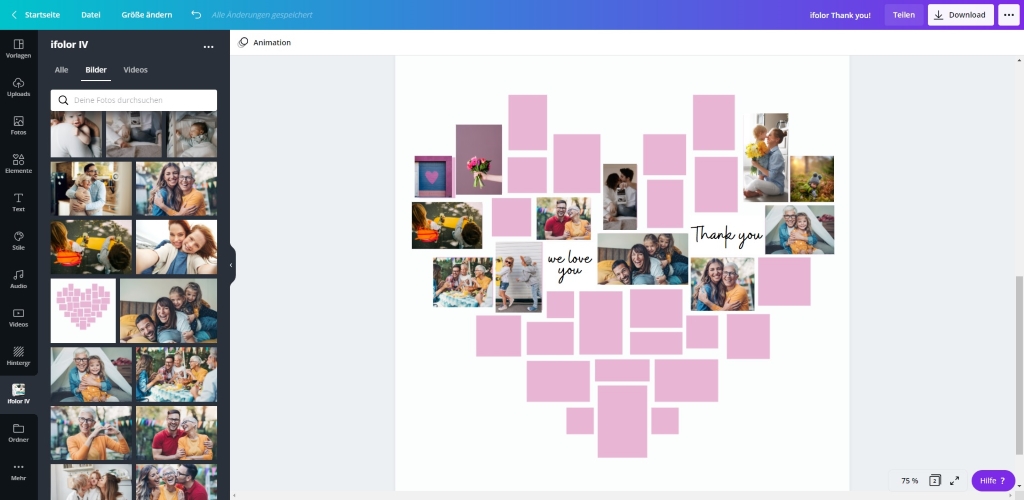
5. instead of using images, you can add text in some areas.
6. Finally, save your Canva design as a JPG file and download it. Now you can upload it as a normal image into the ifolor online editor or Designer to create your Photo Poster.
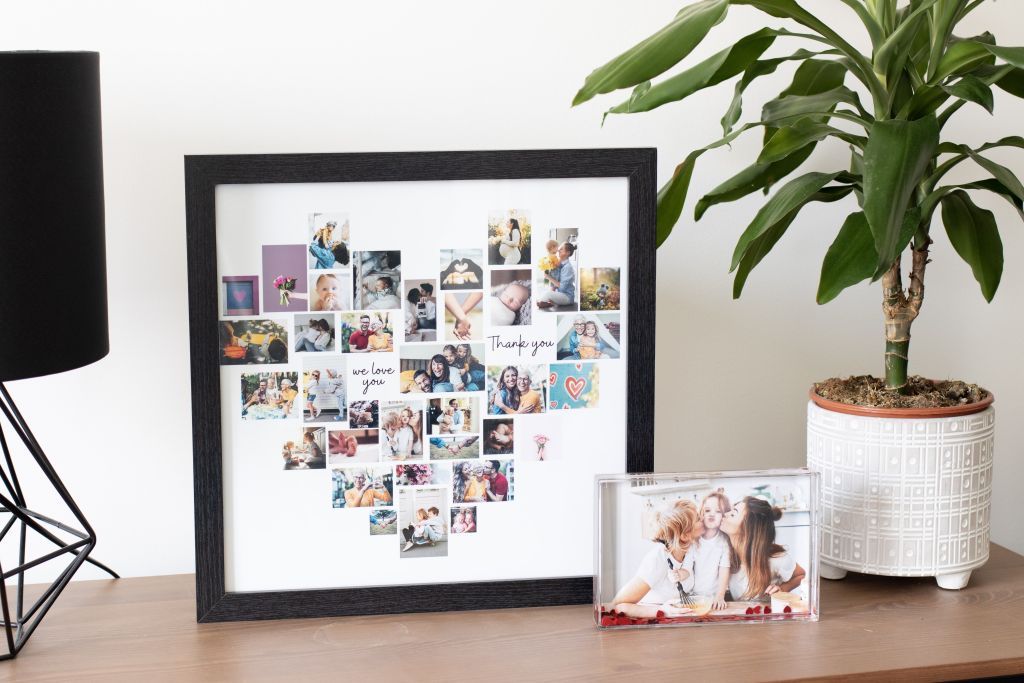
7. Place the finished Photo Poster with the heart mosaic in a smart frame and you've got a classy and personal gift for Mother's Day.
Tip
The ifolor Photo Poster is perfect for your photo heart because it is printed over the entire surface. With other wall decorations, such as the Photo Canvas, parts of the outer edge of the image are cut off during printing, which is why your photo heart would have to be reduced in size beforehand.
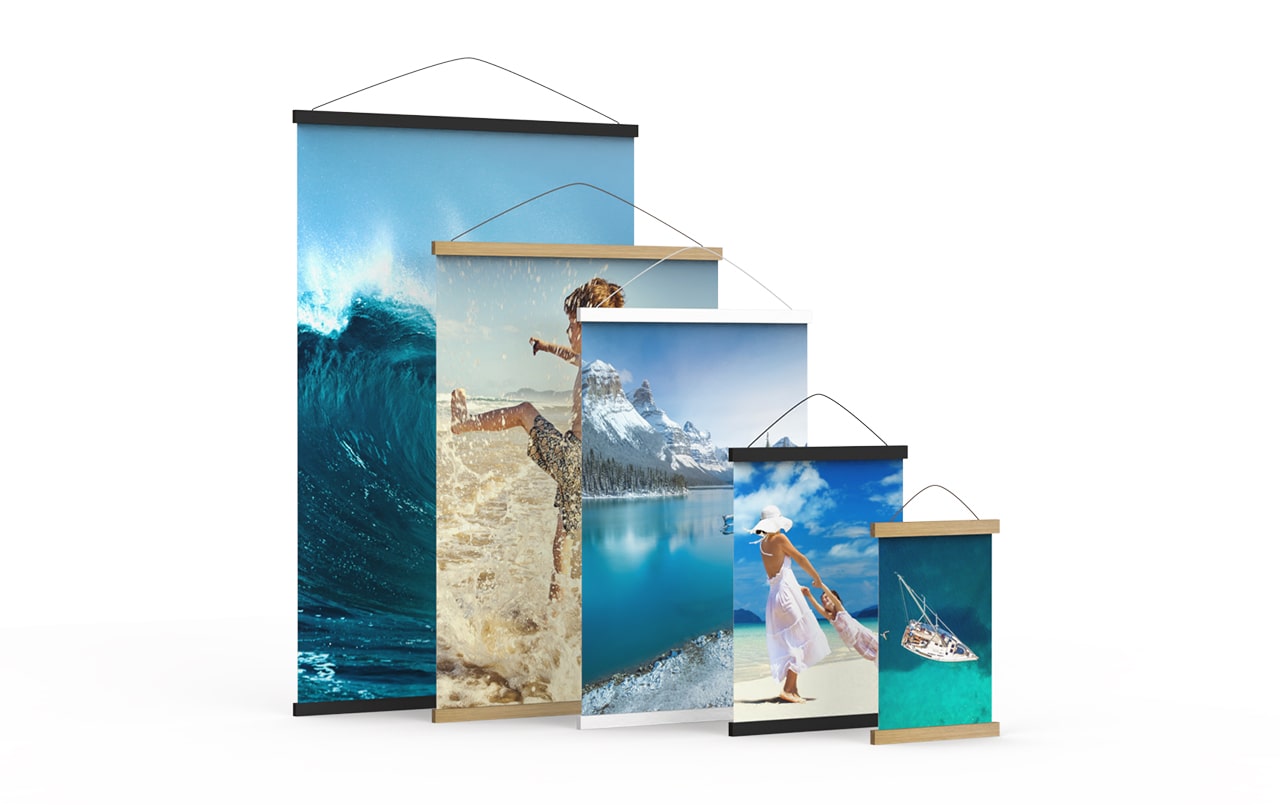
Poster hanger for your heart shaped photo
Display your fantastic large-format photo prints and photo posters with a magnetic wooden poster strip. Choose the correct size and slot your picture into the frame in just a few simple steps.
Variant 2: Stick Your Photos in a Heart Shape
Another possibility for a heart mosaic is a self-assembled collage of photo prints. Before you order your photos, once again consider how you’d like to order them. If they were not taken with the same camera (and therefore aren’t uniform), a random order of the photos is the most fitting for your collage.
Collect about 40 photos in portrait, landscape, or square format. To make it look more coherent, add the same filter to all the photos. The finished prints can be glued to a large piece of A2 cardboard or mounted directly on the wall.
Arrange all of the pictures on a table first. To ensure a heart shape, you can use masking tape to make a heart on the table or floor. Afterwards you can simply remove the tape and throw it away without leaving a residue. If you choose to place your photos on a poster, using a pencil, trace a heart on the poster and arrange the photos on top.
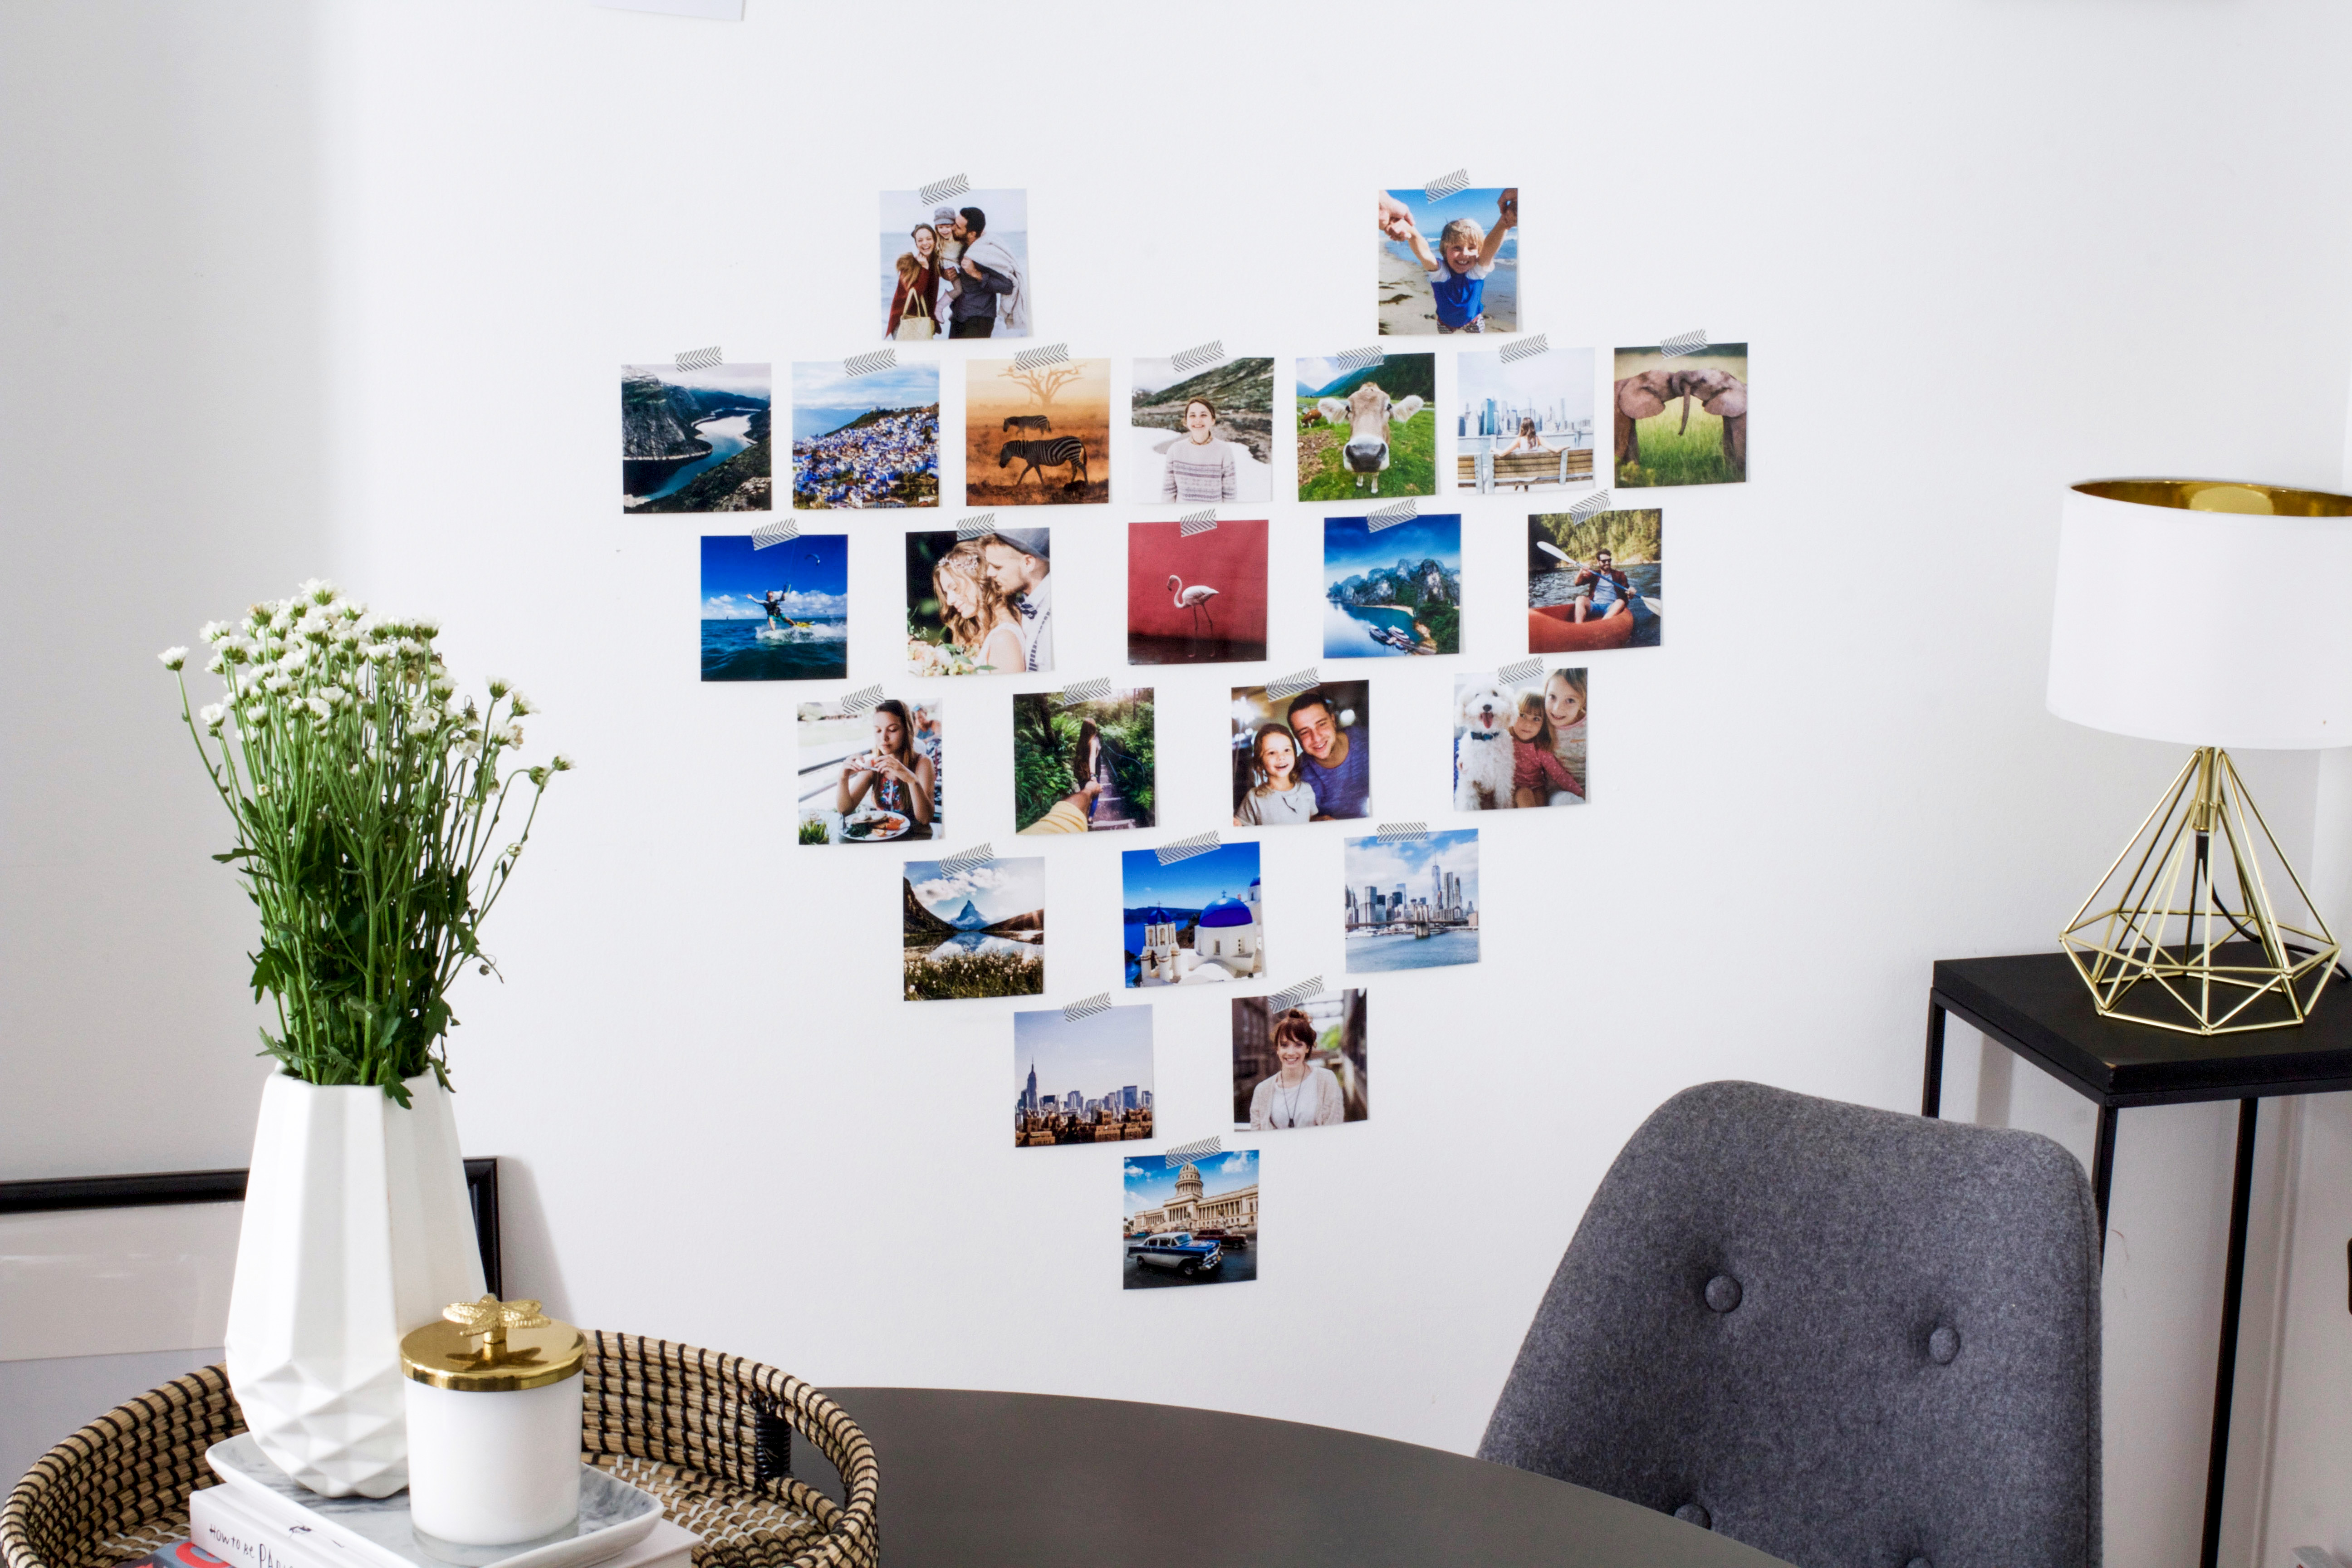
Take your time rearranging and sorting your photos until you’re totally satisfied with the result. Then paste your photos one by one on the poster or the wall. Small adhesive photo strips or washi tape are suitable for attaching to the wall. If attaching directly to the wall, measure approximately the heart you already created on table or floor and mark the size on the wall. Begin in the middle of the heart and work outwards toward the edges. The first row must be arranged perfectly straight, otherwise your heart will become crooked. A spirit level and tiny pencil markings can help you with this. Always start the following rows in the middle, working outwards. To finish, use tiny photo tape strips.
Tip
If you don’t have a level to hand, you can also download one as an app. Always step back from your work from time to time to check your work. Your heart should be finished in 20 minutes!
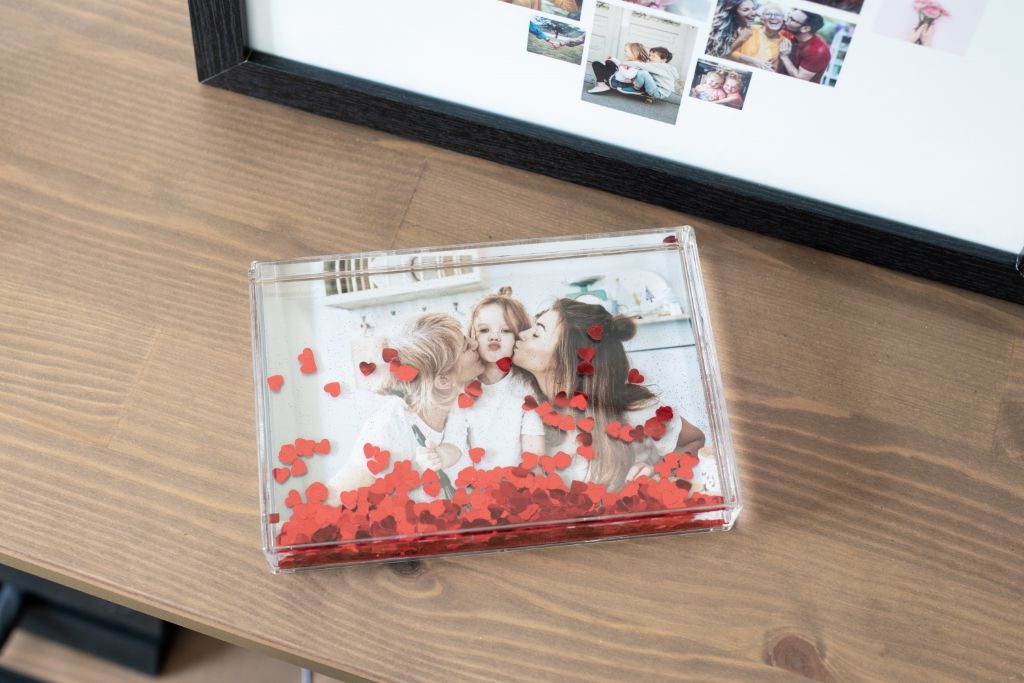
Variant 3: Shake Photo Frame with Hearts
With the ifolor Shake Photo Frame with sparkling hearts, you can share your favourite memories with your mum in just a few steps: order your best photos of you together in 10x15cm prints and add the shaker frame with heart filling. Although only one photo fits into the stylish frame, it can be exchanged at any time in no time at all. Give your mum a small selection of photos to go with the shaker frame so that she can choose her favourite image at any time.
Loving Words and Sayings for Your Collage
In order to spruce up your mosaic, we prepared a few appropriate Mother’s Day sayings for you to download. They are in JPG picture format, and they can be printed as digital photos in all formats.


