Creative Photo Gifts
Creative Gift Ideas Perfect for Any Occasion
Individually designed gifts are not only truly unique, but you can also personalise them to bring a smile to your loved ones’ faces. Photos full of wonderful memories are particularly suitable for personalised gifts for any occasion. They are ideal for weddings, Mother's Day, Father's Day, birthdays or simply as a lovely surprise. In this article there are four creative gift ideas for photo gifts.
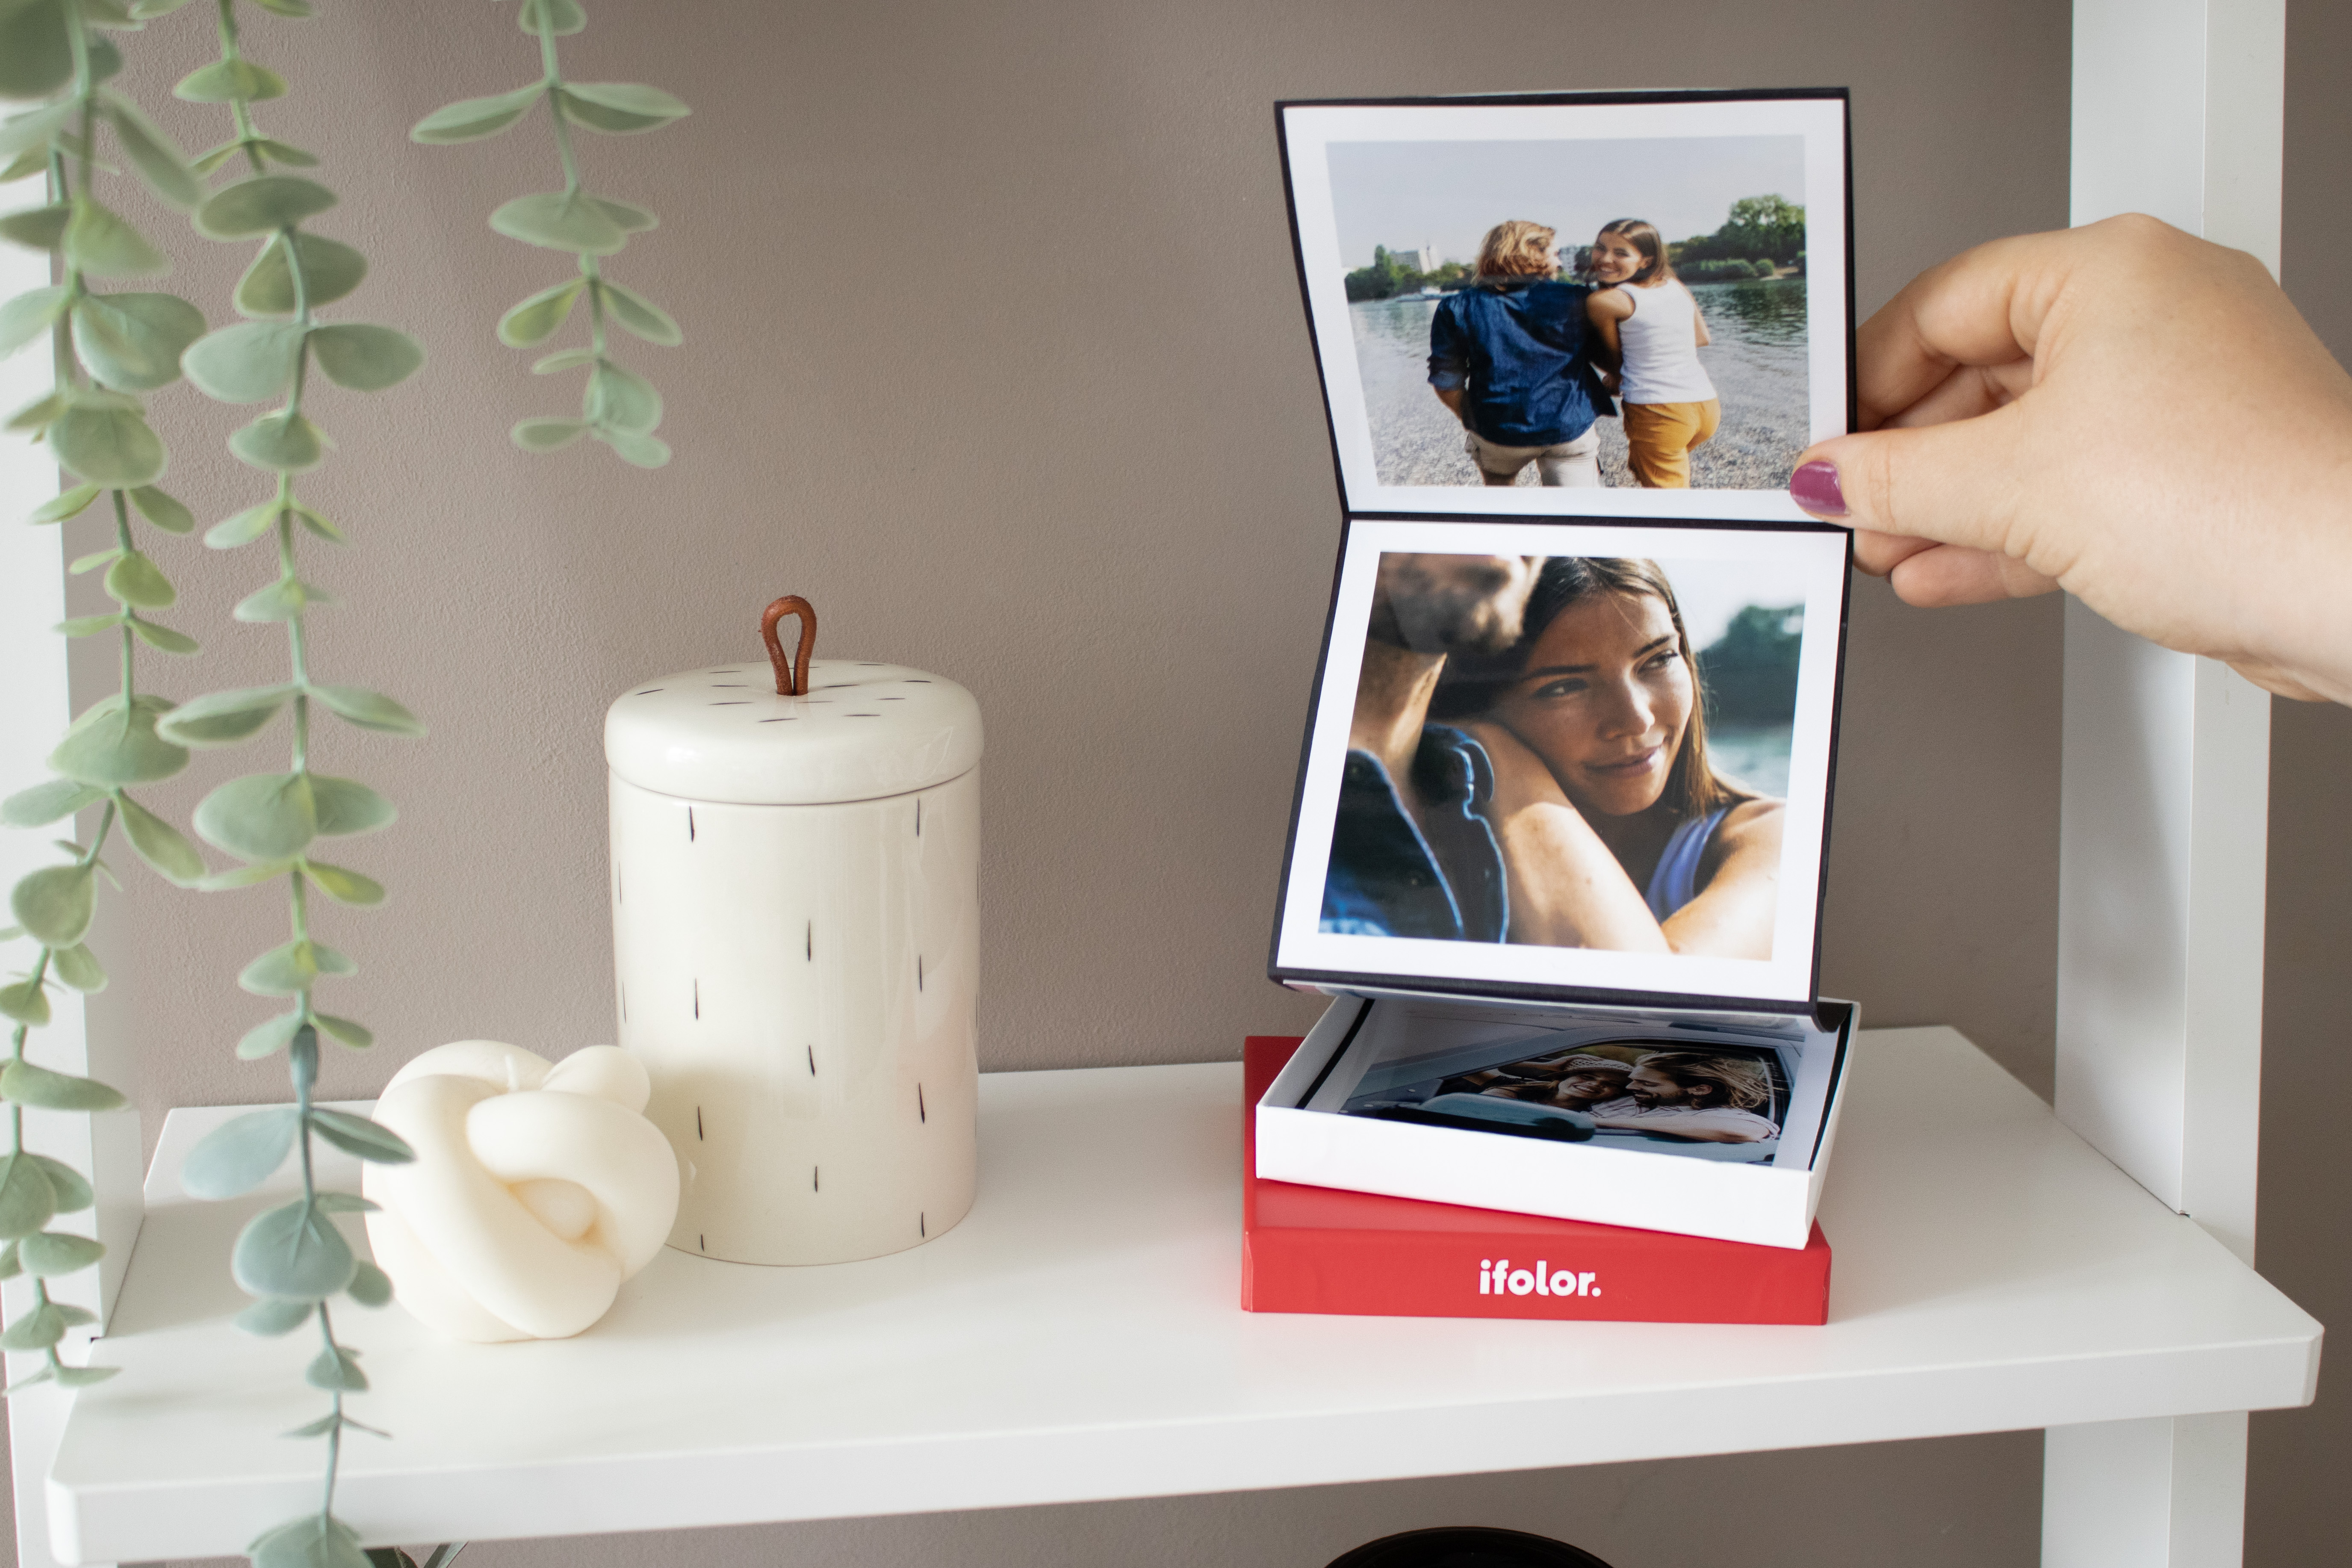
Leporello with Square Prints
As a birthday surprise, for Mother's Day, Valentine's Day or simply a gift for that special person in your life, you can easily make your own small folding book with your favourite photos. This fan-fold book shaped like an accordion is easy to make and you will only need a couple of things.
Here is what you will need:
- Photos all in the same size, for example, square prints from ifolor
- A thick sheet of paper or cardboard for the bottom of your Leporello
- A pair of scissors
- Ruler
- Craft glue or double sided tape
- Optional: pens, stickers, washi tape etc.
Method:
- Start by cutting your piece of cardboard or paper into strips. The width of the strips should match the height of your photos. The length of the strips depends on the number of photos and how long you want your Leporello to be. If you need several strips of paper to achieve the desired length, you can simply glue them together later.
- Next, fold the strip(s) alternately forwards and backwards like an accordion. The length of each section should be the same as the width of your photos. It’s best to use a ruler to make sure each fold has the same length.
- Now, stick your photos onto the folded sections of the strips using glue or double sided tape. You can also add washi tape or small stickers to your photos.
- Finally, cut out two pieces of cardboard the same size as your photos and glue them to the two ends of the Leporello to make it more stable. Optionally, you can secure the ends in a box by gluing one end to the bottom of the box and the other to the top of the box. This way, your Leporello is nicely packaged when folded.
Tip
Your square prints will be delivered in a pretty box that you can use as packaging for your Leporello. Cover the box and the lid with wrapping paper, stick the ends of the folded booklet into the bottom and top of the box and your photo gift is all done and beautifully wrapped.
Homemade Flower Frame
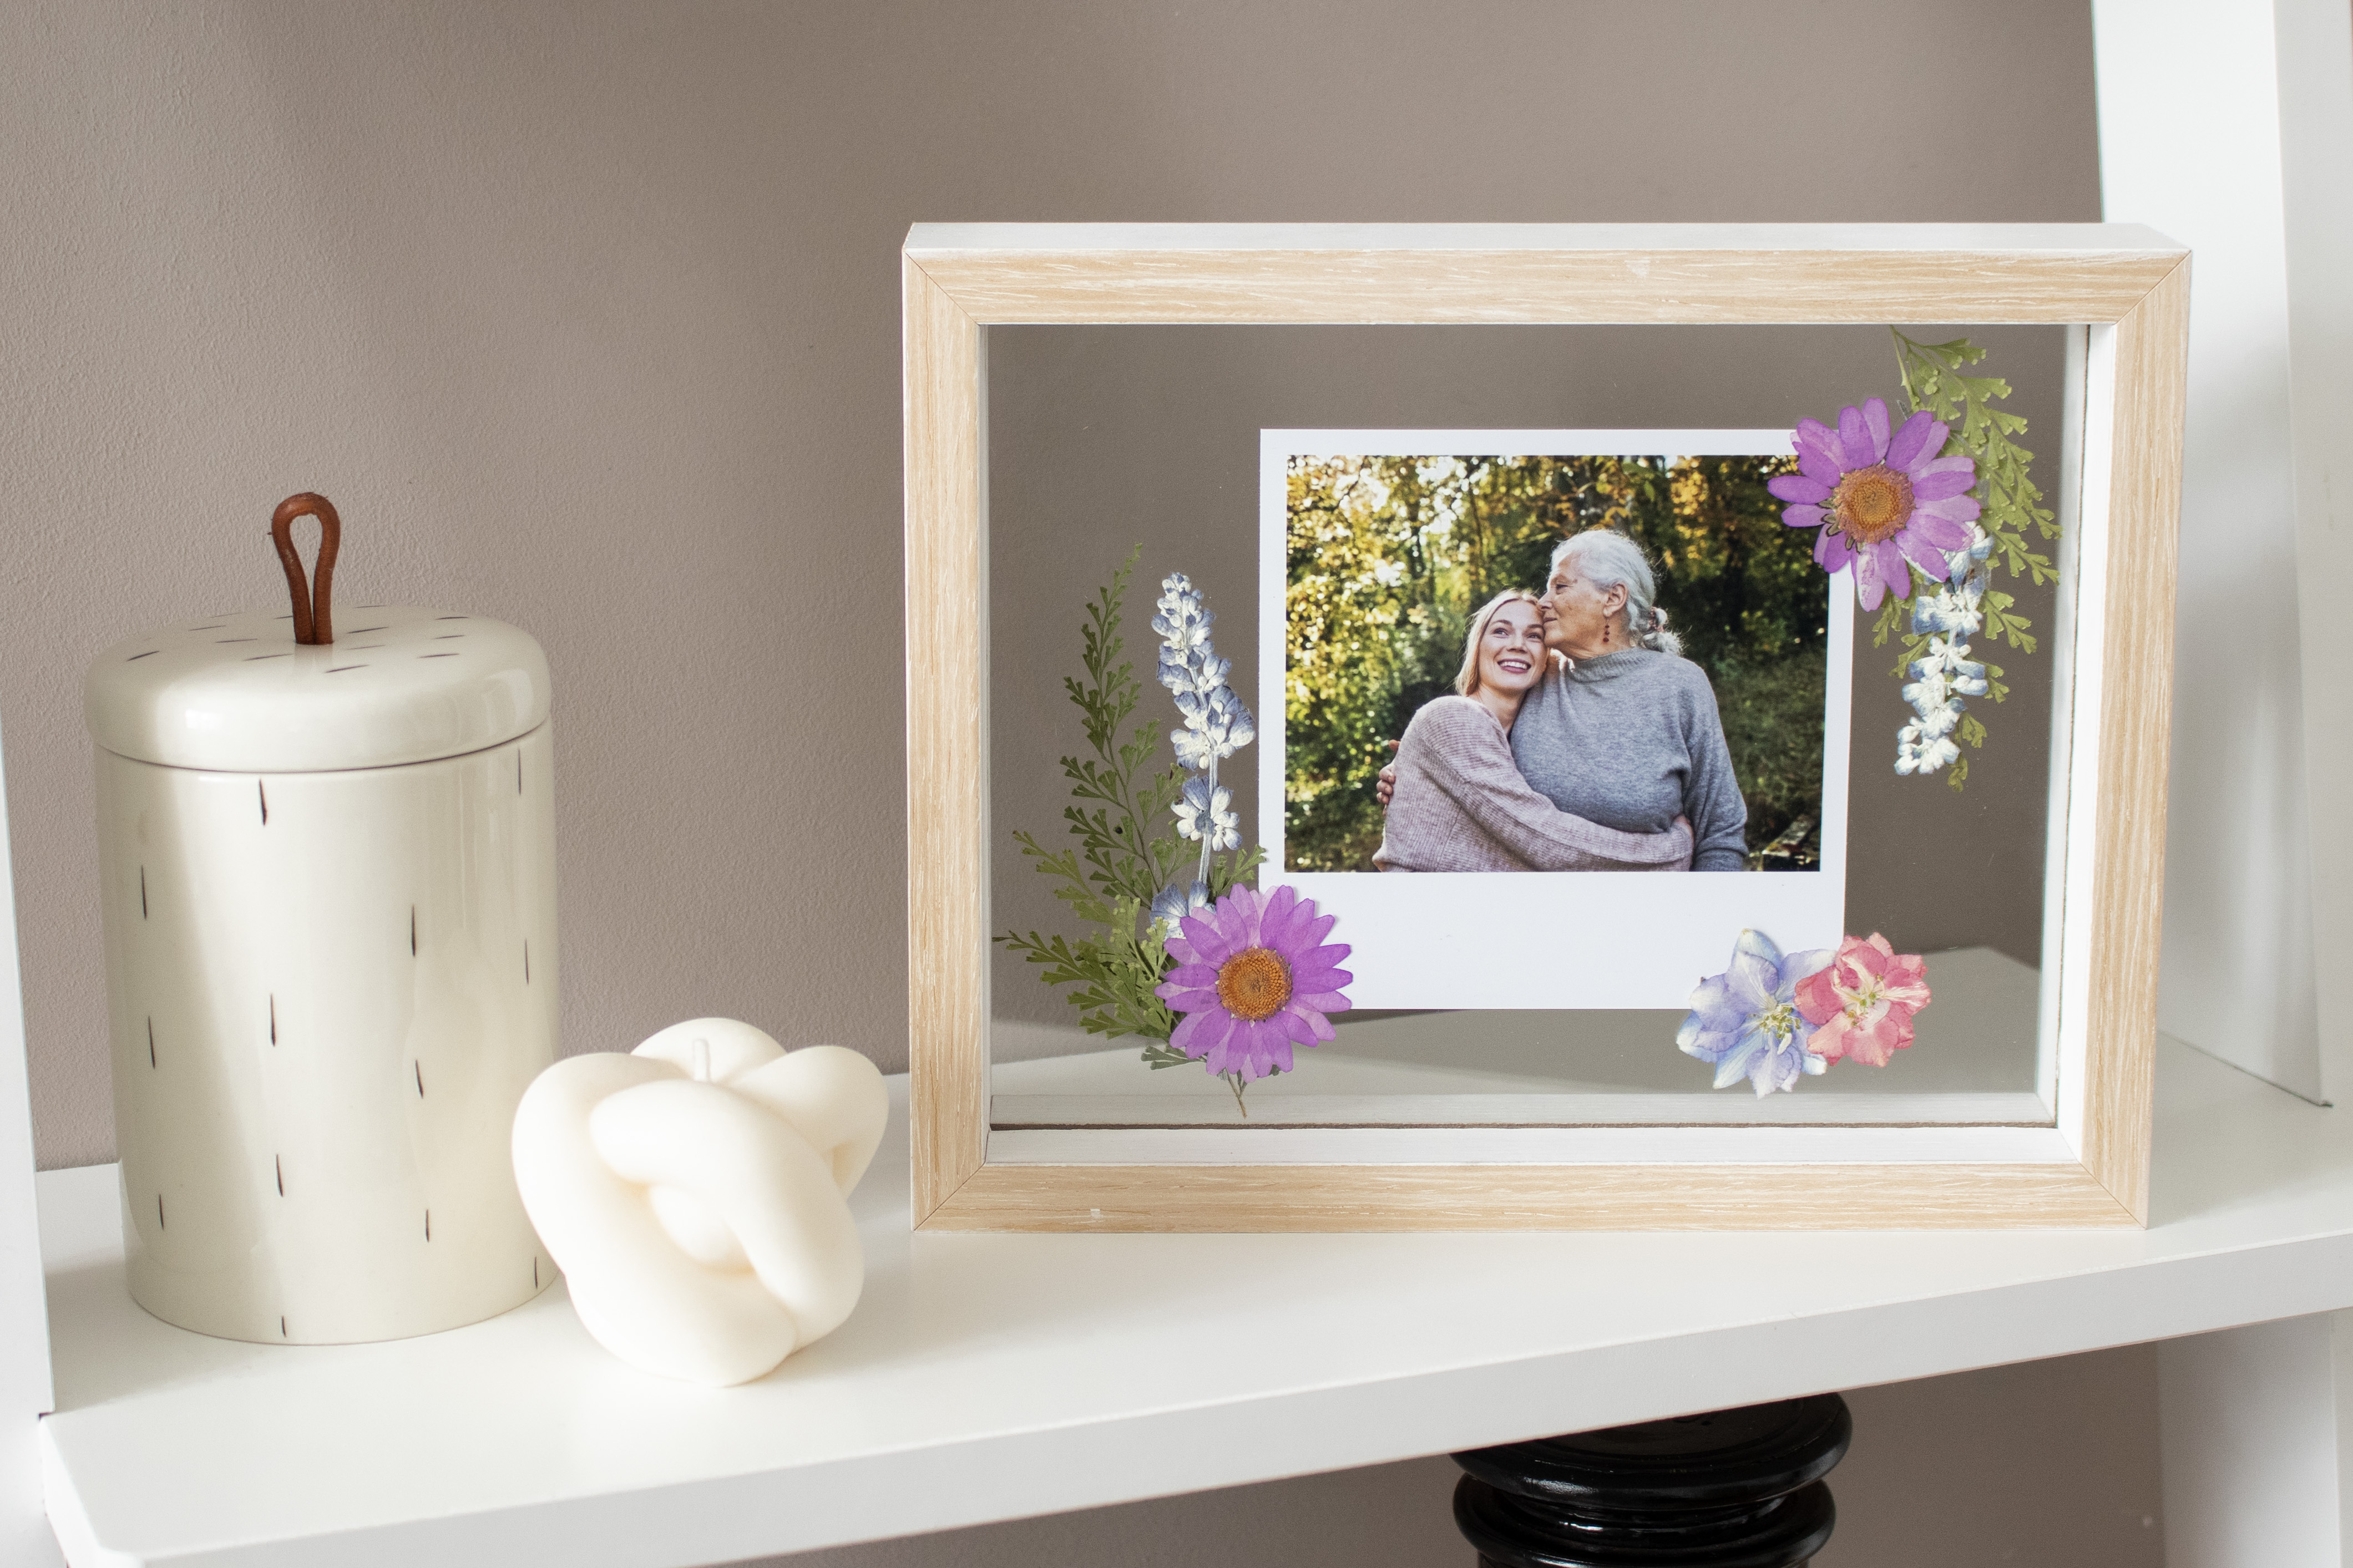
This gift idea is a great alternative to a classic bouquet of flowers. You can make a homemade flower frame with a special photo. This gift idea can be created in no time at all and is therefore also suitable as a last-minute gift.
Here is what you will need:
- Pressed dried flowers and leaves, which can also be bought
- A double glass frame
- One or several photos
Square Prints for Your Photo Gifts
The square prints from ifolor have a square format and come optionally with a white border, which makes them perfect for your creative craft ideas. You can order them in a pack of 24 and they will be delivered to your home in a lovely box.
Retro Prints for a Vintage Look
The retro prints from ifolor have a white border, while the lower, wider edge leaves space for a small message. They will come in a box and as a pack of 24.
Once you have everything you need, you can create your own individual flower frame in just a few simple steps. This idea is suitable for small frames with one photo or for larger frames with several photos or a collage.
Method:
- Start off, by putting the open double glass frame on the table in front of you.
- Next, put the photos and dried flowers anywhere on one of the sides of the frame. Now, place the second glass pane on top and slide both of them together into the frame, however, this may vary depending on the type of photo frame.
- Voilà, your wonderful creative gift is all done.
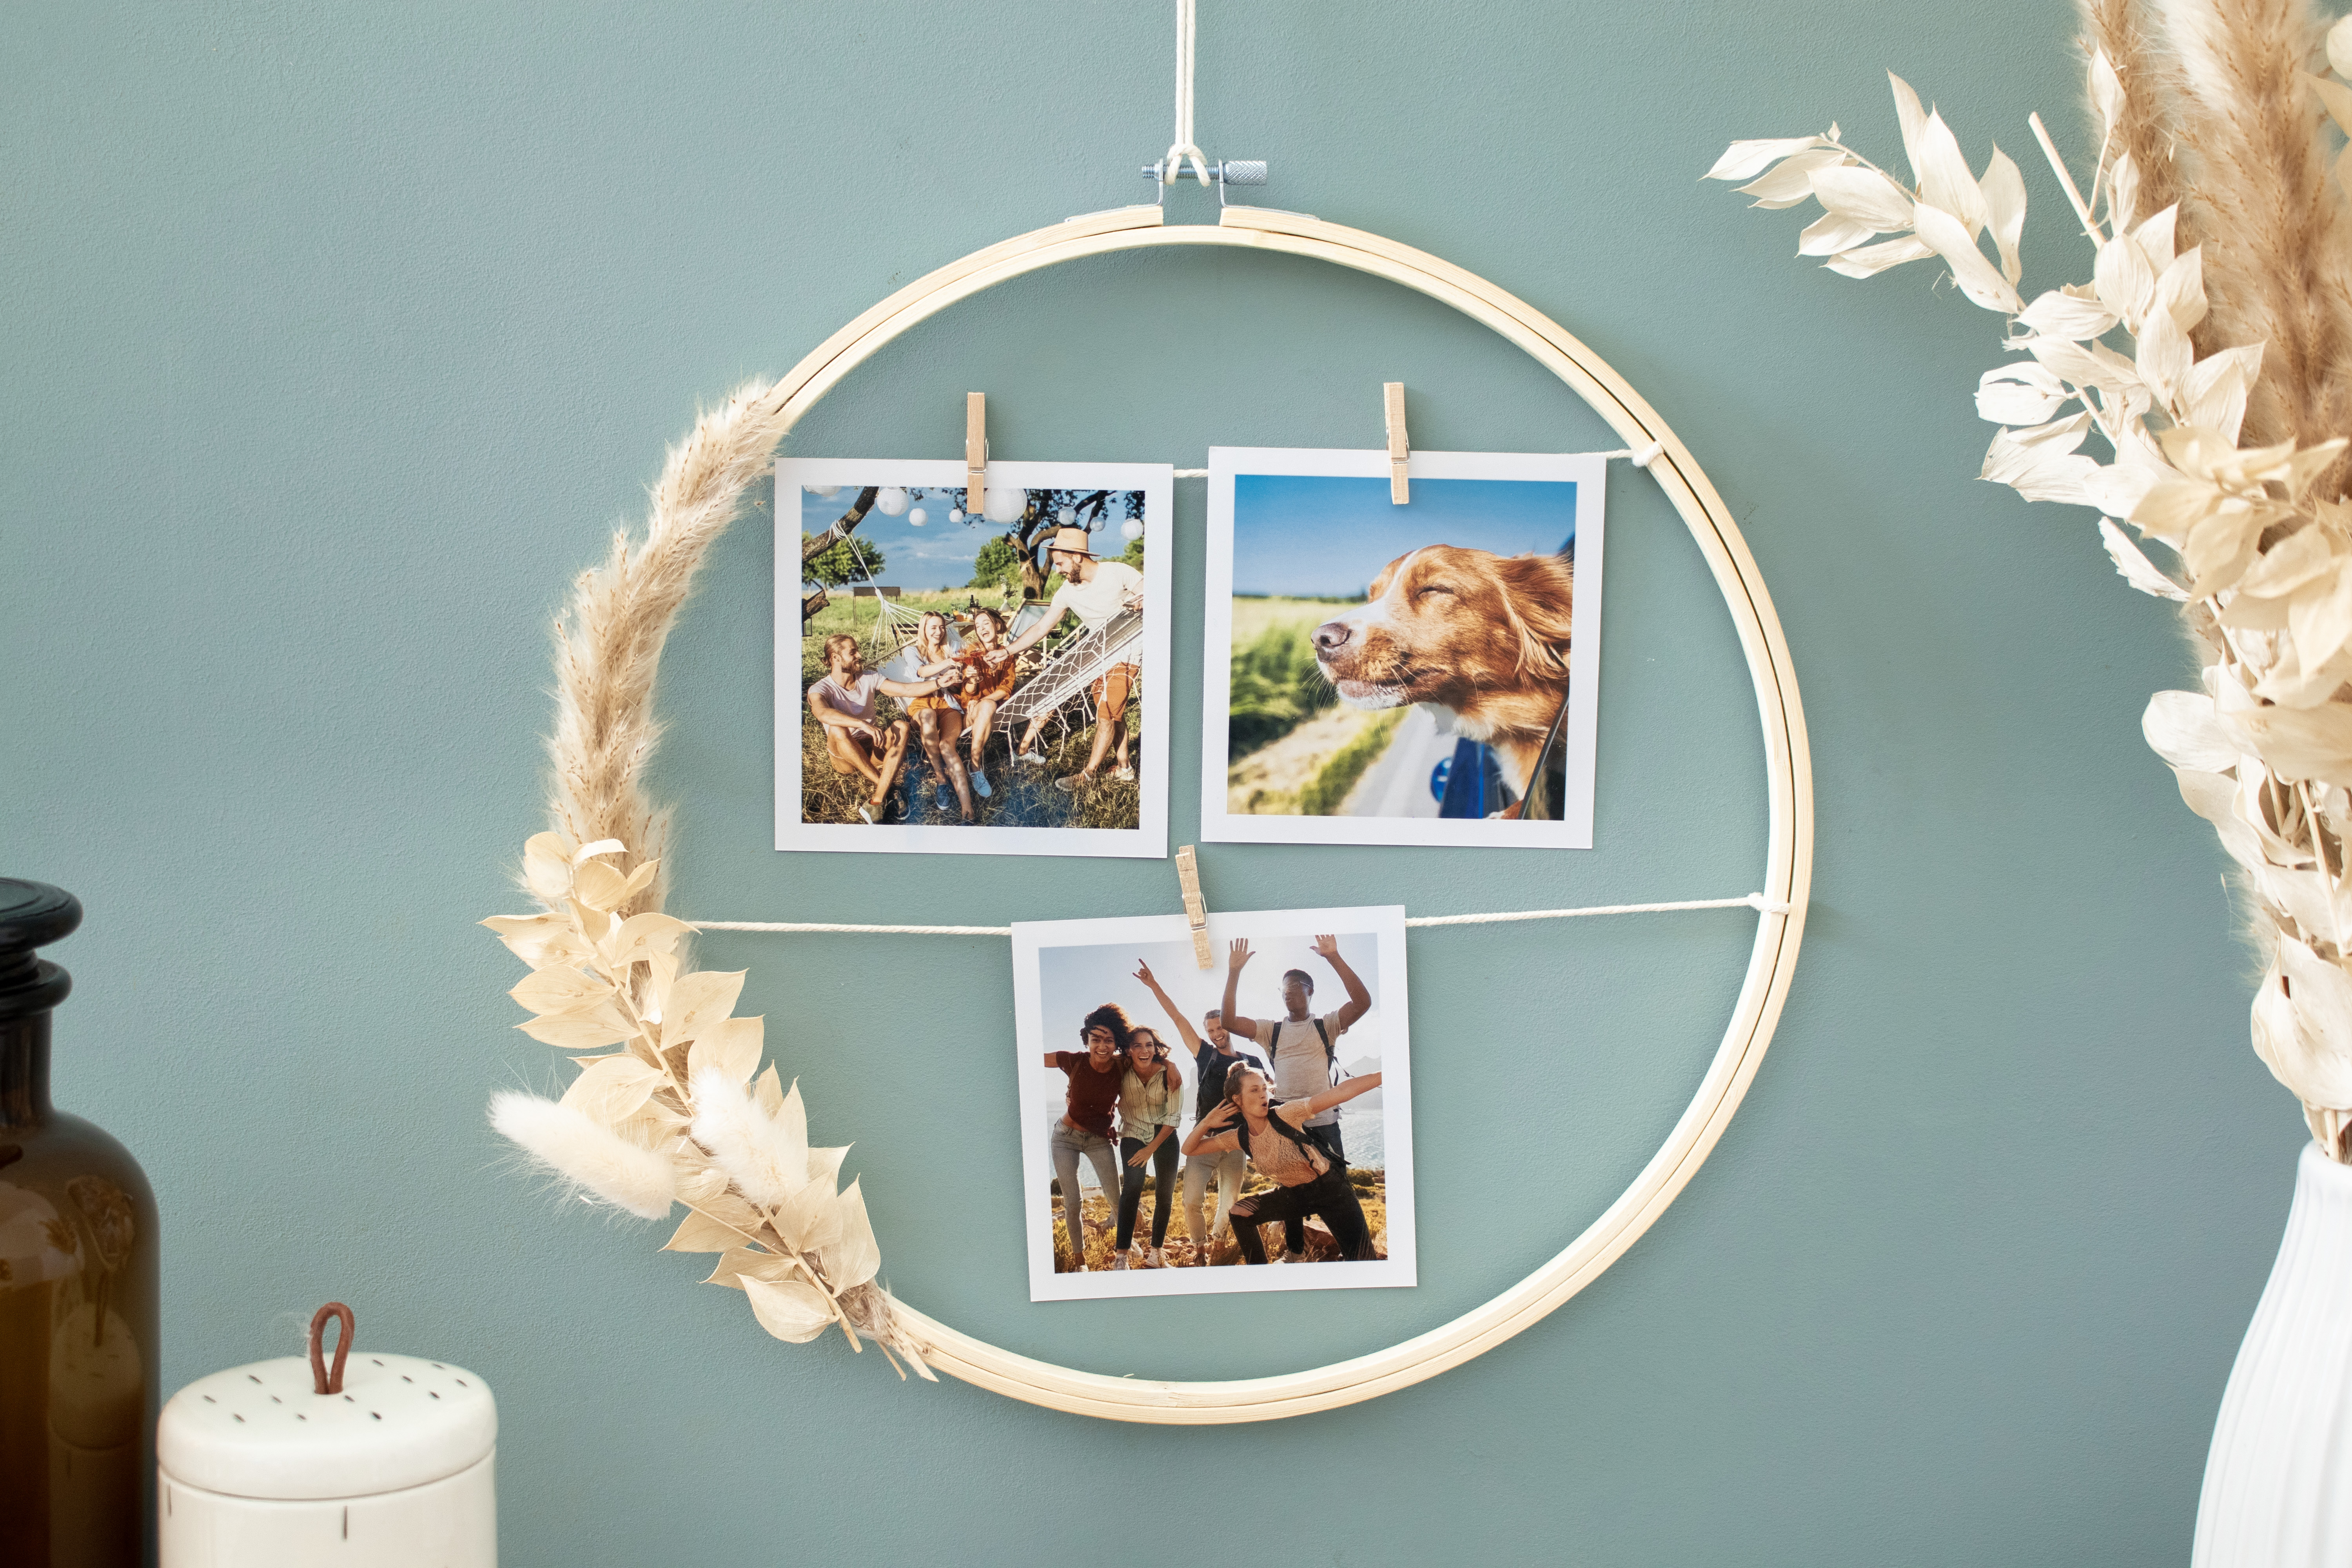
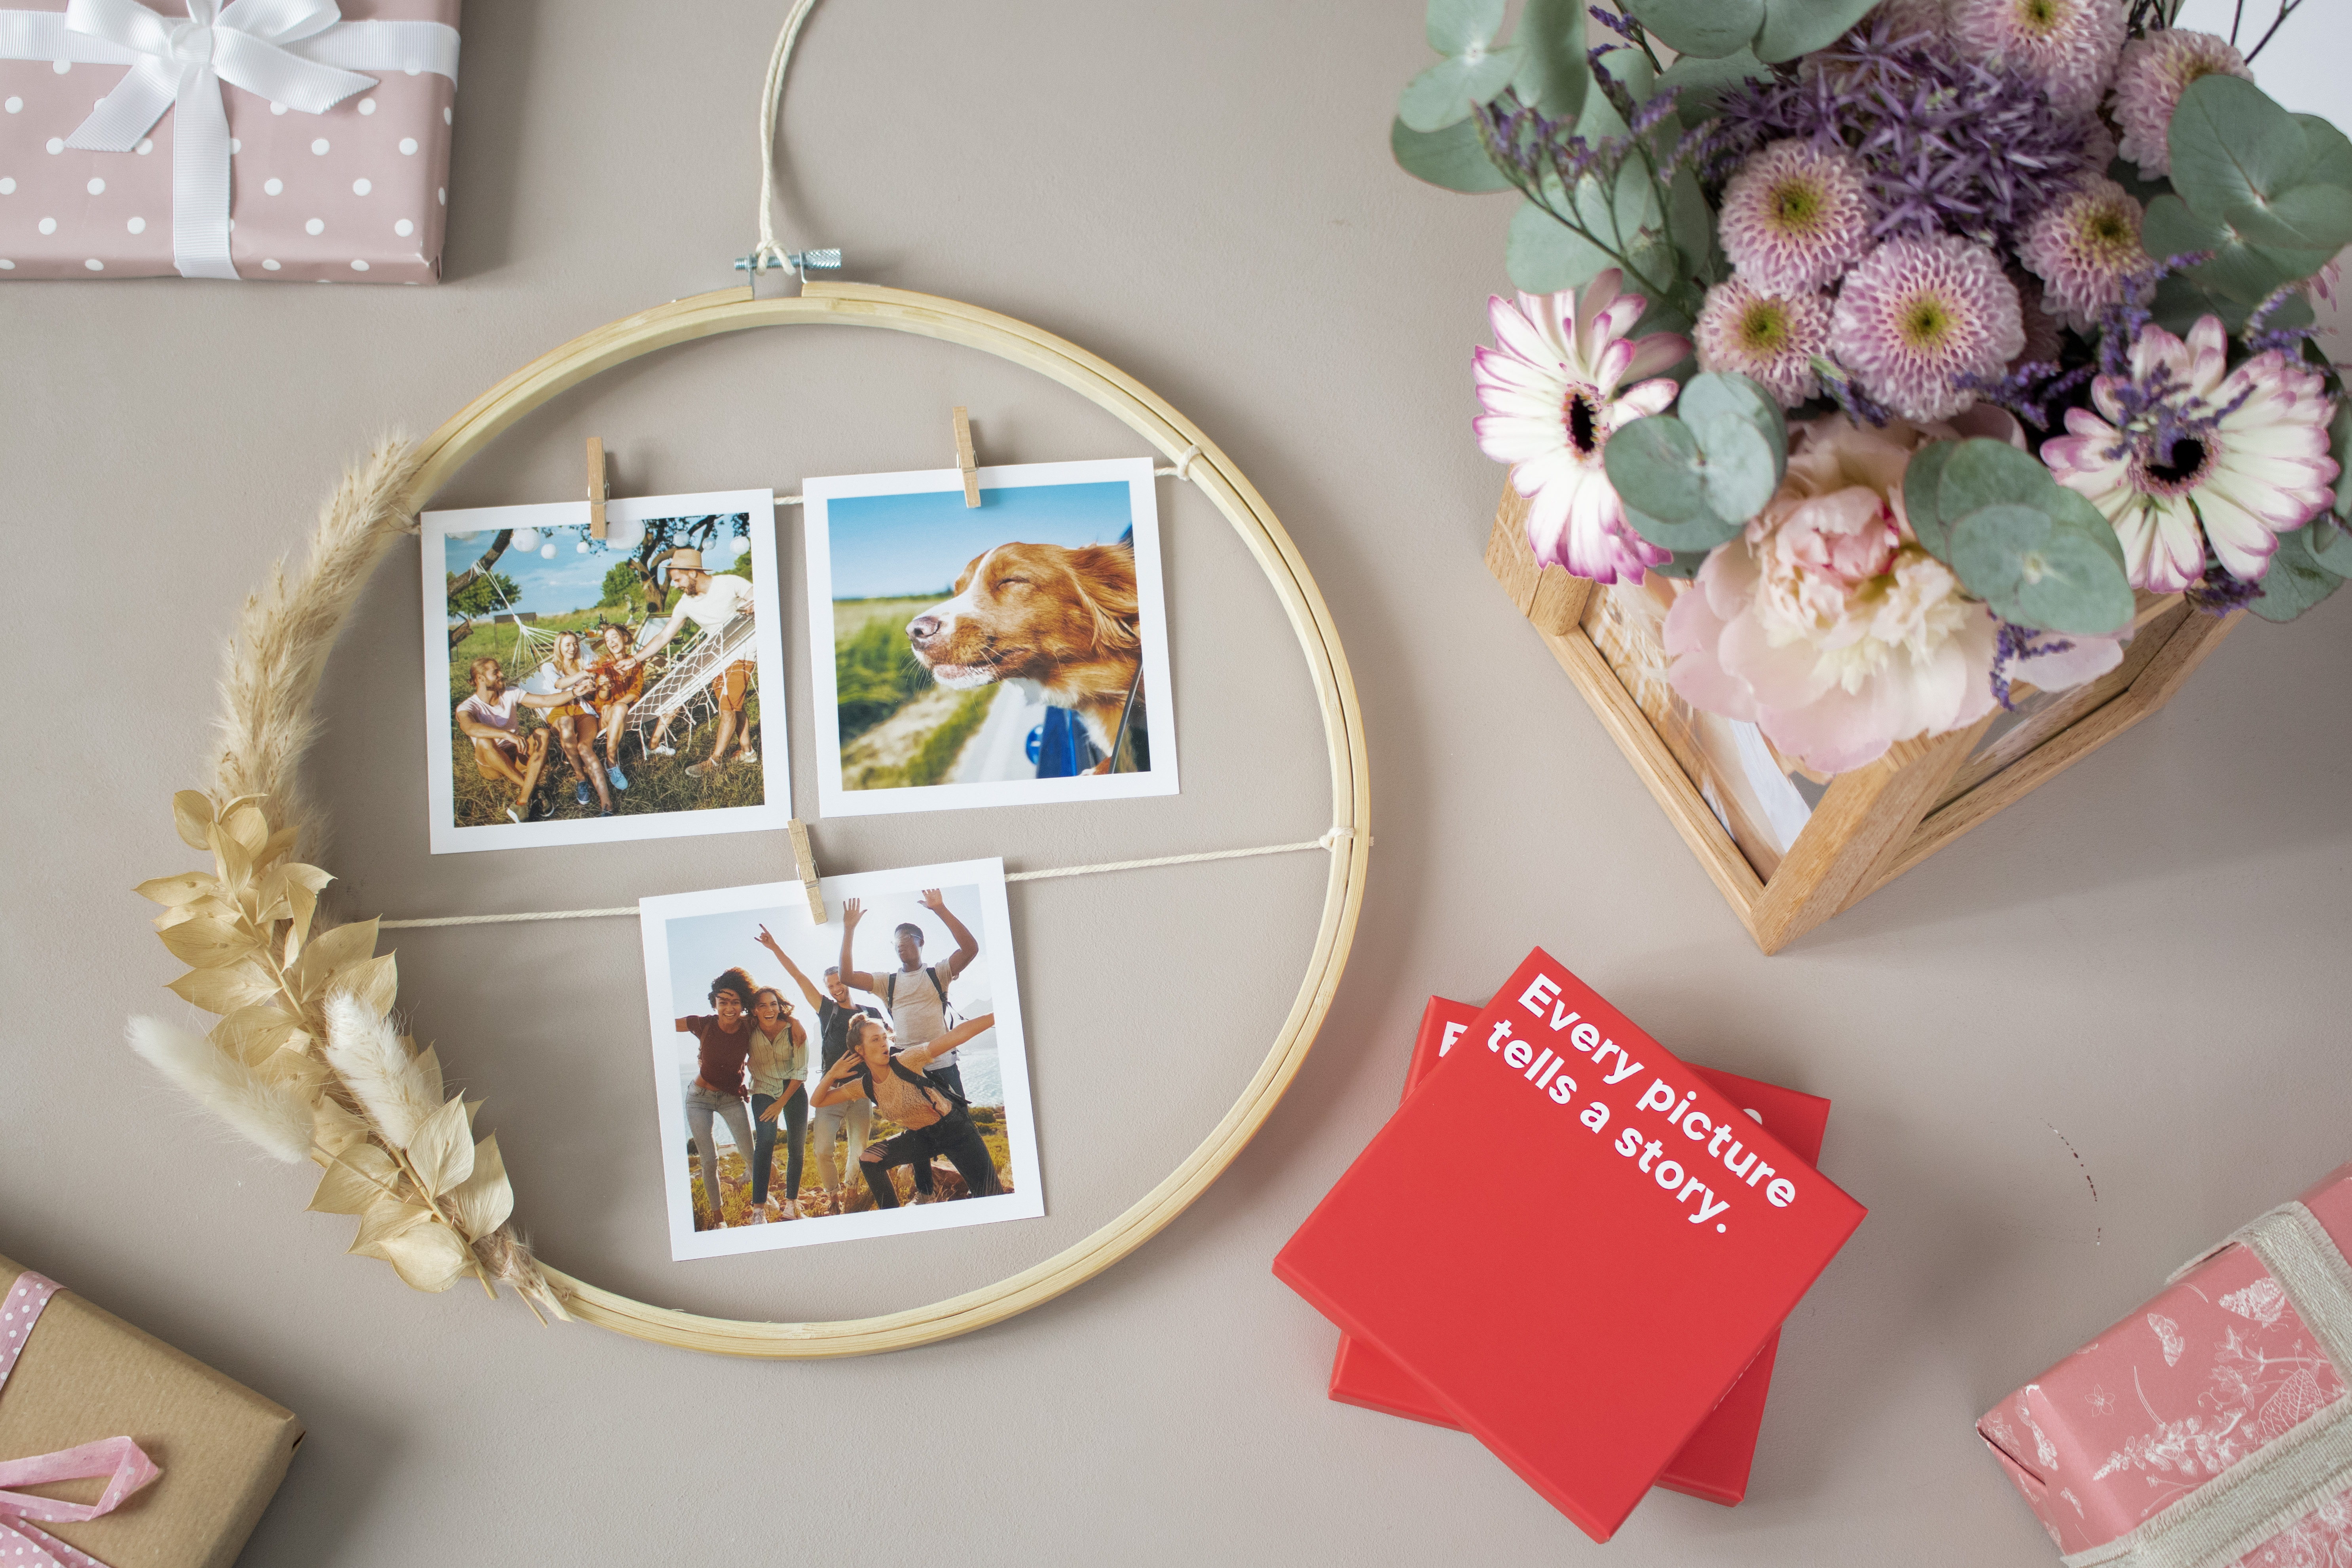
Decorative Metal Ring with Your Favourite Photos
You can create a fantastic decoration for your home, for a wedding reception or a personal gift with sentimental value using a decorative metal or wooden ring and your favourite photos!
Here is what you will need:
- Photos, for example square or vintage prints
- Decorative rings made of wood or metal in any size
- String, for example, jute yarn
- Small wooden clips
- A pair of scissors
- Optional: flowers, twigs, pompoms to add the finishing touches
Method:
- Start by wrapping some string vertically, horizontally or criss-cross through the metal ring. To fasten, simply knot the ends of the string around the hoop. You can tie a small loop at the top end so that you can hang it up later.
- Next, decorate your metal ring with dried flowers, paper pompoms, gold glitter etc.
- Now, attach your photos to the rows of string using small wooden clips. Your individually designed metal ring with a photo collage is now ready to be hung up or given as a gift.
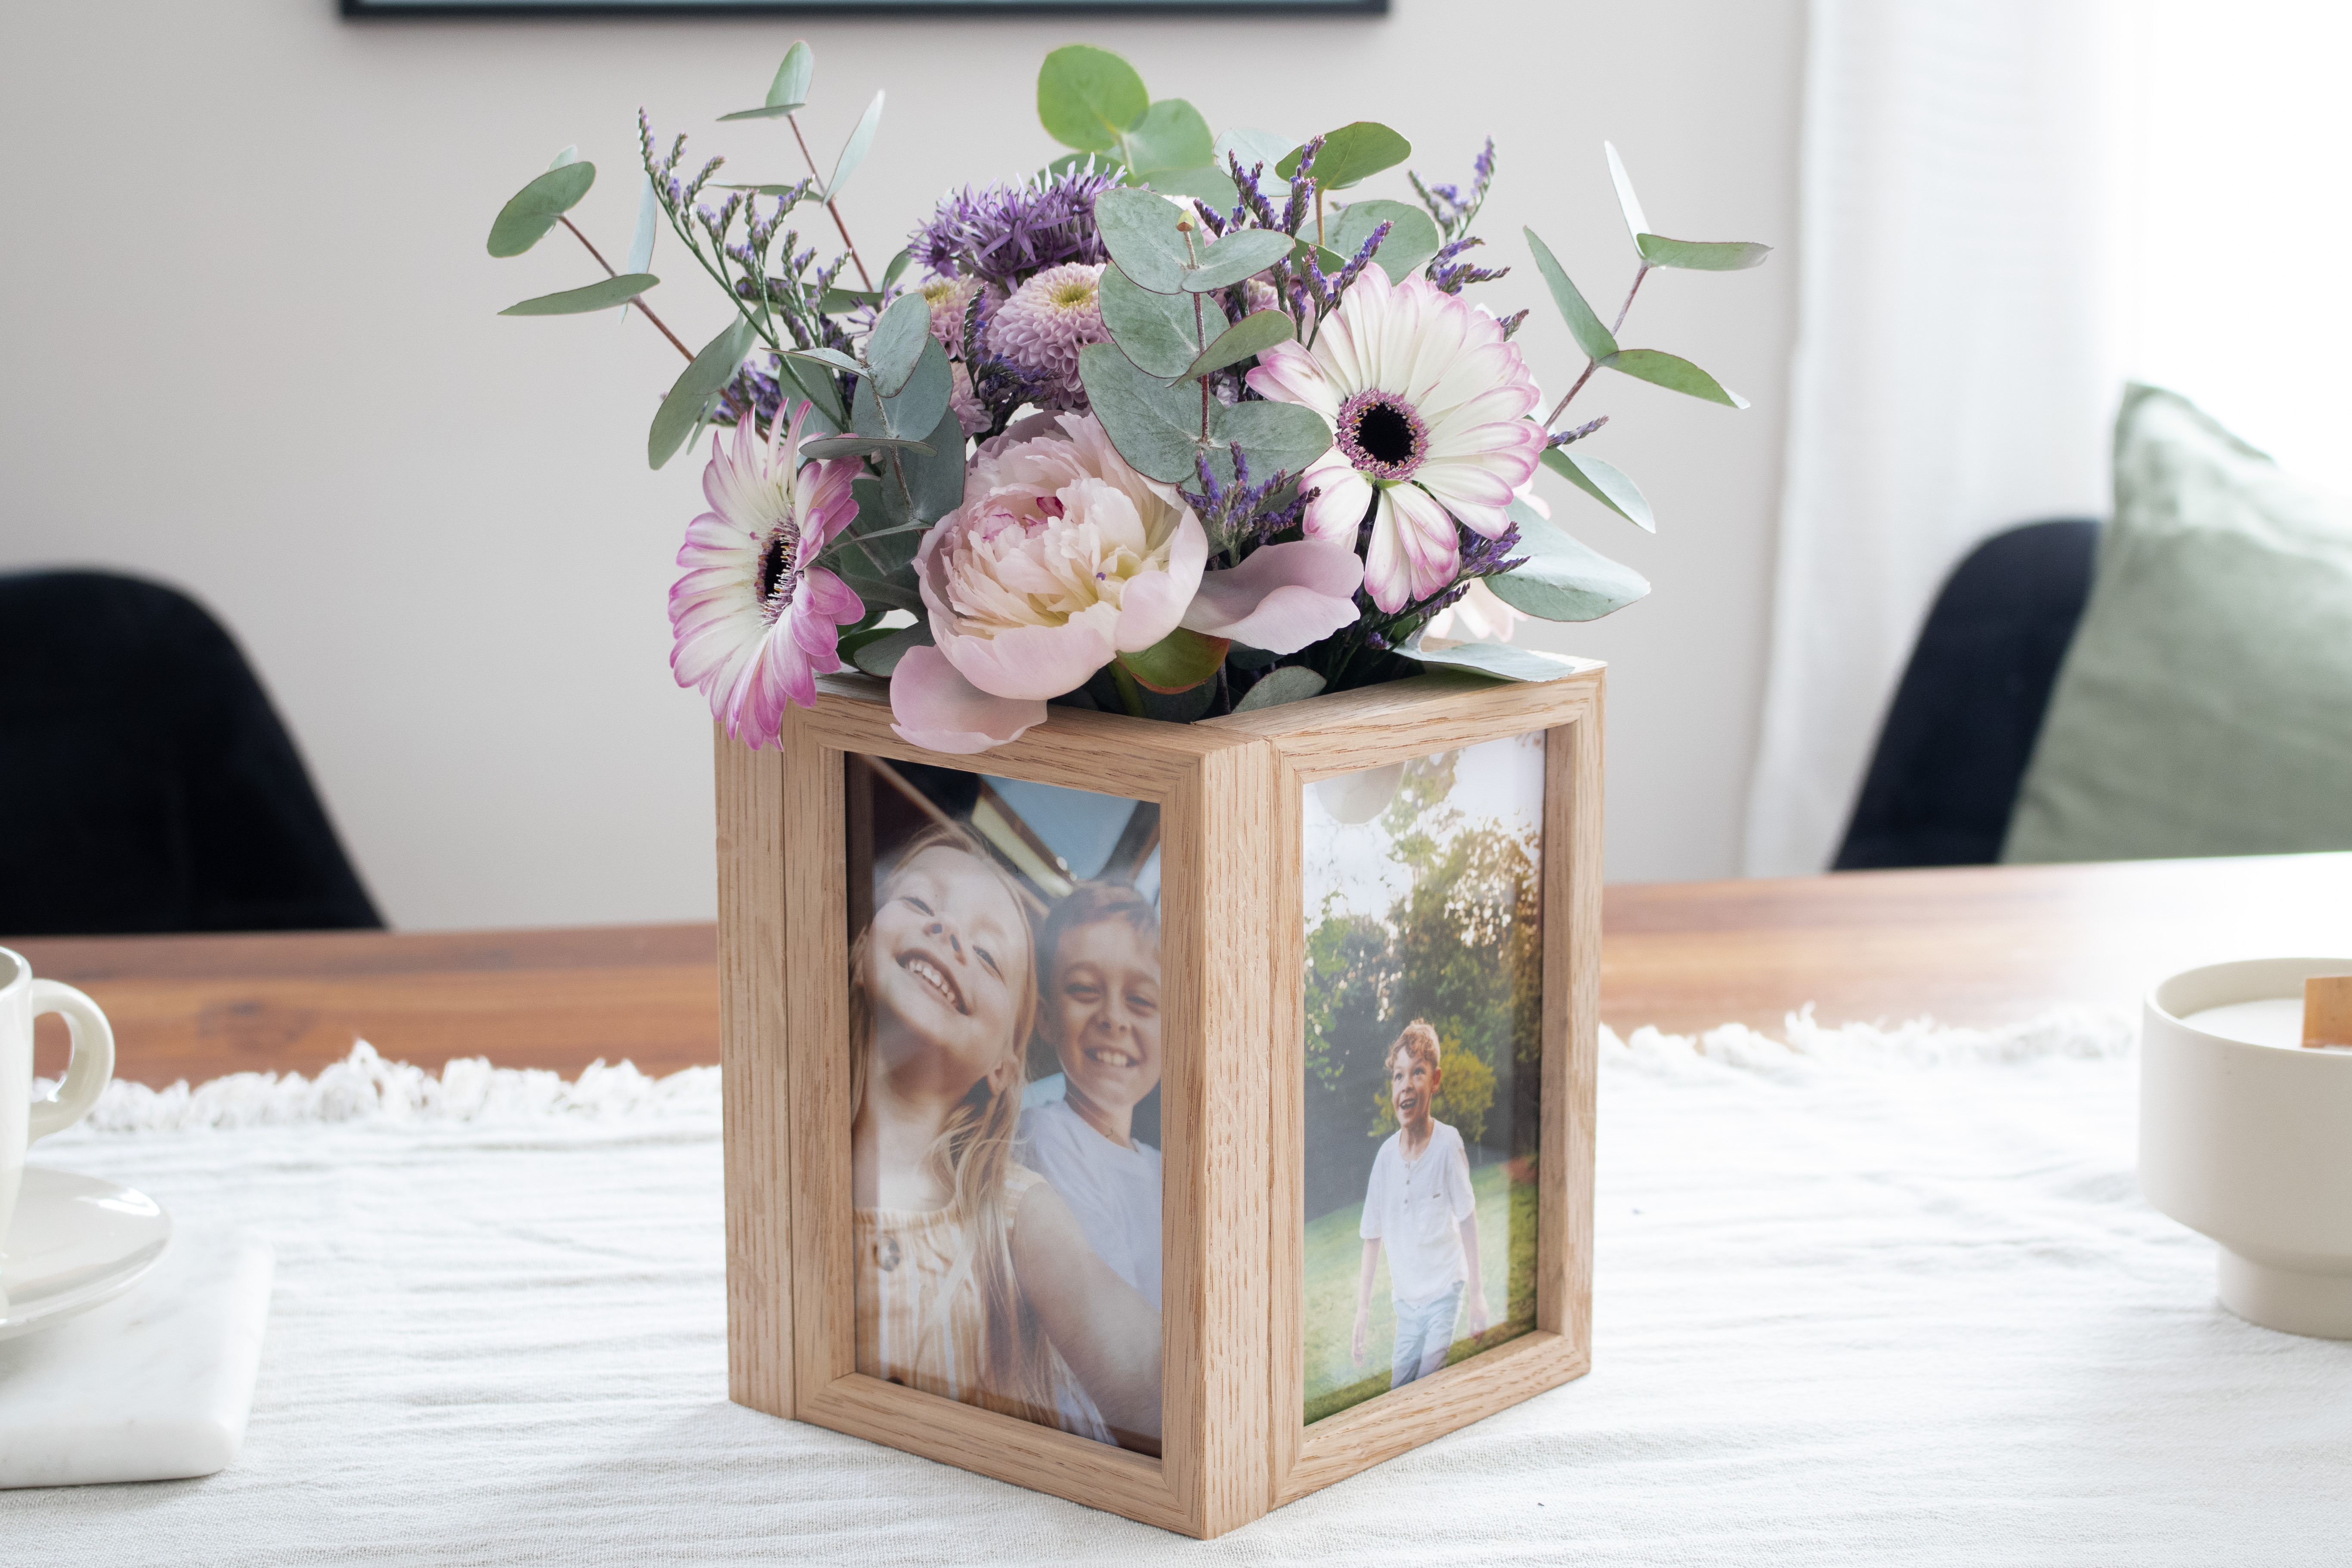
Making a Flower Box from Photo Frames
Instead of a simple bouquet of flowers for Mother's Day and birthdays, you can make an amazing flower box with your favourite photos. This is guaranteed to bring a smile to your loved ones’ faces.
Here is what you will need:
- 4 photos all in the same size, such as 10x15 cm with 4 matching photo frames
- Glue
- A strong piece of cardboard
- Vase
- Fresh flowers
Method:
- Order your favourite photos directly with a matching ifolor photo frame.
- Start by glueing the frames together around the edges so that they form a box.
- Next, cut out a piece of cardboard or a piece of plastic for the bottom of your photo frame box.
- Glue the piece of cardboard under your photo frames.
- Place a small vase with fresh flowers in the box and voilà your DIY flower box is ready to go!
Tip
Instead of a vase with flowers, you can also use dried flowers. Simply add your dried flowers and twigs to your photo frame to add the finishing touches. This way you can give flowers as a gift and they will never wither.


