Architectural photography – Transforming spaces into images
The reproduction of geometry, the effect of perspective and proportion, light and shadow as well as the play with shapes and colours play an important role in architectural photography. In this blog post I would like to show you how to approach the topic of architectural photography and what to pay attention to when photographing in order to yield exciting architectural motifs.
Why architectural photography?
The most important question comes first: Why do I want to photograph a certain building? Is it about the building as an object or am I after an artistic, maybe even abstract image? Taking a simplified point of view, architectural photography can be differentiated by the following two approaches.
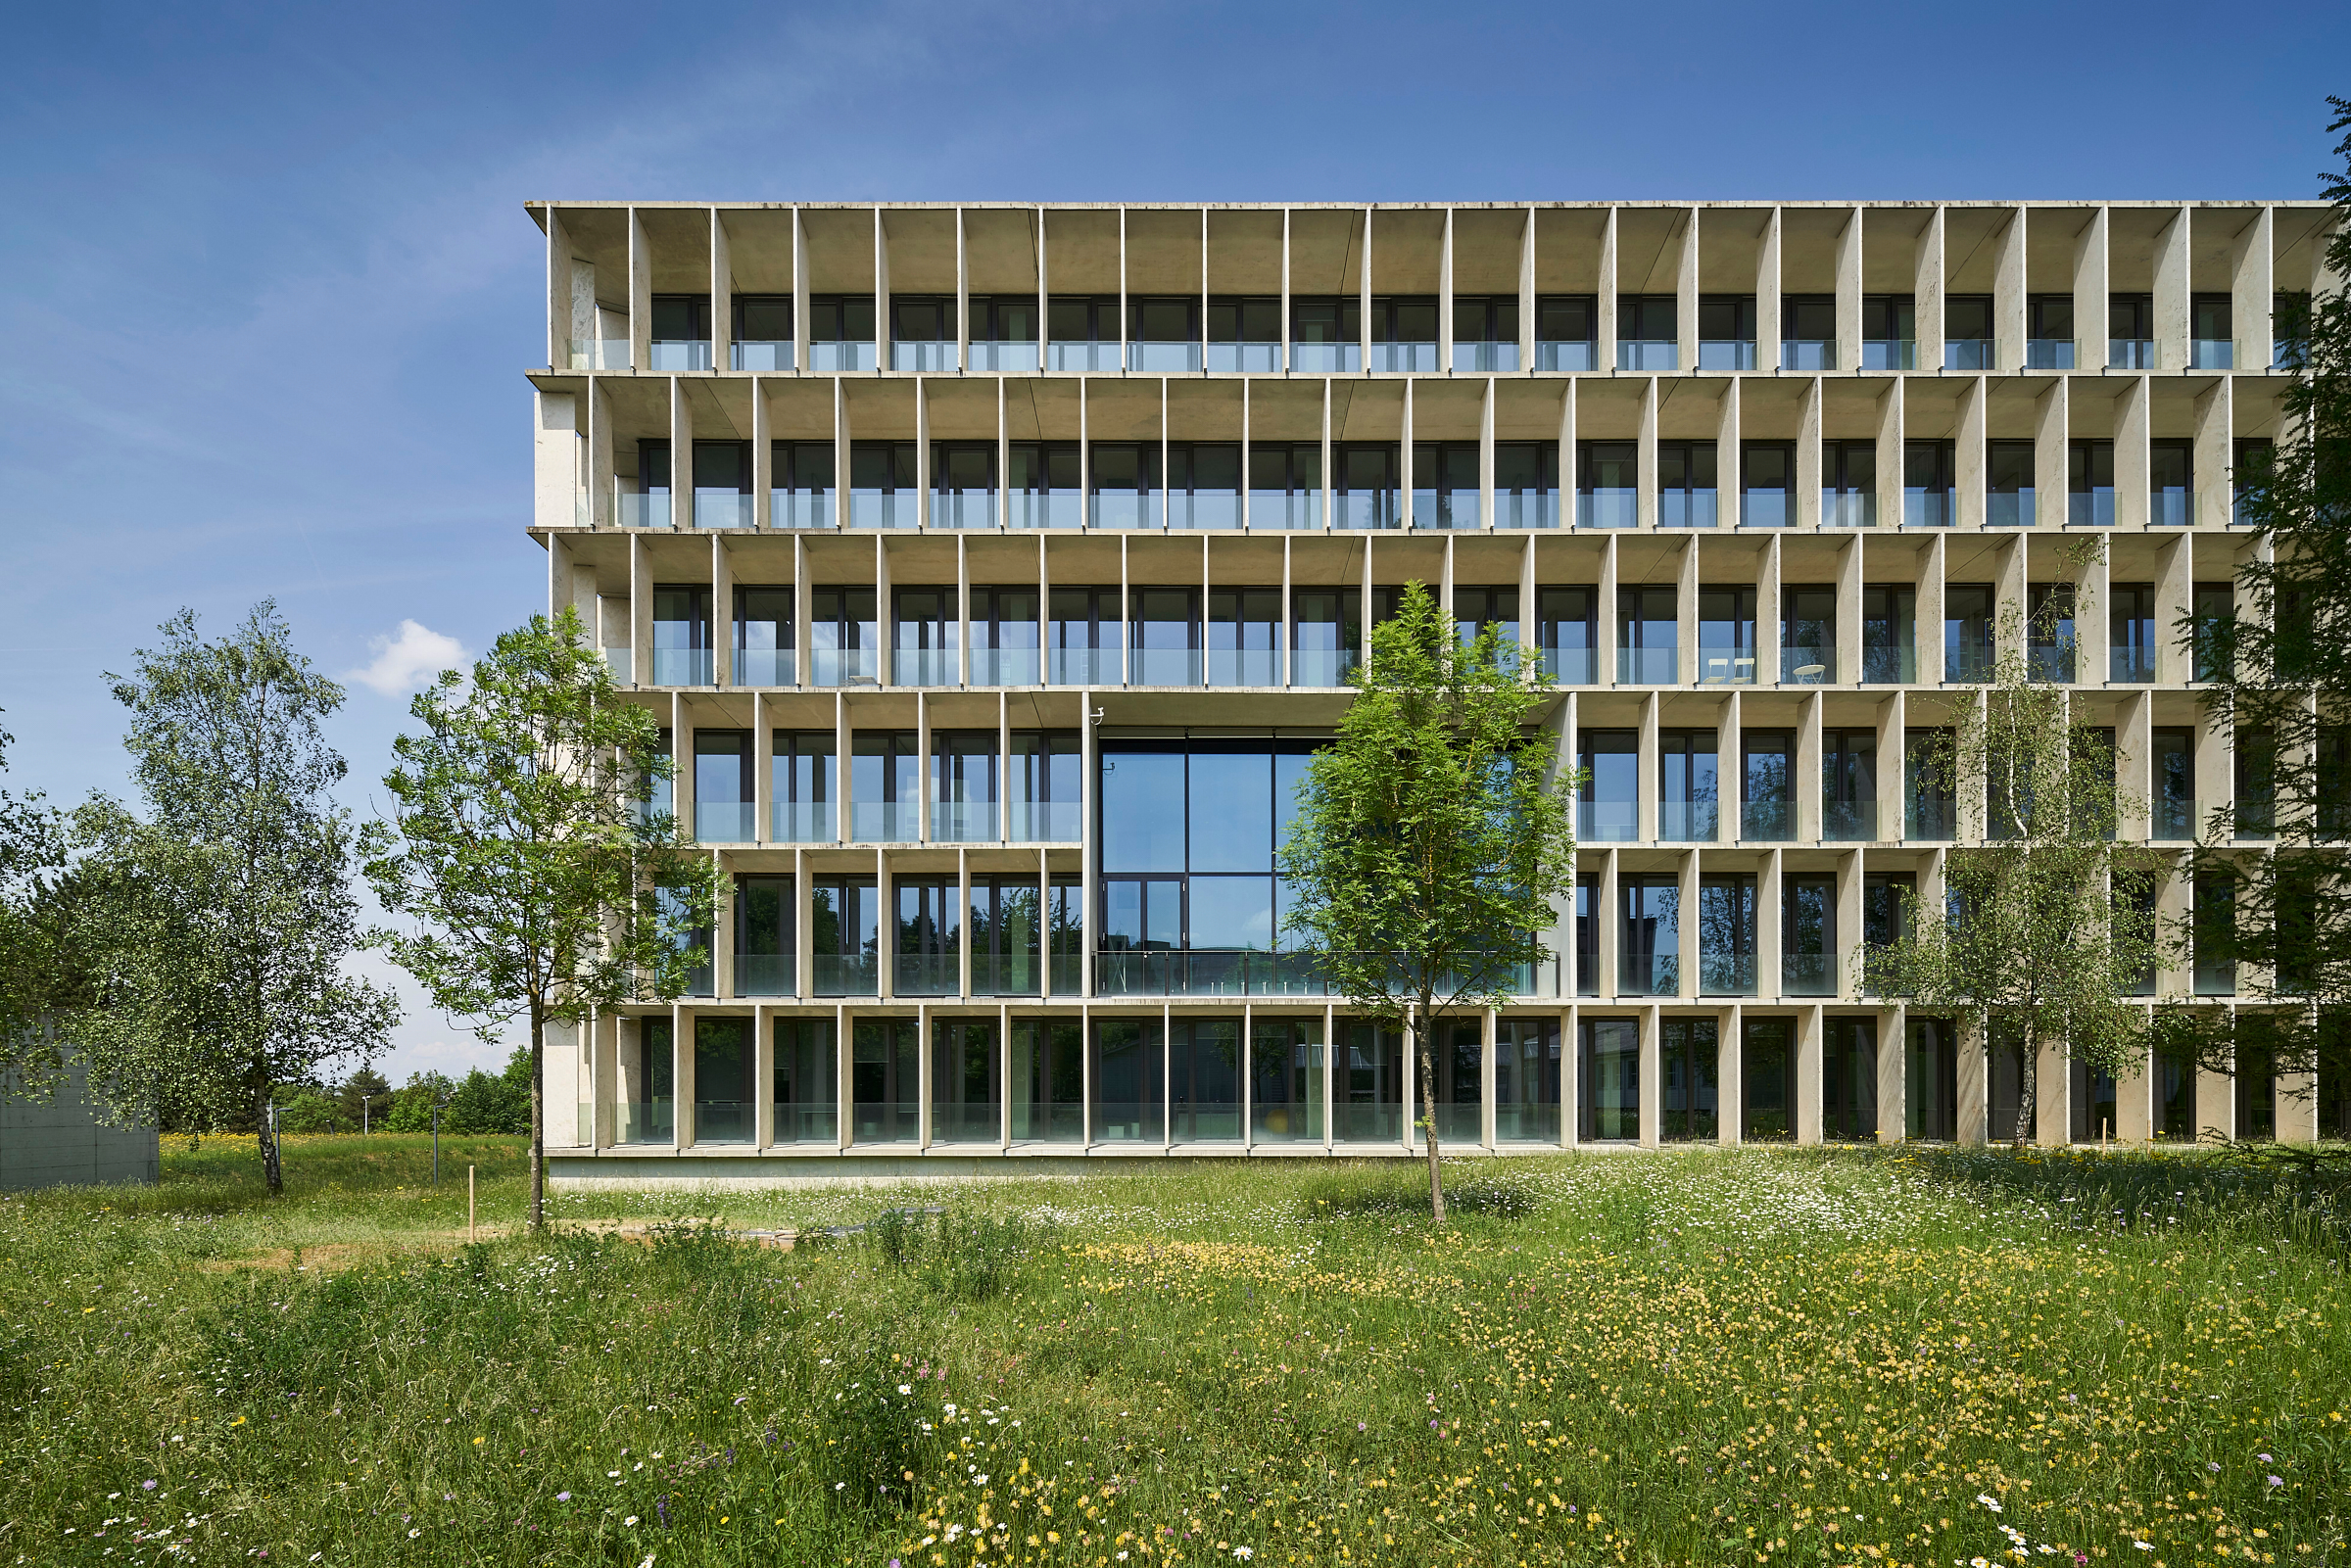
“Classical” architectural photography is usually characterised by a documentary style and shows a building in its correct proportions. The subject of the photo is the building itself, be it one room, its placement into an environment or a picture of a detail, for example of a handrail.
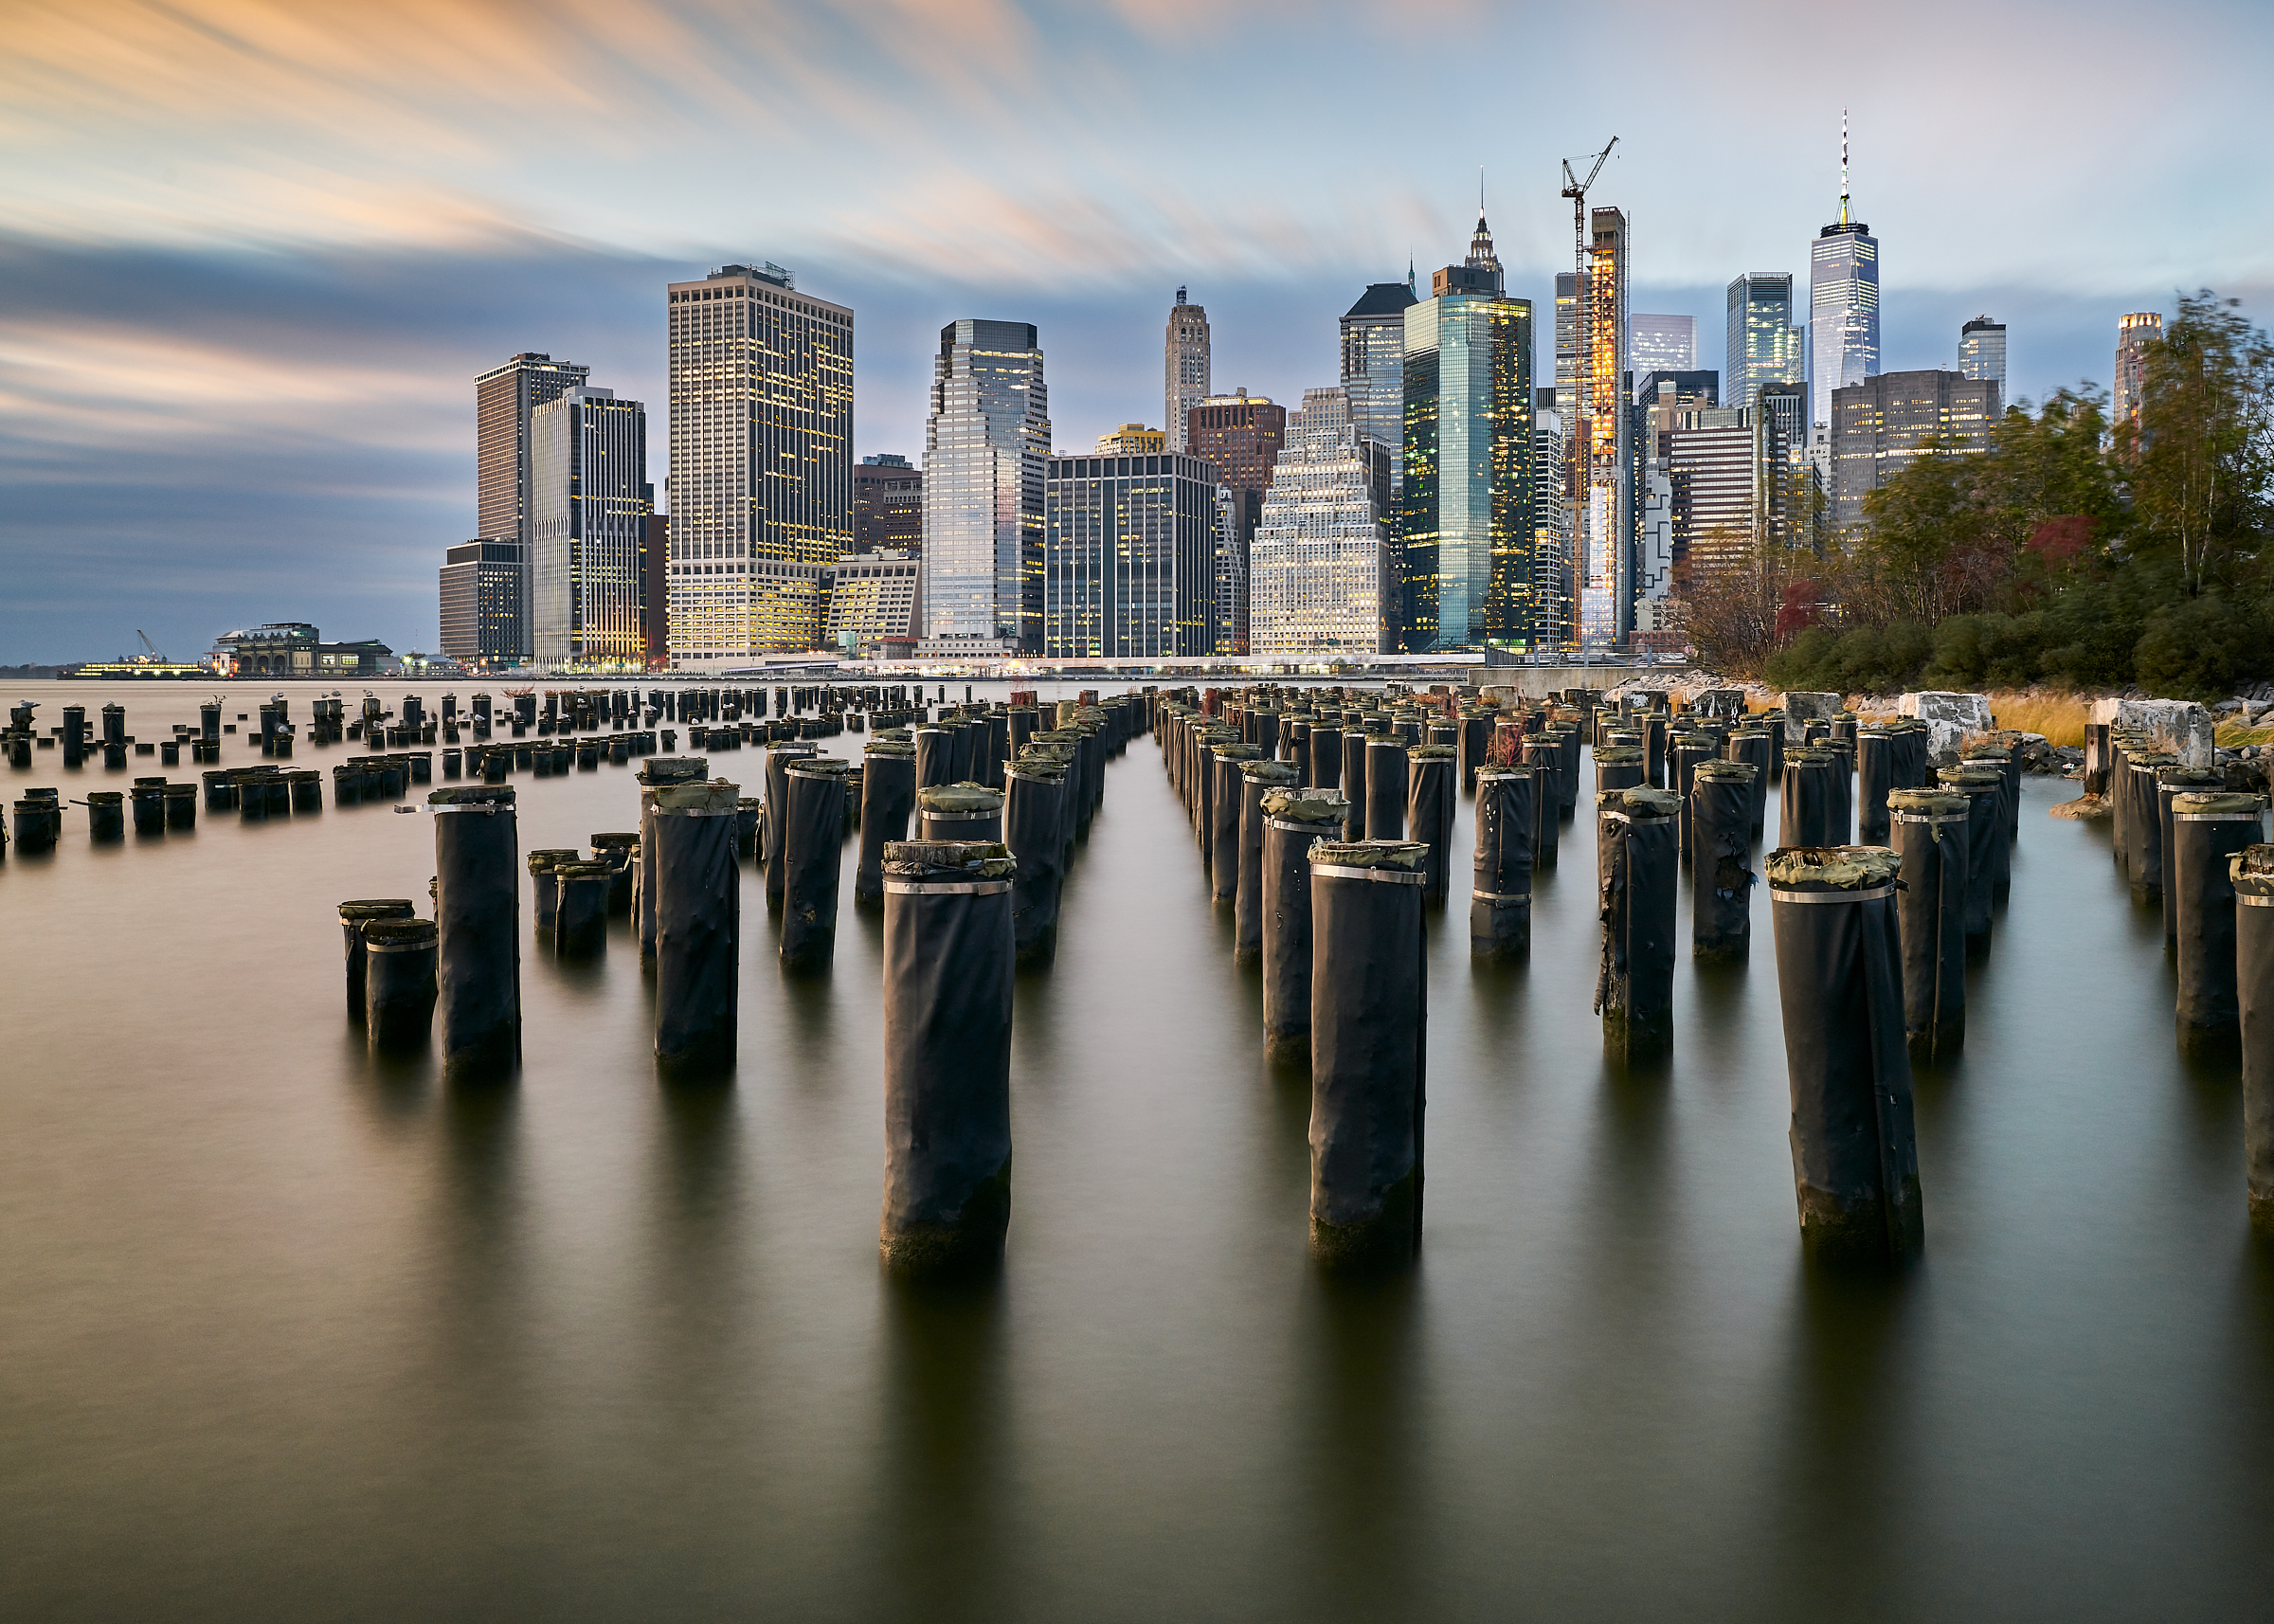
Cityscapes also fall into this category, if as a special form.

“Artistic” architectural photography tends to interpret architecture more freely and uses the shapes and colours, light and shadow on a geometric shape, a pattern or a section of a building and puts these elements in a new context. This results in a new theme of its own, which does not necessarily have to have anything to do with the actual building, but uses architecture as the statement's vehicle.
Image composition – the right perspective
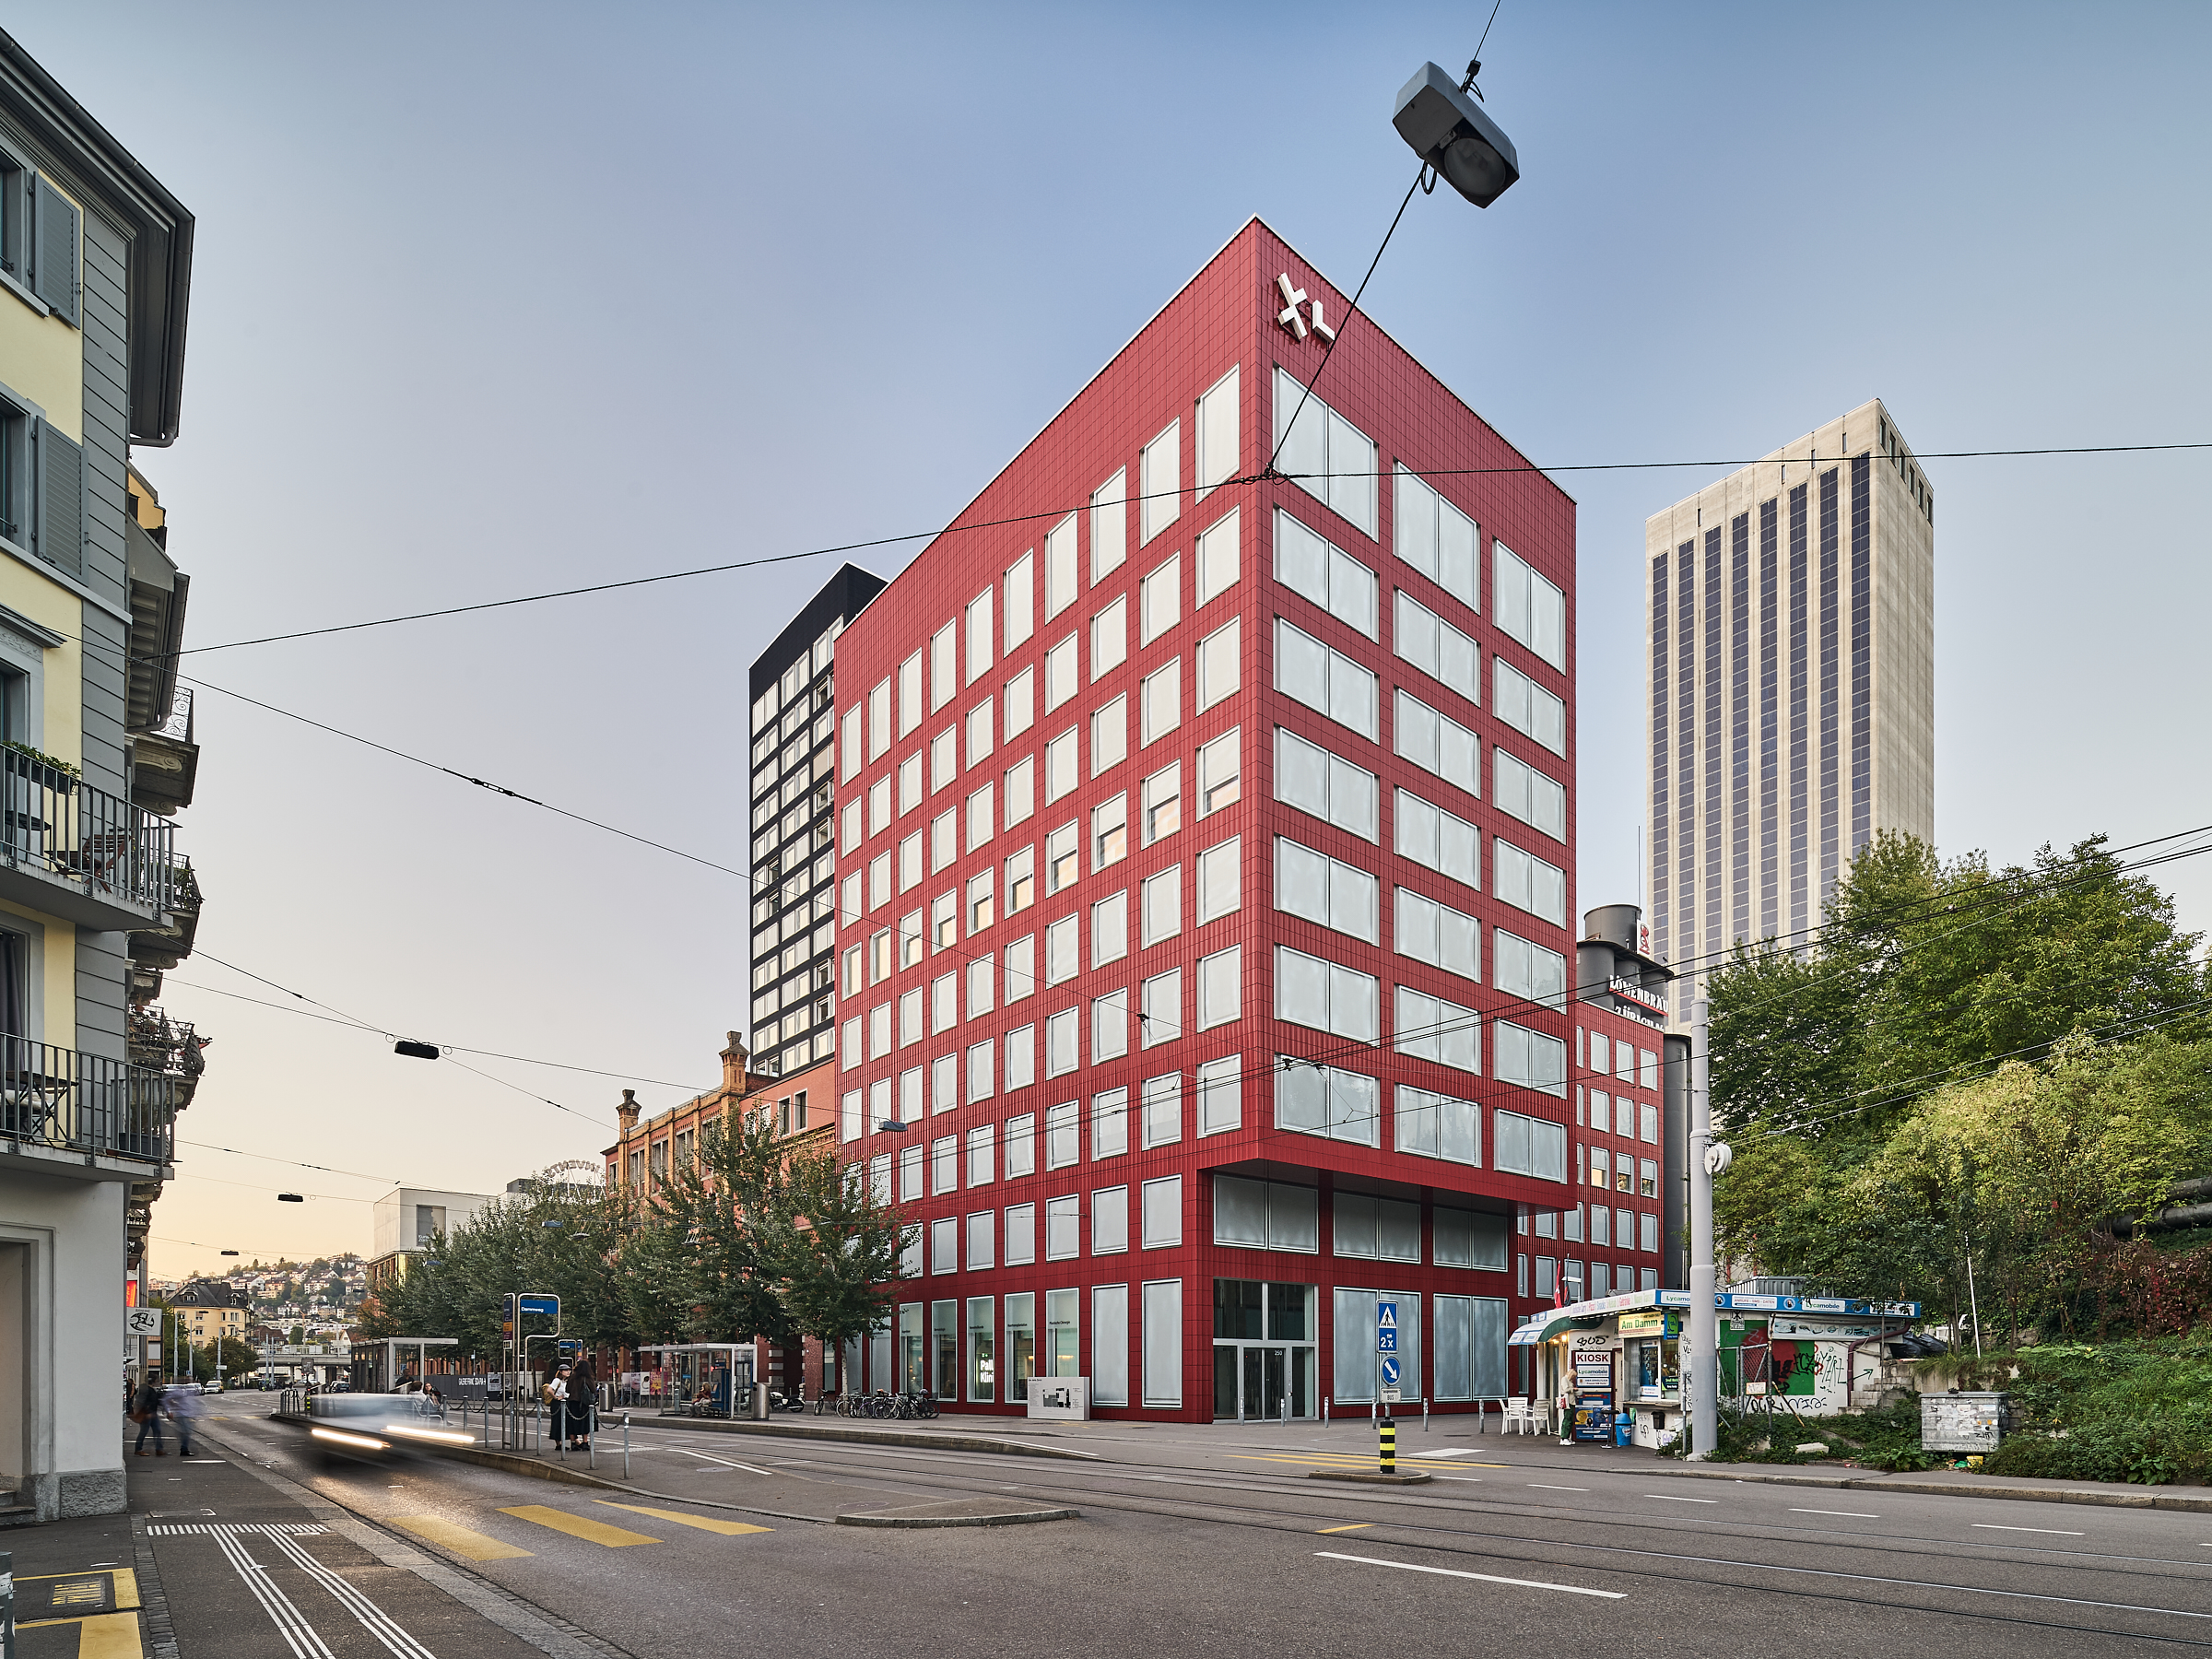
The first step in image composition is choosing the perspective, which will have a huge impact on the effect and appearance of the building. You can choose from the following options:
The two-point perspective, meaning an image composition in which the building lines converge in the depth of the image at two vanishing points, emphasises volume, projections and recesses and shows a building from two sides. The different directions in the image create a dynamic quality and make it easier to achieve a depth effect. Depending on the distance to the building, the building lines become much steeper and more “dramatic”. That means when I'm particularly close, or in front of a particularly tall building, the building lines run at a very steep angle, for example from a roof line. If the image is taken from farther away, the building lines become “flatter” and therefore more neutral.
TIP: Place yourself intentionally at a clear angle to the building and deliberately show two sides. It does not have to be a 45° angle, but if the angle is too flat, the building lines to the two vanishing points become very different which results in an unbalanced effect and distorts the proportions disadvantageously.
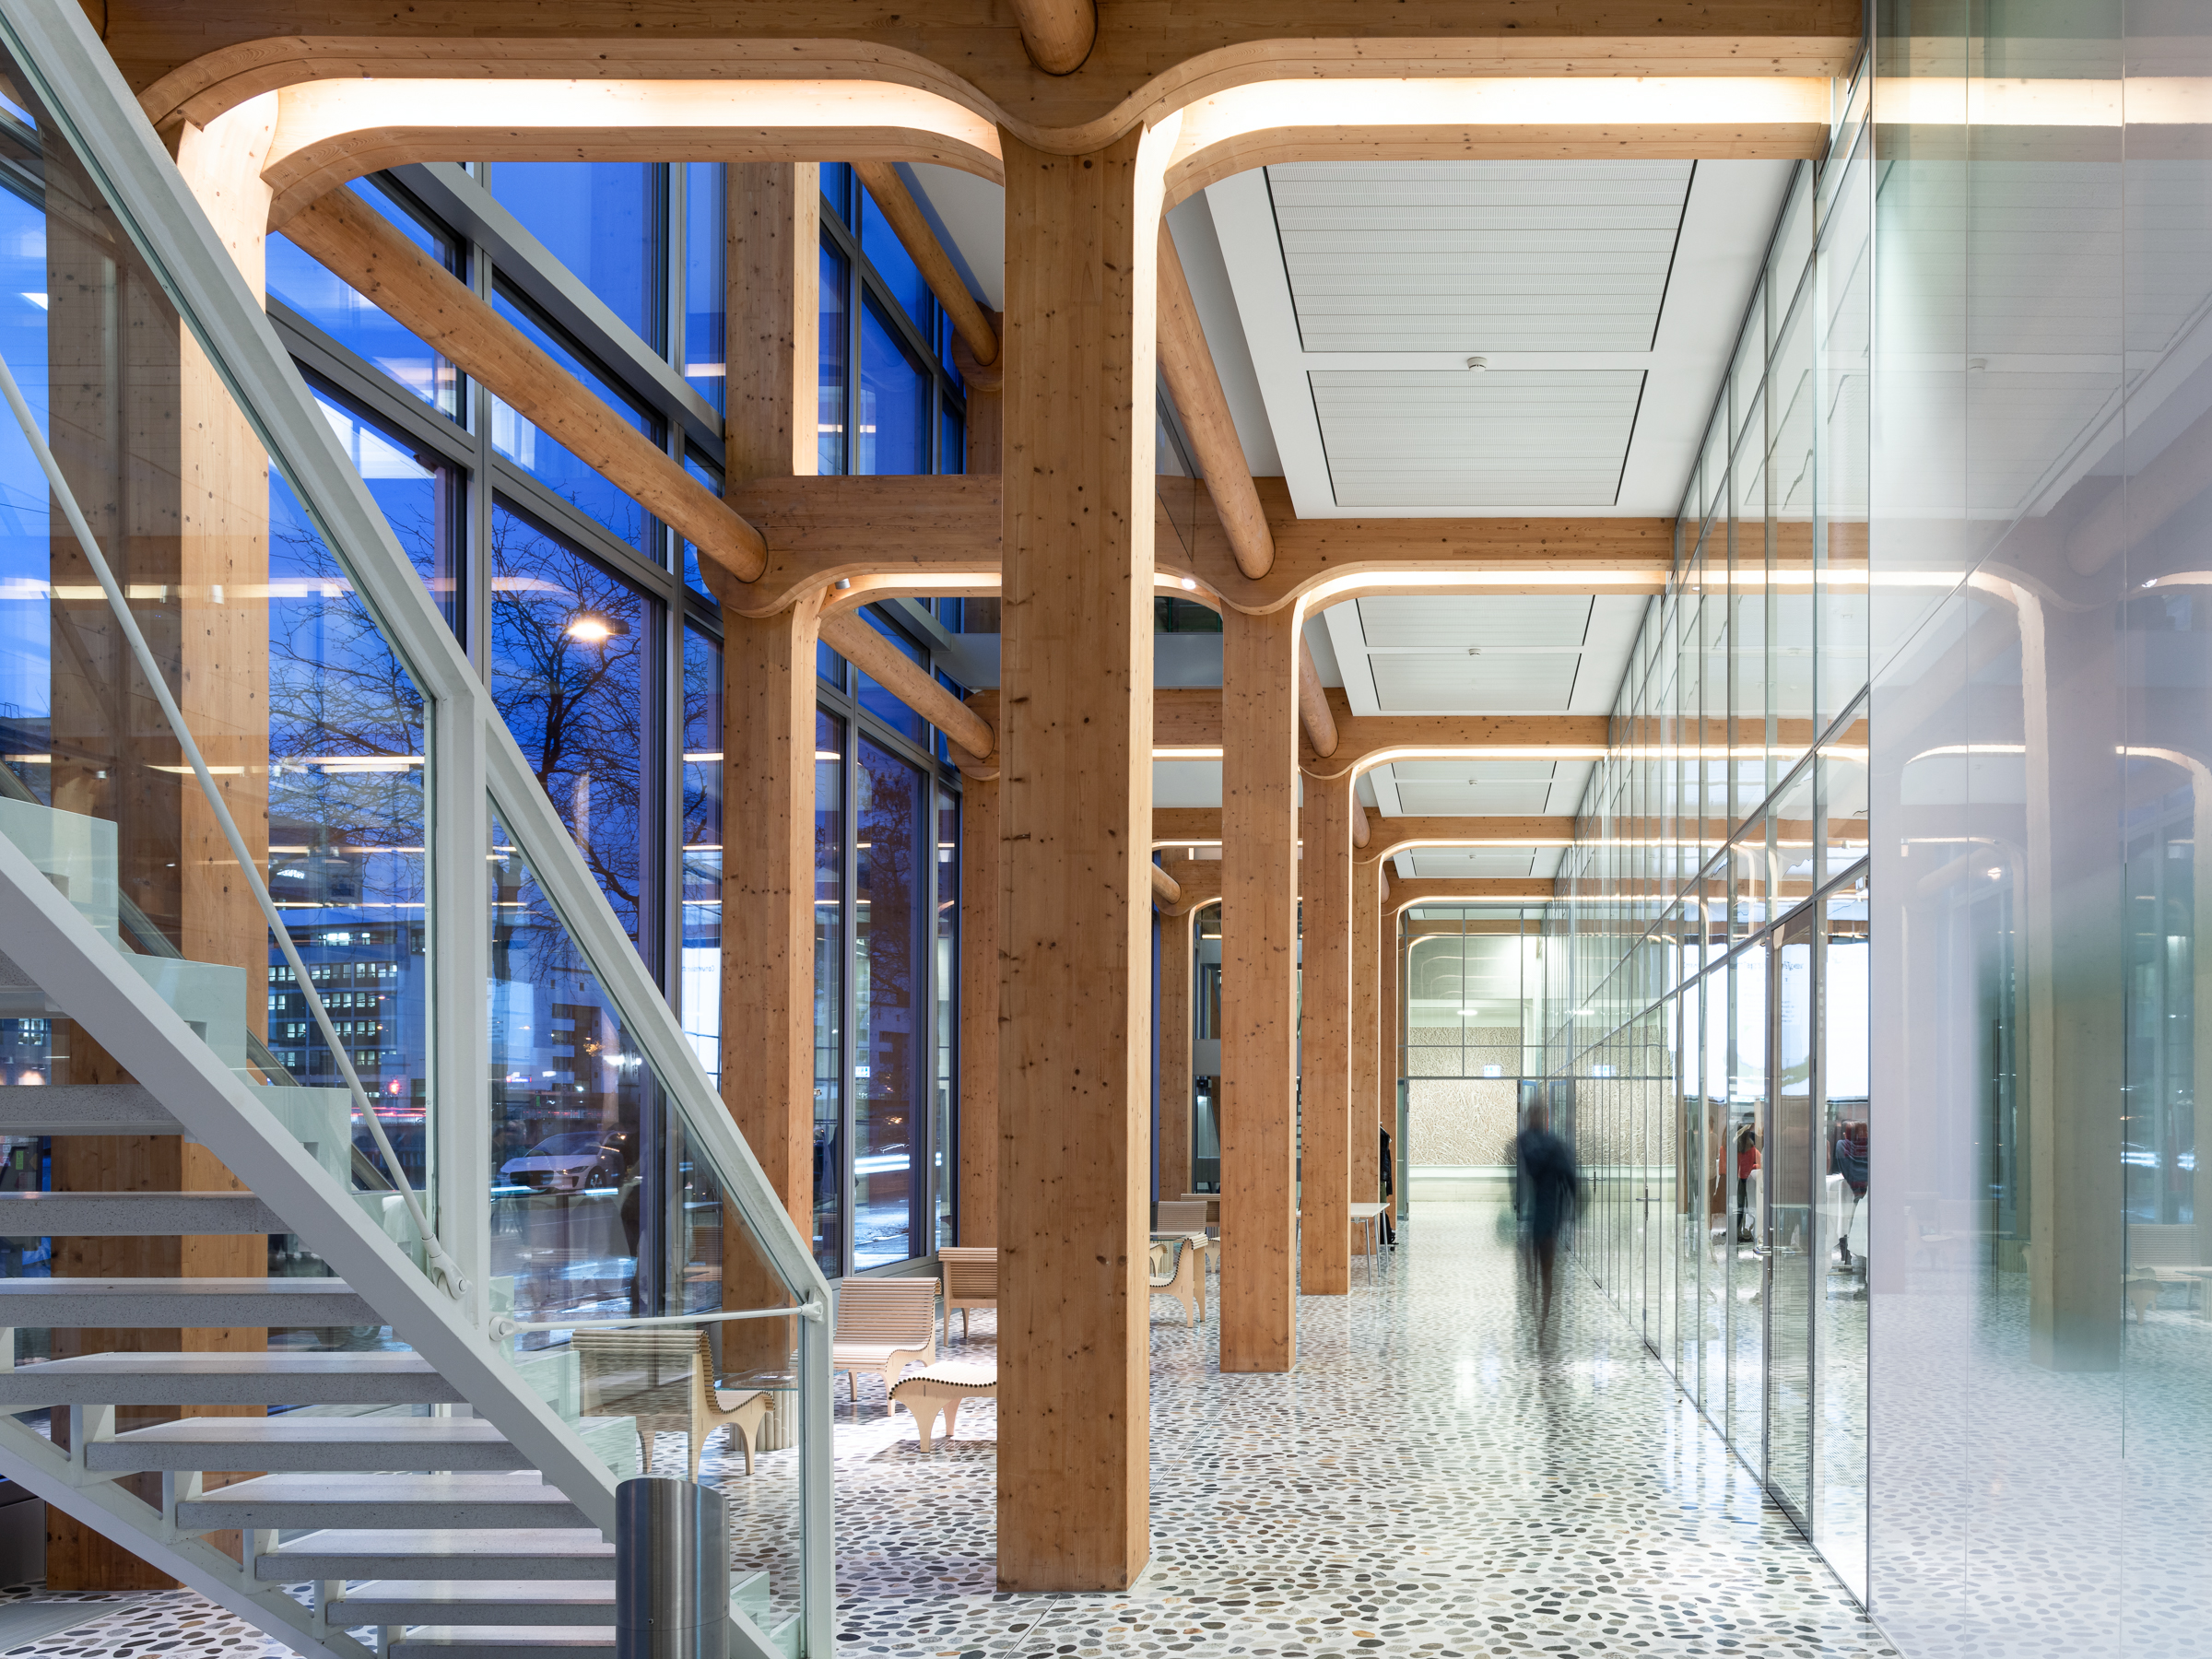
The one-point perspective is the opposite and accordingly has only one vanishing point for all building lines that run into the depth of the image. This orientation particularly emphasises patterns and structures, but also a staggering of facades in the depth of an image. Although it looks a bit “flatter” because the building appears less as an object of volume but more as a facade, for example, this can result in a calmer visual effect. The central perspective creates a very intensive “pulling effect” based on the one vanishing point. TIP: Precise alignment is very important for a one-point perspective. An image that is actually orthogonally aligned to a facade, but slightly tilted, creates tapering lines that should in reality be parallel. Such deviations are often glaring and look unprofessional.
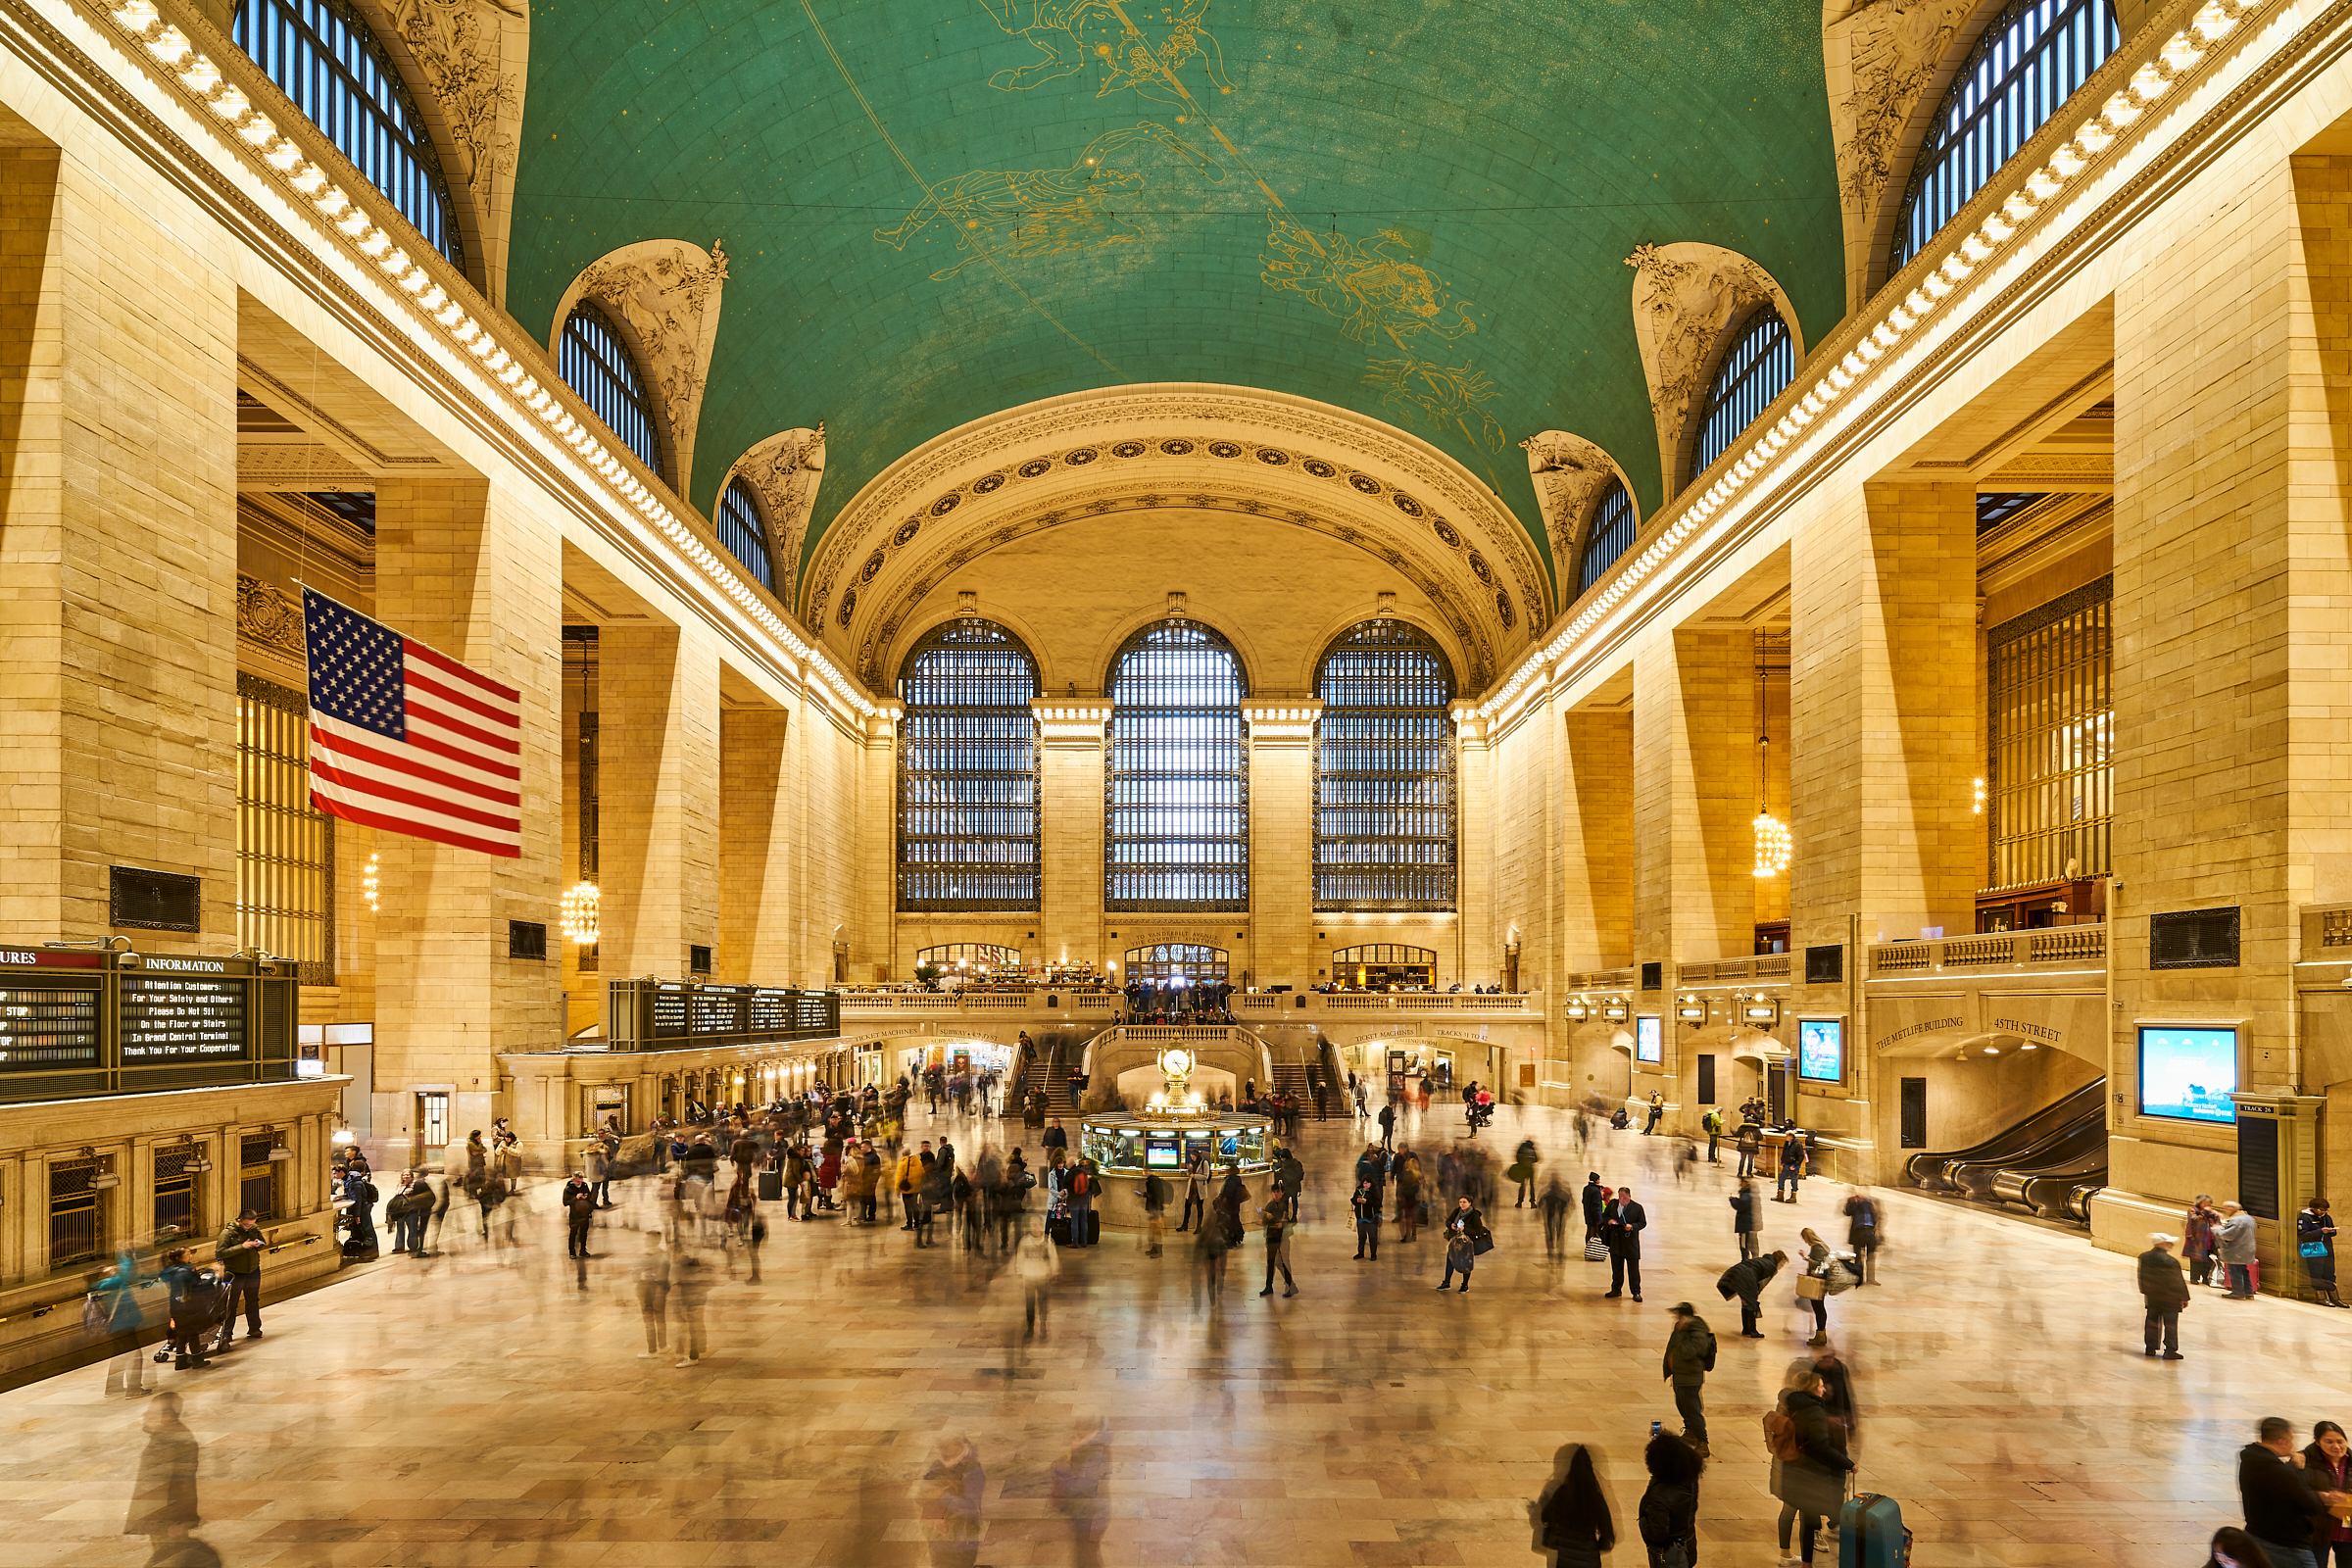
The one-point perspective is extremely effective for symmetrical buildings. Due to only one vanishing point, emphasis is placed on the symmetry which creates a strong perspective effect.
TIP: Symmetry also exists in the form of reflections, for example on water or shiny surfaces.
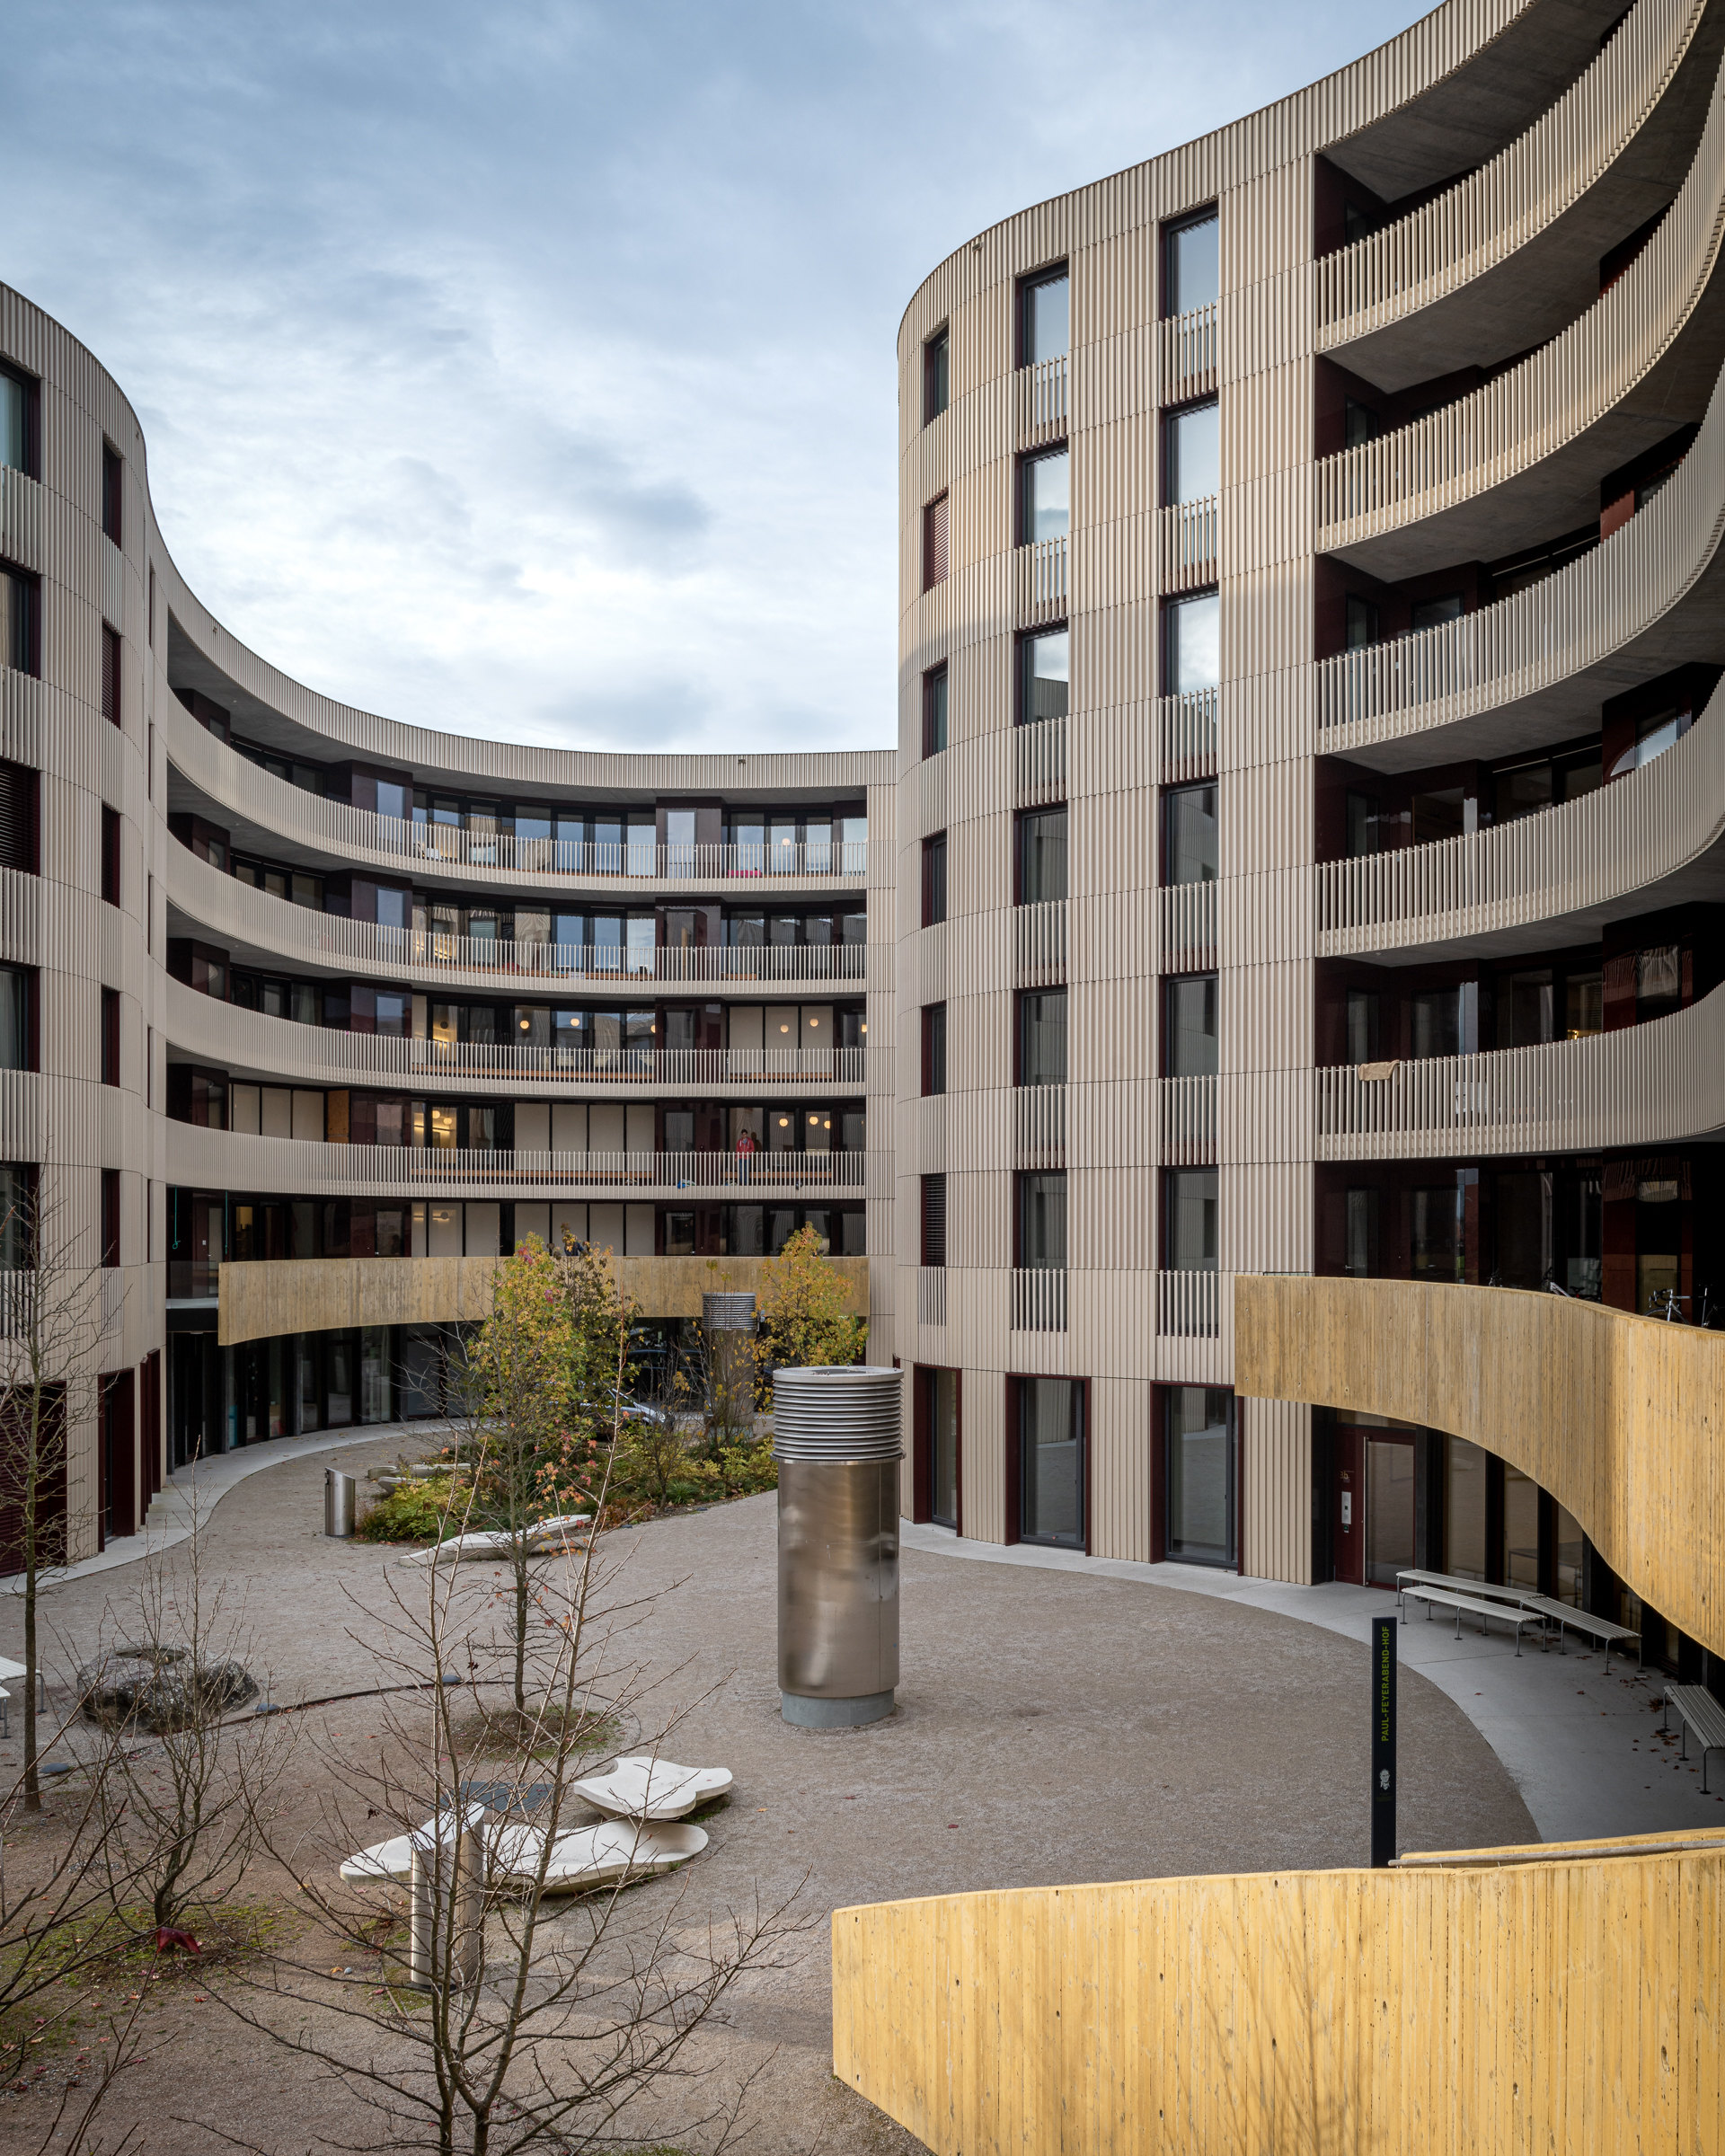
Regardless of the type of perspective, especially with classical architecture photography, it should be ensured that the verticals in the image are parallel. This results in a realistic image of the building and looks precise and professional.
To achieve this, it is crucial that the camera be aligned “in level”. If the camera points upwards (or downwards), the vertical edges “fall”, meaning they converge upwards or disperse. Although falling lines can be effectively straightened using software (for example, Lightroom or Photoshop), this results in a distorted image and some loss in image quality. Professional photographers therefore use special lenses (tilt-shift lenses) that enable image composition in which the entire building remains completely visible, even with parallel verticals.
Of course, this “rule” does not mean that you should only take pictures from “straight ahead”; sometimes an unusual vantage point, for example upwards, can be very exciting and convey more about a building than a “classical” architectural image.
Compositional elements – Leading lines and frames
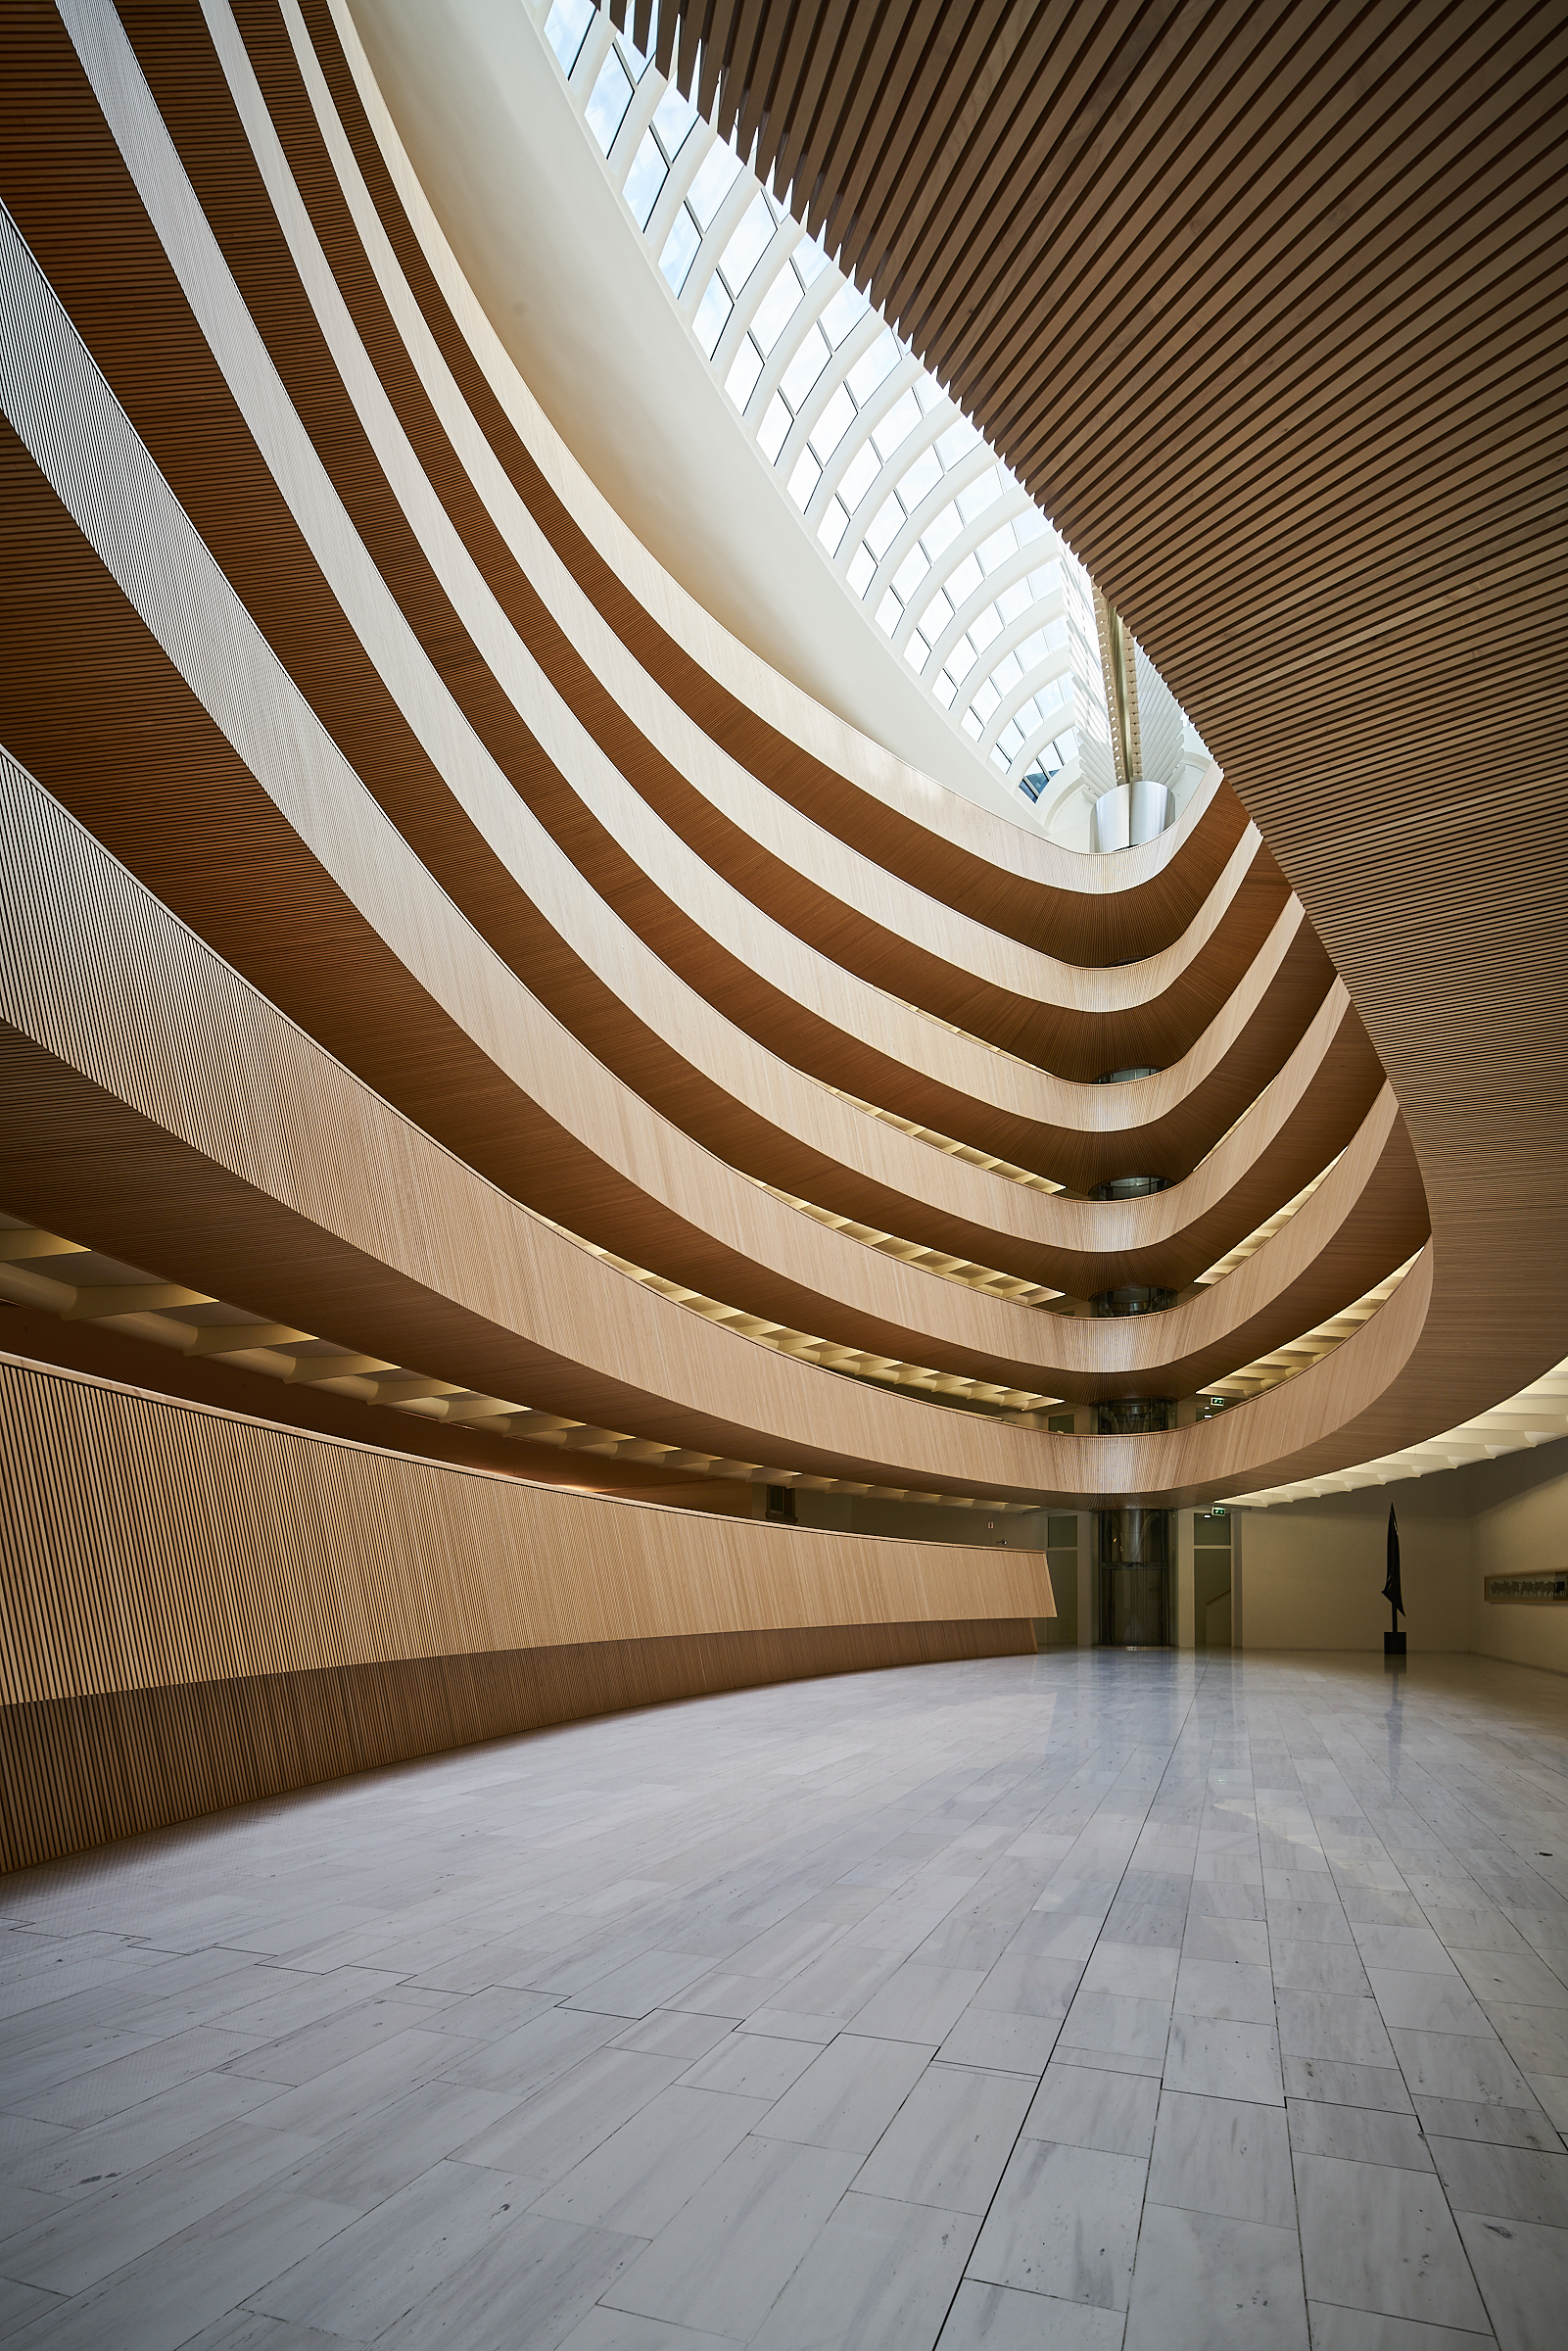
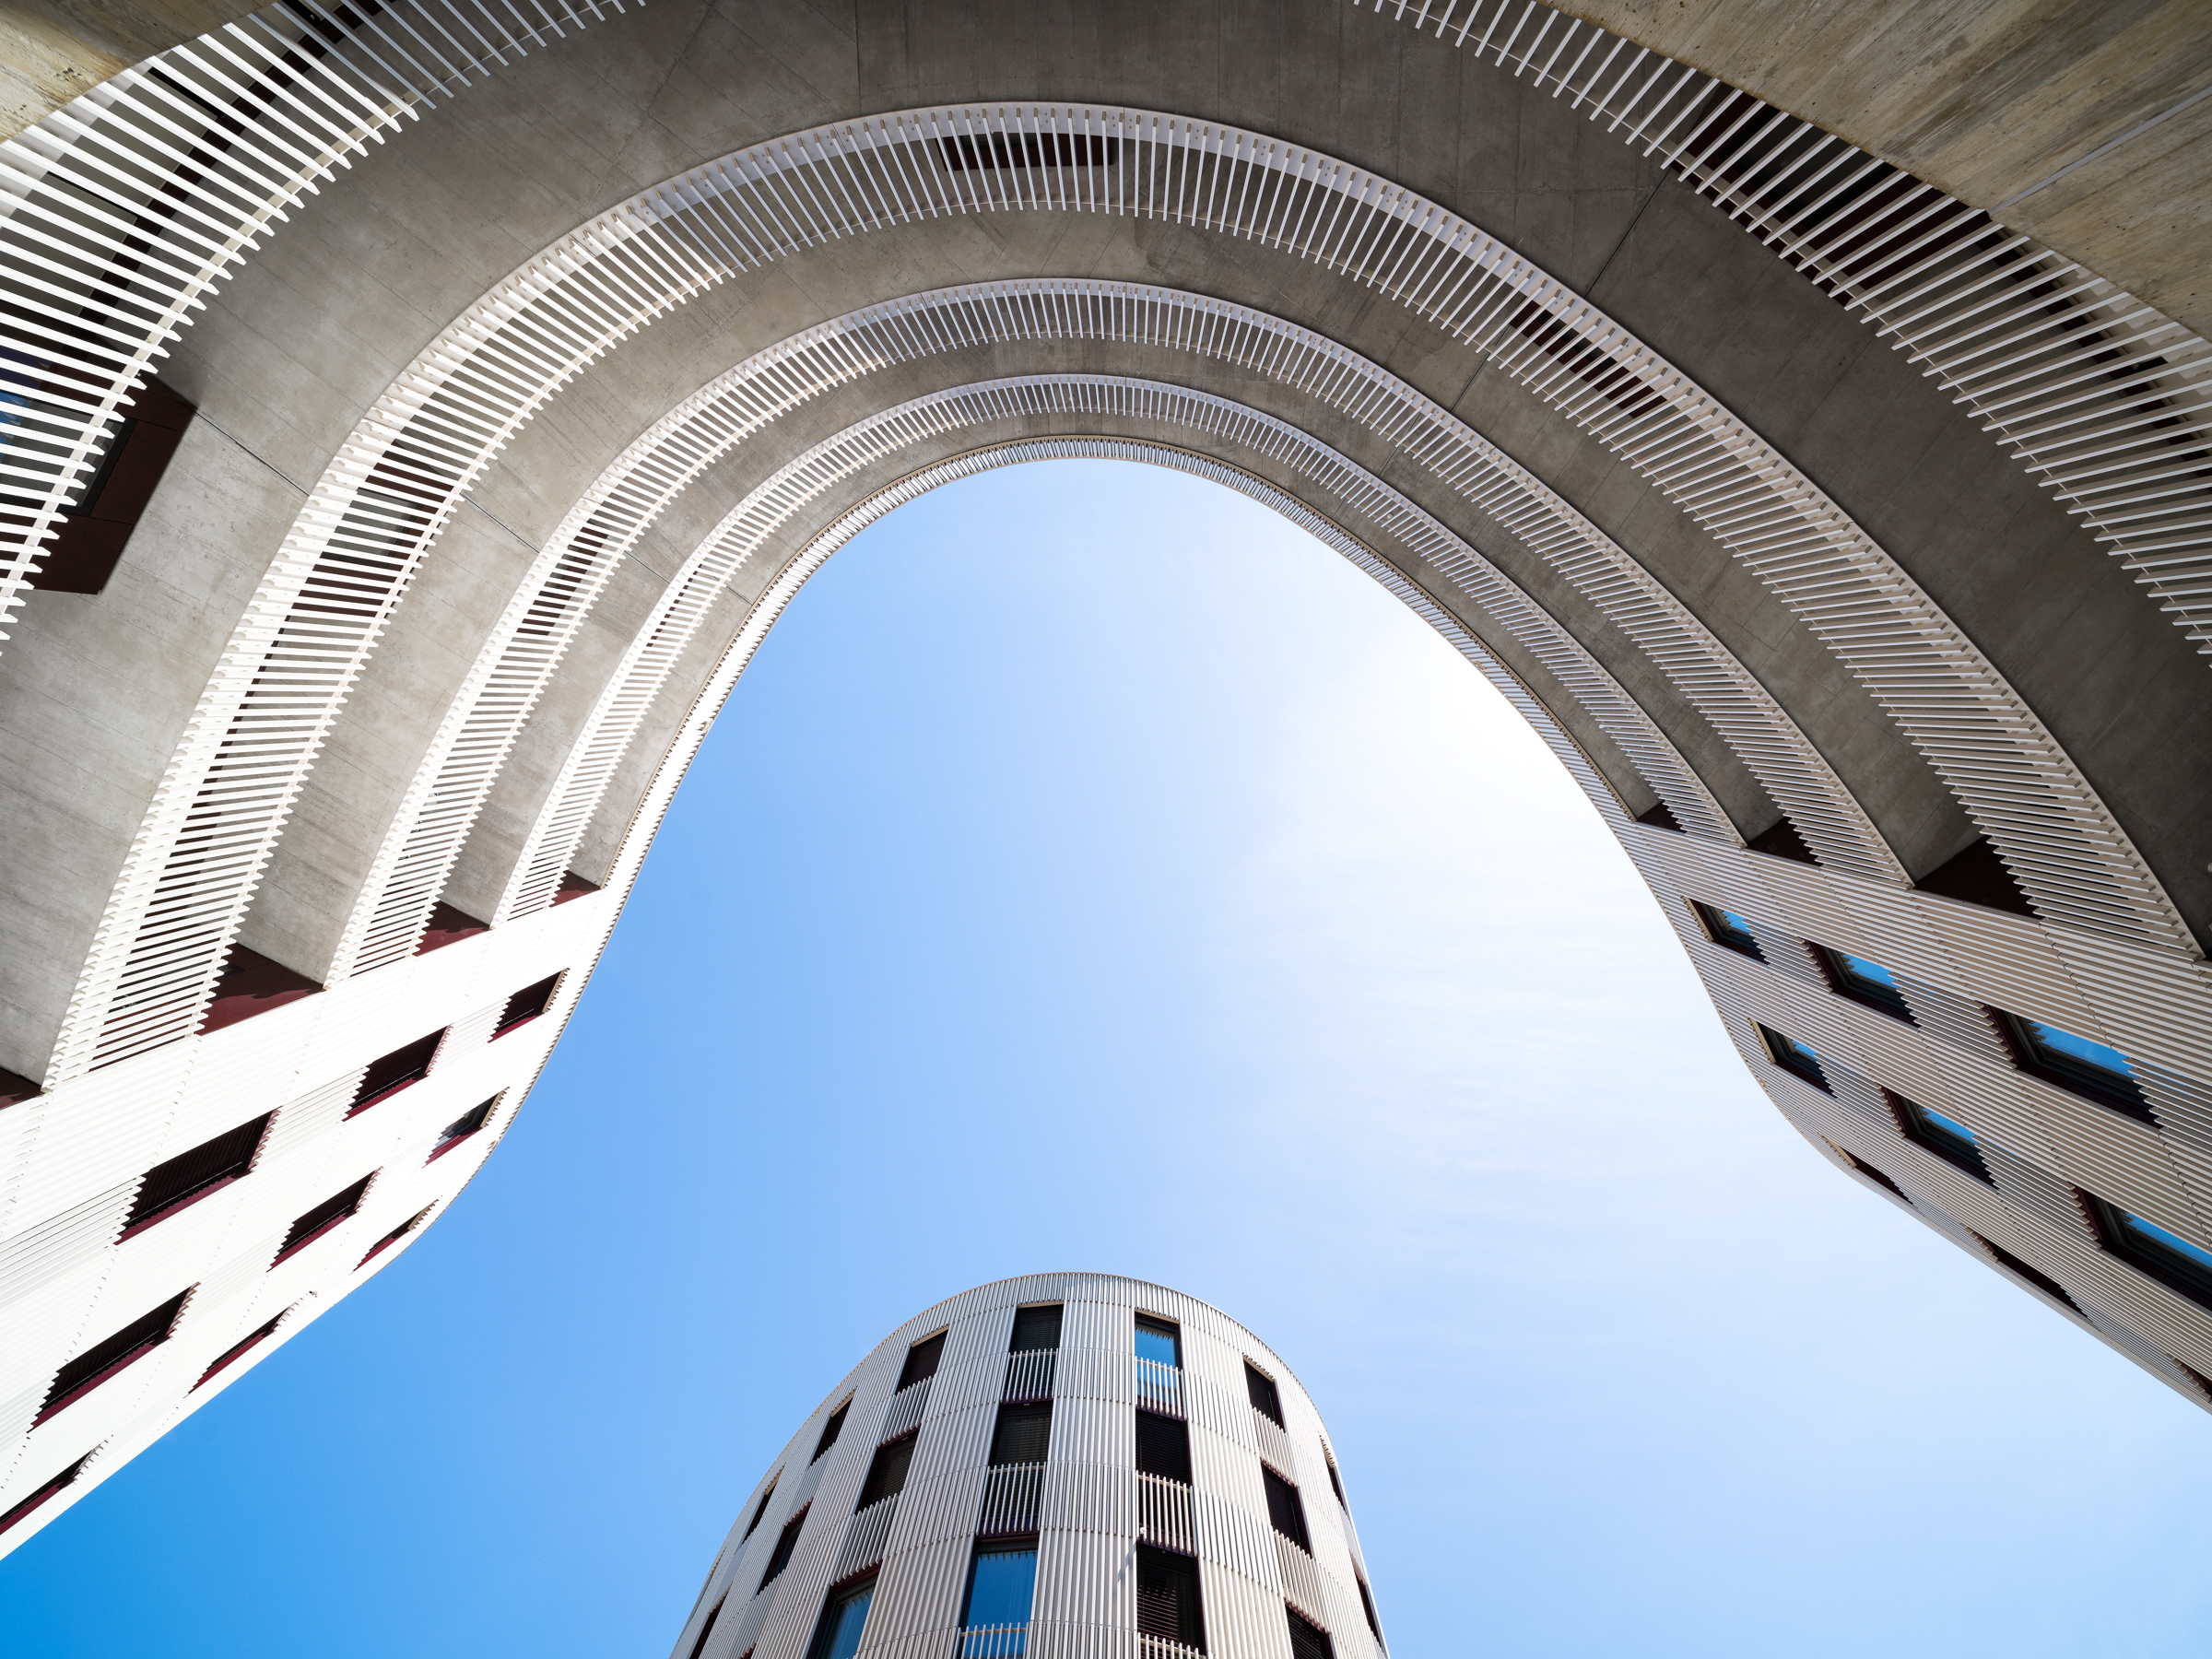
Aside from the basic perspective, various compositional elements may be used to actively and specifically direct the viewer's eye. Leading lines, in particular, help guide the eye through the frame.
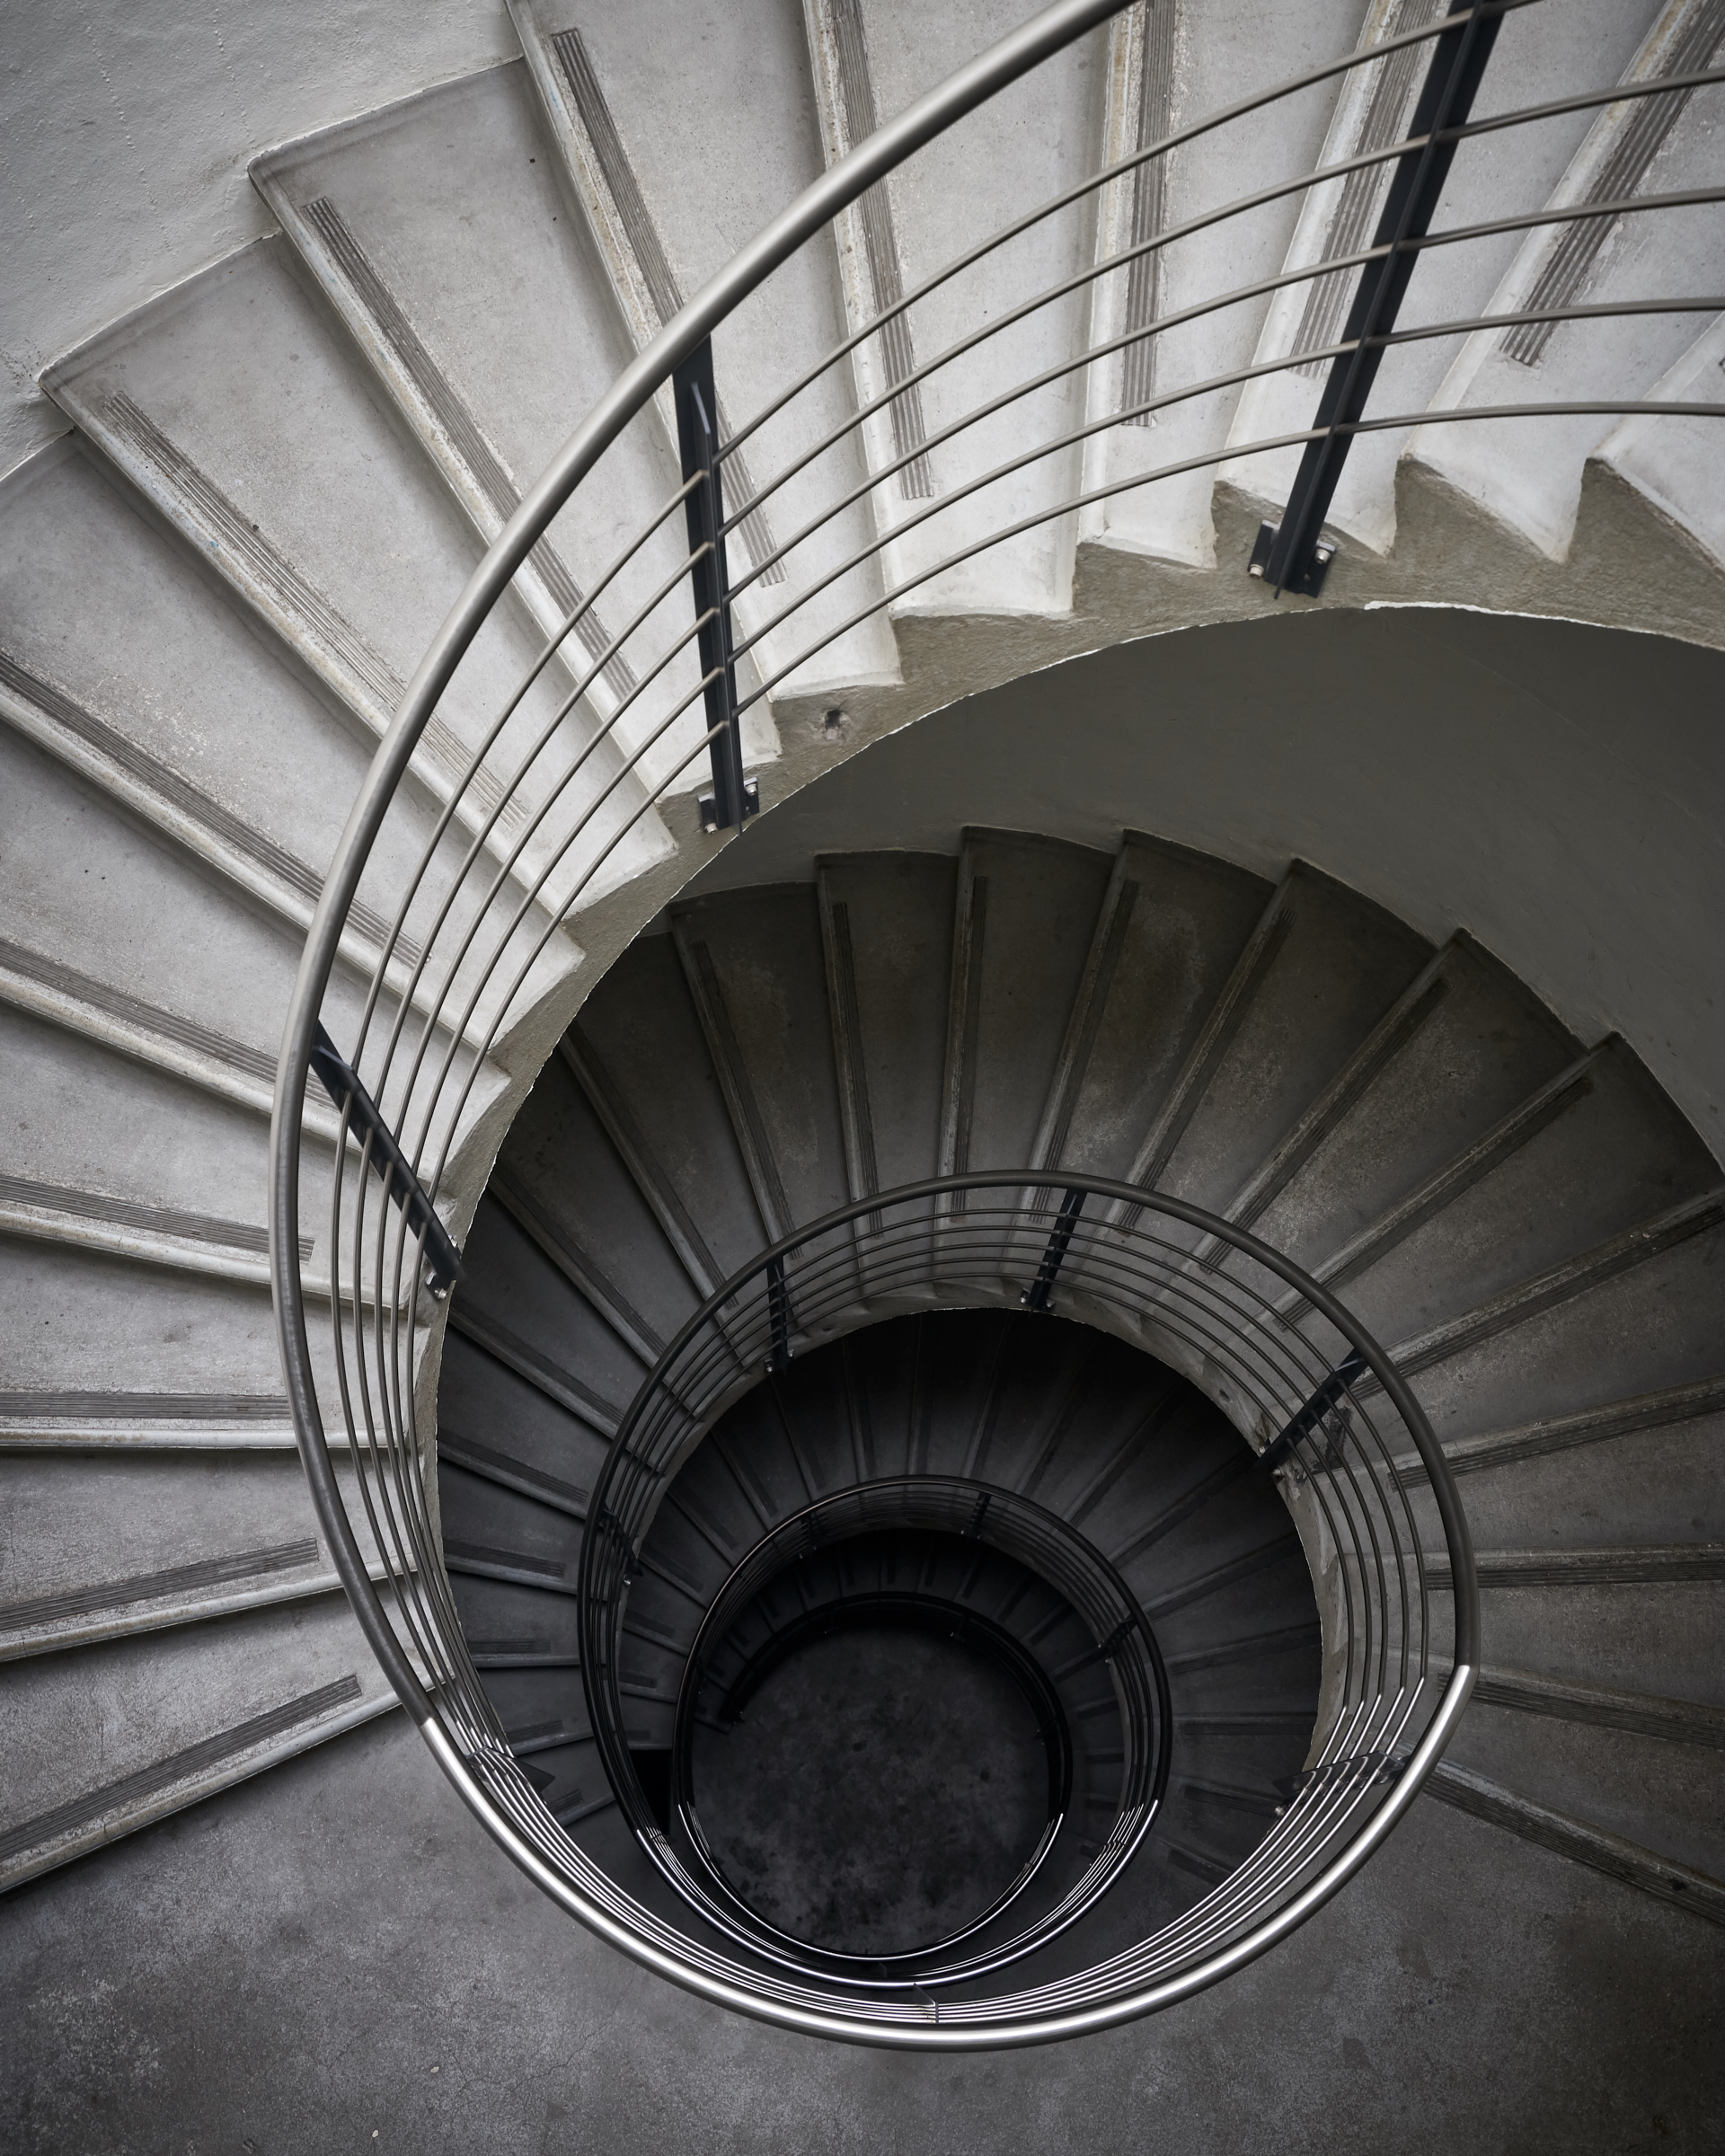
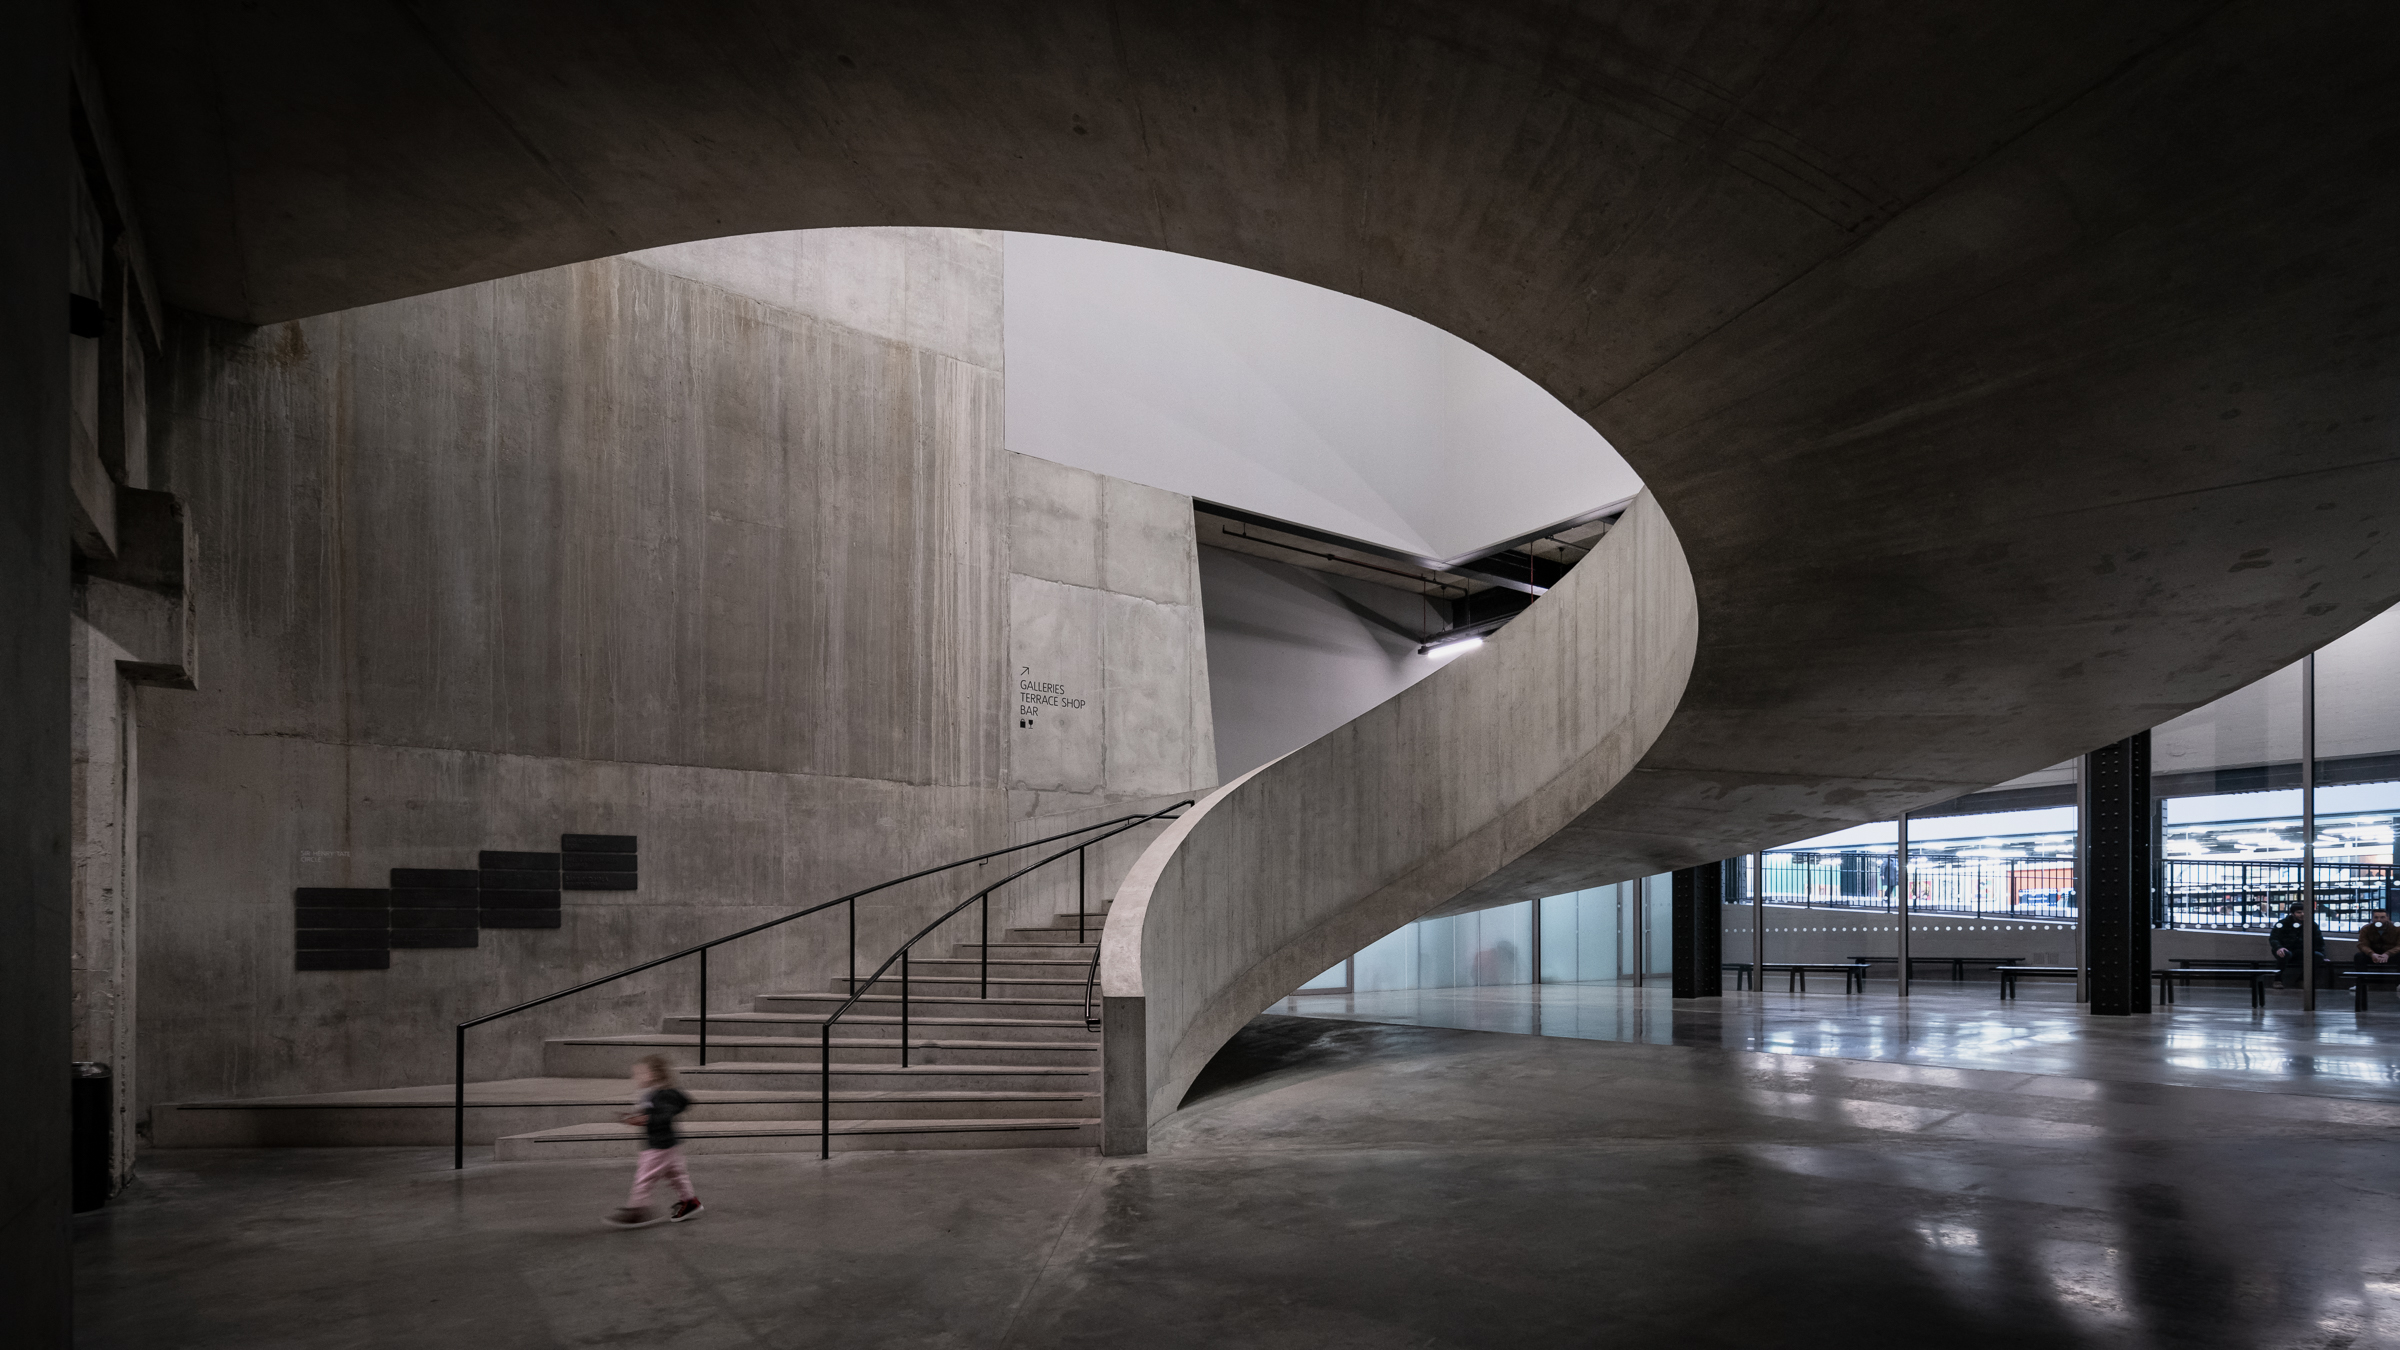
When used correctly, these leading lines create dynamic character and depth. Diagonal or curved lines are particularly suitable for guiding the eye. This works best if the part of the image to be emphasised is at the end of the line. This can be a single element, a room or an entire building. Leading lines can also take the role of the main motif, especially in more abstract images, for example in the form of a spiral staircase.
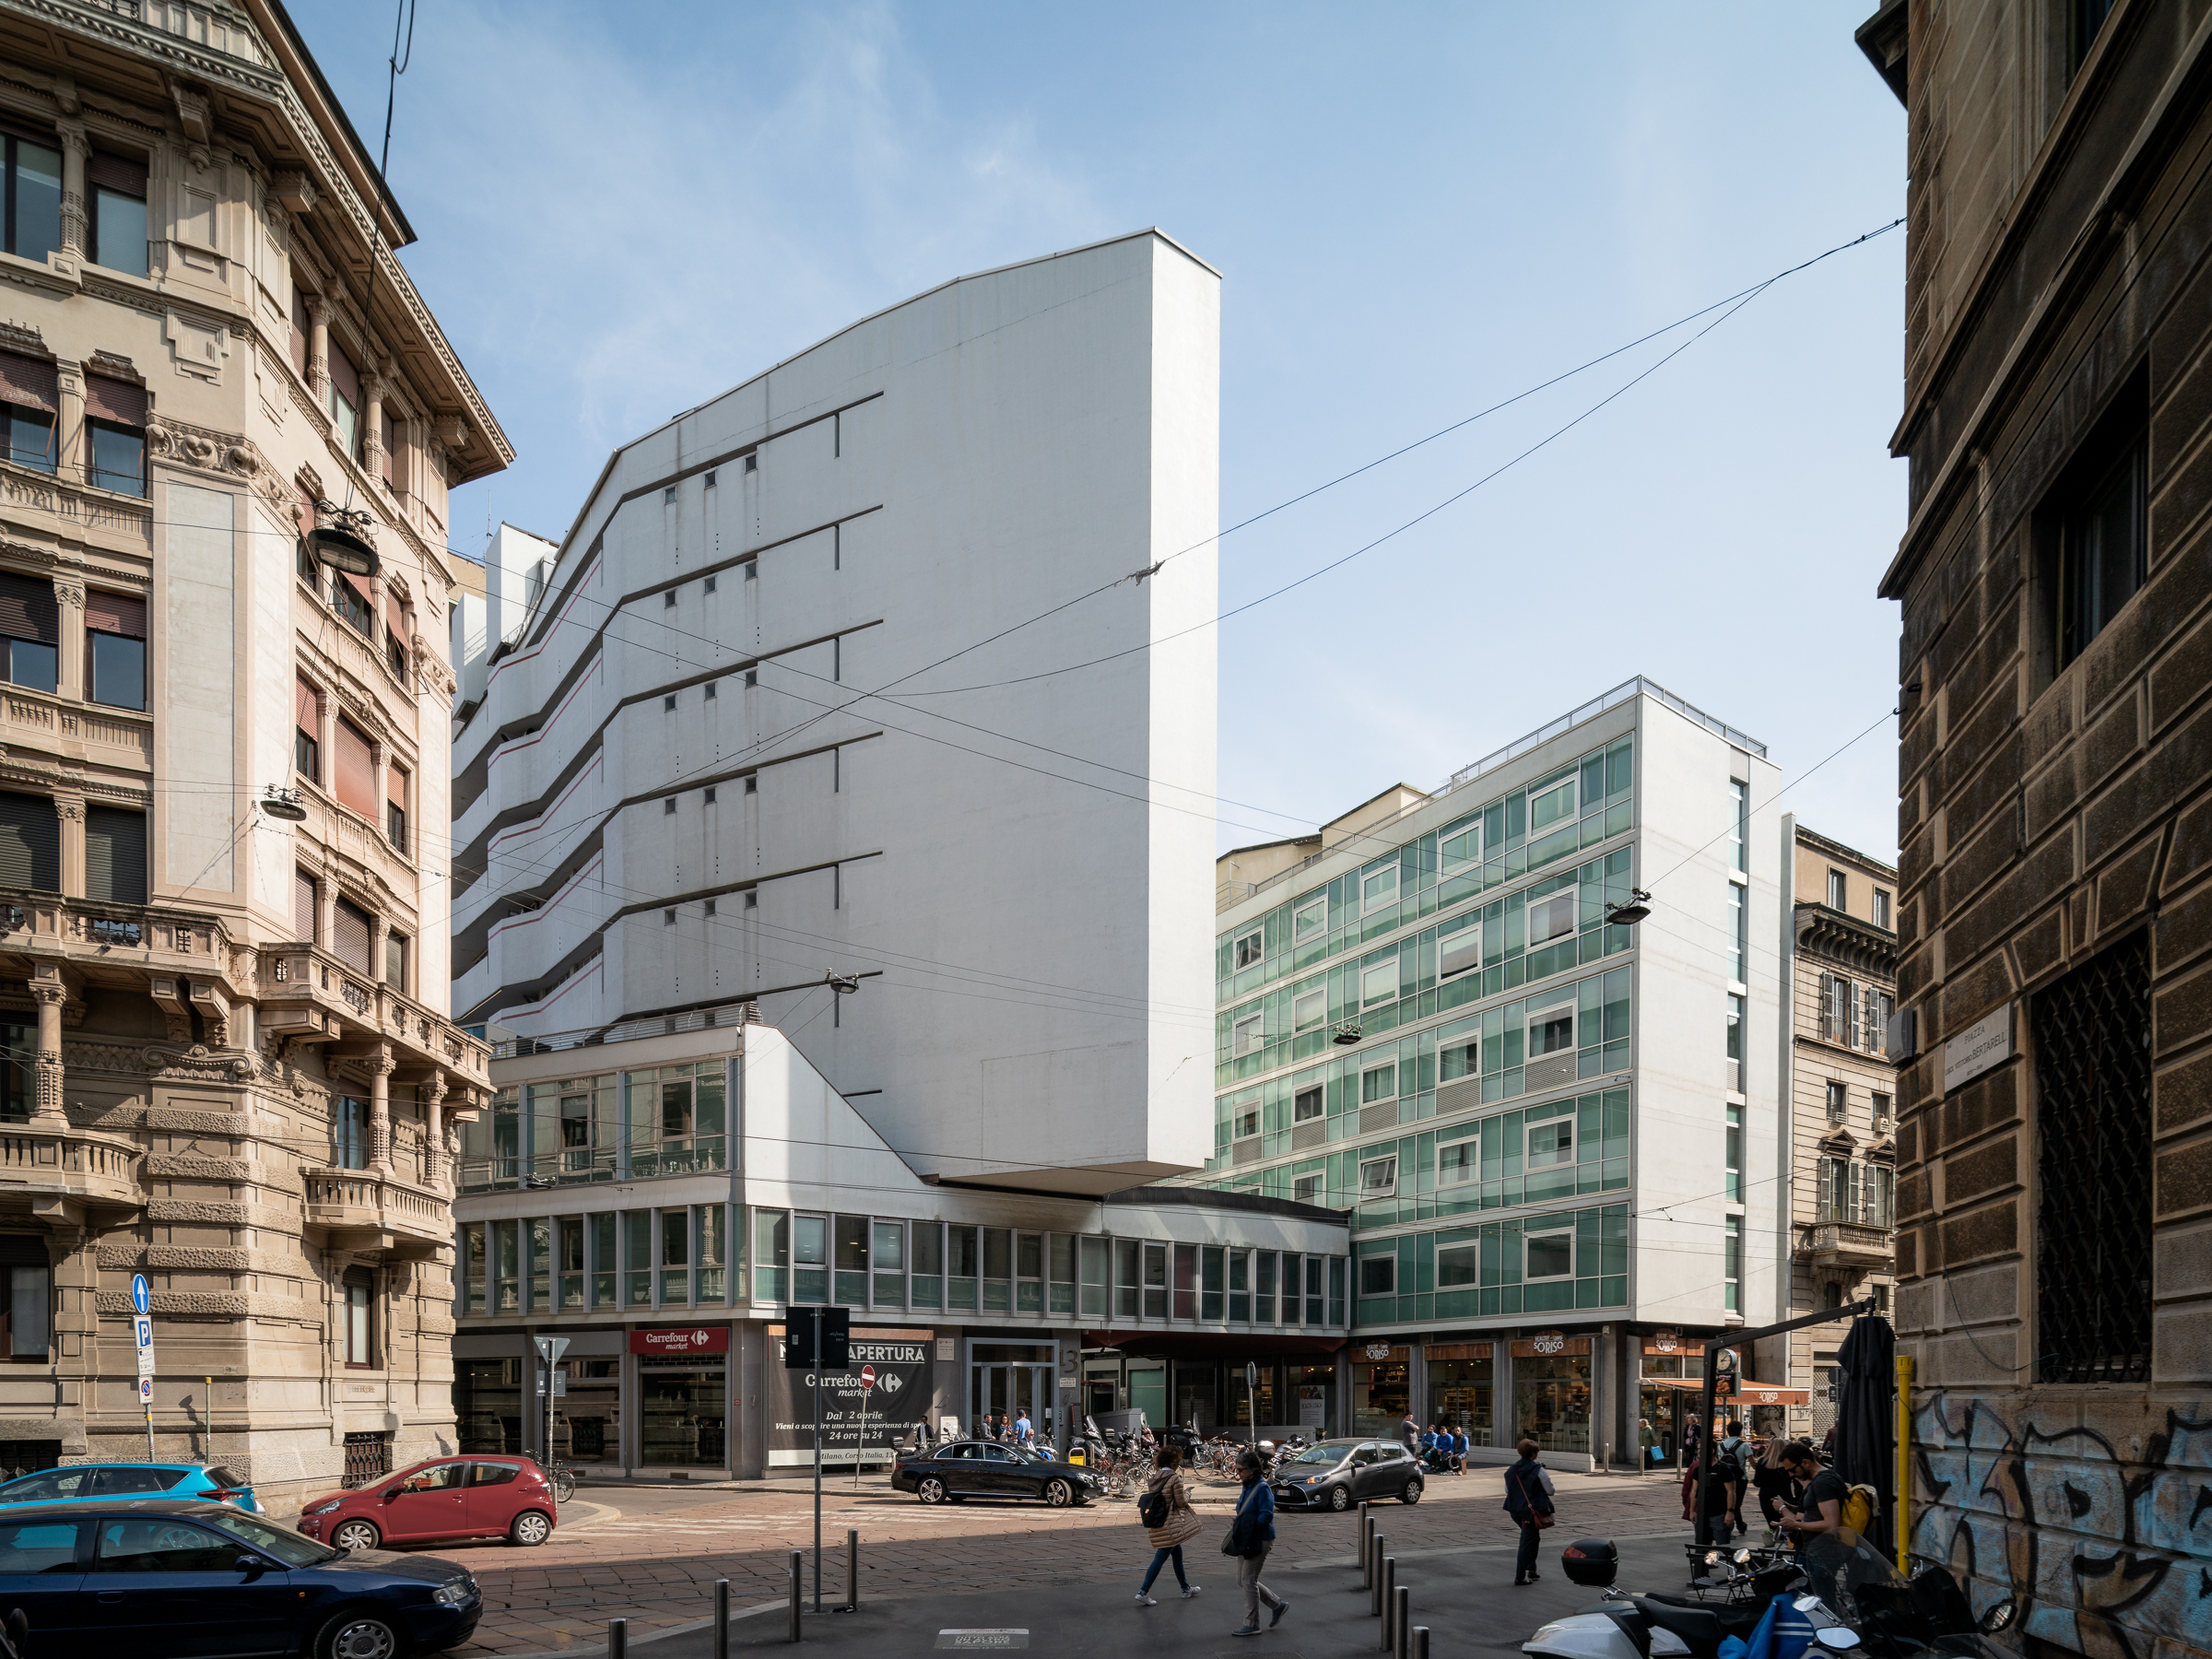
Frames can help grasp the composition of the image and direct the eye to the centre of an image. This framing effect can be created in different ways – be it a house facade of a neighbouring building, a structural element like a support beam or even large pieces of furniture. Since the human eye tends to be drawn to the brighter areas of an image, it is also advantageous if the framing elements are rather dark. In this respect, you could also use subtle vignetting (meaning a darkening toward the edges of an image) to serve as a frame.
Staffage and patterns
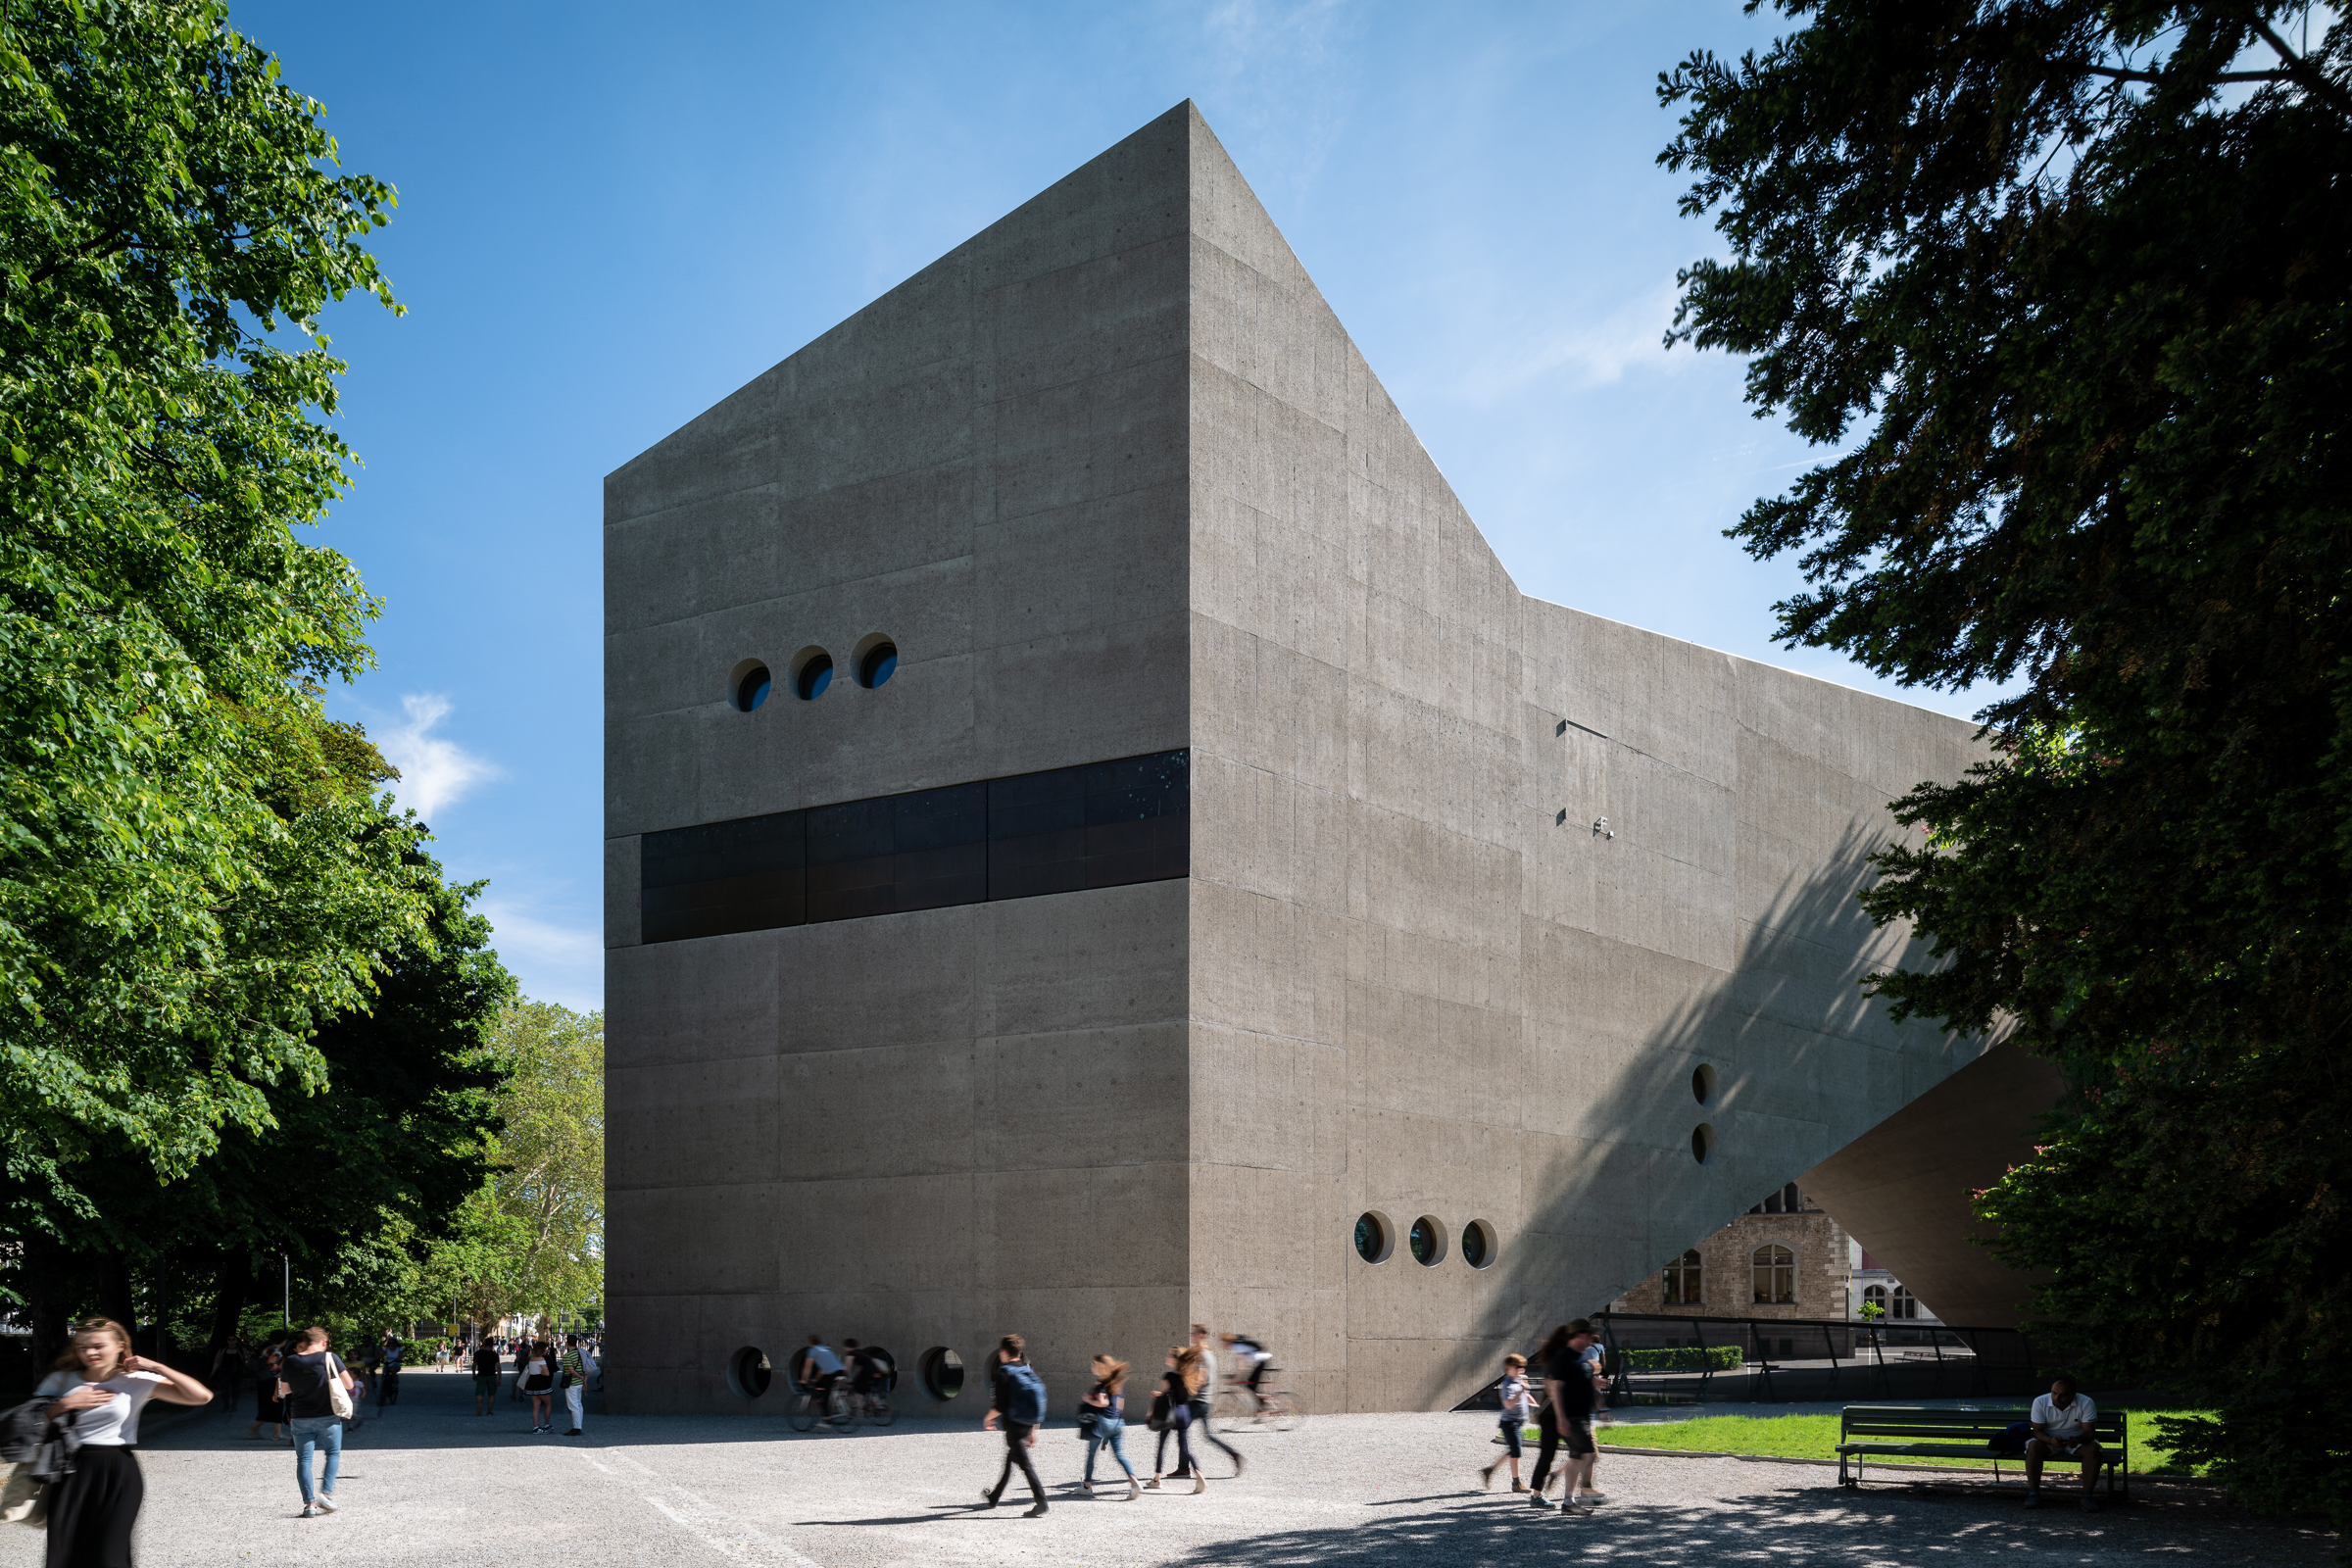
In addition to elements of the building shown, other objects may also be used to increase the visual impact and perception of the architecture.
Staffage can be used as an aid, for example to visualise scale, especially if it is a familiar relation like a person in front of a facade. At the same time, staffage can also be helpful in creating a reference for the use of the building, for example to emphasise its public character through the addition of many people.
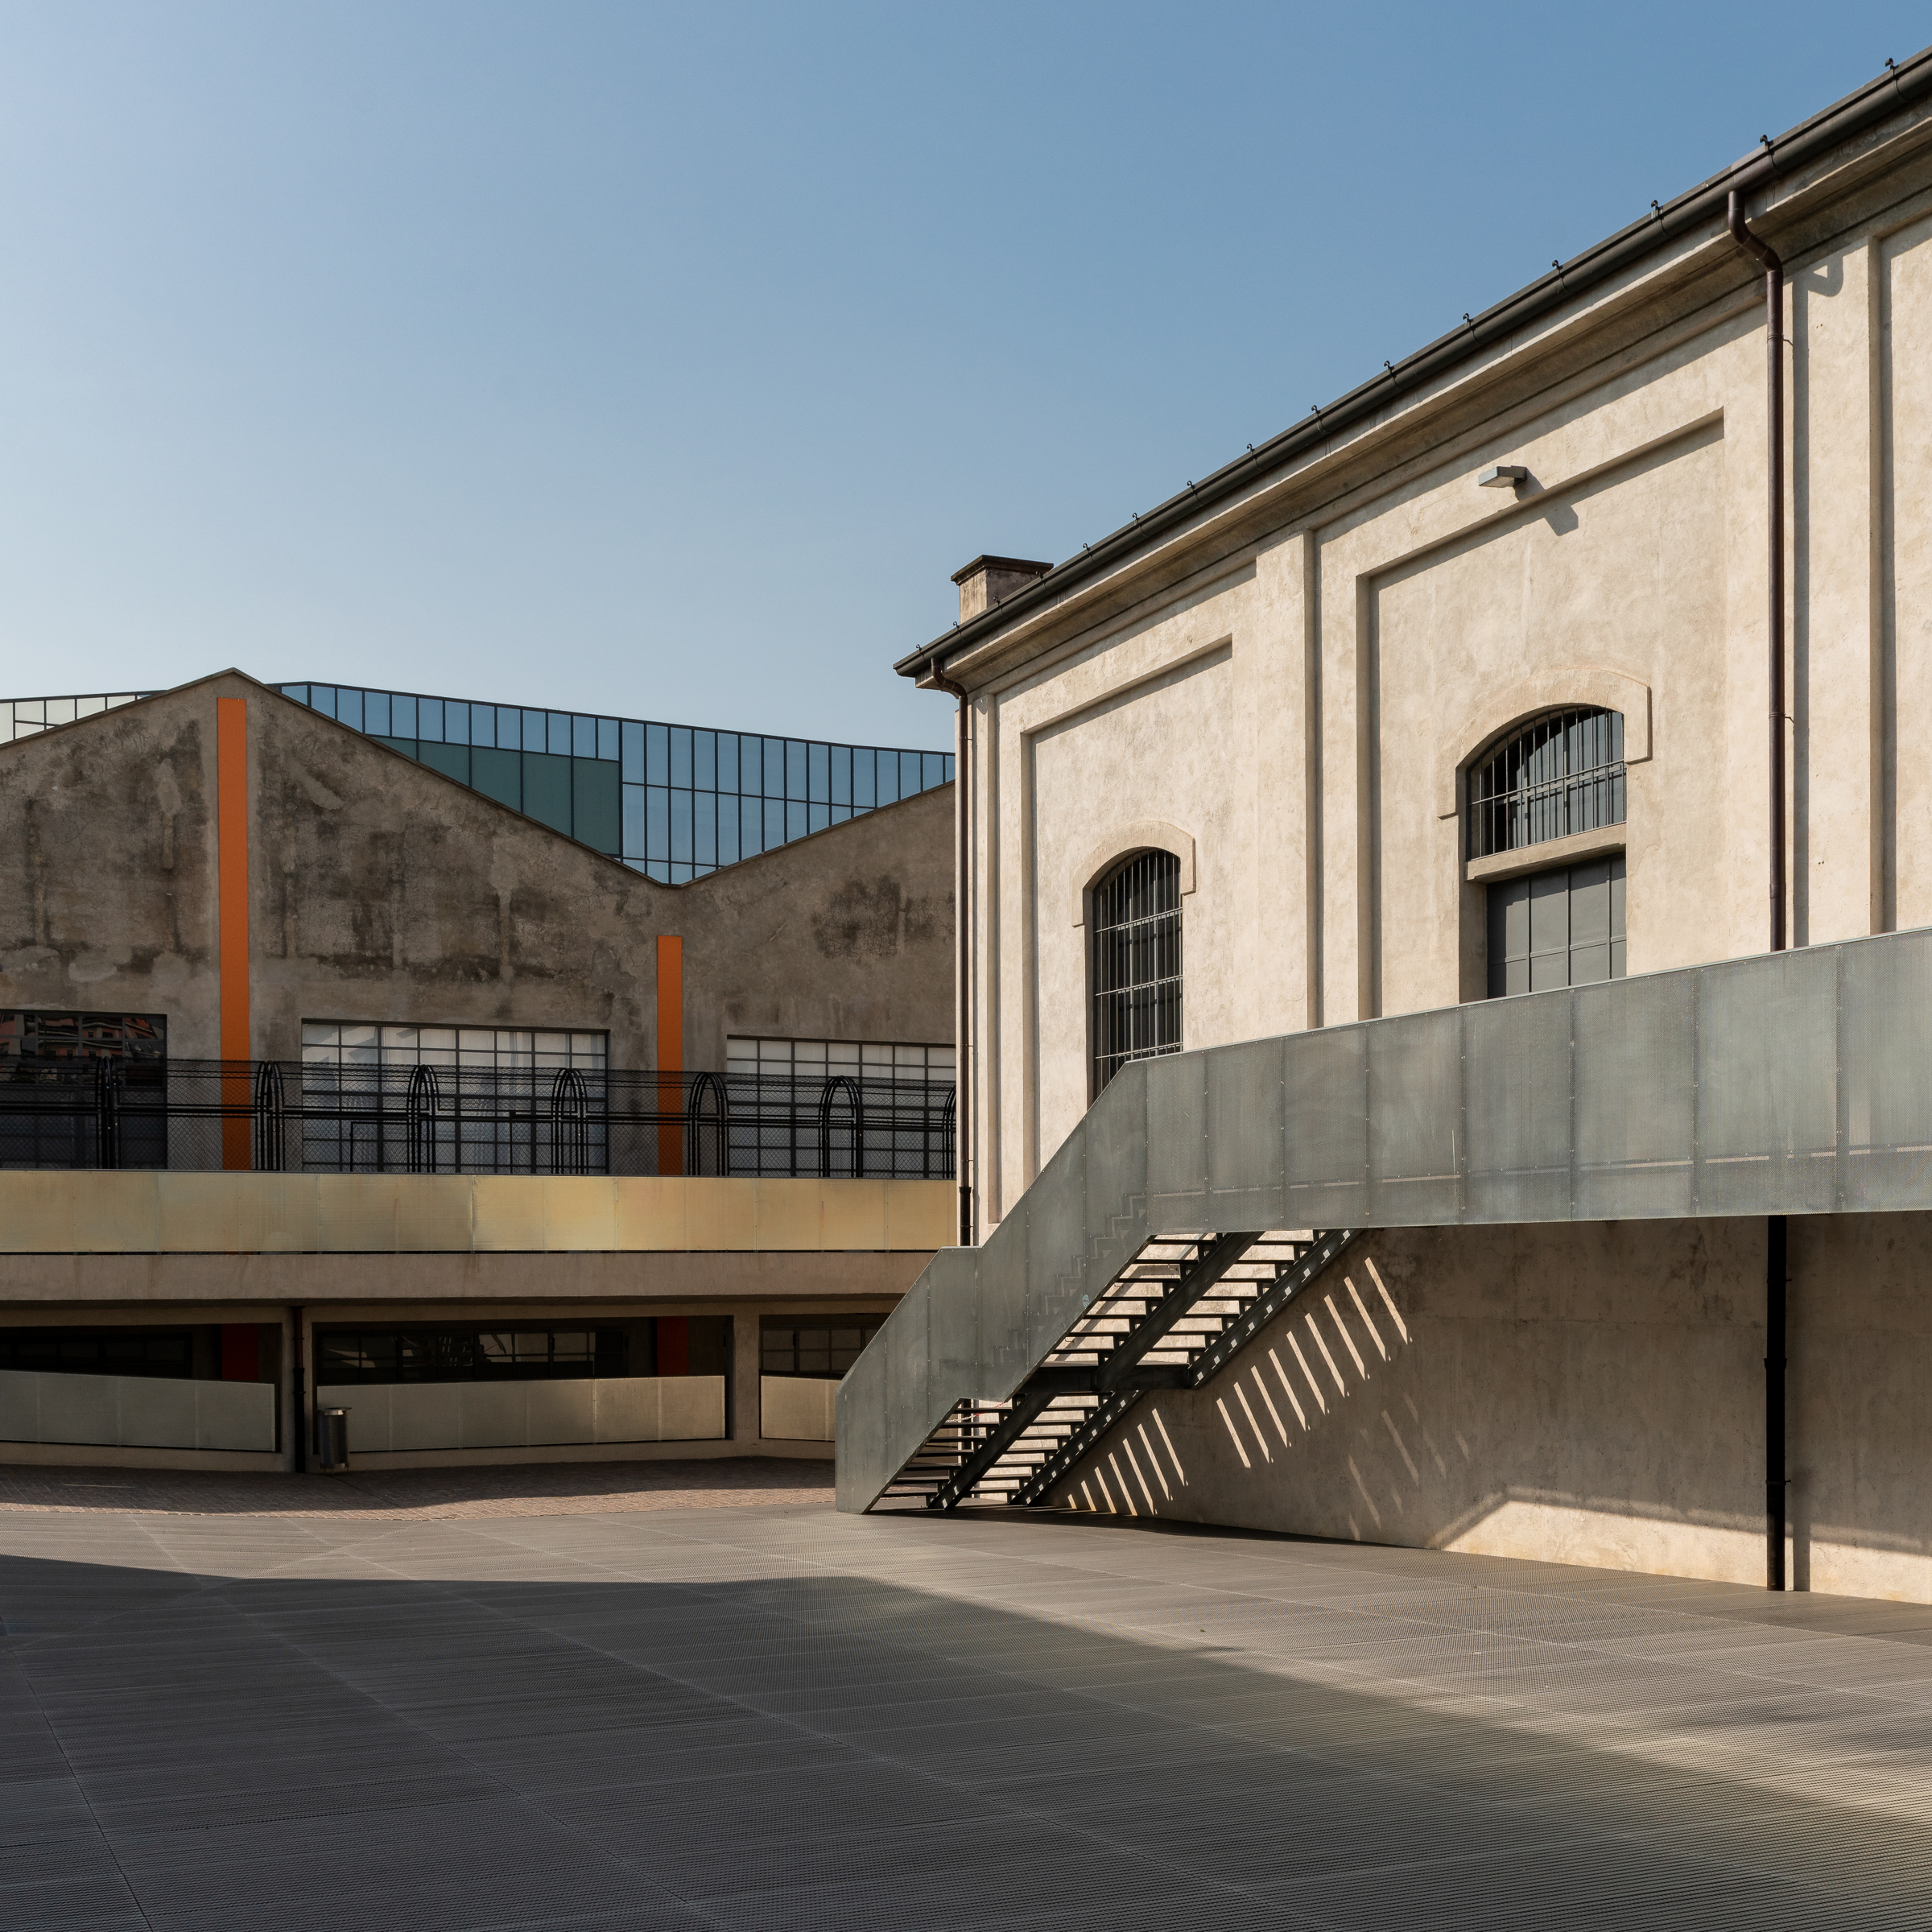
Nevertheless, there are situations in which the absence of additional staffage enhances the image effect, for example by reducing the image to the geometry or the impact of a material. Especially with motifs that already appear very diverse, lively or messy due to the building, additional staffage can overload an image and weaken its impact.
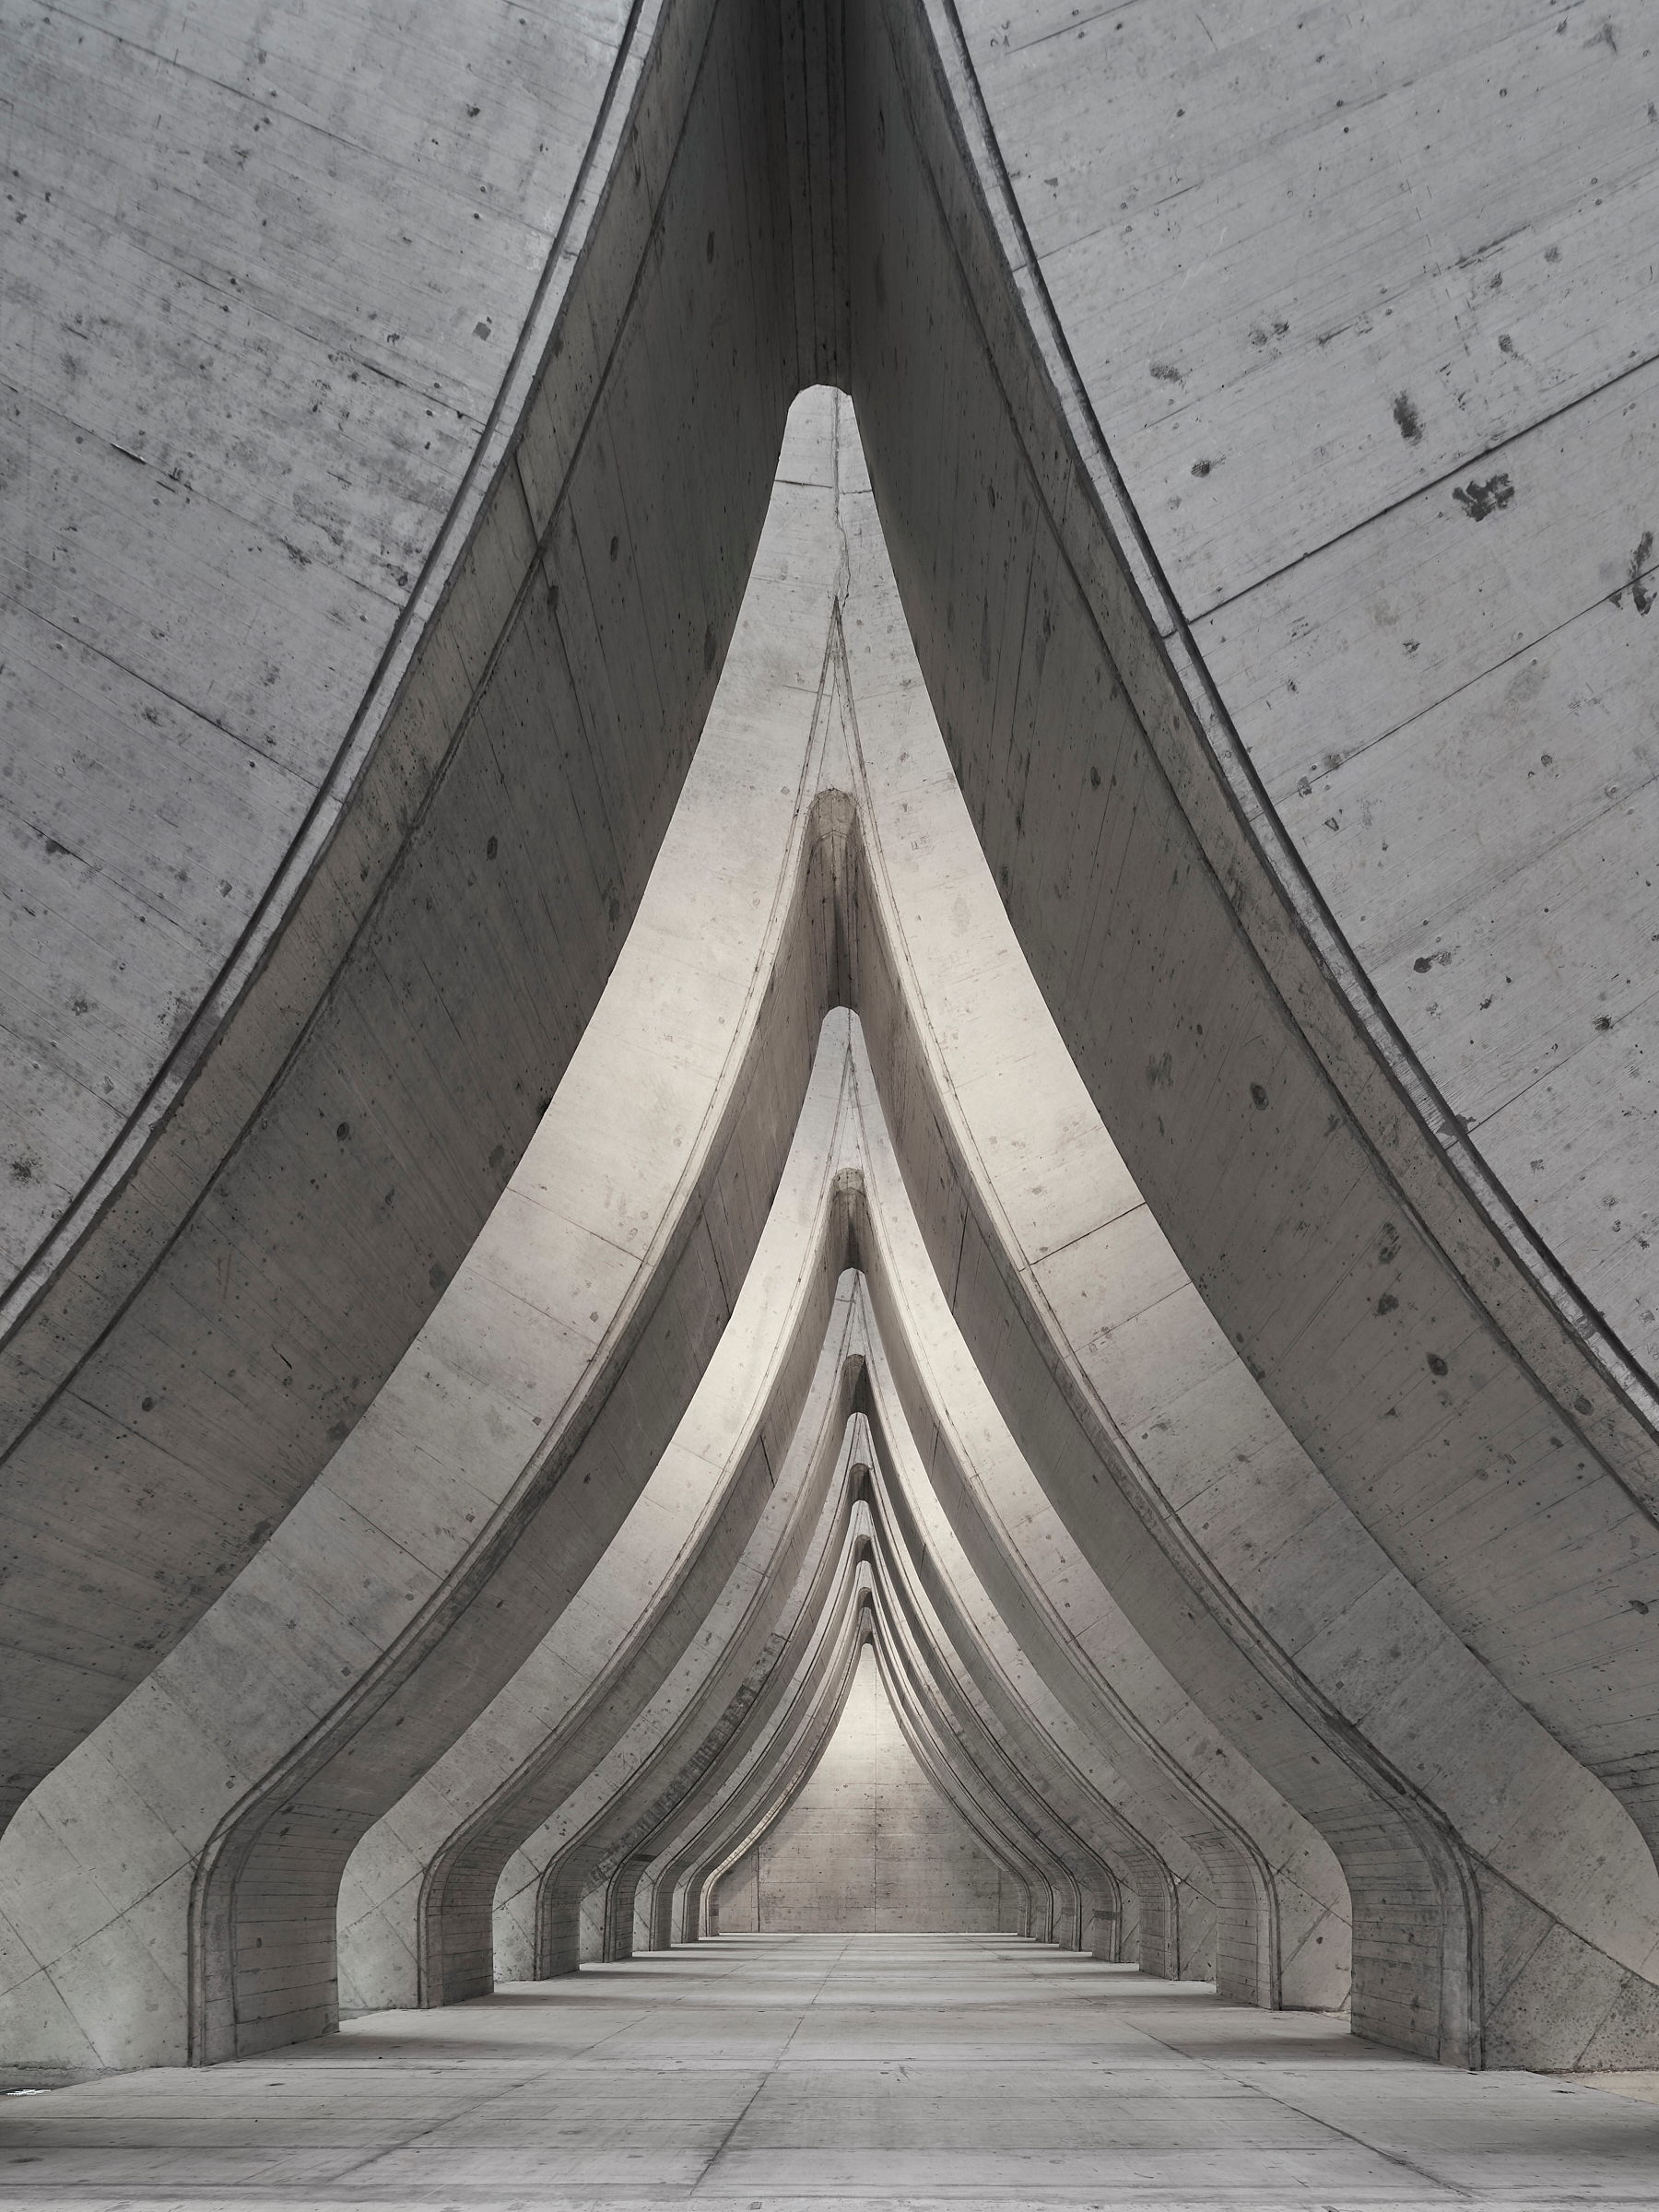
In contrast to these individual elements, which yield rather specific results, structures, patterns and repetition may be used to create a more abstract architectural image.
The uniformity creates a very catchy visual effect, which not only emphasises the design intentions of the architect, but also the conscious interaction of the photographer.
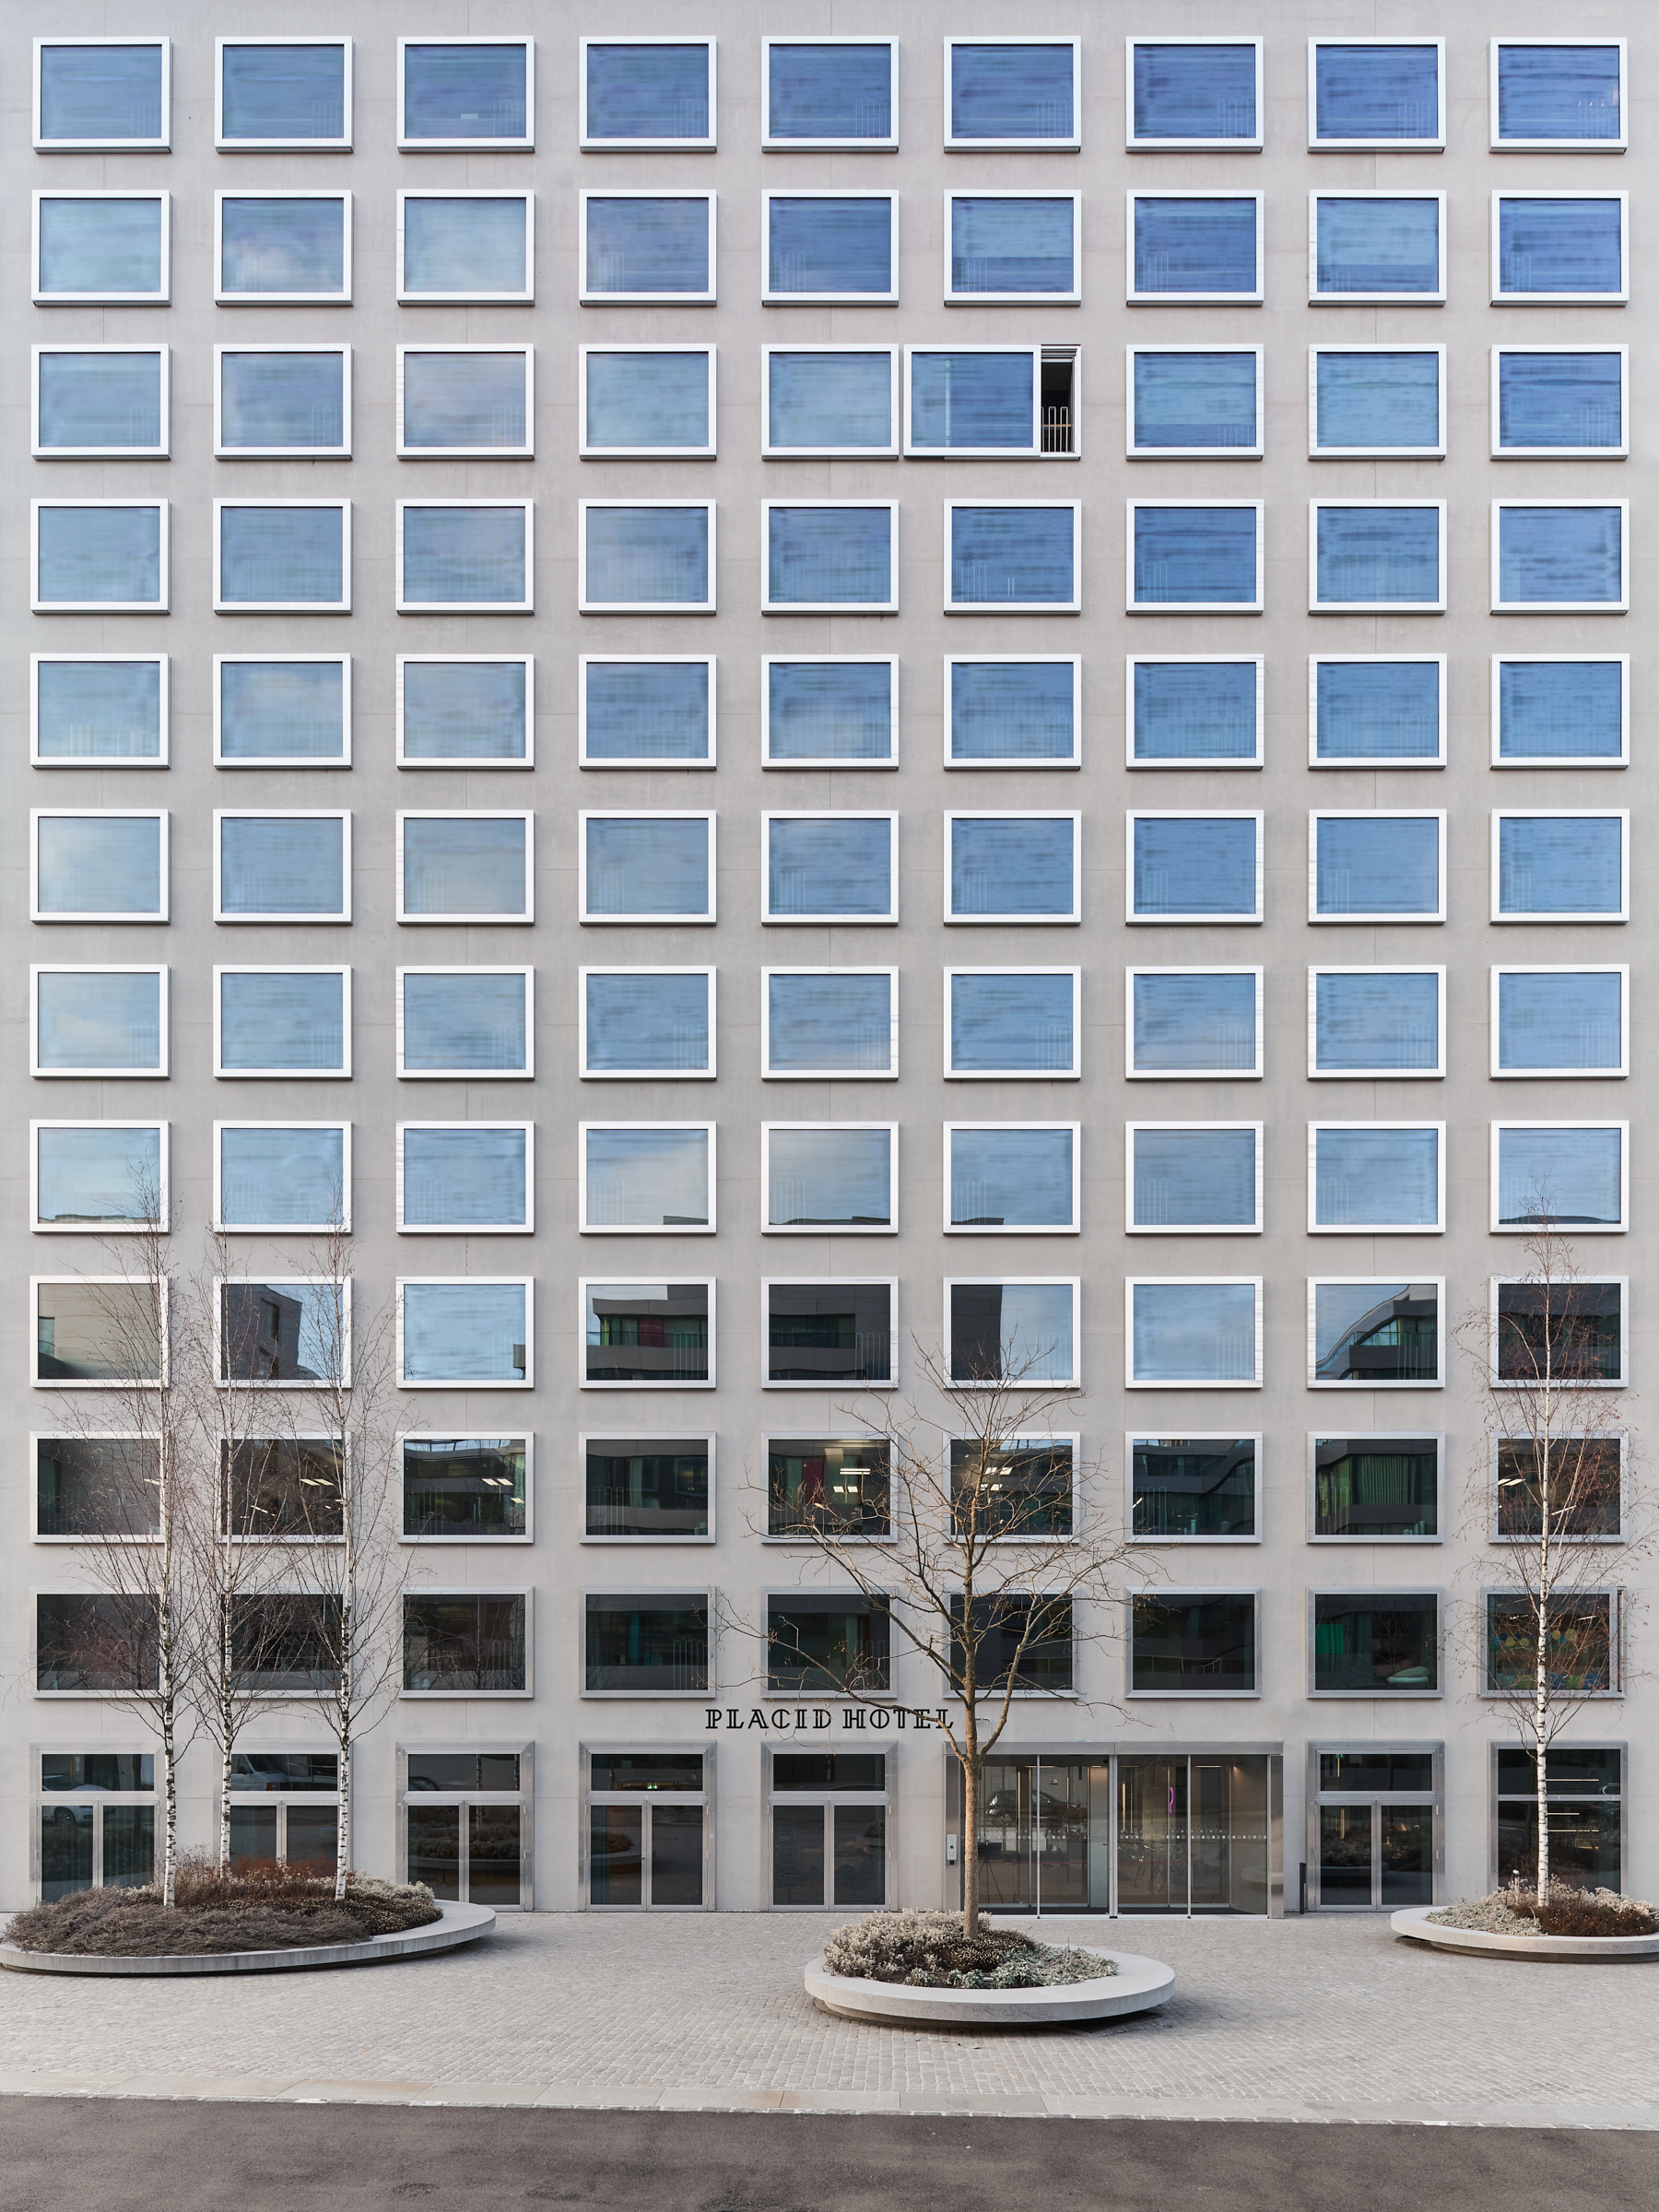
Especially with a strict grid or very repetitive patterns, an anomaly can help open up the image and create additional interest. Breaking the monotony even emphasises the regularity.
Creative architectural photography
As with all other genres of photography, the following statement also applies to architectural photography: “Learn the rules and break them“. For me, the appeal of architectural photography lies in finding exciting vantage points, waiting for optimal light or creating images that only reveal their actual motif at second glance. An interesting perspective is ultimately more important than perfectly parallel verticals – but if you keep these tools in mind, you can focus on the creative side of architectural photography and thus create technically clean, professional-looking images that captivate the viewer.
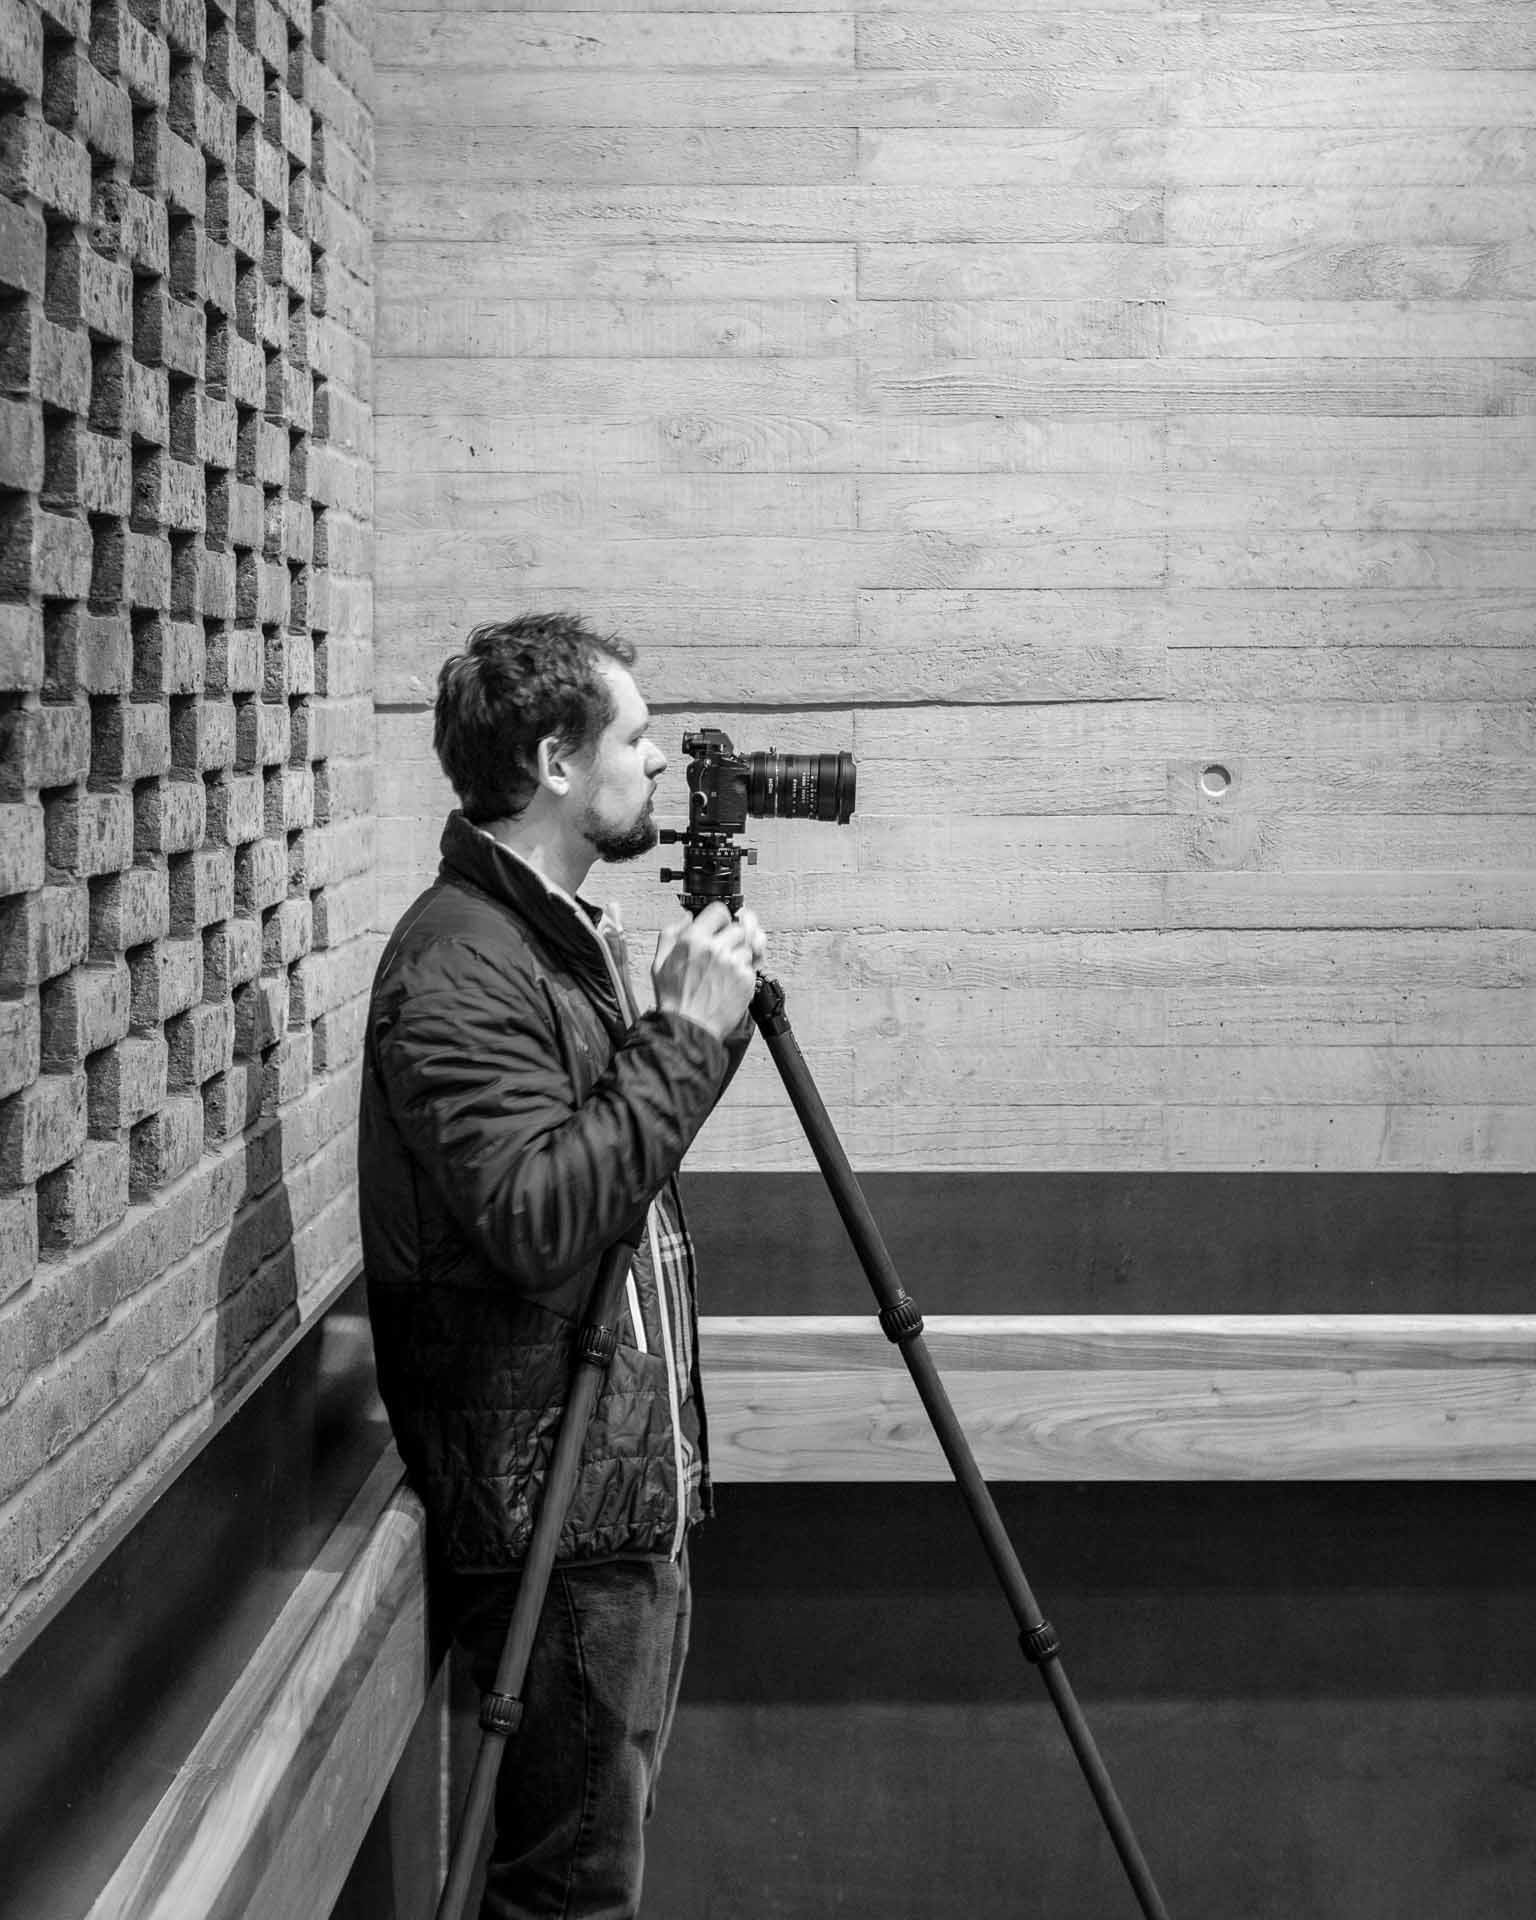
Sebastian Grundgeir
Sebastian Grundgeir lives and works as an architect and self-taught photographer in Zurich. He focuses on architectural photography and landscape photography. Aside from mountain landscapes and Swiss architecture, which make up the majority of the subjects, his portfolio also includes projects far beyond the Alpine region.
In addition to his work as an architect and photographer, he shares his love for photography in workshops, gives lectures and is a juror at the Photo Awards. He developed an architectural photography course for the Swiss Photo Club in which he reveals his tips and tricks for successful architectural photos.
© Website: www.sgg-photography.com
© Instagram: www.instagram.com/sebgg_photo
© Facebook: www.facebook.com/sggphotography
