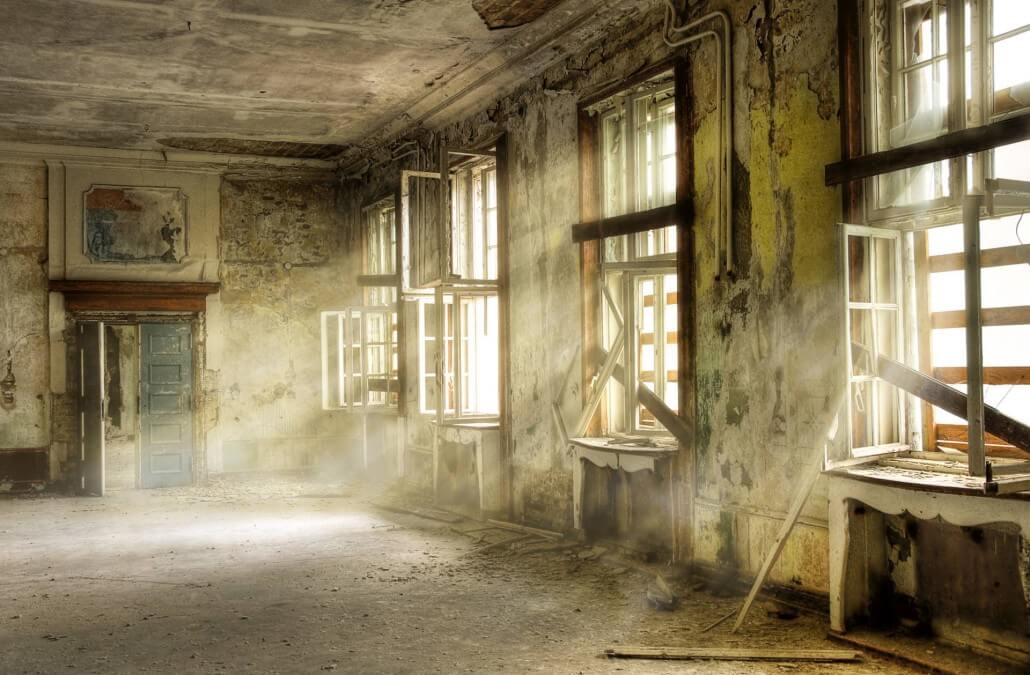
5 Tips for Taking Fantastic Photos of Abandoned Places
Before you embark on any adventures, it is worth remembering the motto: “No photo is worth the risk to life and limb".
Tip 1: Find The Location
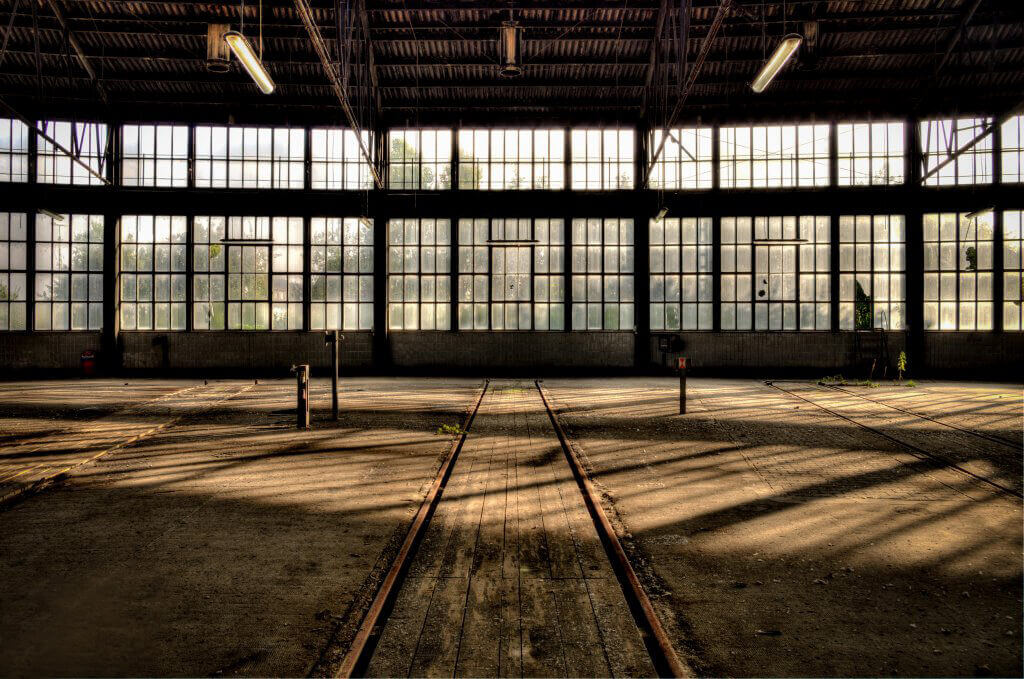
Source and author: http://toni-wittmann.de - This file is licensed under the Creative Commons Attribution-ShareAlike 3.0 Unported License.
Finding the best location is not easy but it is essential. The most interesting locations are well-kept secrets. Nevertheless, there are some communities where these secrets are shared with like-minded people. You may also get some good tips by asking a local photographer.
It is worth having a closer look when you next walk around your local area. New perspectives bring new inspiration where at first you wouldn't expect it. In many cities for example, there are a lot of abandoned factories and warehouses or old villas that have been abandoned for several years.
In foreign countries it is more time-consuming but you may get better results. Some older people may know about places that cannot easily be found. Sometimes these people can also help you to get special permission to visit these abandoned places. Using these sources requires patients and time, but it may pay off in the end.
Some photographers use online maps where you tag your locations with the photos. This search is less helpful if you want to find unexplored locations, but for beginners it is a good way to get started.
Another option is to use Google Maps. This can help you to locate undiscovered paths or tracks. Street View is great to get a first impression of the area.
Geocaching is a good little tip, which can help you to get started. People search for treasures (e.g. small cans) that have been hidden by others in mundane or exotic places. Geocaching reveals many photo locations or even abandoned places that are often used as hiding places. Some providers offer public tours of abandoned places for a fee, for example in Beelitz or Wünsdorf in Brandenburg/Germany. Only a limited number of people can take part on these tours and depending on the tour they may be able to move freely around the site. However, tours do not fit with the core principles of urban exploration. Nevertheless, they offer the opportunity to legally photograph abandoned places.
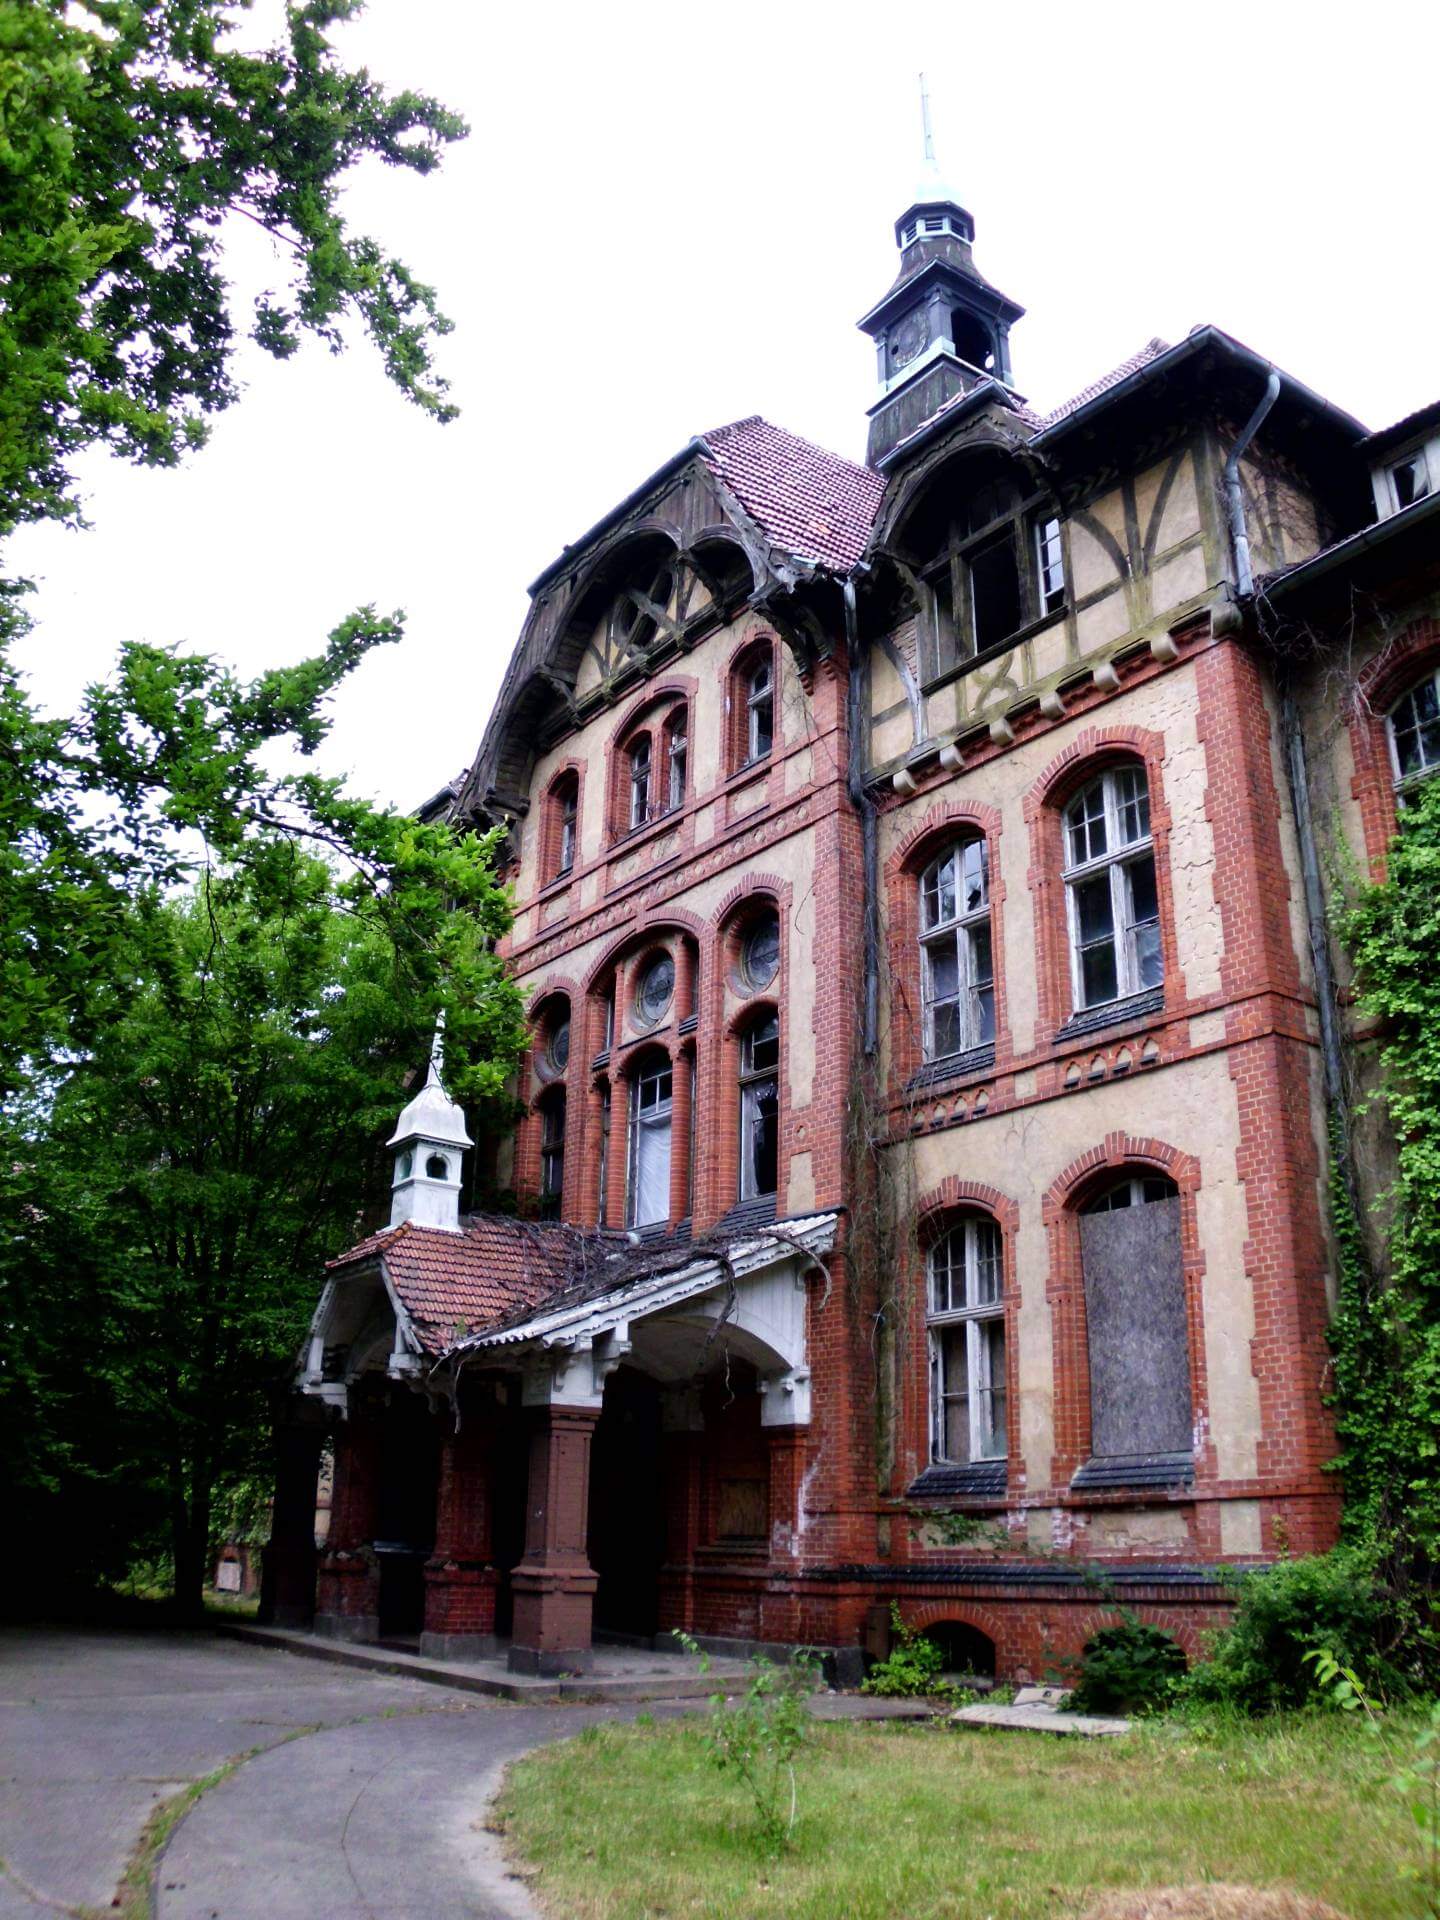
This file is made available under the Creative Commons licence "CC0 1.0 waiver of copyright".
Tip 2: Finding The Perfect Angle
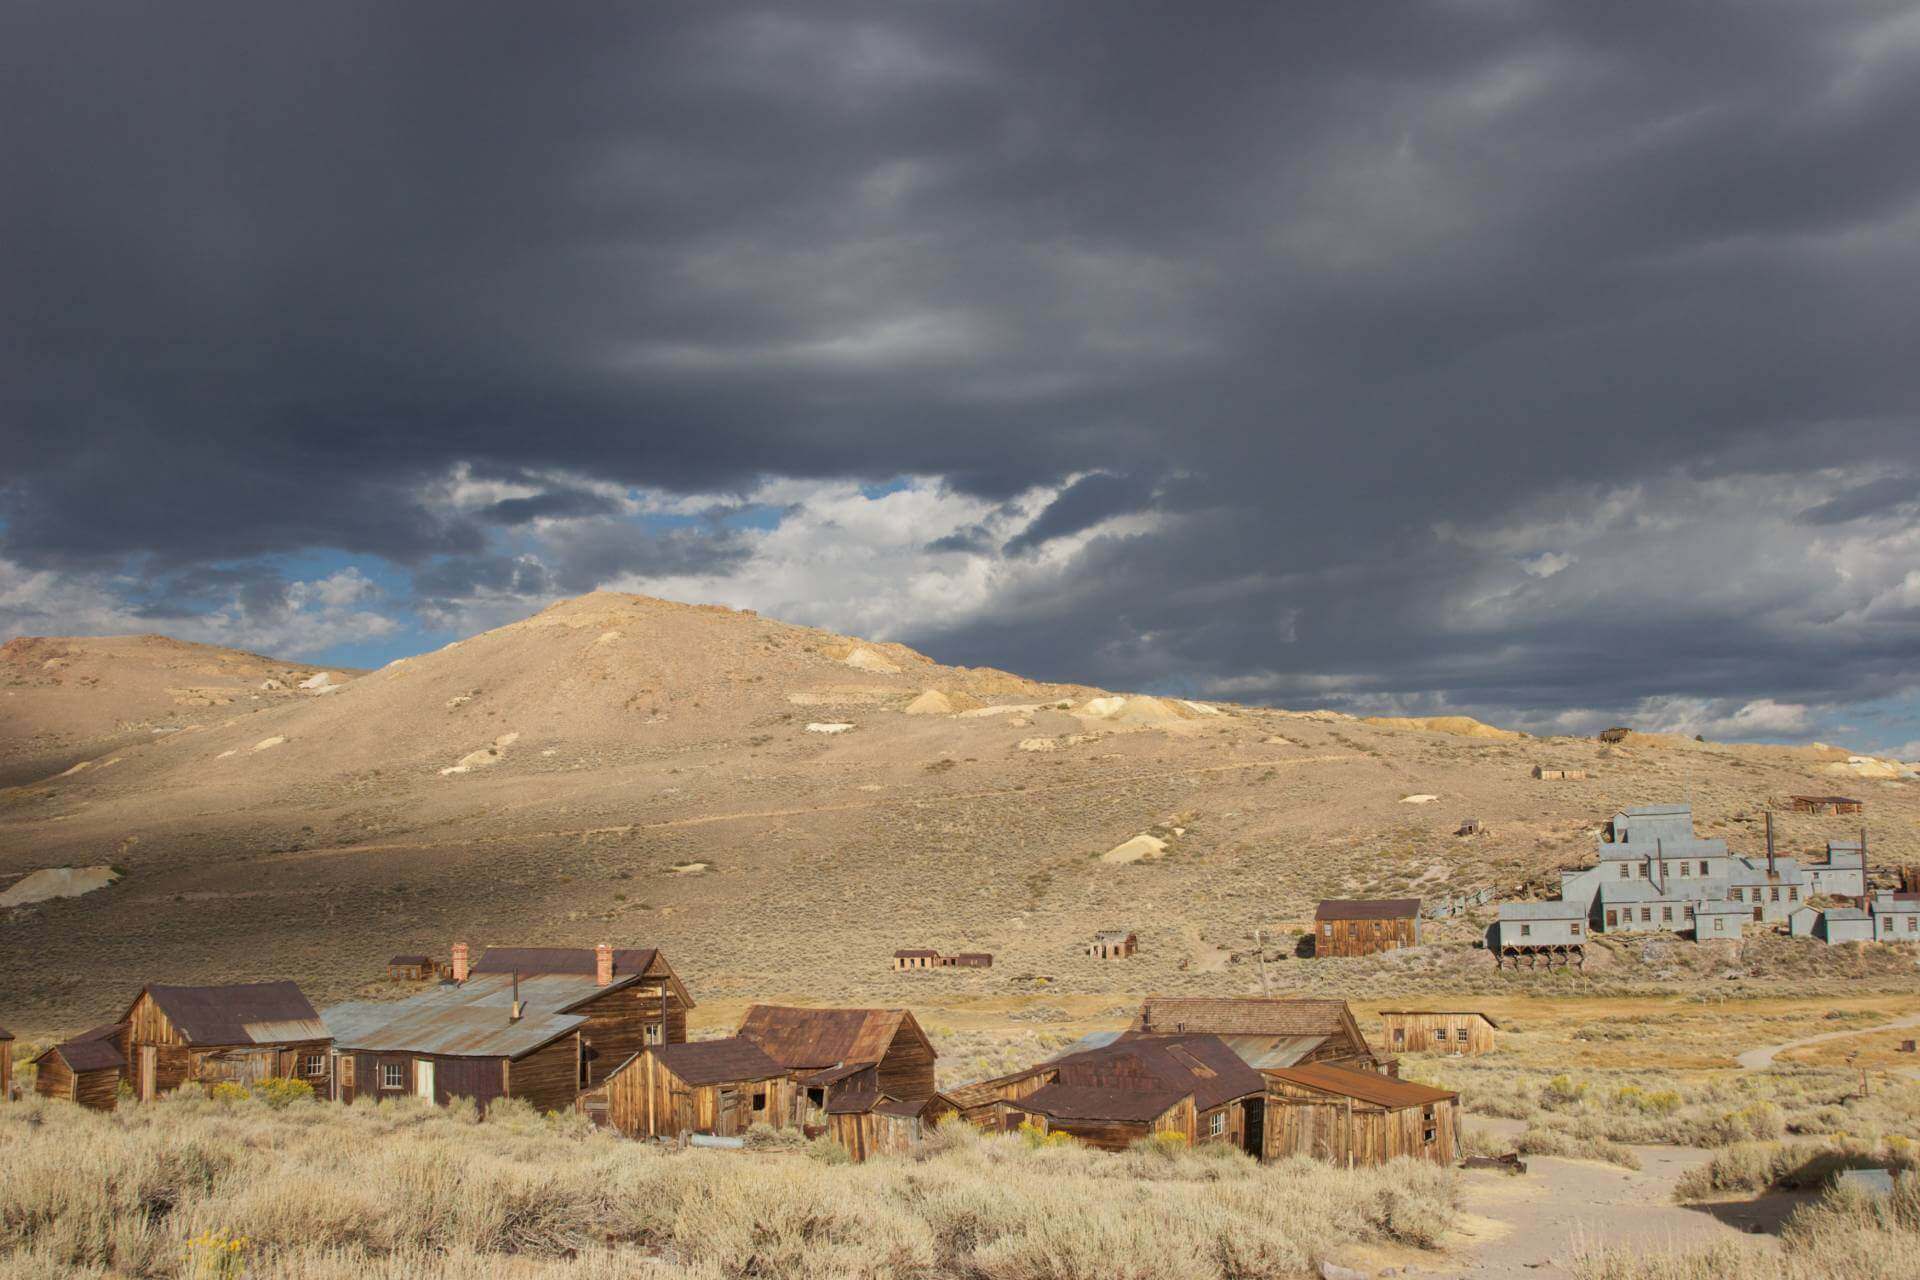
Once you have found the right location, look around for interesting shots in all the rooms and on the grounds, but remember to stay safe. Once you have found a subject, take your time to find the right frame. Take a good look around the room and feel the magic of the place to help get a good shot.
Photos of abandoned places usually convey a mood or emotion rather than just capturing a subject. Changing lenses and position in the room can be advantageous if the mood cannot be captured after the first test shots. This process may well take several hours or even days.
Long shots are not always the best way to capture the magic of a room. Try different perspectives, angles, sightlines and detail shots of the subject. The aim is to guide the viewer through the picture and let them get a feel for the place.
Tip 3: The Choice of Lens
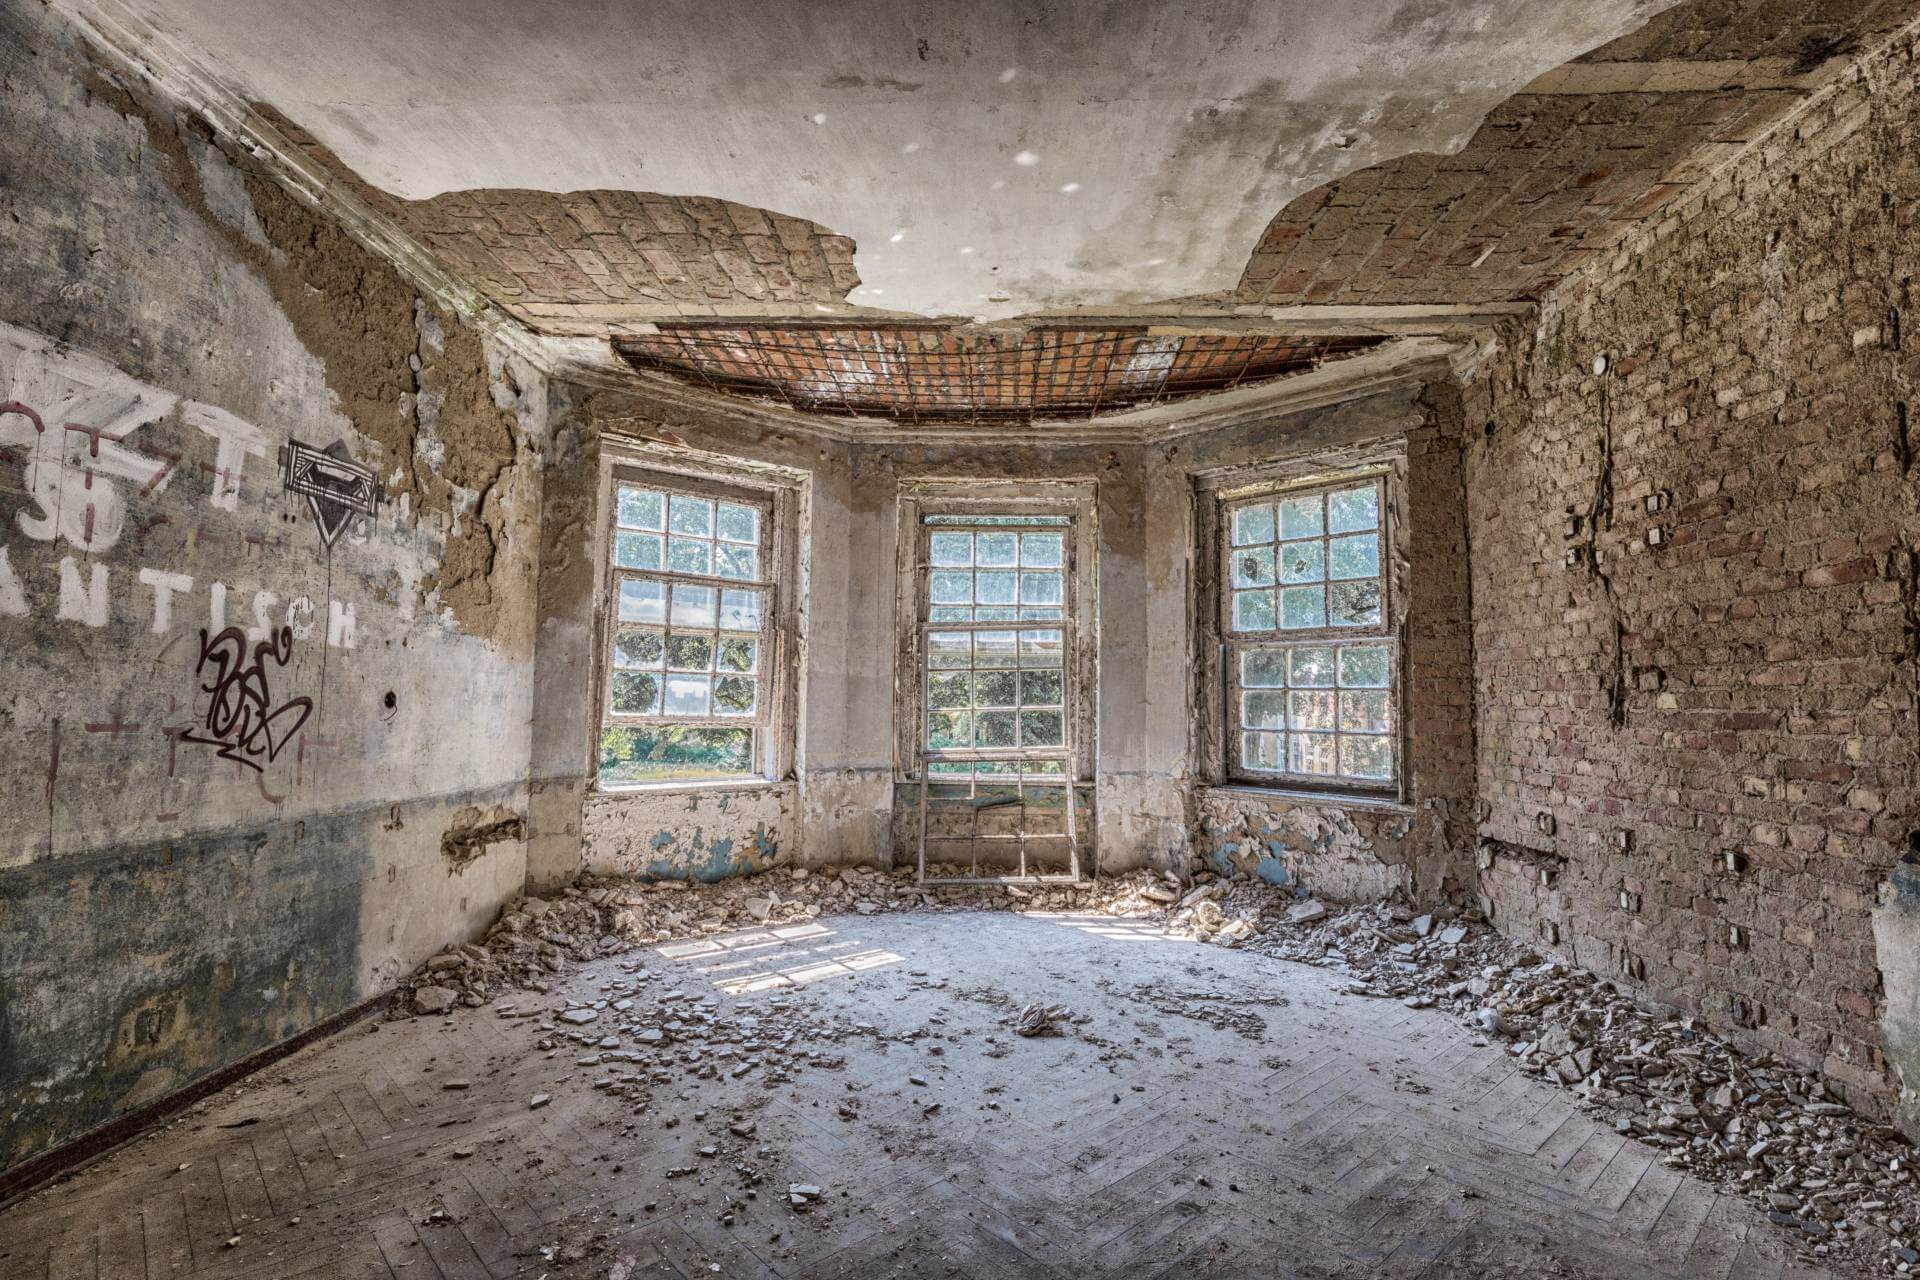
Capturing the whole room with its mood and details is a challenge for any photographer. Little space and light make photography difficult. A DSLR with a (super) wide-angle lens with a focal length of 10 - 20 mm is a good option. It offers the advantage of being able to photograph entire rooms without much space. Another advantage of these lenses is their ability to let in lots of light, as abandoned places are often gloomy. The downsides are that these lenses are set to a very short focal length and therefore are not very flexible and they tend to magnify objects.
To keep some flexibility, always keep a 17 - 55 mm lens handy. These are suitable for most detail shots.
Tip: To avoid changing lenses frequently use one lens on the way into the building and change it for another on the way back. This way you can shoot subjects from different perspectives without having to constantly change lenses on the camera.
Tip 4: The Right Exposure
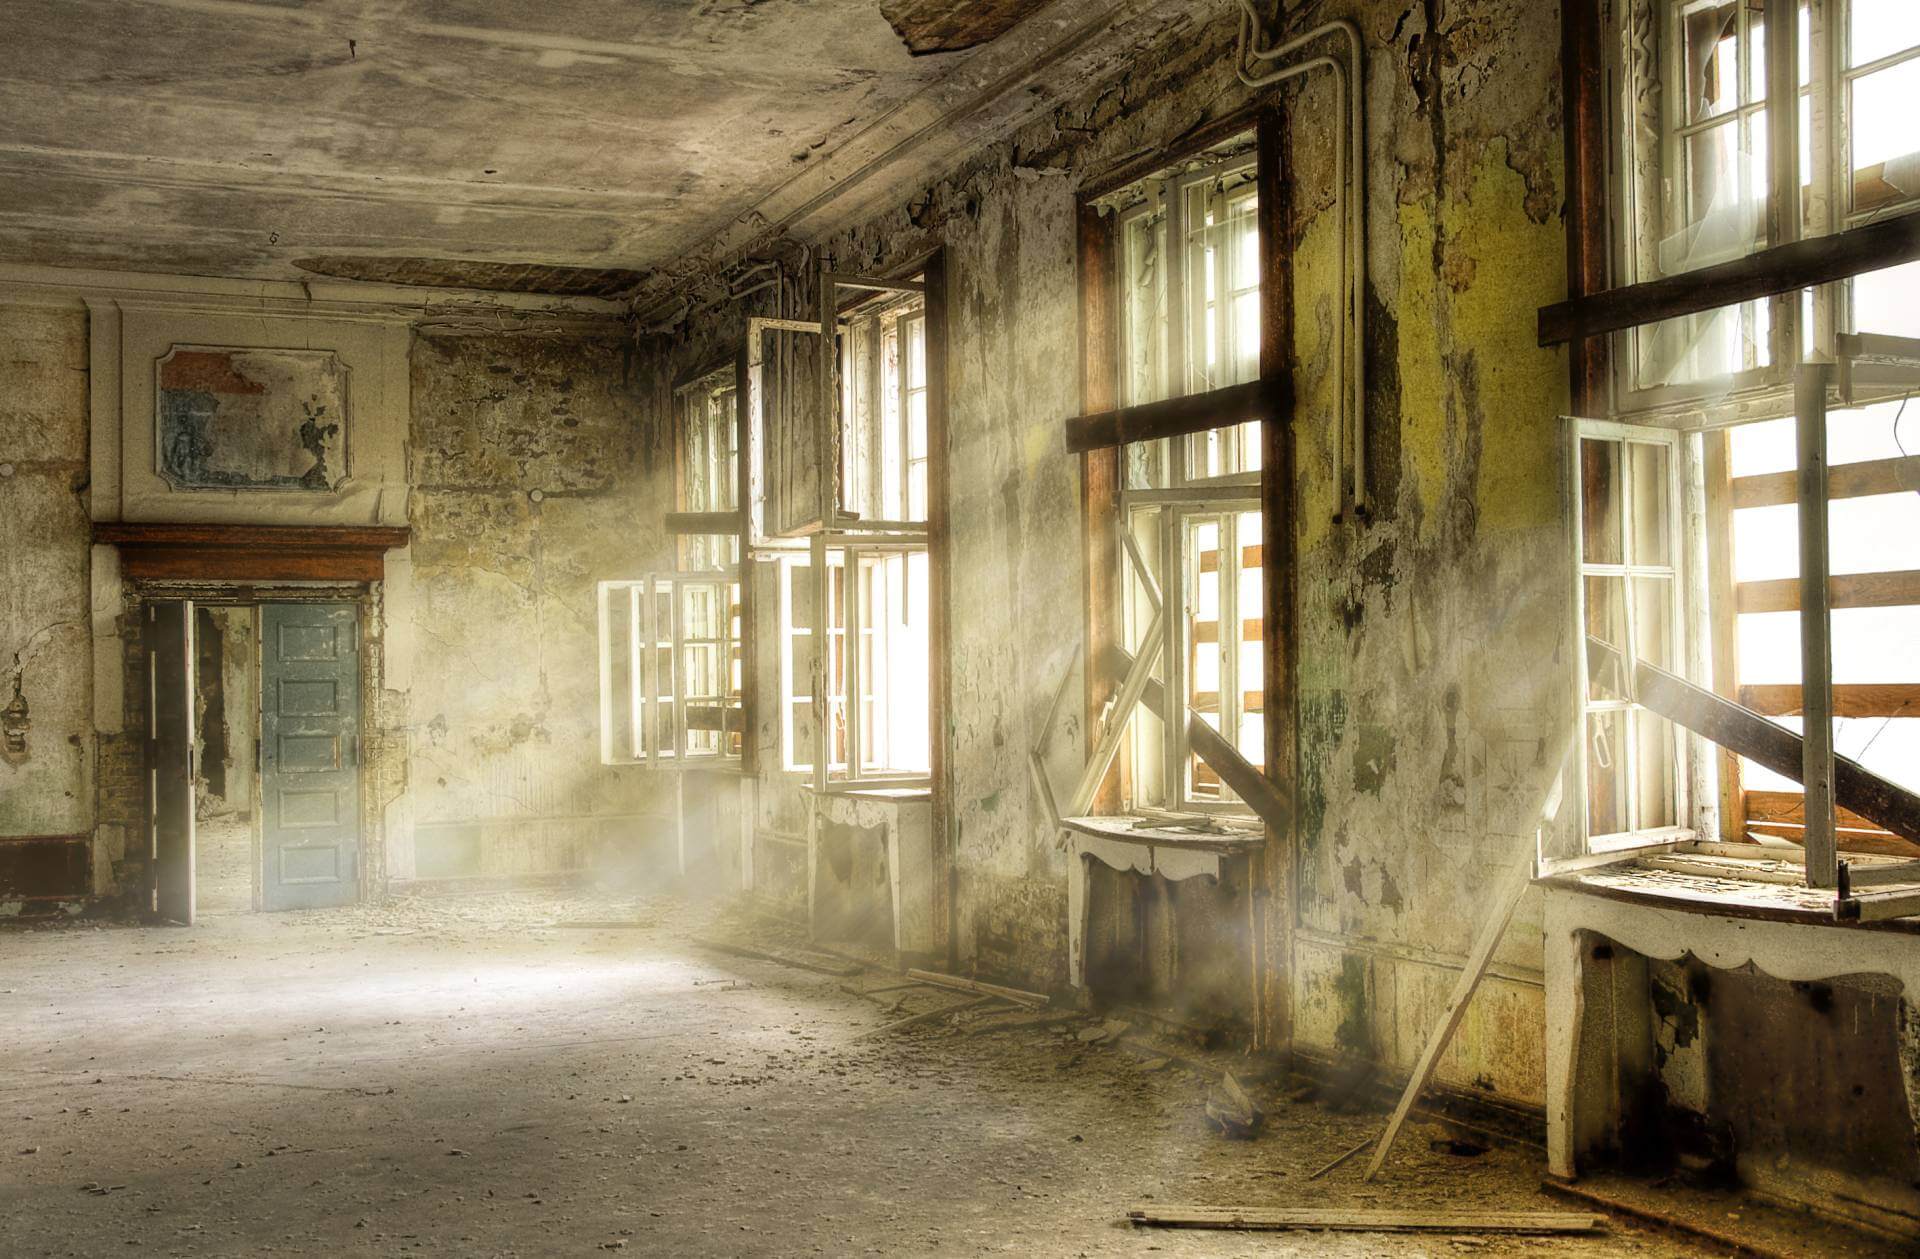
Abandoned places come alive at twilight. On sunny days, strongly differentiated shadows are cast and dust glitters in the sun's rays. During the late afternoon the shadows are longer and the light is softer. Cloudy skies make the light indoors appear velvety and gloomy.
Depending on the weather and time of day the same shot can vary dramatically. It is also worth checking the weather forecast before setting off.
Due to the often-difficult lighting conditions it is a good idea to take three to six exposure series of each subject (including over- and underexposure). This is the only way to capture the full range of the different brightness ranges.
To select the best image for post-production and if necessary, to convert an HDR, the images must match each other. This is achieved with a stable tripod, beanbag or other solid camera stands. The tripod will help to prevent blurring of the images at long exposure times.
When using a tripod the image stabiliser should be turned off. This tries to stabilise the non-existent movements of the camera and can result in a blurred image. A remote or self-timer can reduce potential blur caused by pressing the shutter.
Tip 5: Let There Be Light
In dull places, a long exposure time and a large aperture may not be enough. The auto-focus may not bring the subject into focus. Experienced Urbexers use a trick of waggling a torch to evenly light up low-light situations. It is possible to manipulate the light to highlight parts of the scene with this technique.
The built-in flash is rarely used because the wide-angle lens tends to cast a shadow on the top of the picture and the lower part is heavily overexposed. A clip-on flash is also rarely used because it is awkward to use.
