Taking pictures in the snow
How to take beautiful pictures in the snow
The snow-covered winter scenery is an impressive sight in the winter months and a very popular subject for photos. And it is all the more beautiful if the true white colour of the landscape is reflected in the pictures. We reveal what you need to look out for when taking pictures in the snow and how you can make the snow look white. We will also give you tips on how to produce really impressive winter photos.
If you come up with a snapshot that you really like, you can even turn it into a cool multipart picture for your living room wall!
Preparing your camera equipment for the cold conditions
Camera batteries are like people, they like to be warm. Batteries discharge quicker in cold environments, and this applies to mobile phones too! Try to keep them warm to prevent unpleasant surprises. If you have spare batteries, it is best to keep them in a warm coat pocket or as close to your body as possible. The same applies to the camera battery or mobile phone you are using. Remove it and put it back into the camera when you need it. This means the batteries will discharge more slowly, and you will not have to cut your winter photo session short.
Tip: Put your camera into a resealable plastic bag, such as a freezer bag, before bringing it indoors from the cold. This allows the camera to adapt to the ambient temperature and any moisture will form on the outside of the plastic bag.

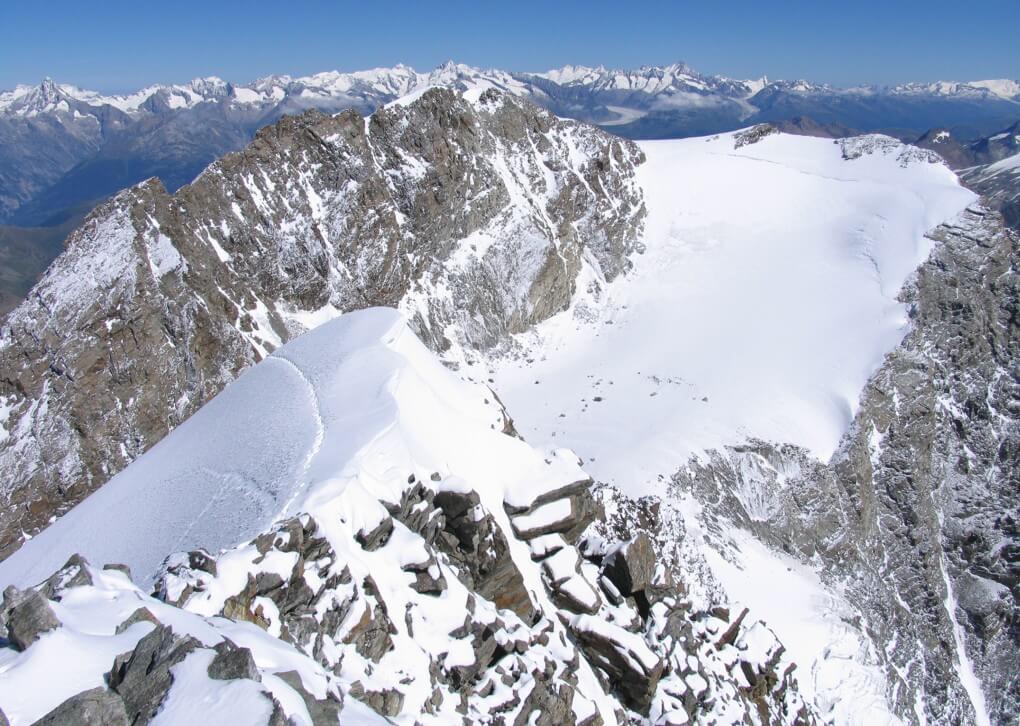
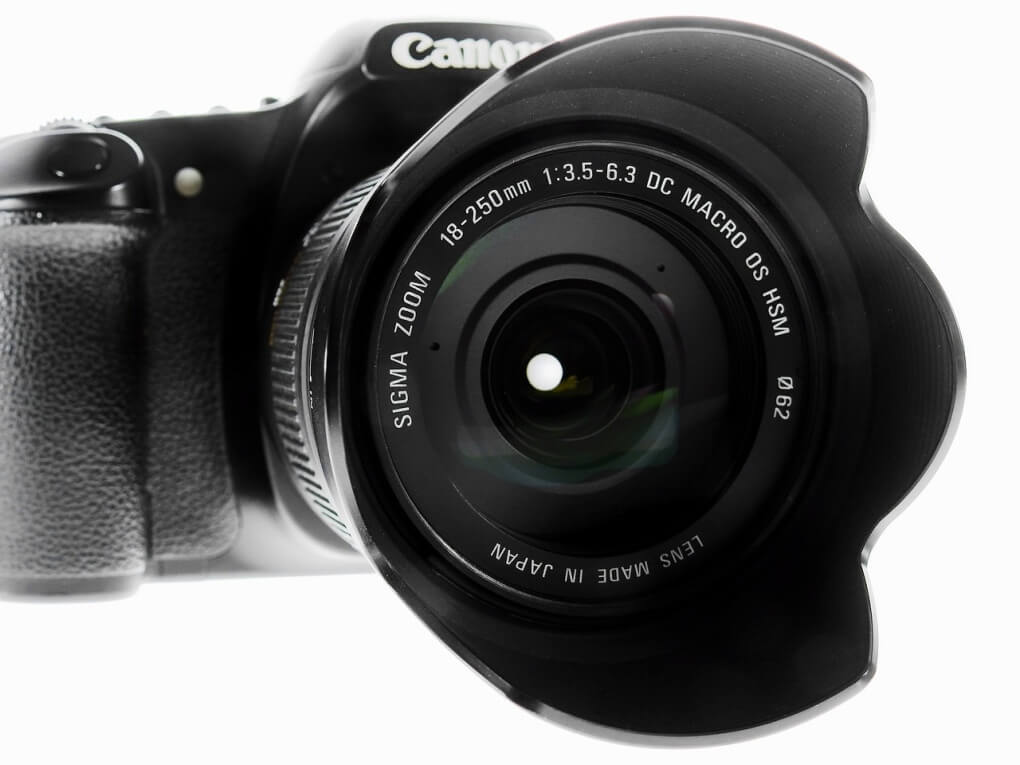
Wide-angle lenses are excellent for lovely shots of snowy landscapes. But if you would prefer to take close-up shots of details in the snow or moving subjects like skiers or animals, then grab your telephoto lens. The simplest option is to use a lens that covers parts of the wide angle and telephoto ranges. Changing lenses can be awkward, especially in the cold. Travel lenses allow you to photograph a wide range of different subject without having to change the lens every time. Most smartphones also have a wide-angle function these days. It is definitely worth giving it a go! The larger image is ideal for (snowy) landscapes.
And don’t be afraid of big formats! Our XXL formats are perfect for making the most of even wide-angle images!
Or how about a special winter effect for your photo? Bring your winter photo to life and turn it into an atmospheric addition to your room. Our photo shaker frame is a bit like a snow globe filled with a transparent liquid and snowflakes. As the name shaker frame suggests, you can shake them, so the snowflakes gently trickle over the image, bringing a lovely memory back to life again and again.
Camera settings for snow-white shots
Light metre, ISO, aperture and exposure tim
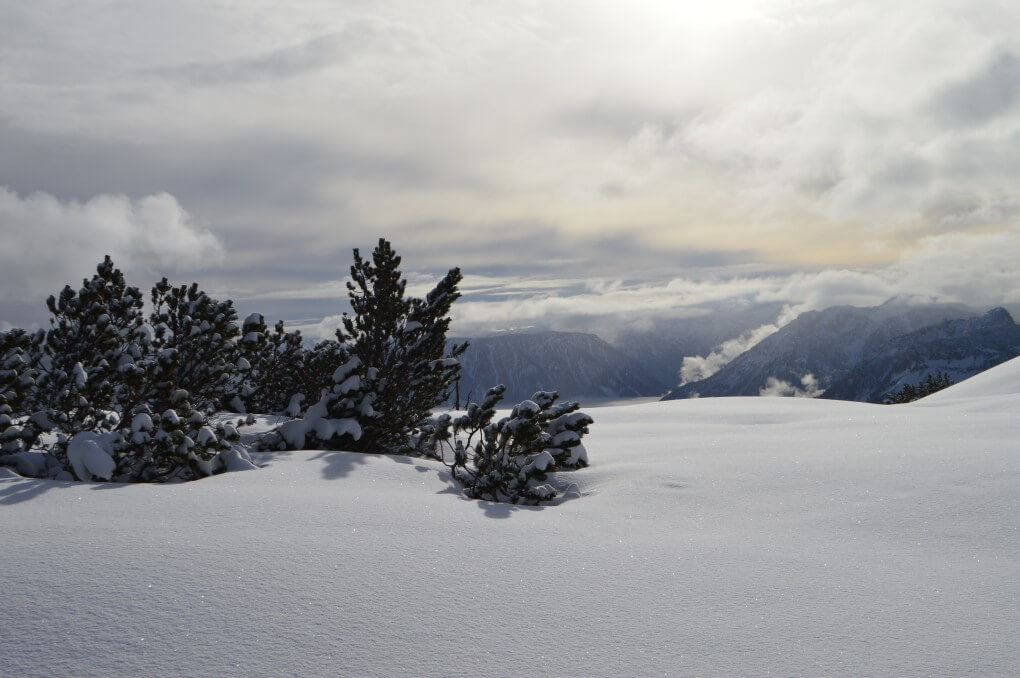
The bright surface of the snow reflects the sunlight. As a result, your camera’s built-in light metre sometimes has difficulty determining the correct exposure. Occasionally, photos can be under-exposed, making the snow look more grey than white. Experiment with different exposure settings until you are happy with how the snow looks

You should adjust the ISO setting of the camera to the light available. In very snowy settings, the reflective properties of the snow means there is normally sufficient light available during the day to ensure a low ISO setting of 50 or 100 can be selected. In cloudy conditions and in the evening, you will need a higher ISO setting (from ISO 400 or 800).
The aperture you choose will depend on your subject. With an open aperture (low f-number), you can bring people, animals, or other subjects out from the snowy background. However, if you would prefer to show an even snowy landscape, then select a smaller aperture (high f-number). This gives you a sharper image of the surroundings.
The exposure time should also be a function of what you are trying to achieve. For static subjects, you can select longer exposure times (e.g. 1/30 second) than for moving ones. You will need really short exposure times for taking pictures of winter sports enthusiasts. Special camera modes such as sport photography mode can help inexperienced photographers produce impressive results.
Tip: If you do not have a professional camera, have a look at your phone camera settings. You can use the pro settings to adjust the aperture and ISO settings and even adjust the white balance.
White balance in white snow
White balance is very important when you are taking pictures in the snow. The camera’s automatic white balance does not always succeed in finding a suitable reference for the ‘white’ value. This means the colour temperature is rendered incorrectly, and the snow looks grey or bluish. If you are taking pictures for a while in the same light conditions, it is worth using the semi-automatic white balance mode
Example: The sun is visible, and the sky is predominantly blue. You are taking pictures in the shadow of a building. The light mood is mainly blue tones, with a value of around 7,000 Kelvin. In this case, you can select the ‘Shaded’ white balance mode, so the camera can neutralise the blue light mood. ‘White light’ has a colour temperature of 5,500 Kelvin.
.jpg)
As well as automatic and semi-automatic white balance, some cameras also offer manual white balance. This allows you to define the white value based on your own picture. To start with, you could take a picture of a blank sheet of white paper. More advanced users perfect to use what is known as the grey card for accurate colour reproduction. This is a specialist piece of photographic equipment used to calibrate the exposure.
Make sure that your reference object is in the same position as your subject and that it fills as much of the format as possible. The lighting should also remain unchanged. Once you have taken the picture, select ‘Manual white balance’ in your camera options and set the image as a reference.
Save your images in RAW format for complete flexibility. This means you can still modify the white balance later.
A winter landscape photo with a difference
HDR shots
For shots with a high dynamic range, the camera sometimes finds it difficult to render the full contrast range of the snowy landscape in a single shot. Multiple exposure bracketing of the same subject can help. This involves shooting your subject repeatedly and simply varying the exposure. This means, for example, combining an image which is underexposed on the exposure scale with an overexposed one and a ‘normal exposure’ one on a computer or directly on the camera to produce an HDR image (high dynamic range). Make sure you use a tripod or stable surface for your HDR shots. Otherwise, there will be differences between the individual exposures in the series and the HDR image will not work.
Black and white images
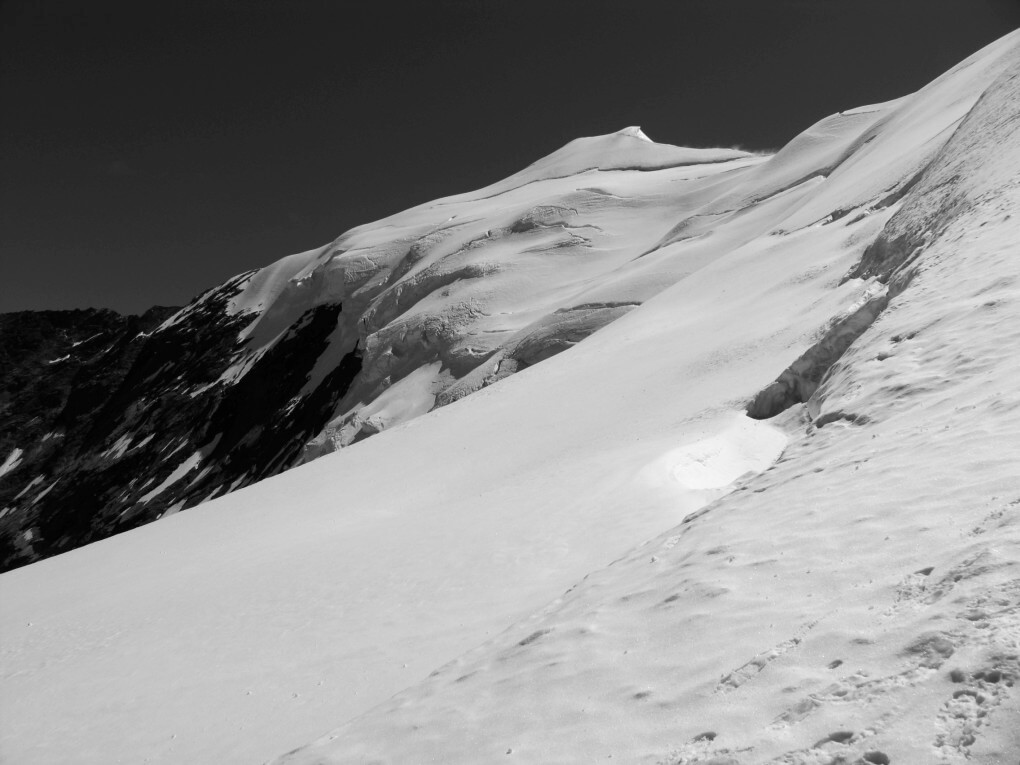
Black and white tones can give your winter images real charm and really bring out the snow. Many cameras will now let you apply the black and white effect before you take the shot. To do this, select the relevant option from within your camera settings. However, the camera only applies the filter to images in JPEG format. In order not to overwrite the original images, you should also save the images in RAW format. This means you can still make corrections to the original image later on the computer.

But be careful: This will quickly fill up your memory card, as you are saving not only the very large RAW images, but also JPEG images alongside them.
Conclusion – defying the challenges
There are a few things to keep in mind if you want to get good results taking pictures in the snow. Be critical about what the light metre tells you and experiment with different exposures. A longer exposure makes the snow appear bright white. Also check the white balance settings on your camera and switch between automatic, semi-automatic and manual white balance for different applications. In some cases, it is also worth producing a series of images of the same subject with different exposures in order to merge them into a single high-contrast HDR photo. Various colour filters can also make winter landscapes even more impressive. Your pictures will look really great in black and white on your white living room walls. You have taken many great pictures, it would be a shame to let them gather dust on your laptop!
You could also order a range of greeting cards of your favourite snapshots, giving you the chance to send a beautiful greeting card made from your own picture for any occasion, whether it’s a birthday or other celebration.
