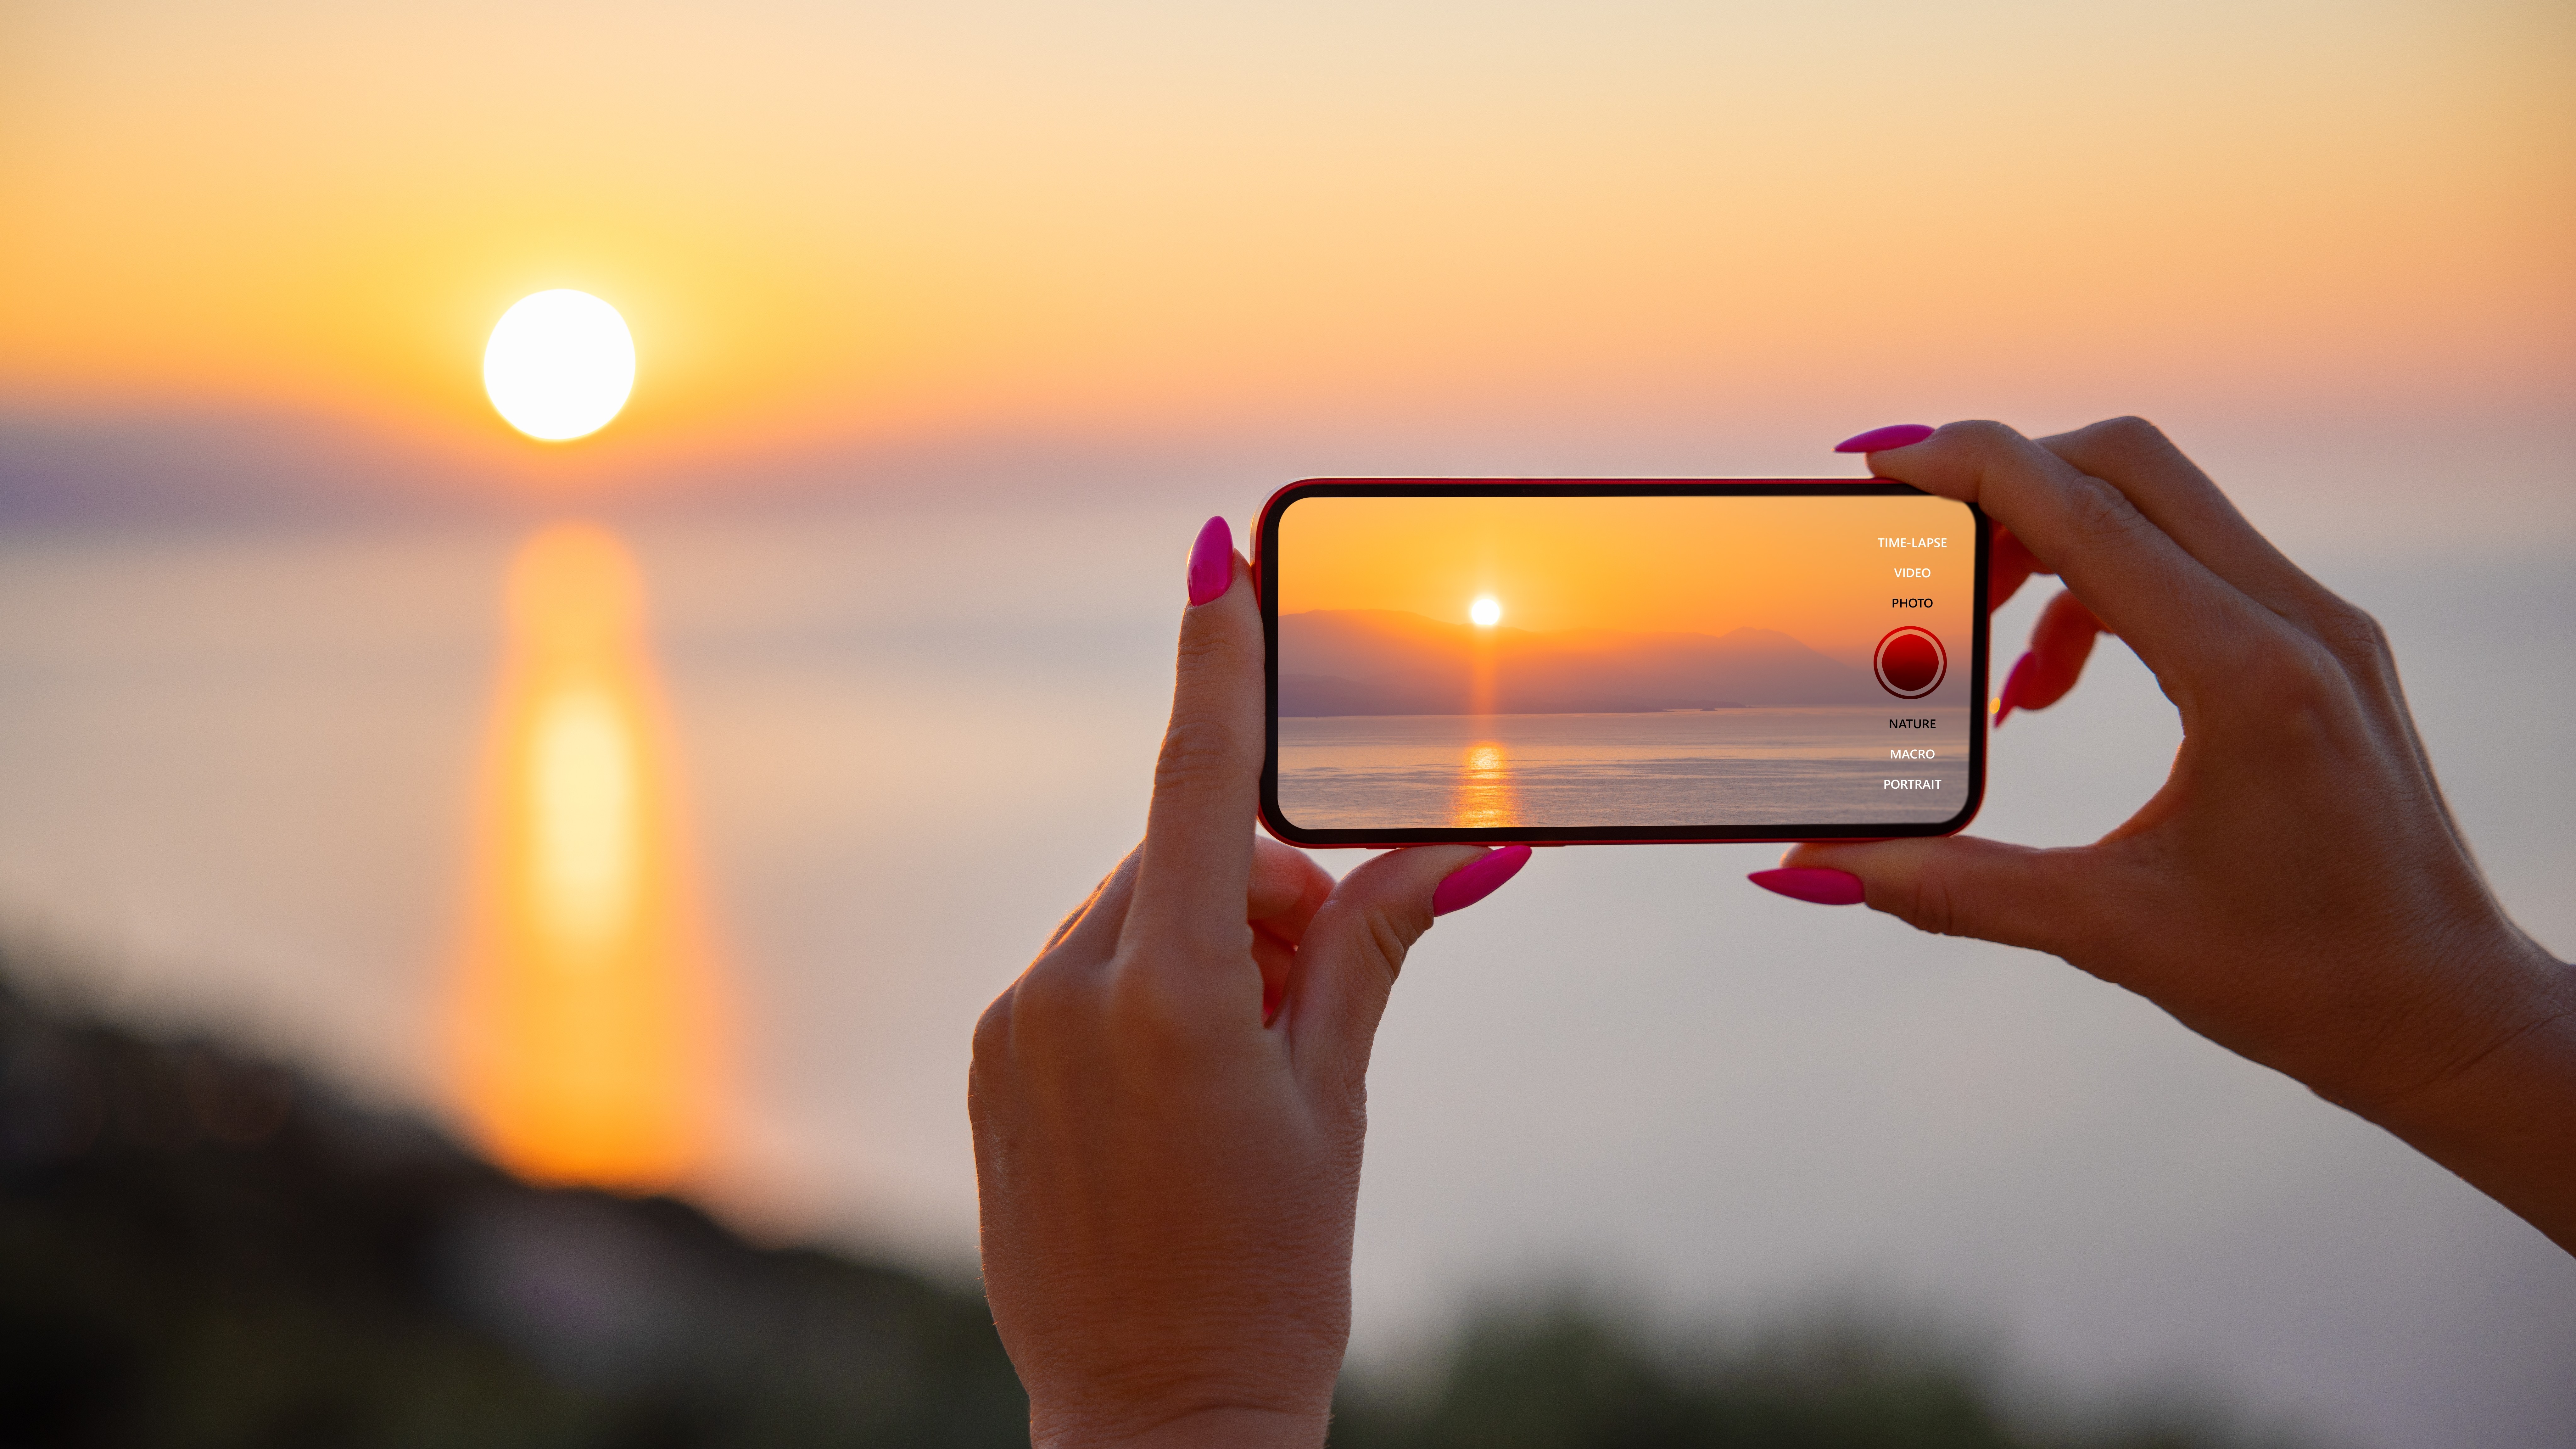
Smartphone photography hacks for your feed
Do you want to enhance your feed with unique images? 📸 We'll let you know what smartphone hacks are out there!
Revolutionize your smartphone photography: handy tips for unforgettable photos in your feed
In times of smartphone technology, we all have a powerful camera in our pocket that allows us to achieve amazing photographic results. Whether you're a novice to photography or a seasoned pro, these tips will help you get the most out of your smartphone and create photos that capture not only memories, but social media likes for the ages!
Boost the quality of your smartphone photos: Useful tips for stunning shots
Ready to get the most out of your smartphone photos? Whether you're a photography enthusiast or just someone who likes to capture special moments, these proven tips will help you take your phone pictures to the next level. Discover how to create stunning shots with your phone and expand your photography skills.
13 mini DIY tips and creative hacks for unique images
How about some simple DIY tips and clever hacks to create unique works of art? We'll show you how to enhance your photos with simple tips:
● Water drop effect: Position a transparent plastic bag over your smartphone and carefully drip water on it. This creates interesting drop and distortion effects that make your photos unique.

● DIY filters: Create filters from everyday objects such as clear plastic film, coffee filters or colored foils. Put them in front of the camera for creative color effects.
Spice up your photos with these DIY lenses and filters (CNET How To)
● Homemade bokeh effects: Cut shapes like stars, hearts, or circles out of a piece of cardboard and attach it in front of the camera. When you focus on the subject, the background will be out of focus while the shape creates a bokeh effect.
● Nature frame: Use natural elements like twigs, leaves or flowers to create a natural frame surrounding your subject.
● Glass Bottle Lens: Hold an empty glass bottle in front of the camera, so the bottom of the bottle focuses on the subject. This creates a vintage look with soft edges.
● Creative Shadow Casting: Place objects or plants between the light source and your subject to create captivating shadows and patterns.
● Homemade Light Source: Craft a small DIY light source by placing an LED light inside a paper roll tube. You can use this for unusual light shows and effects.
● Macro shots: Use a magnifying glass to create extreme close-ups. Hold the lens directly above the camera and focus on the subject. This makes for fascinating detail shots.
How to Make Macro Photography Lens for smartphone-DIY Tutorial
● Long exposure Use a long exposure function (if available) or use an appropriate app to capture motion blur or light trails at night.
ifolor Tutorials | Timelapse Photography
● Thread art: Attach colored thread or yarn to a small frame or rod and position it in front of the camera. Photograph through the threads to create an artistic and abstract result.
● Natural reflections: Look for reflective surfaces like puddles of water, glass, or mirrors to capture some interesting reflections in your shots.
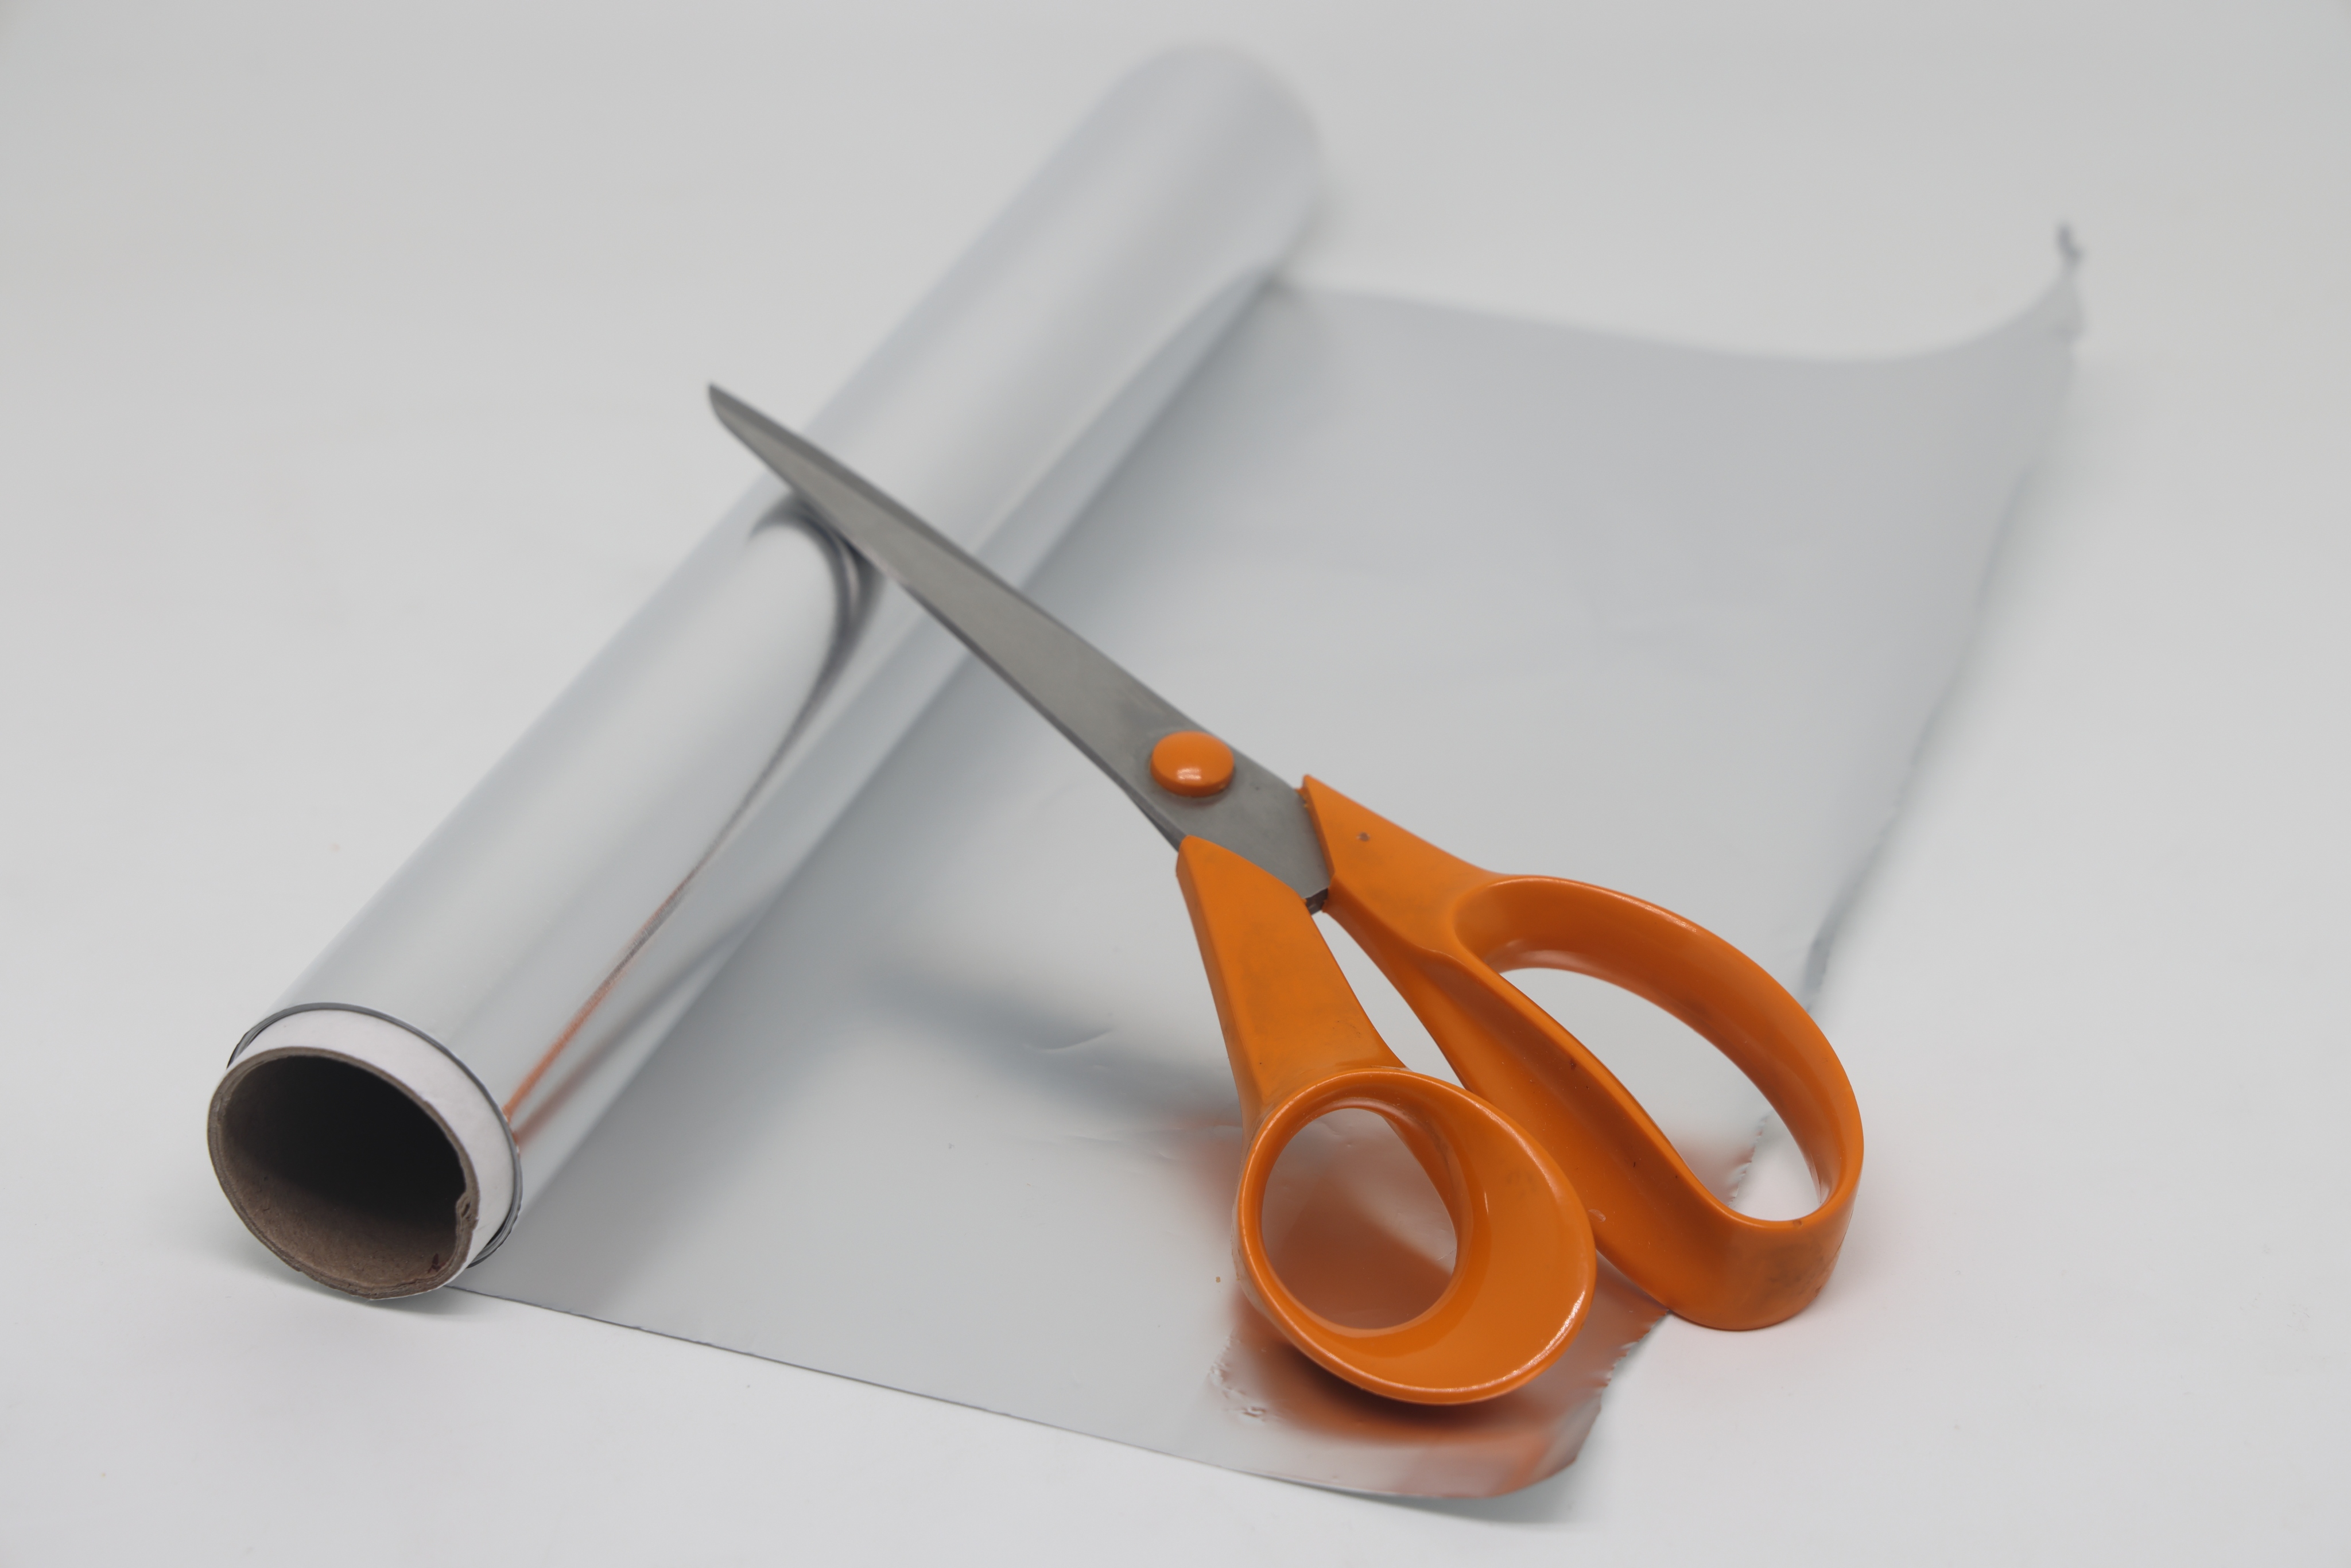
● DIY Mini Studio: Create your own mini photo studio by lining a cardboard box with white paper and using a diffused light source to create soft shadows and professional results.
● Use motion blur selectively: Experiment with motion blur by deliberately moving the camera during a long exposure or by capturing fast movements of your subject.
Ingenious tech hacks and power apps for your pictures
From unconventional tricks to useful apps, the following tips will take your smartphone photography to a whole new level:
Tip 1: Optimize exposure
Good light is crucial for great photos. The exposure slider allows you to adjust the brightness of your shot. If you're shooting into a bright light source (like the sun), a lower exposure can bring out dark areas, while a higher exposure can emphasize details in brighter areas. Experiment to find the right balance.
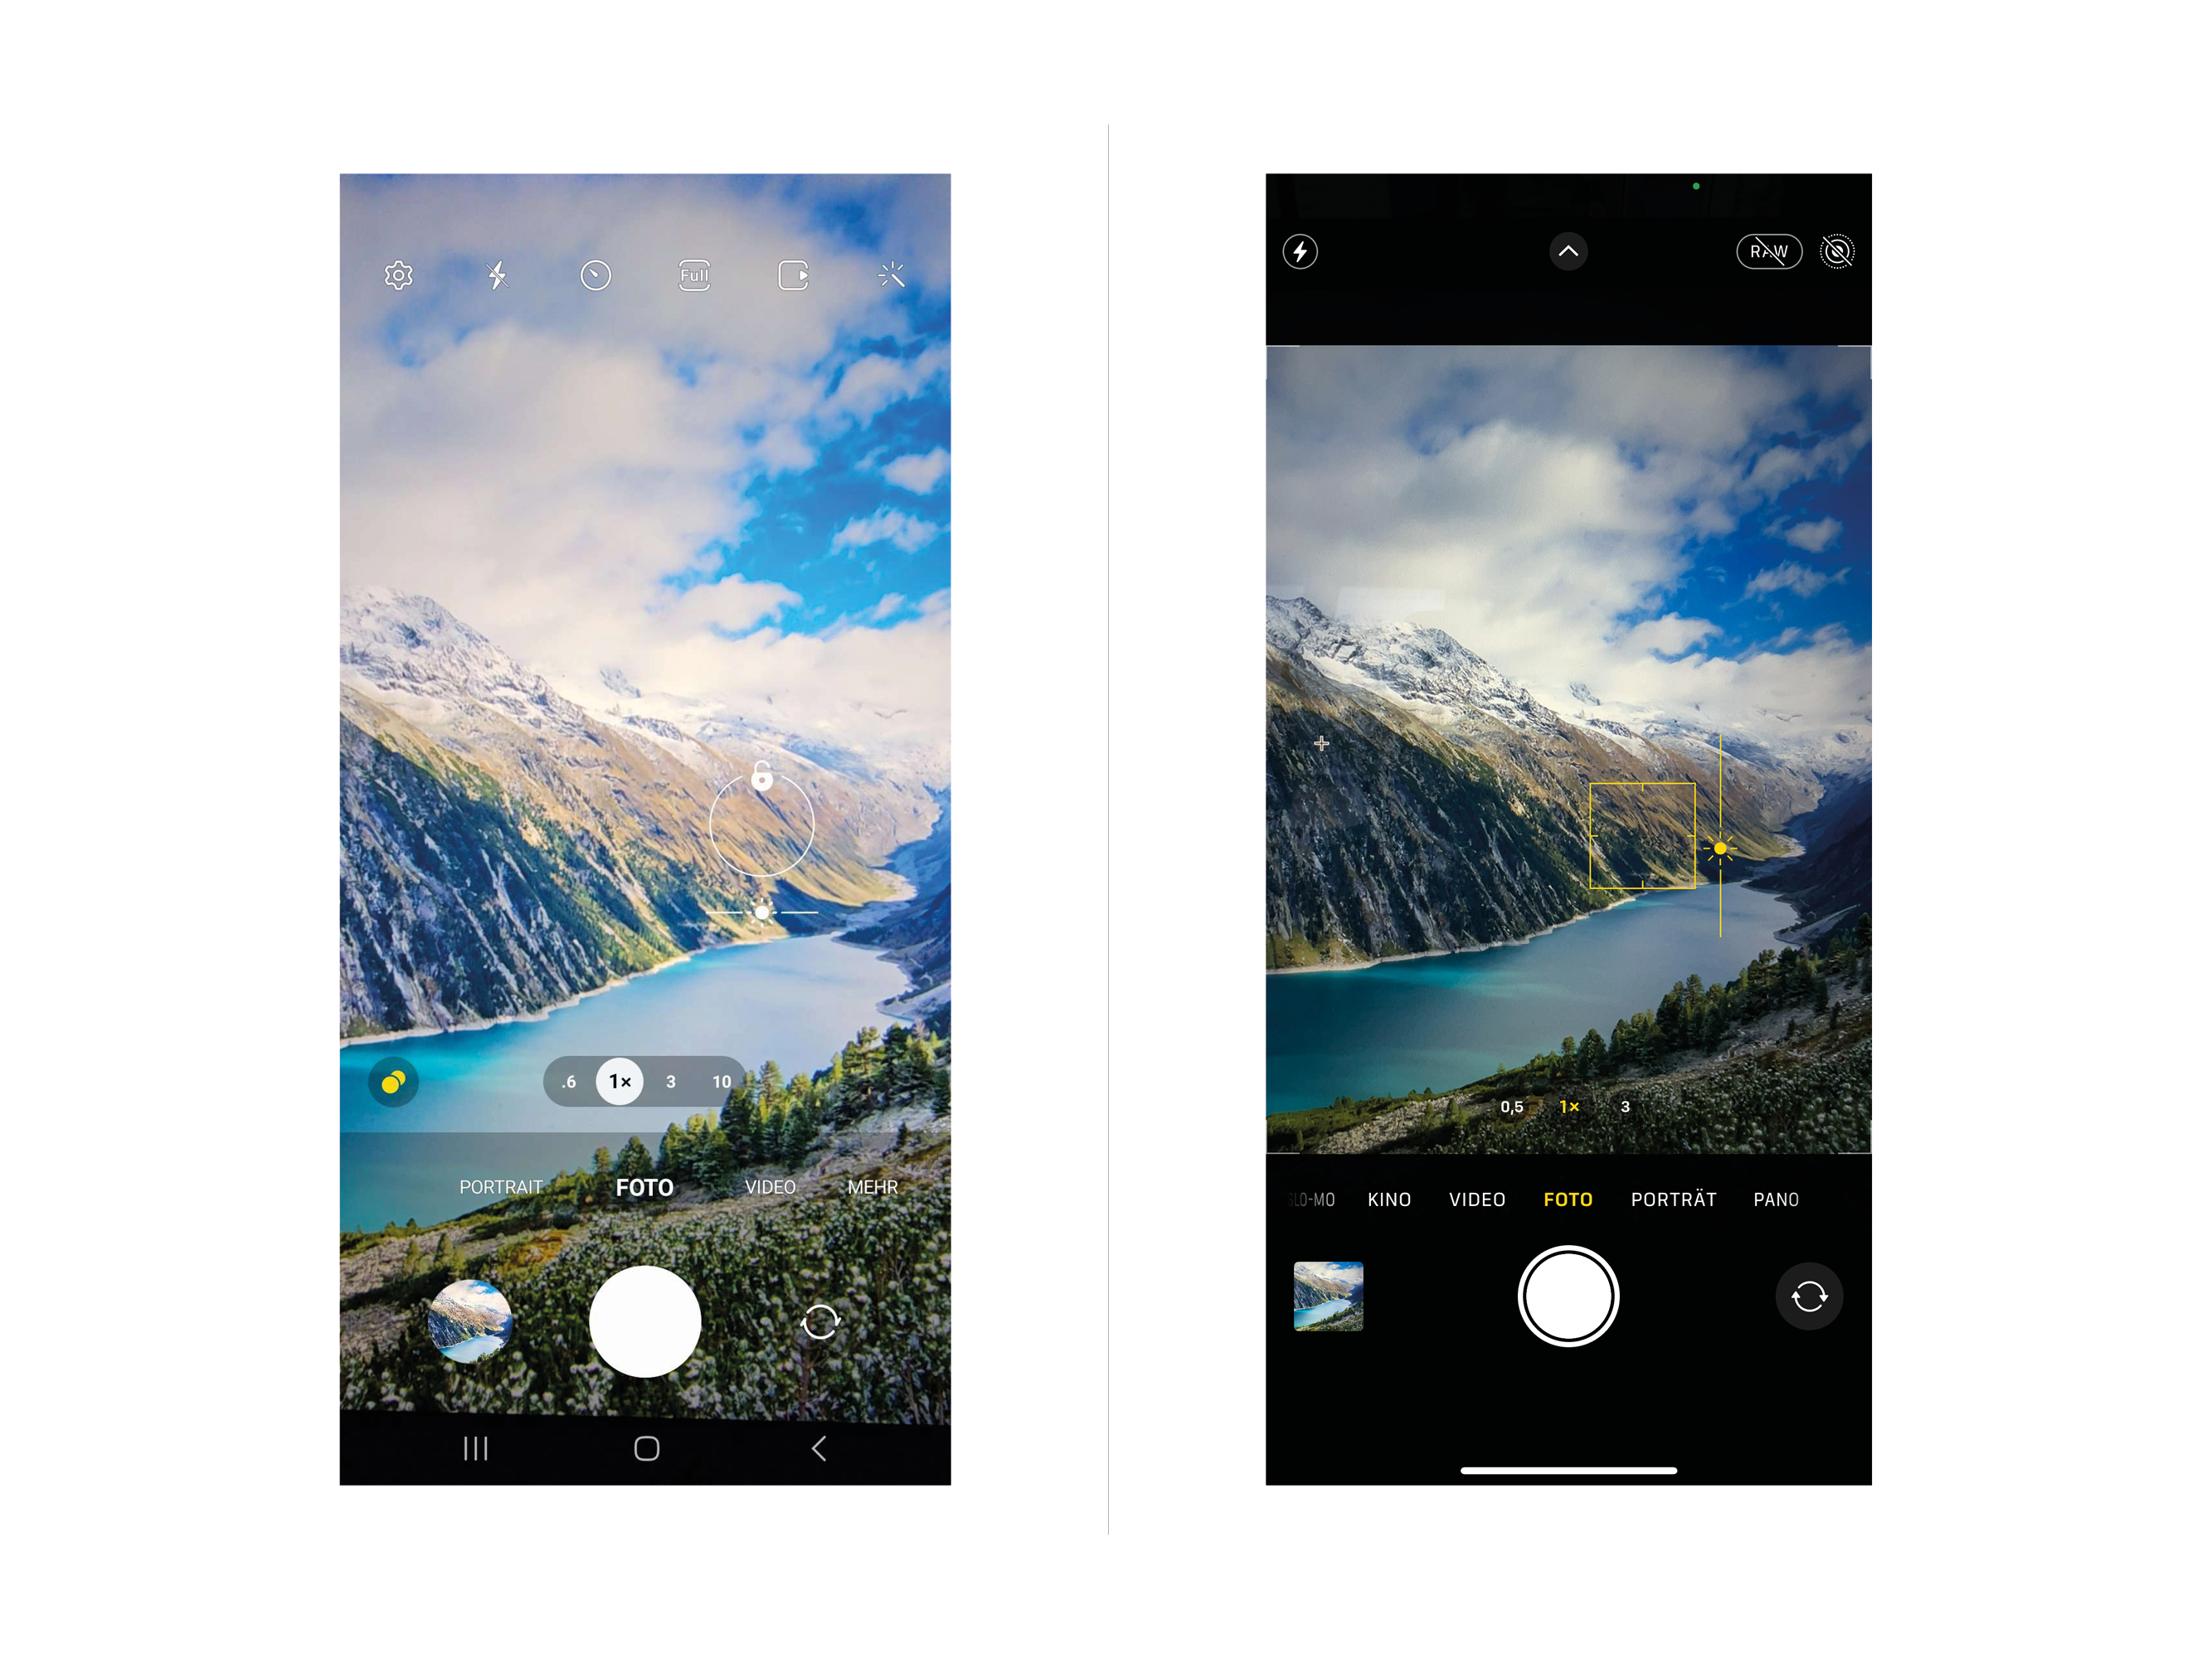
●Android: Open the camera app, tap the main subject and slide the exposure slider up or down to adjust the brightness.
● iPhone: In the camera app, tap the main subject and slide the sun icon slider up or down to adjust the exposure.
Apps
Android: A Better Camera (free, with in-app purchases).
A comprehensive camera app with manual settings like exposure compensation, ISO, and more.
iPhone: ProCamera (free, with in-app purchases).
An app with extensive manual settings, including exposure, ISO, shutter speed, and more.
Tip 2: Use HDR mode
HDR (High Dynamic Range) mode is particularly useful in high contrast situations. It captures multiple images with different exposures and combines them into one photo. This balances both dark and bright areas more effectively , resulting in detailed and balanced shots. This is ideal for landscape photos or scenes with a strong light difference.

● Android: Activate HDR mode in the camera settings or tap the HDR icon in the camera app.
● iPhone: In the Camera app, tap the HDR icon and select Auto HDR or On.
Apps
Android: Most camera apps on Android smartphones have a built-in HDR mode.
iPhone: The iPhone's built-in camera app offers an automatic HDR mode.
Tip 3: Focus and control the focus
Focus determines which area of your photo is in focus. By tapping on the main subject, you set the focus on it and create a clear image. This is especially useful for minimizing distractions in the background and drawing attention to what's important.
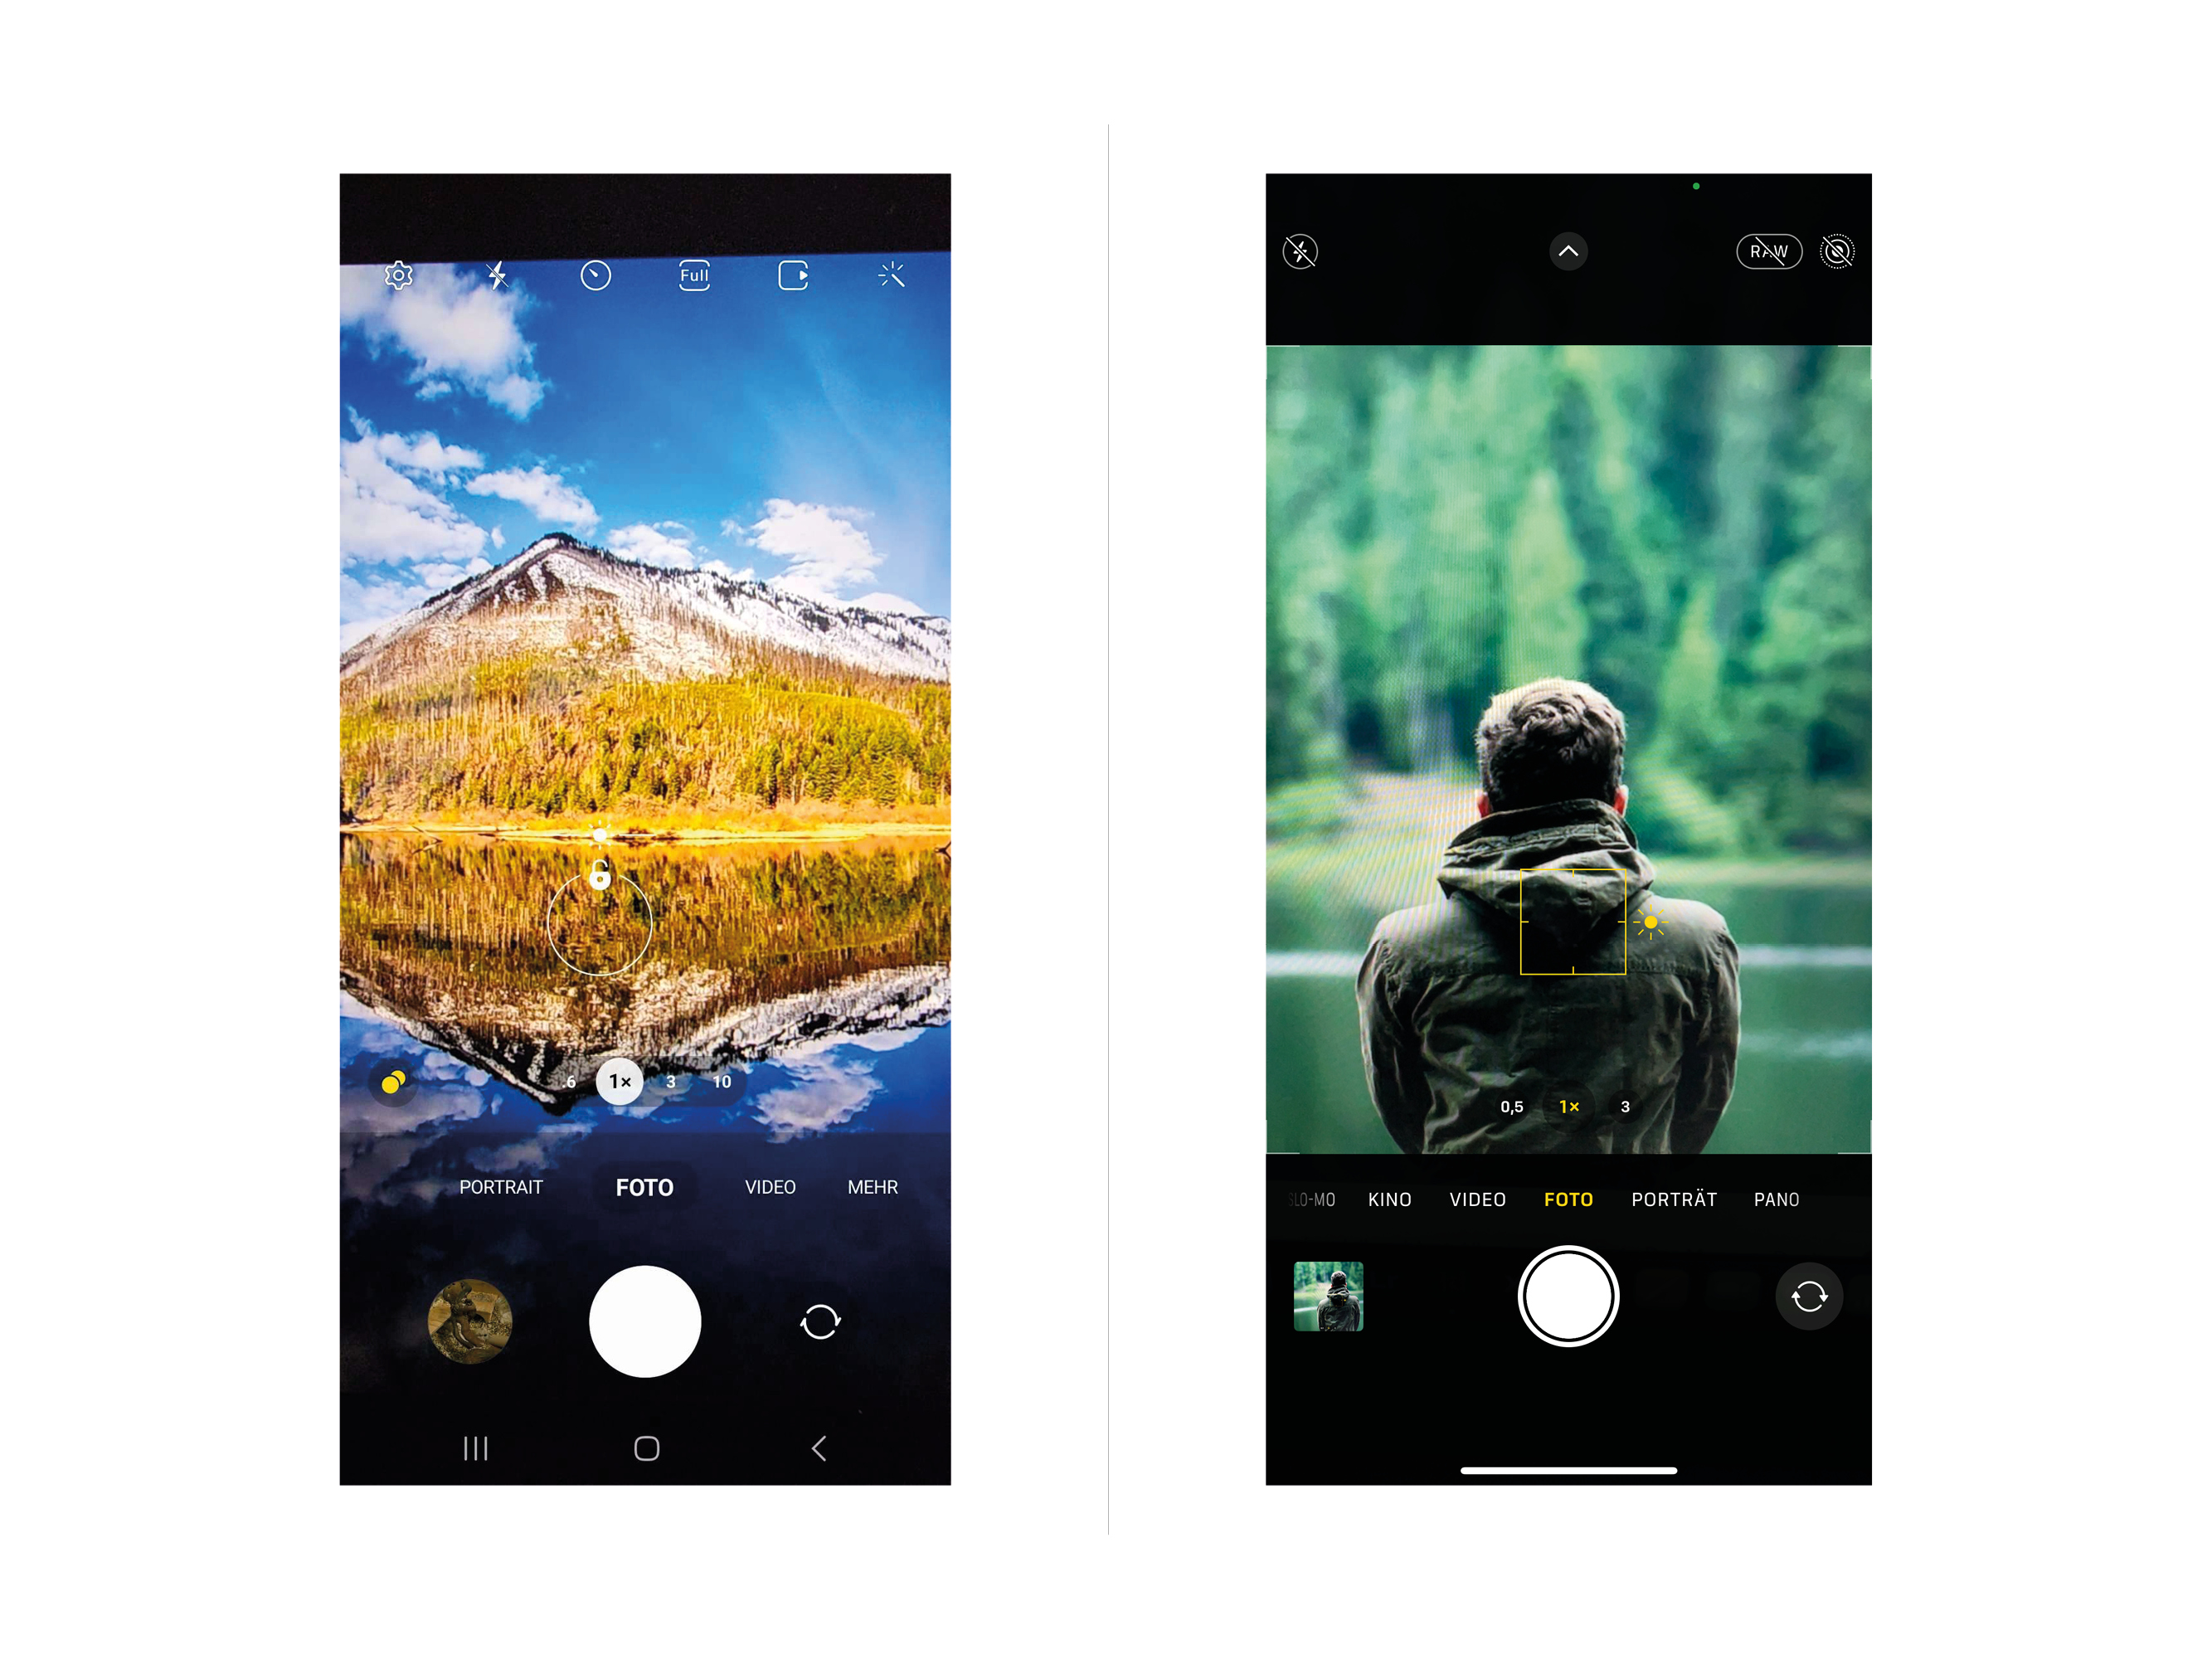
● Android and iPhone: Tap the desired main subject on the screen to set the focus.
Apps
Android and iPhone: Most standard camera apps allow you to tap the screen to focus. There is no additional app required.
Tip 4: Use natural light
Natural light, especially at sunrise or sunset, creates soft shadows and warm tones. It adds a natural and appealing feel to your photos. This is particularly effective for outdoor portraits or for emphasizing texture and detail.
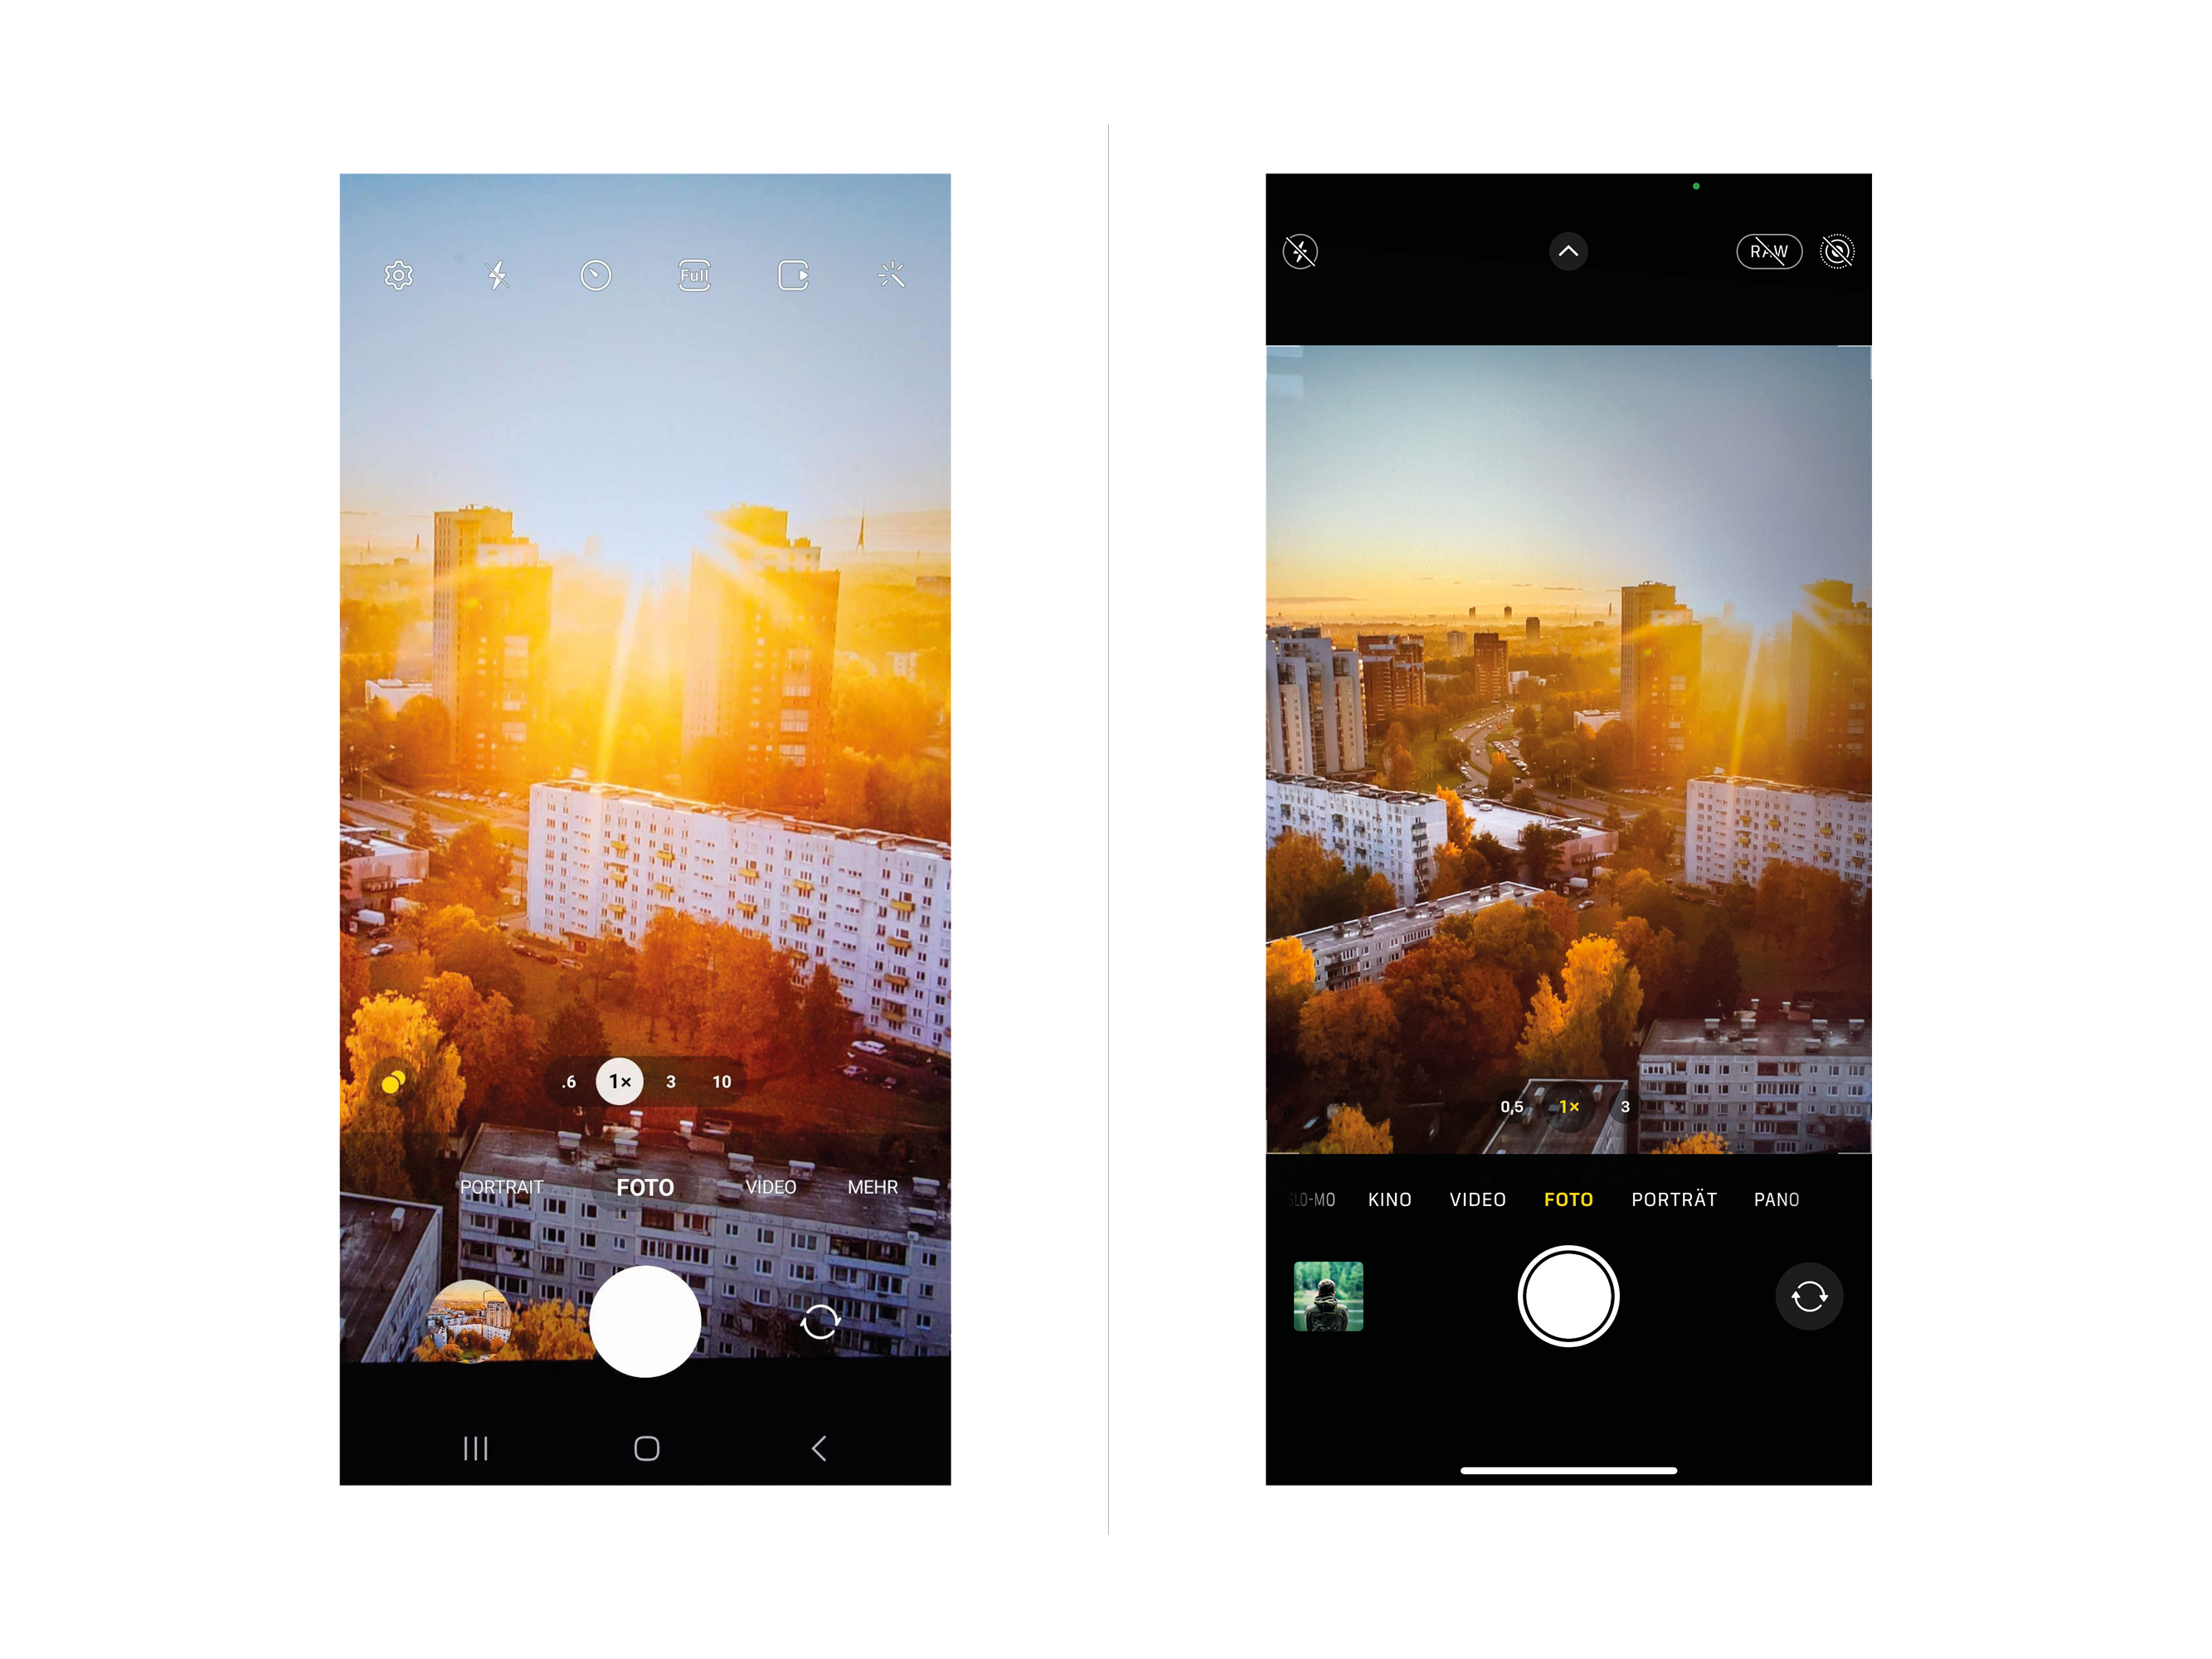
● Android and iPhone: Shoot at sunrise or sunset to take advantage of soft light and long shadows.
Apps
Android and iPhone: There is no special app required. Shoot at sunrise or sunset to take full advantage of soft and warm light.
Tip 5: Experiment with perspectives
Perspective significantly affects the impact of your photos. By changing the height or angle of the shot, you can create drama or intimacy. For example, shooting from the bottom up makes buildings look majestic, while shooting from the top down can create intimacy and interaction.
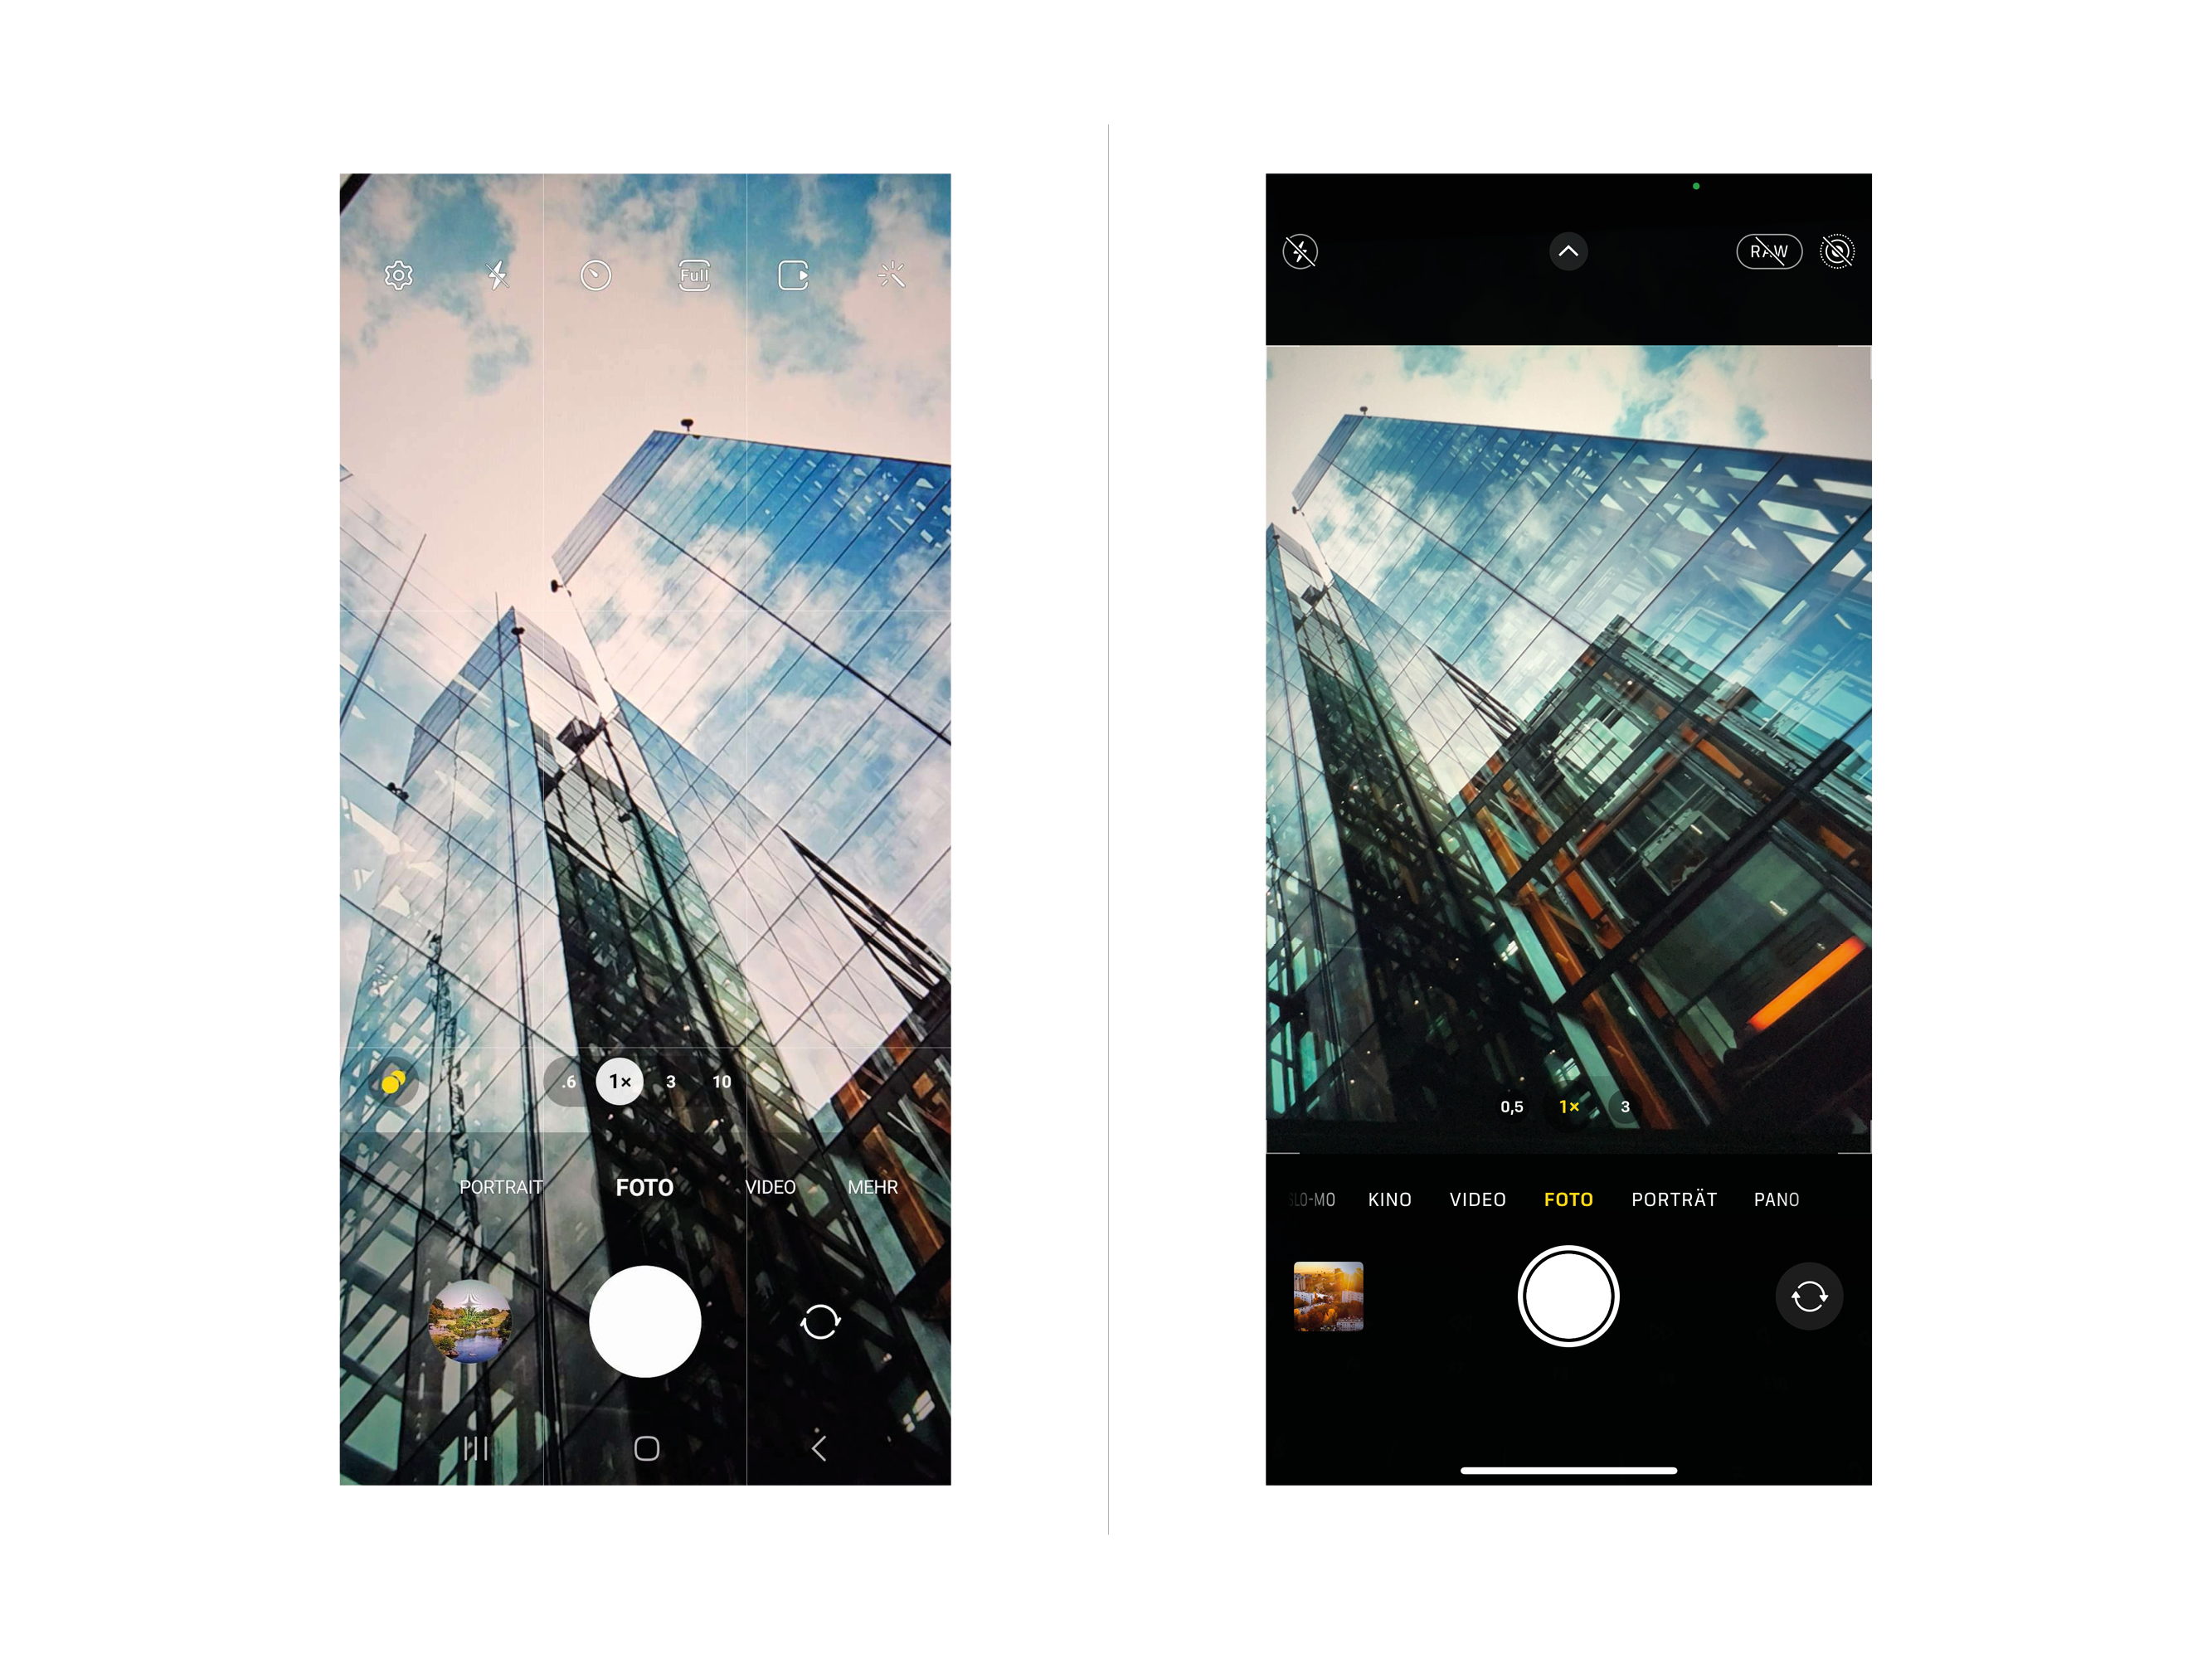
● Android and iPhone: Try different heights and angles to discover unusual perspectives.
Apps
Android and iPhone: There is no special app required. Use the normal shooting mode of your camera app and experiment with different angles.
Tip 6: Use editing apps
Editing apps allow you to improve your photos afterwards. You can adjust contrast, color saturation, sharpness, and more to get the result you want. Be sure to be subtle to preserve the naturalness of your photos.
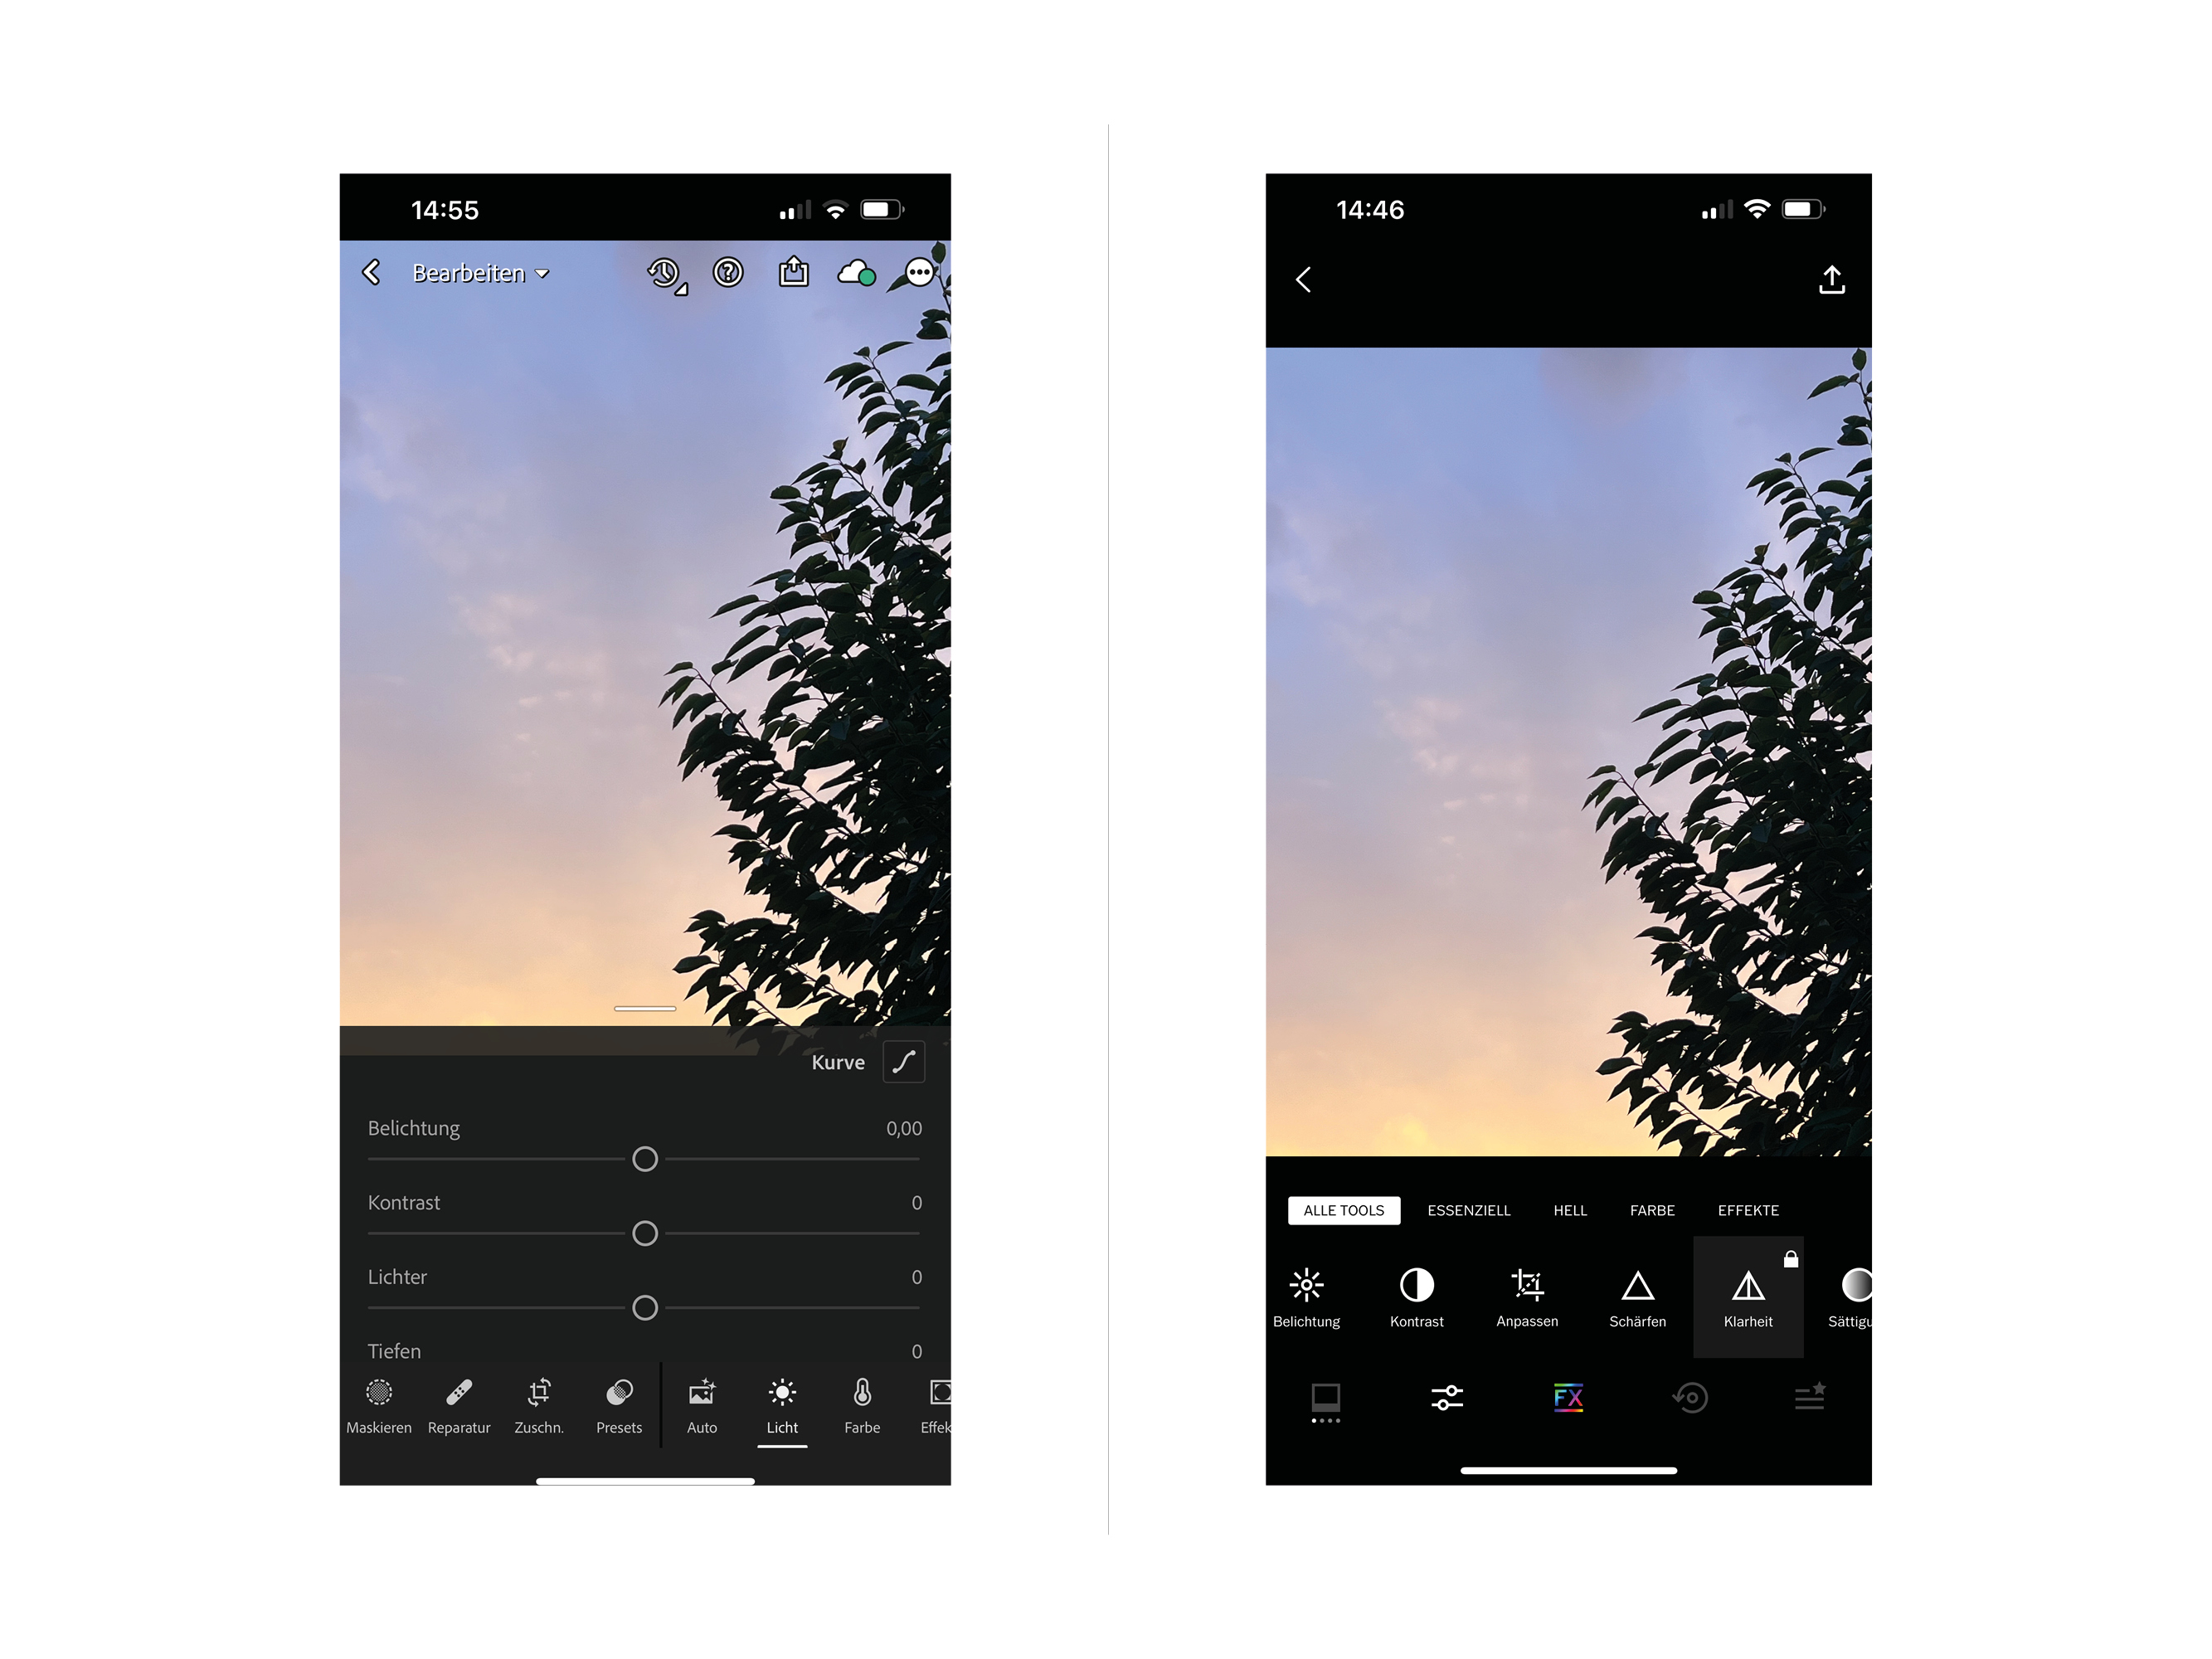
● Android: Use apps like Snapseed or Adobe Lightroom from the Google Play Store to edit images.
● iPhone: Use the built-in Photos app or download apps like VSCO or Snapseed from the App Store for photo editing.
Apps
Android : Snapseed (free)
A powerful and user-friendly app for comprehensive image editing.
iPhone: VSCO (free, with in-app purchases)
A popular app for image editing with a wide range of filters and settings.
Tip 7: Use the self-timer
The self-timer allows you to get into your own photos, take group shots, or take long exposures. Place your smartphone on a stable surface or tripod to get blur-free photos.
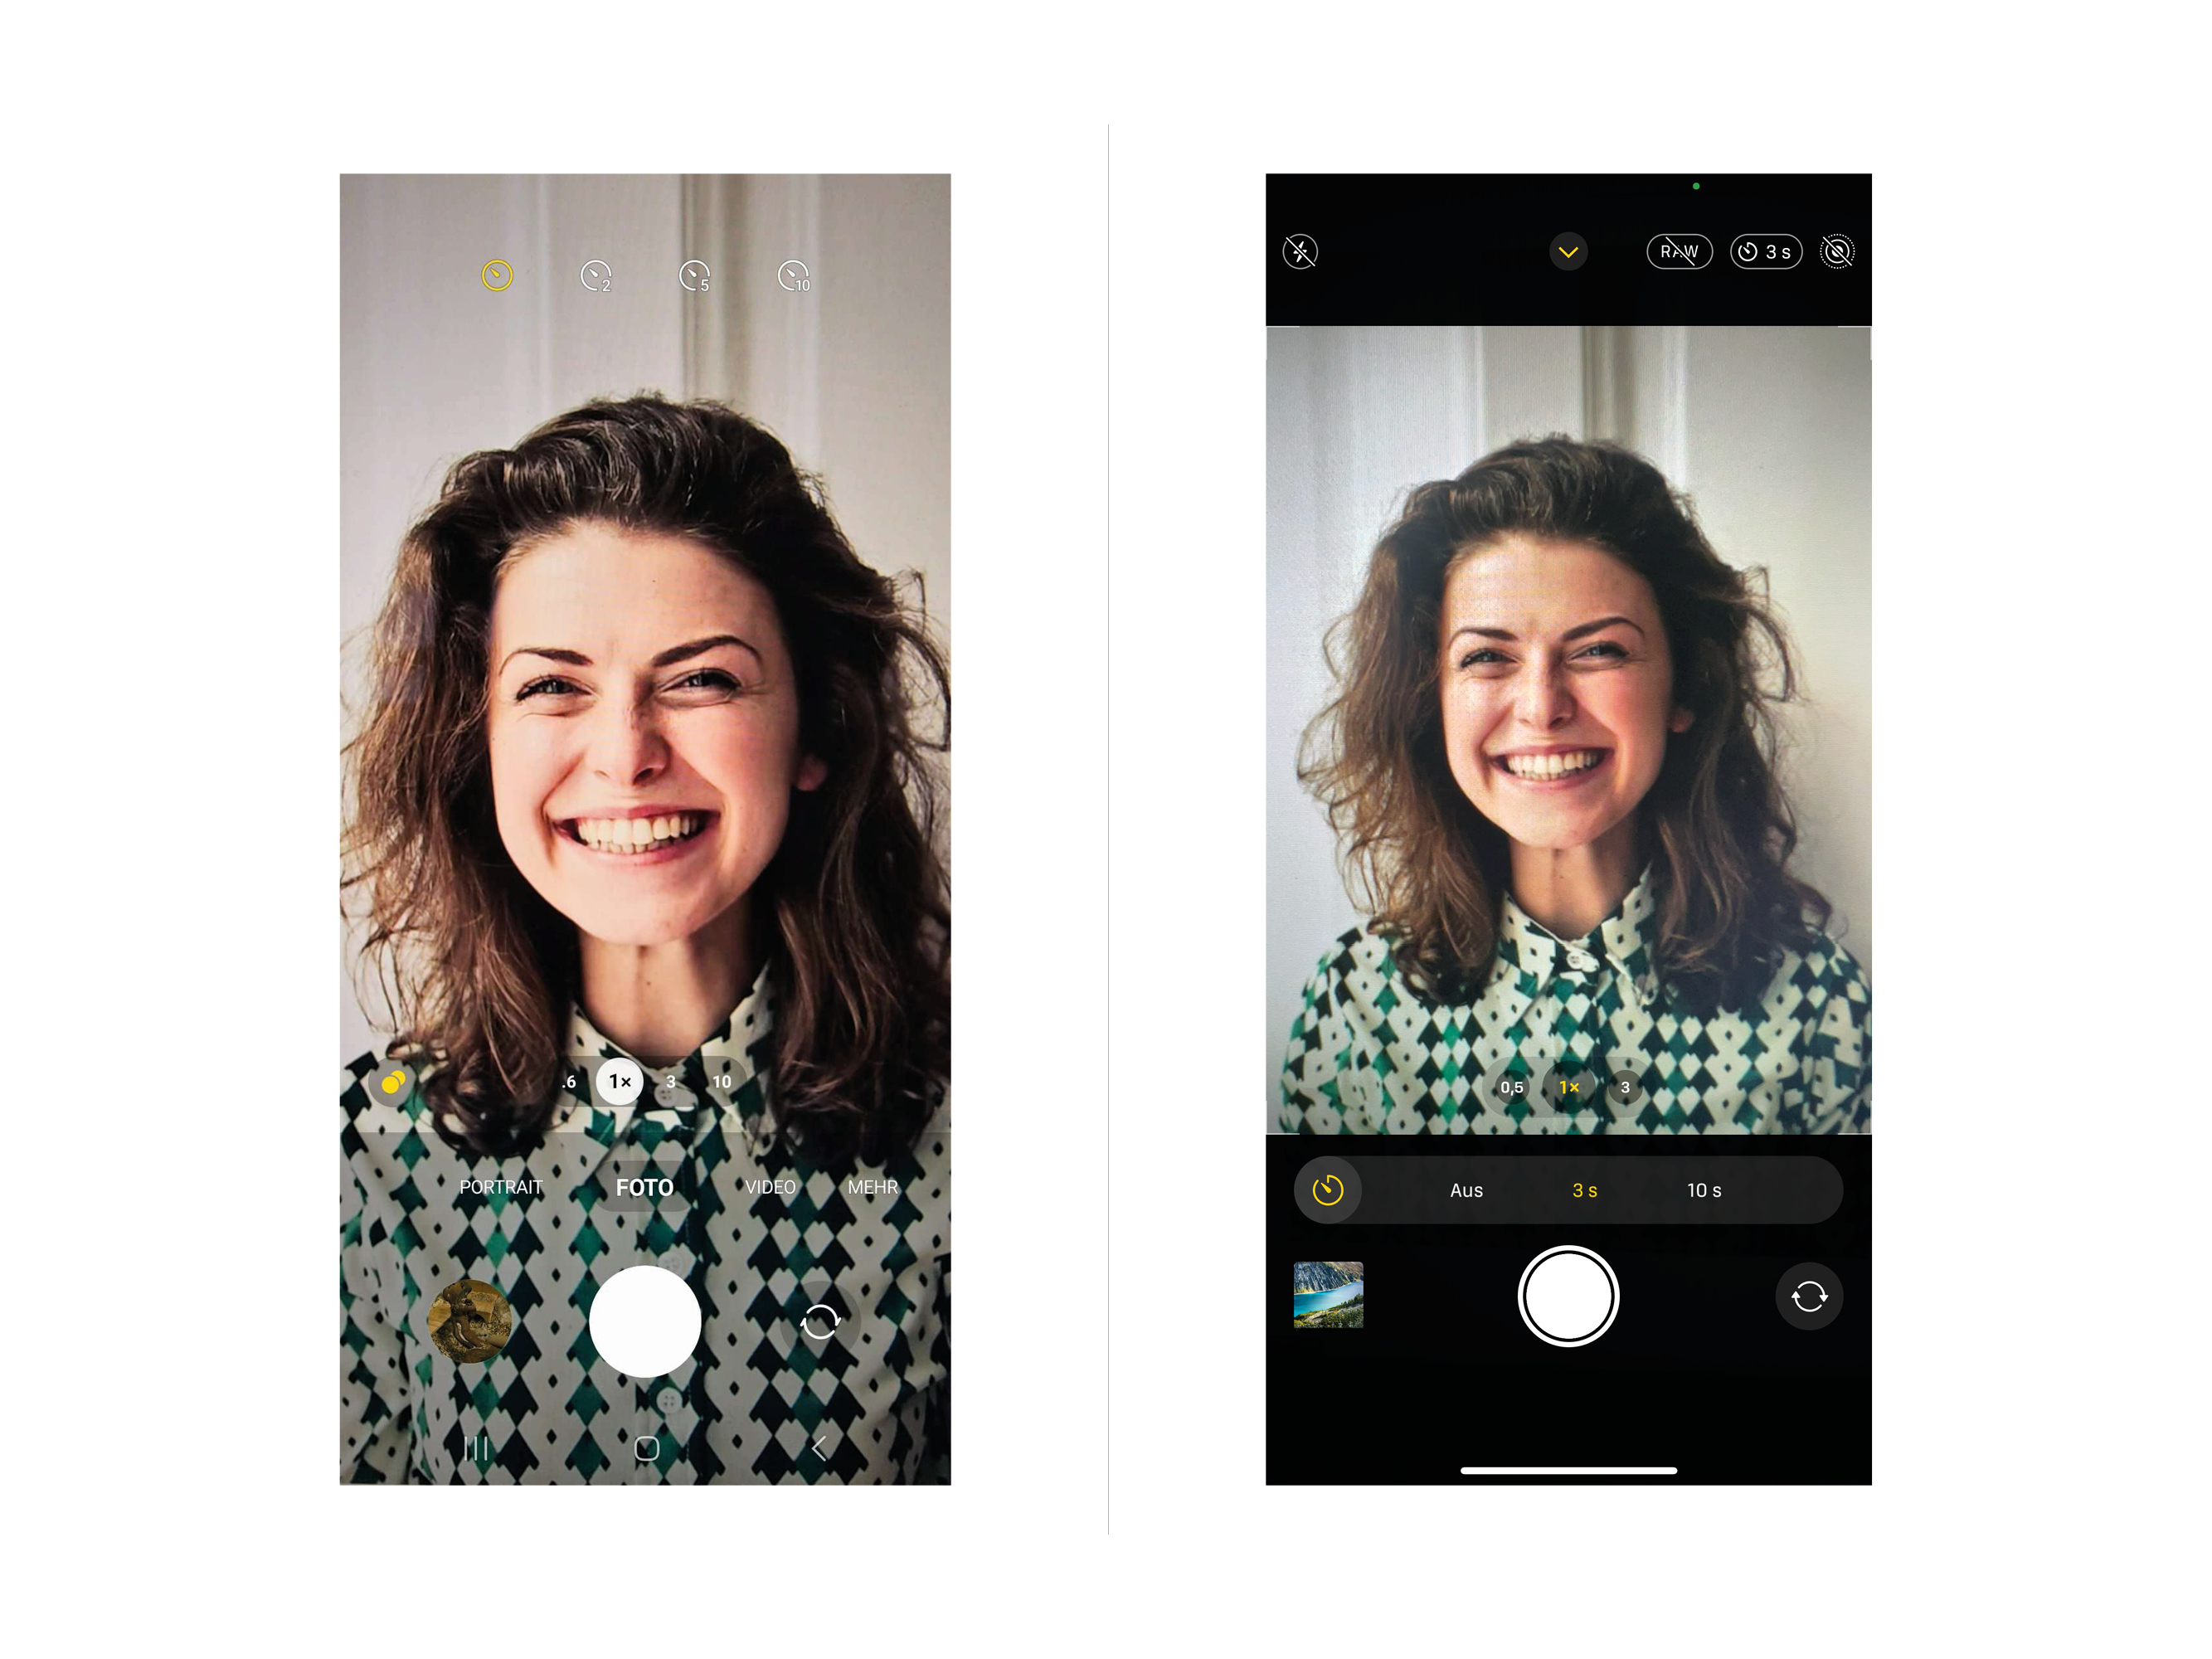
● Android: Open the camera app, look for the self-timer icon (usually a clock icon) and select the desired delay time.
● iPhone: In the camera app, find the self-timer under the timer icon.
Apps
Android and iPhone: Most standard camera apps have a built-in self-timer.
Tip 8: Remove distractions with portrait mode
Portrait mode creates a highlighted focus area and a blurred background. This highlights your main subject and creates a professional depth effect. Ideal for portraits or highlighting individual subjects.
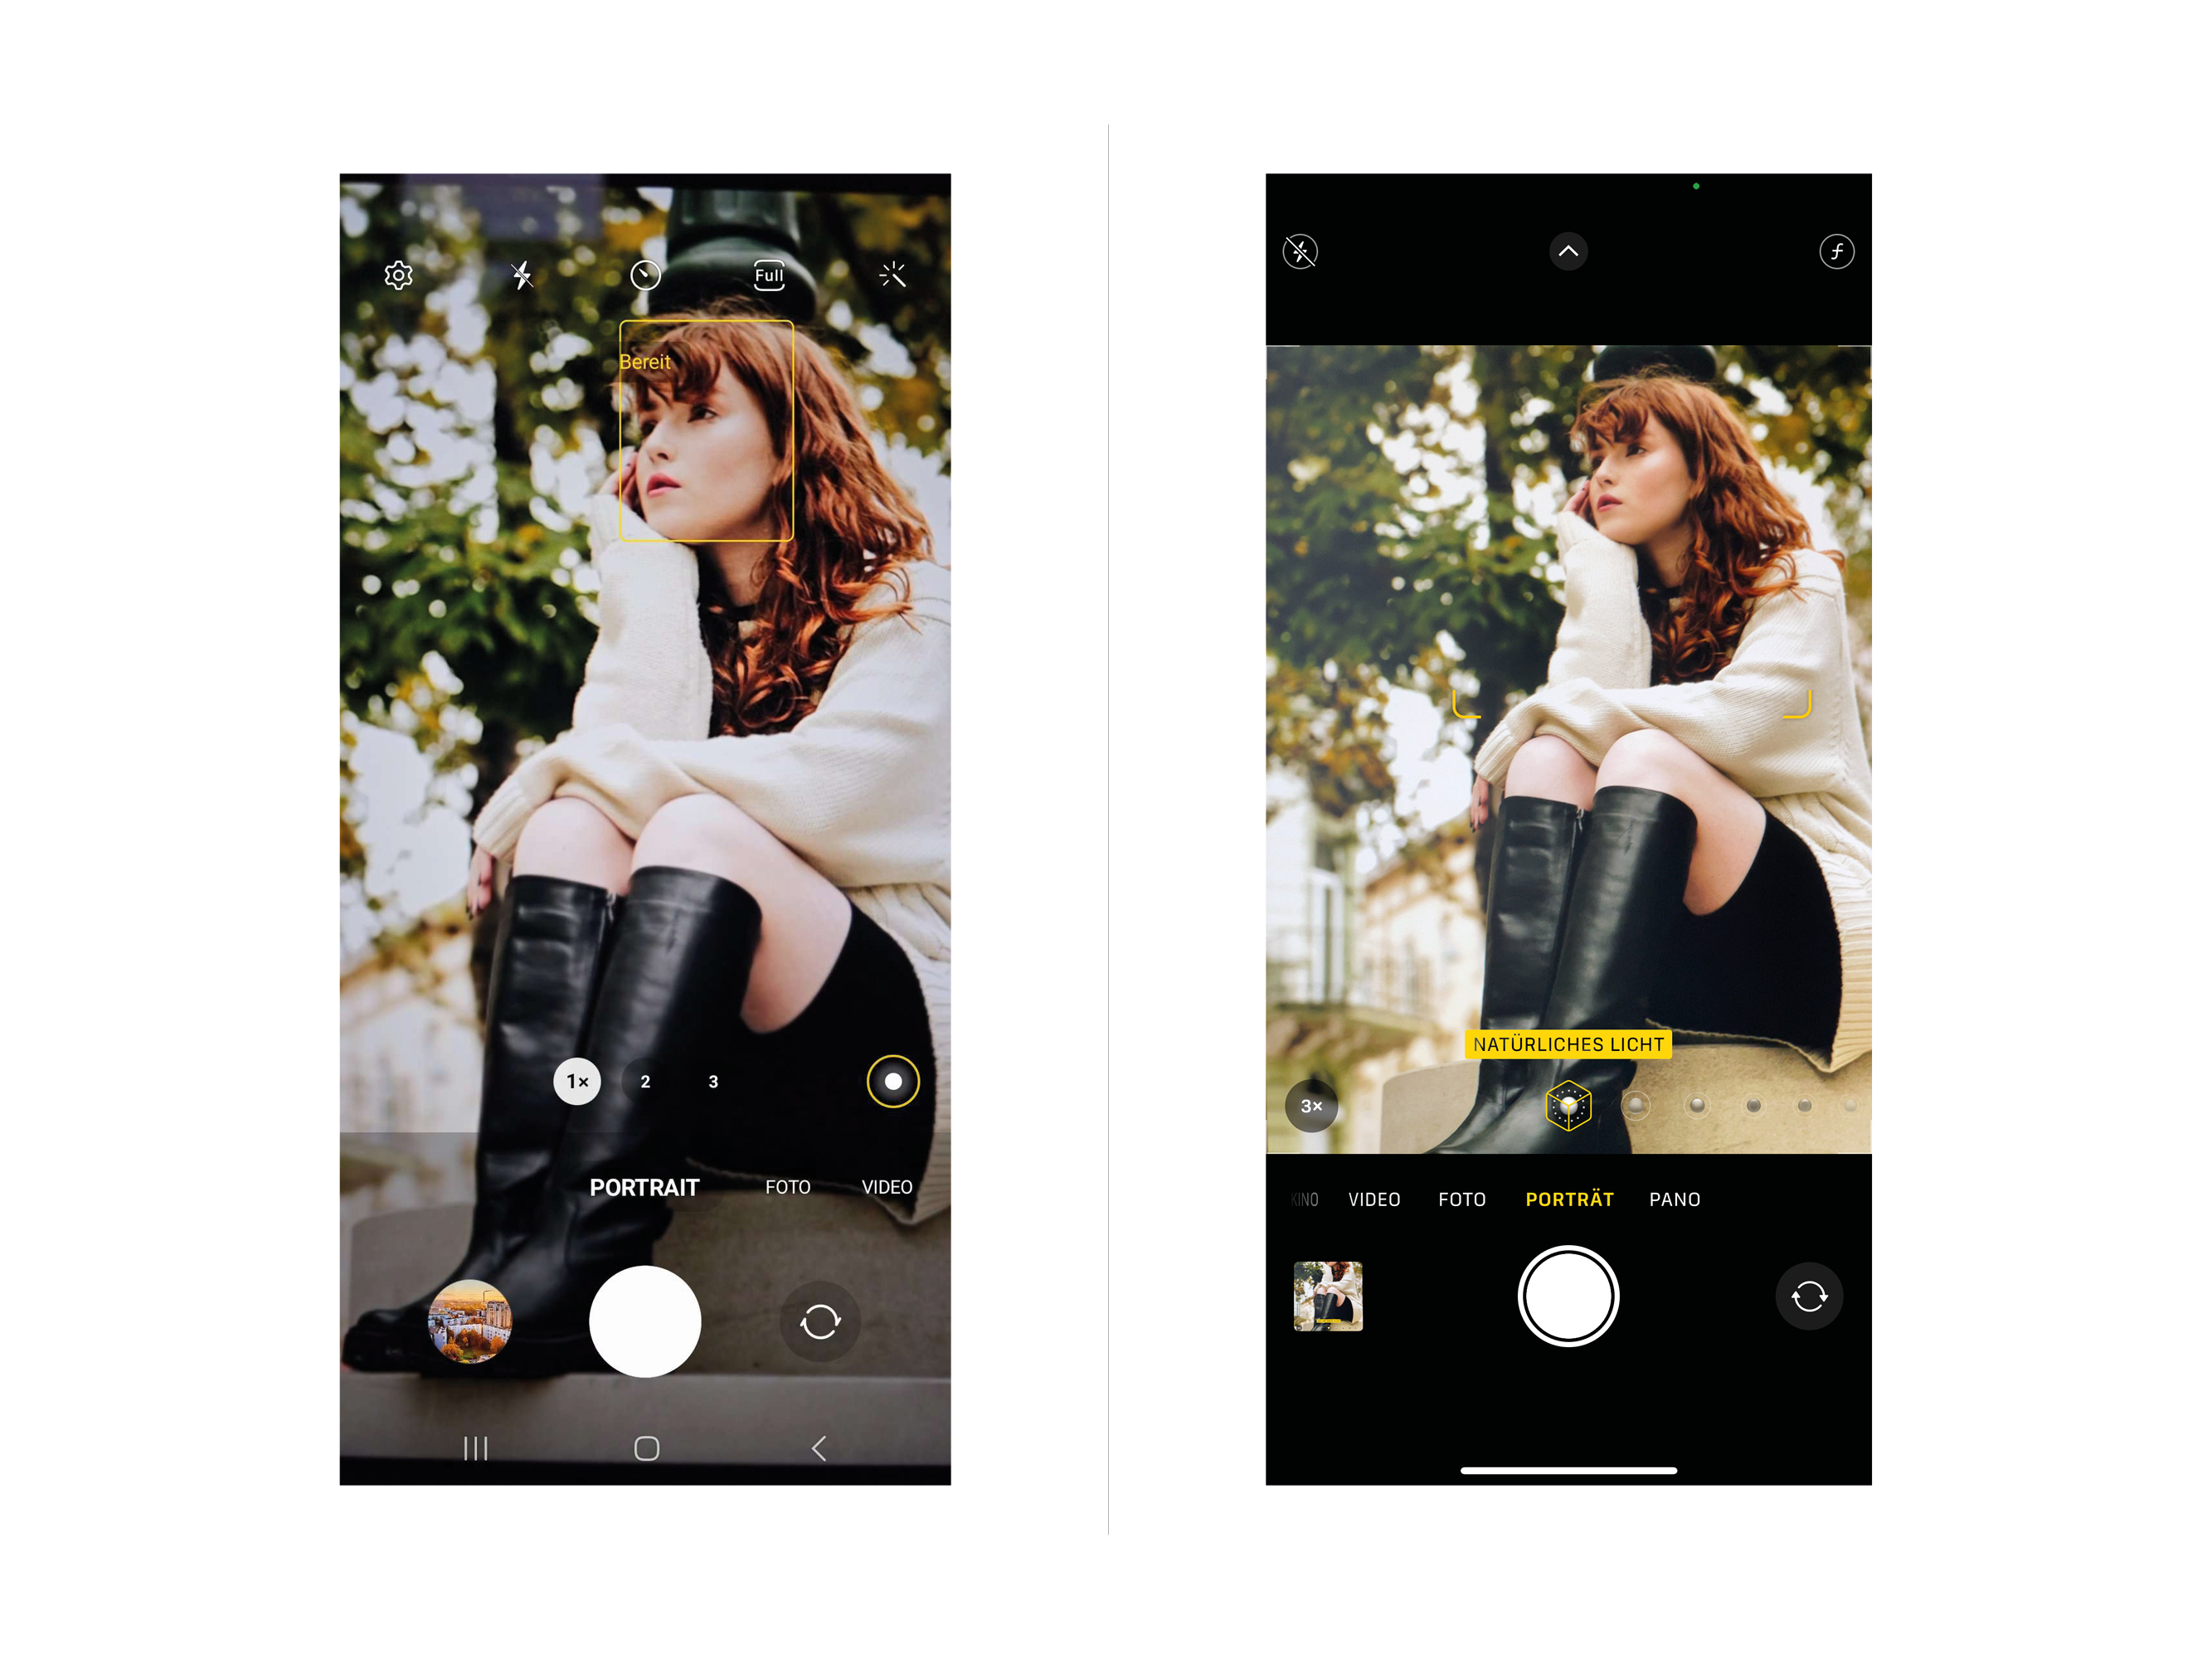
● Android: Search for portrait mode in your camera app.
● iPhone: Use portrait mode in the camera app to blur the background.
Apps
Android: AfterFocus (free, with in-app purchases).
This app allows you to add a bokeh effect and adjust the focus afterwards.
iPhone: Portrait mode is available in the built-in camera app (only on select iPhone models).
Tip 9: Use burst mode
Burst mode captures a series of images in quick succession by holding down the shutter button. This is ideal for capturing fast movements or fleeting moments. After shooting, you can select the best photo.
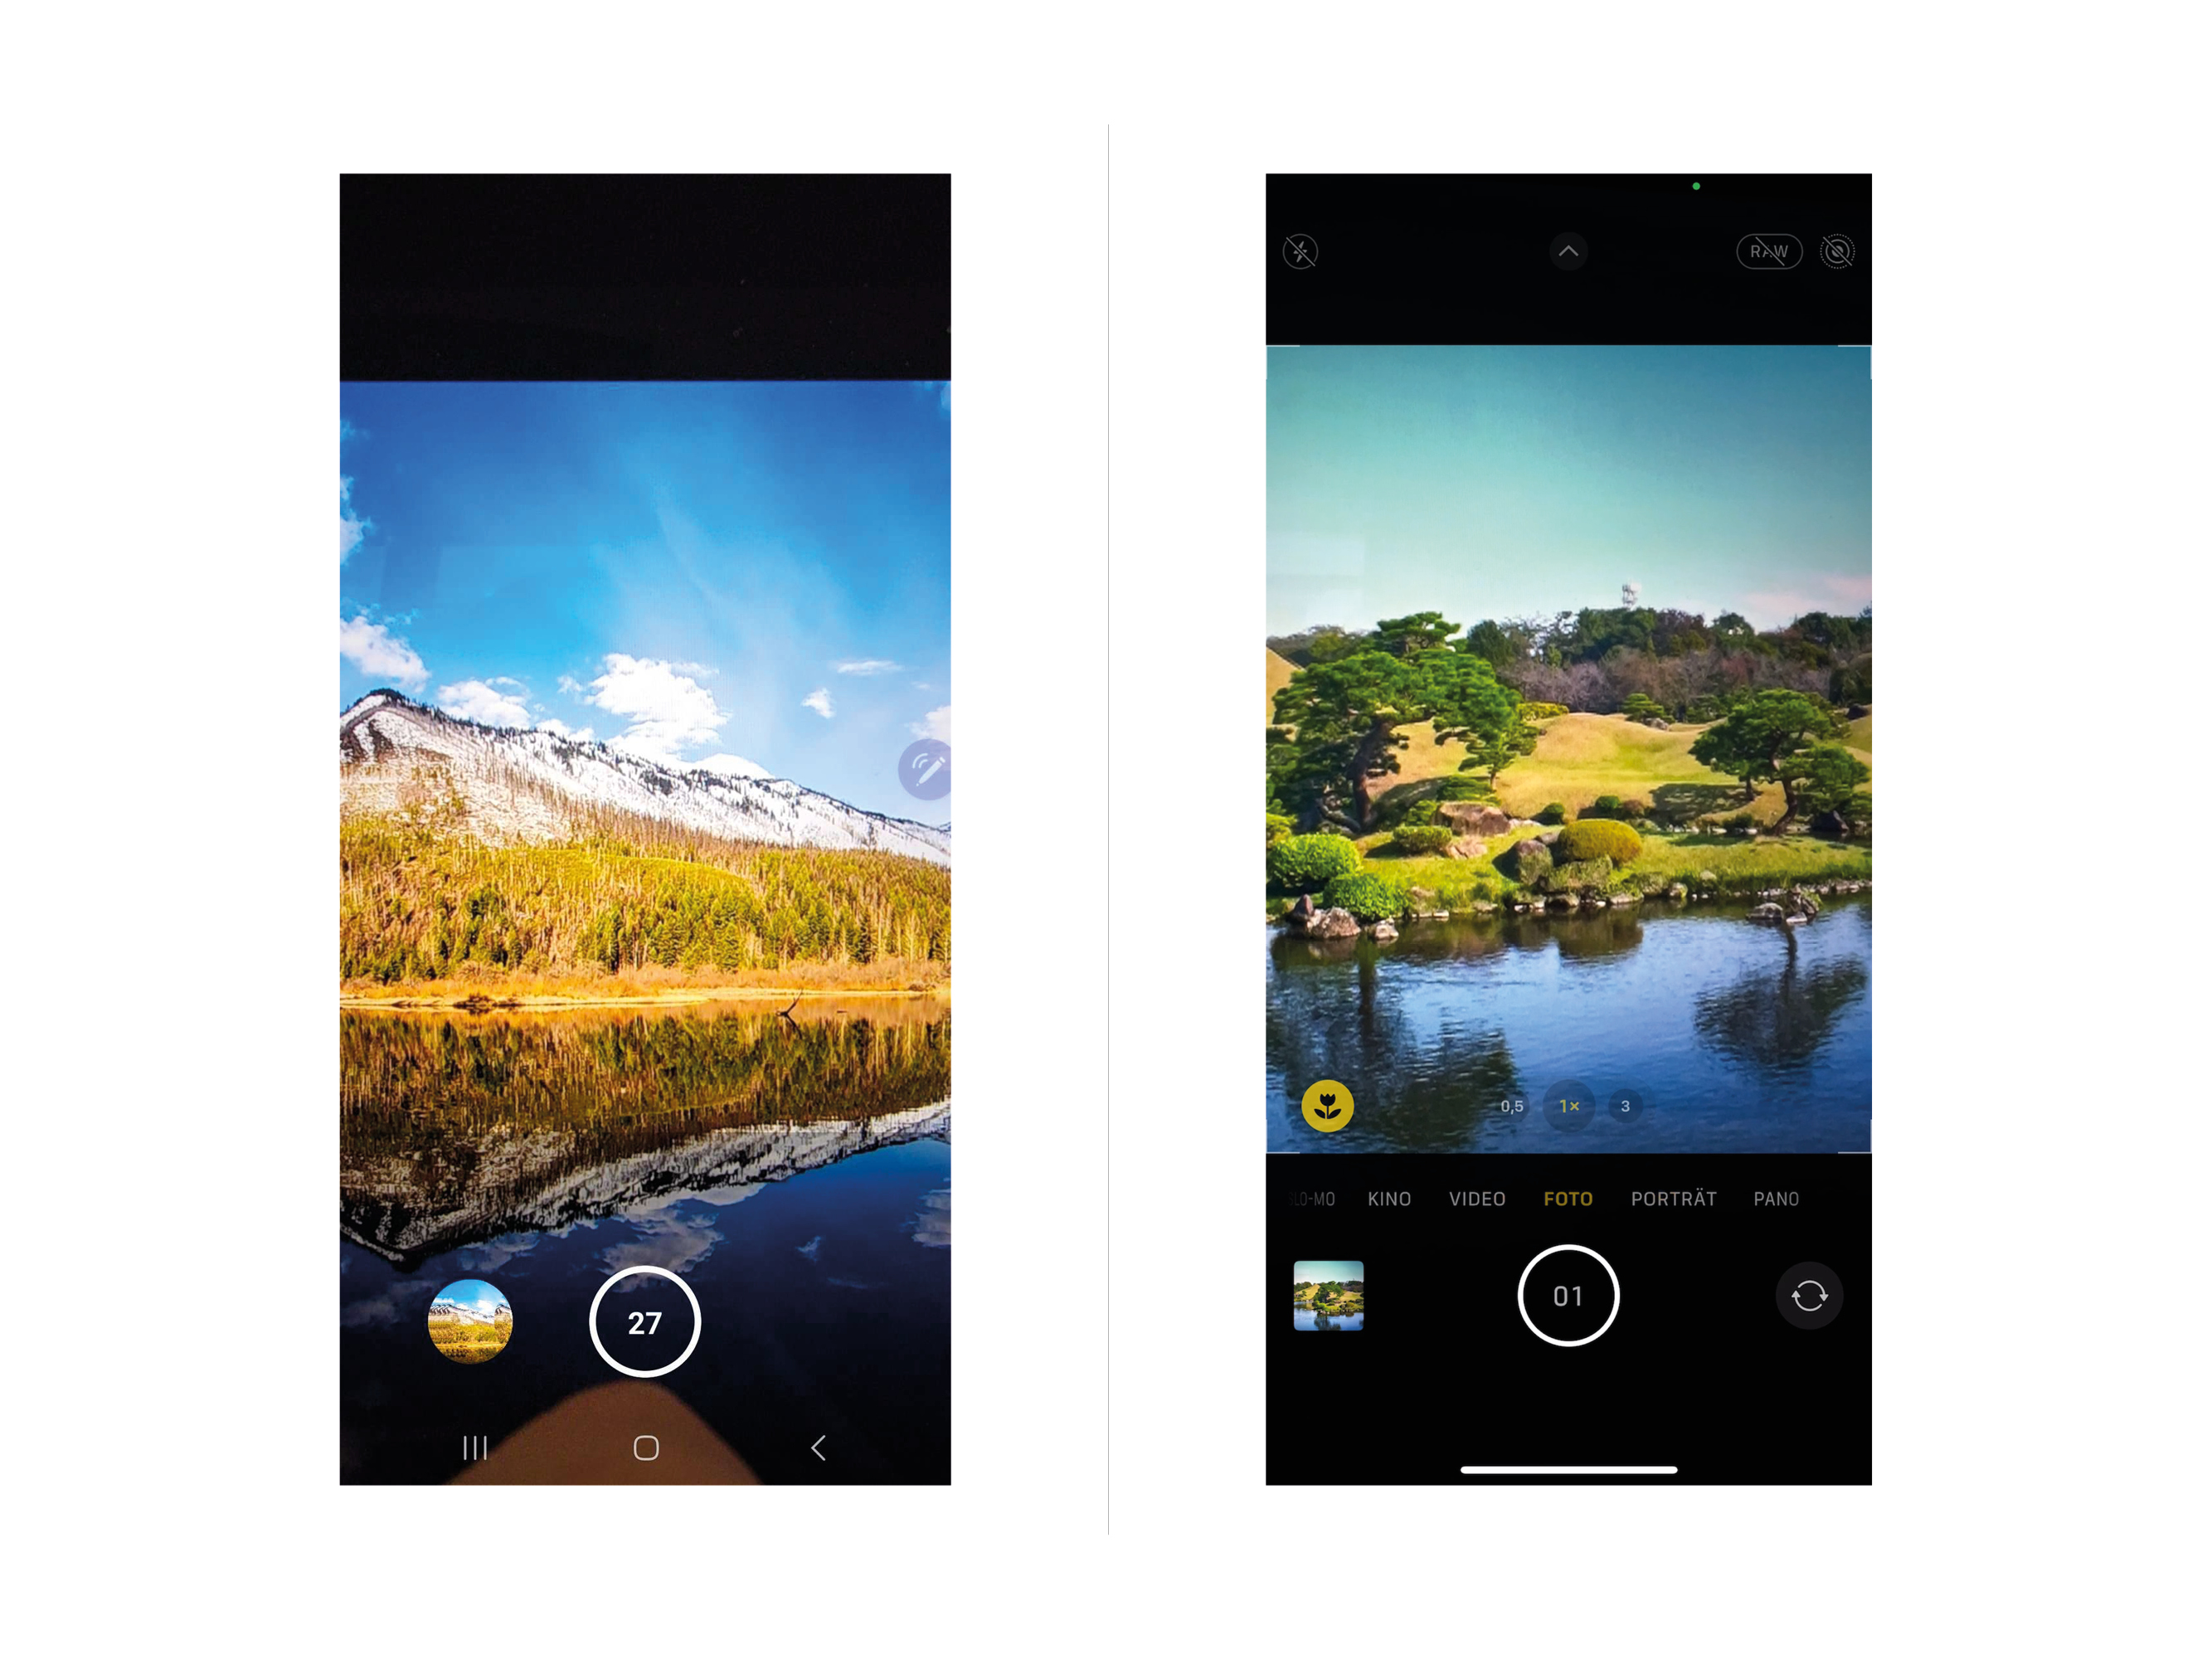
● Android and iPhone: Hold down the shutter button to take a series of quick shots.
Apps
Android and iPhone: Most standard camera apps have a burst mode. Hold down the shutter button to activate it.
Tip 10: Experiment with panorama mode
Panorama mode allows you to capture wide landscapes or scenes. You move the smartphone while shooting, and the camera stitches the images together to create a seamless panorama. Ideal for impressive nature or city panoramas.
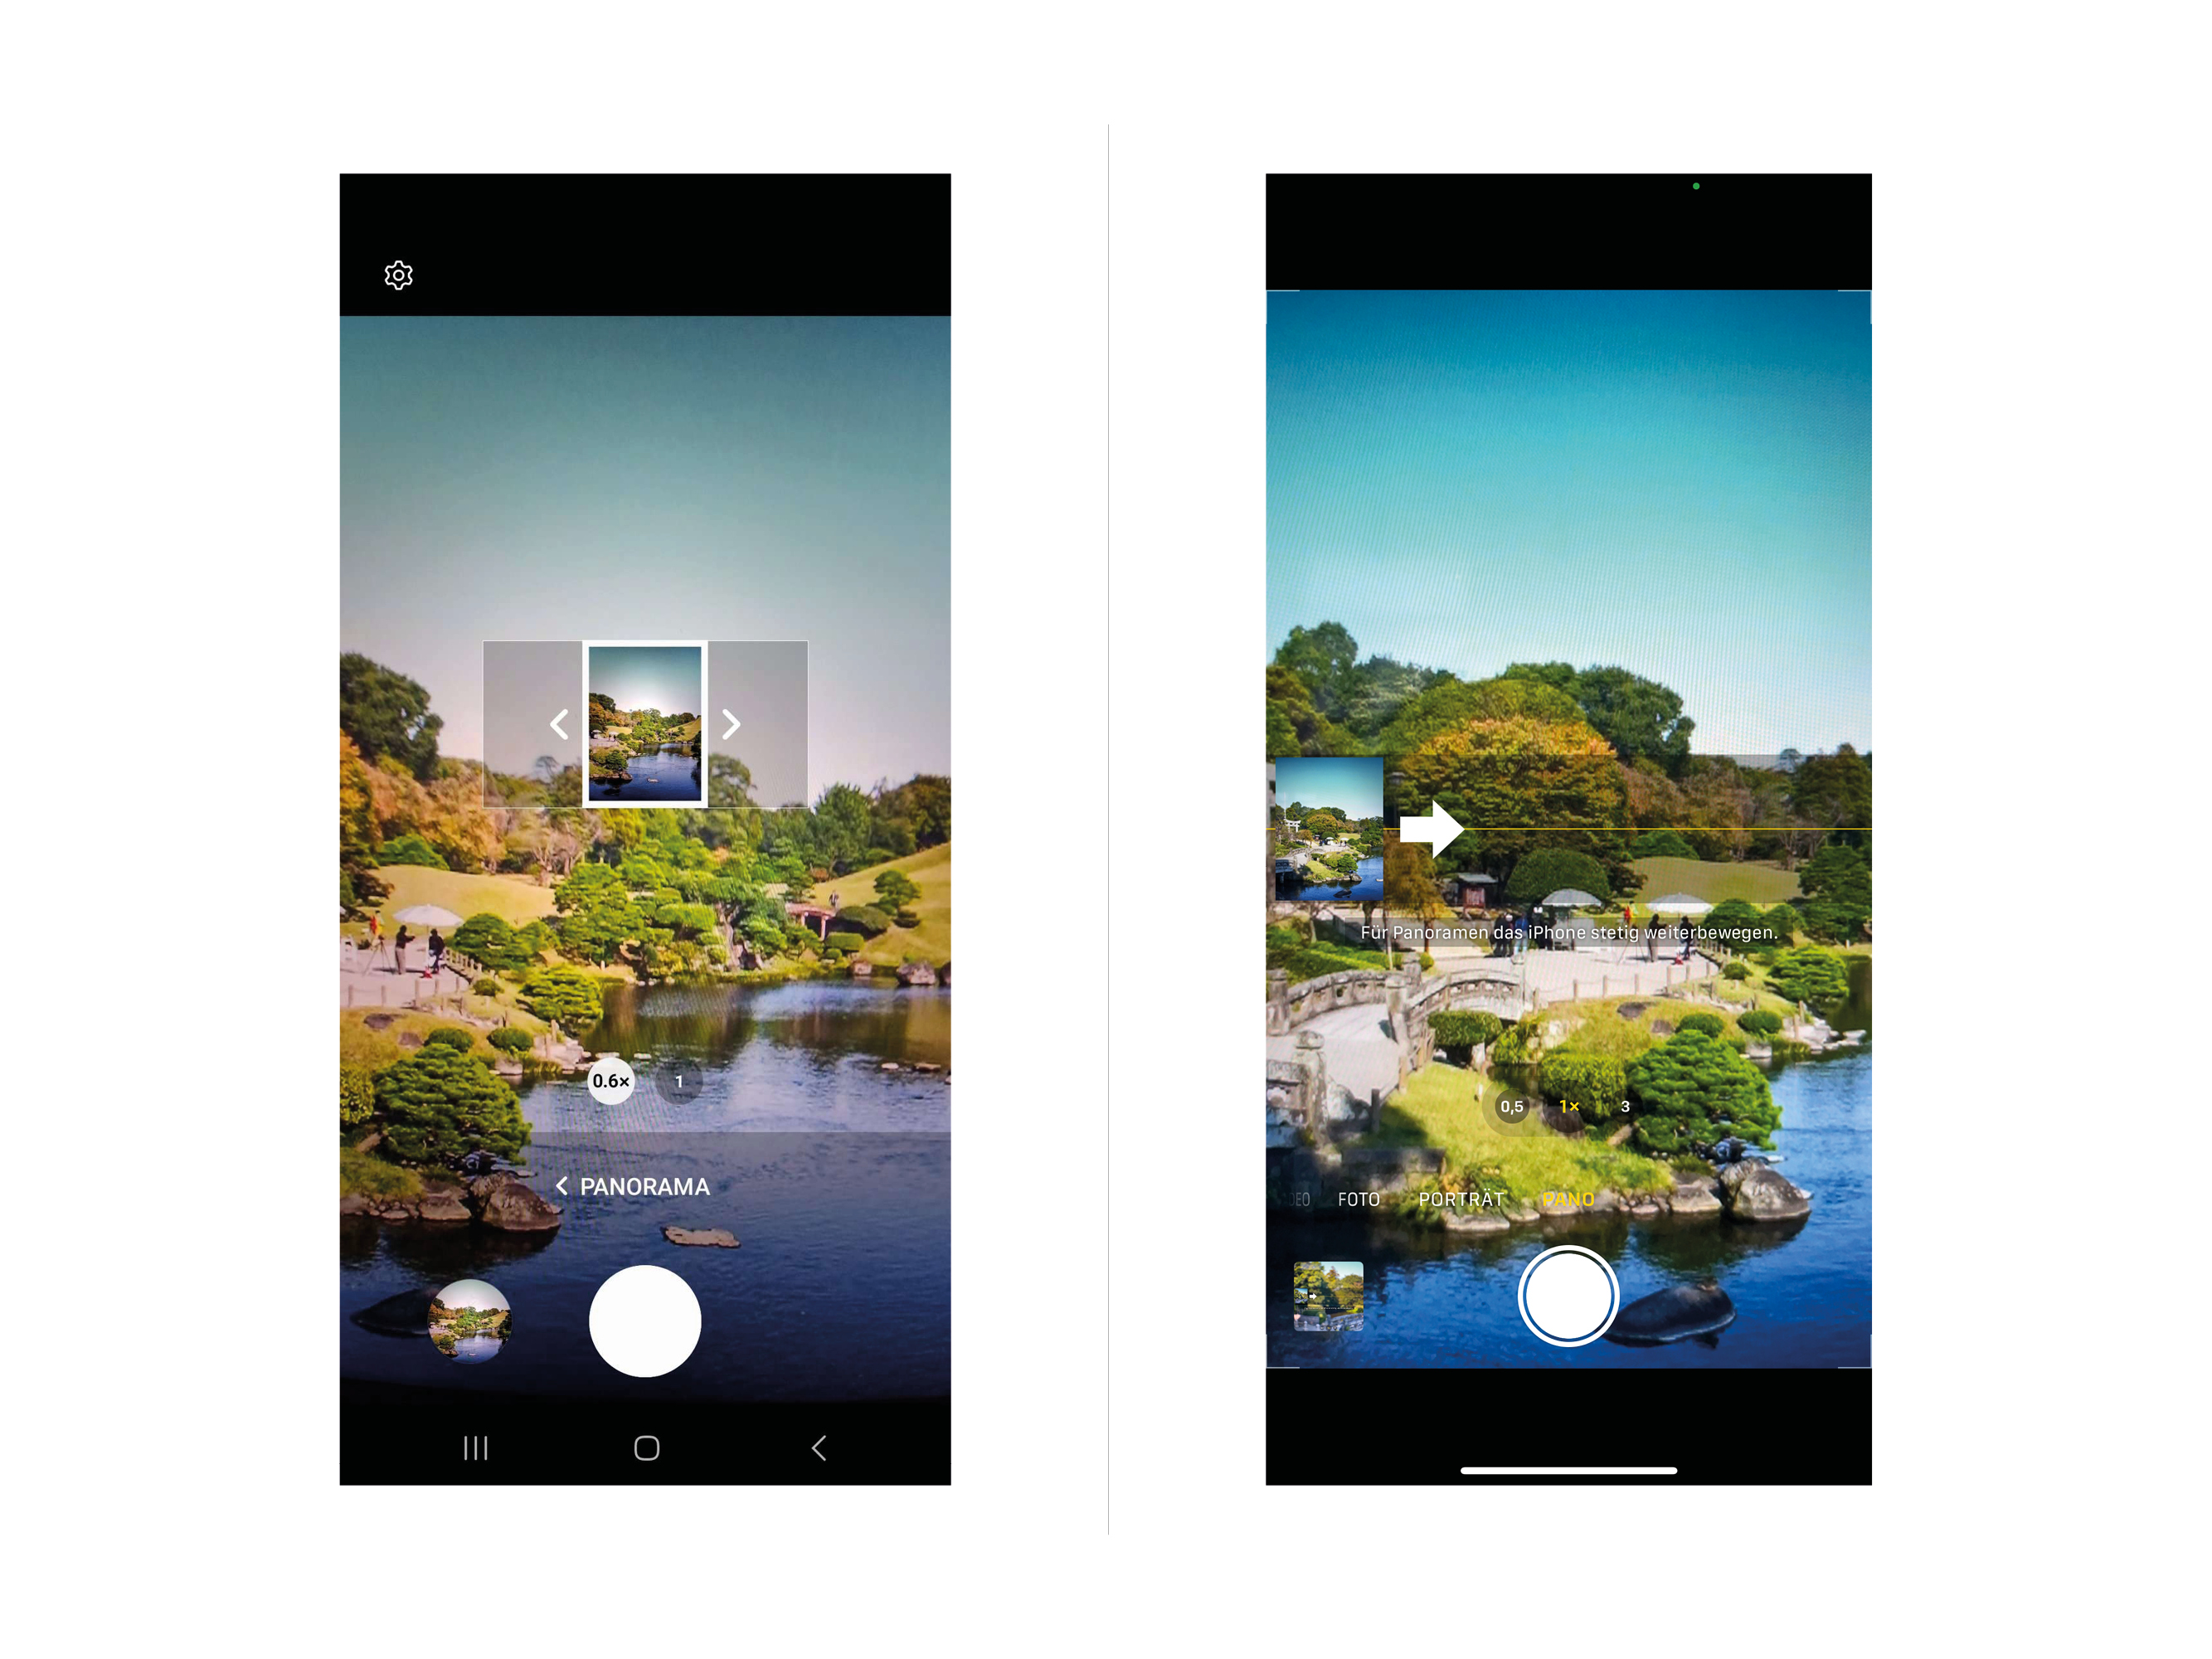
● Android: Open the camera app and search for Panorama mode.
● iPhone: Select Panorama mode in the Camera app and follow the instructions
Apps
Android and iPhone: Most standard camera apps have a panorama mode.
Tip 11: Look for symmetry and lines
Symmetry and line work create visual structure and balance in your shots. Use natural lines or create symmetrical compositions for aesthetically pleasing photos.
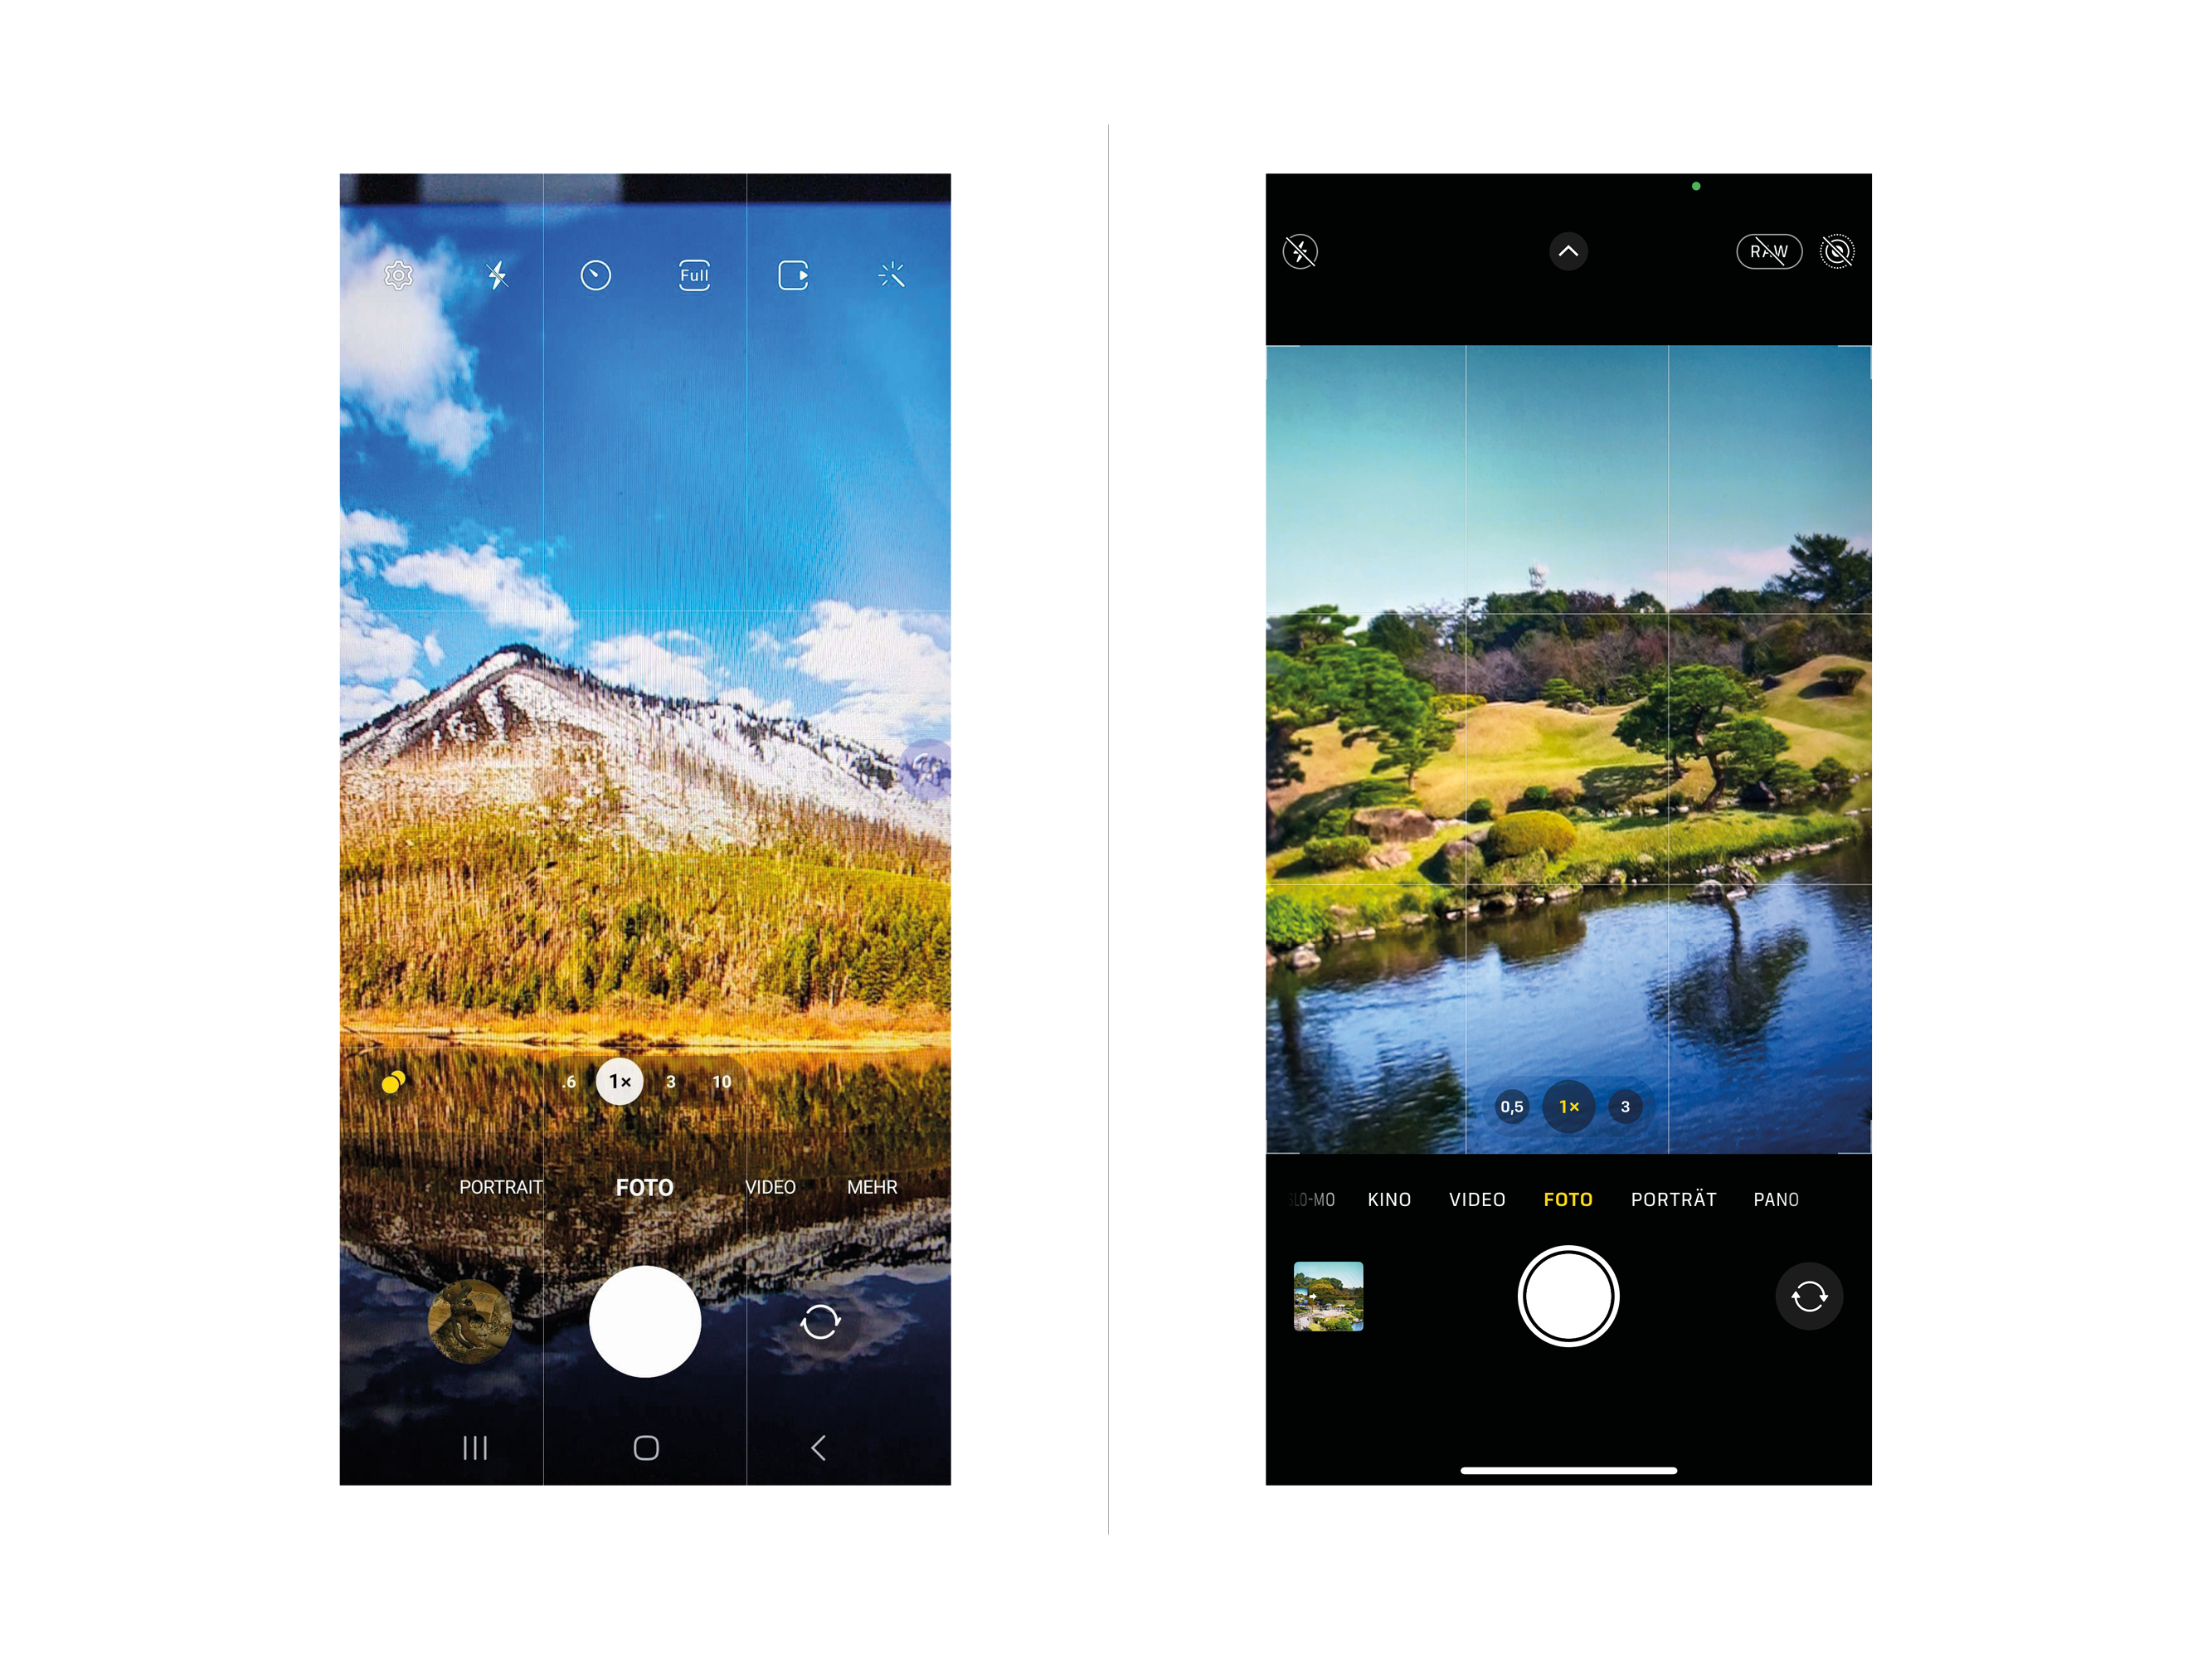
● Android and iPhone: No special app required. Look for natural lines and symmetries in your shots.
Tip 12: Shoot in RAW (DNG) format
Shooting in RAW (DNG) format stores more image data than JPEG and allows for more extensive post-production editing. This is particularly useful when you want to make finer adjustments to exposure, contrast, and color.
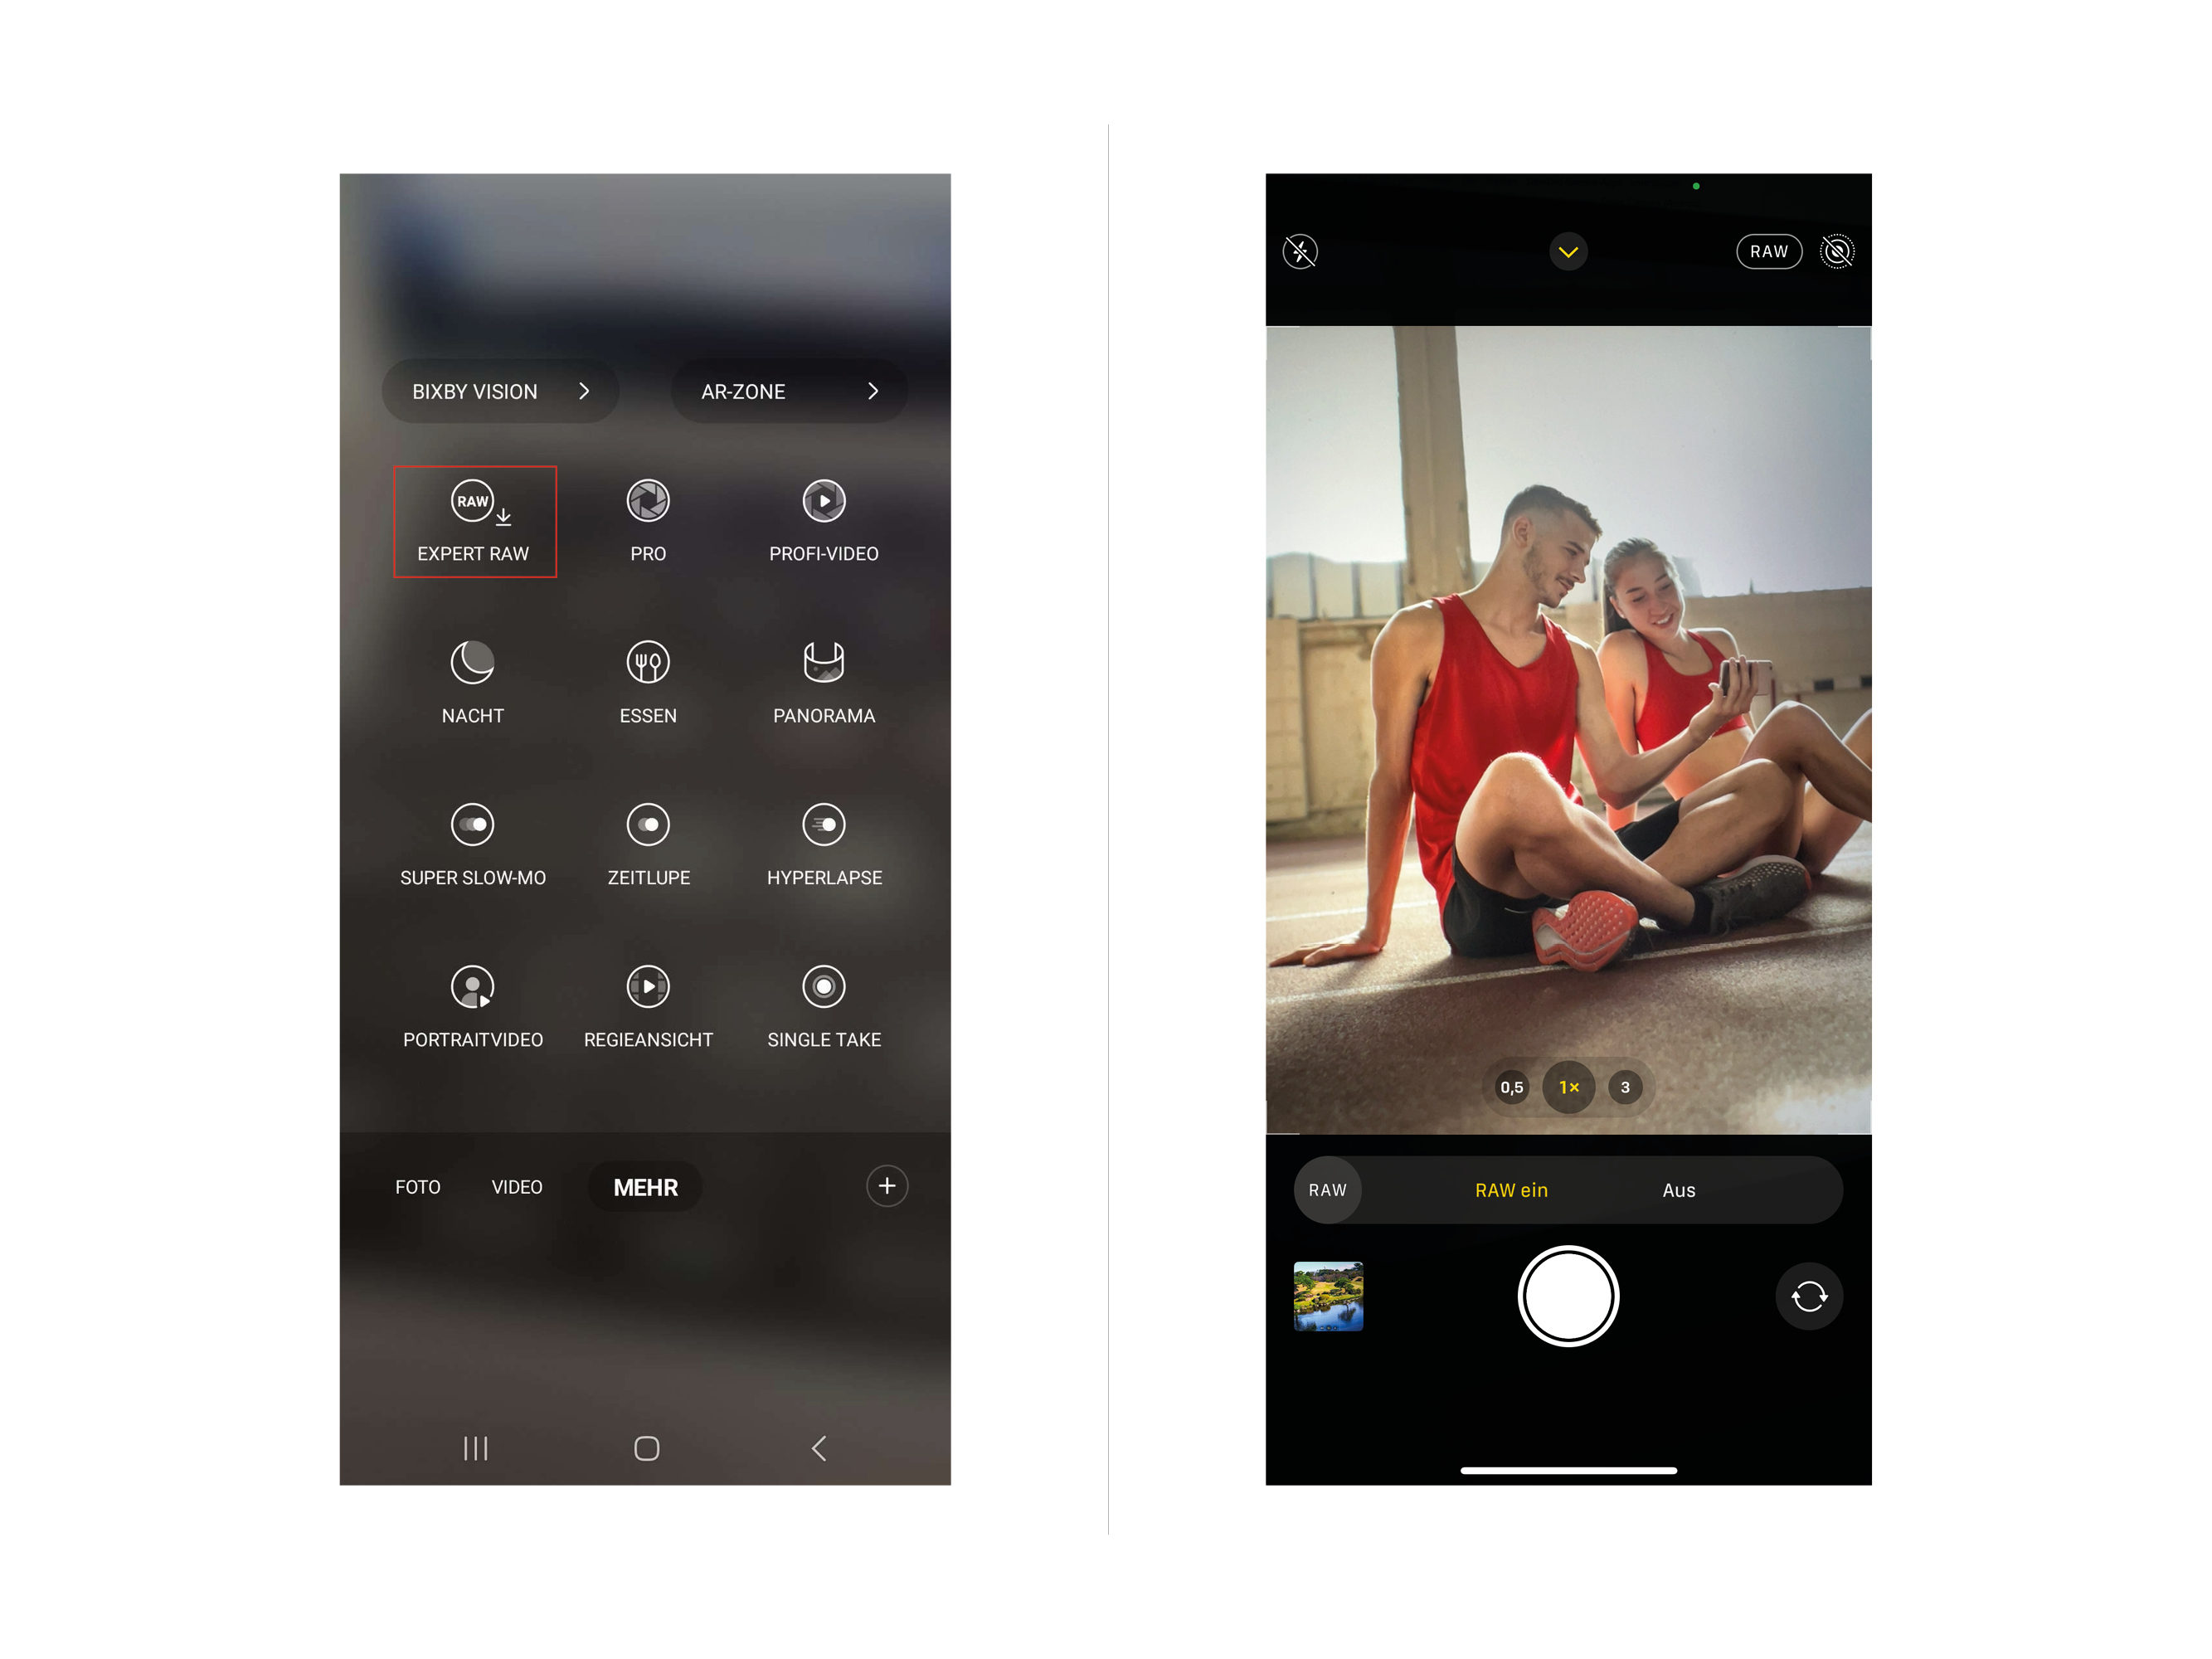
● Android and iPhone: Most standard camera apps support shooting in RAW format. Alternatively, apps like Open Camera (Android, free) or ProCamera (iPhone, paid) can extend this feature.
Apps
Android: Open Camera (free)
iPhone: ProCamera (fee required)
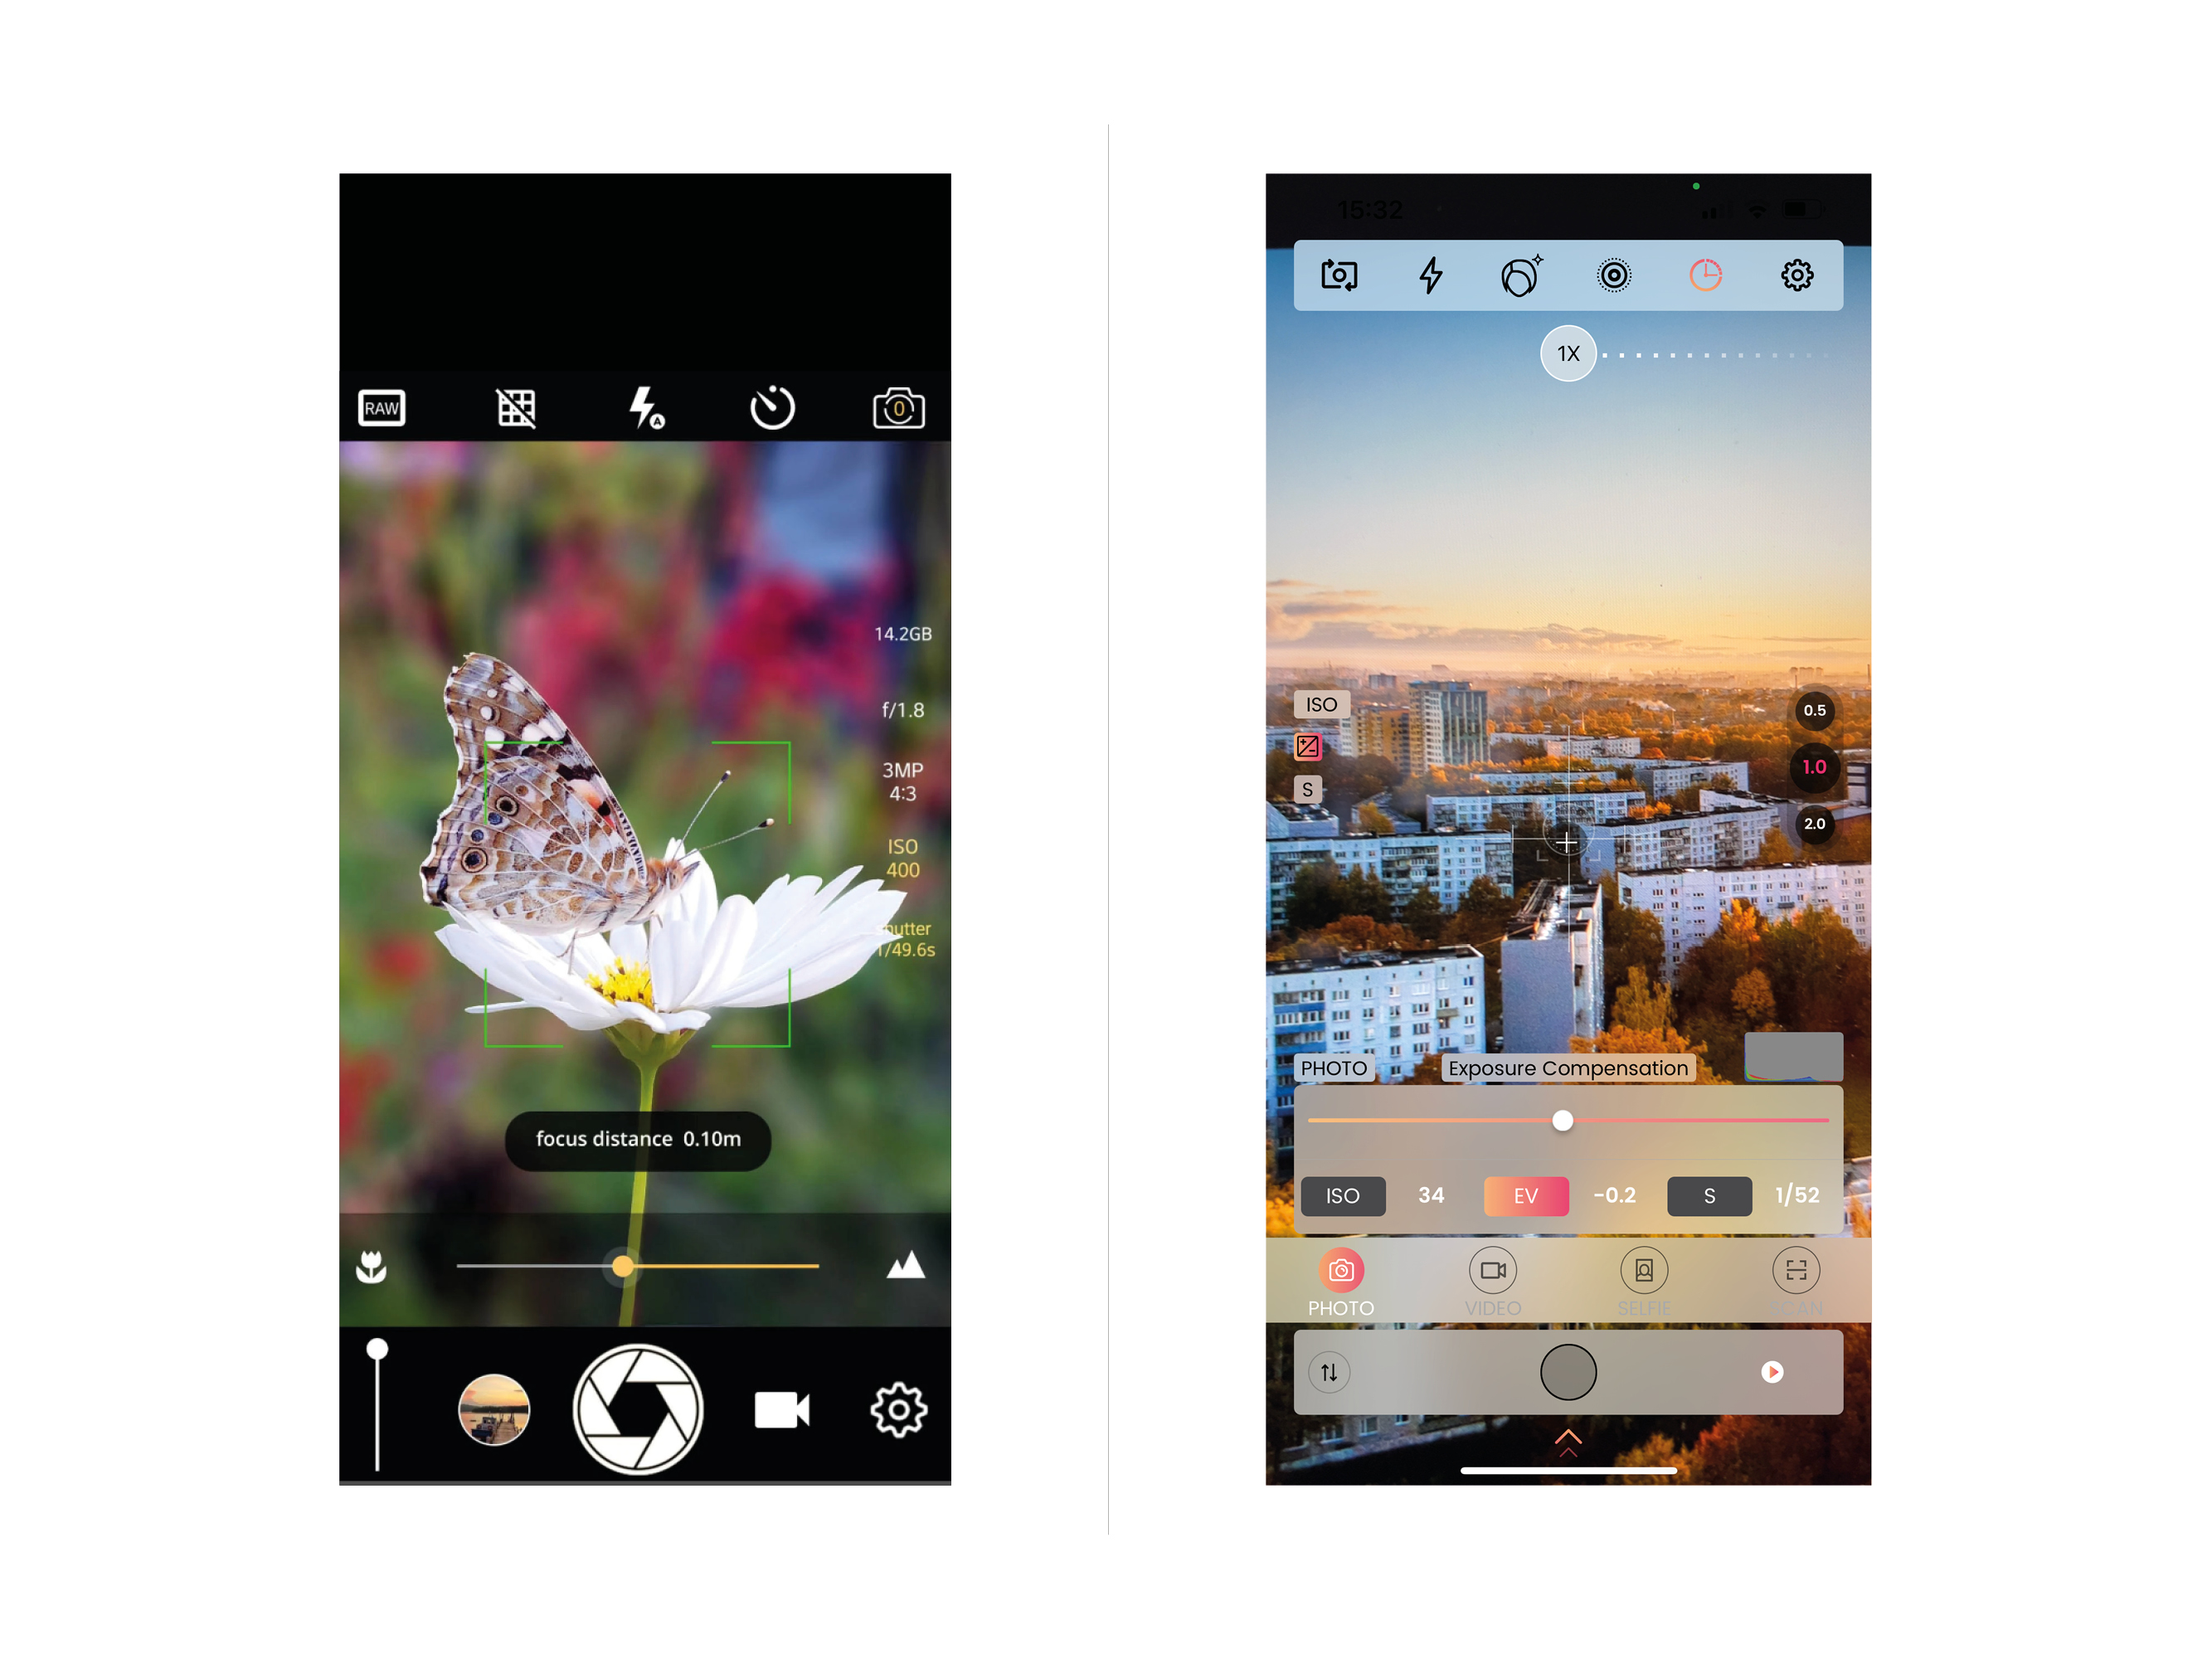
Tip 13: Use apps for manual settings
Apps with manual settings extend your control over the camera. Adjust exposure, ISO, shutter speed, and more to achieve the photographic effects you want.
Apps
Android: Manual Camera (paid).
An app that offers full manual control over settings like exposure, ISO, and shutter speed.
iPhone: ProCamera (free, with in-app purchases).
A comprehensive app with manual settings such as exposure, ISO, and shutter speed.
Conclusion
With these tips and the right apps, you can use the full potential of your smartphone to create stunning photos. Experiment, find your own style, and tell visual stories that reflect the world around you. The ability to create stunning photos with your smartphone is now within reach. Use these tips to build your creative skills and enrich your photographic journey. Capture the beauty of the world and let your images speak for themselves.
