Guest contribution

Which is better: RAW or JPG?
Enjoy a relaxed guide or get the best out of your photos.
How JPEG works
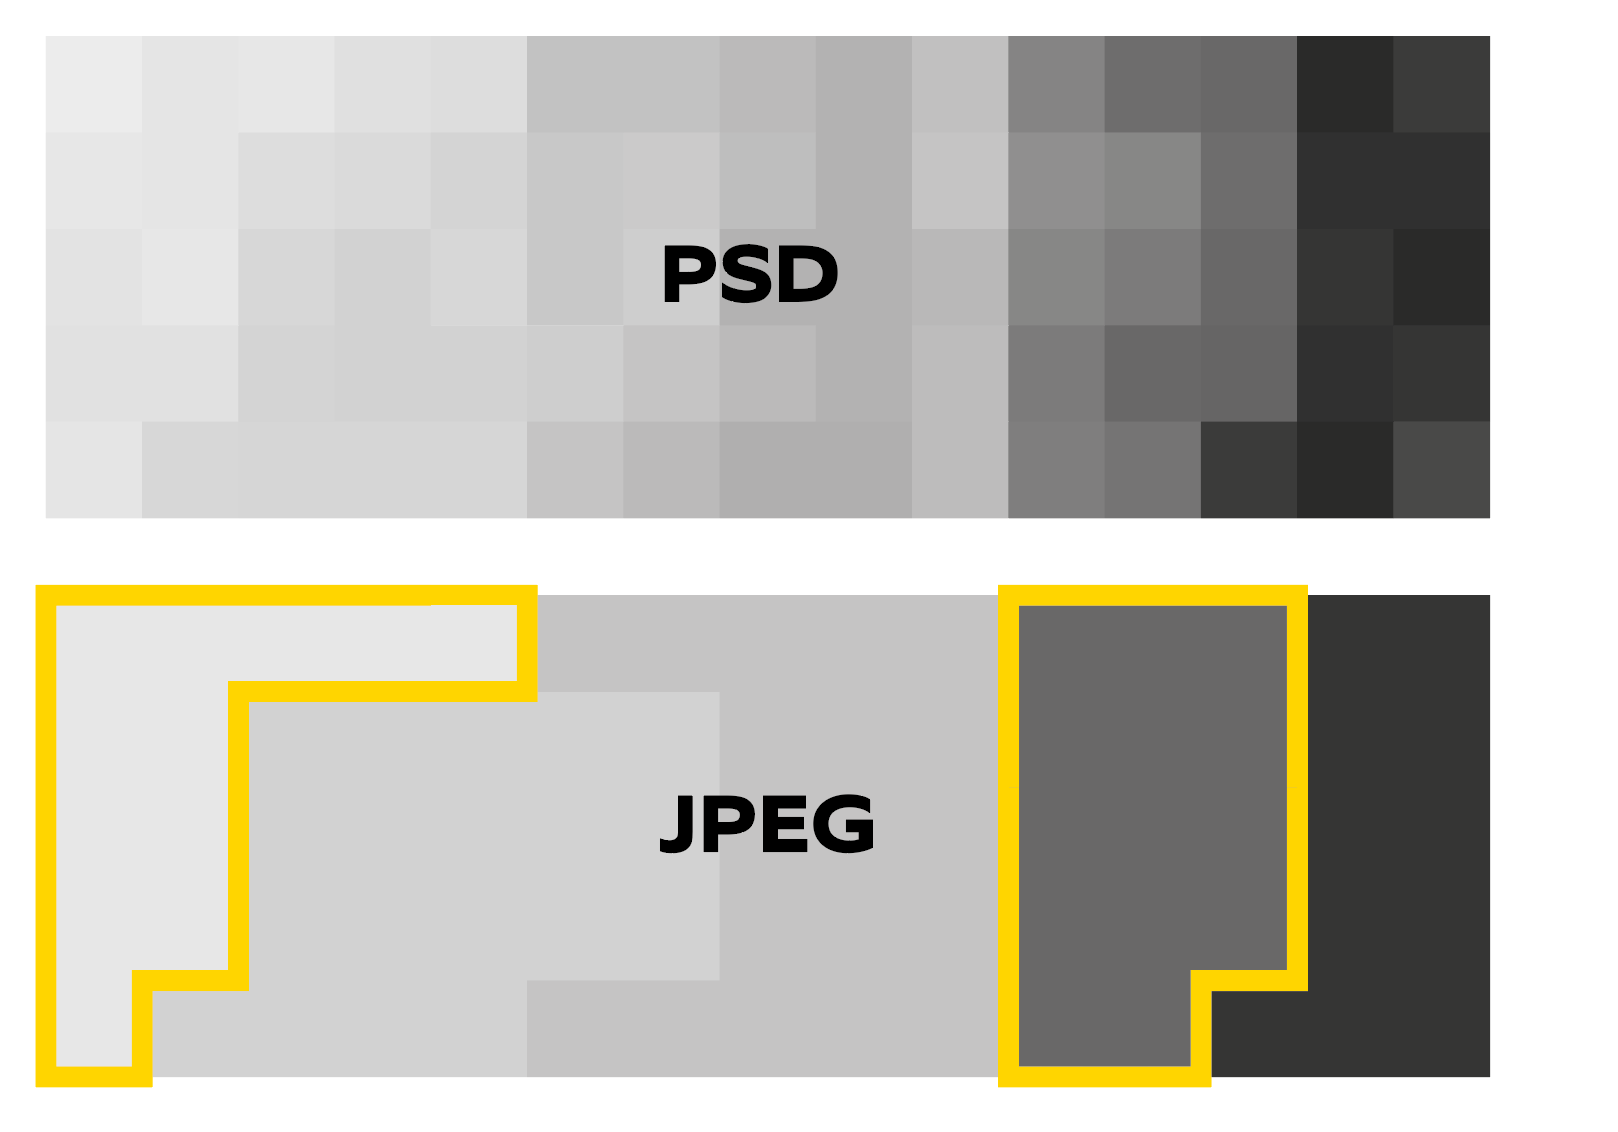
Experienced photographers and image processors have a tendency to turn their noses up slightly at the mention of JPEG (or JPG, pronounced jay-peg). JPEG is an open file format (like PDF) supported by all operating systems, software (such as ifolor designer) and apps. JPEG stands for Joint Photographic Experts Group. JPEG is a standard which defines how pixel data is compressed. Various levels of compression are available in the camera settings and in Photoshop. I recommend selecting the best one (the finest). Put crudely, collections of similar pixels are lumped into units together, which massively reduces the size of the file. The edges of the blocks are shown slightly out of focus, which can lead to undesirable effects. So JPEG is always associated with "losses", which can vary as a function of the settings. However, in most cases the losses are negligible and not visible. However, when you enlarge the photo, you need to check for negative phenomena such as lack of focus or pixelation of hard edges within the image.
With JPEG, all the settings are defined by the camera based on a specific algorithm.
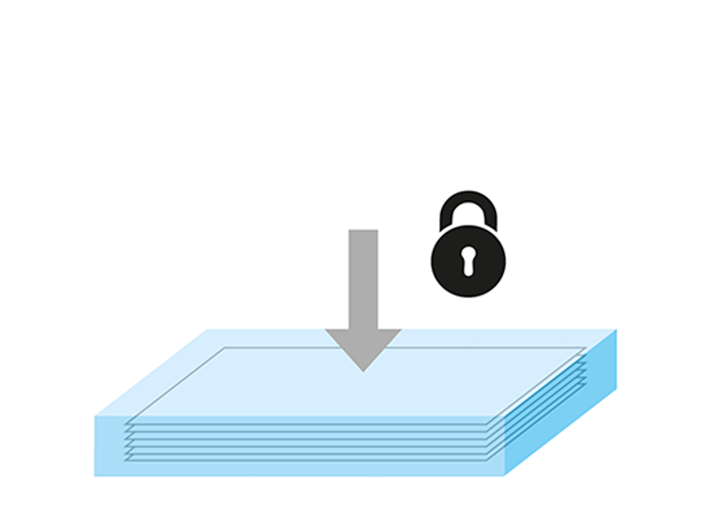
Automatically from camera
- Focus
- Aperture
- Exposure
- ISO
- White balance
- Colour saturation
- Colour space
- Contrast enhancement in Lightroom
- Sharpening
- Noise suppression
- JPG compression
So JPEG is perfect for those who want to leave it to the camera to take the pictures. JPEG photos can be used directly in ifolor Designer without further editing. No additional image processing software is required.
How RAW works
RAW is an image format which is defined differently by every manufacturer. It is a raw data format which, unlike JPEG, always requires post-processing. RAW is also compared to old-fashioned negatives, which also needed to be developed. The RAW formats have different suffixes for the different camera models: .crw, .cr2, .nef, .mef, .arw, .raf or .raw. Adobe calls the RAW format .dng.
If you select RAW on your camera, only the conventional settings of focus, aperture, exposure and ISO are saved with the raw image. All the other settings need to be adjusted at the development stage. The software to do this is known as a RAW converter, which converts the unfinished raw image into a presentable photo. With RAW, there is a lot more work at the computer, but it does mean you can develop the image exactly as you imagined it or create different versions. Various RAW converters are available, but the most popular are the ones from Lightroom or Photoshop (identical). So when you open a RAW image in Photoshop, the RAW converter starts automatically and you have to enter the relevant development settings in order to get a great picture. The RAW image format is an interim product and therefore cannot be imported into other software. This is why all RAW images from Lightroom or Photoshop need to be converted into .jpg format in ifolor Designer.
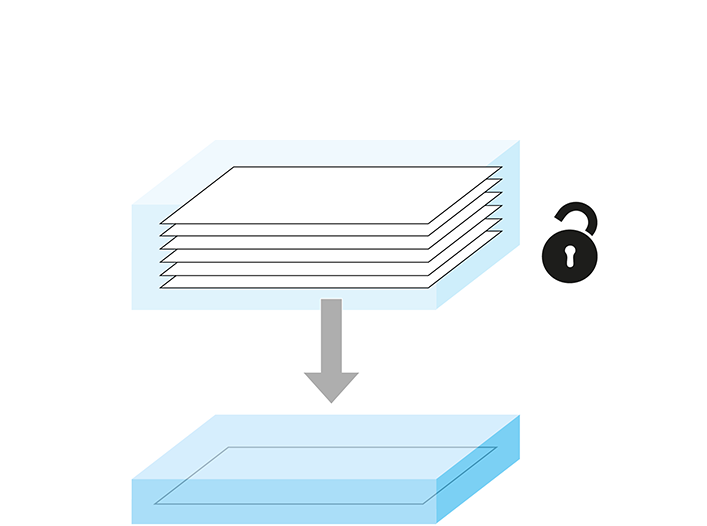
Automatically from camera
- Focus
- Aperture
- Exposure
- ISO
Developing using a RAW converter
- White balance
- Colour saturation
- Colour space
- Contrast enhancement in Lightroom
- Sharpening
- Noise suppression
- JPG compression
Practical examples
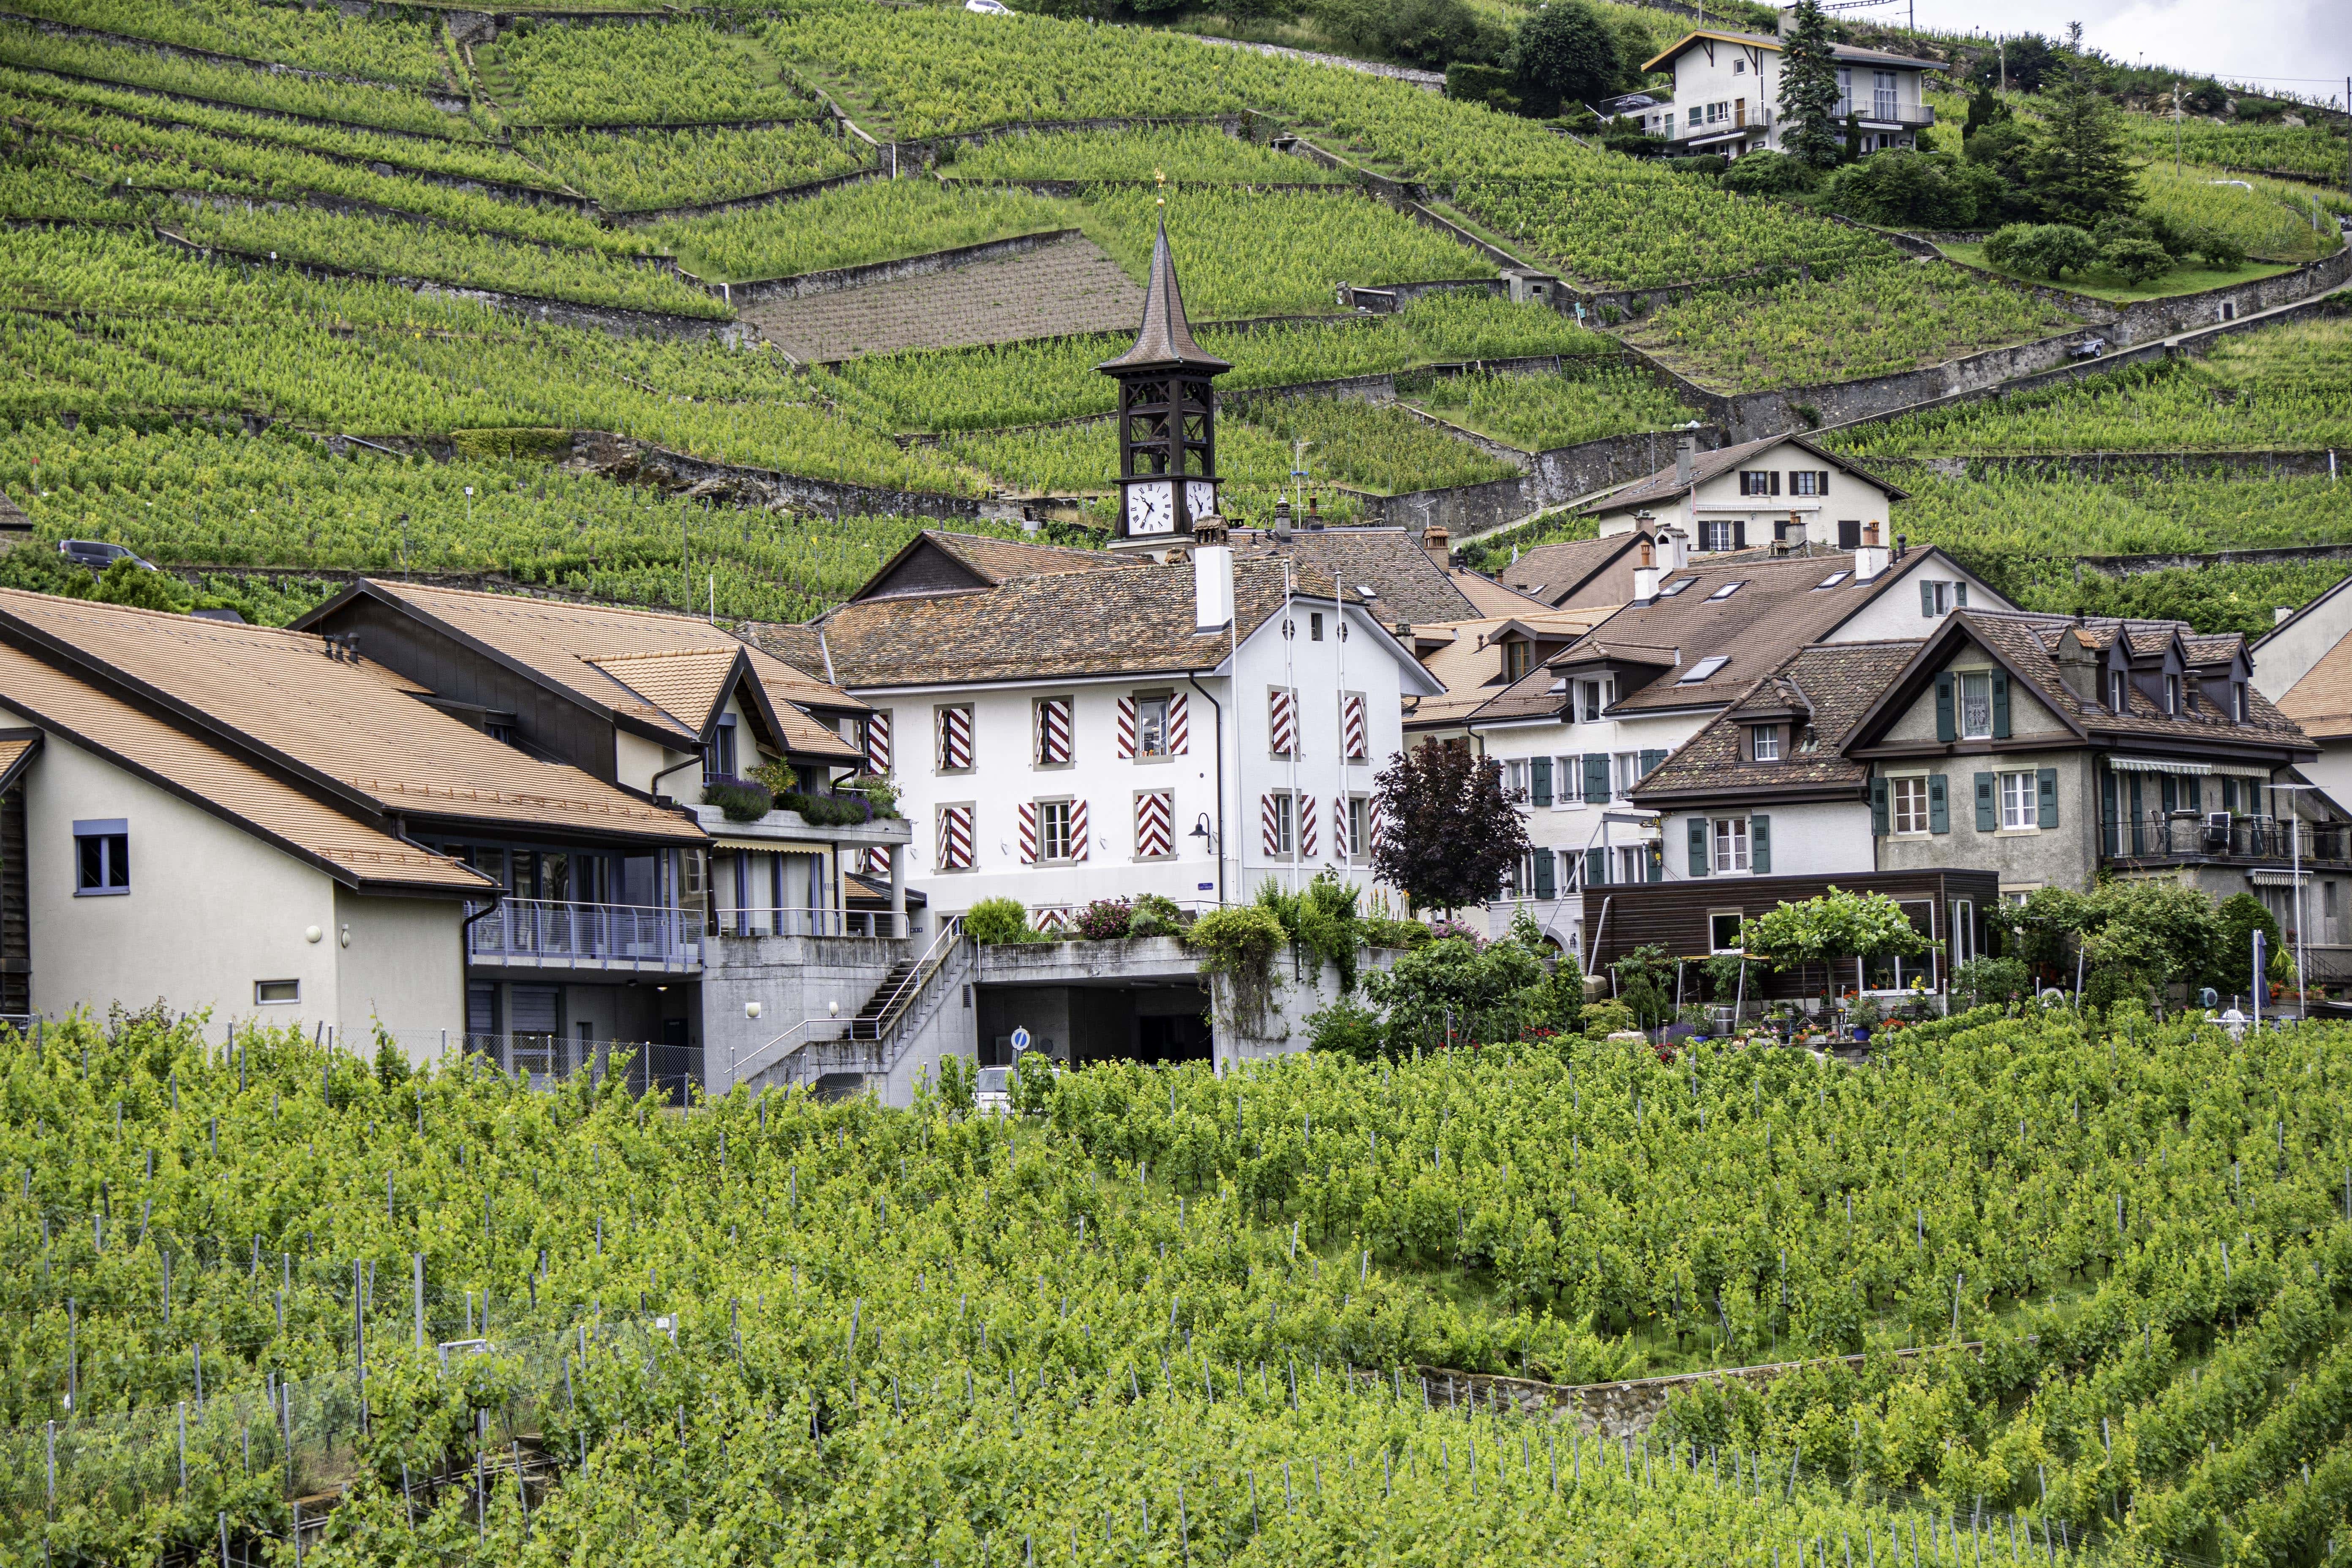
You are next to Lake Geneva, in the Lavaux wine-growing region between Vevey and Lausanne. You have set your camera to JPEG and are taking pictures of the beautiful terraced vineyards. There could be a few clouds in the sky to give an interesting backdrop. It could look a little like this.
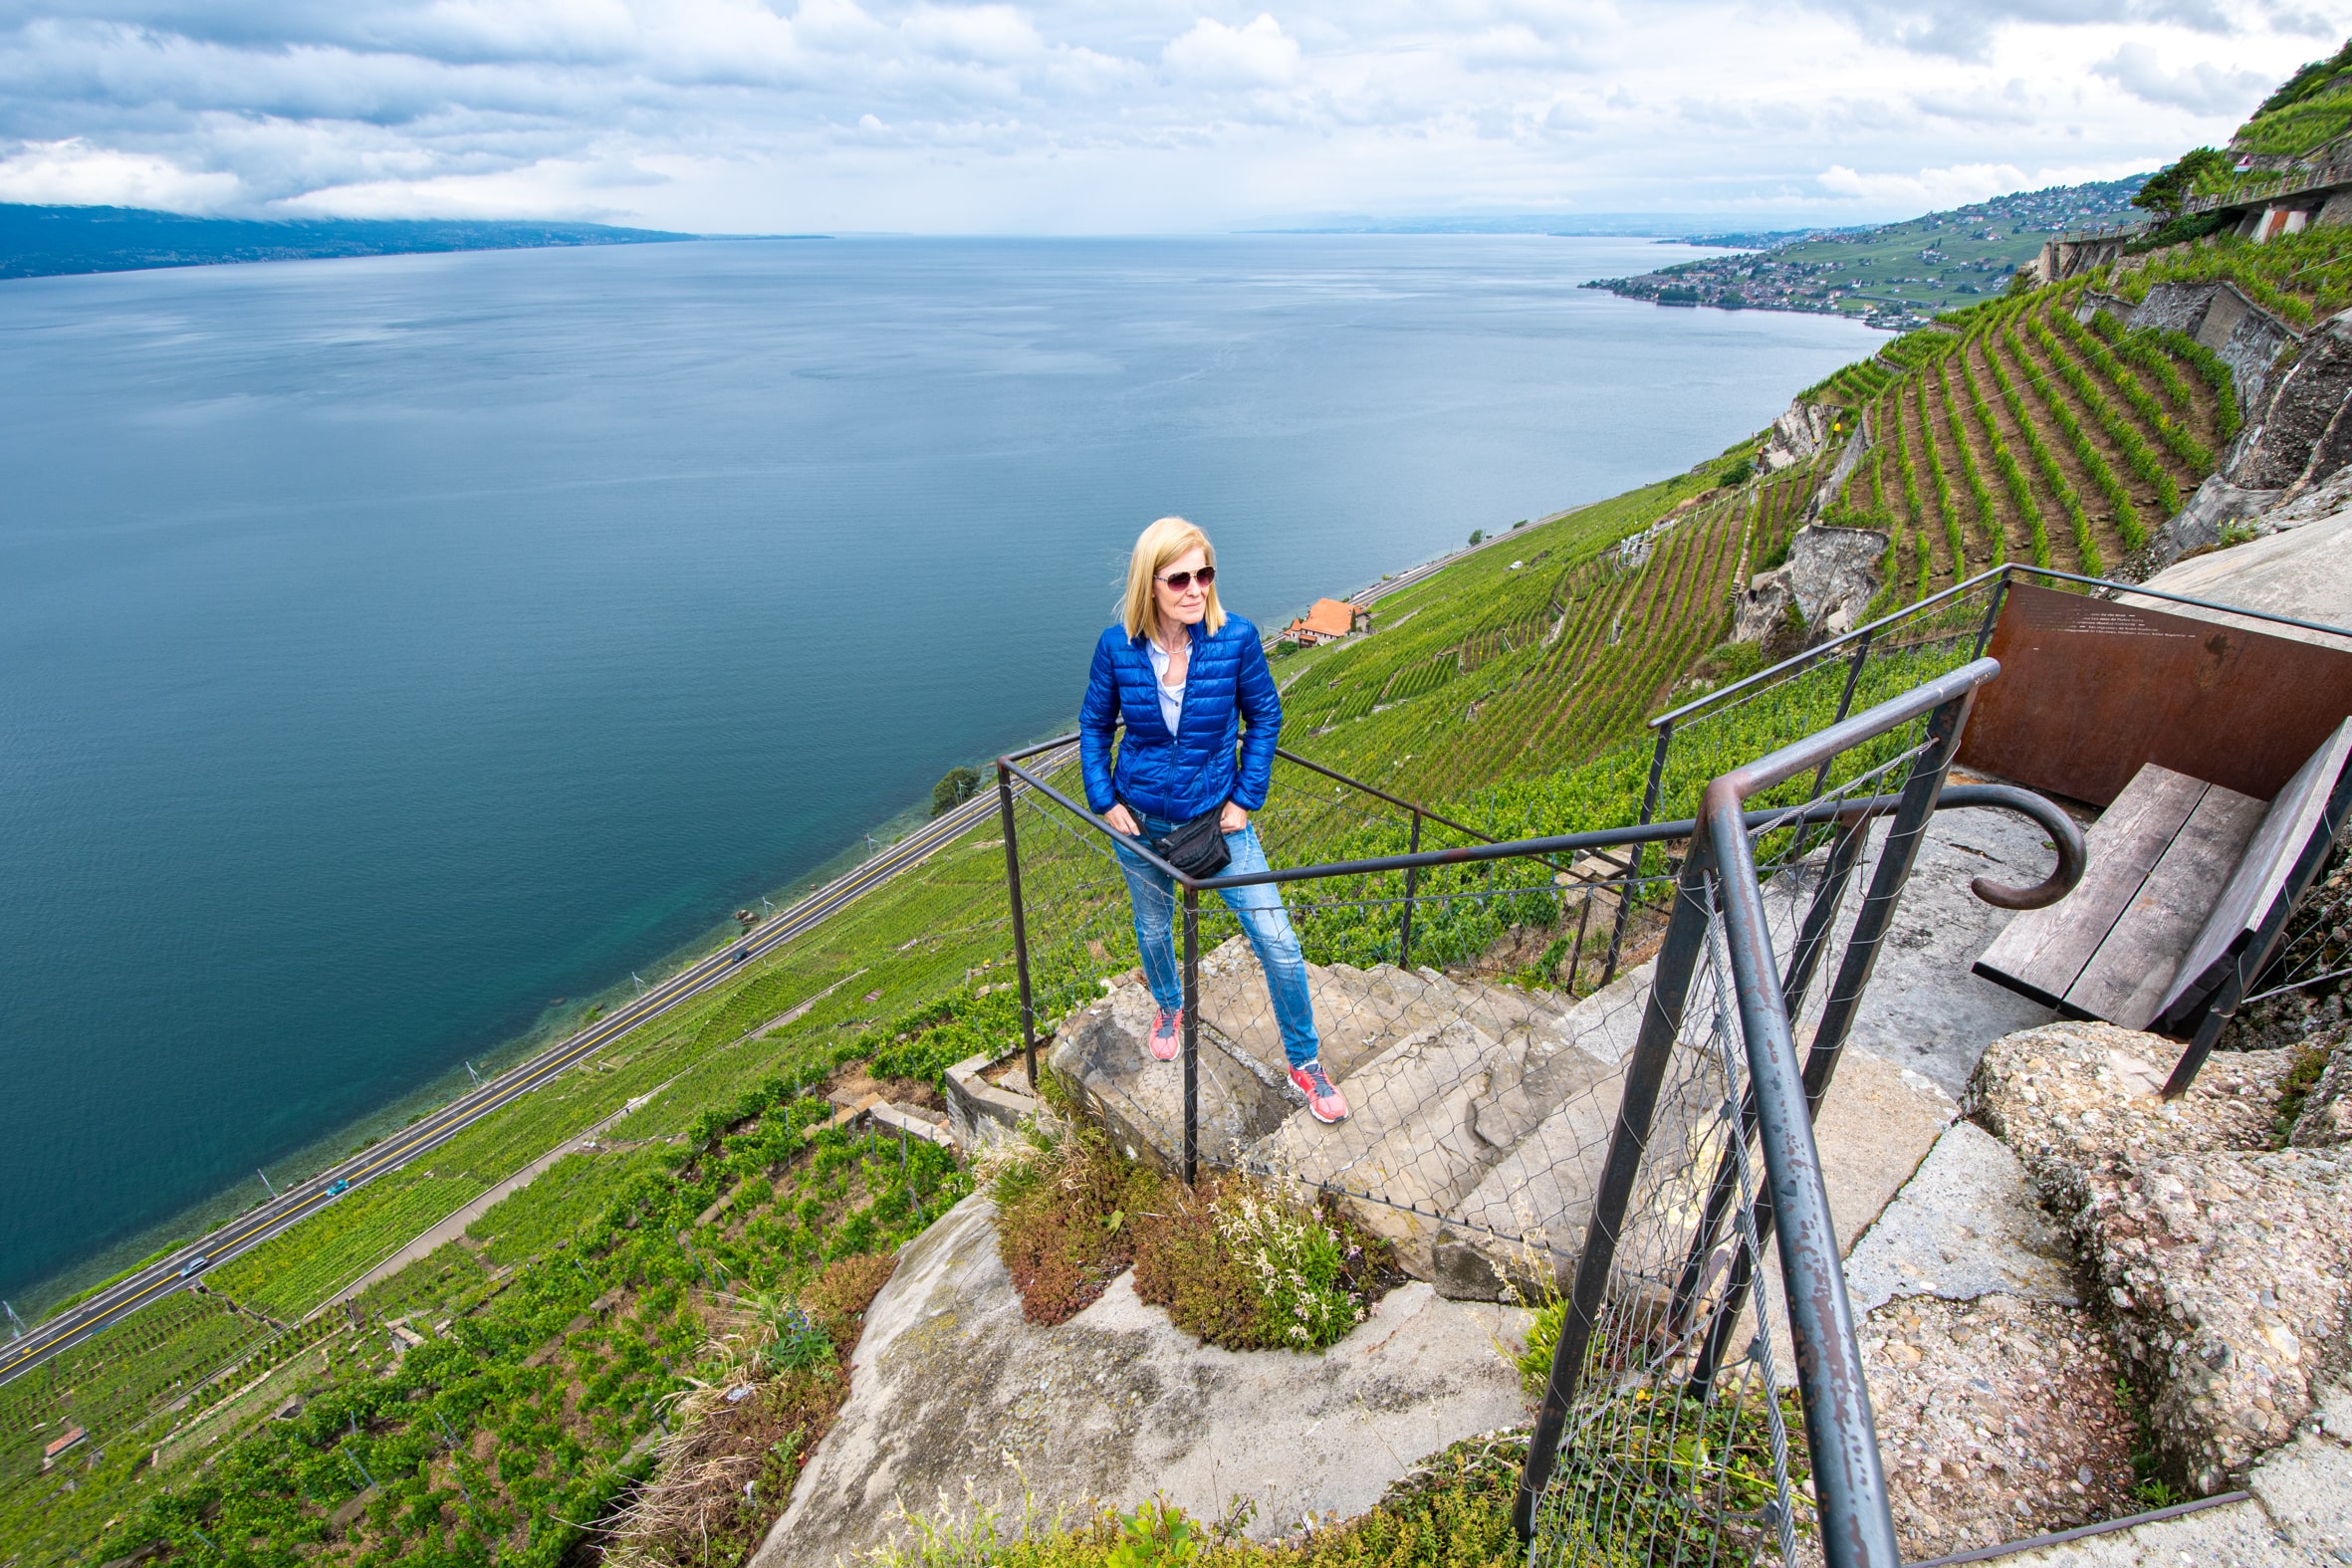
With the JPEG setting, the camera software gives the photo all the necessary information. It can do that because it has been 'fed' with countless similar images. In terms of brightness, contrast, colour saturation and other factors, the image is as realistic as possible a reflection of the actual situation.
Now, you are taking pictures in RAW instead of JPEG. You can find the settings for this in your camera's menu (see below). They vary a little between different camera types. If you photograph in RAW, the other settings only affect the image on the display. For example, if you adjust the white balance on the camera (sun, cloudy sky, shadows, portrait, etc.), this only affects the displayed image, but not the actual photograph recorded on the SD card. Mobile phones generally create a JPEG image that you can share and send immediately. But modern smartphones also support the RAW image format. Although this does require a specific camera app: Lightroom, Open Camera (Android) or Flanni (iOS). The Manual Camera Compatibility app checks whether your Android smartphone supports the RAW format or not.
However, processing photos on a mobile or tablet is trickier than on a PC because of the smaller screen. Added to this is the fact that RAW data generates very large image files which can be a problem on a smartphone.
What you see on the display after taking the photo is a simulation which is similar to a .jpg. When you start processing the RAW data on the computer at home, it soon becomes clear that the same image looks disappointingly insipid in the RAW converter. But appearances can be deceptive, there is more information in the RAW format than in the JPG. It just needs to be brought to life.
As the development options in RAW are not predefined by a camera algorithm, you can process every photo just how you want it using sliding controllers. If you enjoy authenticity, you can reproduce the colour settings exactly as they are in your head. But if you prefer a freer interpretation, you can also create a different mood.
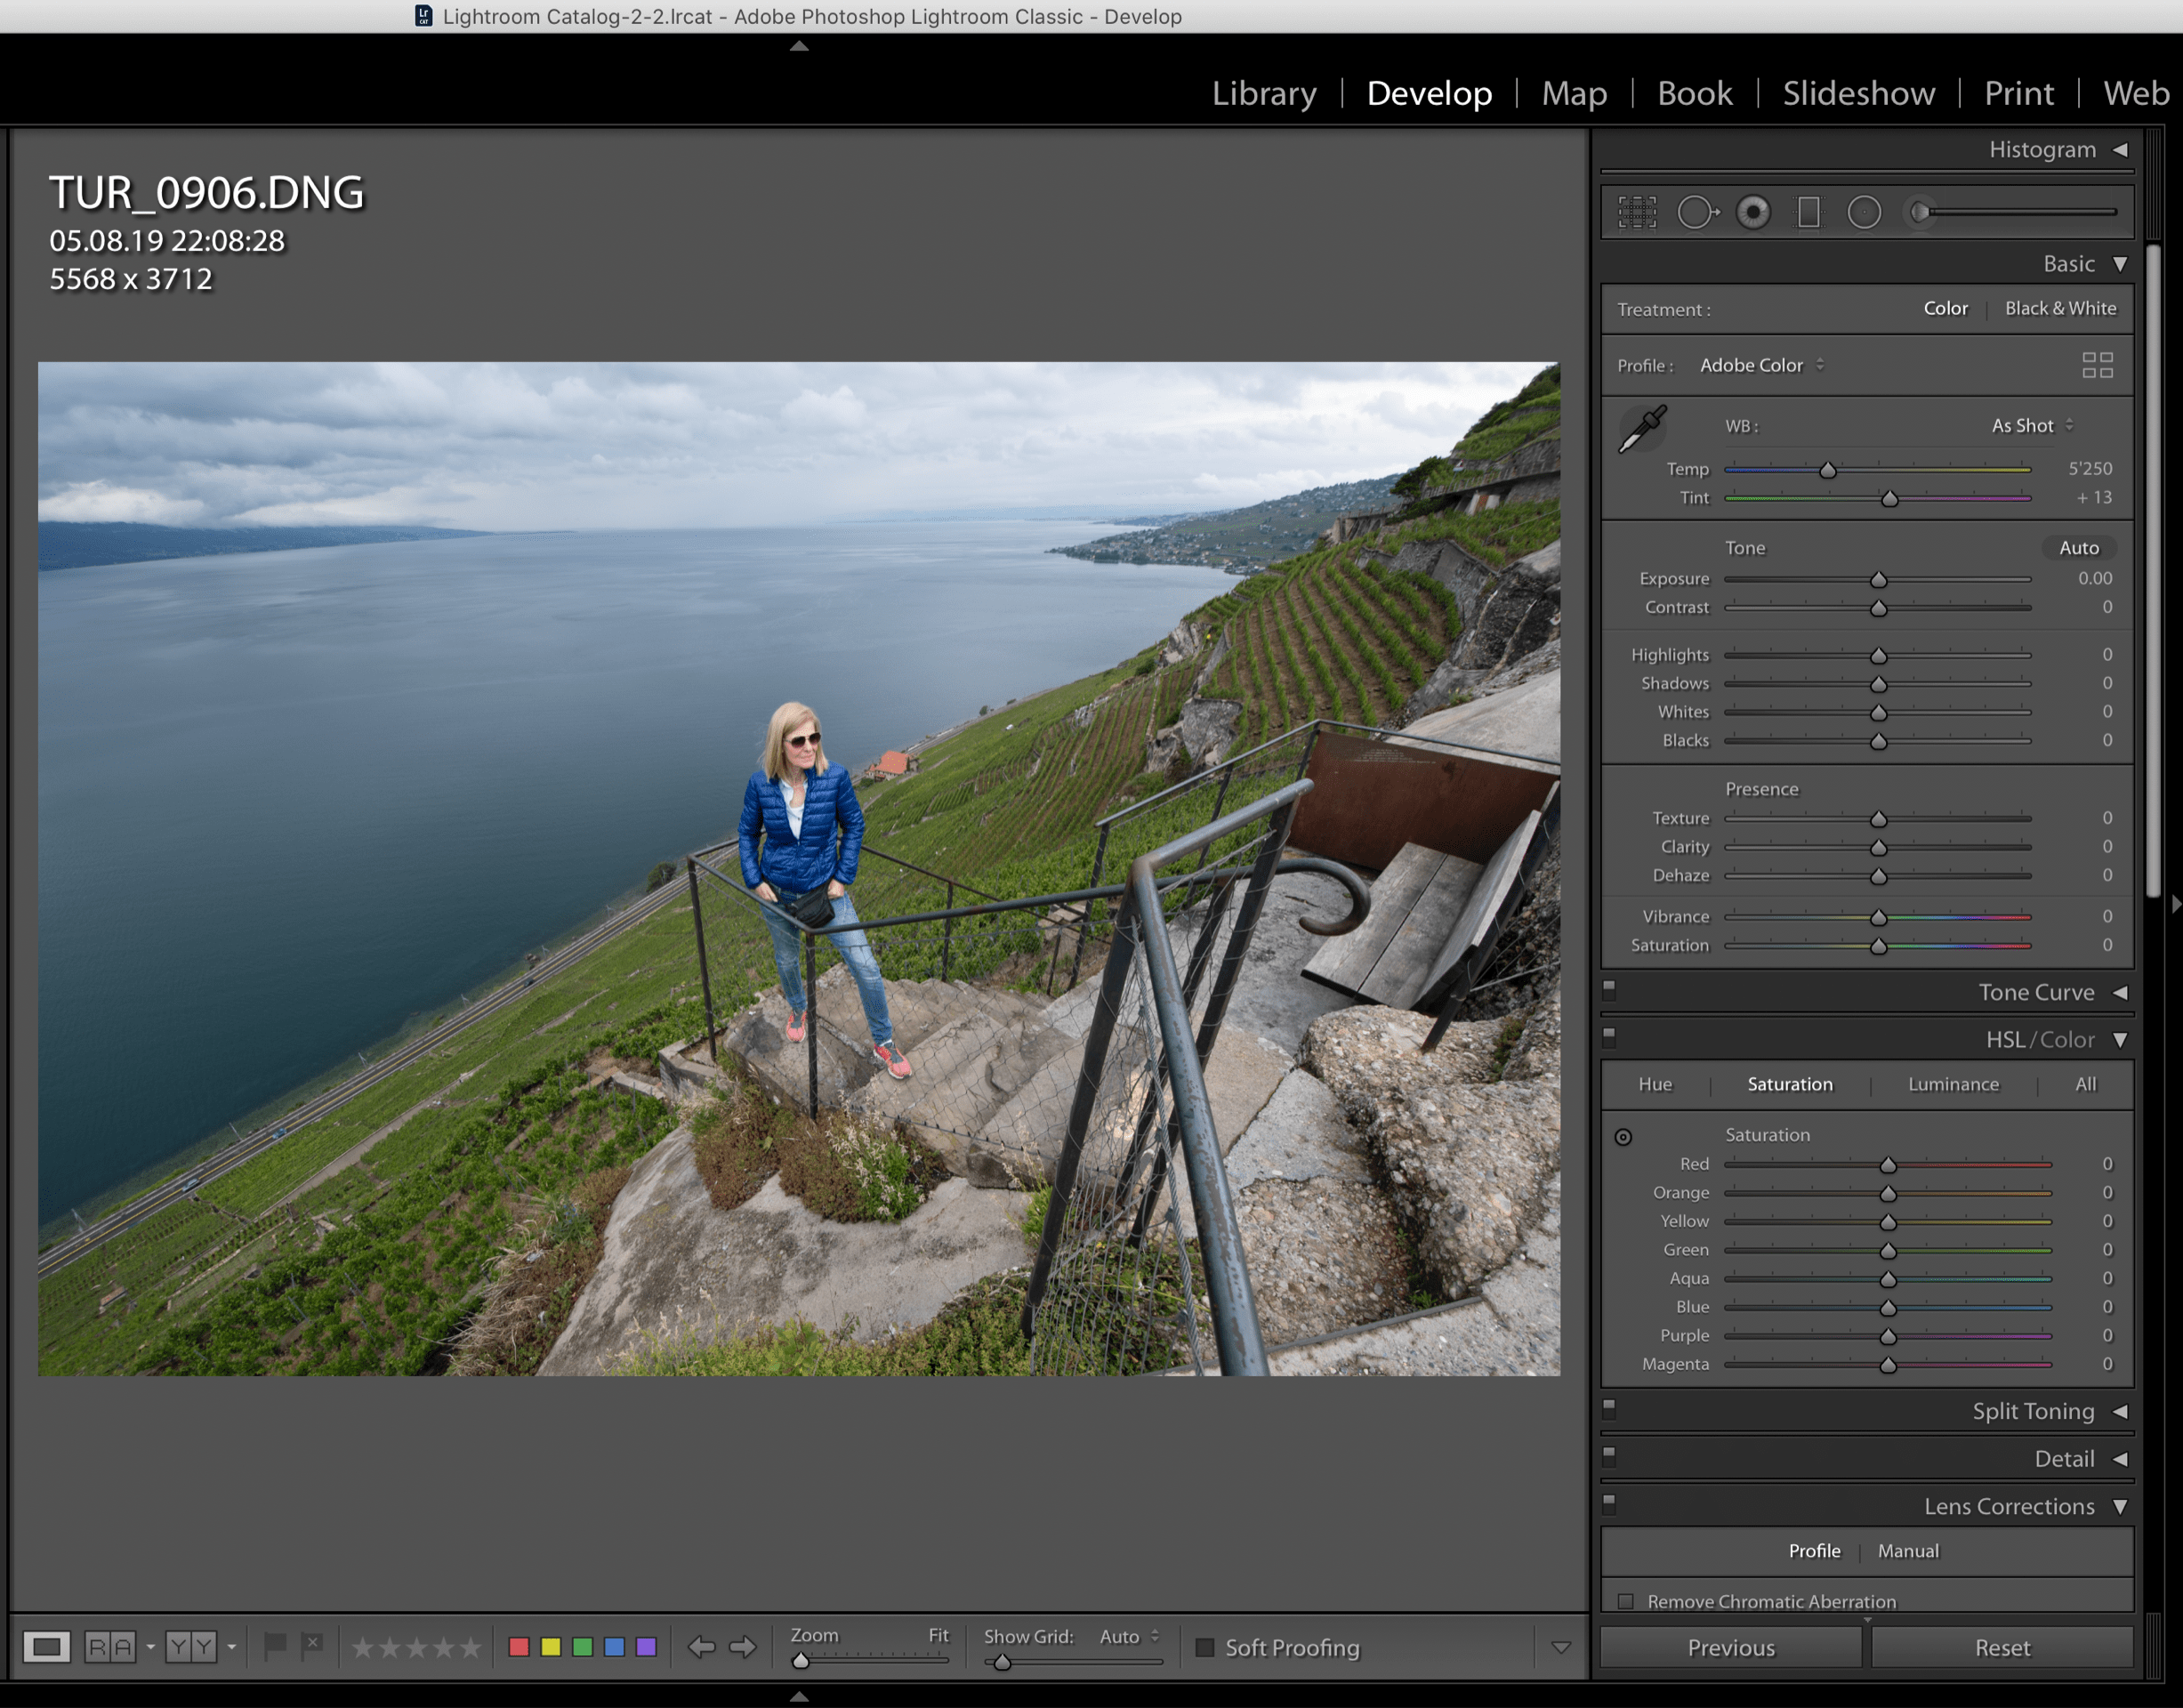
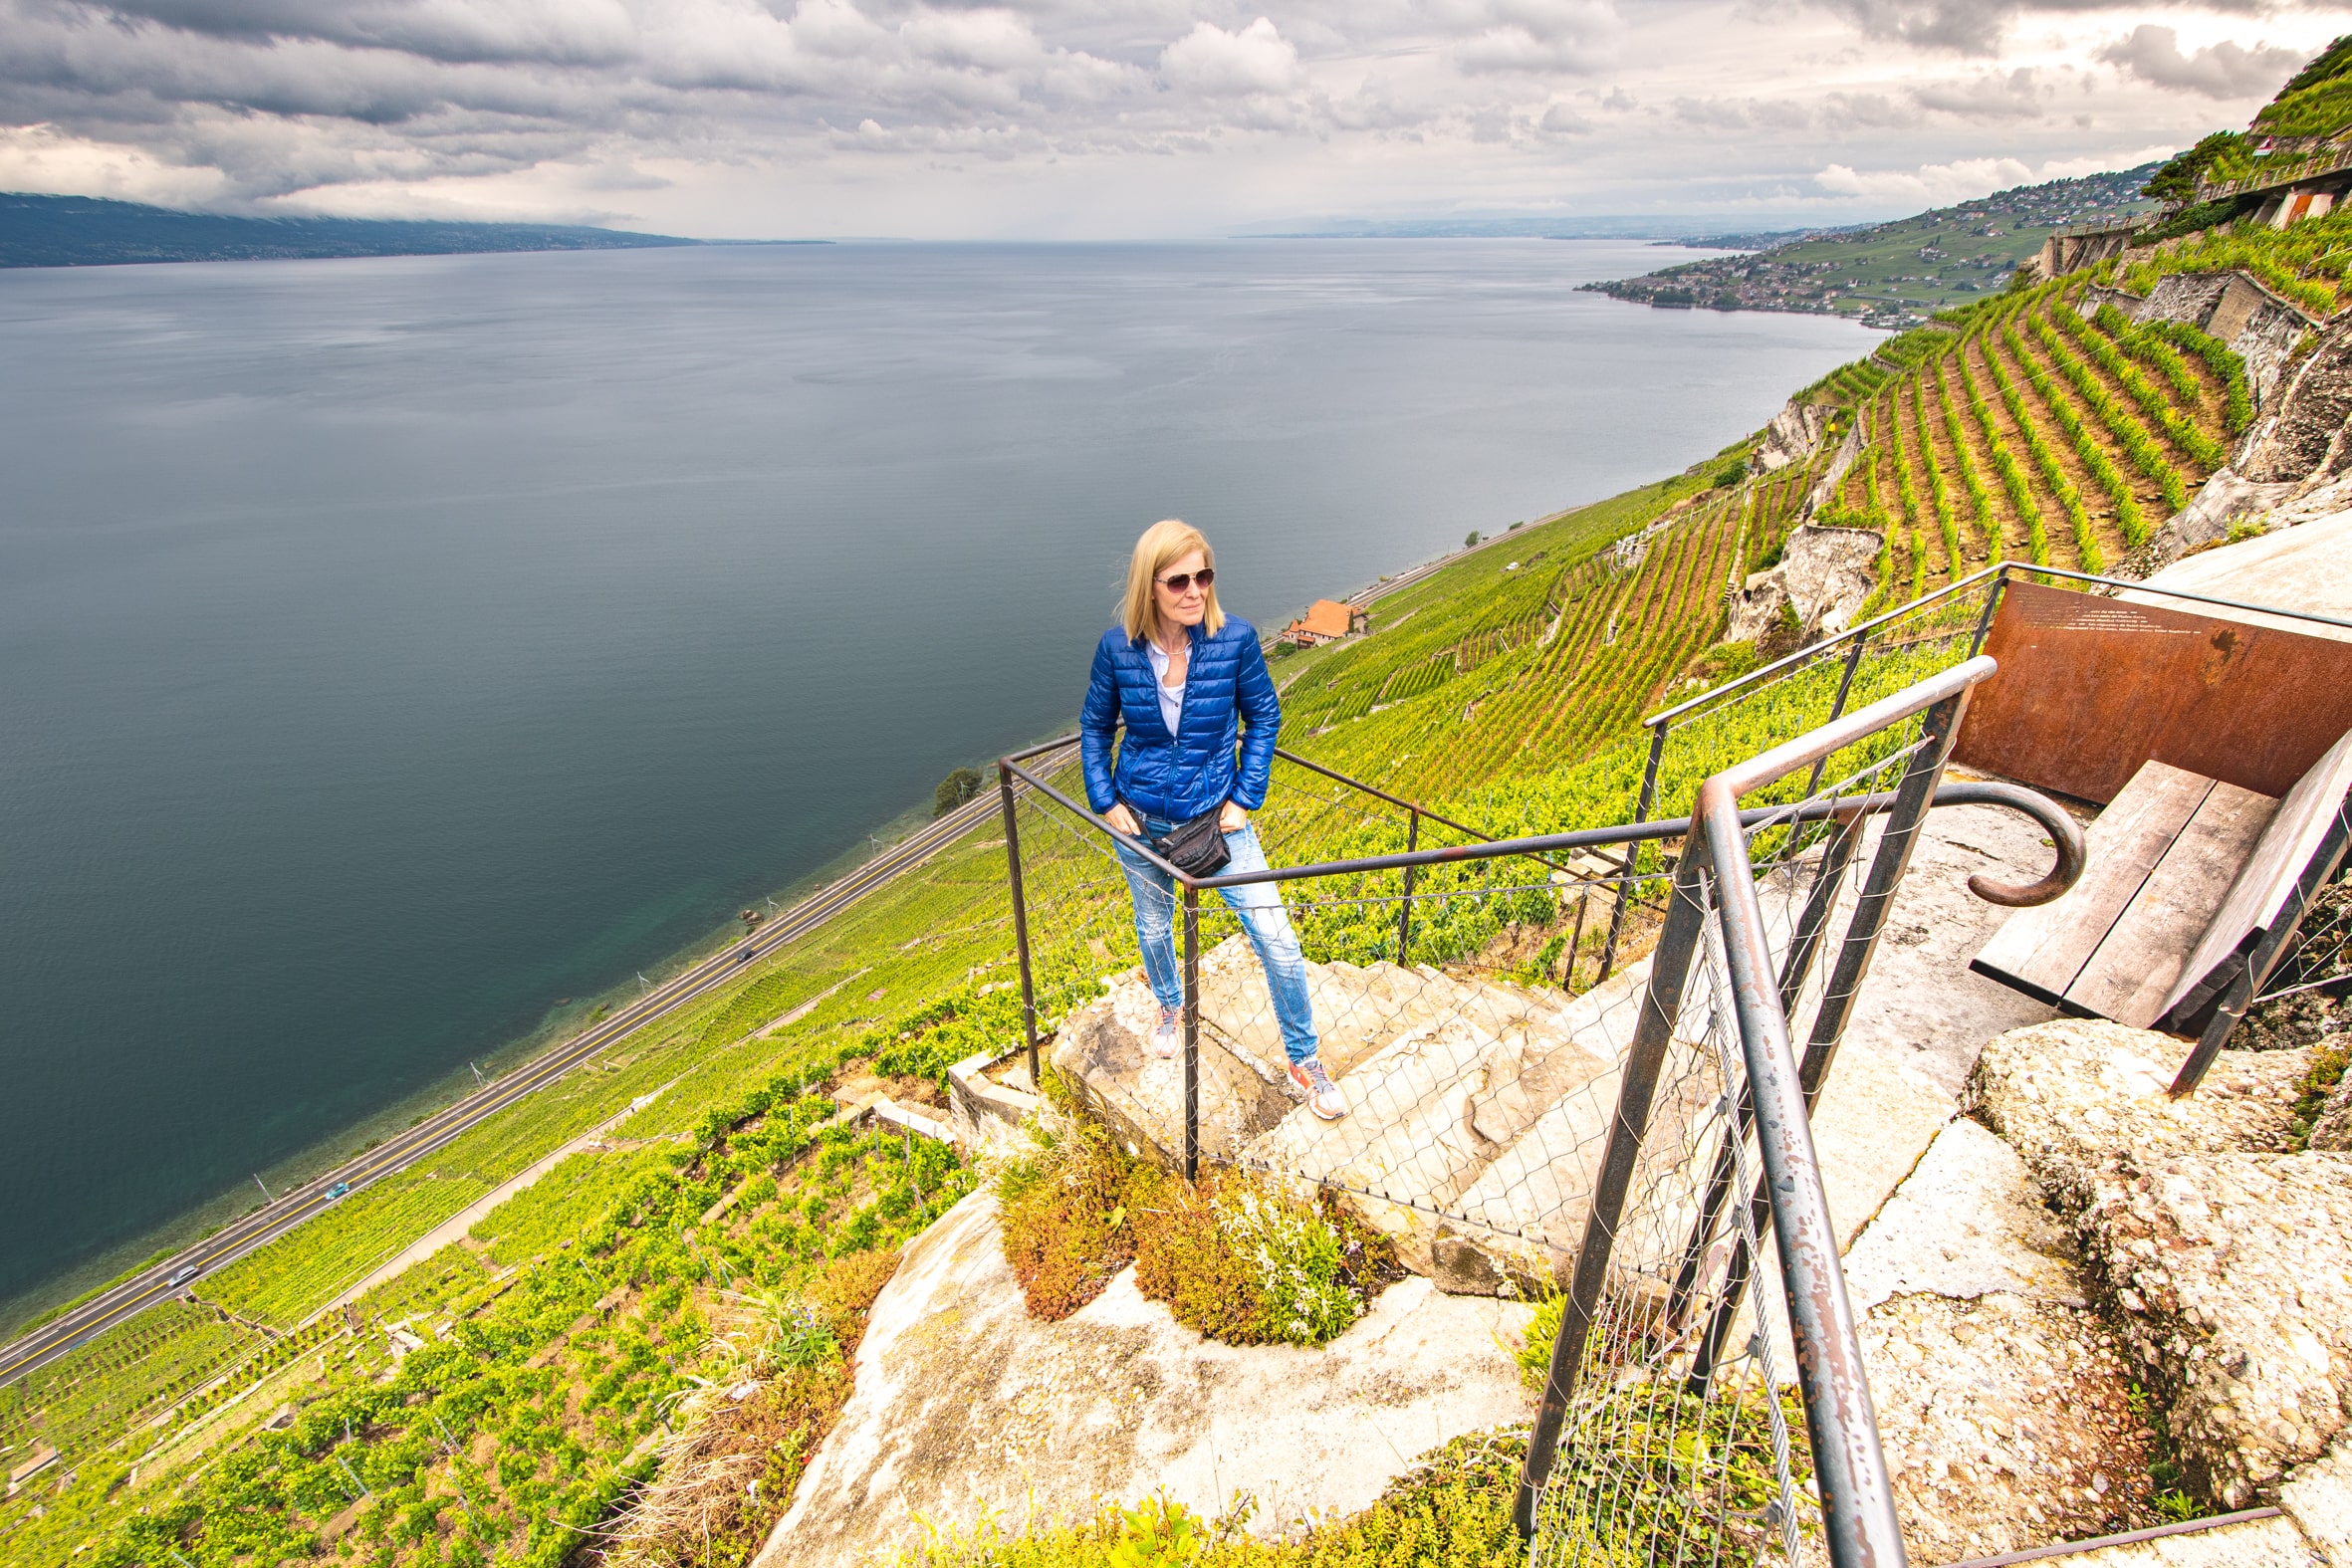
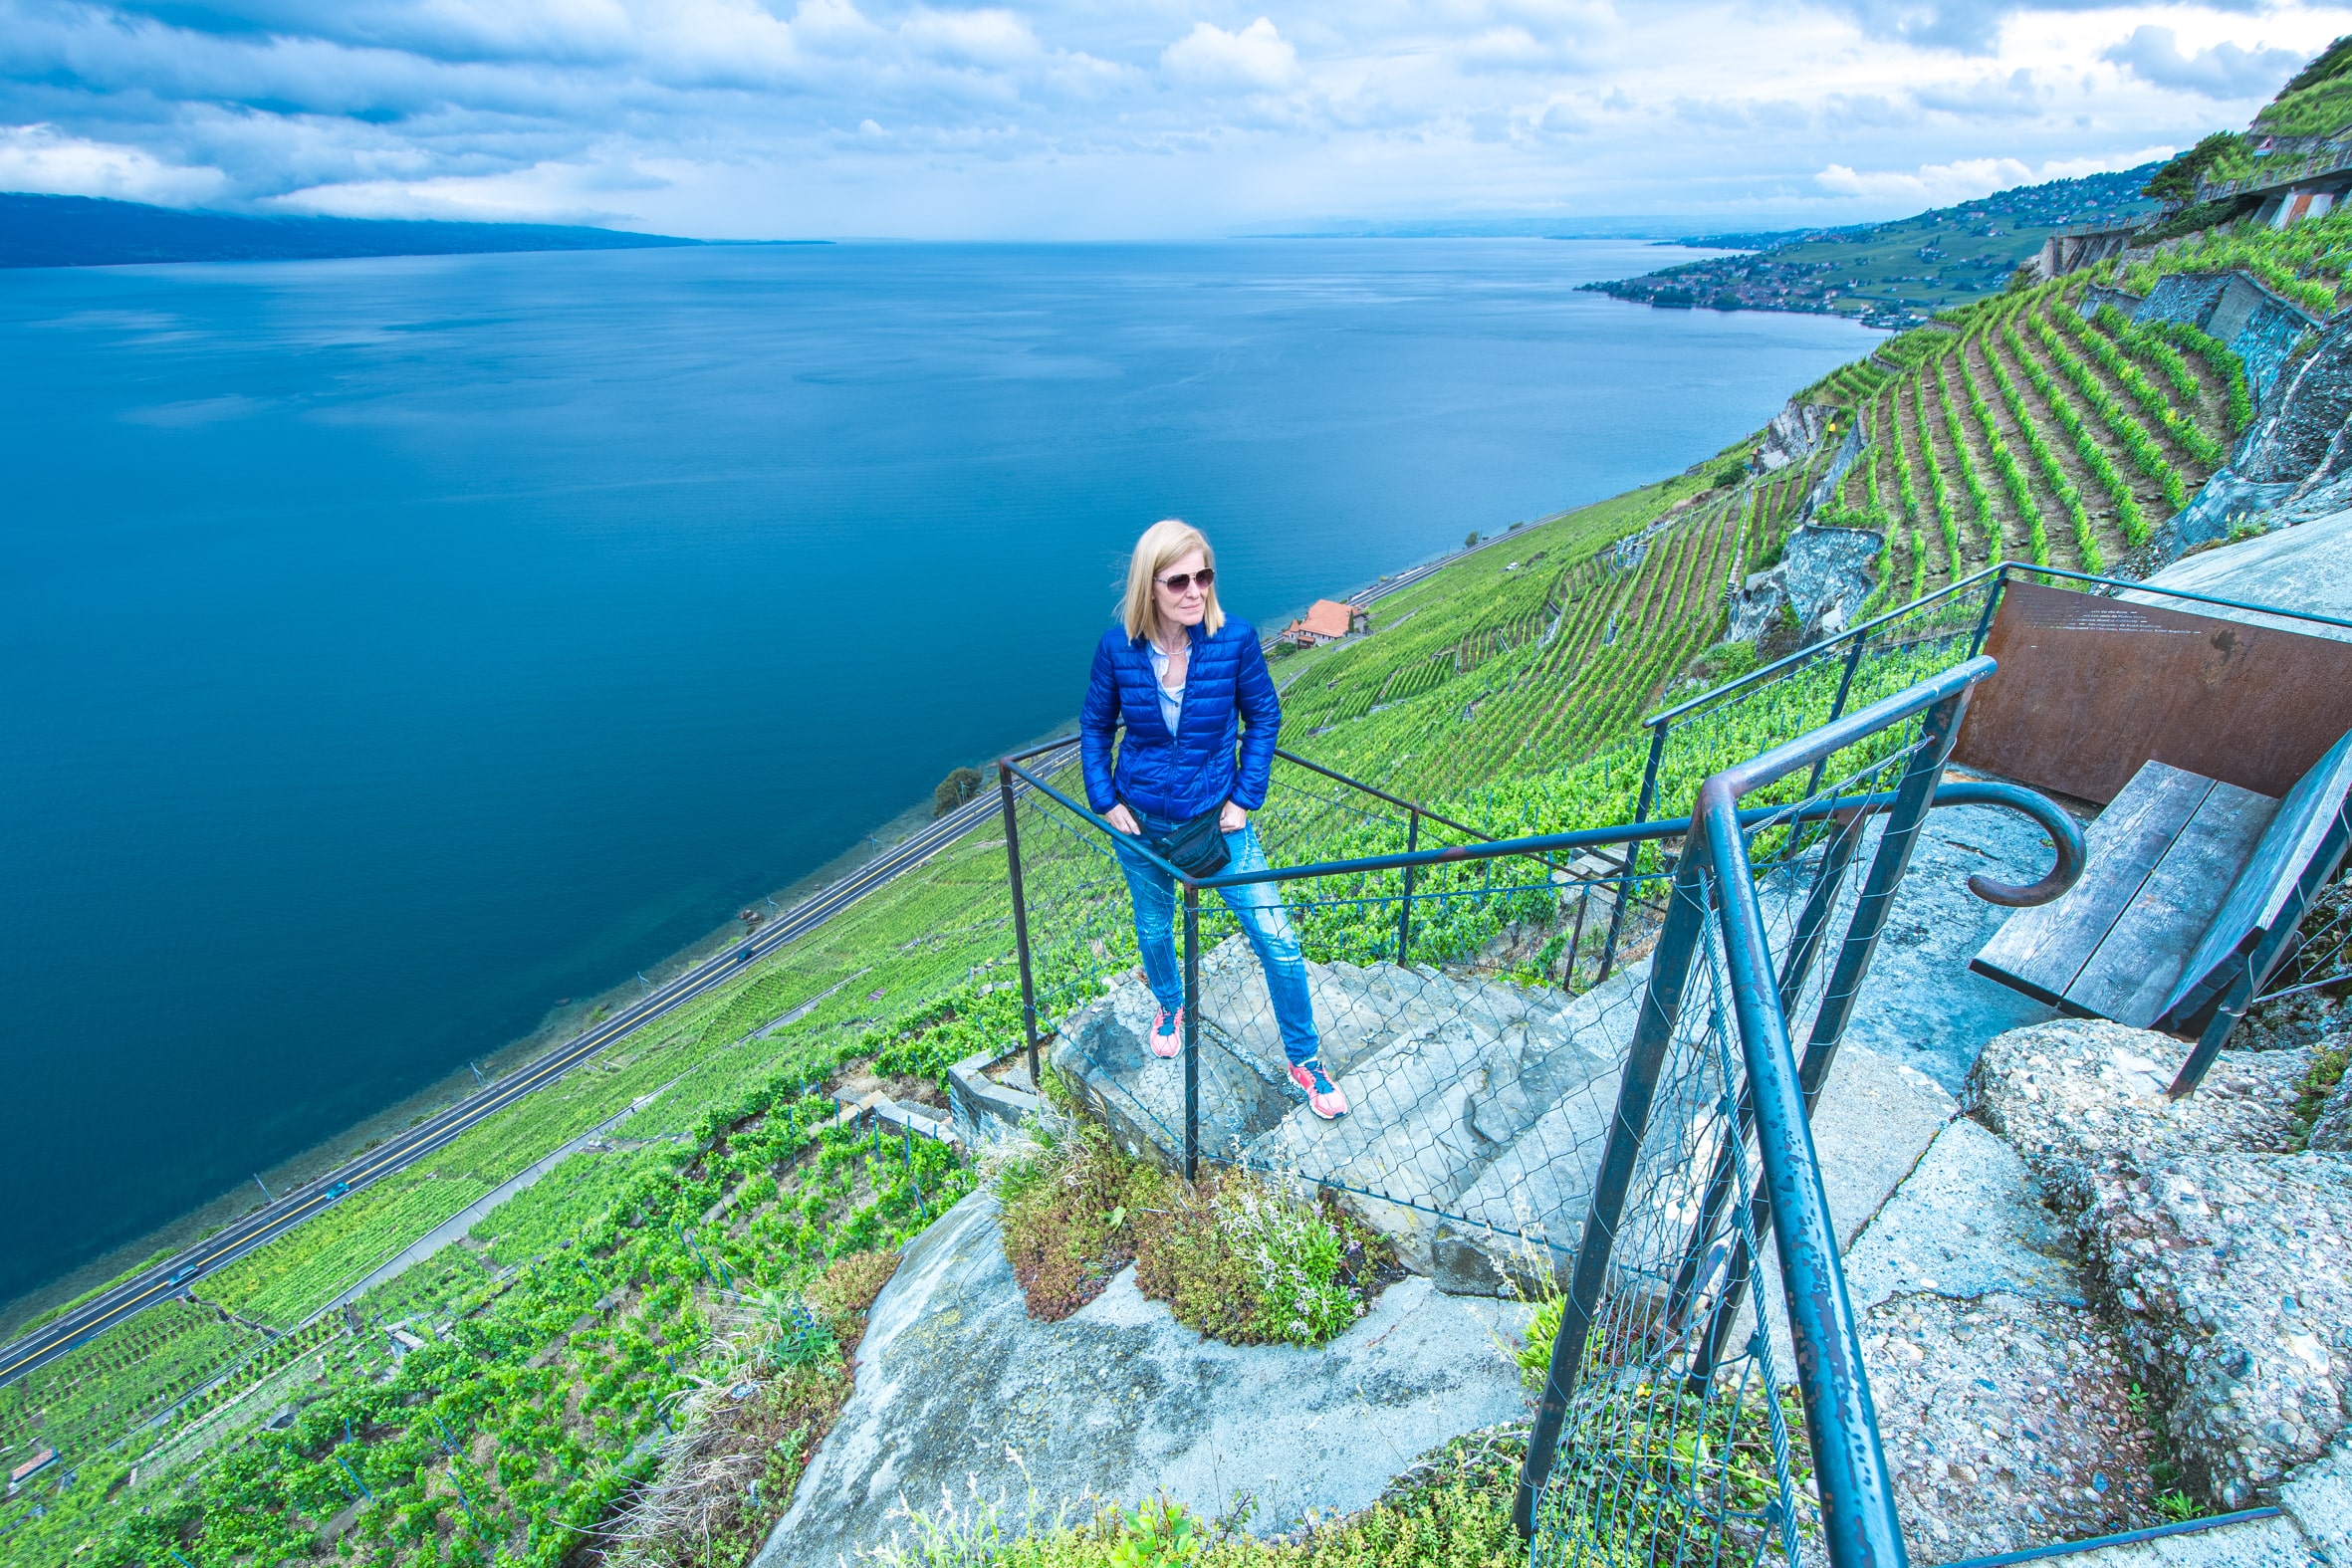
The RAW converter also has indispensable retouching and repair options. For example, you can remove the annoying sensor marks, or bring out the clouds better. You should also know that you can also process JPEG images with a RAW converter. These editing options are available in Photoshop and other software.
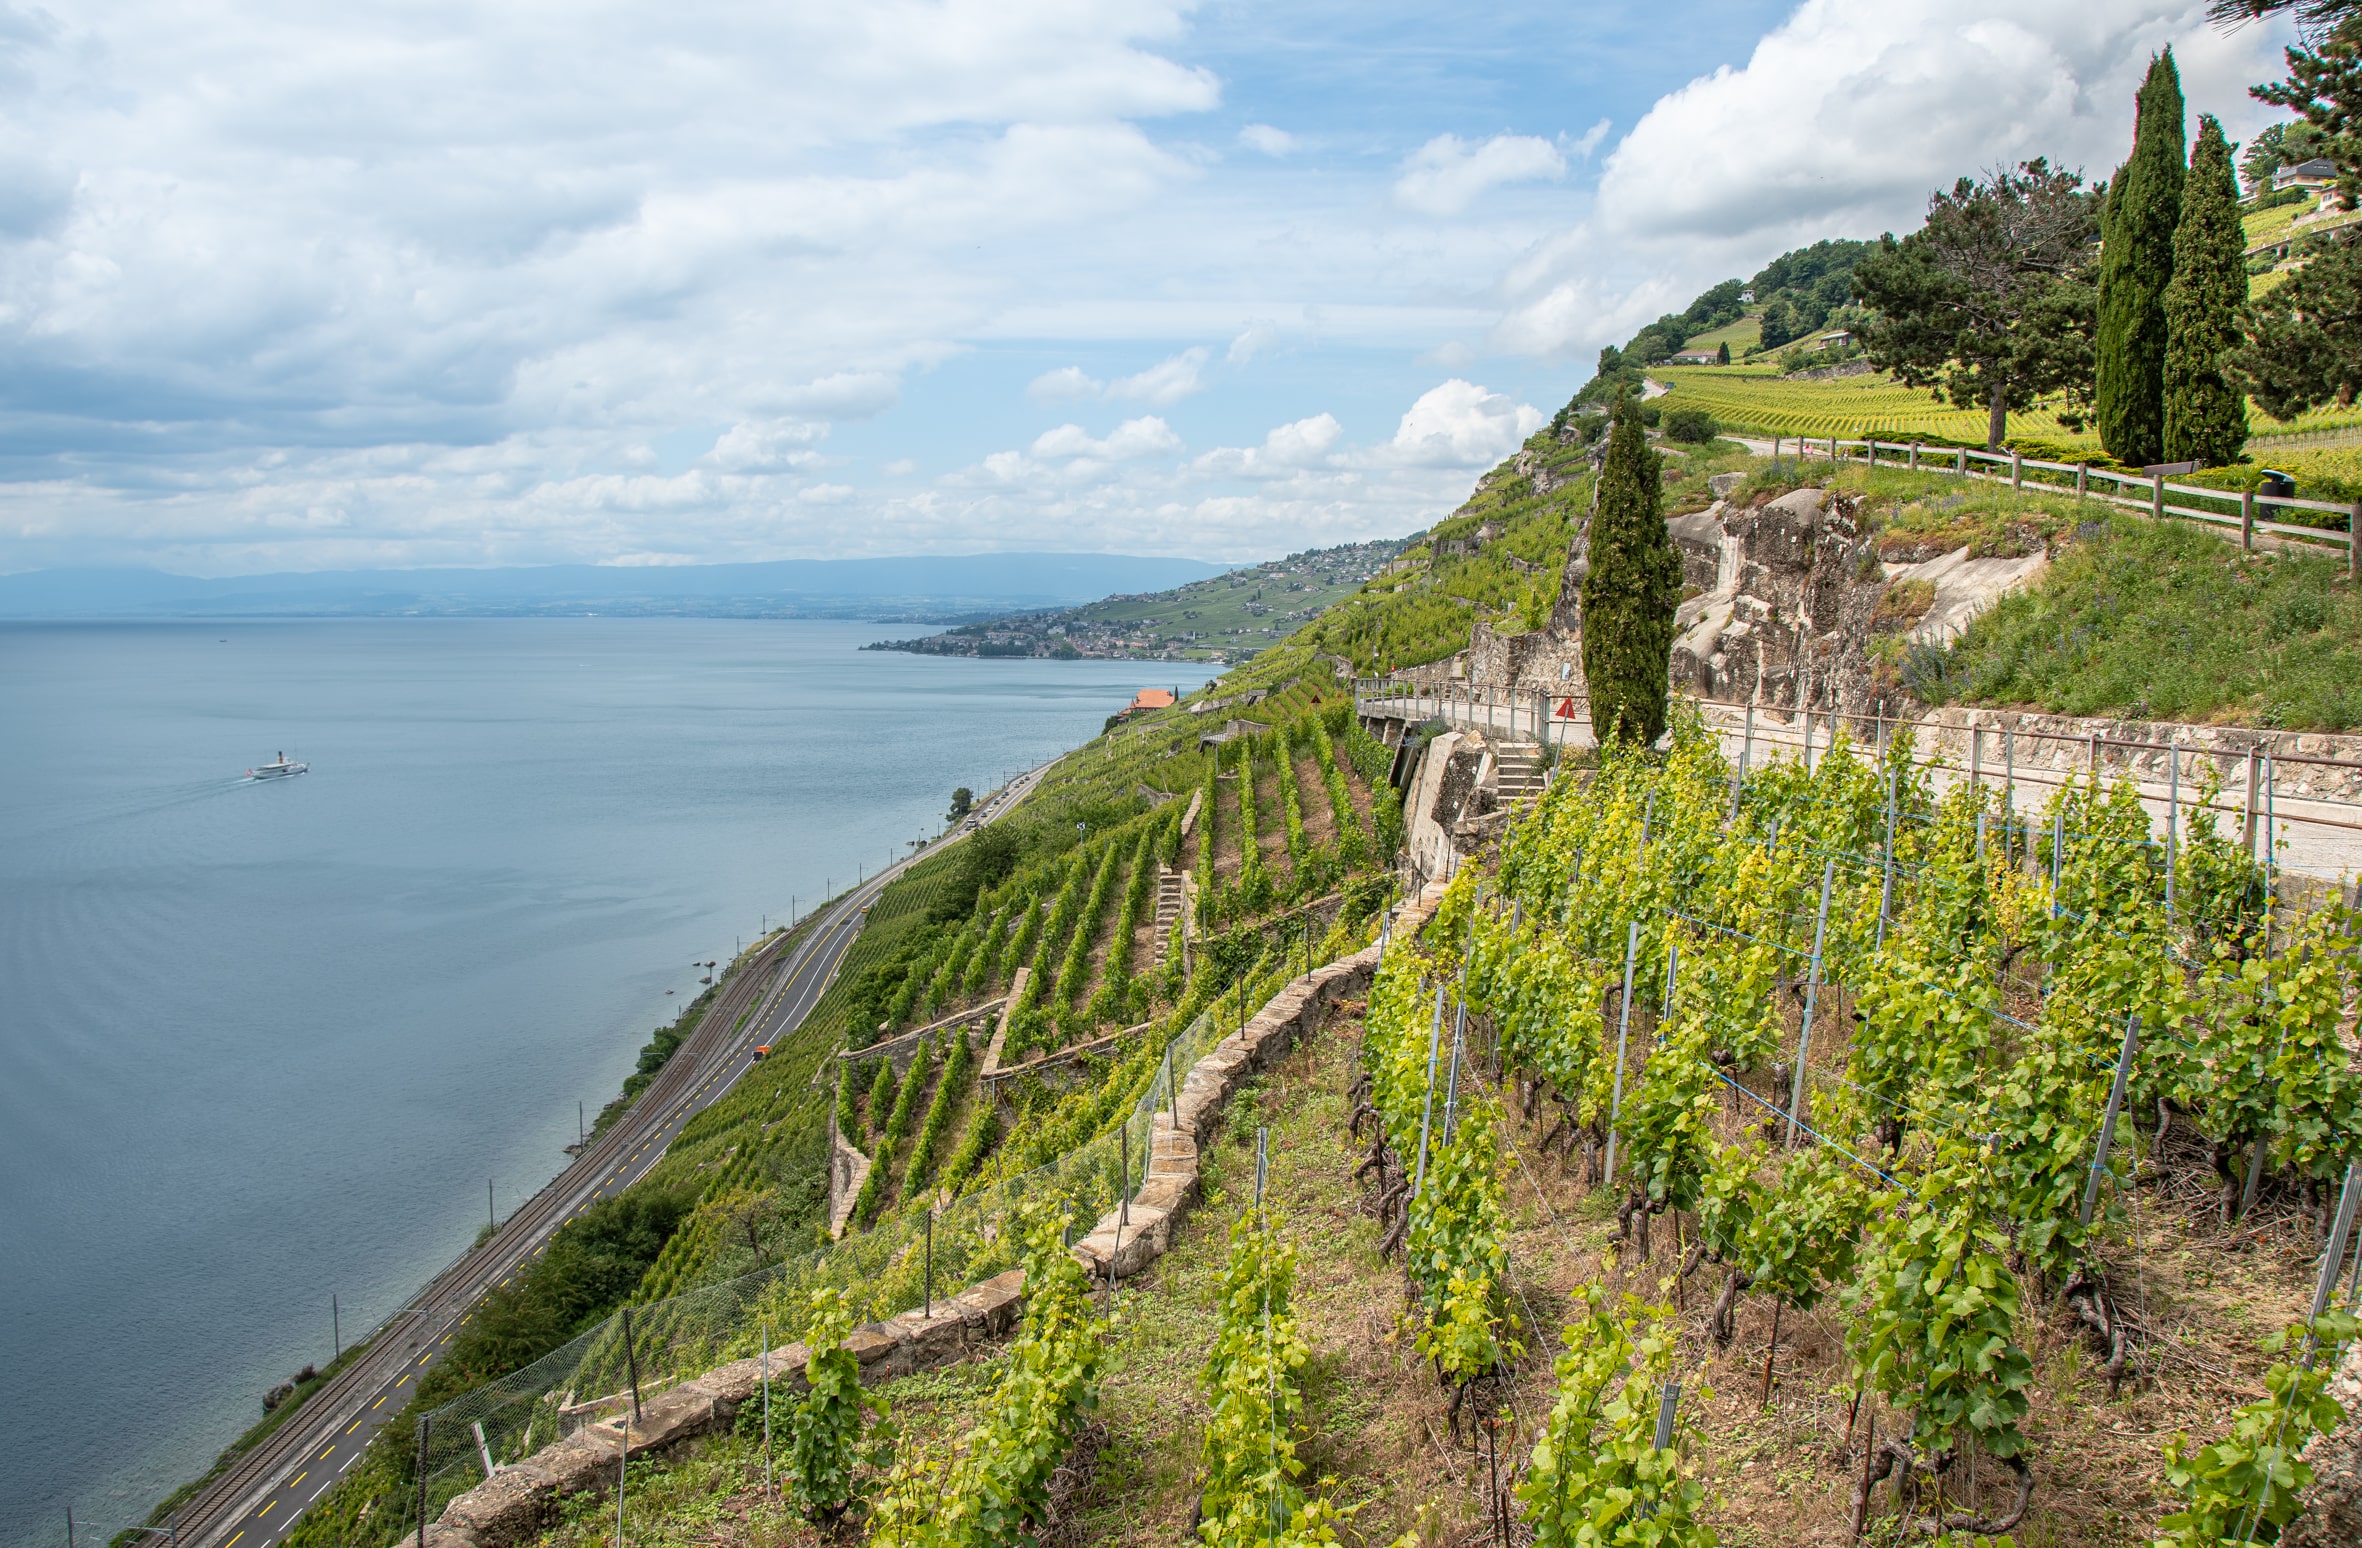

A RAW converter has all the image enhancement options you will not want to be without once you start taking photography seriously. These options are used in every smartphone these days, so why should you go without them? One example here is the problem of clouds, which can be tricky in JPEG images.
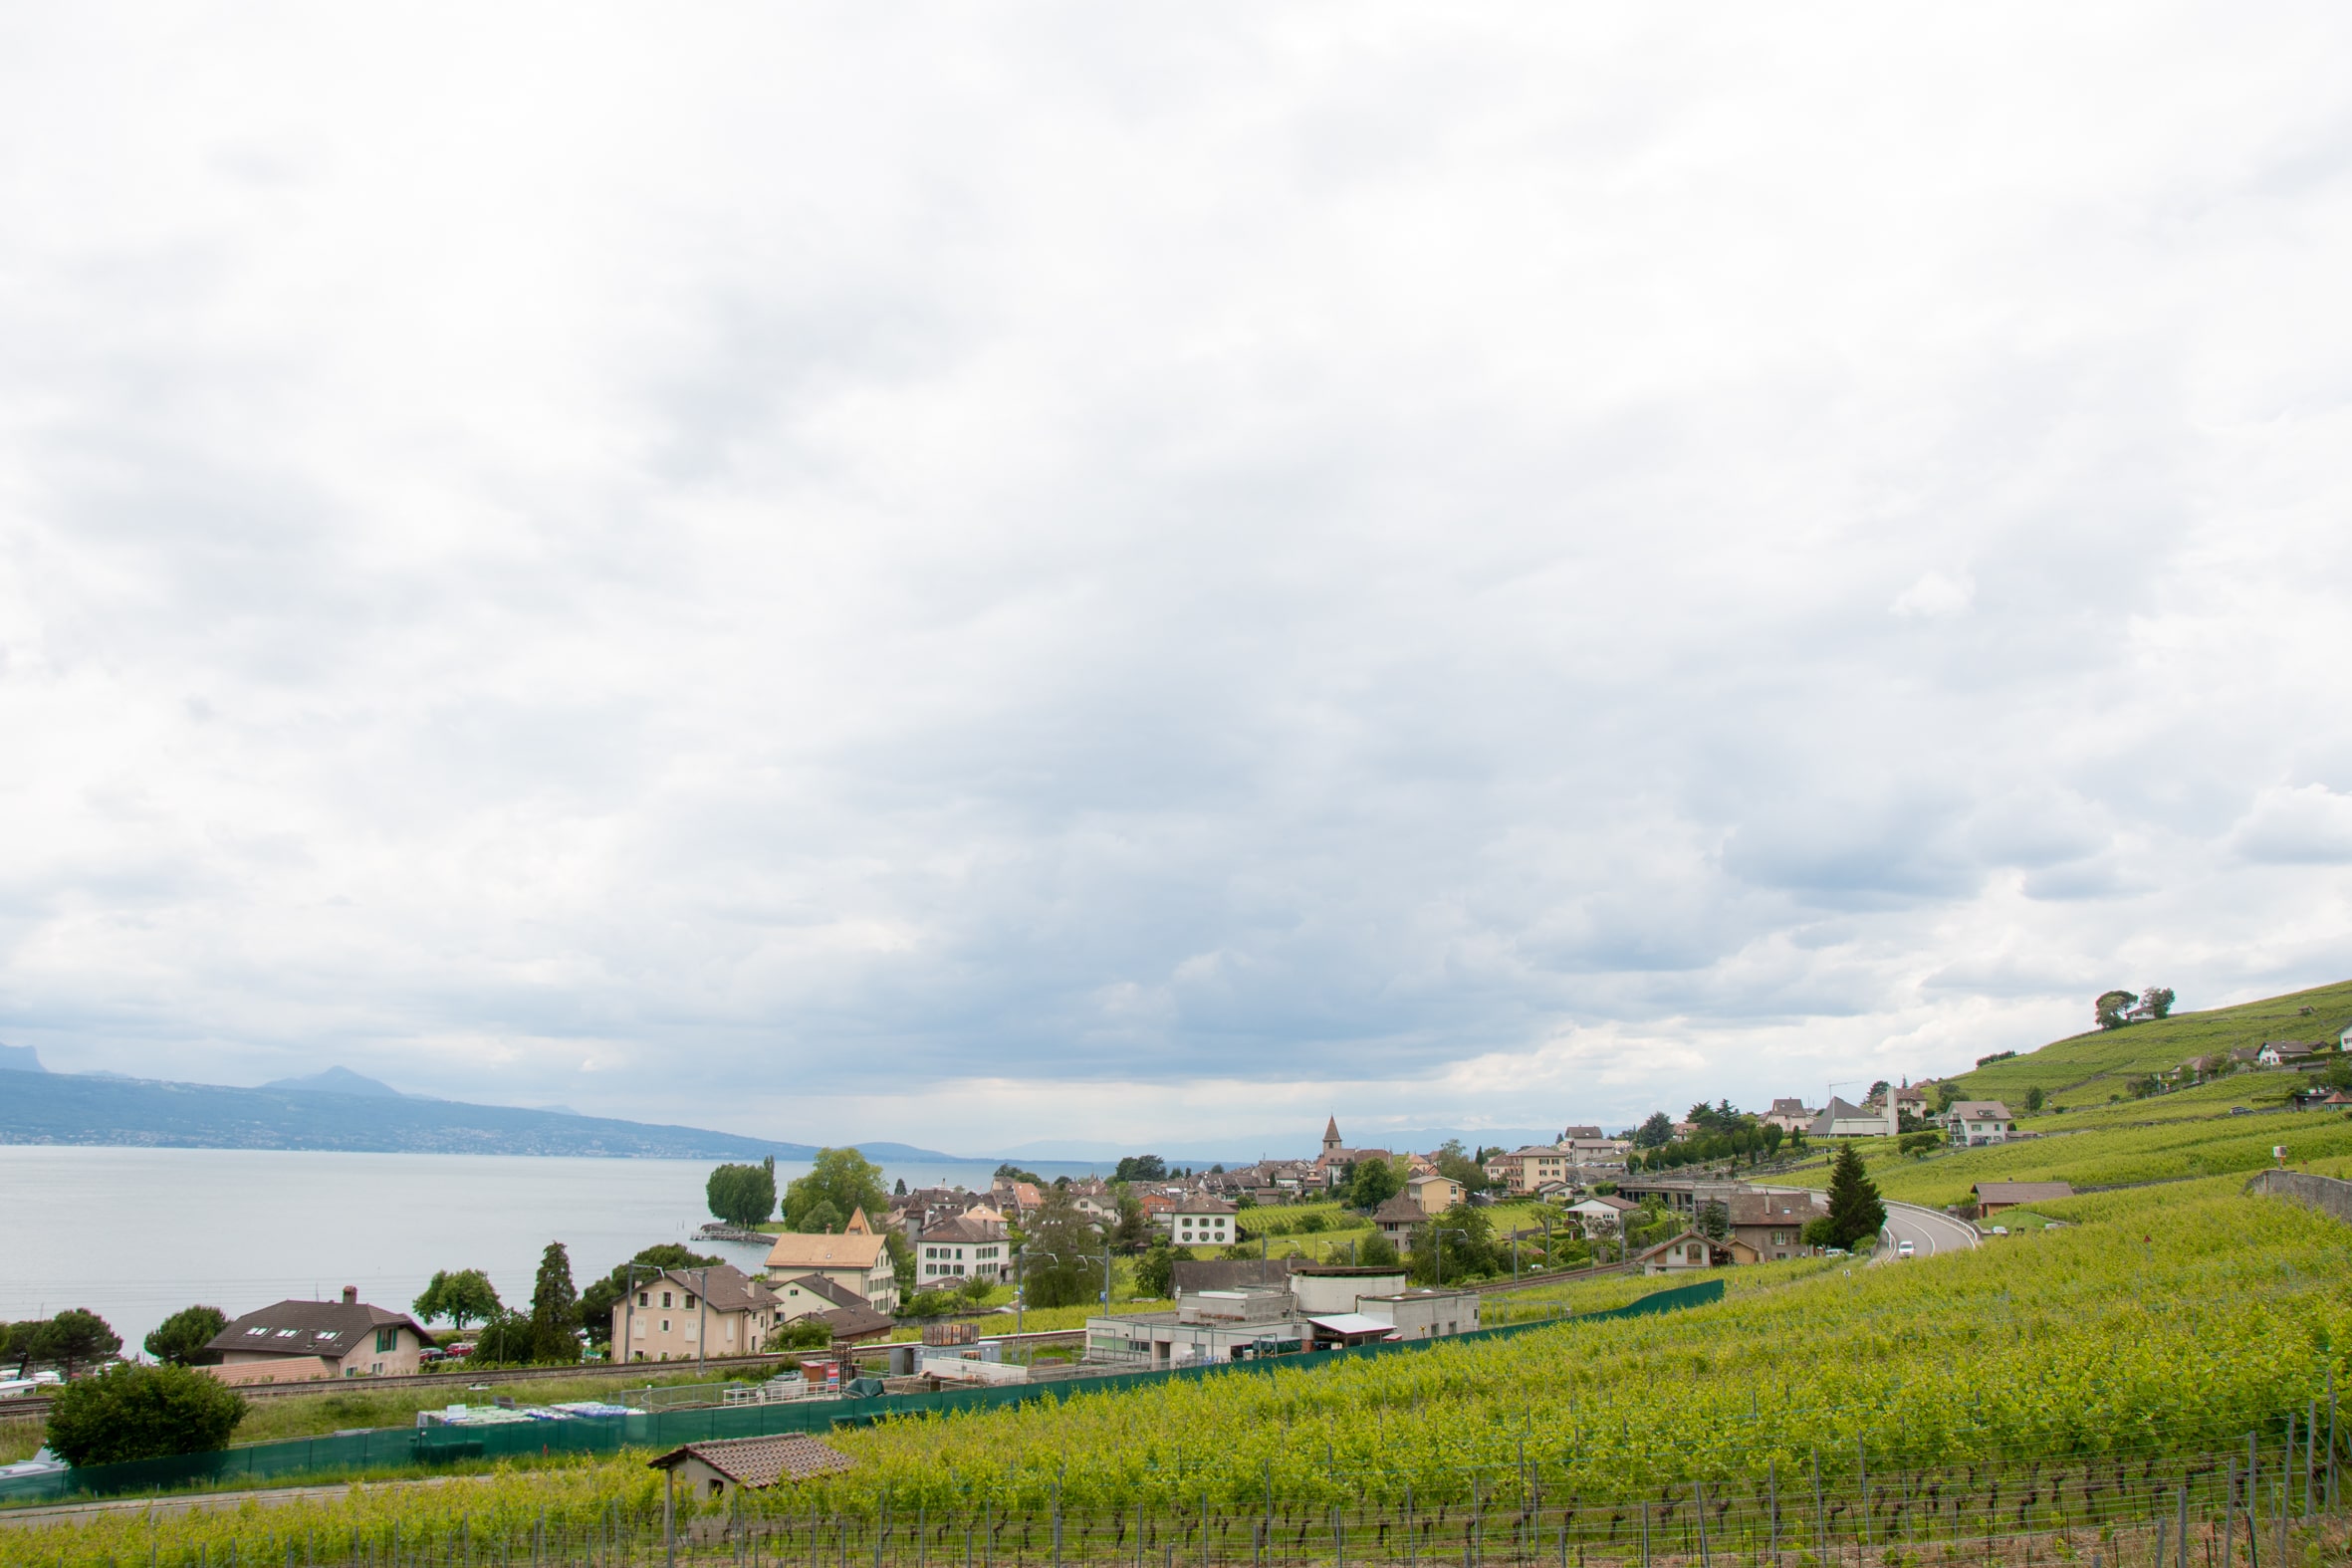
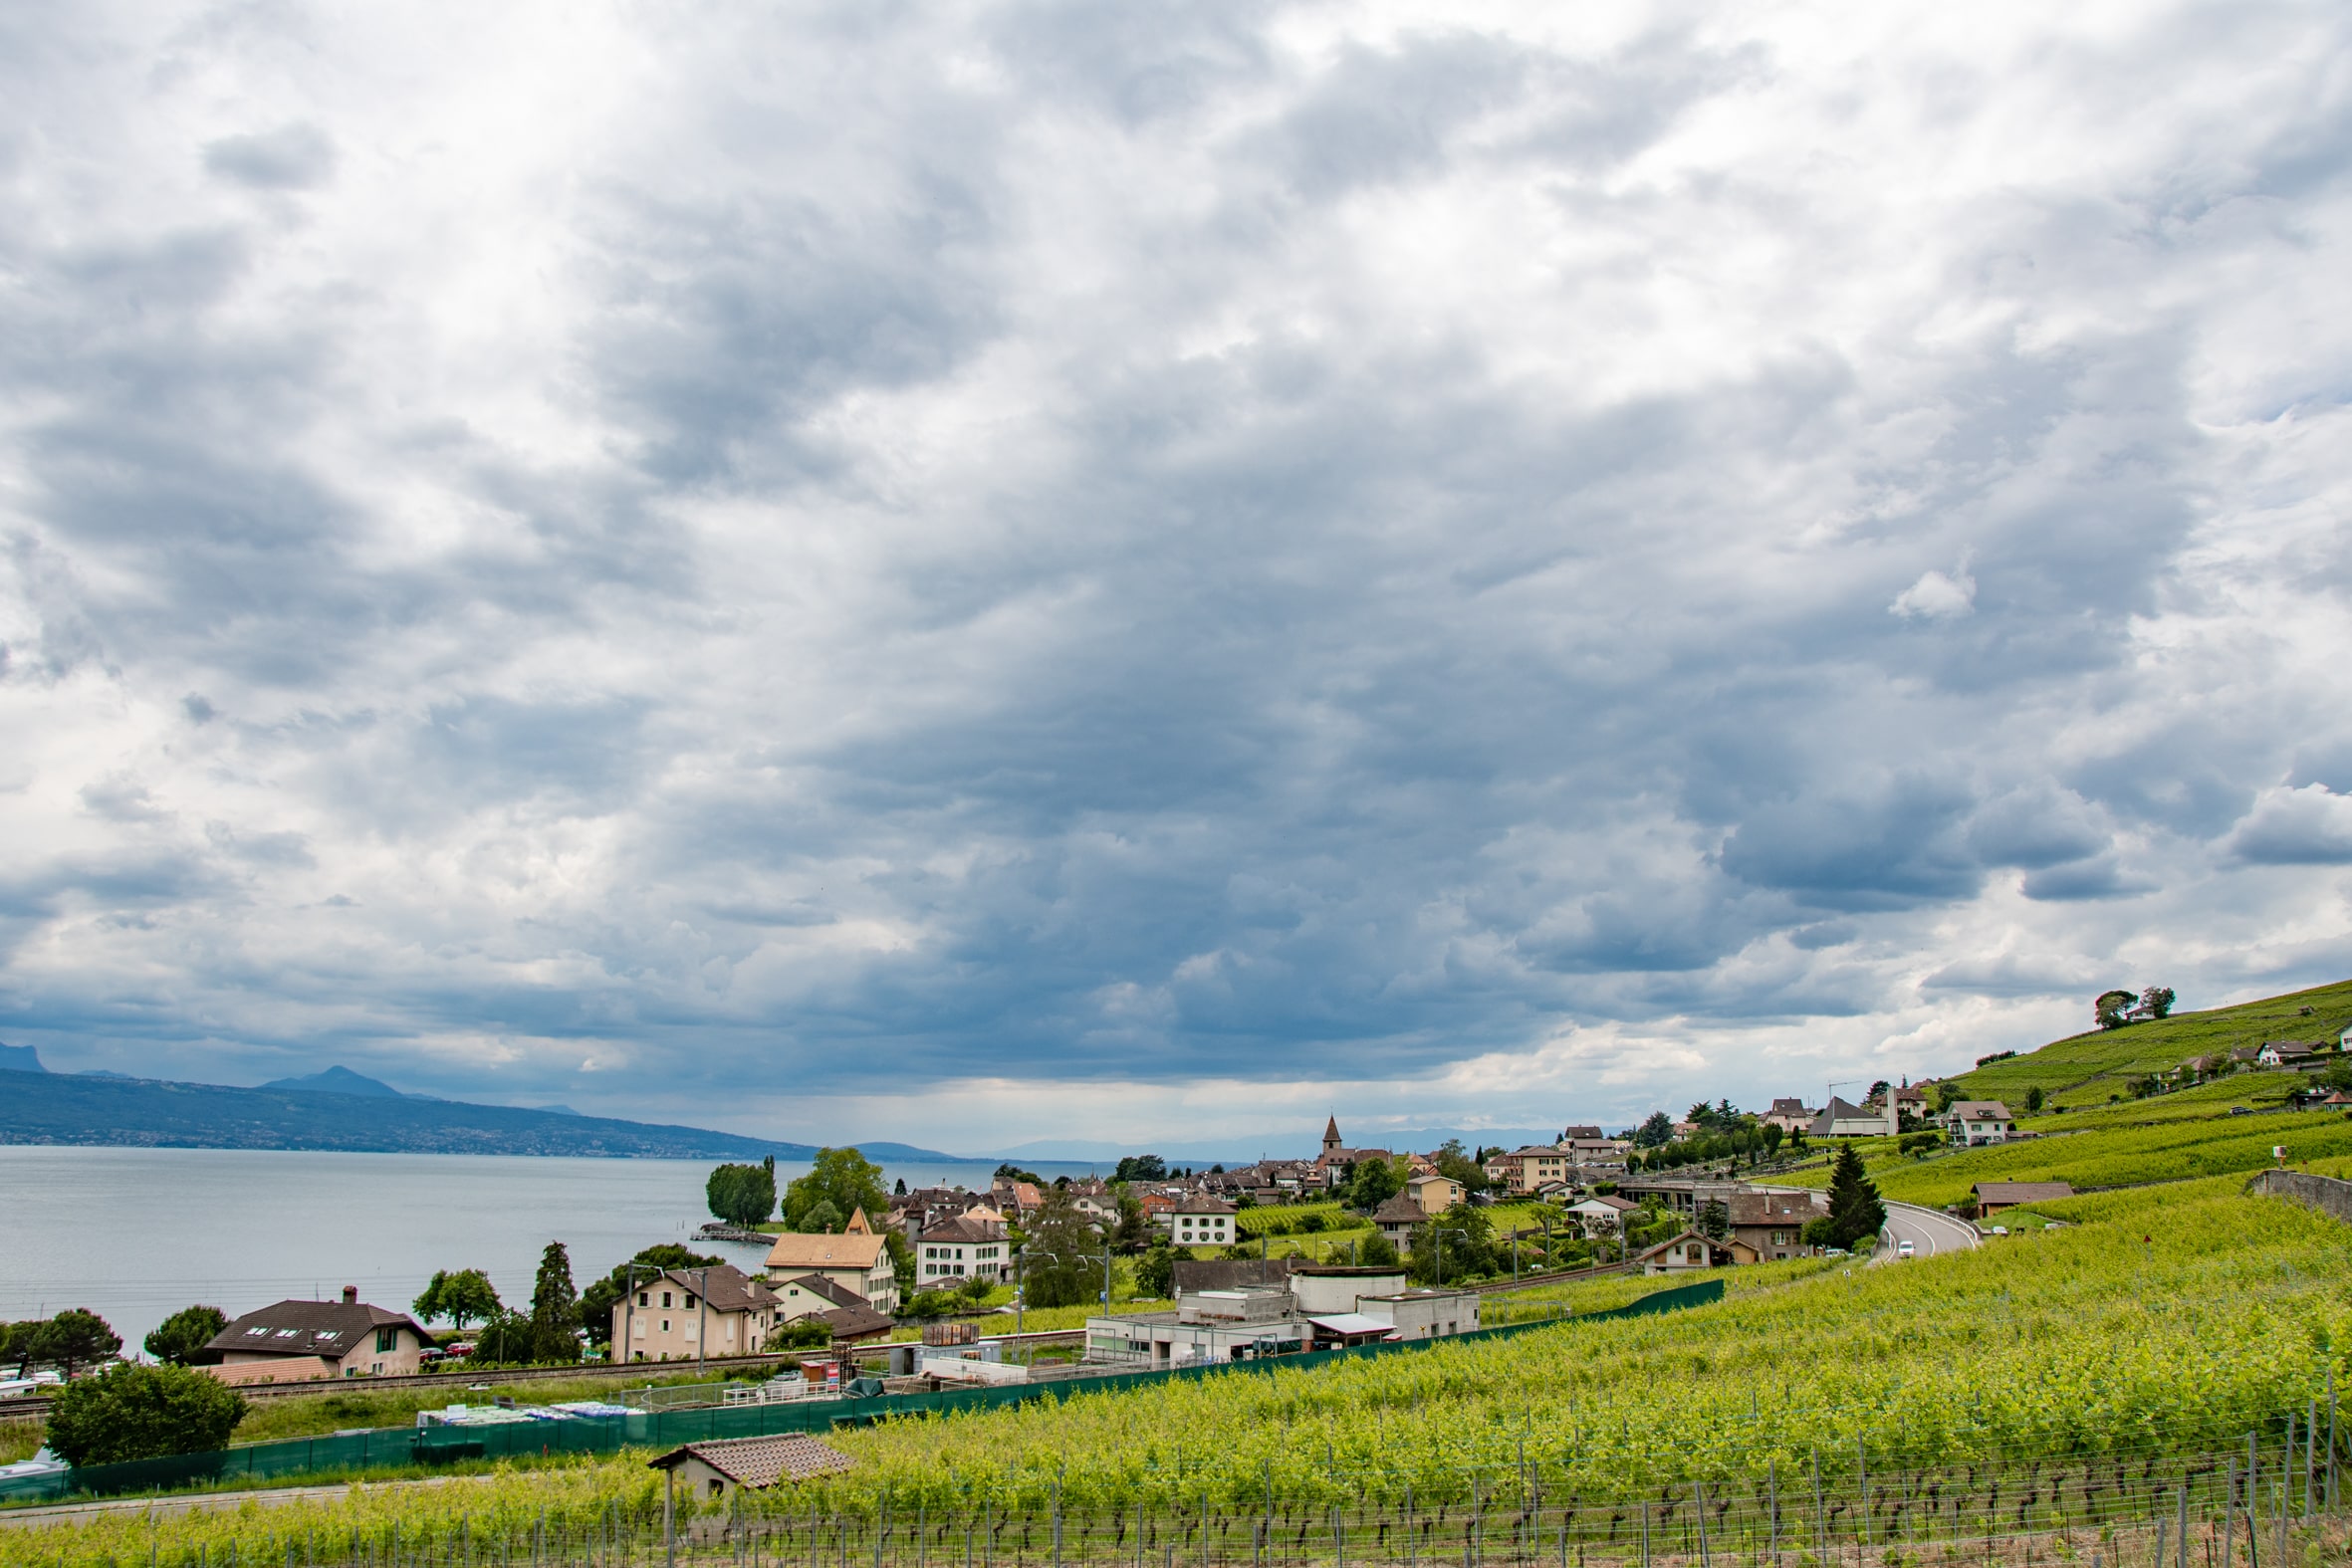
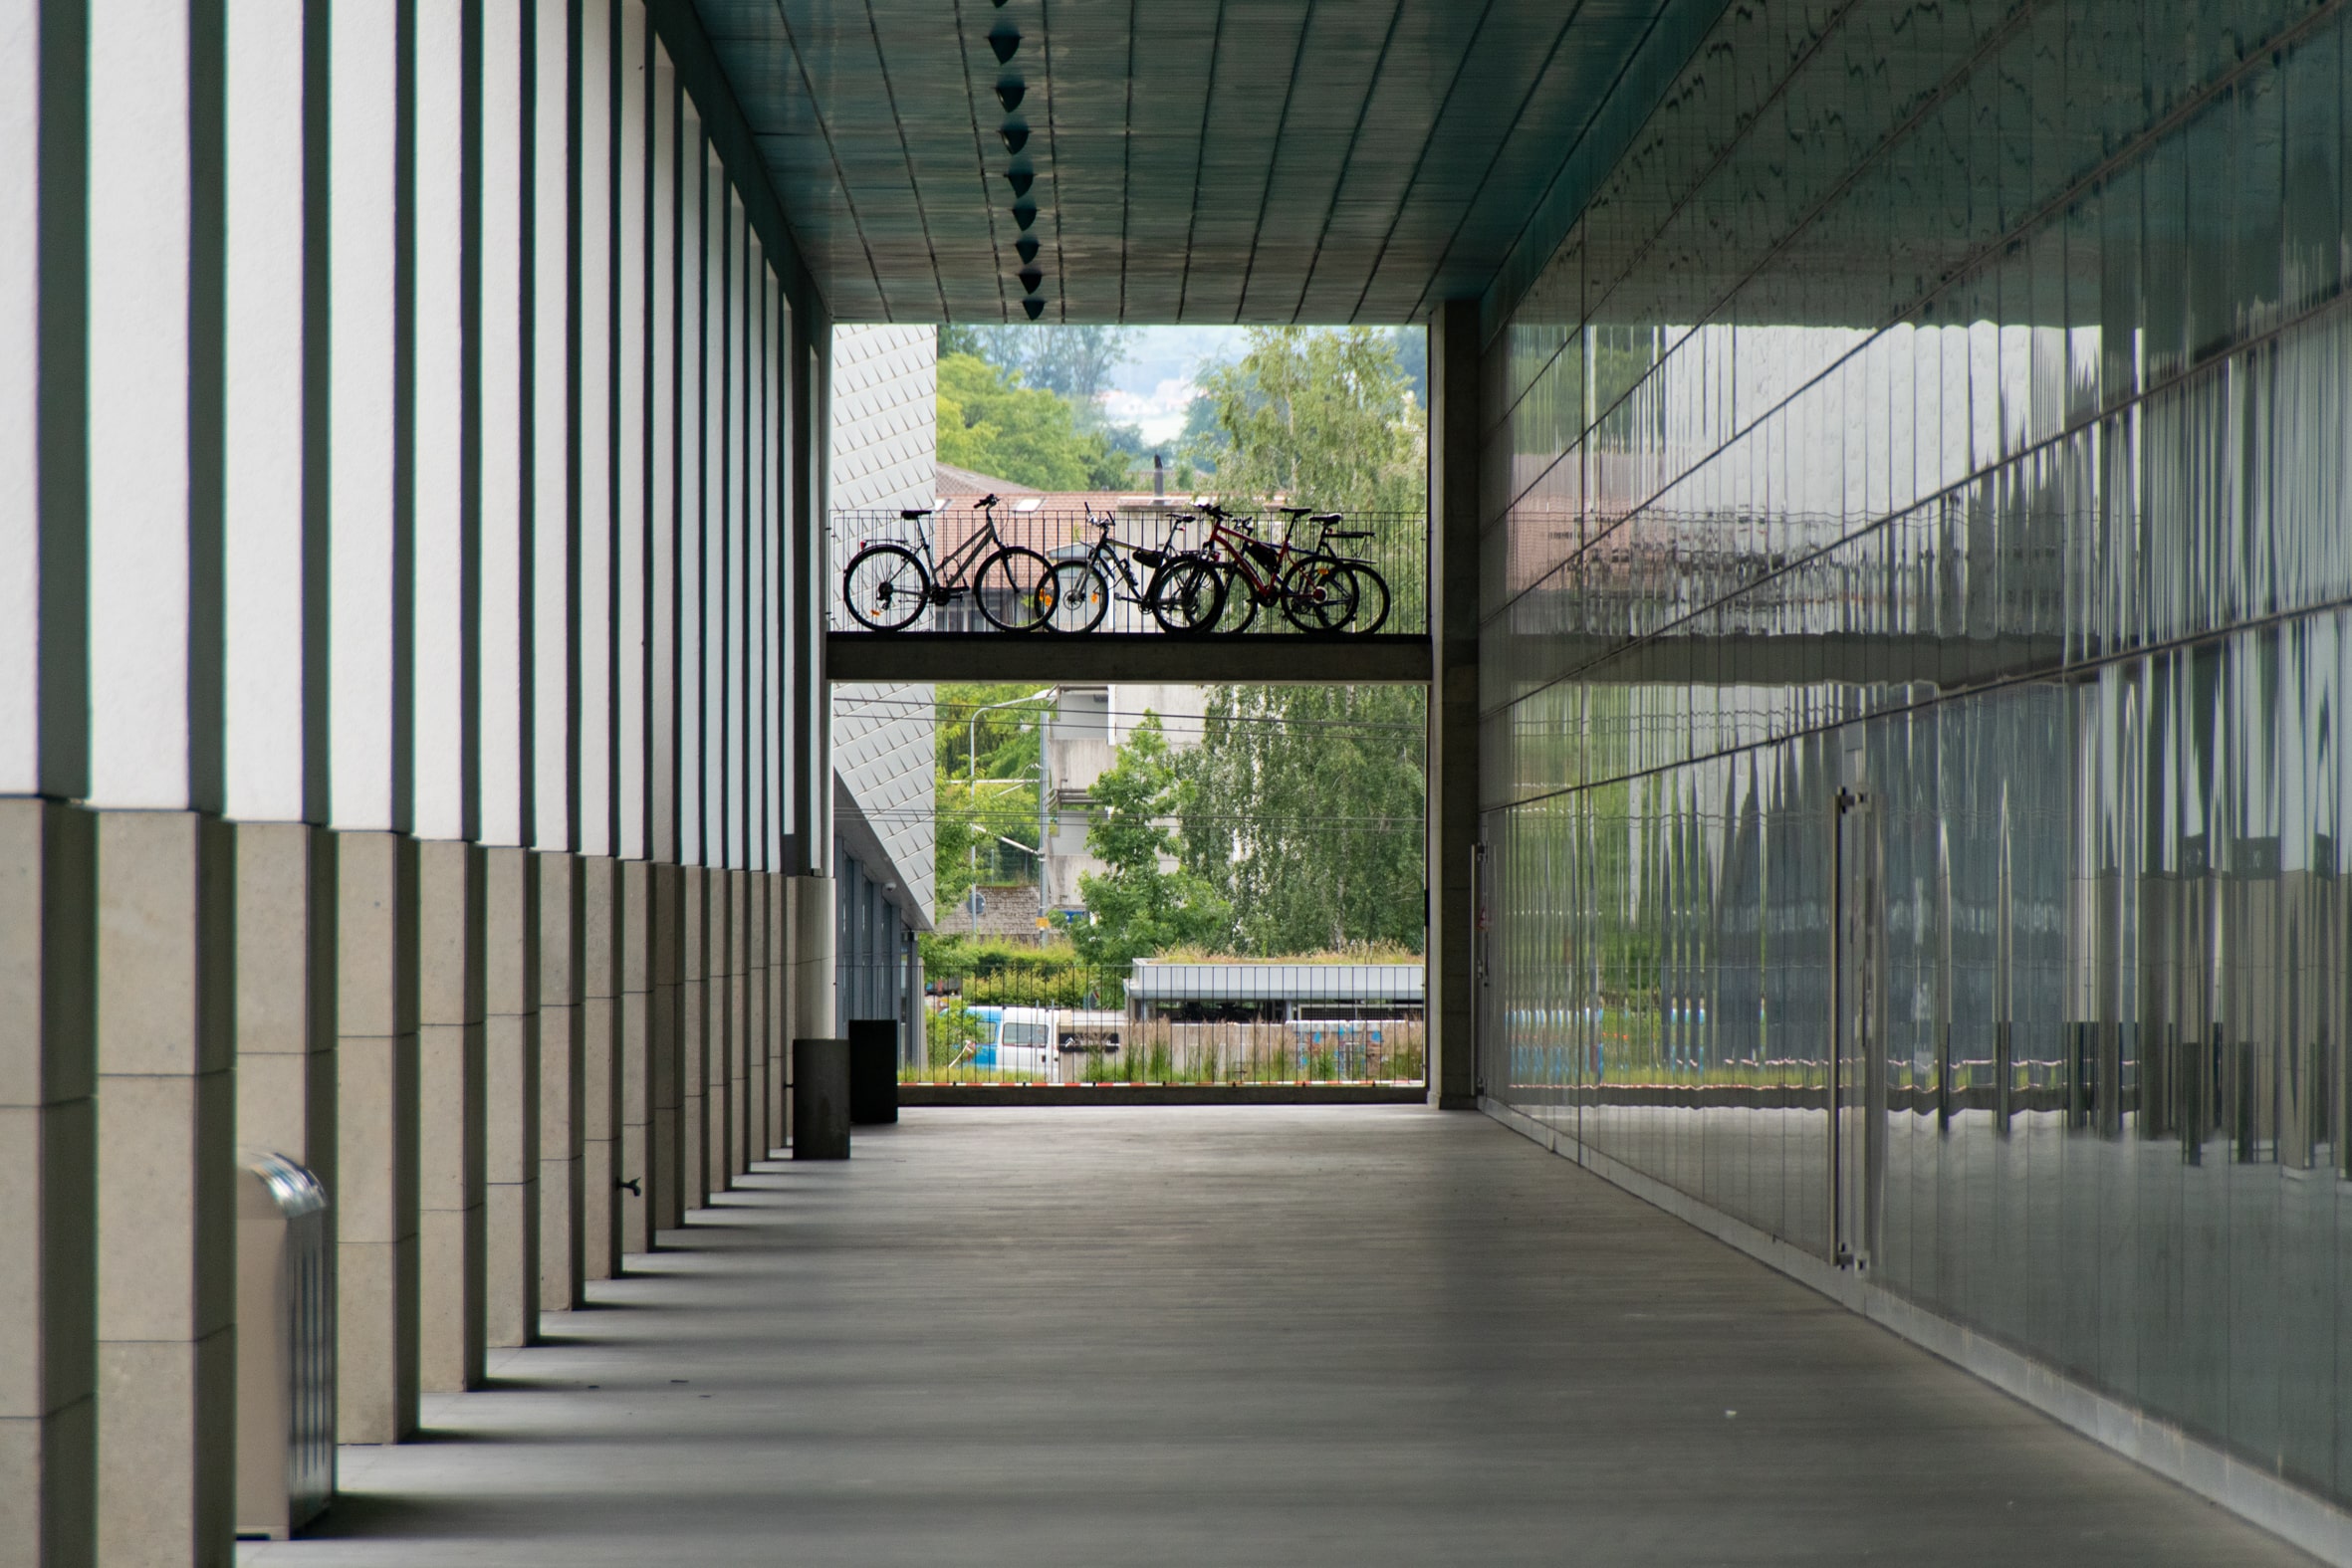
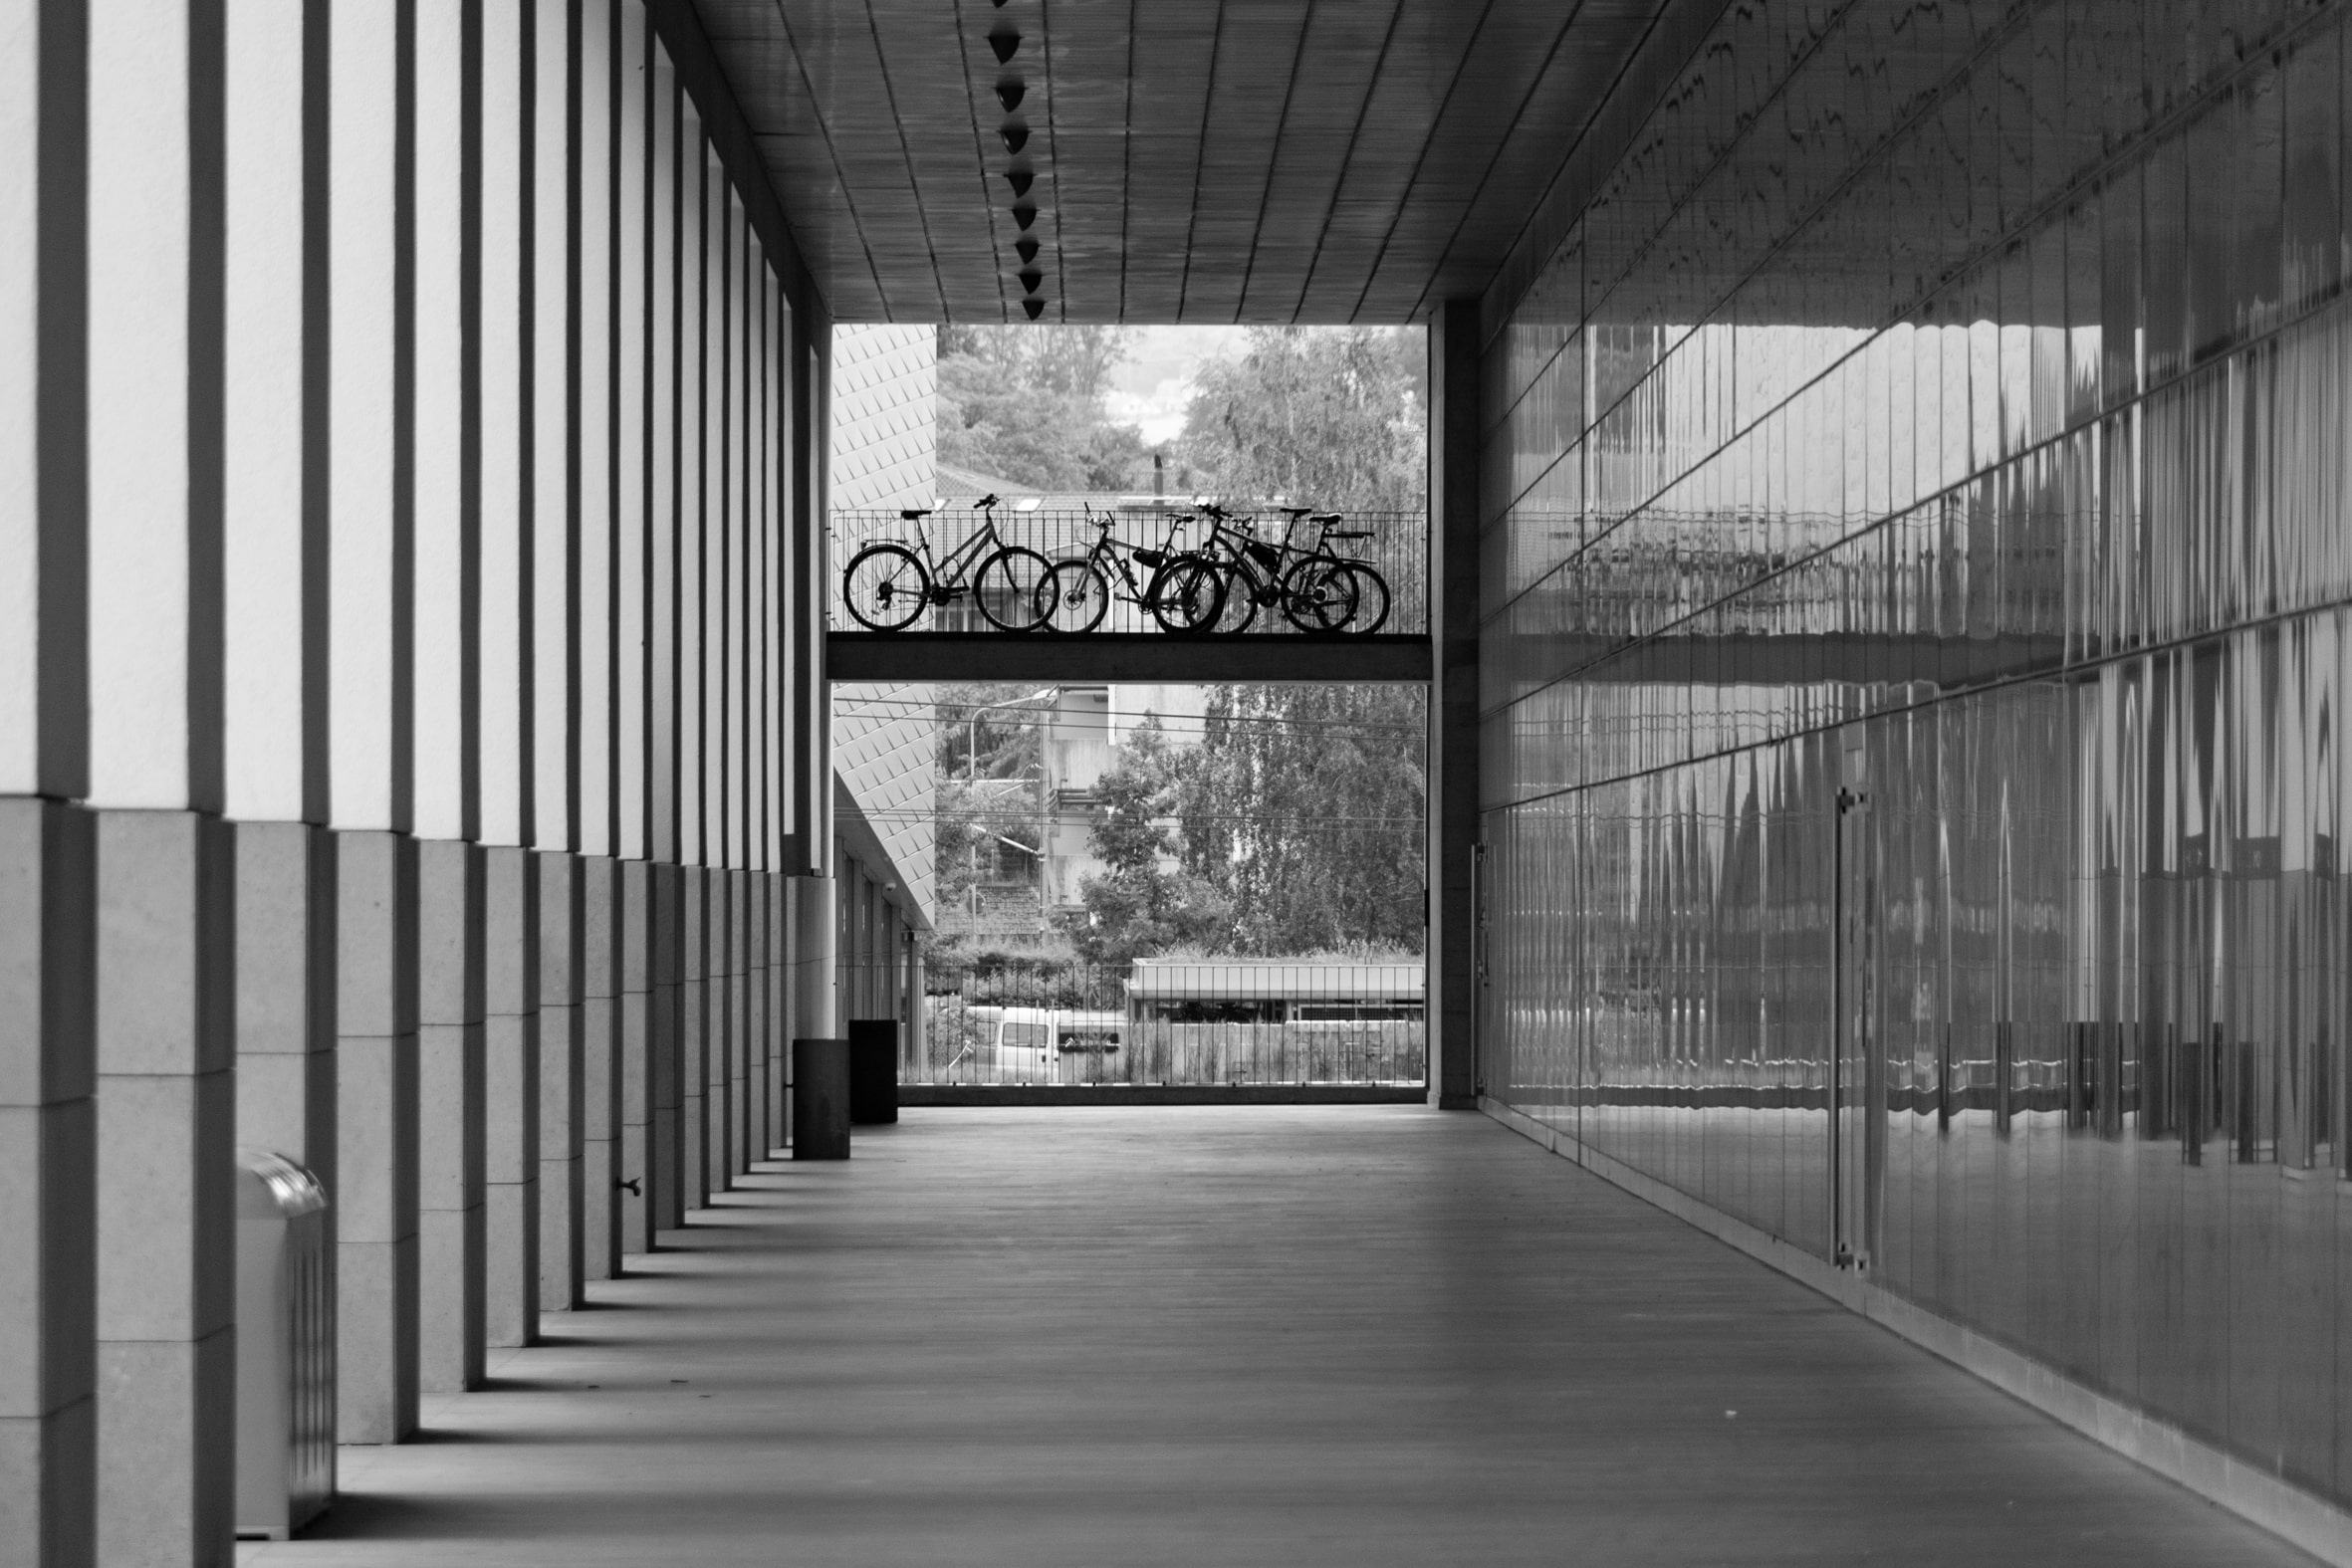
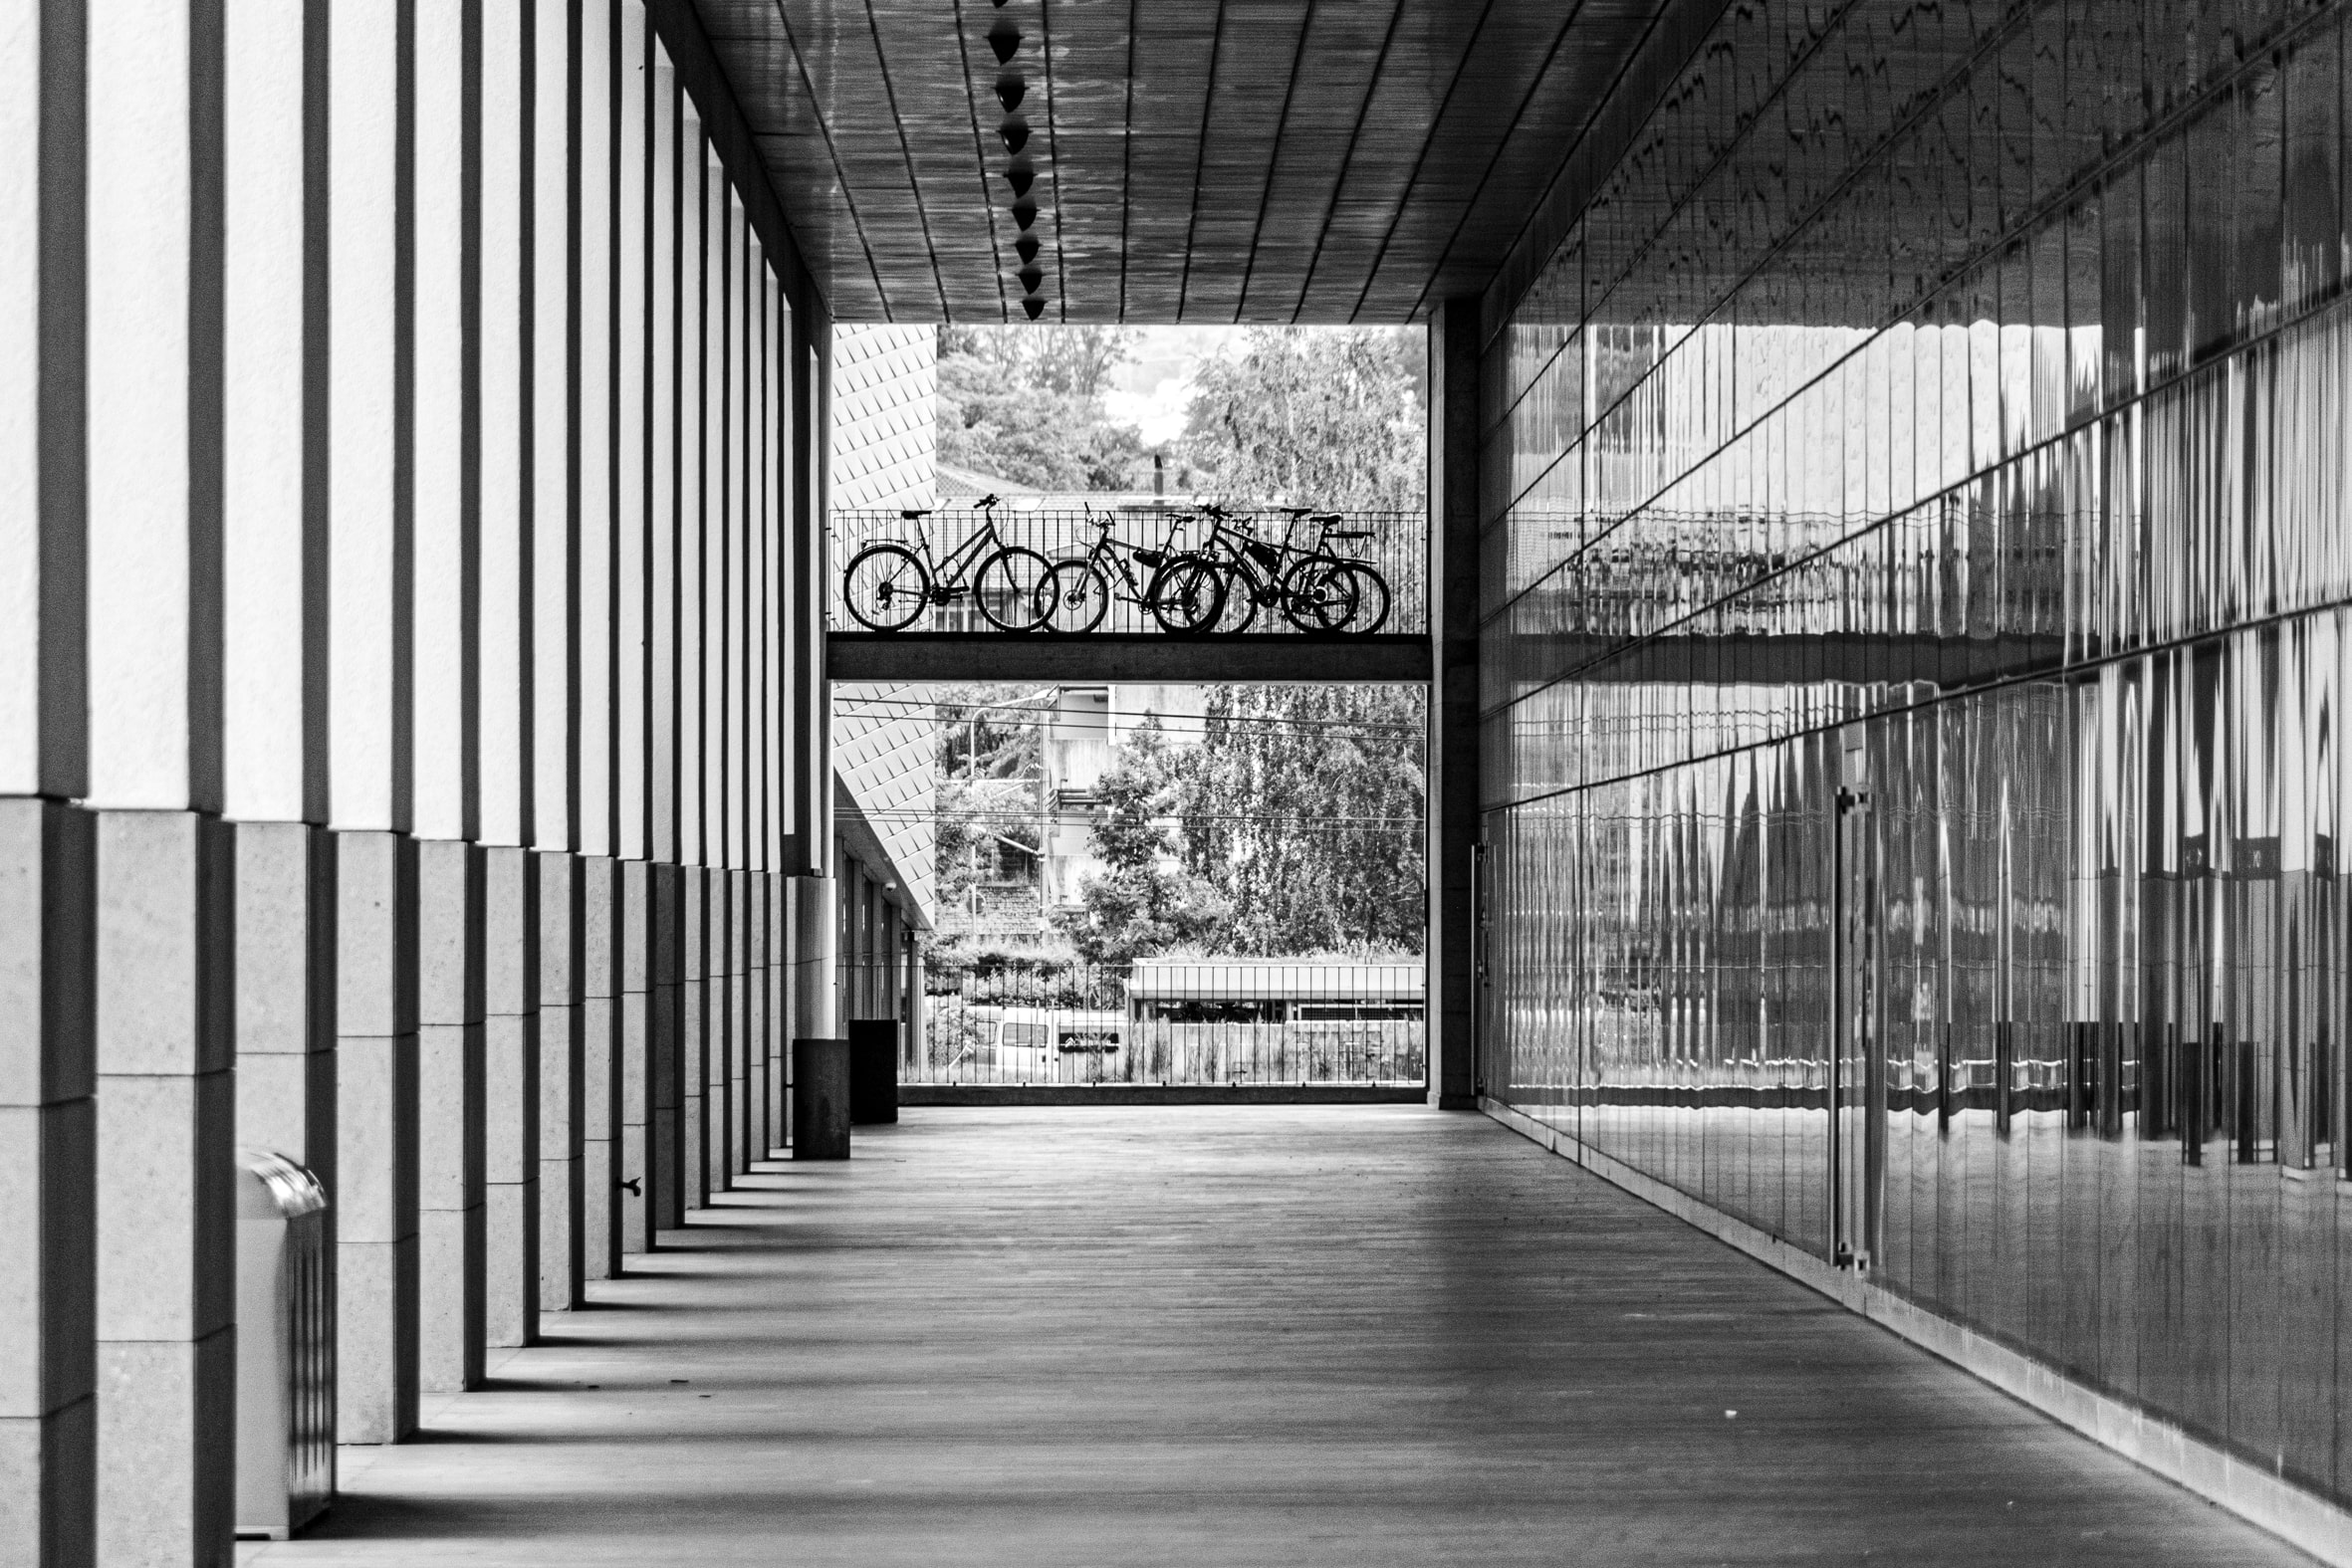
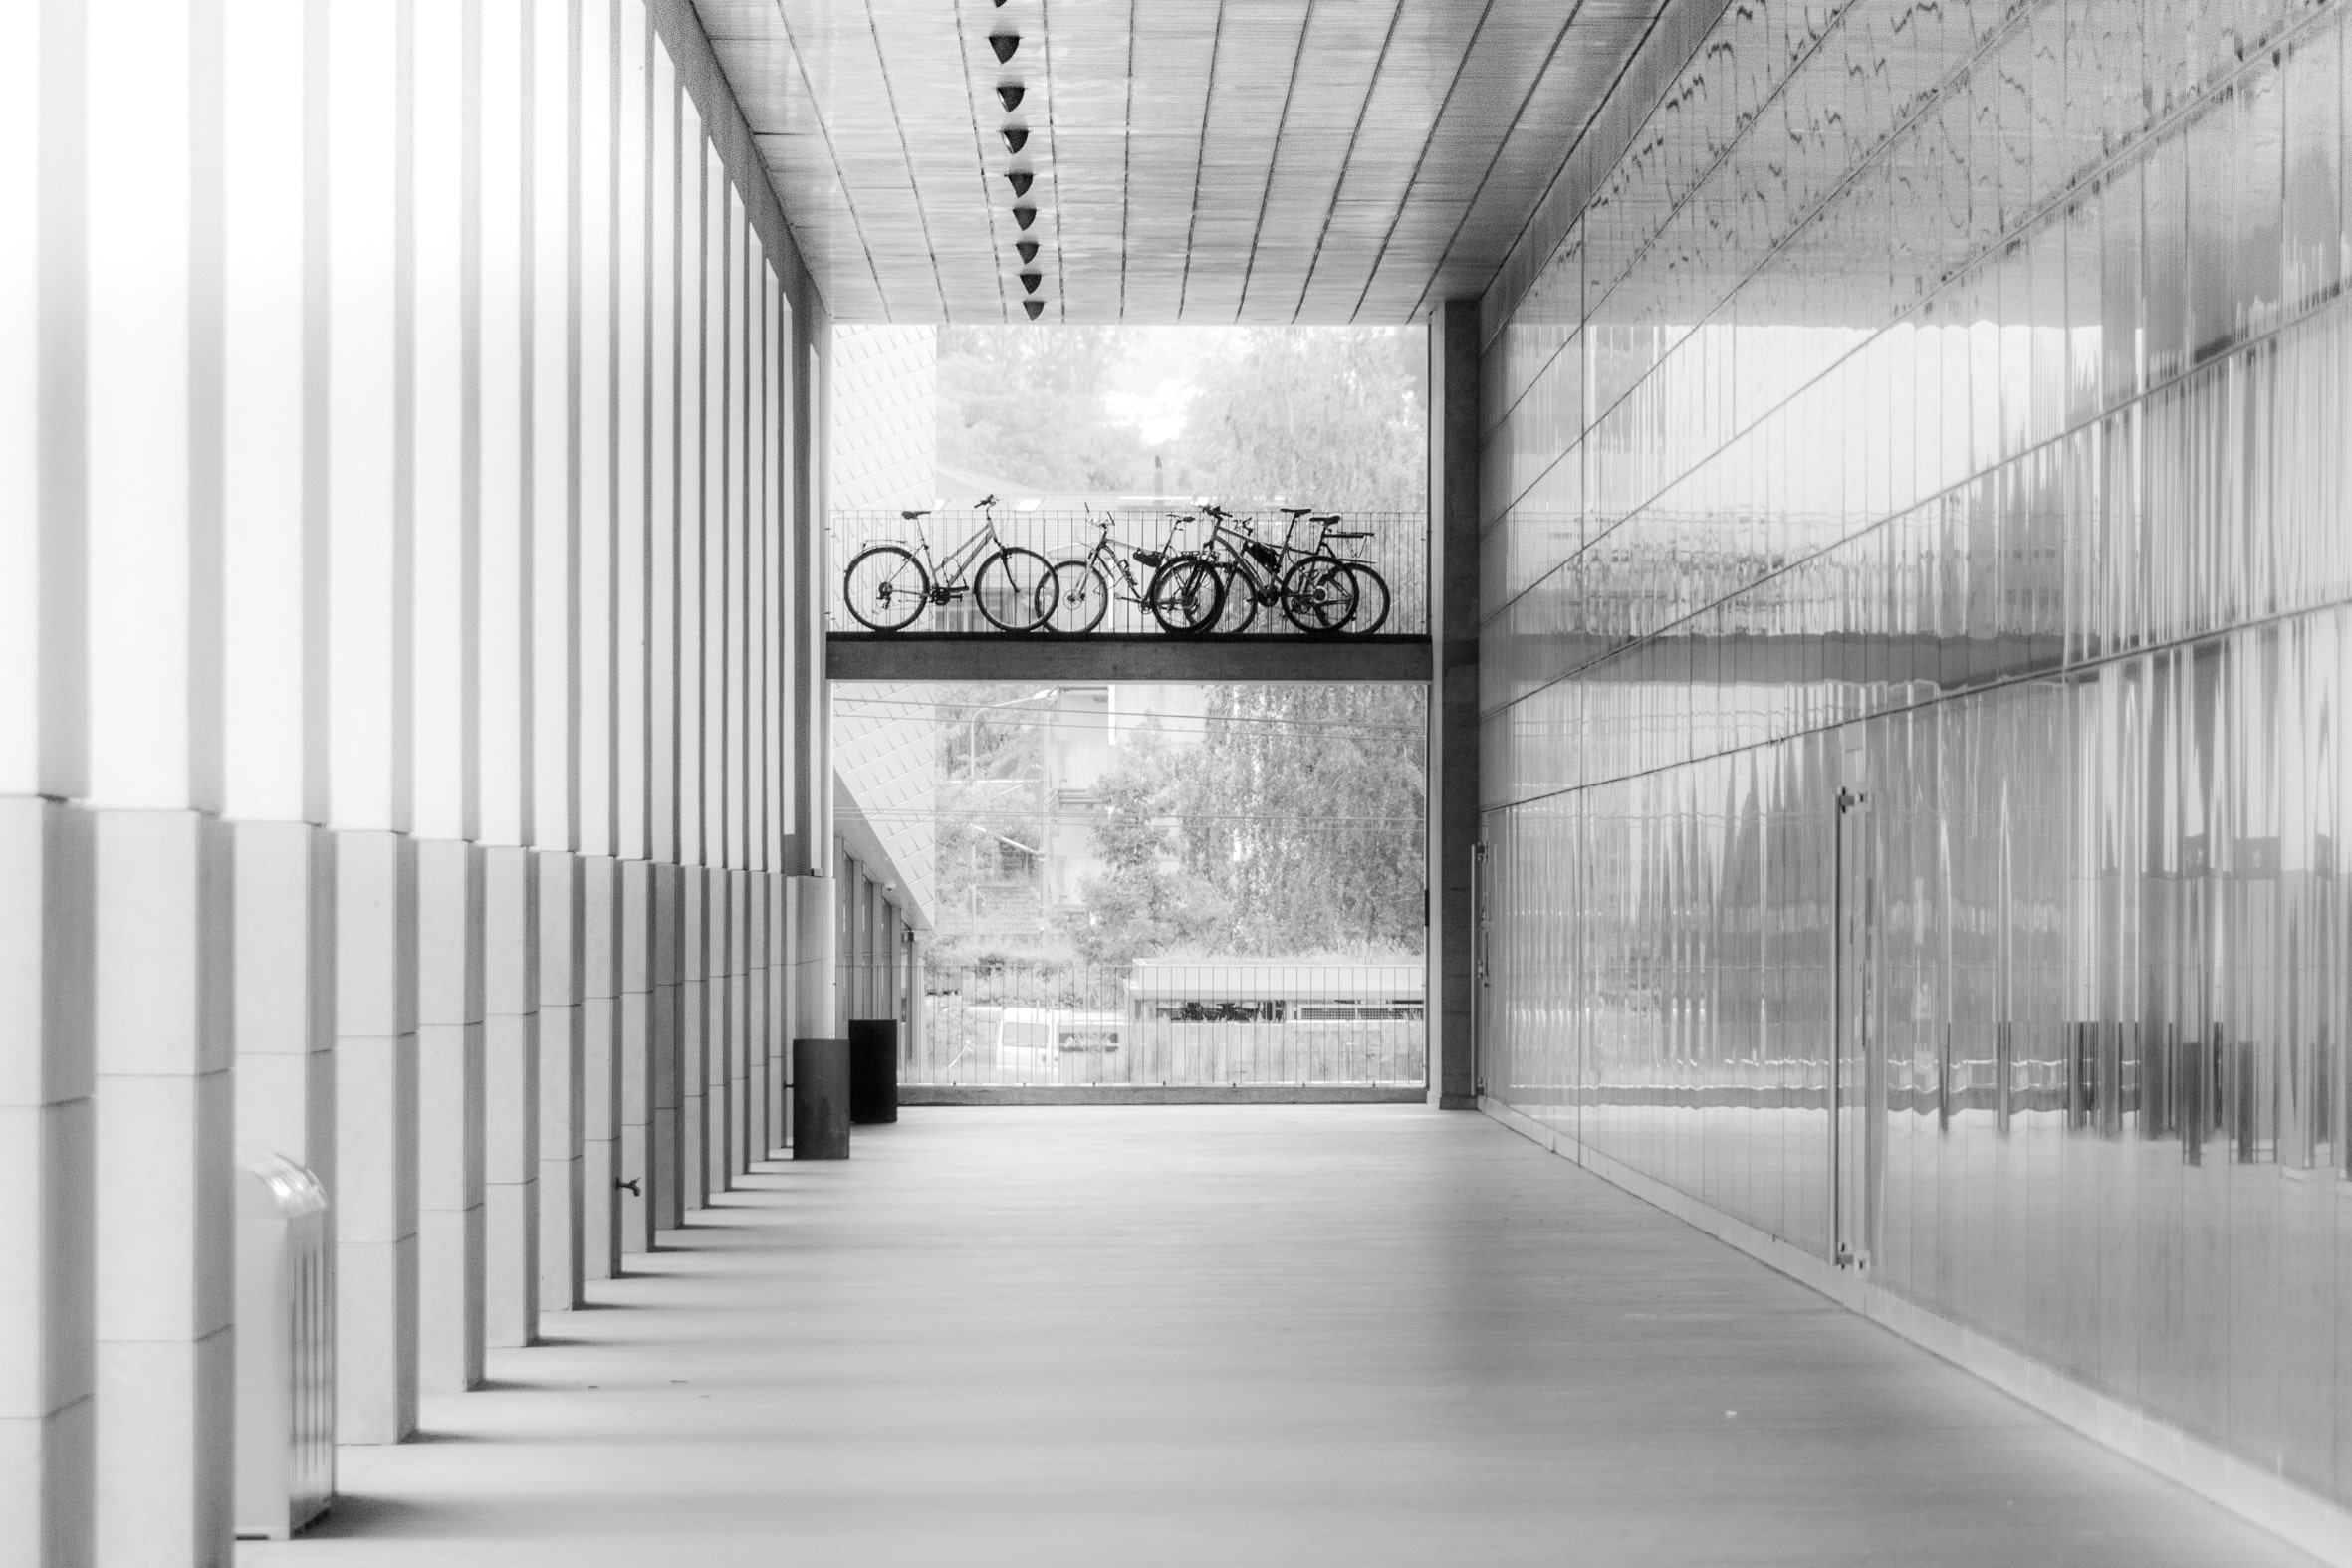
Here is another example to show you what RAW can do. This is a black and white conversion.
File sizes
There is a good reason why JPEG is the most commonly used data format for photos. The images are so small that they can easily be printed or sent via the internet. A comparison shows the file sizes of a photo from an APS-C sensor (half or a full-format sensor), the same file in Photoshop and saved as a .jpg. The reduced file size overwhelmingly outweighs the minor disadvantages of almost imperceptible losses.
| File | Size |
|---|---|
APS-C-sensor
|
40,9 MB |
Photoshop file (.psd)
|
118,3 MB |
JPG file (.jpg)
|
4,4 MB |
In an ifolor photobook, this image can be scaled in optimum quality to A3 size.
Camera settings
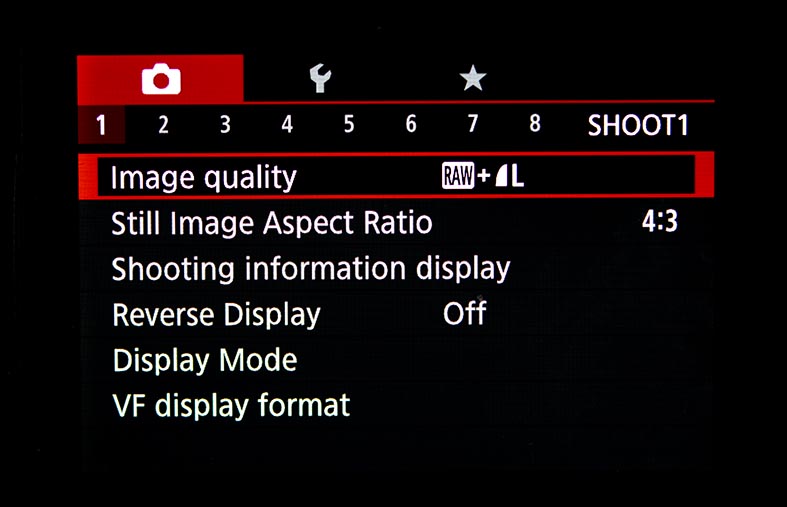
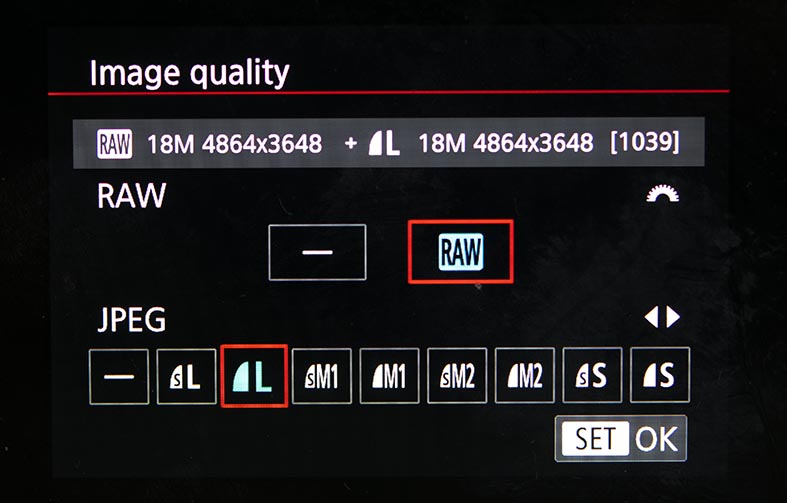
You can set your digital camera to JPG or RAW in the menu, which controls all the parameters for taking pictures. Various RAW and JPG settings can be adjusted under 'image quality'. RAW is RAW, there is only one setting. For JPG, you can select between different sizes to produce photos at 20, 12 or just 5 megapixels, for example. So the JPEG setting only affects the image size, but this affects the image quality. The only reason to set both formats, i.e. RAW + JPEG, is you want to post pictures quickly to Facebook or Instagram and want to save a better quality version for a later date.
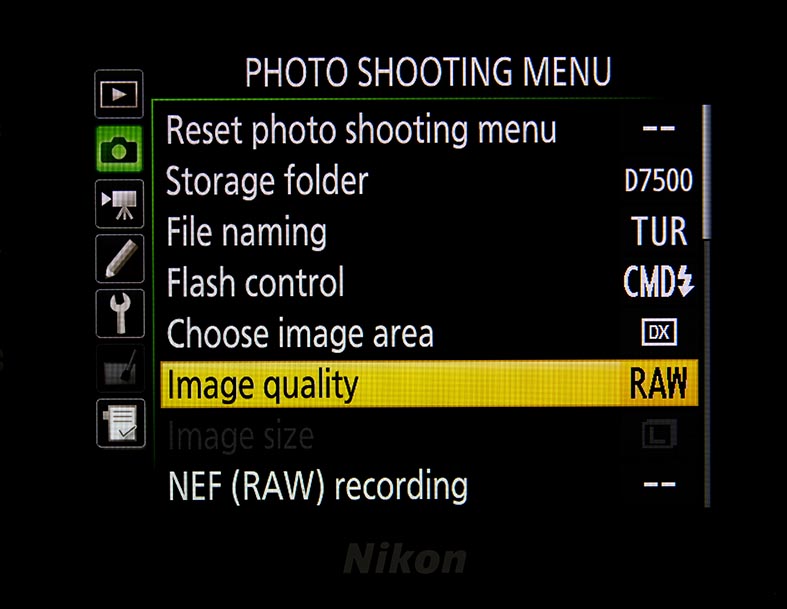
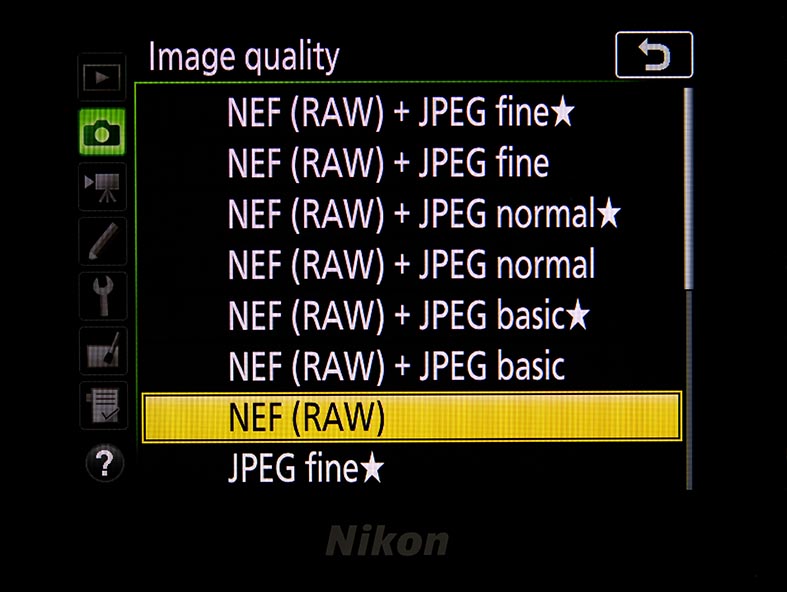
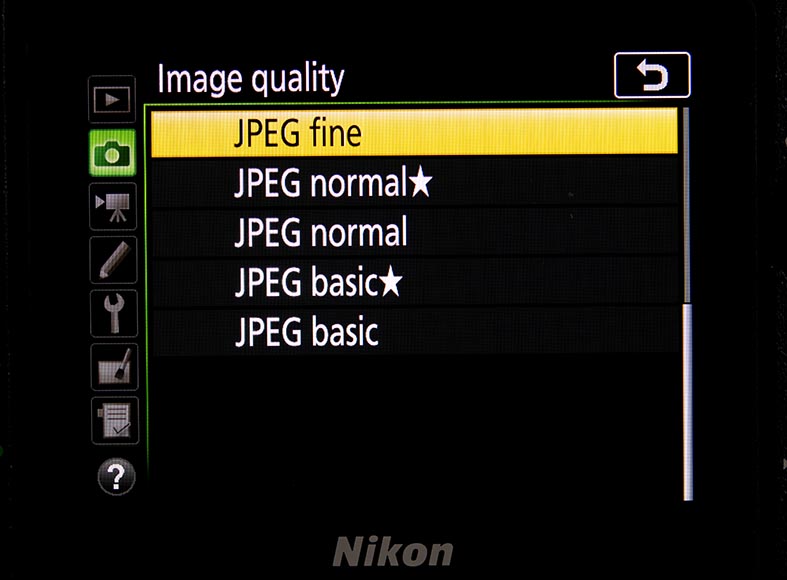
Accessing the settings is very similar in other cameras. This is currently set to generate a RAW format plus a large JPEG image.
Summary
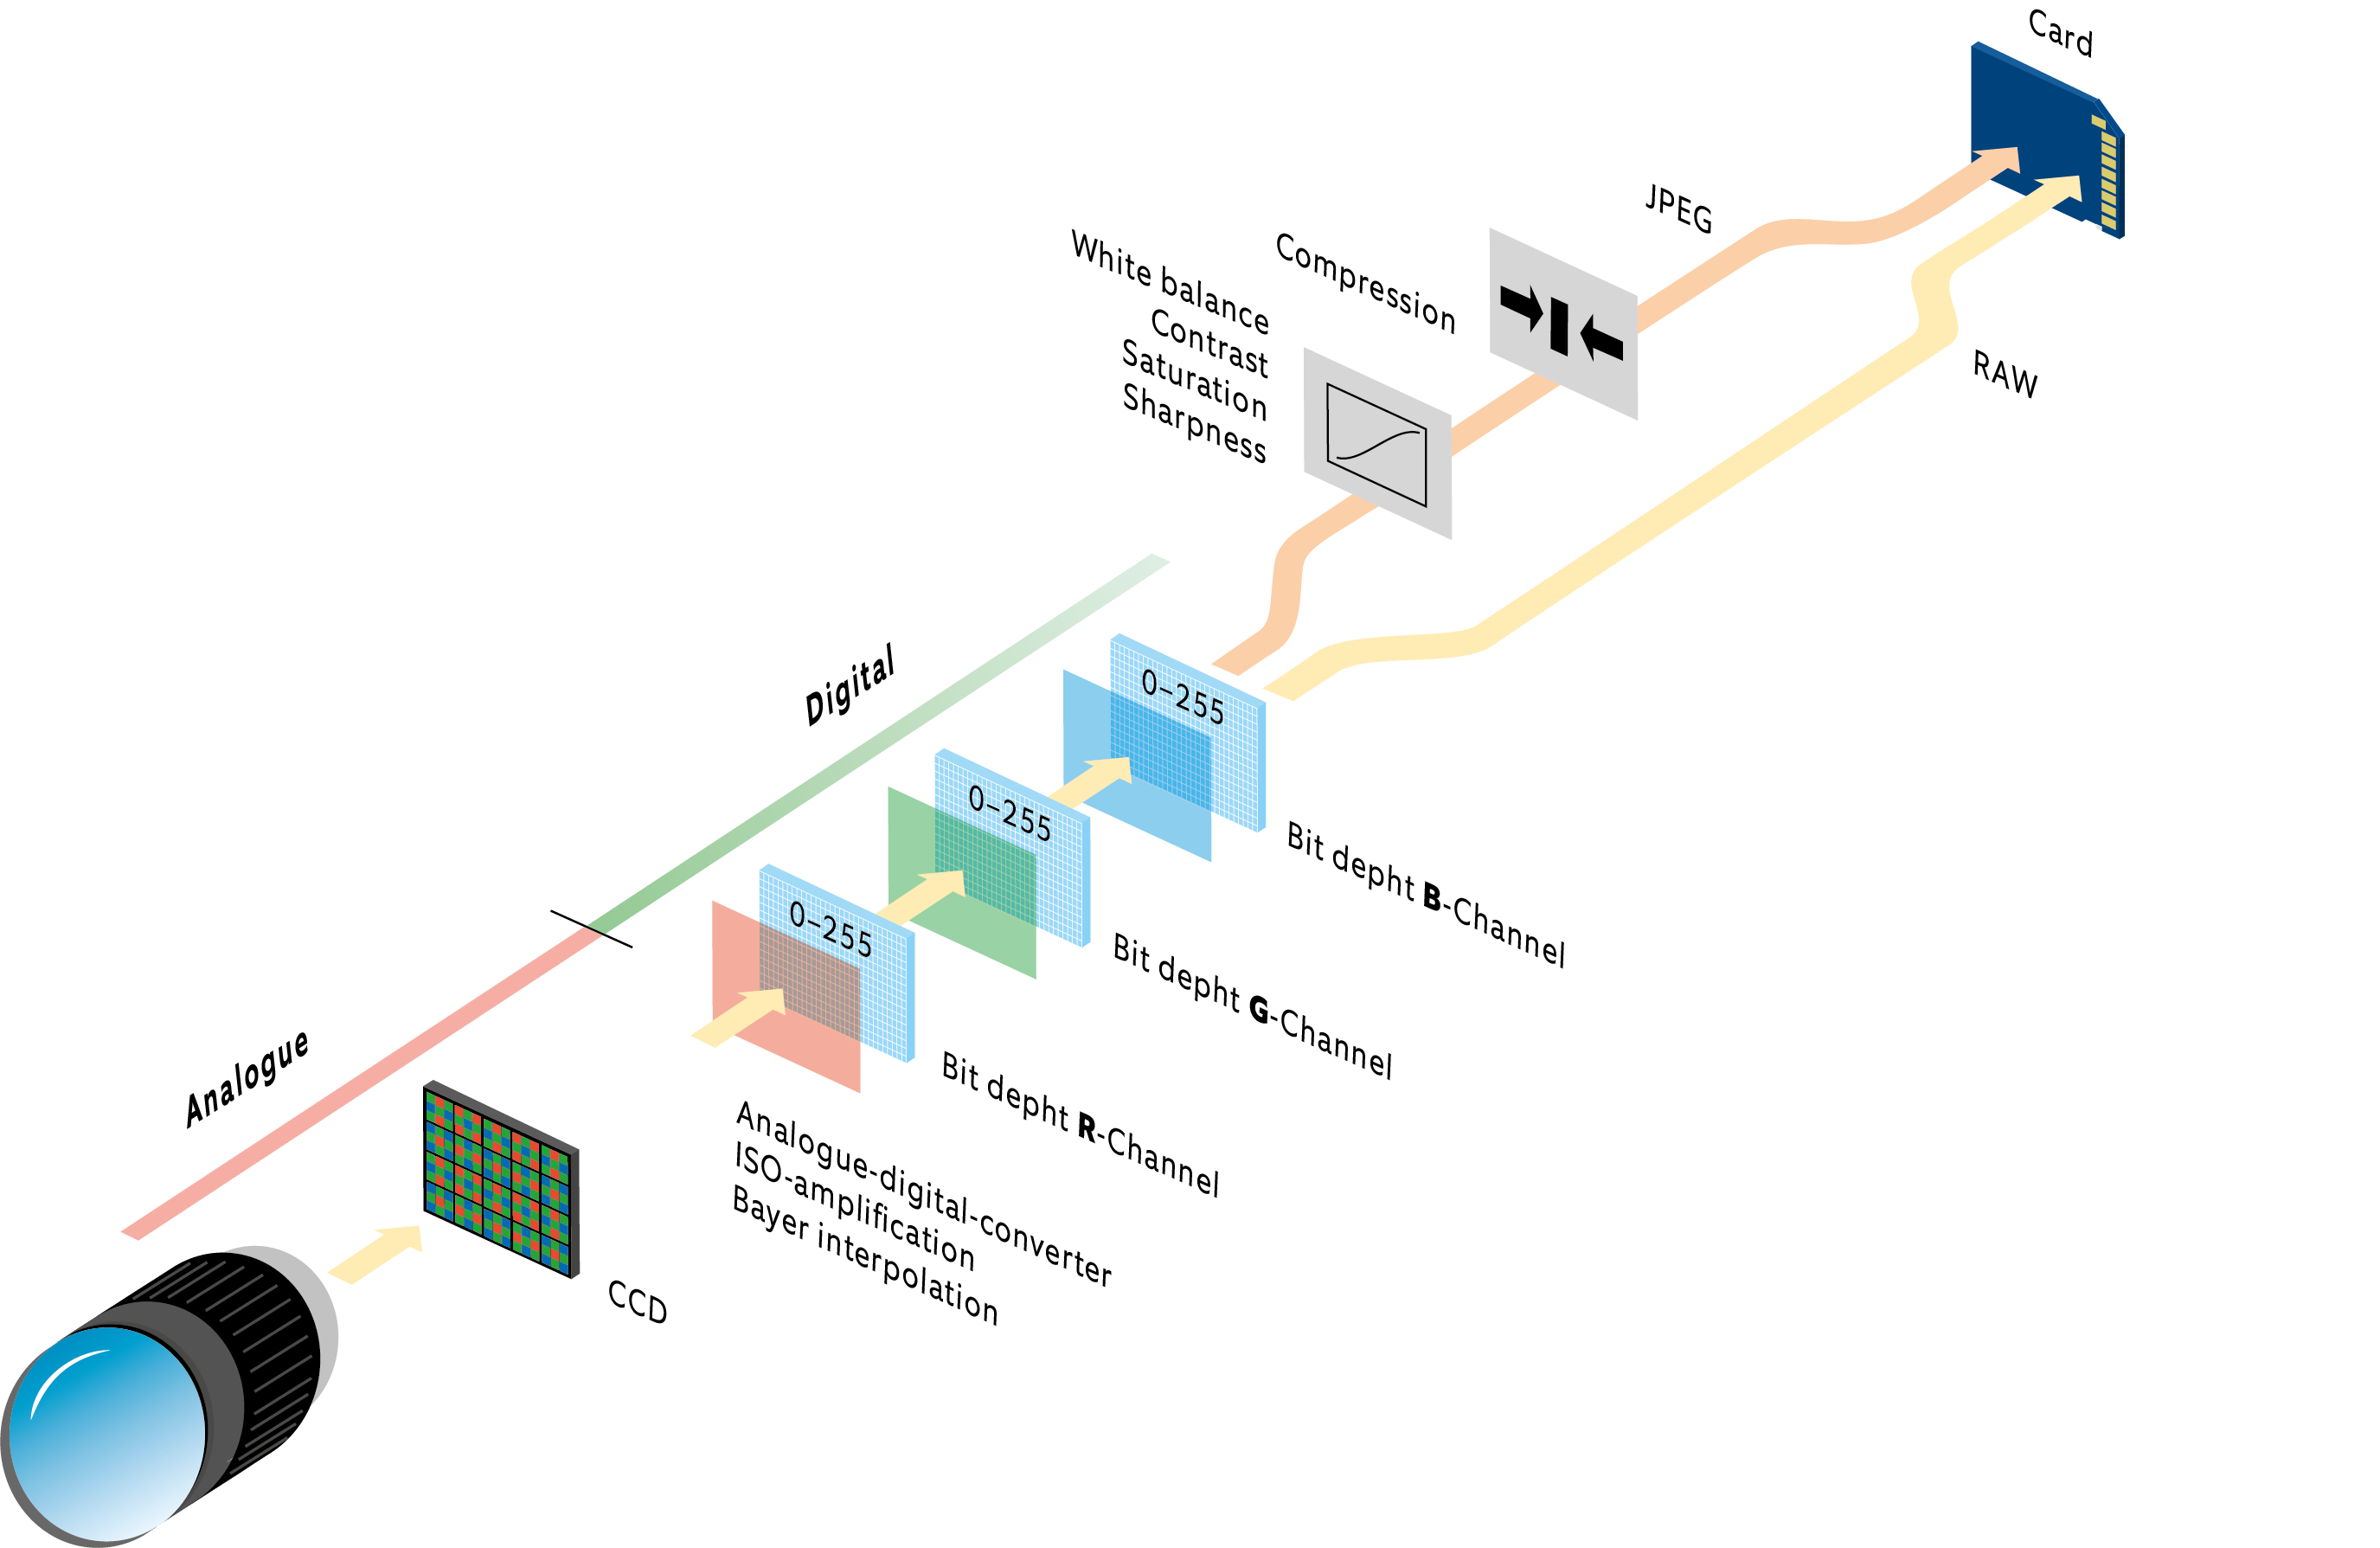
JPEG is the easy all-in-one format for anyone who does not want to bother with software and technology. Or for anyone just using a mobile phone or tablet to upload to the internet. RAW is for all keen photographers wishing to get the most from their photographs and to interpret scenes rather than document them. JPG can be used anywhere, in the office, in a professional environment, on the internet and when designing ifolor photobooks. JPG is the standard data format with minimal file size for all mobile phones and tablets. JPG is limited to 8 bit (= 256 tonal value levels in three channels), while RAW allows greater data depth.
RAW is an interim result, not a standard. RAW splits digital photography into shooting and developing. With JPG, the camera does the "development work" when the shot is taken, while with RAW, this is done manually. This means there are many more options for editing the image. This requires software with a RAW converter. After developing, the photos are exported in JPG format in order to make products of all kinds.
Ralf Turtschi
Ralf Turtschi has made a name for himself as a specialist book author and journalist. He works as a photojournalist, is a hobby photographer and lecturer and gives technical and creative advice on all aspects of photography. He is particularly fond of nature, landscape, portrait, travel, macro, architecture, and night photography.
Further information: www.agenturtschi.ch
