Tutorial: photo cube decorations
Ideas for three dimensional photo ornaments
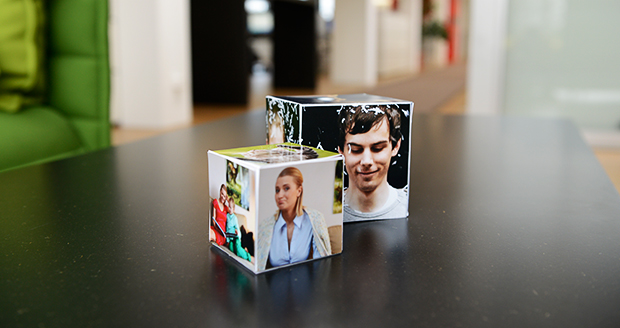
This idea makes other decorations look really flat! Take six photos and make them into a photo cube. These little works of art are not only great memories, but also open the door to other creative ideas.
The three dimensional format of a photo cube provides completely new opportunities. Your homemade cubes make brilliant Christmas decorations or mobiles for nurseries. The cube size can be varied however you like.
Paper photo cube: step-by-step
We have made two cubes, one with six centimetre and one with nine centimetre long edges. One A4 sheet of paper is enough for the small one, you will need an A3 format for the larger one.
You need: scissors, glue, a ruler and six of your photos. You can then cut the photos into squares to the required size by hand or order your digital photos in square format from ifolor.

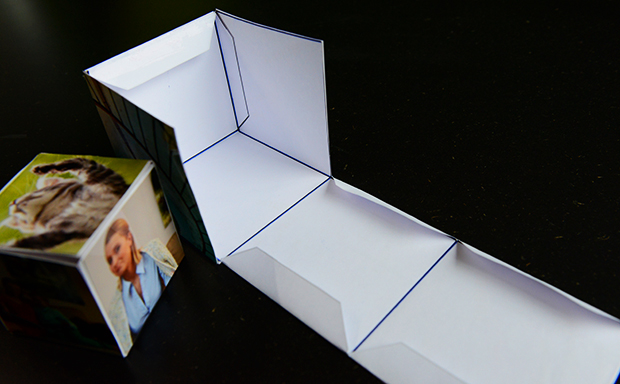
First of all, draw the outlines of the six squares onto the paper. Check with the ruler that the squares are all exactly the same size. The drawing shape is similar to a cross: there are four squares in the middle of the sheet underneath each other and another square to the left and right of the square in the second position.
Don't forget to draw the bottom and two outside edge flaps. You need these later to stick the sides of the cube together. First of all, though, you can stick your six photos to the drawn template using a glue stick. To be able to hang your cube, as well as stand it up later on, simply sew a thread through one of the sides using a needle. Then fold the template together into a cube and stick the edges down using the flaps.
Tip:
You can find various cutting templates online to save drawing time.
Would you like to get started straight away?
No problem: Simply follow the links to ifolor digital photos. Have great fun being creative!
