Guest contribution

How to achieve the perfect result for your wall decorations
Admittedly, the ifolor Designer makes it relatively easy to achieve a perfect print result. Nevertheless, it helps if you pay attention to a few things when preparing your picture to ensure the perfect result.
It is fundamentally important to understand that colour deviations may occur due to the many interfaces in digital image processing such as cameras, computers and printers. The software and hardware should be match. Ideally, there should also be a calibrated monitor at home, as each screen has slight colour deviations.

Choosing the right colour space
However, before an image can be displayed on the monitor at all, it has to be captured first. This is where you lay the foundation for perfect printing. What is meant is not the design of the image or exposure, even though these are important components for a beautiful photo. It's more about the colour space. Some camera manufacturers allow the Adobe RGB colour space. This is great because as many colours as possible can be captured. However, the most widely used colour space today is sRGB, which is why it is kind of the industry standard. sRGB cannot reproduce as many colours as Adobe RGB. ifolor also prints files using the sRGB format. Therefore, this should already be set in the camera. If you prefer to shoot in Adobe RGB, change the colour space in your image editing software.
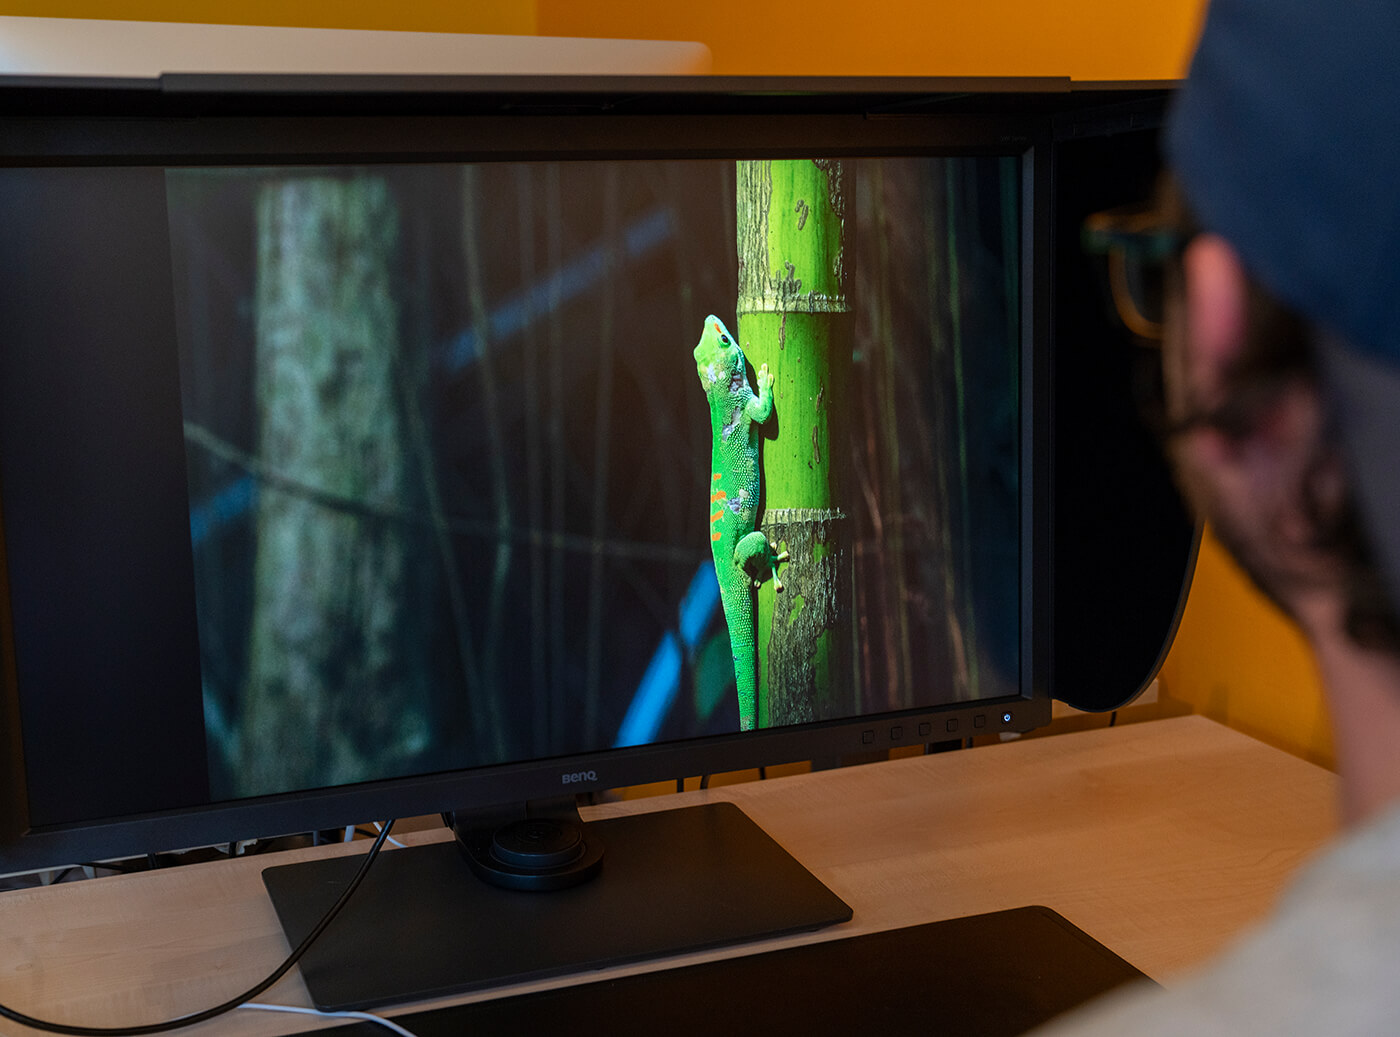
With a calibrated monitor for true to original images
Many people are familiar with the phenomenon that the same photo does not look the same on different output devices such as smartphones, laptop screens and televisions. The colours are slightly different. One image appears more saturated than the other and the image is also displayed with different brightness. We are permanently confronted with this problem in the digital photo age. This could only be remedied if all the world’s screens were calibrated exactly the same. But this is utopian. But if we want our image printed later on to look the same as on our monitor, we have to calibrate it. This allows values such as brightness, colour and white point to be determined precisely and we lay the foundation for optimum printing results.

Preparing photos correctly
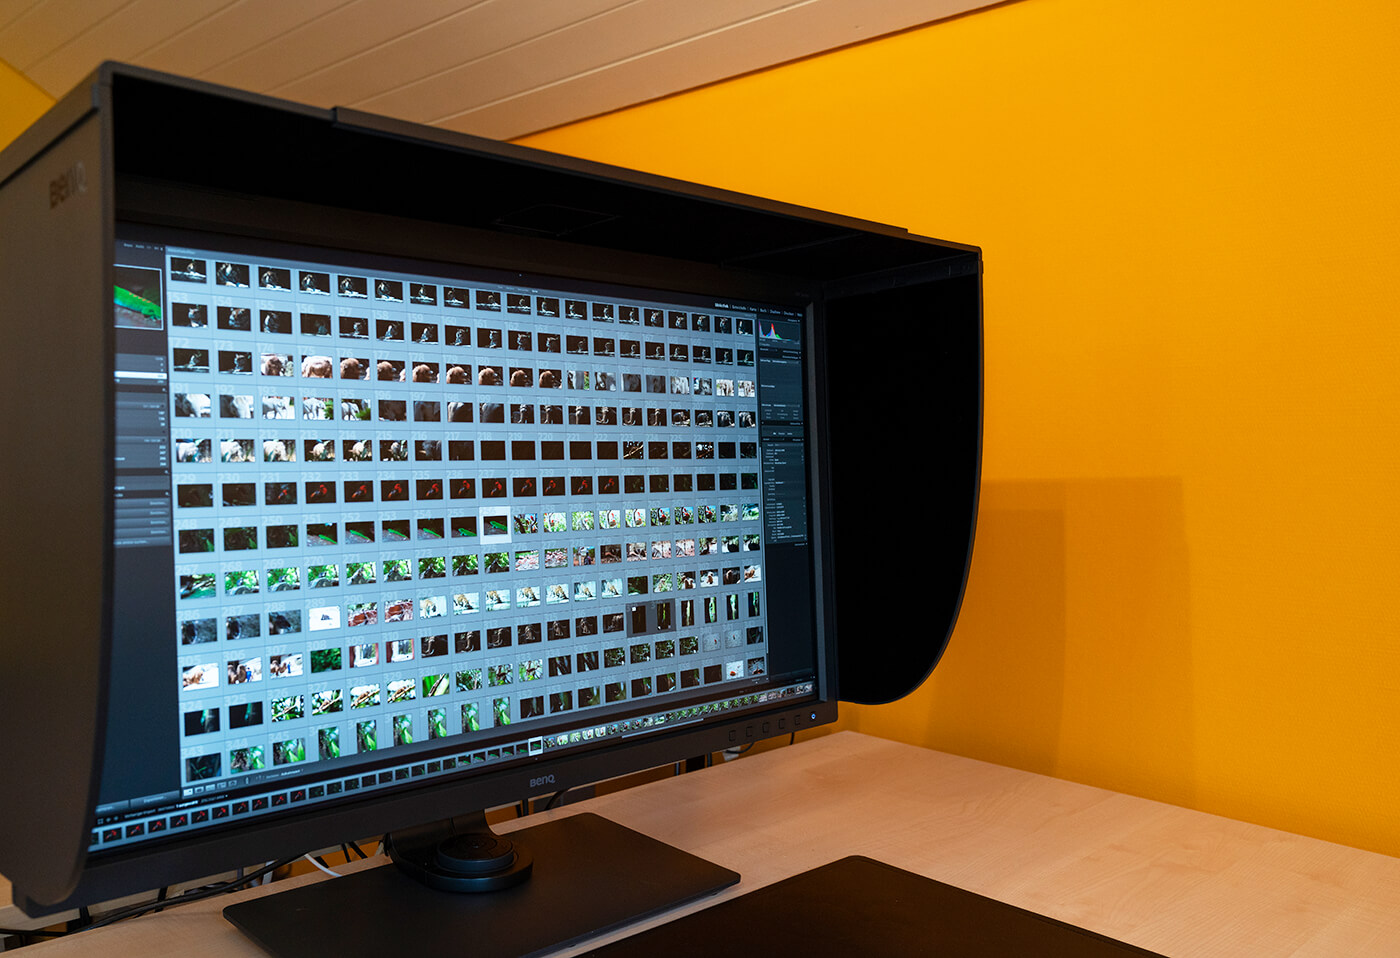
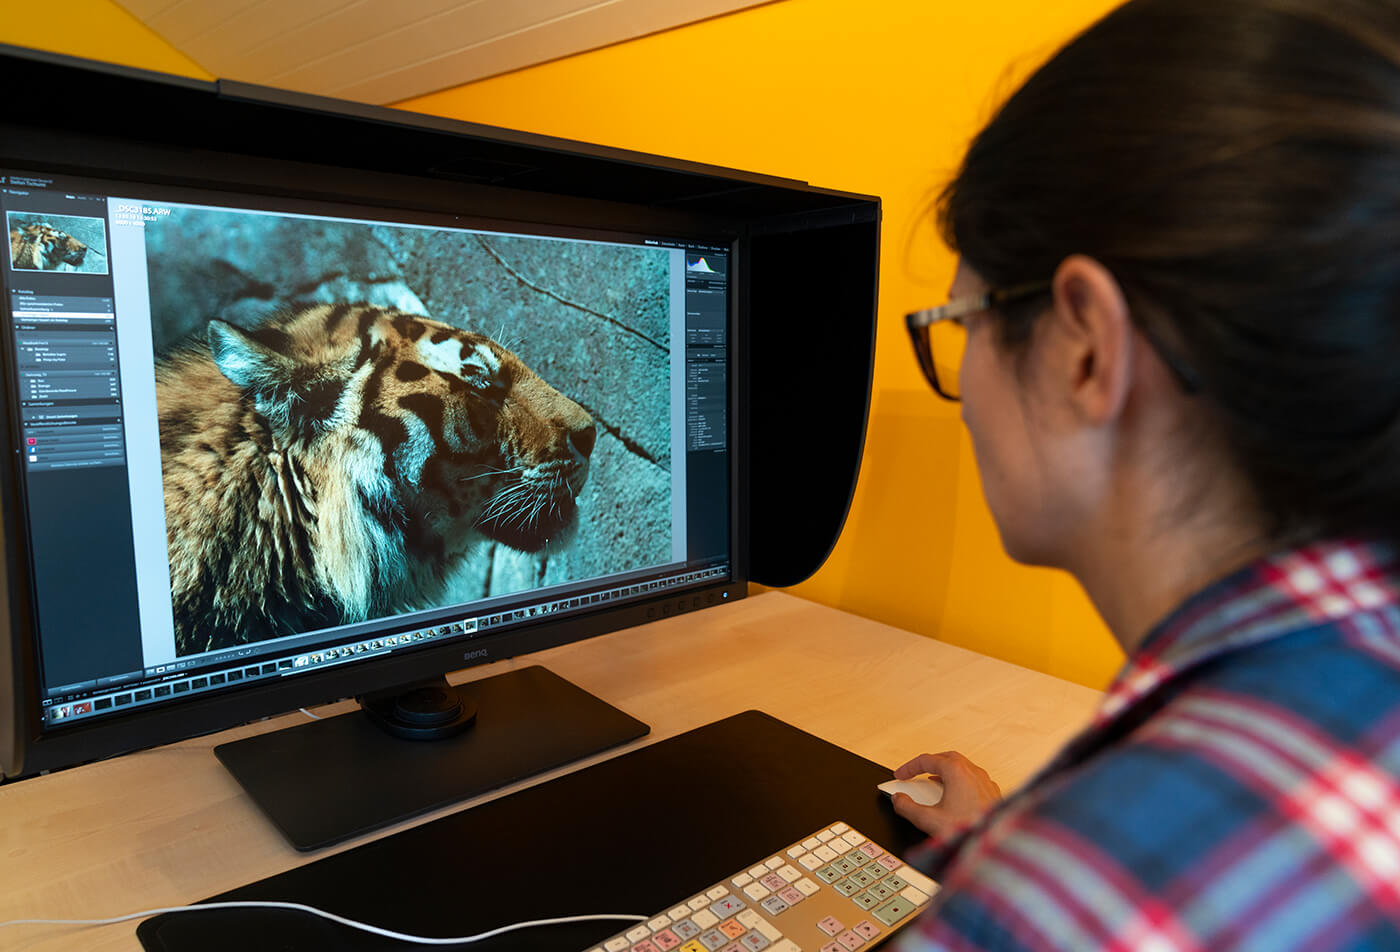
The next step is preparation for printing. For this you can use different image editing programs such as Lightroom and Photoshop. It is important that if you have photographed in Adobe RGB, you should change the colour space in the software to sRGB.
We are not looking at how to edit images in this article. However, it is important to take a look at the histogram again once the editing is finished. This gives us information about the shadows and highlights. The histogram should not touch the left or right edge. If it does this on the left, areas in the image are printed completely black. If it touches the right, there are areas in the image without colour information. It’s therefore important to make a few adjustments here if necessary for the printing.
The next step is to make sure that the colours are reproduced correctly or can be printed as they appear on the screen. Some printers publish an ICC profile for this purpose. This has to then be imported into the image processing software. At ifolor, it is sufficient to prepare the image in sRGB format. It is also not necessary to convert it to CMYK, which is often used for printing. In order to check the colour fastness, we create a so-called soft proof in Lightroom. This serves as a digital proof. For verification purposes, we will look at the histogram again that no longer provides information on the shadows and highlights this time though but on the colours. If no warning fields are displayed in the histogram and the histogram does not touch either the left or right, you know that the image will be printed exactly as it is displayed on the screen. Otherwise you have to intervene here and correct the colours slightly, so that they lie within a spectrum that can be printed.
The image is then exported. You should also make sure that around 300 dpi is selected here. With large-format images in particular, 96 dpi would not be enough and the fine details would not be printed in all their glory.
Sending the image using ifolor Designer
It is extremely easy to send the images for printing. The previously exported photos are uploaded using ifolor Designer. The software checks the images in the background. You can also select whether an automatic correction should be carried out. If you have done the editing accurately yourself though, this is not necessary. All you have to do then is to place the order and look forward to the finished result.
About Steffi and Stefan
Steffi and Stefan from Journey Glimpse share a passion for travel and photography. They repeatedly go out into the world with their cameras in search of the special light, combine it with beautiful landscapes and create poetry in pixels. When they’re not working on a photo project somewhere in a distant country, they complete photography and video projects for various clients.
