Image Noise - The Unwanted Side Effect of High ISO Values
Along with exposure time and aperture, the ISO value is one of the main tools for controlling manual exposures. The ISO is a value assigned to the sensitivity of the sensor. A high ISO value means that the camera needs less time to expose the subject. This allows you to take photos in lower light while keeping a stutter speed fast enough to prevent camera shake. The downside of using a high ISO is the increased image noise found on the final exposure.
In this article we will give you some tips on how to choose the correct ISO value and show you how to remove unwanted noise from your images with the help of the programme Neat Image.
Setting the ISO Value Depending on the Environment
In general, you should always try to keep the ISO value as low as possible. In most cases, we are talking about an ISO value of 100 and on some cameras 50. This will keep your images noise free.
ISO 100 - 200 - In Sunlight
Choosing an ISO value of 100 is usually only possible if you are shooting outside on a bright day. If there is not enough light to use an ISO of 100 then setting it to 200 will not make any noticeable difference in noise on your final image.
ISO 400 - 800 - On Cloudy Days and in the Evening
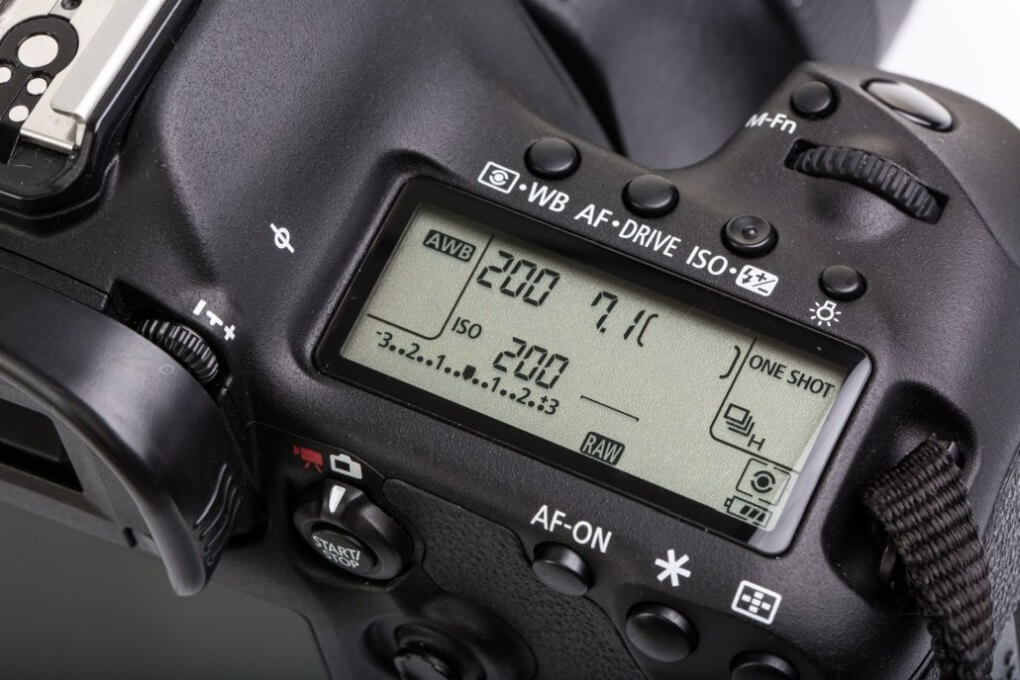
On darker and overcast days you should set your ISO to around 400-800. Using a higher ISO will allow you better control over your shutter speed and aperture. You will start to notice some noise in photos shot at an ISO of 800, especially in the darker parts of the image.
ISO >800 - At Night and Indoors
If you are shooting in very poor light, then setting your ISO to about 800 is recommended. Alternatively, you can use a tripod and a longer exposure time on still subjects. This will keep your images clean from noise.
The Subject Also Influences the Choice of ISO Value
Selecting the correct ISO value depends on the subject as well as the lighting conditions. Increasing the ISO will allow you to lower your exposure time and capture fast-moving subjects in sharper detail. When take photos of still subjects however, you do not need a short exposure time, which means that you can choose lower ISO values.
Removing Noise Caused by High ISO Values
You can remove unwanted image noise in just a few steps with many image-editing programmes. You don't have to have a professional and expensive programme like Photoshop. The programme Neat Image is excellent for transforming unsightly images with high levels of image noise into high-quality images. The demo version of the programme can be used free of charge and without registration with some functional limitations.
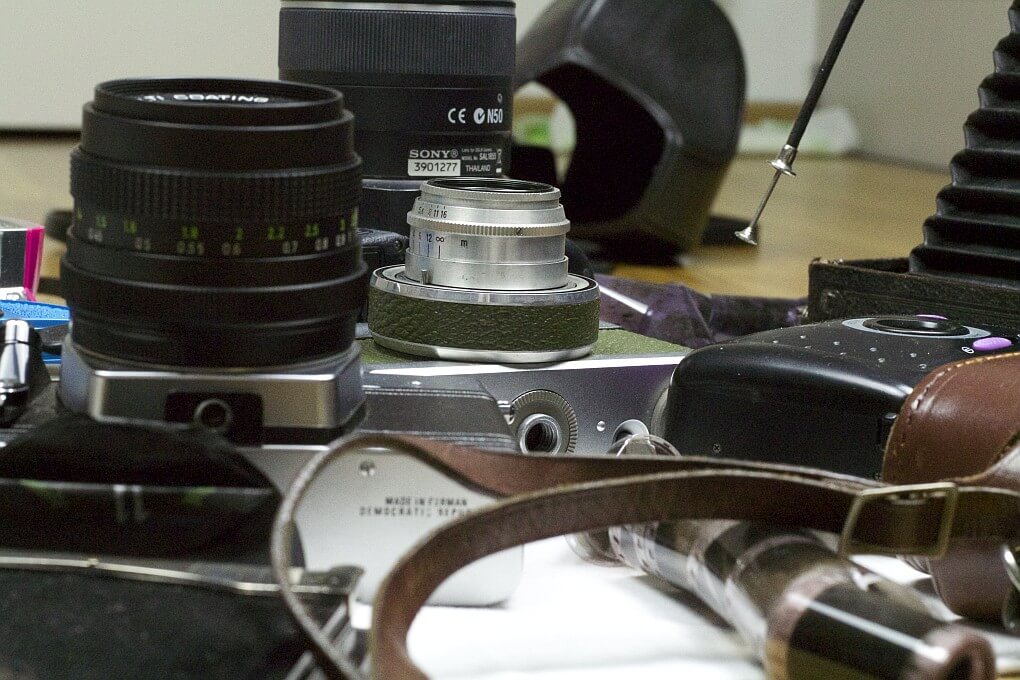
First, insert the desired image into the programme via ‘Open Image’.
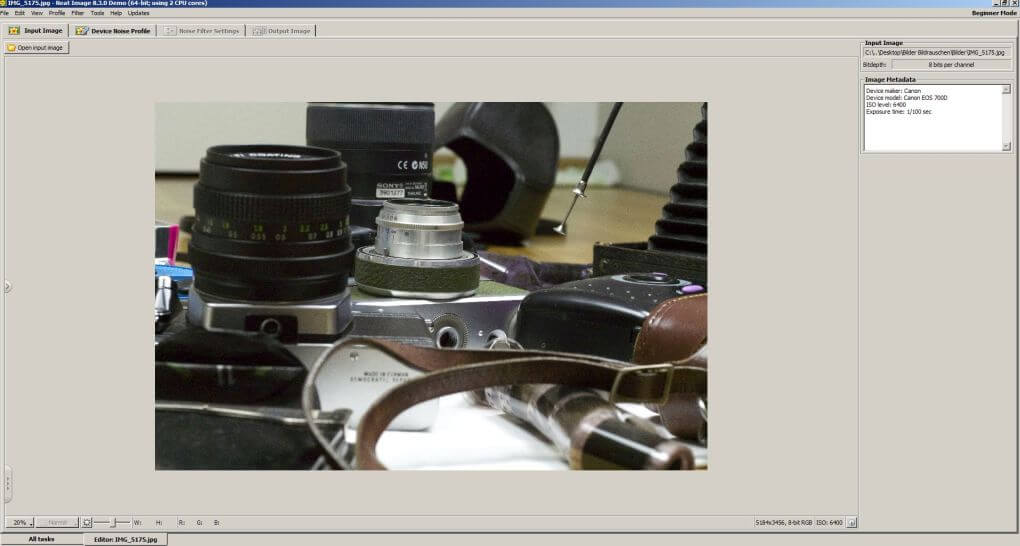
Then click on the menu tab ‘Device Noise Profile’. Select the option ‘Auto Profile’ so that Neat Image loads the correct noise profile for your camera model. After a short loading time, information about the camera model and the current recording will appear in the right sidebar.
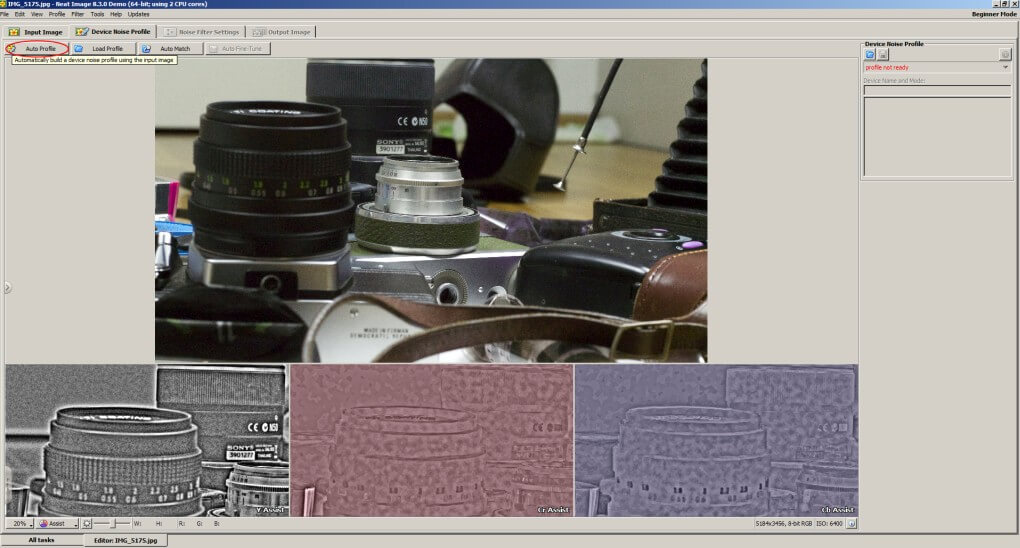
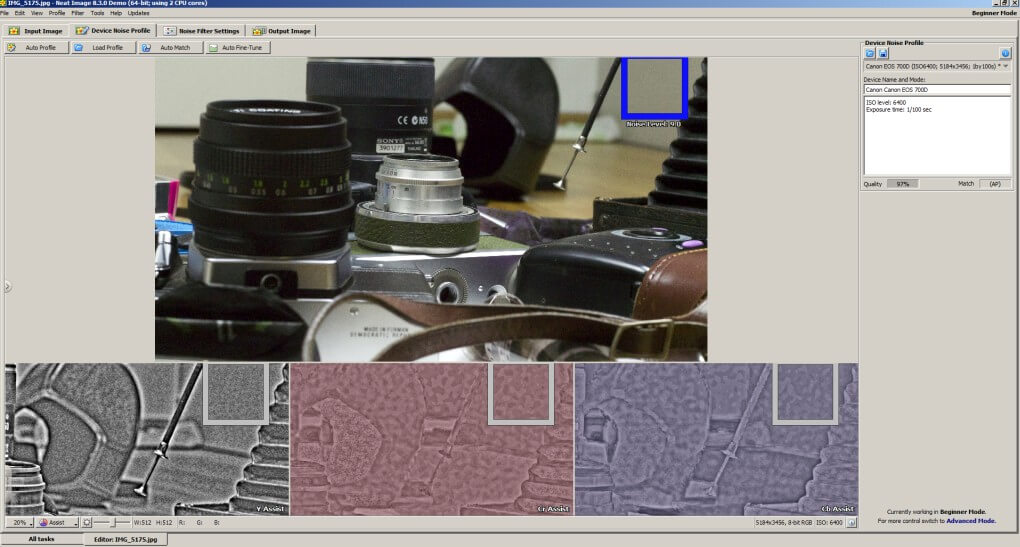
In the case of our image, the noise behaviour profile of the Canon EOS 700D was loaded, i.e. the camera with which the image was originally taken. To continue, click on the menu tab ‘Output Image’.
A short time later you will be shown a noise-corrected version of your image. This will be labelled "Filtered" at the top right of the image. By clicking on the lettering, you can switch back and forth between the display of the original and the processed image. Finally, you can save the finished picture.
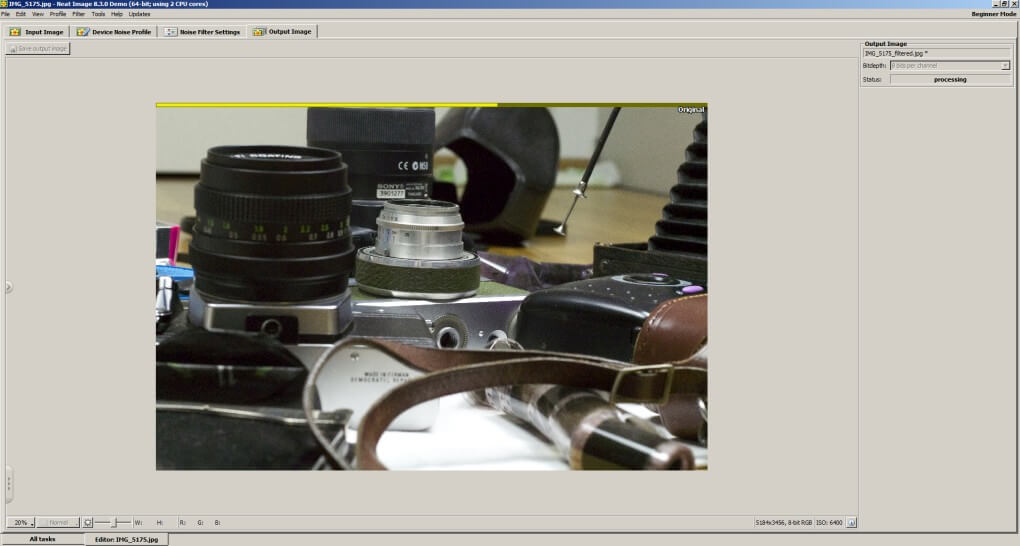
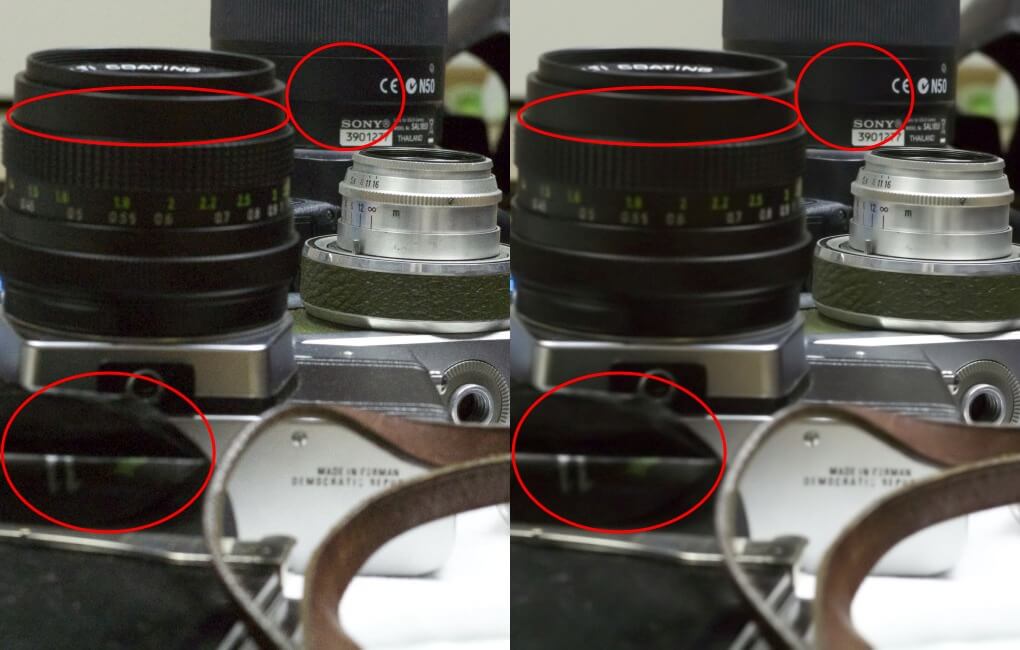
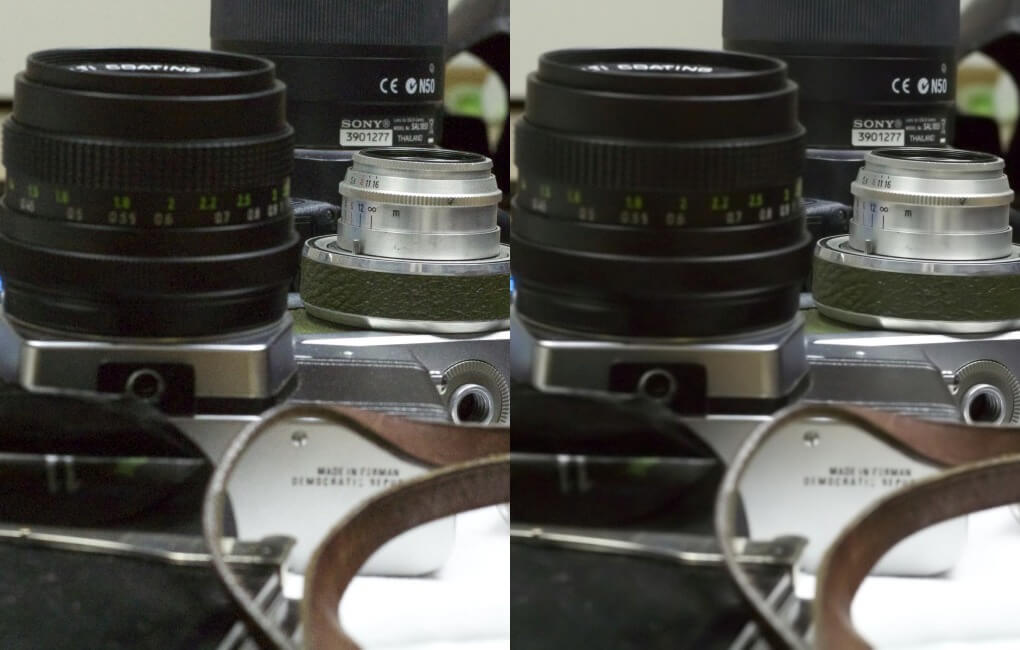
In the following picture you can see again how easily you can correct photos with image noise. On the left you can see the original image and on the right the image has been corrected with the help of Neat Image. You can remove unwanted image noise in just six simple clicks and you will never have to worry about choosing a higher ISO value.
