How to create a magical photo cube
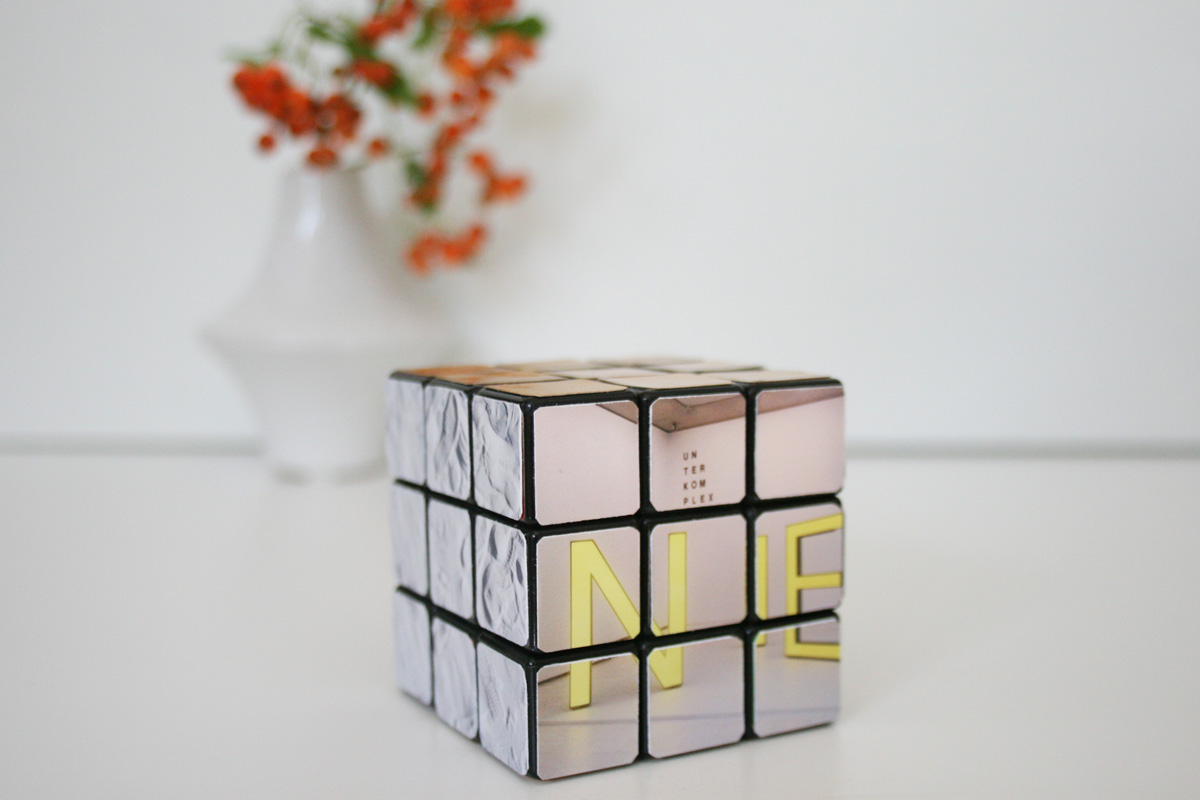
It’s a 3D puzzle that everyone is familiar with and that is totally new in this form. Who is not familiar with the Rubik’s Cube with its colourful sides that can be turned and twisted however you like. Magical photo displays can be created out of a Rubik’s Cube – a special way of presenting your photos. Your favourite motifs and photos of the family are not just shown off in a very special way, no, the photos are a creative toy at the same time, which is also a wonderful idea as a personal gift.
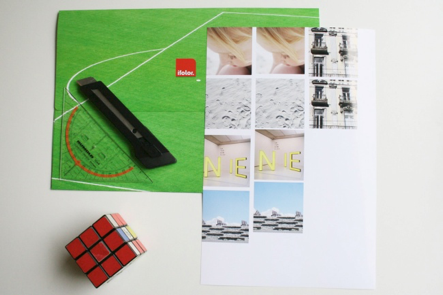
And all you need for this is:
- A good quality photo poster in the size 20 x 30 cm with your favourite motifs in 5.5 cm x 5.5 cm format
- A Rubik’s Cube (which you can find at any flea market)
- Ruler, cutter and scissors, glue
How to create your pretty photo display out of a Rubik’s Cube
Have various favourite photo motifs each in 5.5 x 5.5 centimetre format printed at ifolor as a 20 x 30 centimetre photo poster. The high-quality digital print is gloss and produced on tough photo paper that can be easily processed and because the paper is coated, no fingerprints are left on the photo cube after turning the different elements once the photos are stuck on.
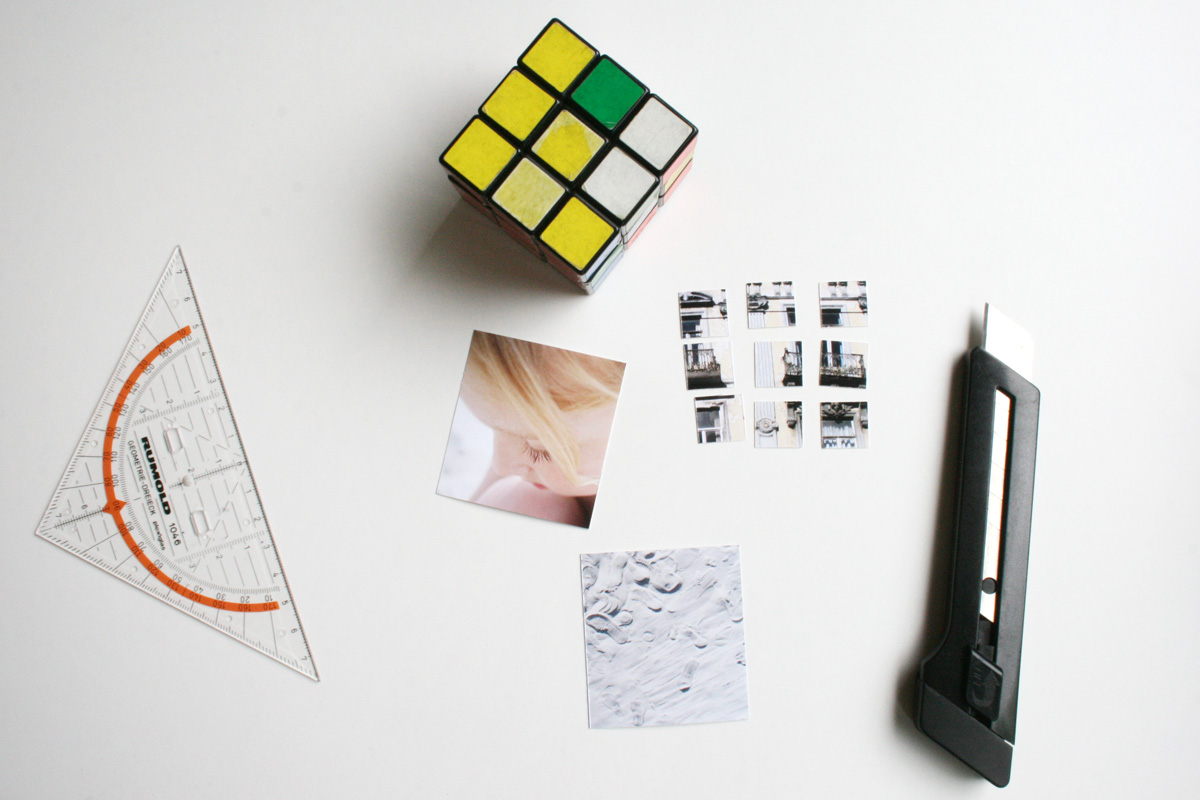
Now carefully cut out the individual motifs. The cube has six sides, each with 1.7 x 1.7 centimetre elements. The cutting out is a very fiddly process but it’s worth it! In addition to your own photos, arrange for some elegant patterned paper, for example copper coloured, this will give the photo collection a calmer and even better quality look thanks to the golden cube elements.
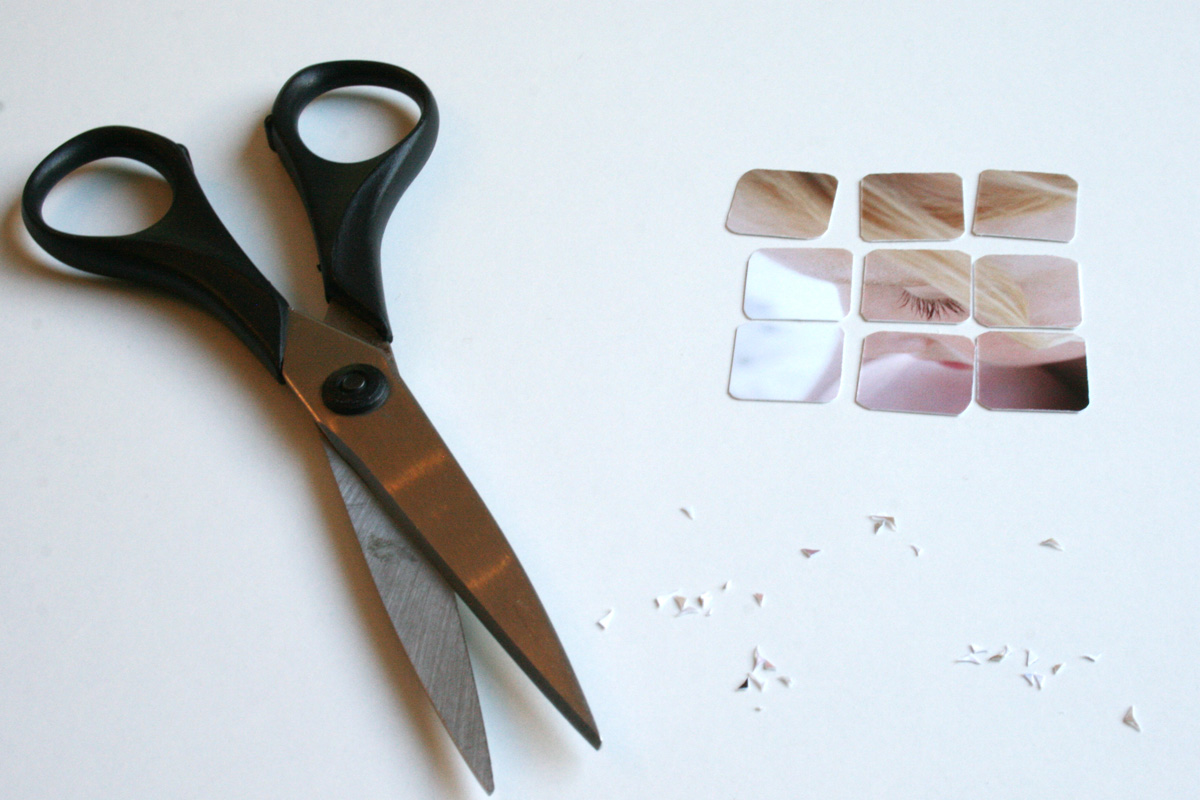
Then round off the corners of the individual 1.7 x 1.7 centimetre cube elements using the scissors. This makes it easier to turn the Rubik’s Cube later on without the photos coming away in the corners.
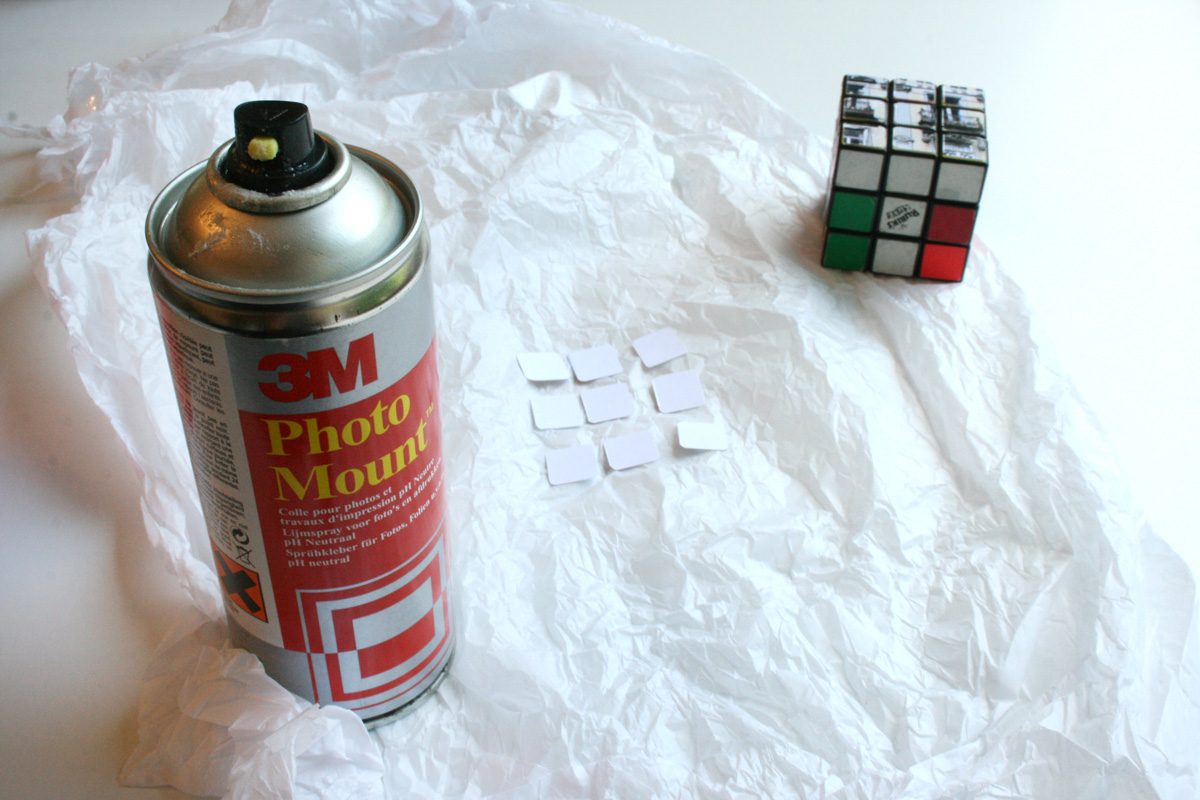
Now stick the individual puzzle pieces onto the cube’s sides. Repeat the whole process five times until all the cube’s sides have the photographs and decorative paper stuck on.
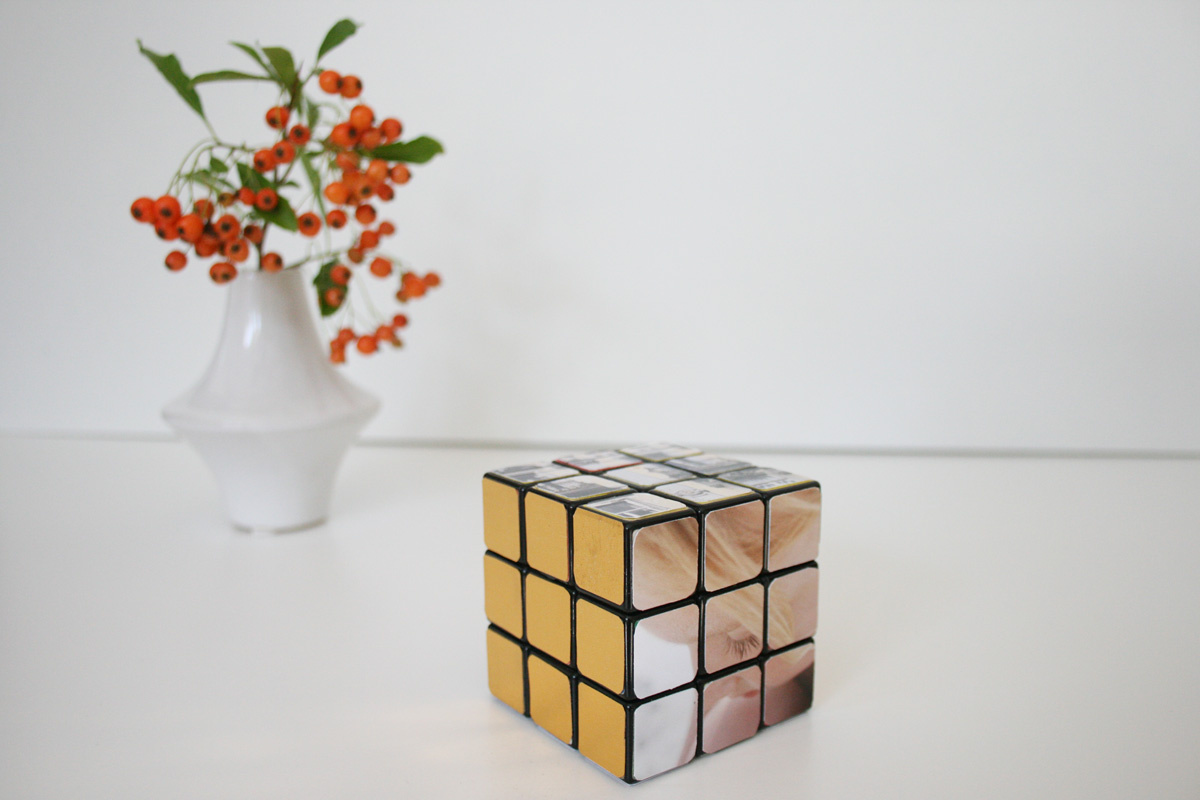
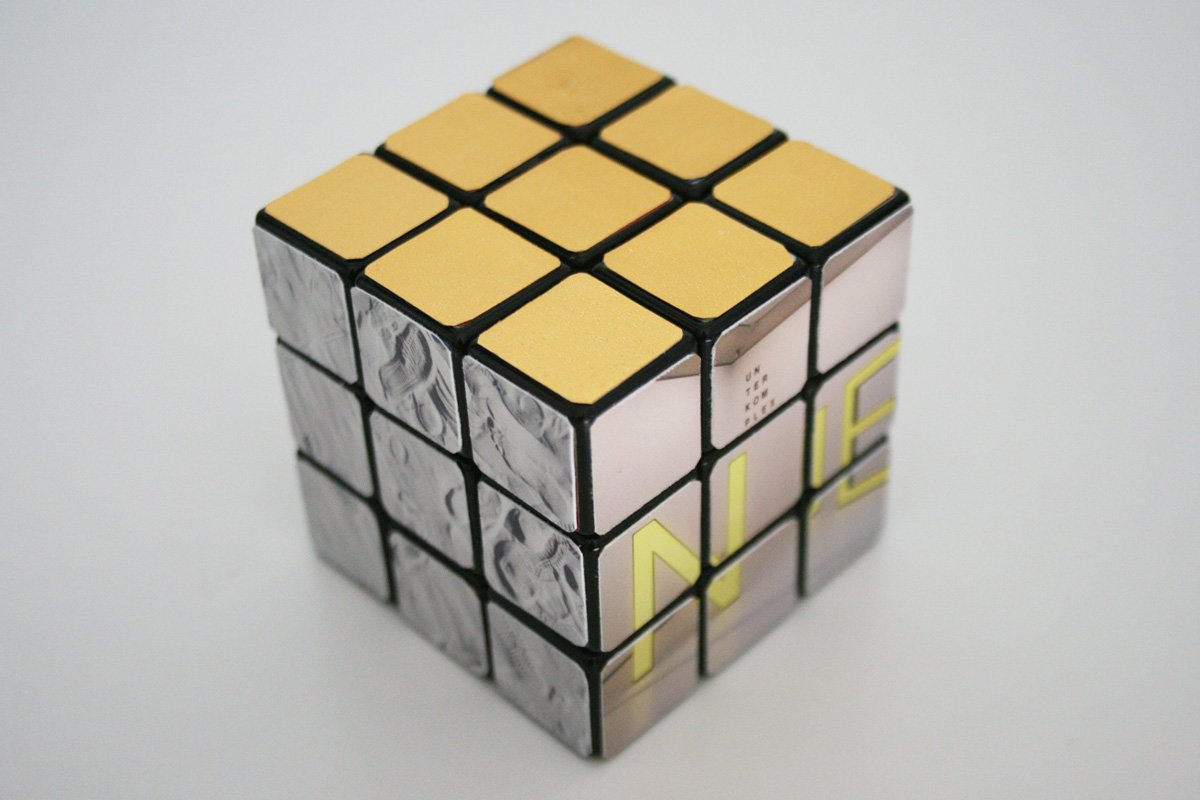
Photos and text: Julia Marre • www.kommandokarottenbrei.de
Julia Marre is a freelance author and journalist with a penchant for photography and design. She writes the Kommando Karottenbrei blog. She plays around with photo products for ifolor and writes about these DIY projects and self-styled gifts.
