Creating An HDR Image With Exposure Bracketing
High-contrast subjects push many cameras to their limits. Anyone who has ever taken photos of a subject in a dark room during the day or wanted to capture objects in front of a very bright sky will be quite familiar with this problem. In our article Dynamic range, you can find out more about why this happens.
Although the human visual system is an absolute wonder, it does not cover the entire dynamic range of visible light. The ratio between dark and light areas exceeds the imageable range of printed images or images displayed on monitors. As a result, monitors and cameras only have a certain dynamic range. Photographers can therefore only capture a part of what they actually see. Digital photography allows you to enlarge or extend the dynamic range of your photo subject.
Some photographers have set themselves the task of bringing their photographs as close as possible to human perception. Unfortunately, HDR cameras are very expensive, which means most photographers have to make do with exposure bracketing.
Below we will explain step by step how you can create great HDR images in Photoshop from an exposure range.
What Are HDR Images?
HDR images are images with a very high dynamic range or subject contrast. Realistic images open up a whole new world of possibilities, as the dynamic range can capture a photo true to life. This is done by superimposing dynamic ranges from several photographs with different exposures, to achieve an almost complete subject contrast. Most of the information (e.g. colour gradations or contrast differentiations) is contained in the colour representation "Deep Color" (also known as colour depth). It is used in professional photography because it can reproduce the most colour nuances. As a comparison, "True Color" has a colour depth of 24-bit, which corresponds to 16,777,216 colour nuances. In contrast, "Deep Color" enables a colour representation from 30-bit of 1.07×10⁹ colours. However, conventional monitors can only display 24-bit colours. In the RGB colour space, 8 bits are available per channel (R G B = 3 x 8 = 24 bits). HDR images cannot be displayed on these monitors. Graphic programmes use so-called tone mapping operators for this purpose.

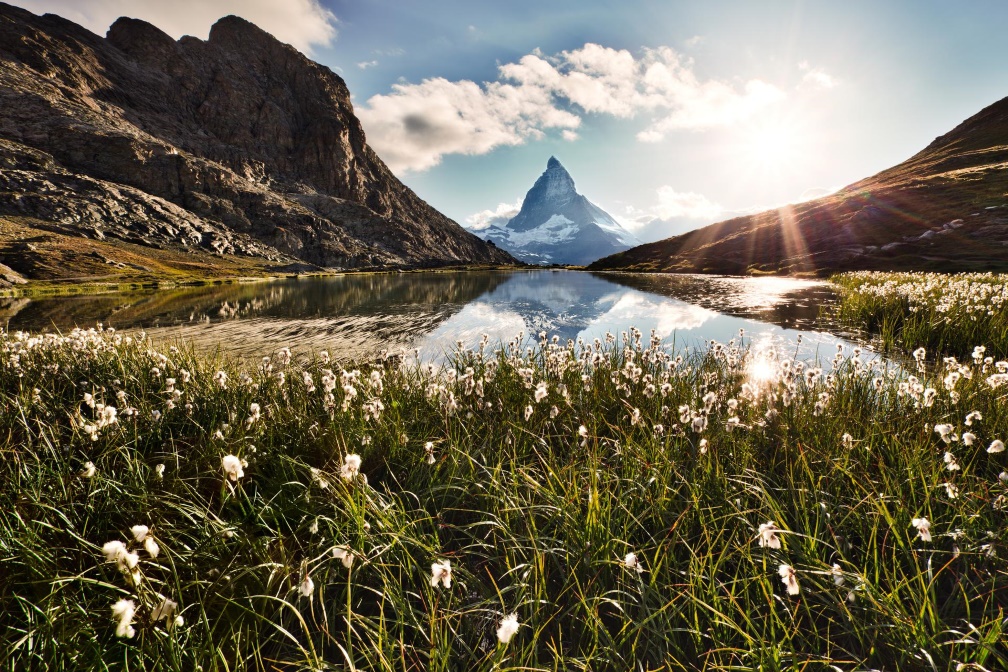
An example of exposure bracketing.
How To Put Together An Exposure Series
Photoshop is great for creating an HDR image. You will need very good images if you want to edit them on your computer. You should keep the following in mind if you want to take photos and combine them using the "Merge to HDR" option in Photoshop.
A tripod is extremely important for an exposure series. It ensures that your field of view does not change. A remote shutter release is highly recommended to help keep the camera in place. Putting the images together afterwards only works if all the images show exactly the same subject.
Depending on the dynamic range of the subject (e.g. very bright and very dark), a sufficient number of images with very different exposure levels is required. At least three images are required, but we recommend five to seven images to achieve a good result.
If the aperture remains the same, only the shutter speed needs to be adjusted in order to obtain images with different exposures. Changing the aperture affects the depth of field, which can lead to different results. The ISO values should also remain unchanged in order to avoid any image noise. The camera's exposure bracketing option should not be used, as the differences in exposure are generally too small.
Tip: The difference between the exposures should be one or two EV steps (EV = Exposure Value) or the equivalent of two aperture values.
The lighting conditions should also be maintained and not changed with a flash in between.
Photoshop Tutorial: Merging Images Into An HDR Image
Below you can find out more on how to merge an HDR image from a series of exposures in Photoshop:

Photoshop feature: merging photos to HDR.
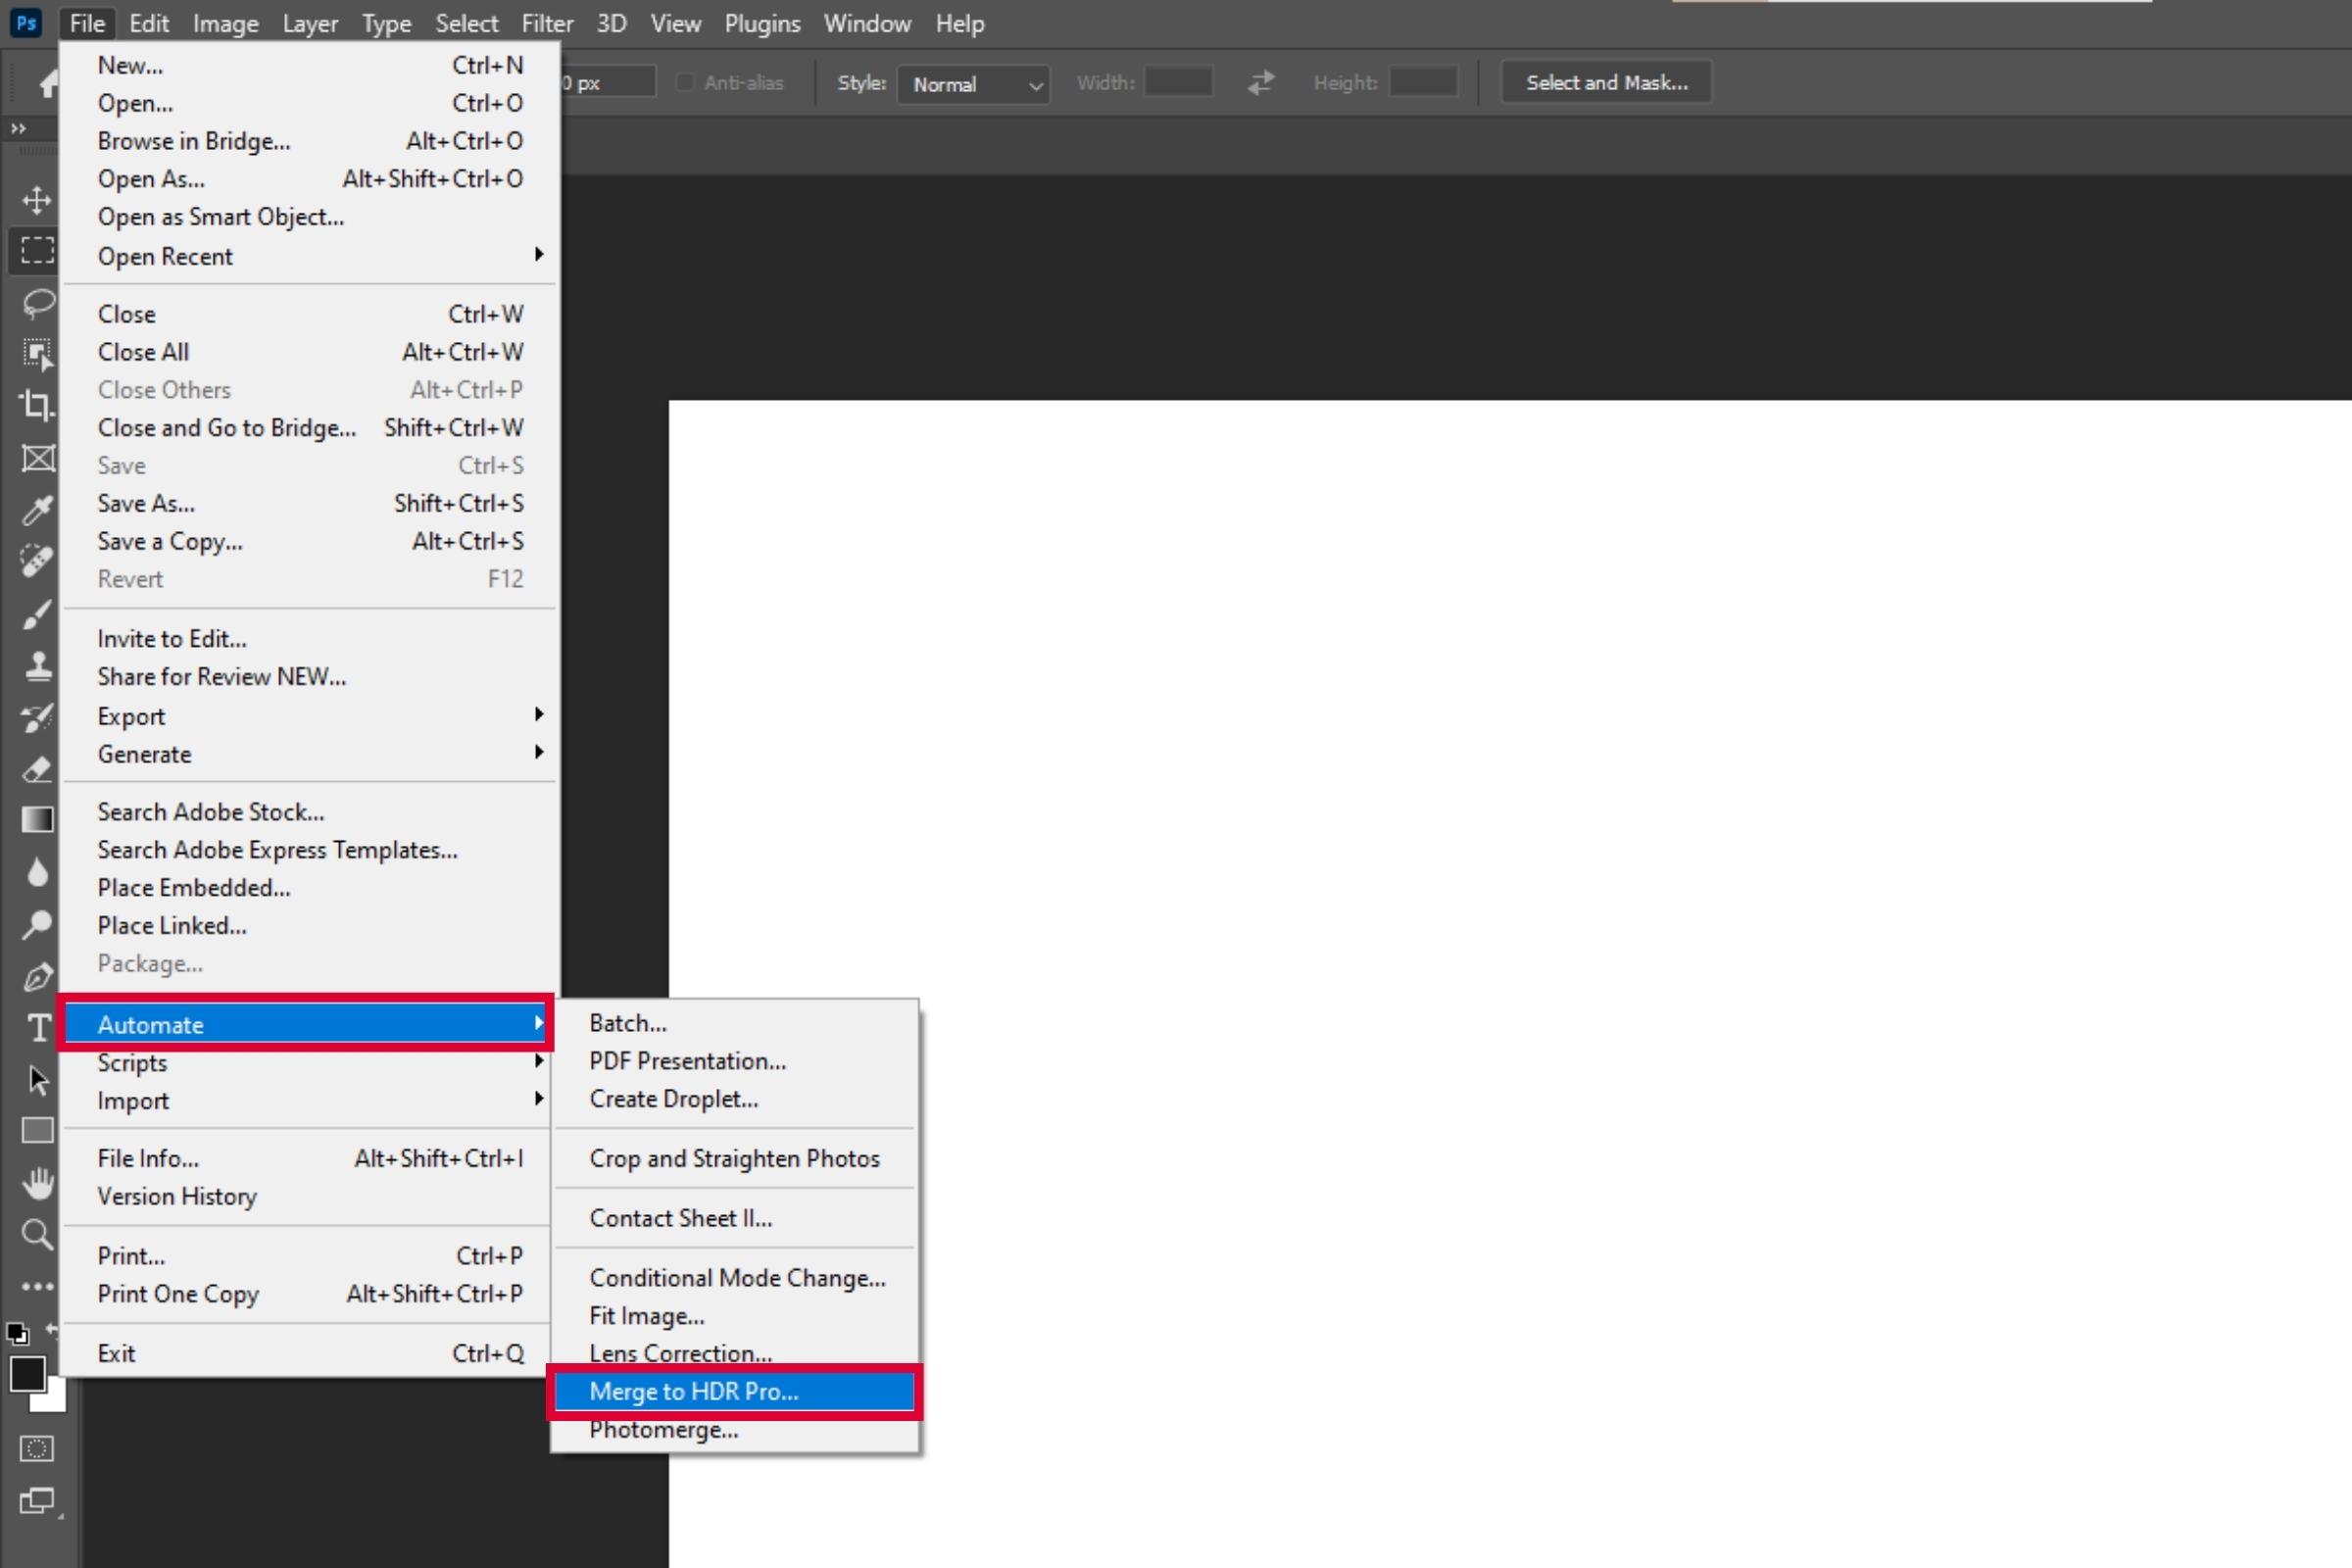
Start by opening Photoshop. You can find the option "Merge to HDR" by clicking on "File" → "Automate". Click on it and the following screen will then appear:

The “Merge to HDR" option in Photoshop
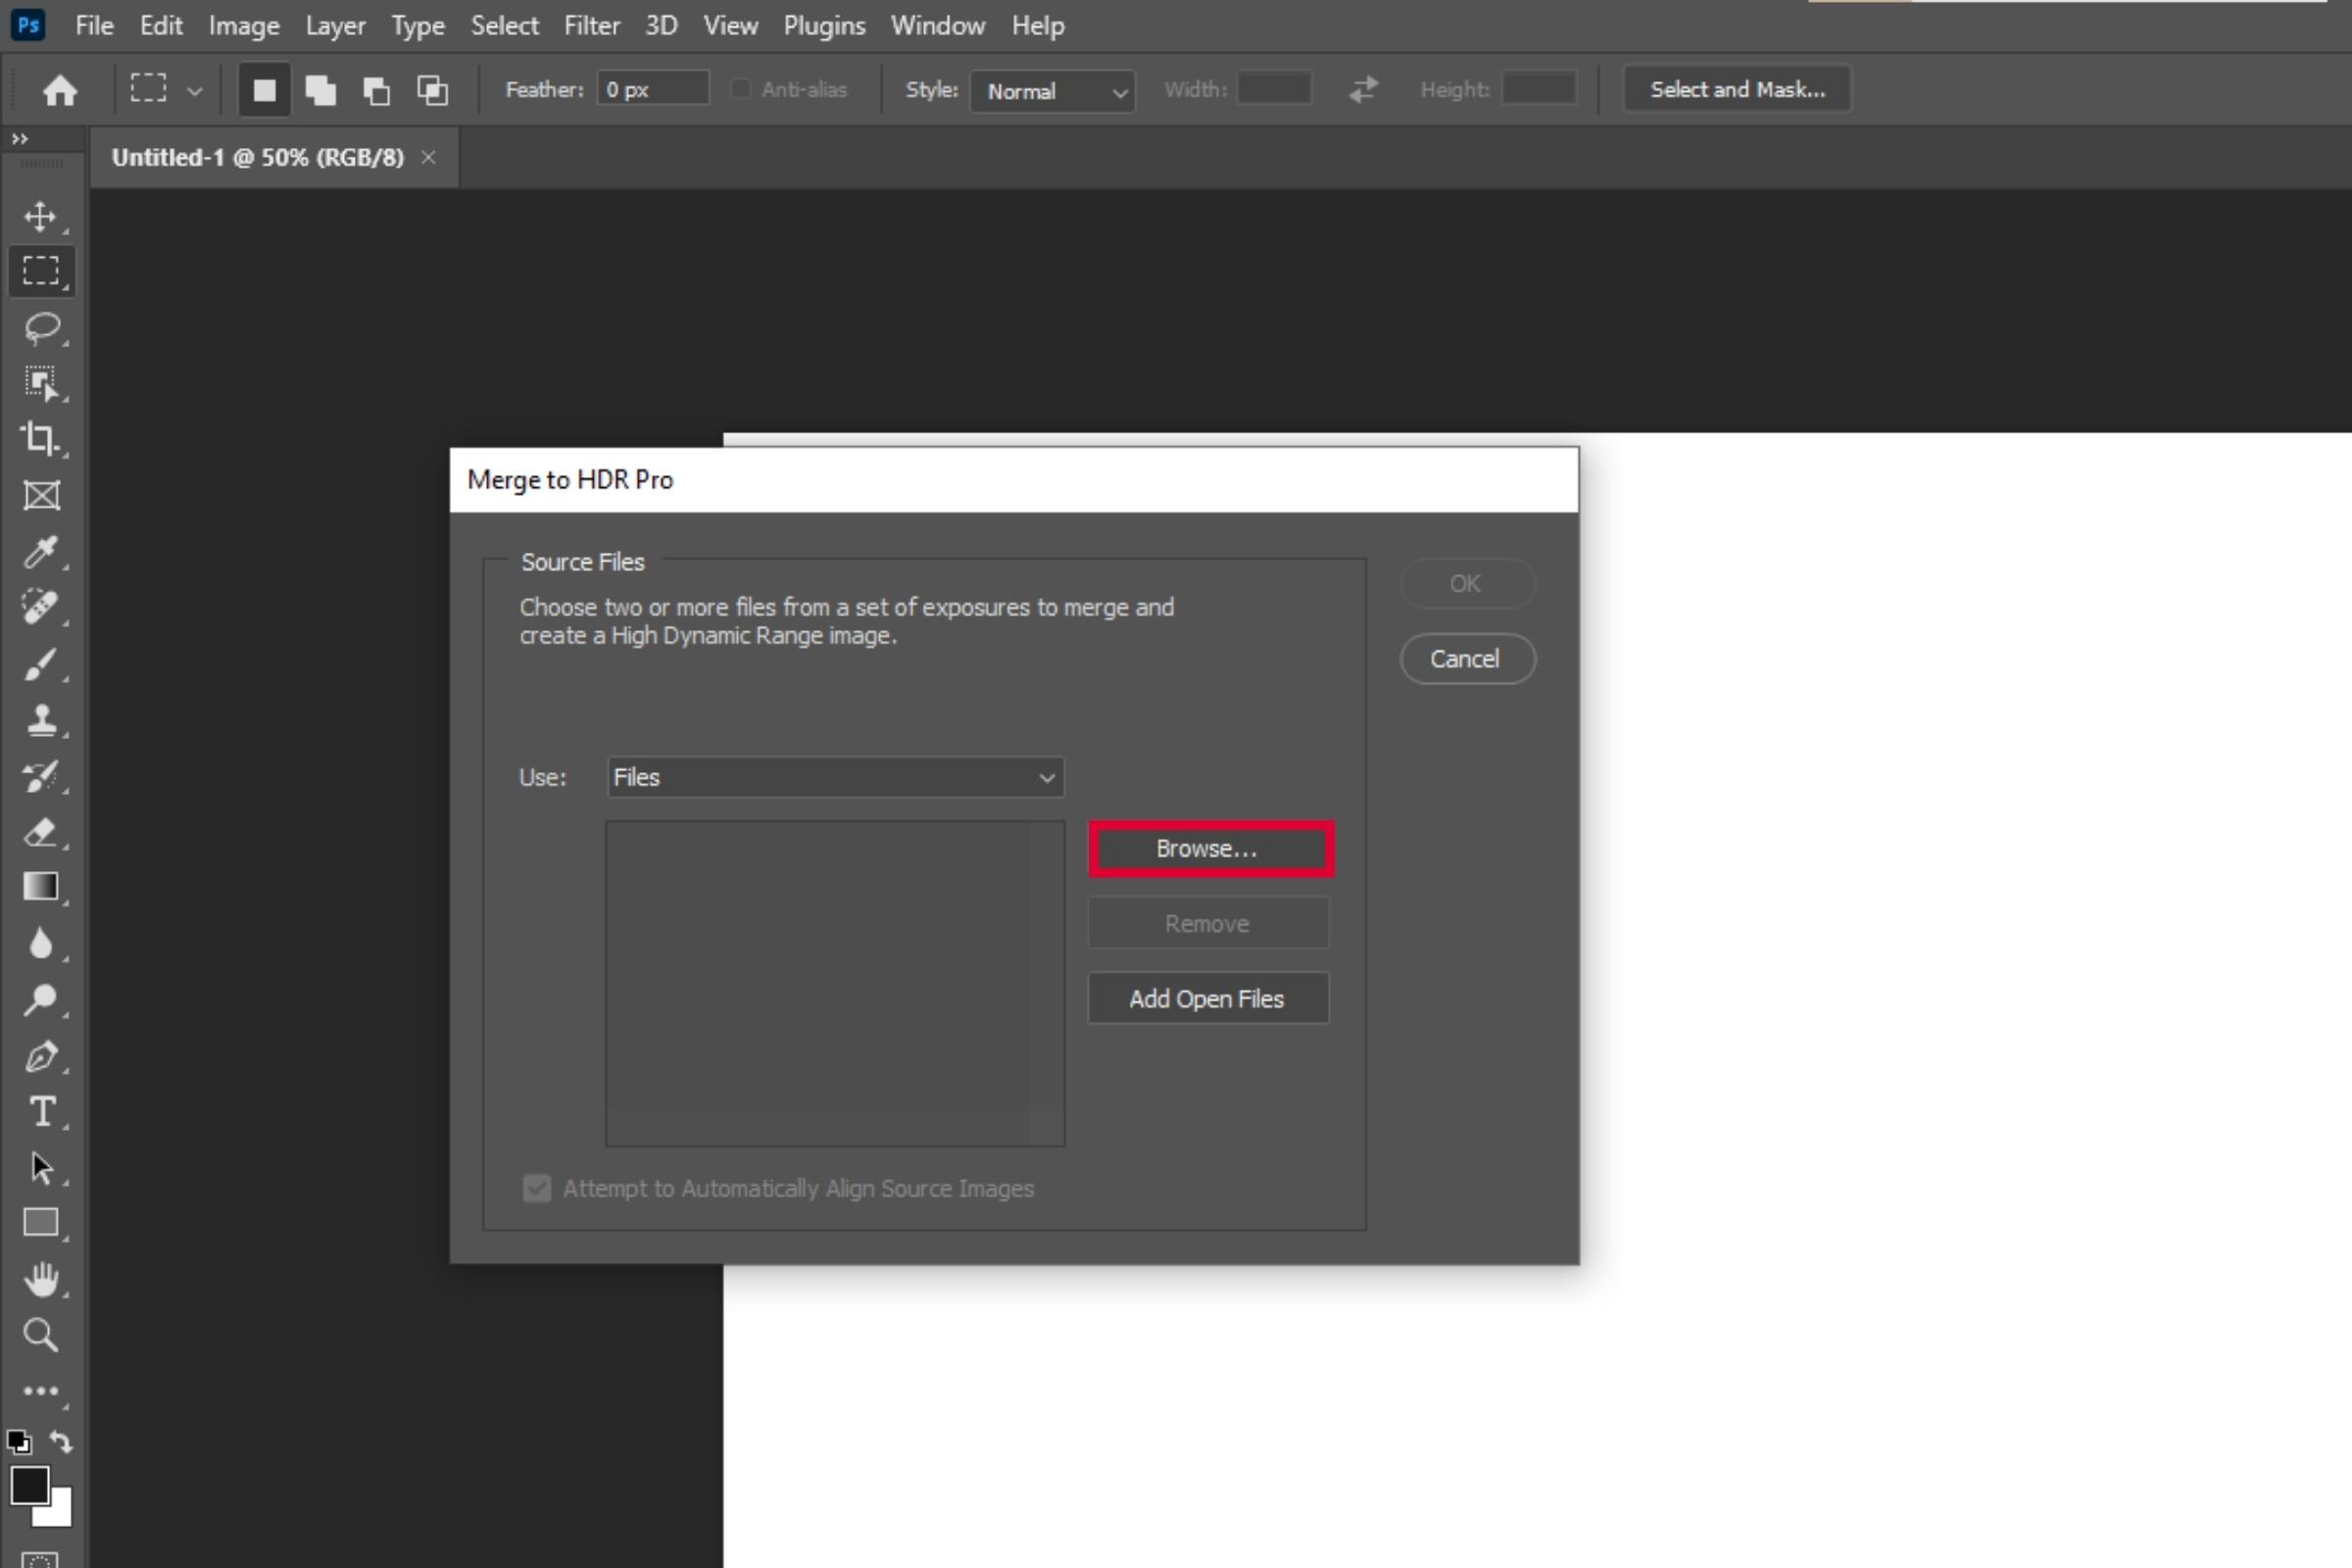
By clicking on "Browse", the individual selected images from the respective folder will then be merged into an HDR image. Photoshop can process file formats such as Photoshop (PSD, PSB), Radiance (HDR), Portable Bit Map (PBM), OpenEXR and TIFF.

A selection of images that are being merged into an HDR image in Photoshop.
After selecting your images, all the files that are to be merged into an HDR image will then be shown. To get started, click on "OK". Small adjustments can then be made. As an HDR image contains contrast levels that standard monitors do not display, the HDR preview is downscaled using algorithms (tone mapping). Compared to a simply exposed subject, the image will generally still appear more detailed overall.

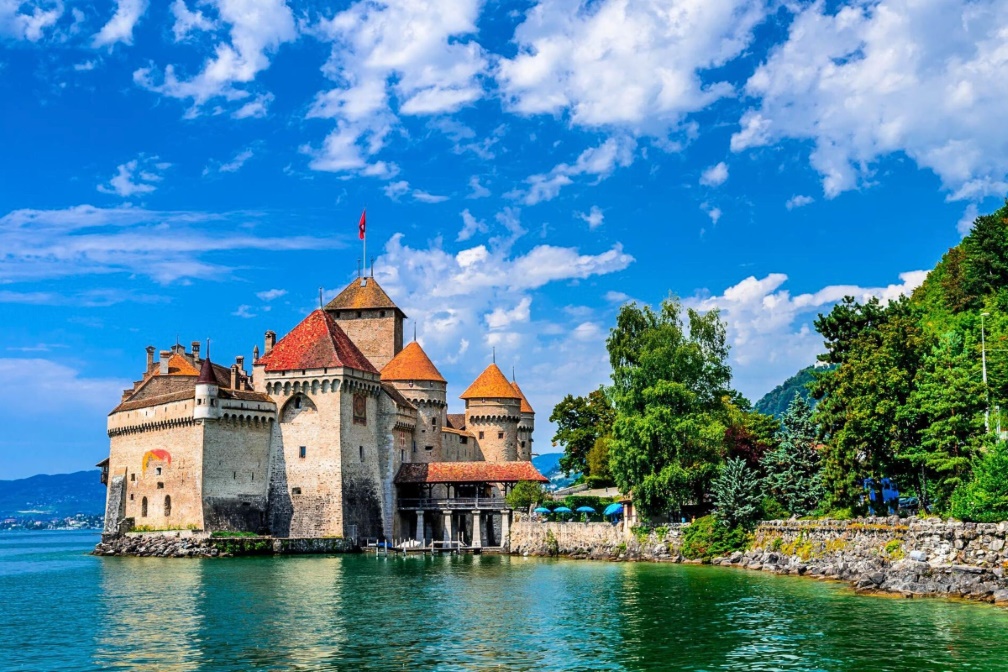
An example of an HDR image.
Conclusion
HDR images are characterised by a high contrast. HDR technology brings photos to life with brighter, richer colours and more details. They can give a more sophisticated representation of what the viewer saw and captured. Even in bright sunshine, fine drawings and details can still be made visible in dark areas. In contrast to some newer televisions, however, lots of screens are not yet able to reproduce a dynamic range of HDR images.
