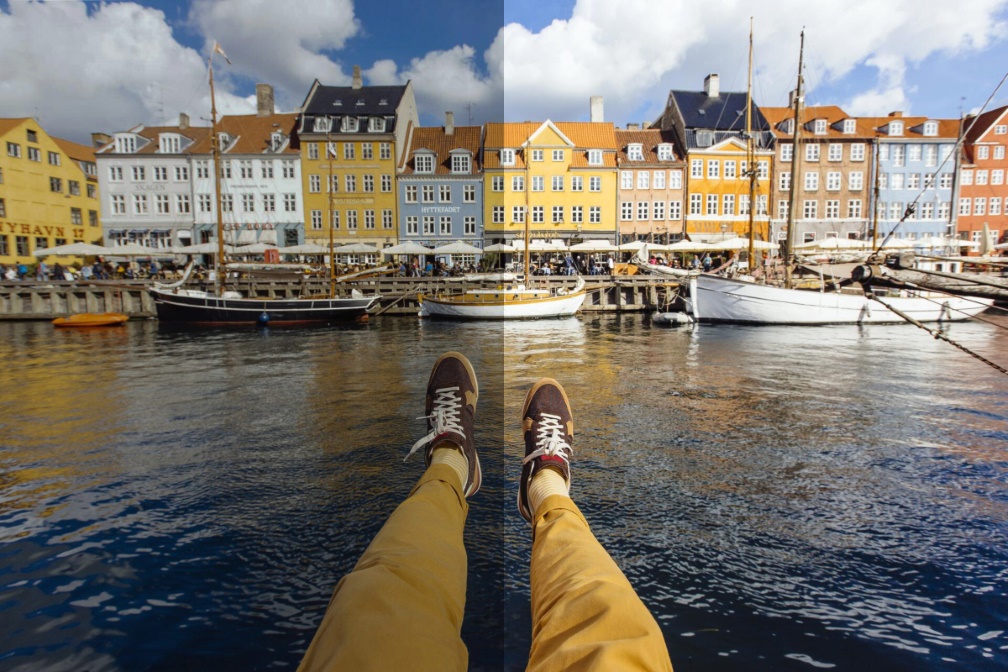
How To Fix Underexposed Images In Photoshop
Getting the correct exposure is very important for the effect of an image. The exposure of a shot can be checked immediately before taking a photo thanks to the display on your digital camera and also by having a look at the histogram. However, despite all the knowledge and tools available, underexposed images can still happen. Image editing programmes such as Photoshop, which offer a wide range of features, make it possible to edit underexposed images. You can use them to correct and edit elements in your photos.
Below we will show you 4 different ways in which you can easily edit underexposed images in Photoshop.
Correcting Exposure, Brightness and Contrast In Photoshop
The "Image" tab is located on the menu bar in Photoshop. This contains a wide range of options for editing images. You can edit the exposure by clicking on "Image - Corrections - Exposure", which will then open a new window.
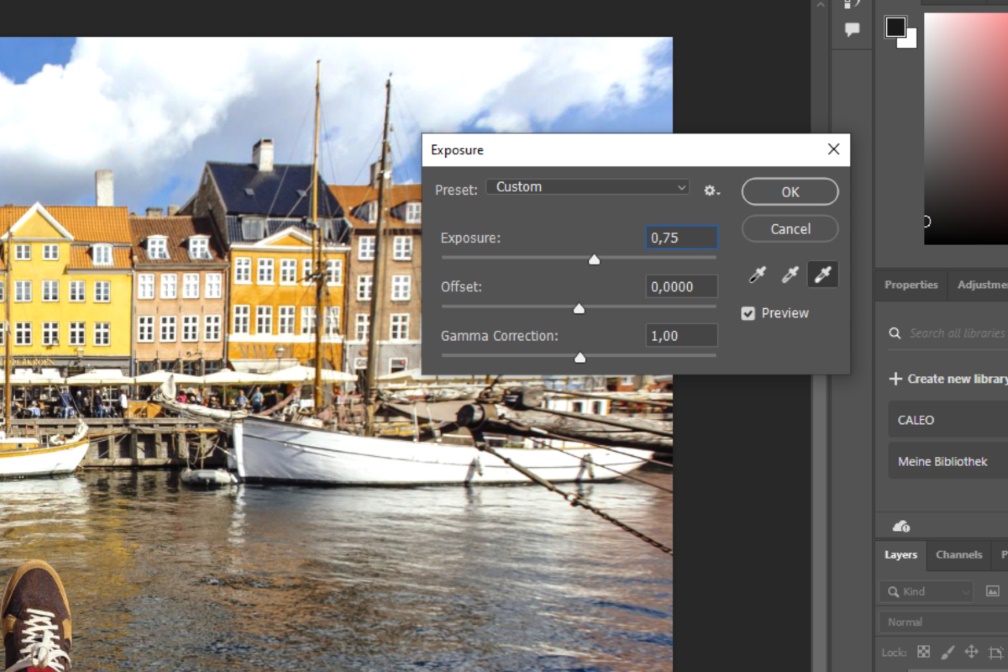
You should now see three different sliders to correct the exposure. Moving the first slider "Exposure" is usually enough. To brighten the underexposed image, the slider must be moved to the right. The second slider, "Offset", refers to the midtones and therefore ignores the shadows and highlights of a shot. As with exposure, moving the slider to the right will brighten the image and moving it to the left will darken it.
If the image is darkened by the offset and further lightened with the exposure, a higher contrast can be created in the image. Gamma correction can also be used to brighten or darken the image. The shadows and highlights will also be included.
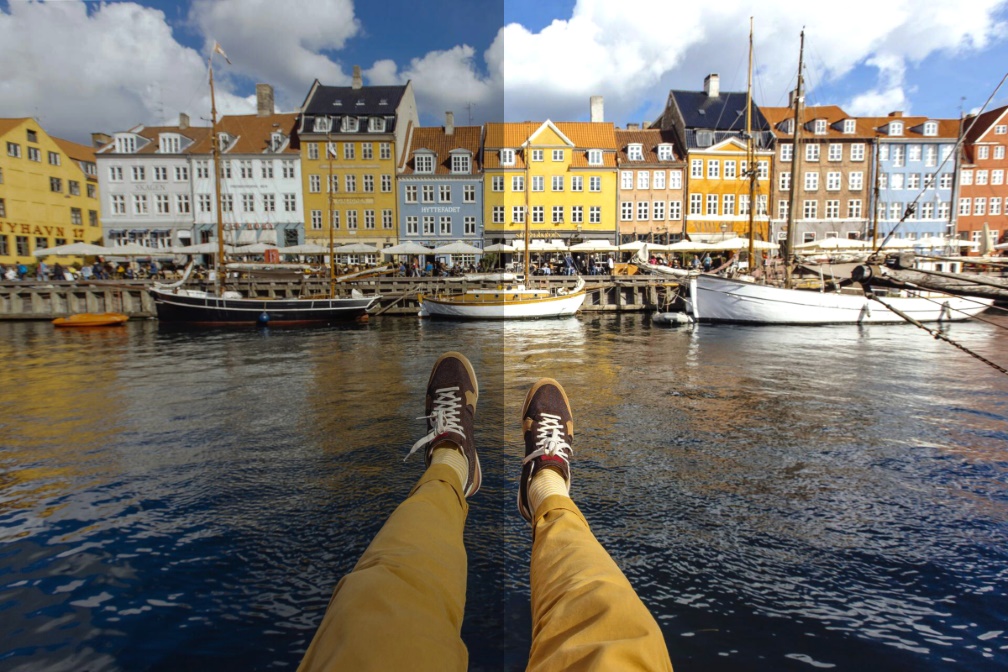
You can find brightness and contrast under "Image - Corrections". A new window will then open.
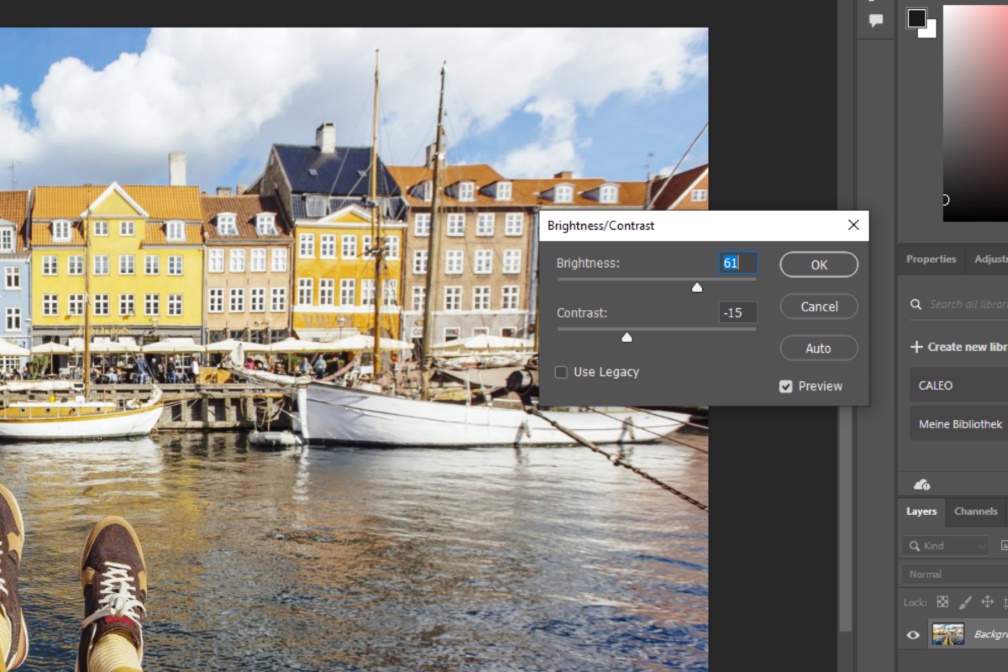
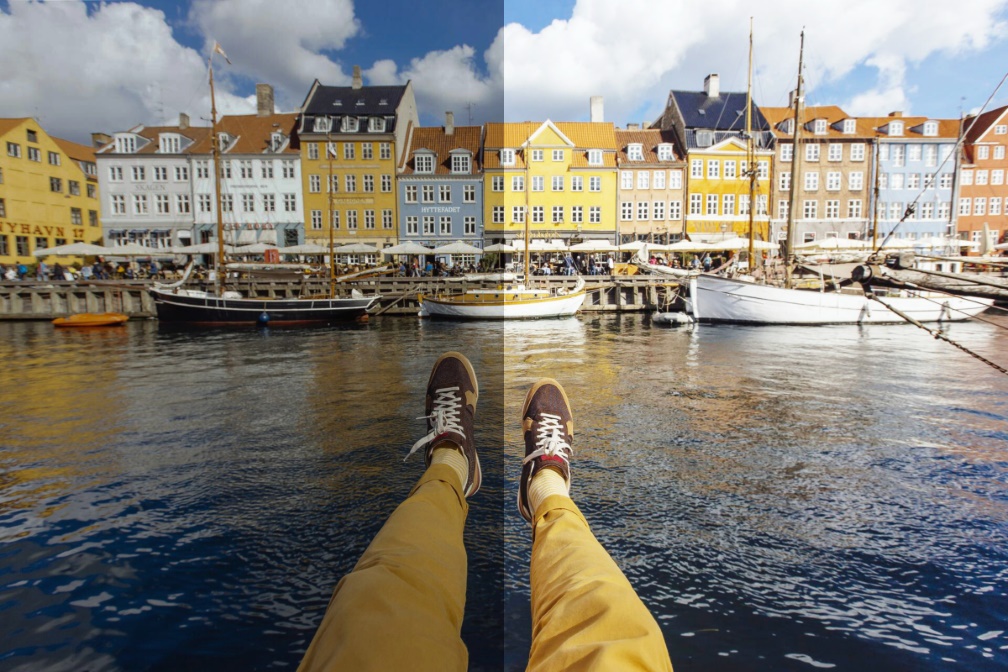
Contrast and brightness can also be changed by using the sliders. The brightness or contrast can be increased by moving the slider to the right and decreased by moving it to the left. In our example, the brightness in the image has been increased so that it looks brighter. The contrast, on the other hand, has been reduced to avoid the effect of shadows. Otherwise this would make the subject stand out.
How To Correct The Tone In Photoshop
Another way to correct the exposure of your image is by editing the tone. This feature can be found above the layer control panel in Photoshop under the "Corrections" tab. Select the symbol for tonal correction and a histogram with three arrows in white, grey and black will then appear on the editing options.
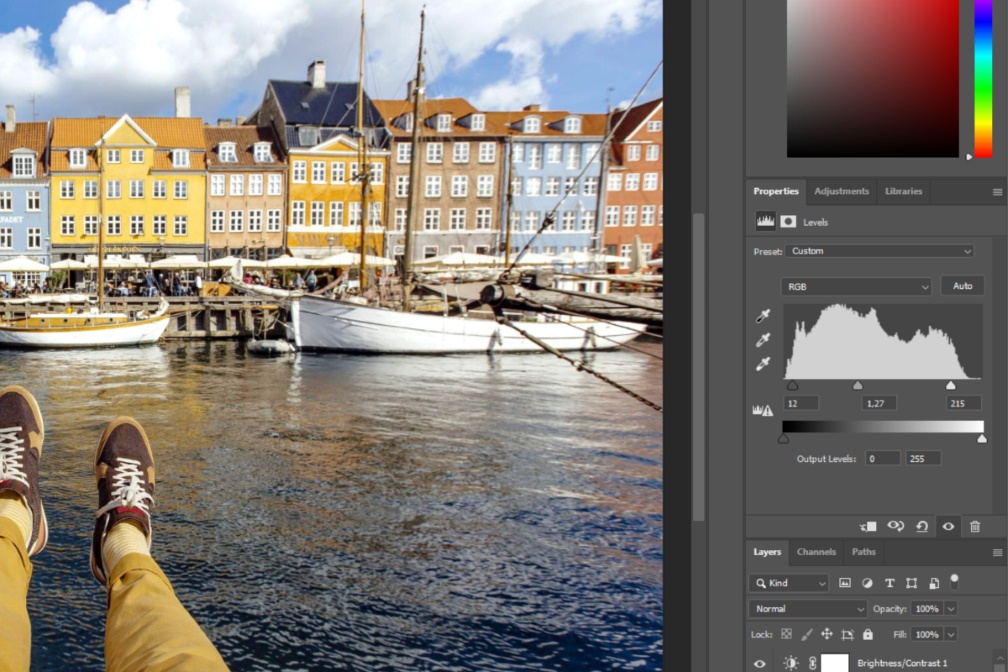
Start by moving the white slider if you would like to brighten your image. This is moved to the left and up to the first elevation on the histogram, which will increase the highlights in your shot. The grey arrow is for the midtones. This can also be moved to the left. However, keep in mind that the contrasts can disappear if the midtones are shifted too far. A higher contrast can be created by moving the black arrow slightly towards the right.
Multiply Blend Mode For Better Exposure
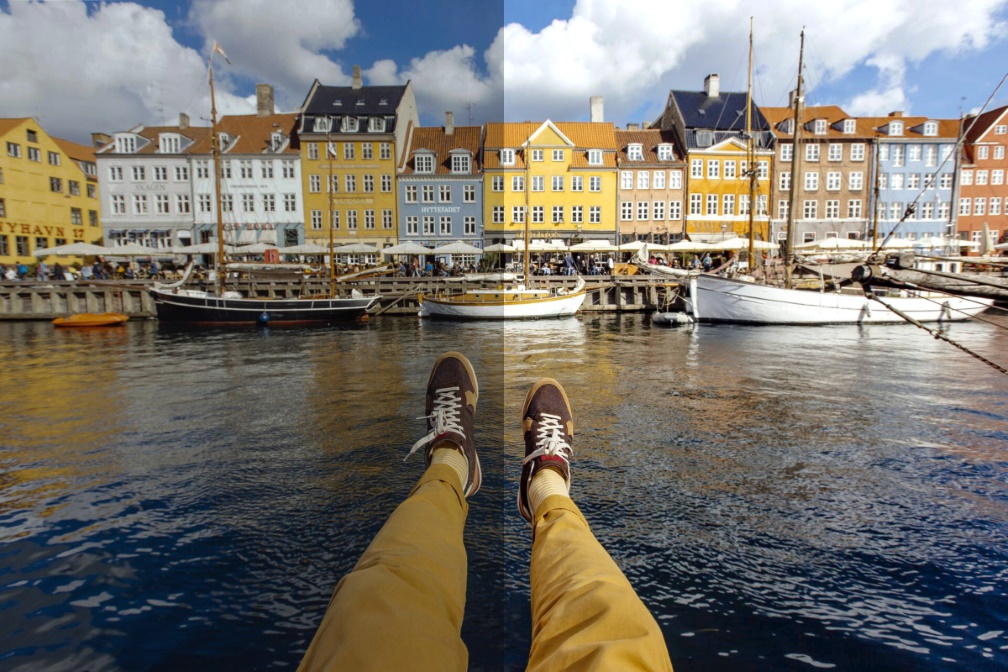
The quickest and easiest way to brighten up an underexposed photo is to use the Multiply Blend Mode in Photoshop. If the underexposed photo has been opened in Photoshop, a copy of the layer is required. To duplicate a layer, right-click with your mouse or use the shortcut Ctrl+J for Windows and Cmd+J for Mac. Make sure that the new layer is framed in white and select the "Multiply Blend" filter.
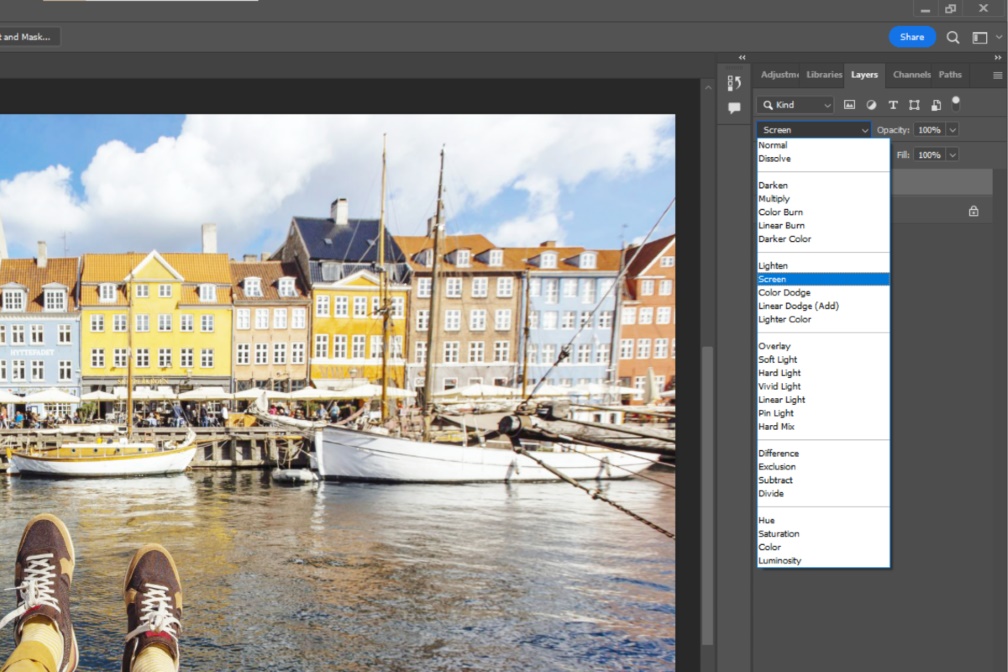
If the brightening effect is too weak, you can duplicate the negative multiplied layer again. This will increase the brightening effect. If the effect is too strong, it can easily be lowered by reducing the opacity of the layer.
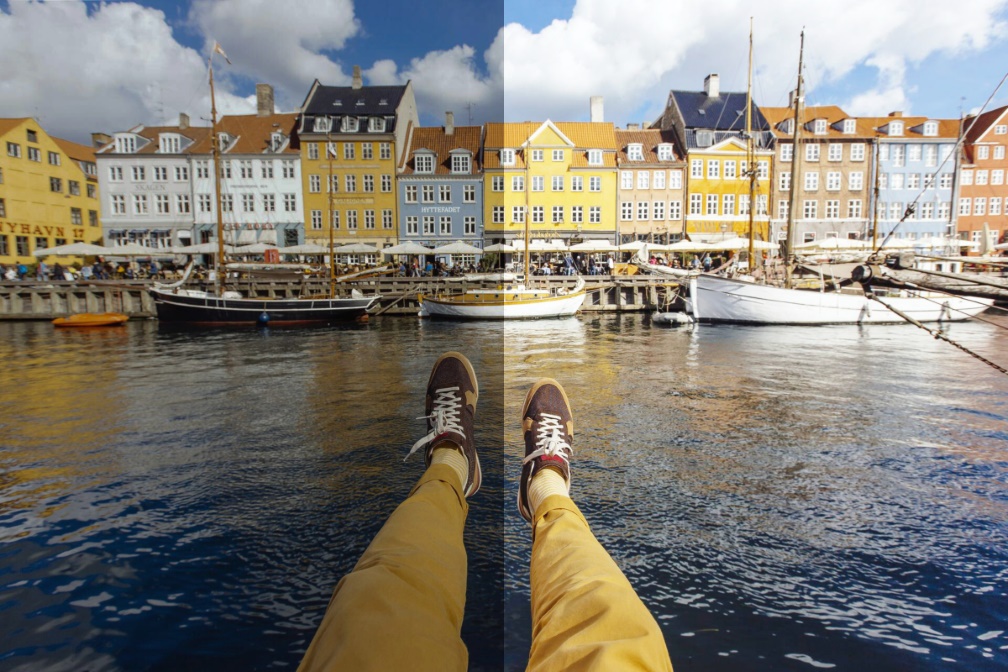
Conclusion
Photoshop offers a wide range of options for optimising underexposed images. In addition, all the methods shown in this article can be combined with each other. Depending on your image, you may not only have to correct the brightness, but also the contrasts and midtones. By skilfully combining the different options, you can turn your underexposed photos into fantastic images.
We hope you enjoy getting creative and editing your photos!
