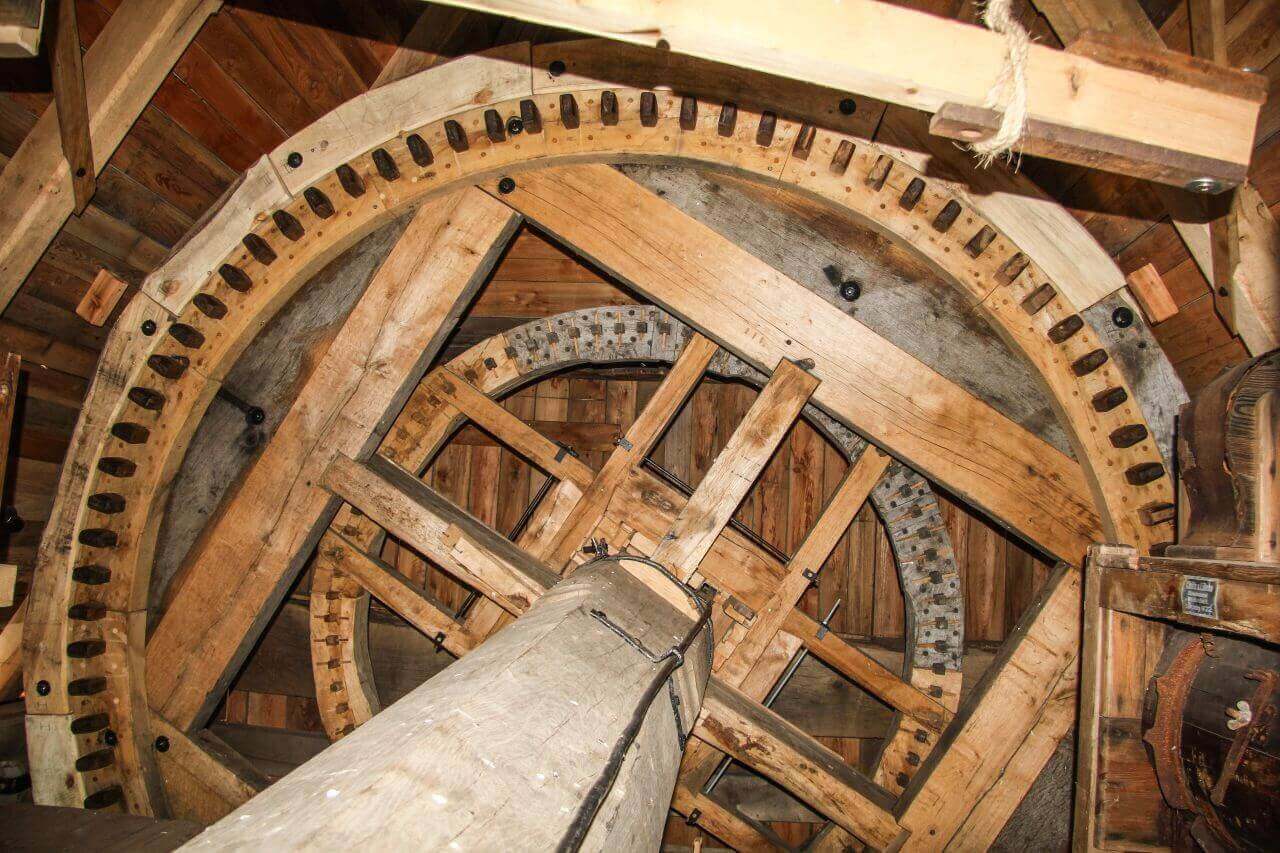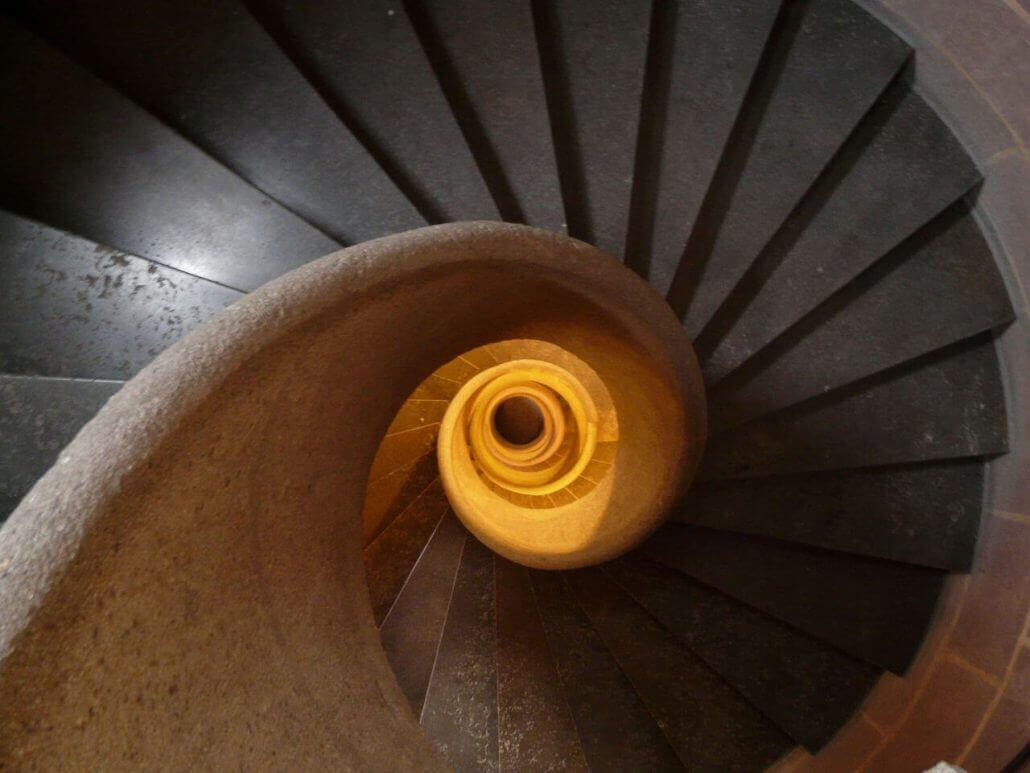
Capturing a closed room photographically
Have you ever wondered why a hotel room looks so much smaller in reality than the great photo you saw on the website? Or how do you manage to photograph your new living room furnishings for your family, who live on the other side of the country? Due to the limited space and sometimes difficult lighting conditions, indoor photography poses a real challenge. However, with the right equipment and a few tricks, even closed rooms can be captured professionally.
Indoor photography is not all disadvantages, though. The main advantage is that you don’t have to worry about wheather conditions and witht he right equipment you can adapt the scenery to your liking and needs.
Capturing the light just right
Pictures taken with flash often appear clinical and uninviting. The aim is to reproduce the lighting mood prevailing in the room in your photo. For this you need longer exposure times and a tripod or other stable support surface for the camera. The flash should be switched off as it would destroy the lighting mood and create hard shadows. You may be able to use an indirect flash (directed towards the ceiling or wall) to brighten up the room.
Many digital cameras also have a motif program especially for interiors, which you can set via the menu.
If you are working with a tripod or similar aid, you do not need an image stabiliser. However, it is recommended that you use a remote shutter release or set the self-timer to 2 seconds to avoid accidentally shaking when taking the picture. A long exposure time is ideal when photographing rooms where the room is not daylit.
If you want to use your hands to take the pictures, use the image stabiliser that almost all cameras offer. Where possible, increase the ISO values a little to shorten the shutter speed.
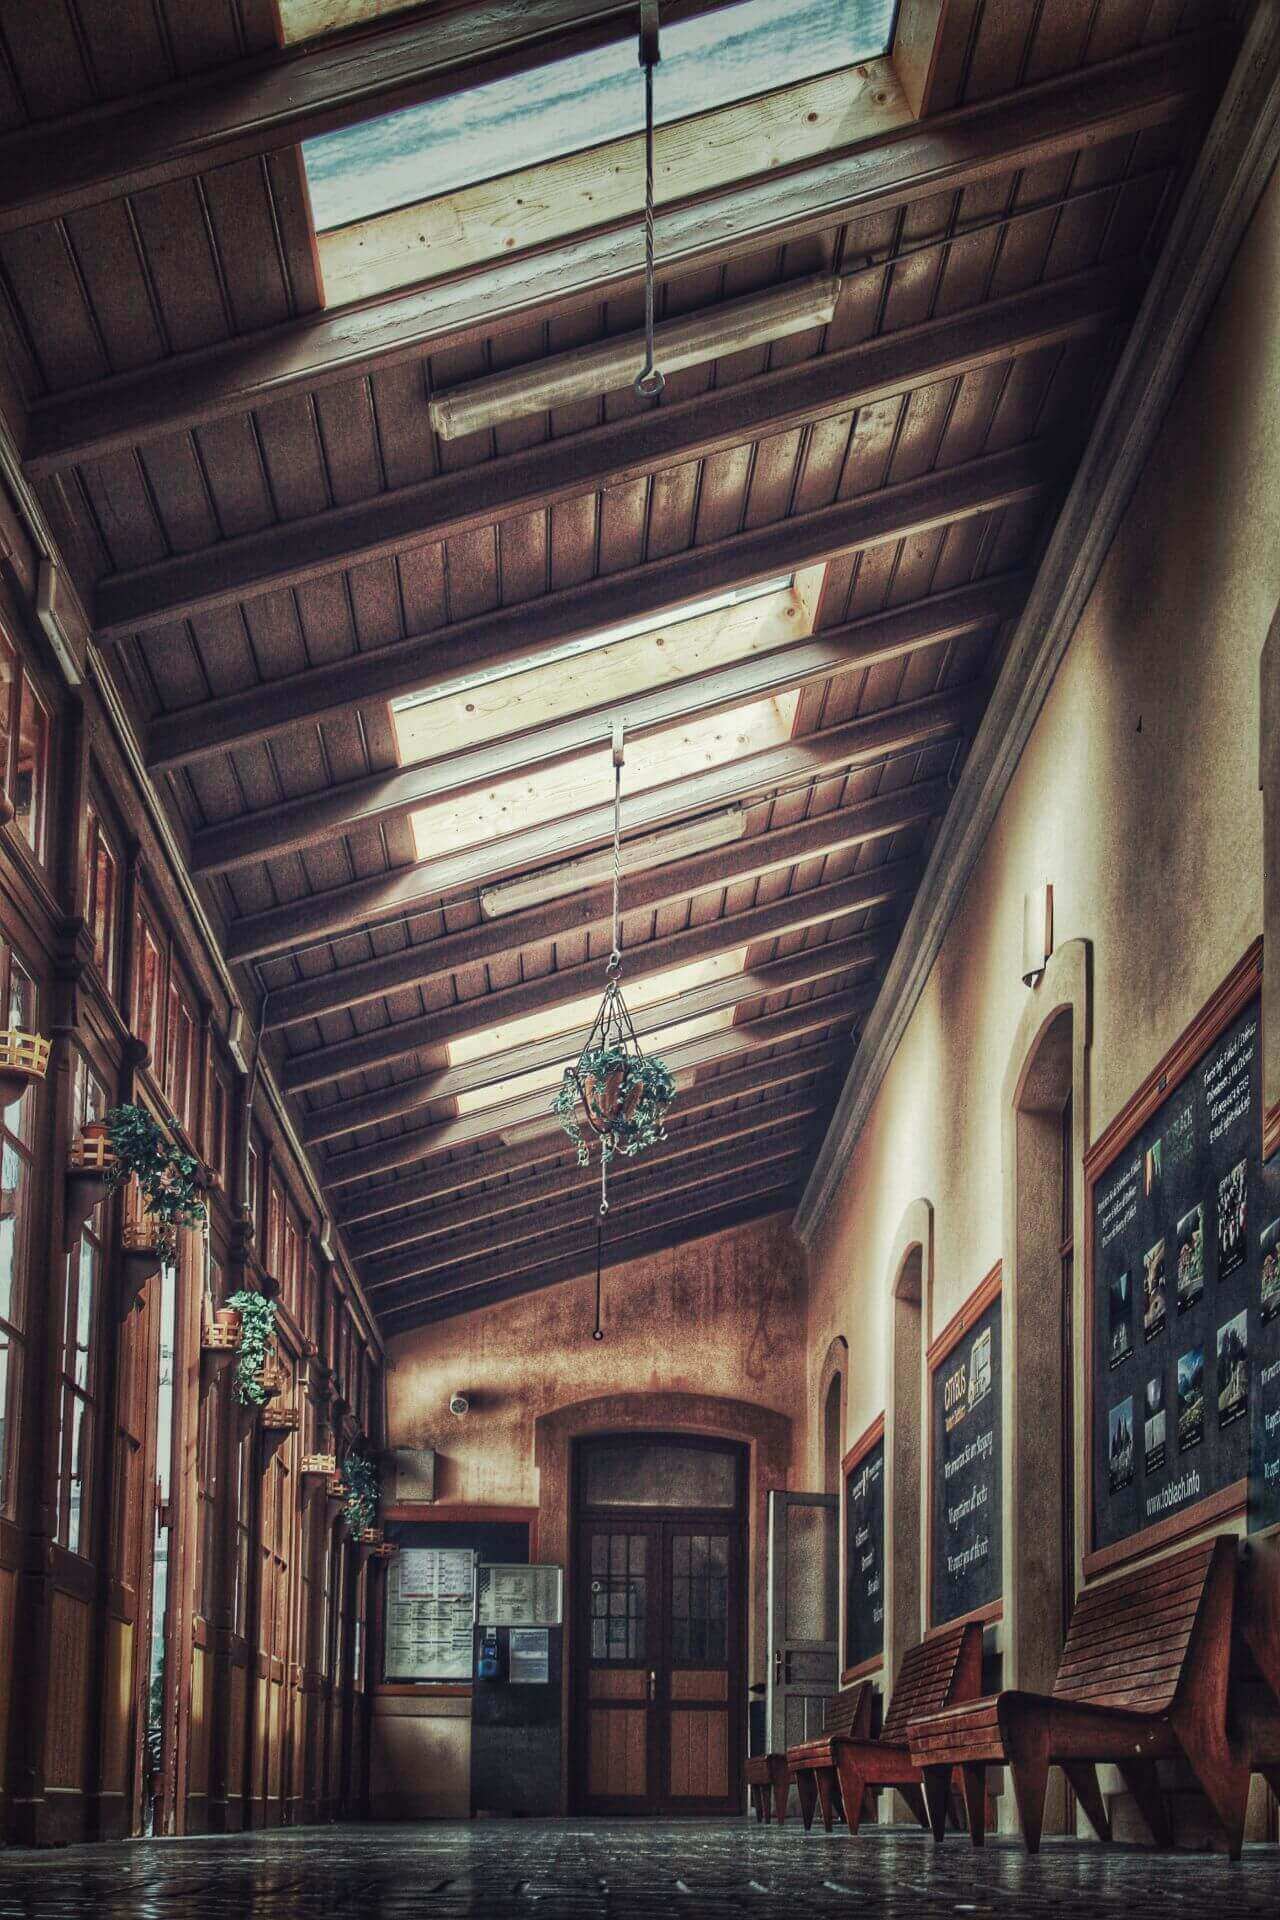
Lighting problems indoors can occur when some areas are very dark and others (e.g. windows) are very bright. These strong contrasts with a high dynamic range can be used as a stylistic means or can be produced afterwards by using bracketing and superimposing several images (HDR image).
Interior photography with the right lens
Wide-angle lenses are particularly well suited for relatively small indoor spaces, as the narrow dimensions often make it impossible to maintain a sufficient distance from the subject. The shorter focal lengths compared to standard lenses let you capture larger image areas. This makes the shots appear more spacious. In order to avoid distortion, which gives the impression that the room has sloping walls, the camera should be aligned straight and perpendicular to the center of the opposite wall.
Wide-angle lenses are well known equipment for DSLRs, but there are also wide-angle and fisheye lenses available for smartphones. The quality of the lens and the compatibility to your particular smartphone should be taken into account; Especially low-priced products regularly come off badly in customer ratings.
Perspectives indoors
Unlike outdoors, there are only so many places to stand when photographing indoors. For interesting perspectives and the most realistic possible rendering of space, you will often have to stand directly against a wall or in a corridor. Remove disturbing objects from your subject by rearranging something or taking a different position.
There are two perspectives for rectangular rooms: You can stand in the middle of the room axis and photograph towards the opposite wall (central perspective). Particularly small rooms appear tidy, calm and somewhat dynamic..
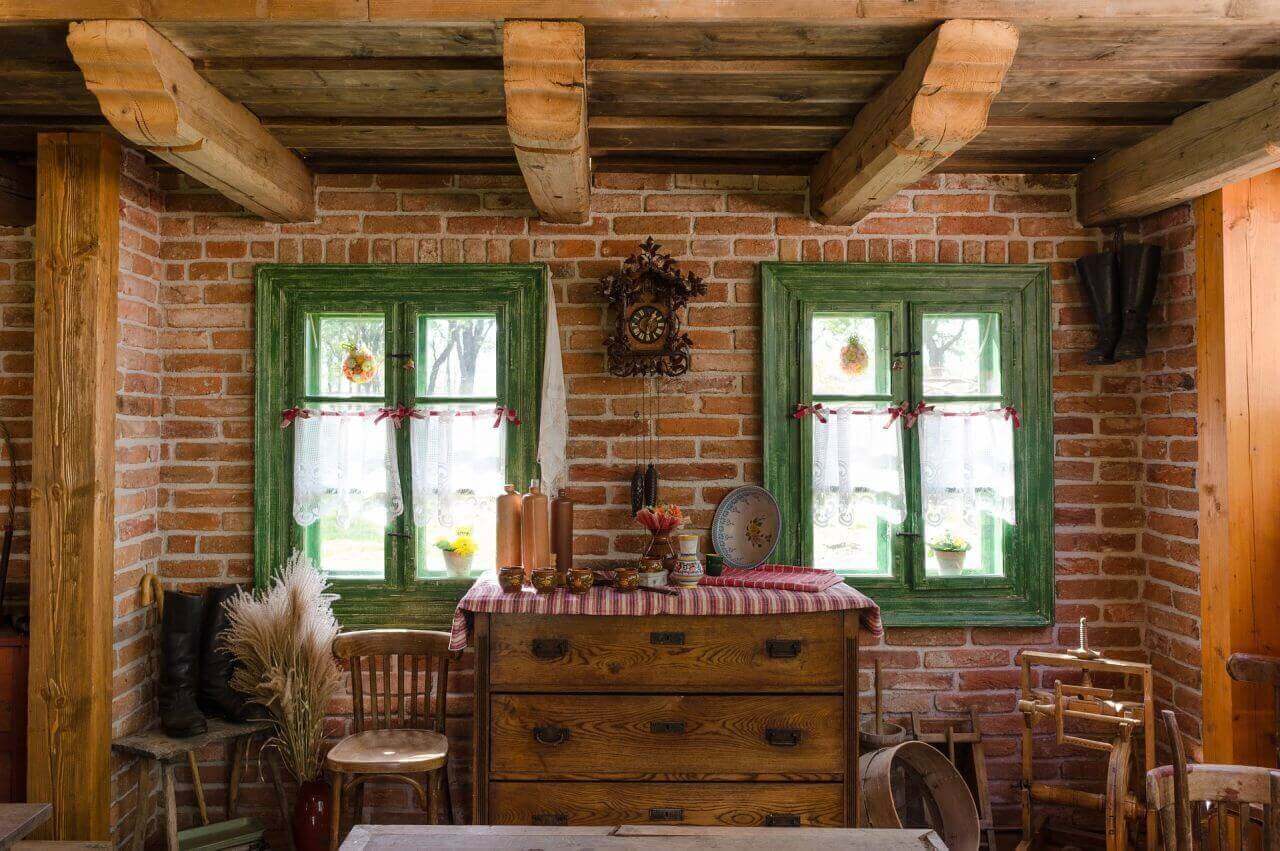
Alternatively, you can take a photo diagonally or at an oblique angle into the room and place yourself in a corner. This increases the dynamics of the image and creates a greater spatial depth. On the other hand, this two-point perspective – depending on the room – can lead to an unbalanced image structure.
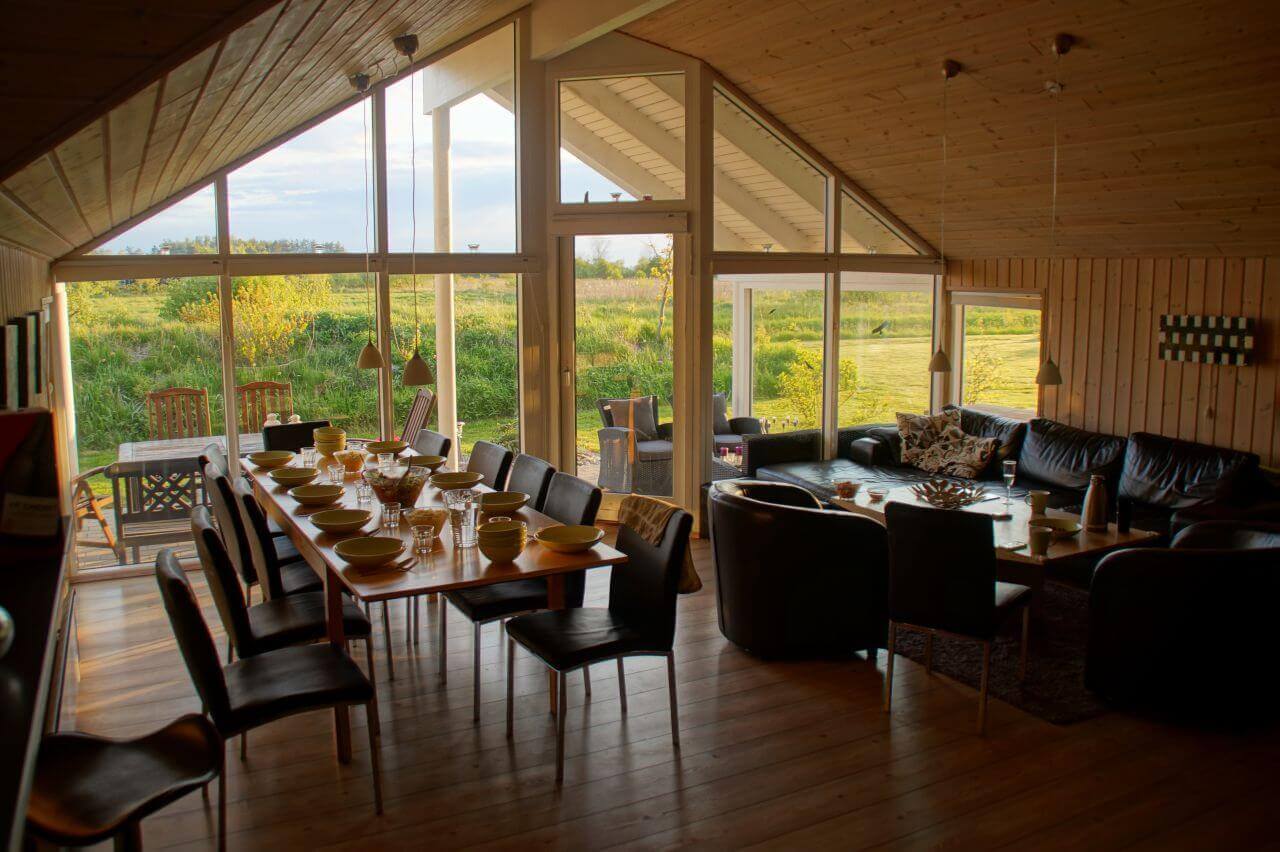
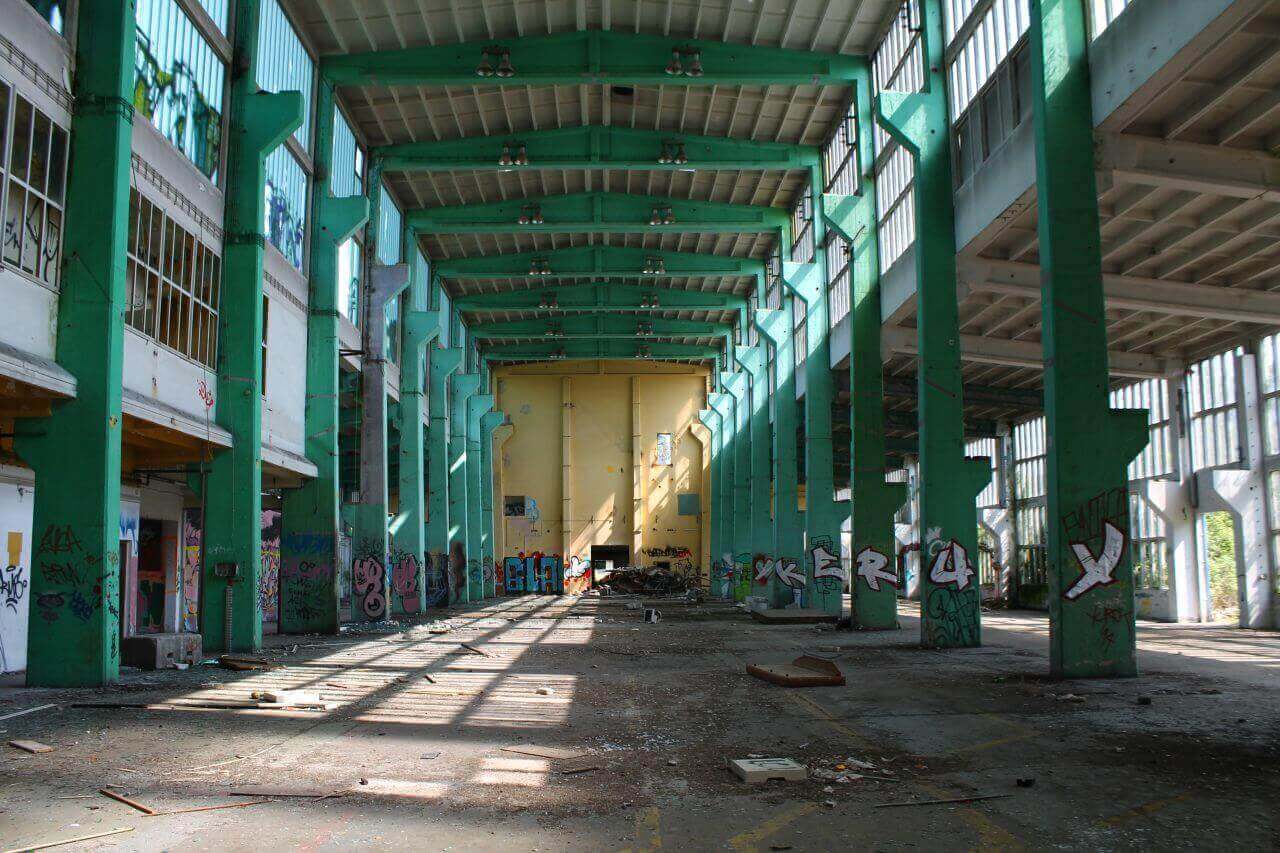
In large rooms or even rooms that open over several floors, you have other options for taking on creative perspectives. For example, you can take a picture of offices with a gallery from above. Churches and large halls can usually not be depicted in a single image, but only as partial shots. In this case, it is a good idea to photograph with the direction of the light, for example with a window in your back, or to use incident light from side windows as a stylistic element.
Capturing details inside
The details of a room can set interesting highlights. Pay attention to the special features of the room – decoration, furniture, textiles, but also windows, door frames, stairs, and similar room elements can provide interesting detail shots. You may also want to play a little with the arrangement of moving details to create a more harmonious overall picture of the room, vary your viewing angle and test which perspective is best. Depending on the lighting conditions, you should also use a tripod here.

